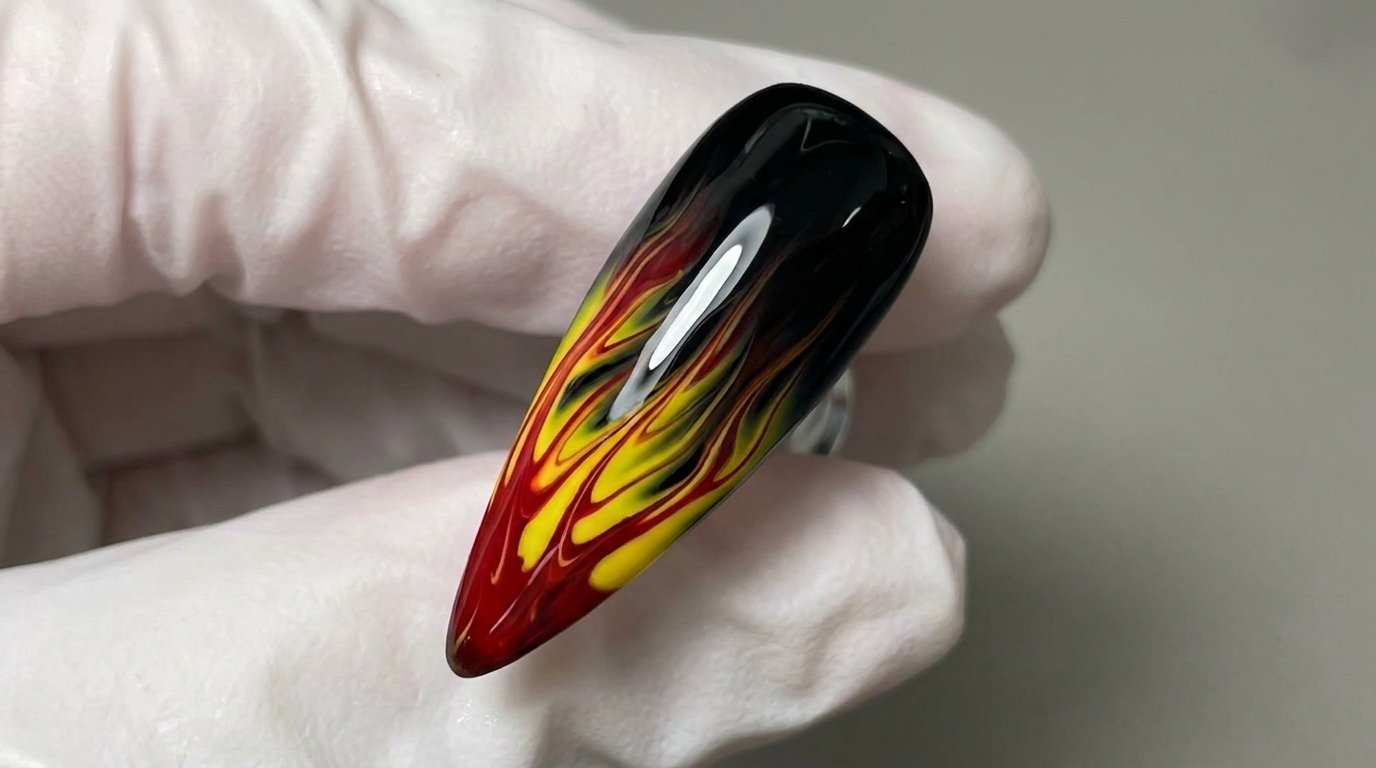
Vibrant Fire Flame Nail Art — Professional Step-by-Step Tutorial
Master the hot flame nail trend with this step-by-step guide. Learn how to blend orange and yellow gradients to create a striking, fiery look at home.
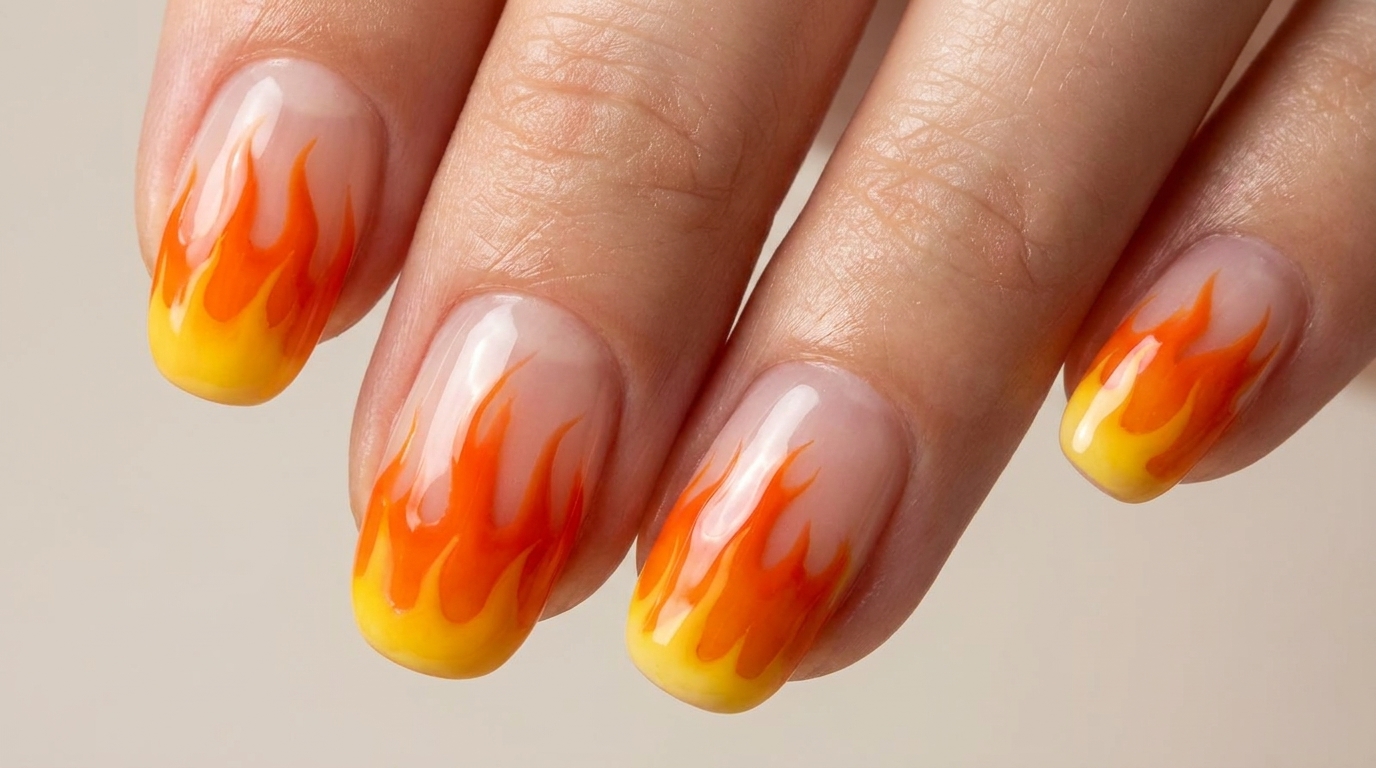
Flame nail art is the ultimate statement look for those who love bold, edgy designs. By layering orange and yellow tones, you can create a beautiful gradient effect that makes your manicure look like it is truly on fire. Follow this tutorial to learn the blending techniques needed to achieve this salon-quality, high-gloss finish.
Steps
- 1Apply orange gel tip
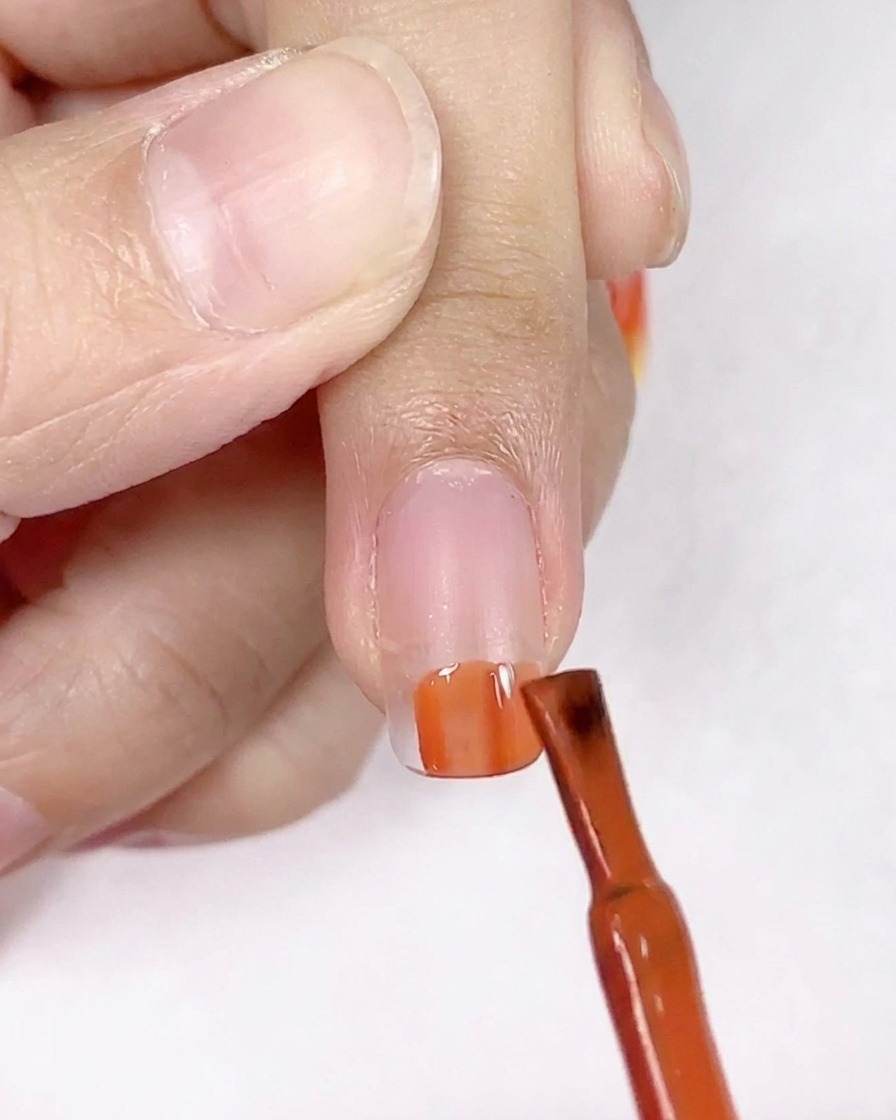
Apply a layer of orange gel polish to the free edge of the nail, creating a solid base for the flame design. Ensure the application is even and covers the tip completely before moving on to the nail art.
Tip: Keep the layer thin to avoid bulk at the tip of the nail. - 2Paint the initial flame design
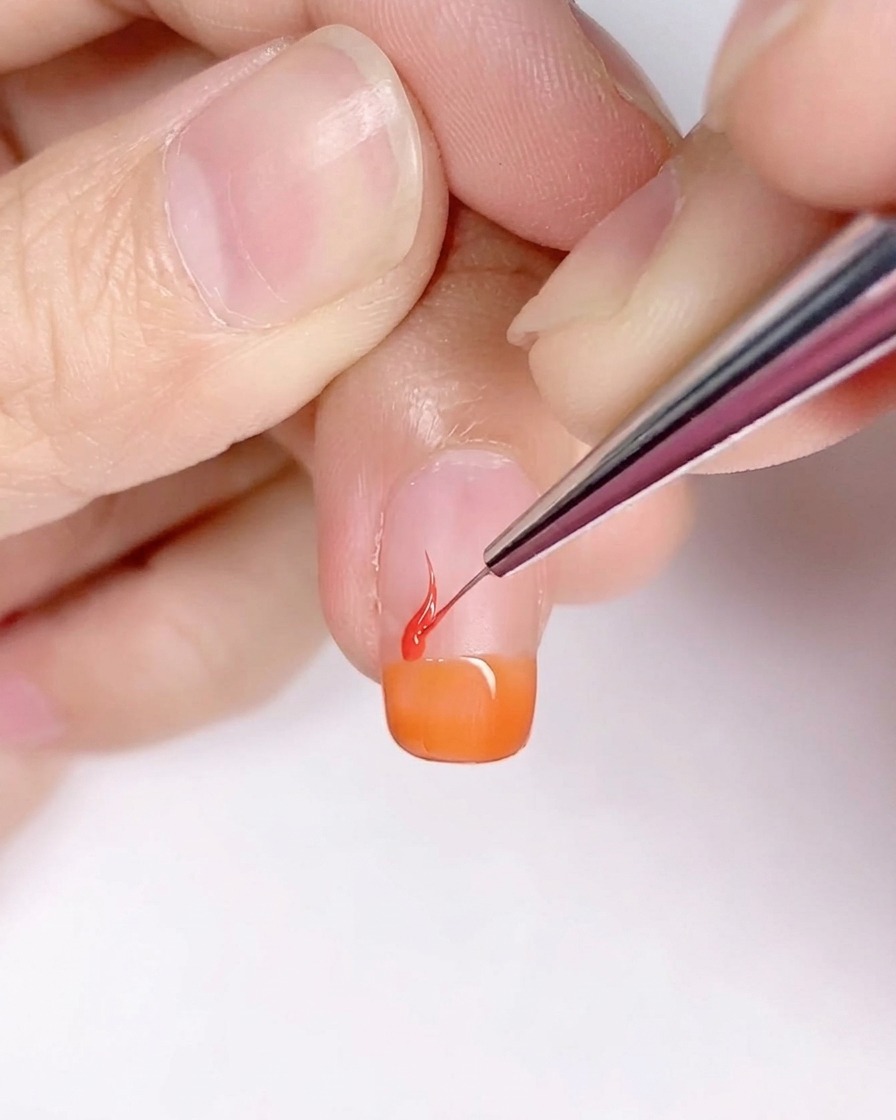
Using a fine detail brush, carefully draw the flame shapes over the orange base. Focus on creating upward, sweeping lines to mimic the look of fire.
Tip: Work with a small amount of product on the brush for better control of the fine lines. - 3Create a gradient effect
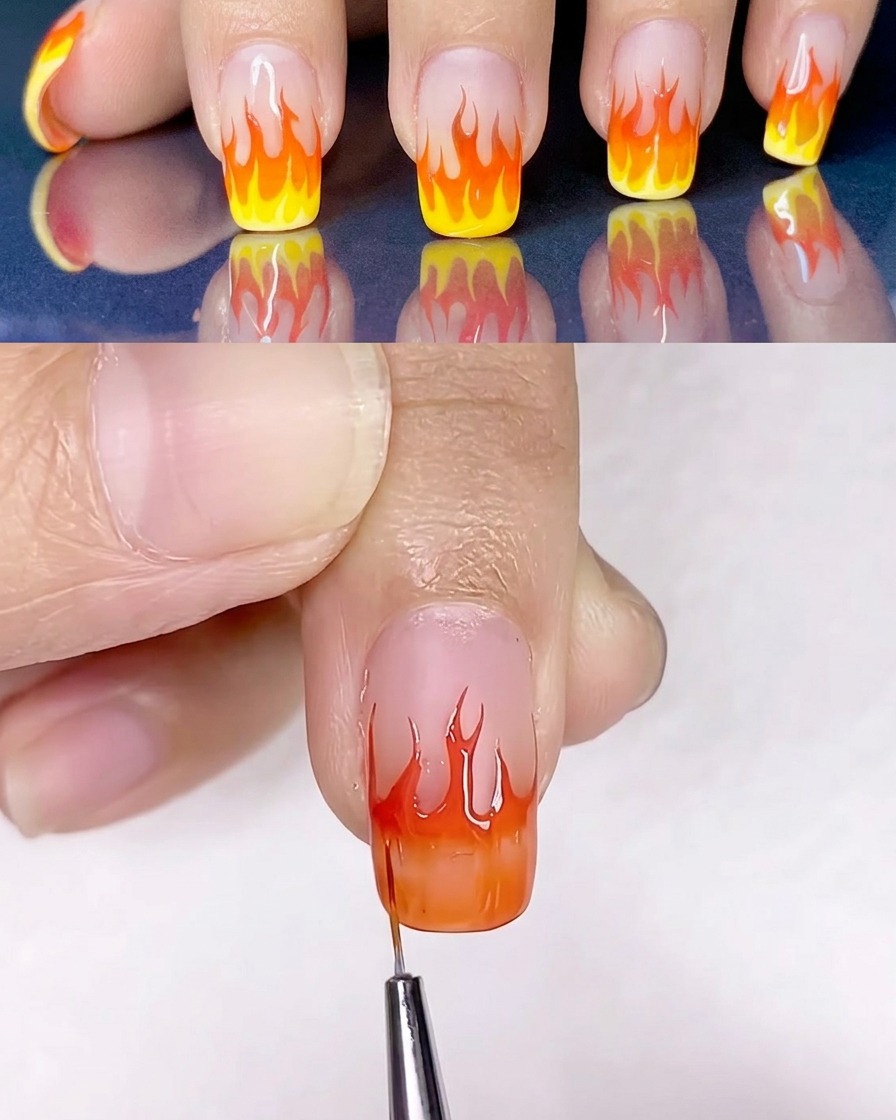
Before curing, use a flat brush with a small amount of yellow gel paint to blend the colors. Gently sweep the brush through the wet polish to create a seamless gradient from orange to yellow within the flame design.
Tip: Use a light touch to blend without smearing the crisp edges of the flames. - 4Add a second layer of flames
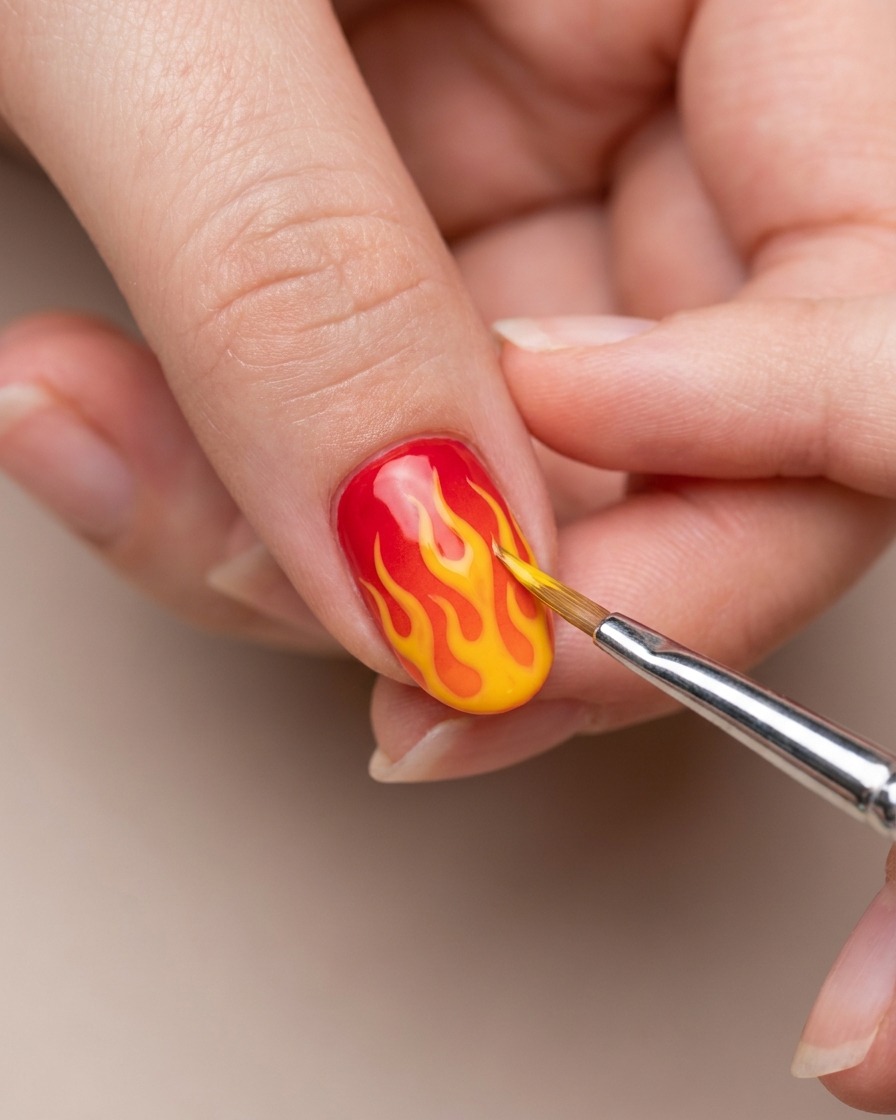
Apply a second, more defined layer of yellow flames over the gradient. This adds depth and contrast to the design. Once satisfied with the shape, cure under your UV or LED lamp for 30 seconds.
Tip: Ensure the lines are distinct to make the flame pattern pop against the base. - 5Add highlights with light yellow
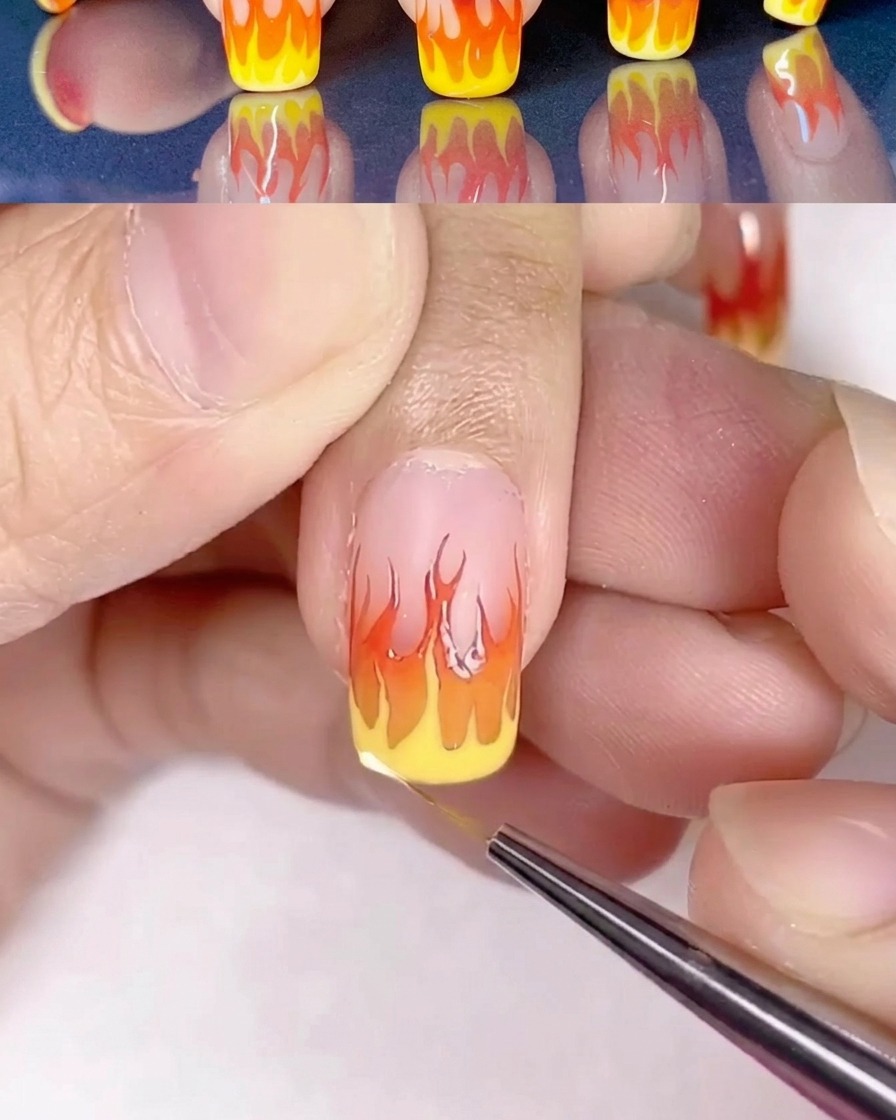
Add a final highlight layer using light yellow gel polish to the center of the flames for extra dimension. Cure this layer under the lamp for 30 seconds to set the details.
Tip: This highlight layer should be thinner than the previous ones to maintain detail. - 6Apply top coat
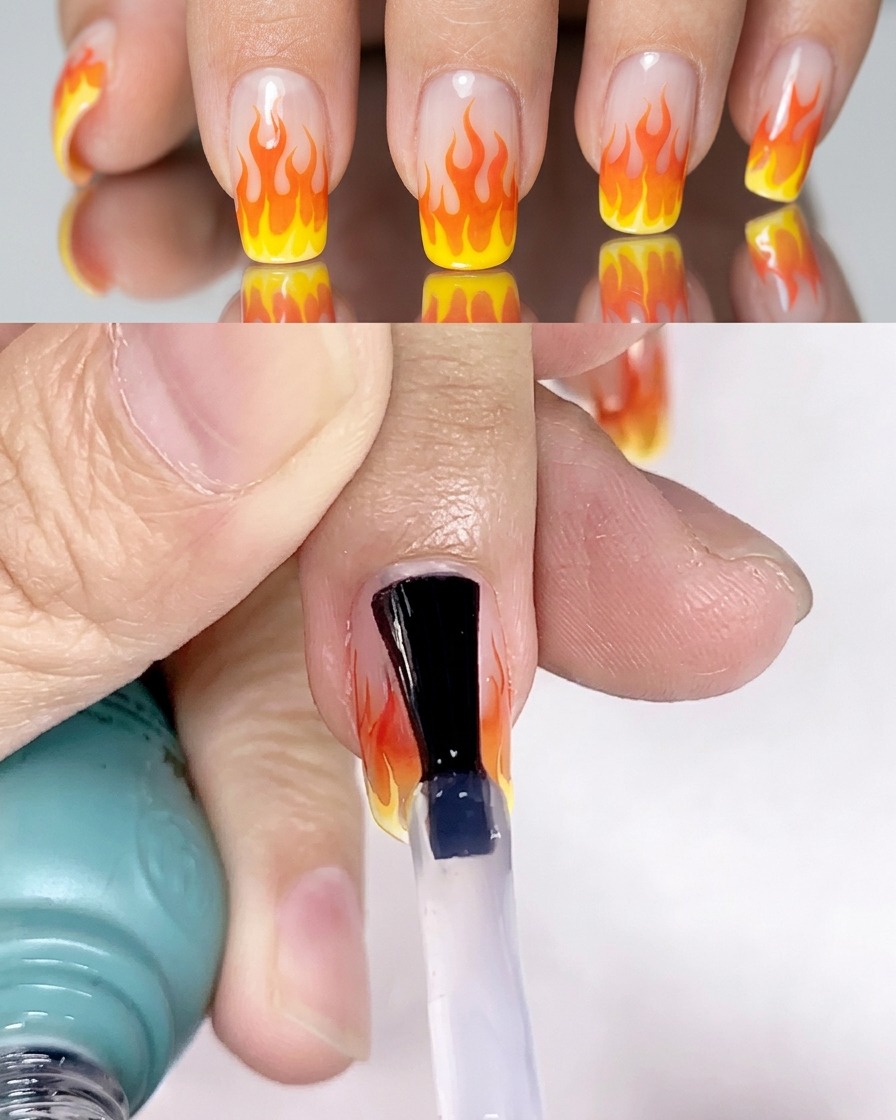
Finish the design by applying a thin layer of no-wipe top coat over the entire nail. This protects the nail art and adds a high-gloss finish. Cure under the lamp for 1 minute.
Tip: Ensure you cap the free edge with the top coat to prevent chipping.