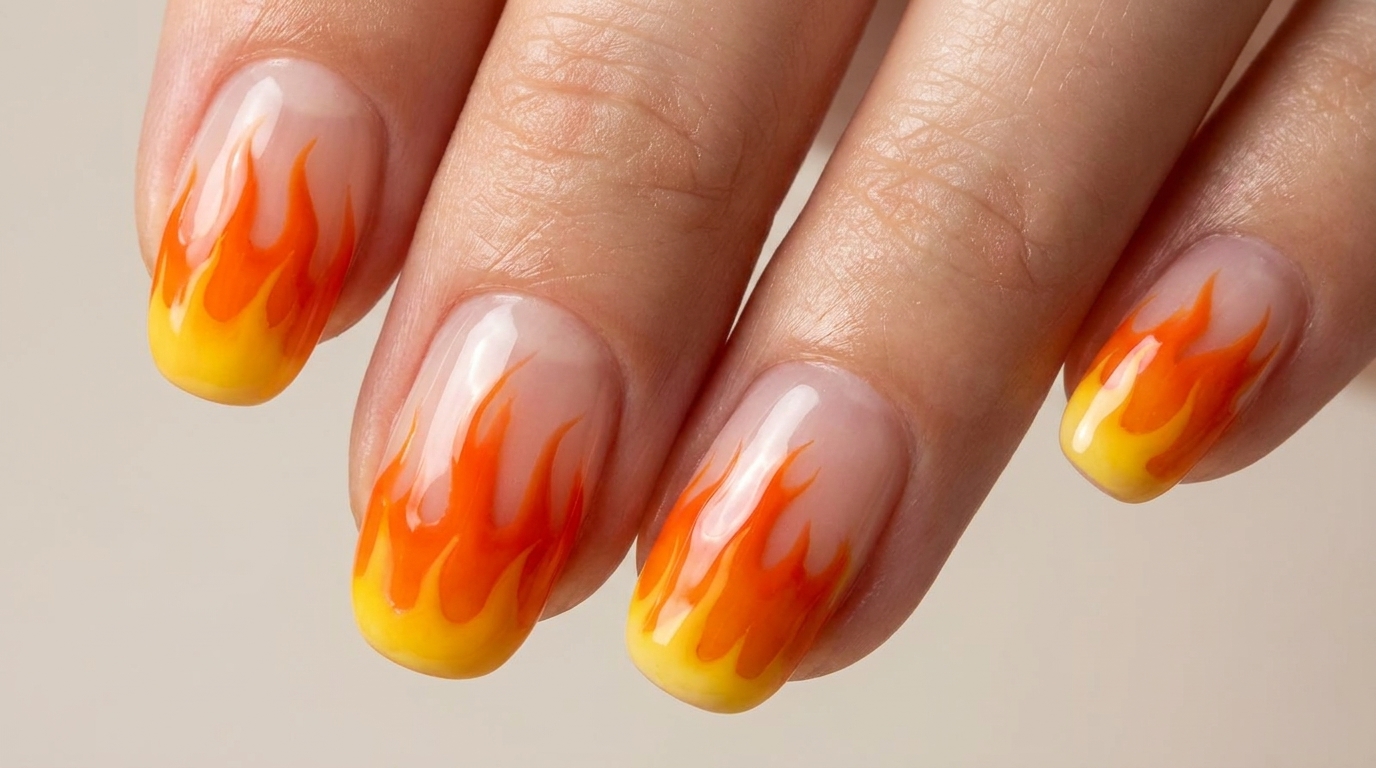
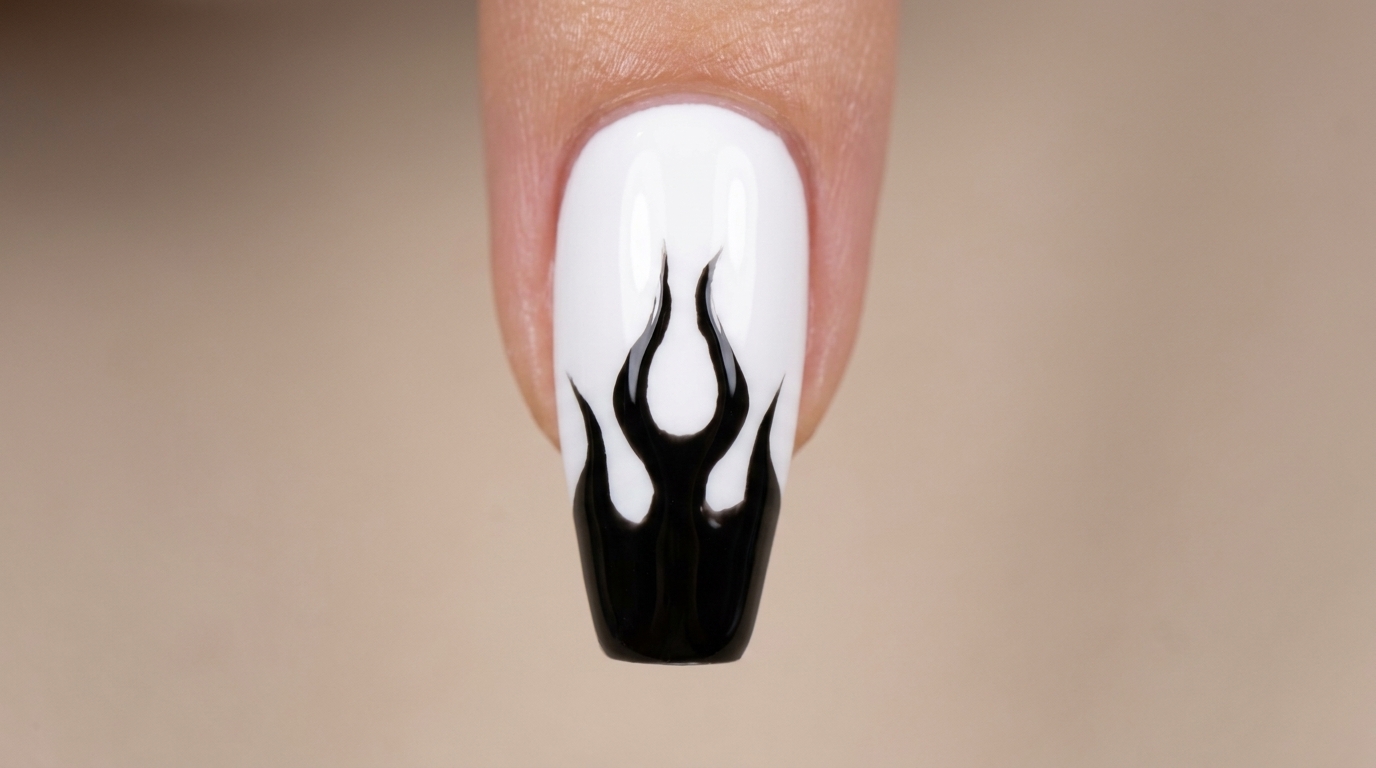
Vibrant Flame Nail Art — Beginner-Friendly Gel Tutorial
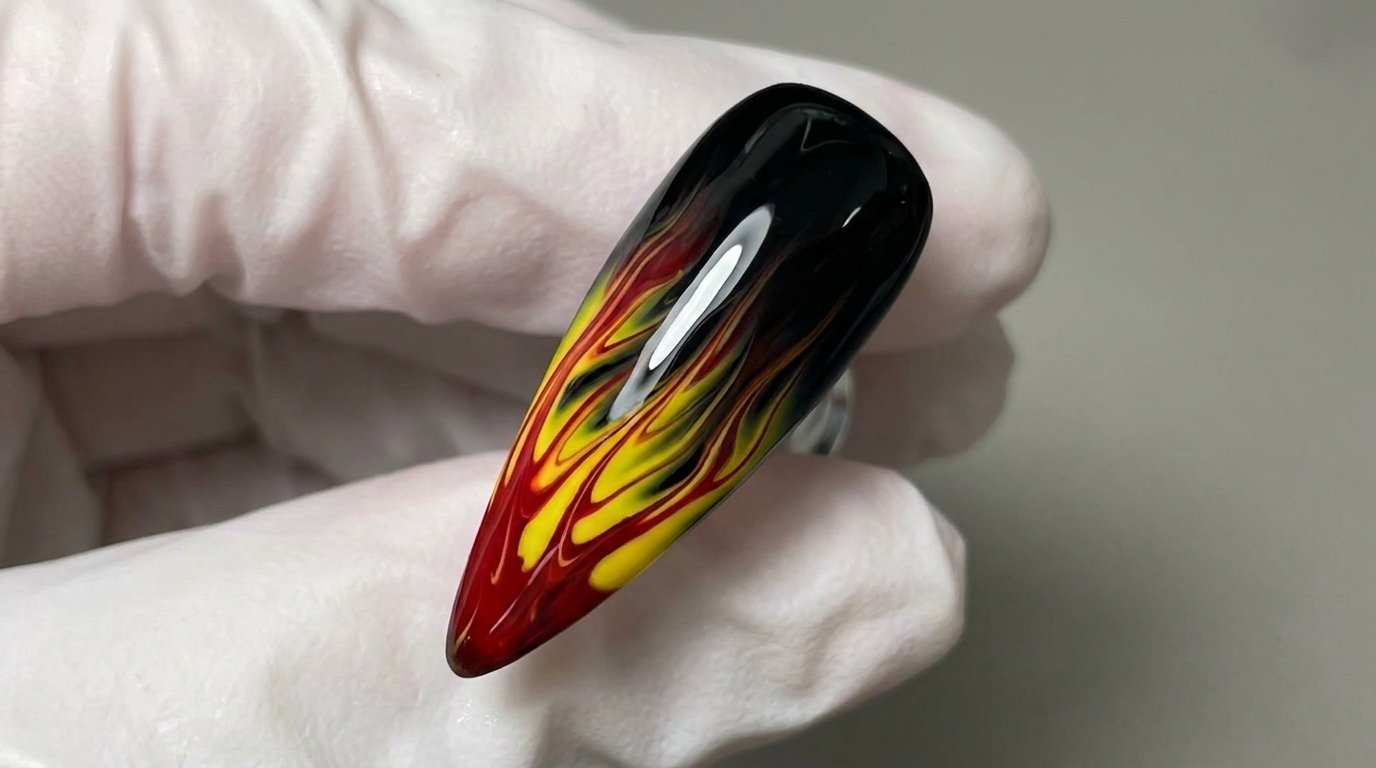
Create stunning, high-contrast flame nail art using the blooming gel technique. This easy method blends colors seamlessly for a fiery, professional finish.
Flame nail art is a bold, timeless design that looks complicated but is surprisingly easy to achieve at home. By using a blooming gel base, you can let your red and yellow polish spread naturally into sharp, fiery points. This tutorial breaks down the process into simple, repeatable steps perfect for leveling up your DIY nail game.
Steps
- 1Apply blooming gel
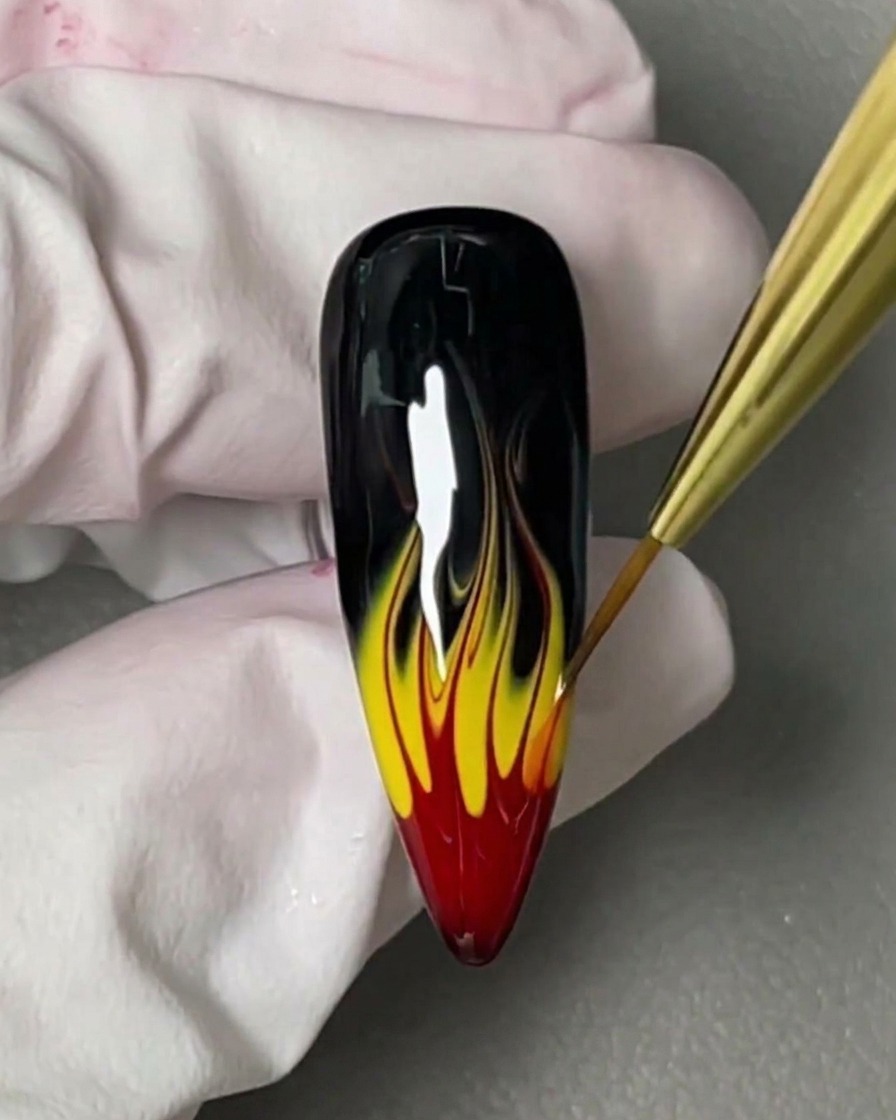
Apply a thin, even layer of blooming gel over your fully cured black base coat. Do not cure this layer yet, as the blooming gel needs to remain wet for the subsequent colors to spread and create the flame effect.
Tip: Apply the blooming gel as smoothly as possible to ensure the colors spread evenly without creating pools. - 2Apply red gel base
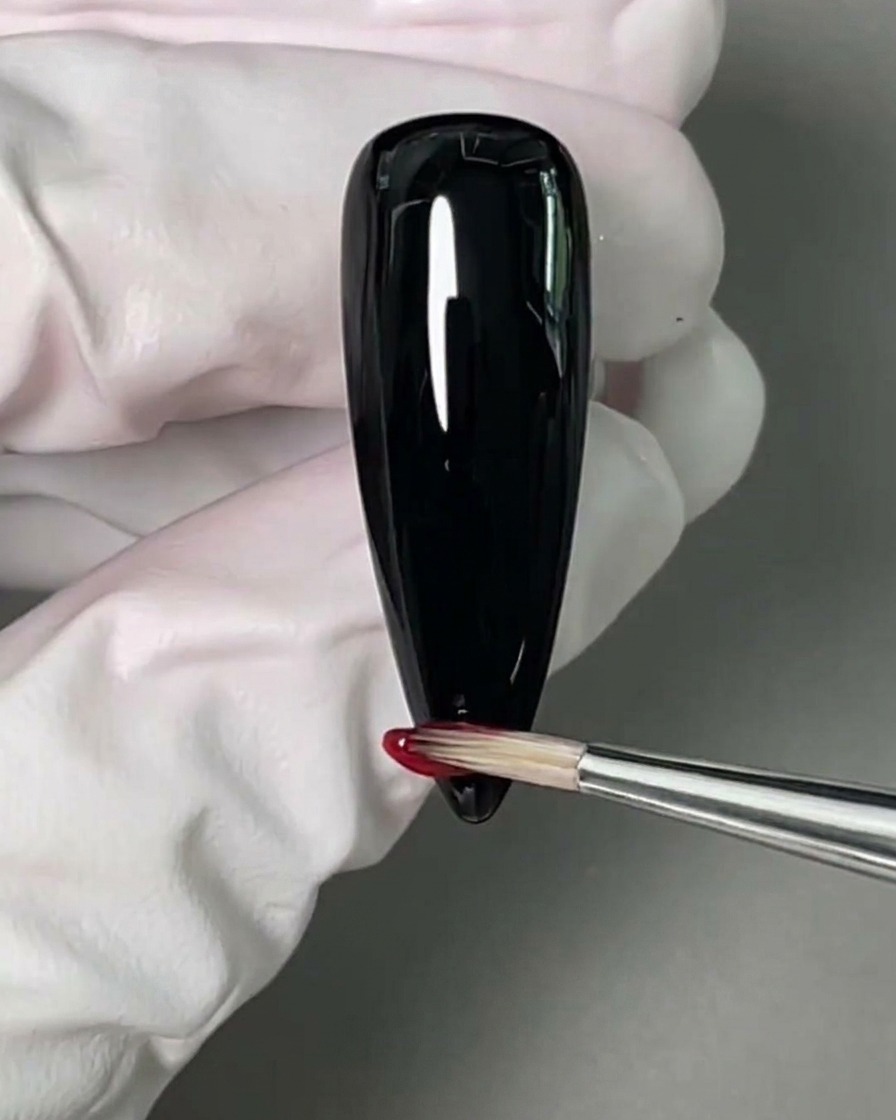
Apply a coat of red gel polish to the tip of your nail, covering the free edge. You do not need to worry about creating precise flame shapes at this stage; simply focus on applying an even layer of color to create the foundation for your design.
Tip: Keep the layer thin to prevent the polish from pooling at the tip, which ensures a smoother transition when adding the second color. - 3Apply yellow gel detail
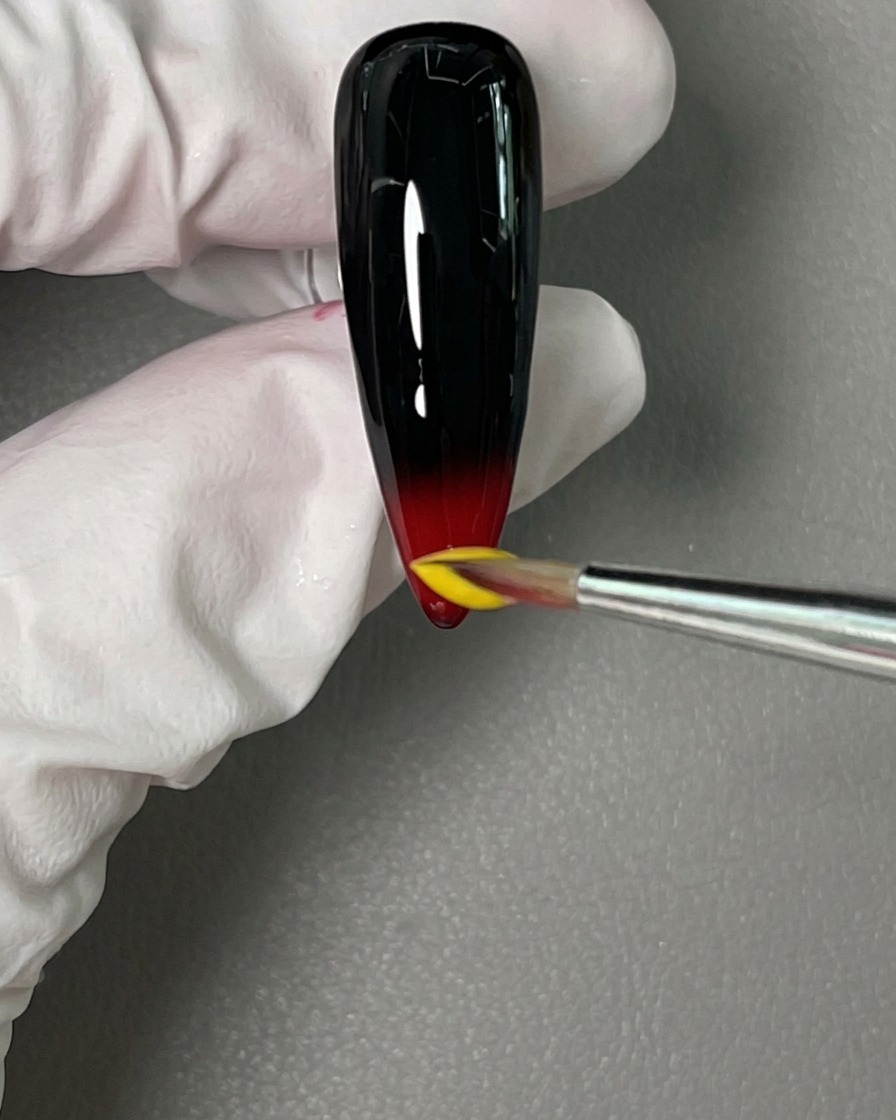
While the red gel is still wet, apply a drop of yellow gel polish just above the red color on the tip of the nail. Placing the colors side-by-side while wet allows them to blend slightly at the junction, which makes creating the flame effect easier.
Tip: Dont over-apply the yellow; a small amount is sufficient to create the desired contrast for the flame design. - 4Form flame shapes
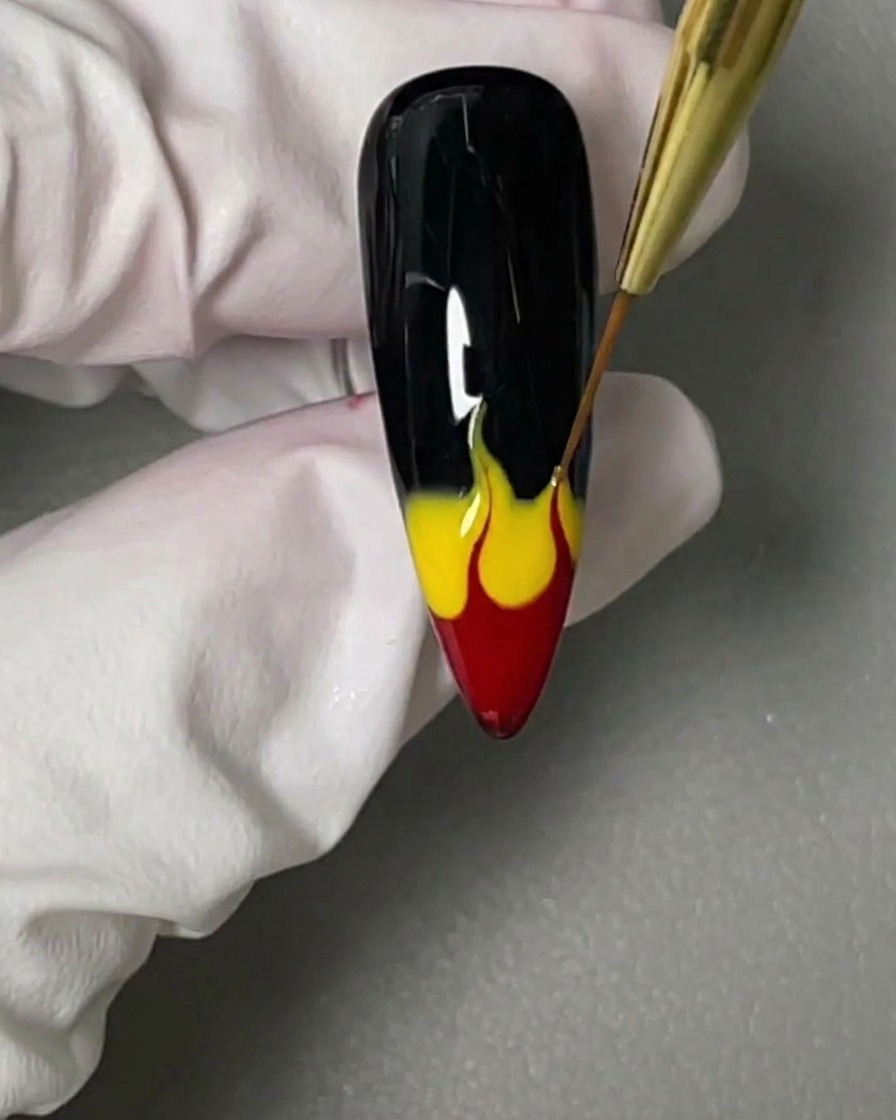
Using a thin liner brush, drag the wet yellow and red gel colors upwards into flame-like points. Pull the gel gently to create the characteristic shape of a flame, allowing the colors to naturally bloom together for a seamless gradient effect.
Tip: Use a light touch with your liner brush to avoid dragging too much product; letting the gel self-level for a moment will enhance the natural look of the flames. - 5Apply top coat
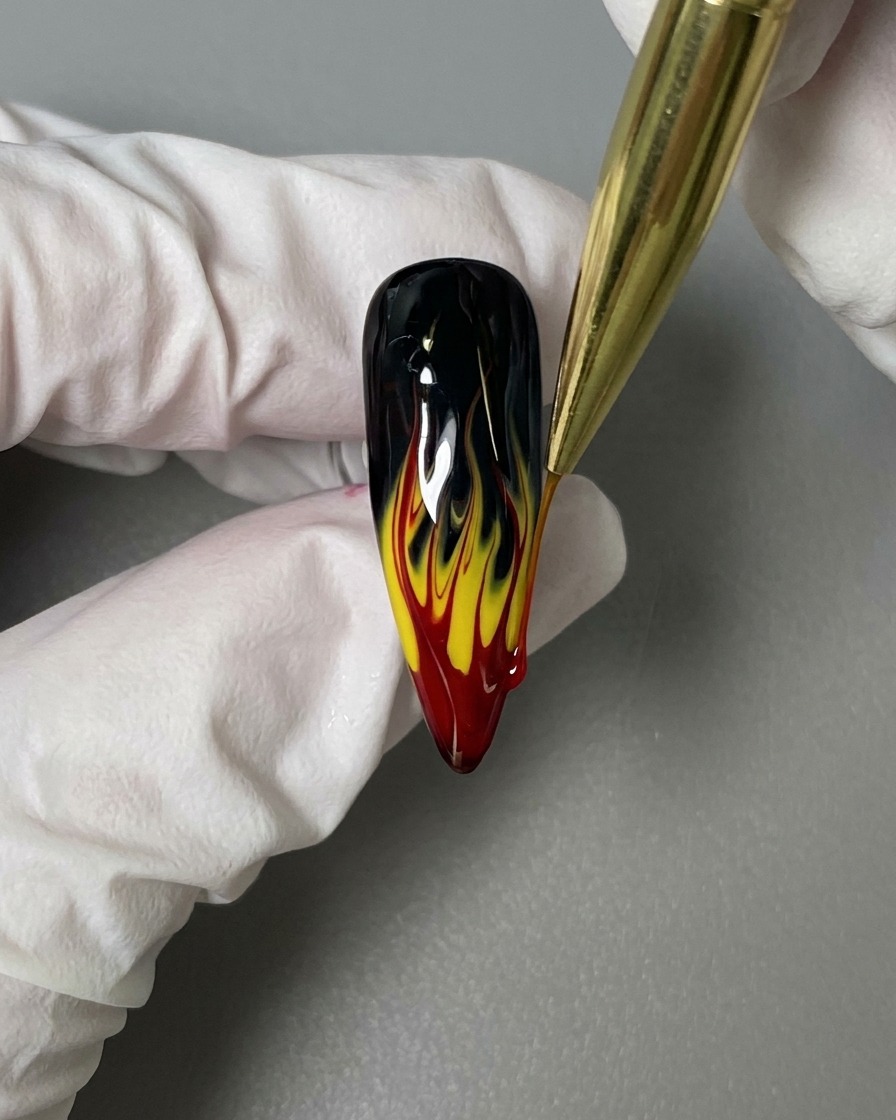
Carefully apply a layer of top coat over the cured flame design to seal and protect the art. Ensure you cap the free edge to prevent chipping, then cure under your UV or LED lamp as directed.
Tip: Use a light touch when applying the top coat to avoid smearing the intricate flame details you created.