Black Flame Nail Art — Beginner Step-by-Step Tutorial
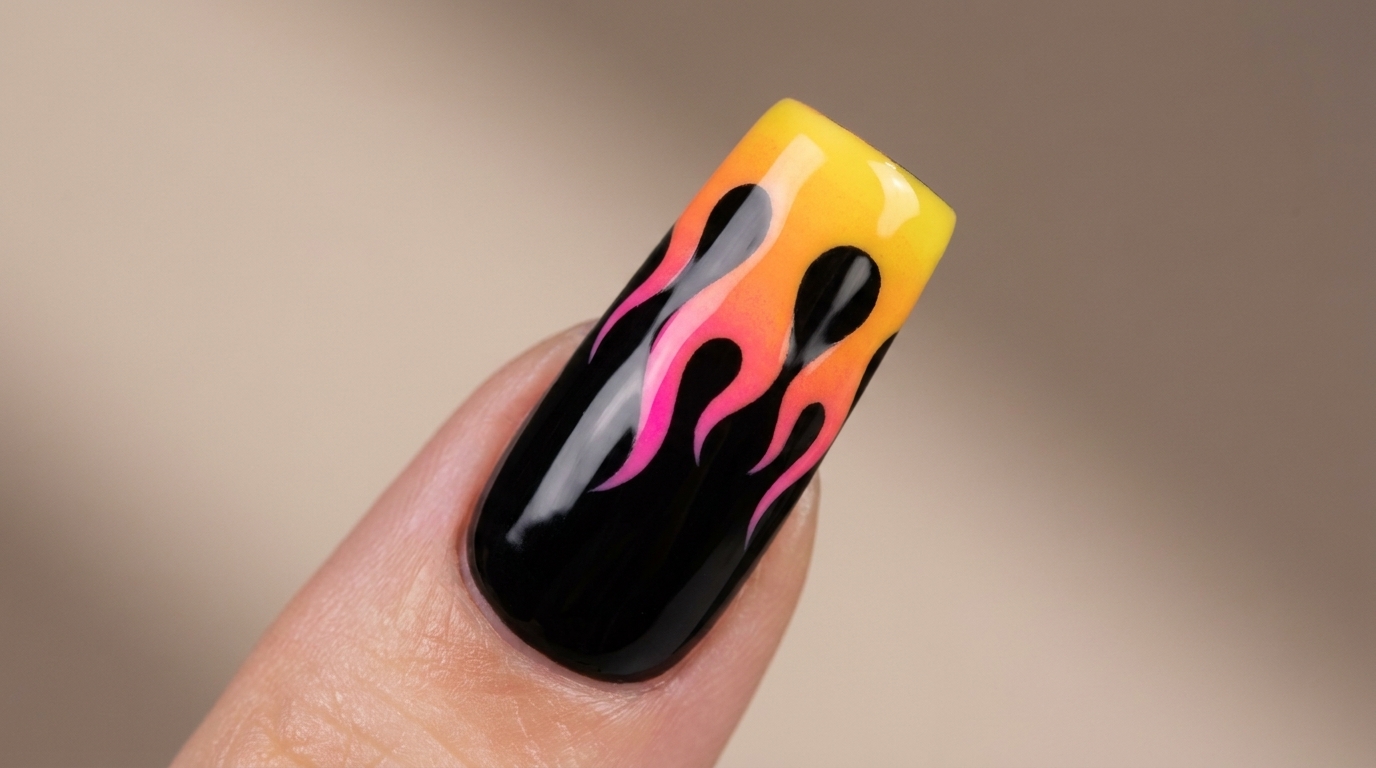
Master the trendy black flame nail design with this simple guide. Learn how to map out and hand-paint symmetrical, smooth flame shapes on a crisp white base.
Flame nail art has surged in popularity for its bold, edgy aesthetic. While the design might look intricate, achieving clean, symmetrical flames is easily manageable when you use a step-by-step mapping technique to guide your brush.
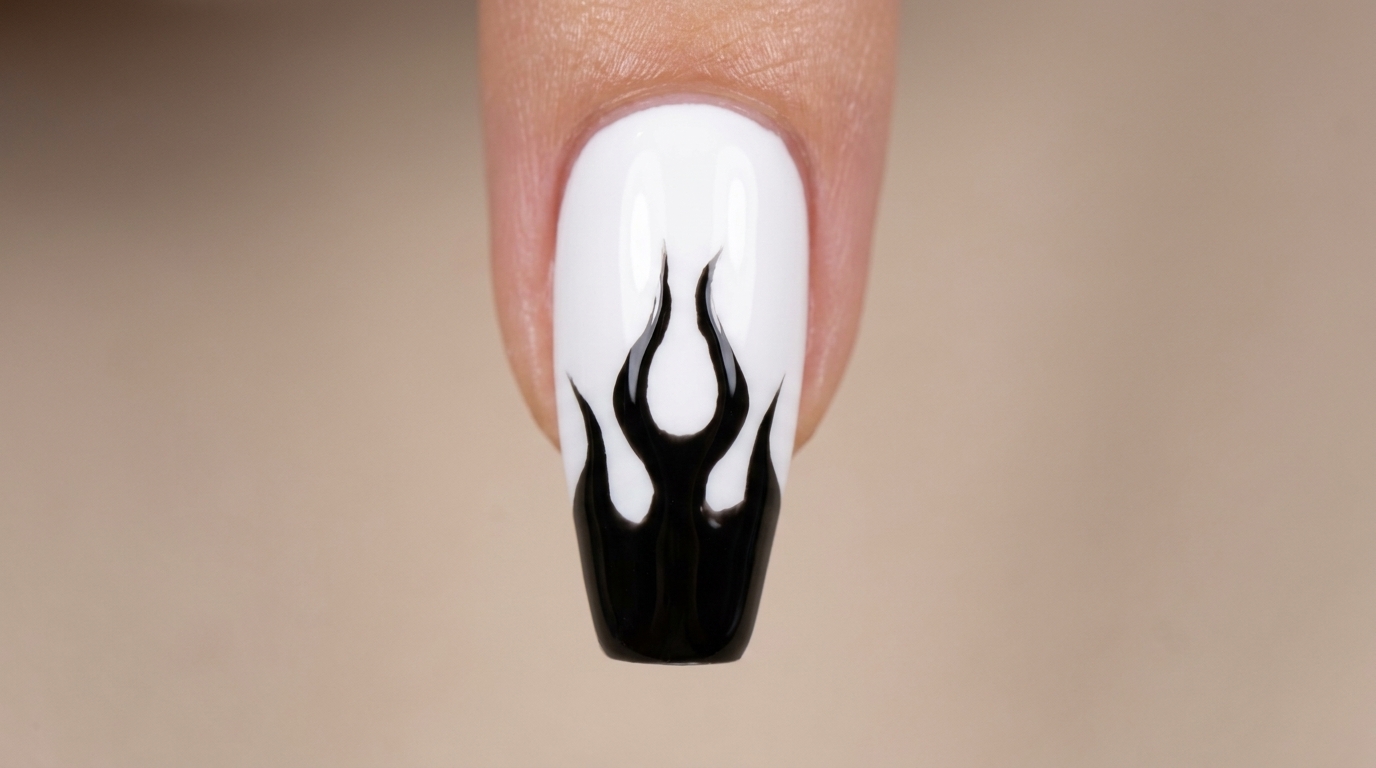
Steps
- 1Mark the flame height
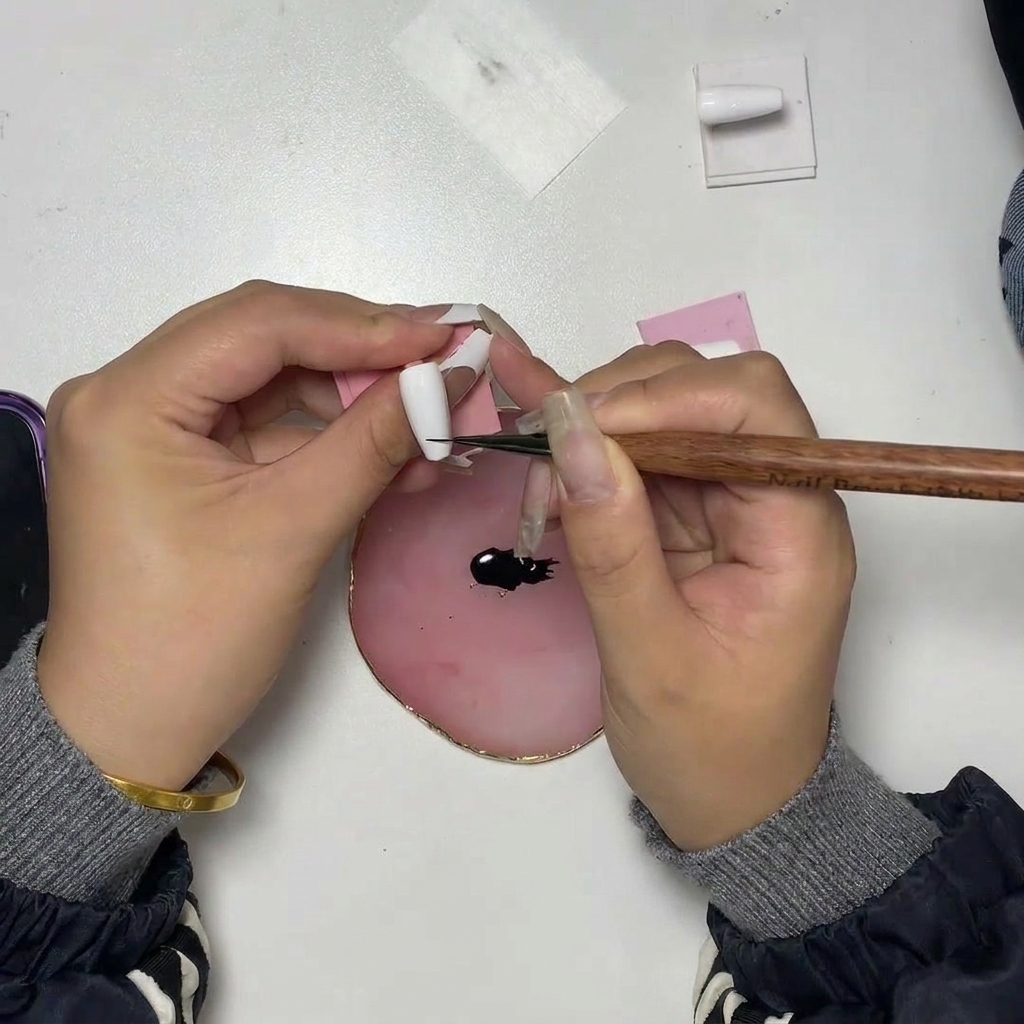
Begin by drawing a thin horizontal line across the surface of the nail to establish the baseline for your flame design. This mark serves as a guide to ensure consistent height and placement for the flame art.
Tip: Keep your hand steady and use a fine-liner brush to ensure the line is thin and precise. - 2Create the center guide
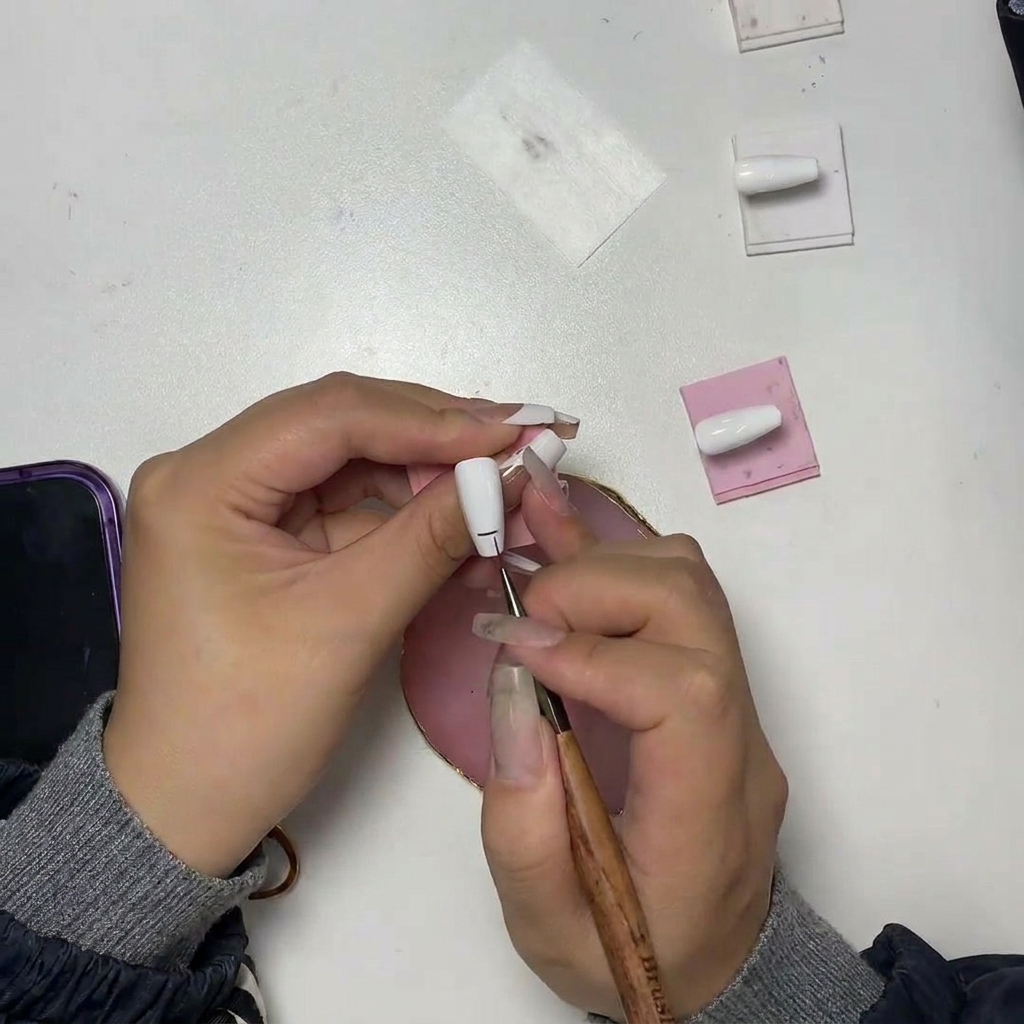
Add a short, straight vertical line originating from the center of the horizontal baseline. This acts as the central axis for the flame, helping you keep the overall shape symmetrical as you build outward.
Tip: Ensure the vertical line is centered perfectly to maintain the balance of the flame. - 3Draw the base U-shape
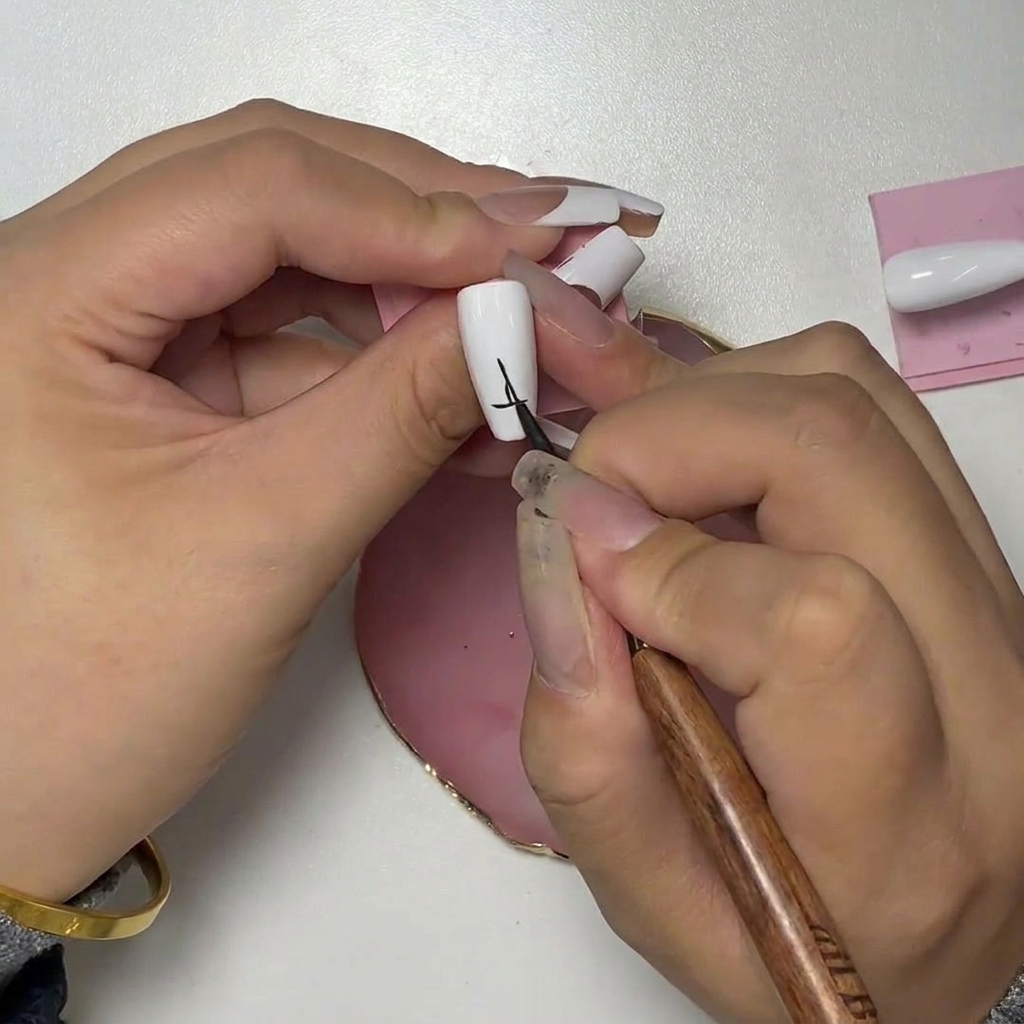
Draw a wide U-shape at the base of the flame, ensuring it has a rounded, substantial belly. This structure forms the core foundation of the flame design.
Tip: Focus on creating a smooth, rounded curve rather than sharp angles to achieve a natural flame look. - 4Form the sides of the flame
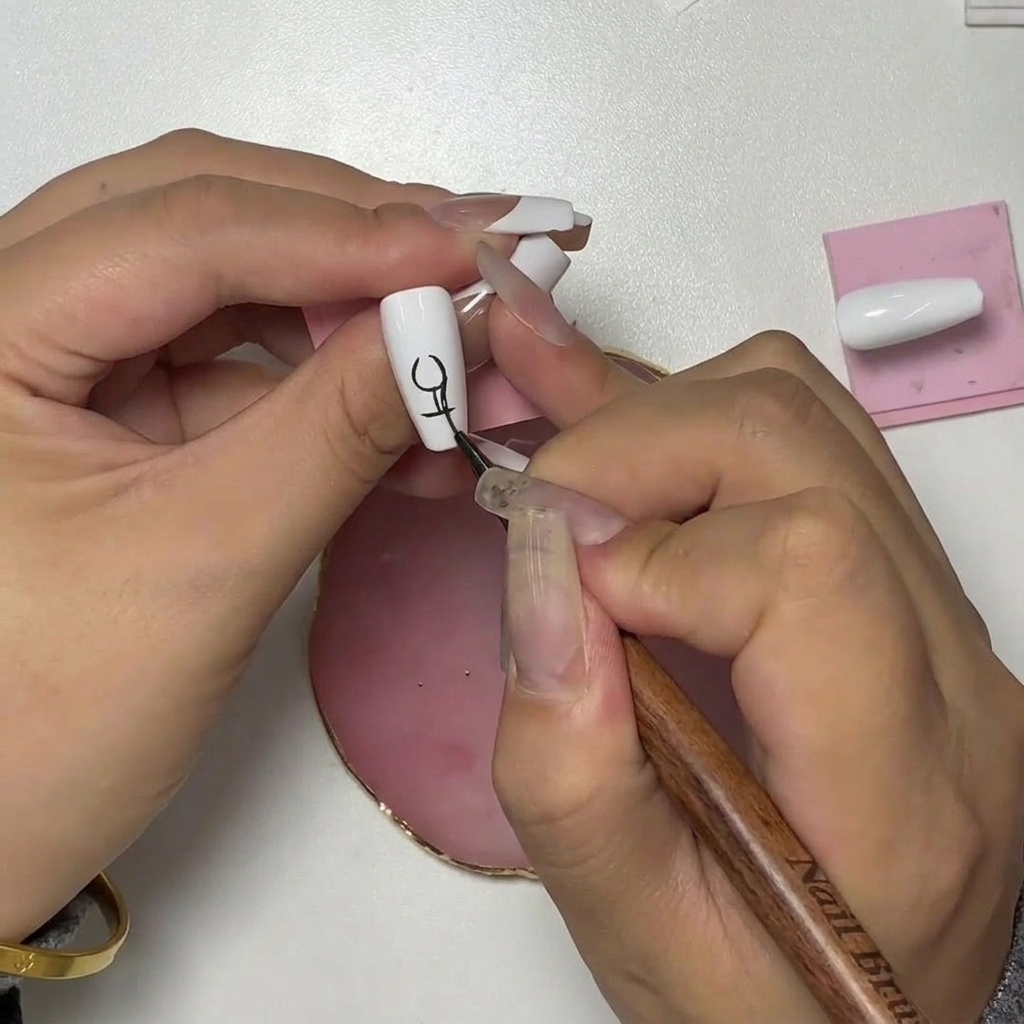
Extend your design by drawing symmetrical U-shapes on both the left and right sides of the central structure. Keeping these consistent in size and shape is key to a polished, professional finish.
Tip: Periodically check the symmetry between the two sides as you draw to ensure the design remains balanced. - 5Extend the flame tips
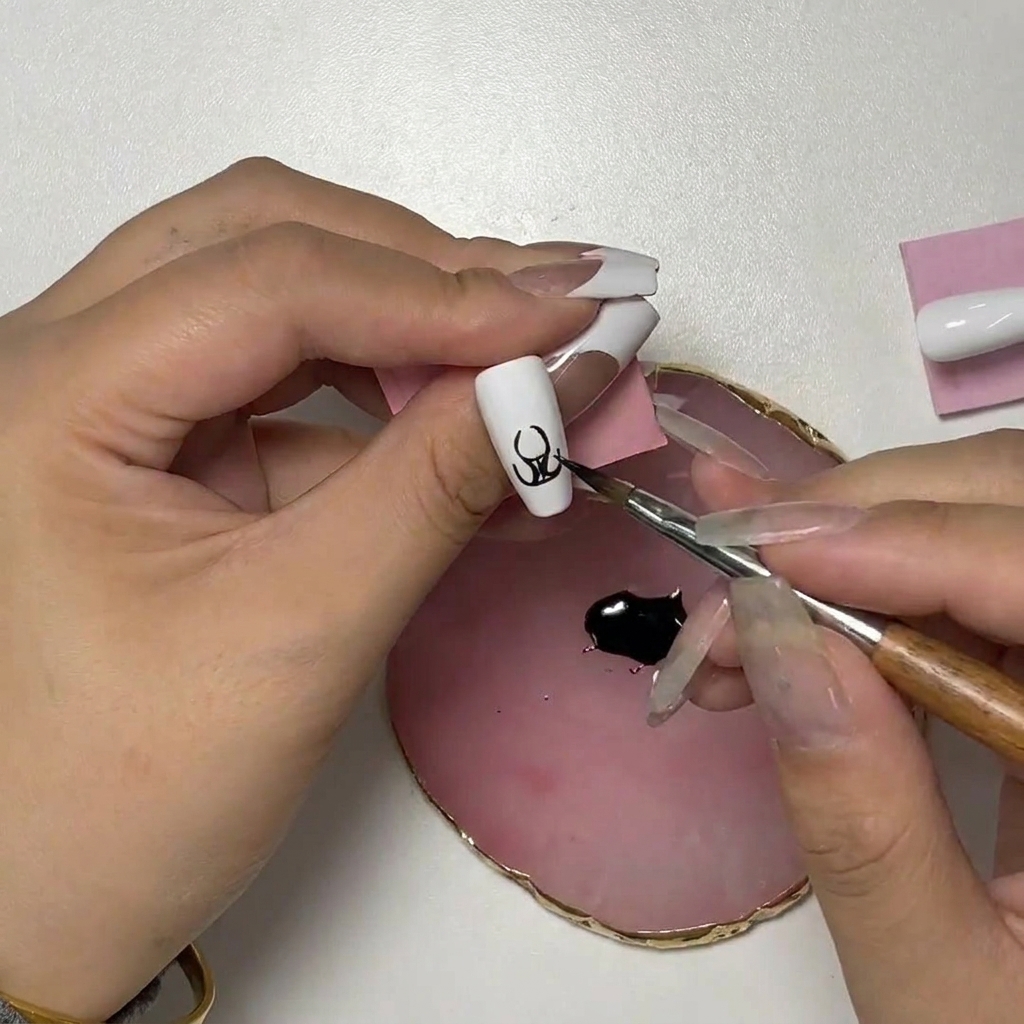
Carefully draw the flame tips extending upwards from the base structure. Ensure the lines curve naturally and avoid sharp, rigid angles to keep the shape rounded and fluid.
Tip: Use a light touch with your brush to create tapered, delicate tips for the flame. - 6Refine the flame outline
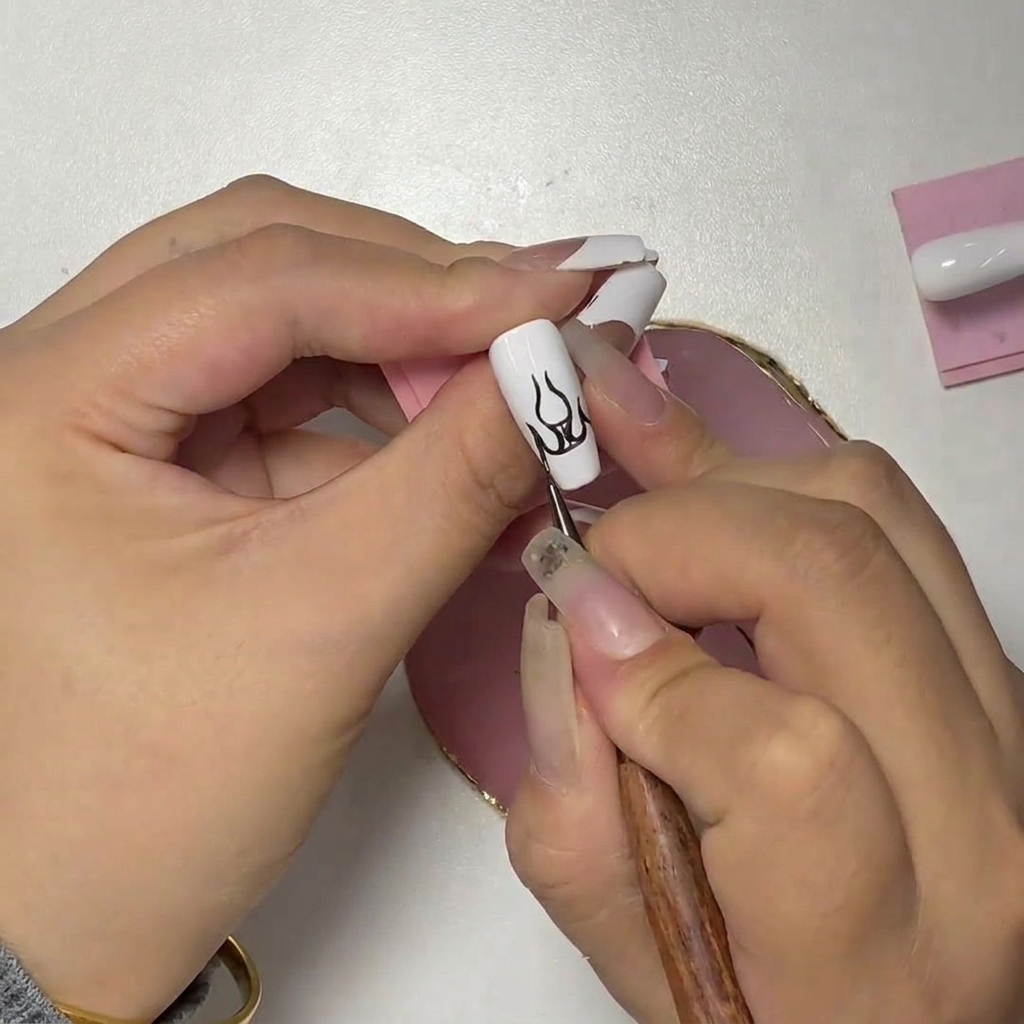
Connect all the lines to complete the final outline of the flame design. Incorporate slight S-curve motions along the sides to give the flame a more organic, dynamic appearance.
Tip: Take your time to ensure all connections are smooth and seamless for a clean final look. - 7Fill in the flame design
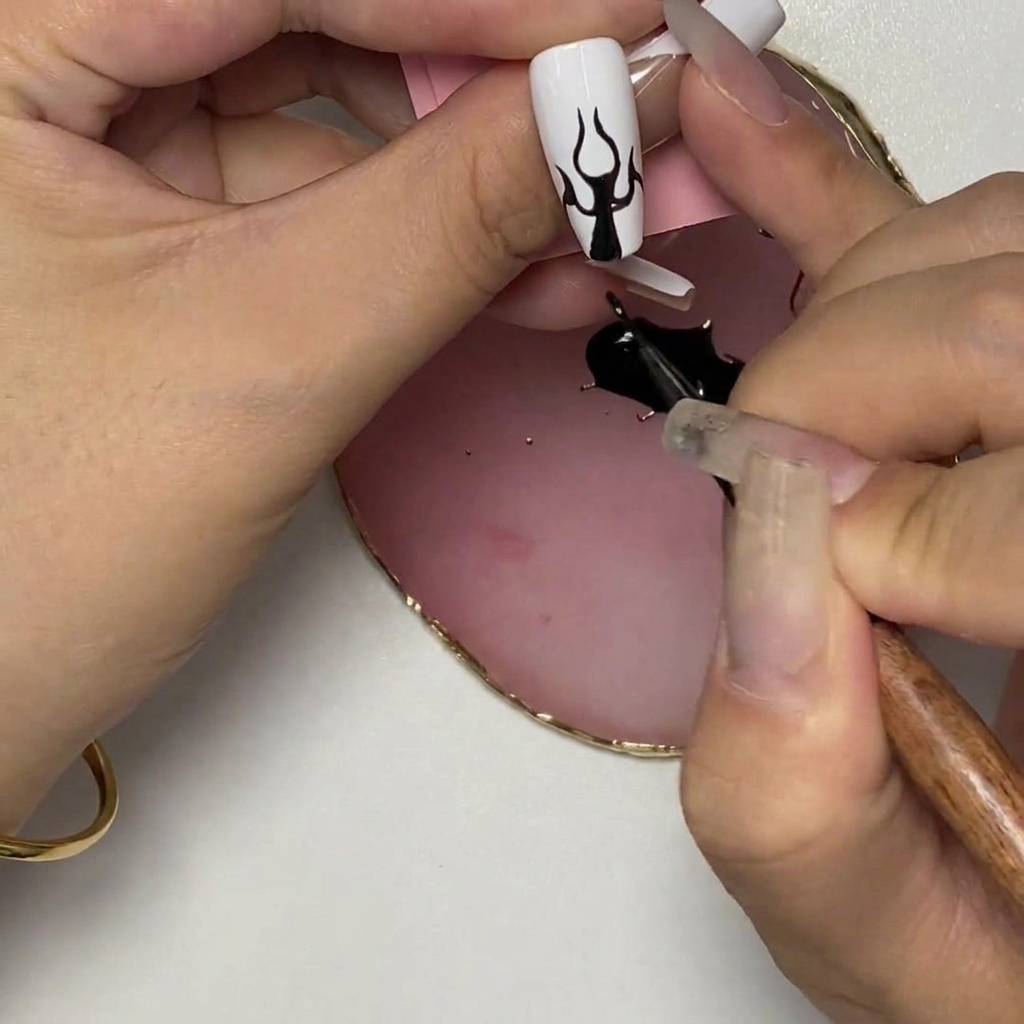
Using a thin detail brush and black gel polish, carefully fill in the outlined flame shape. Ensure the polish is applied evenly for a smooth, opaque finish. Take your time to refine the edges, keeping the tips thin and the base wider for a clean, professional look.
Tip: If you go outside the lines, use a clean-up brush dipped in a tiny amount of cleanser to sharpen the edges before curing.