Gradient Flame Nail Art — Step-by-Step Tutorial
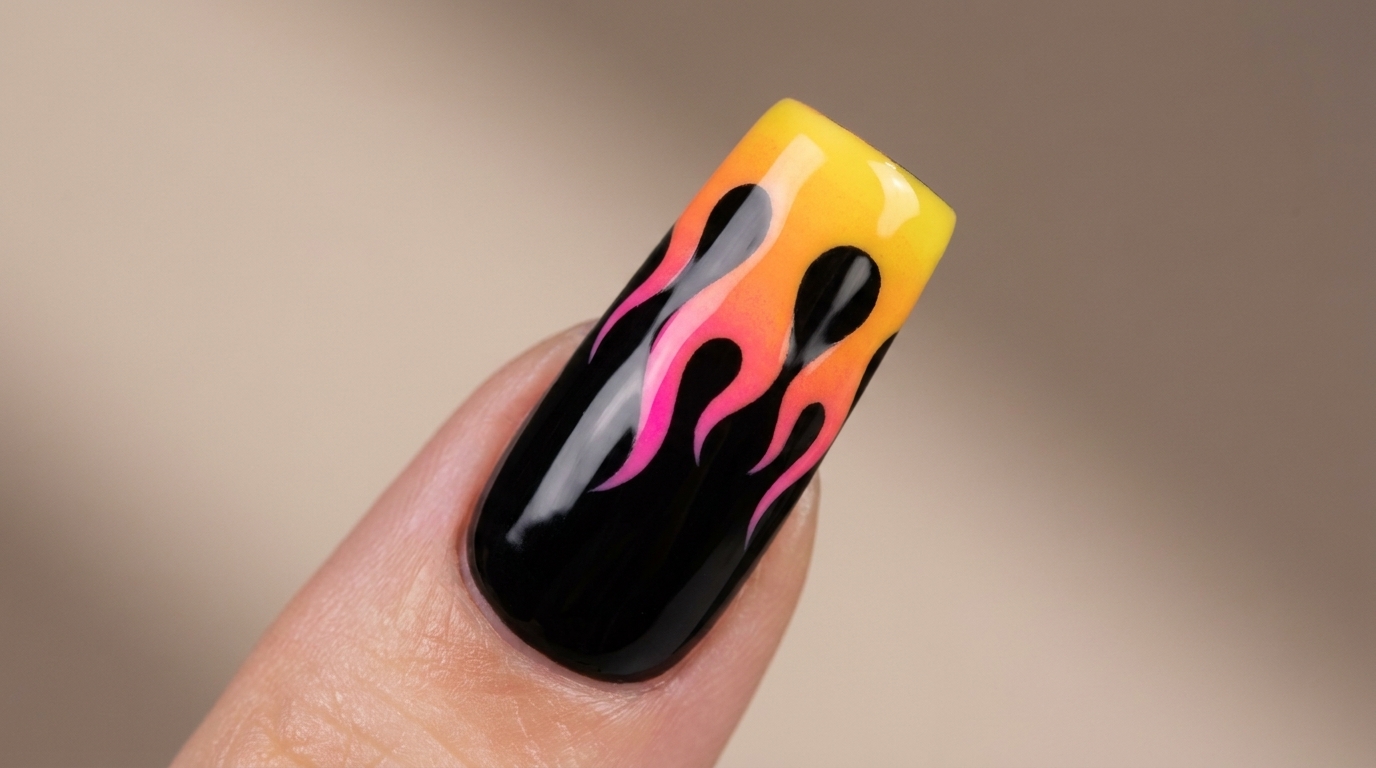
Create a striking look with this vibrant gradient flame nail art. Using a pigment-blending technique, you can achieve a fiery, multi-colored effect over a black base.
Flame nail art continues to be a bold, edgy choice that adds an immediate pop of personality to any manicure. This design uses a precise pigment layering technique over a solid black base to create an intense, heat-inspired gradient that stands out beautifully.
Steps
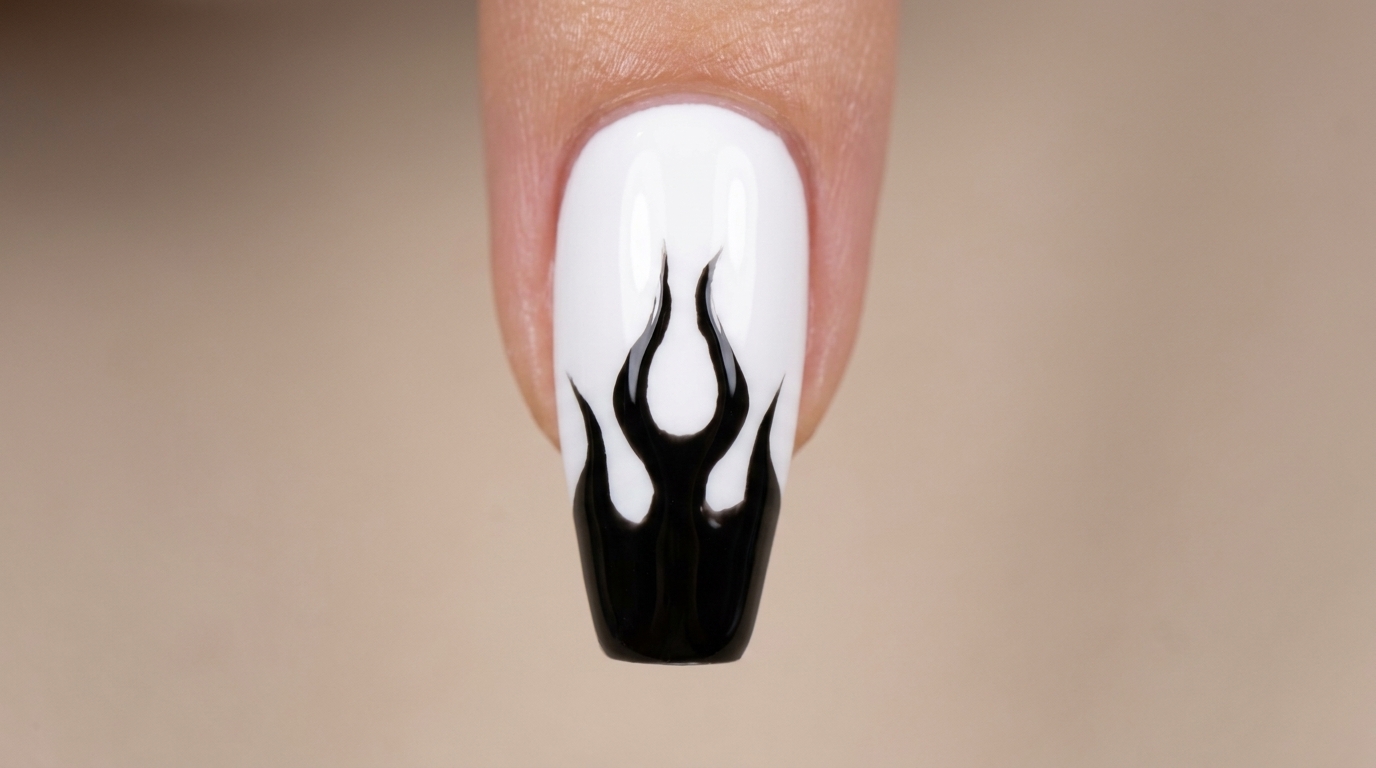
- 1Paint the flame outlines
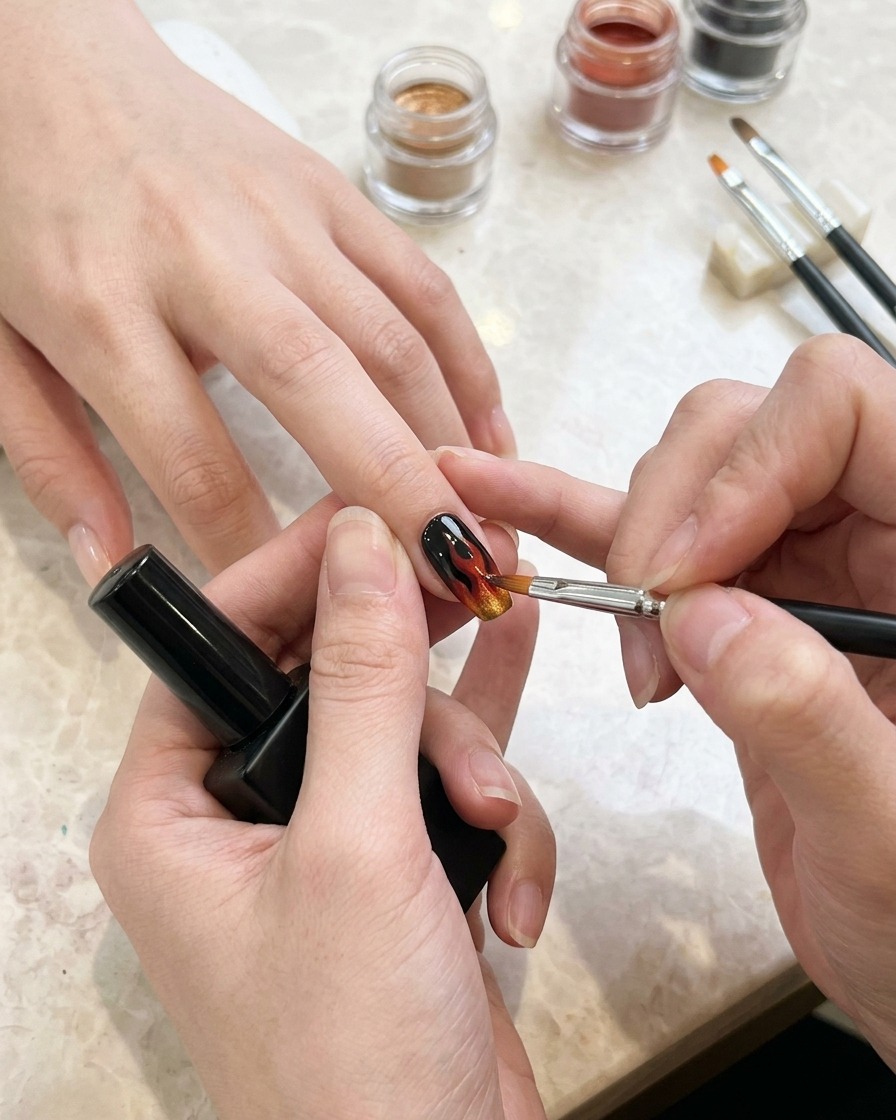
Using a thin detail brush, carefully paint the outlines of flames onto the black gel-painted nail with white gel polish. Take your time to create smooth, flowing curves that mimic the natural shape of fire. Ensure the lines are clean before moving to the next step, as this will define the base of your design.
Tip: Keep a light hand when drawing the outlines; using too much pressure can cause the lines to look thick or uneven. - 2Prepare the gradient base
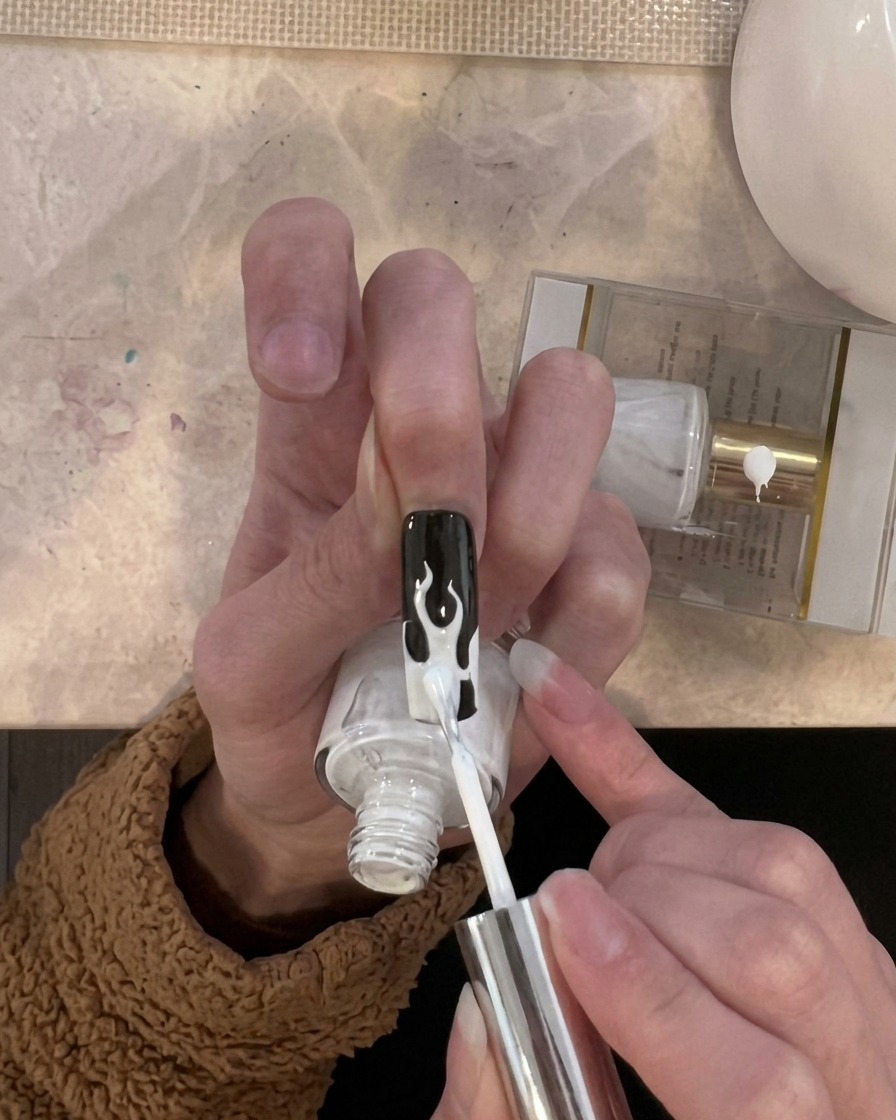
Apply a thin layer of white gel polish to the tip area of your nail where the flames are located. This white base acts as a canvas, ensuring the pigments you apply next will appear vibrant and true to color. Cure this layer briefly if needed to keep the surface stable for pigment application.
Tip: Focus the white polish only on the flame shapes to keep the background contrast sharp. - 3Apply pink pigment
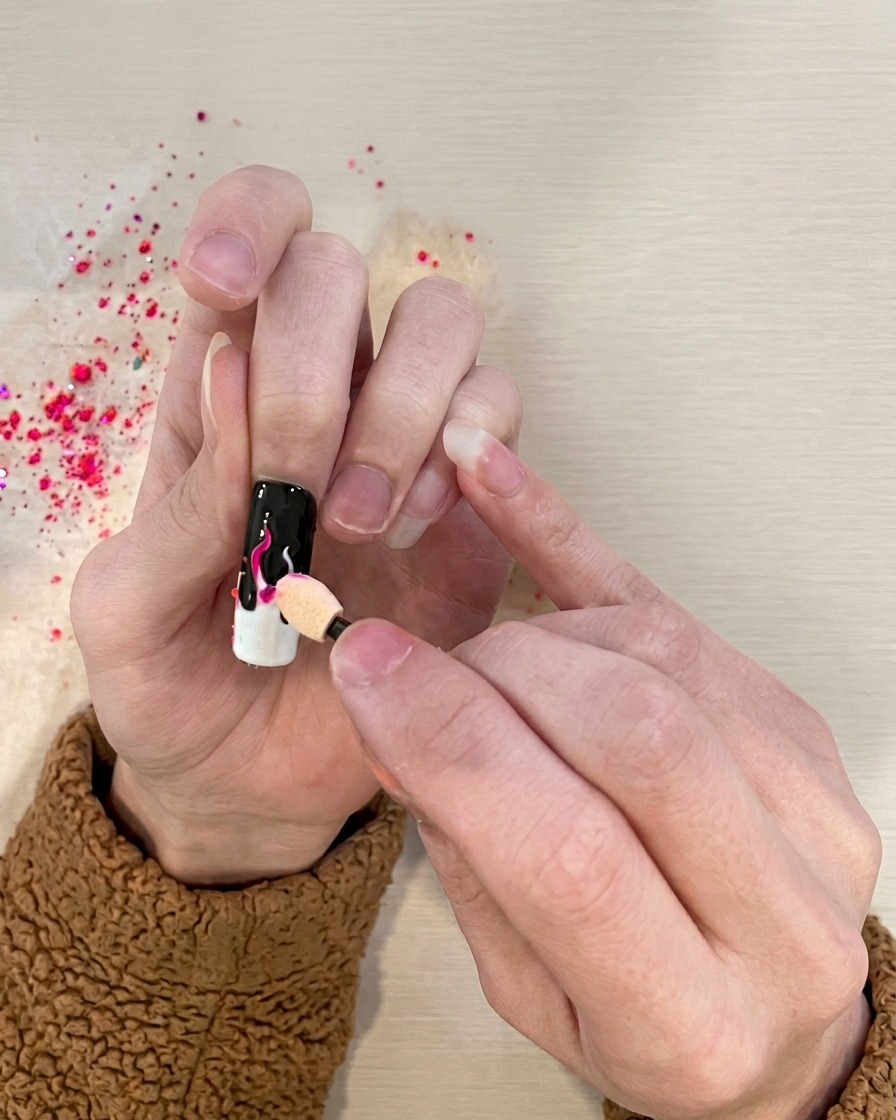
Take a small sponge applicator and pick up a small amount of pink pigment. Gently dab the powder onto the white flame shapes you previously painted. Focus on the upper portion of the flames, allowing the color to transition smoothly over the white base.
Tip: Dab lightly to build up the intensity of the pigment gradually rather than applying too much at once. - 4Blend orange pigment
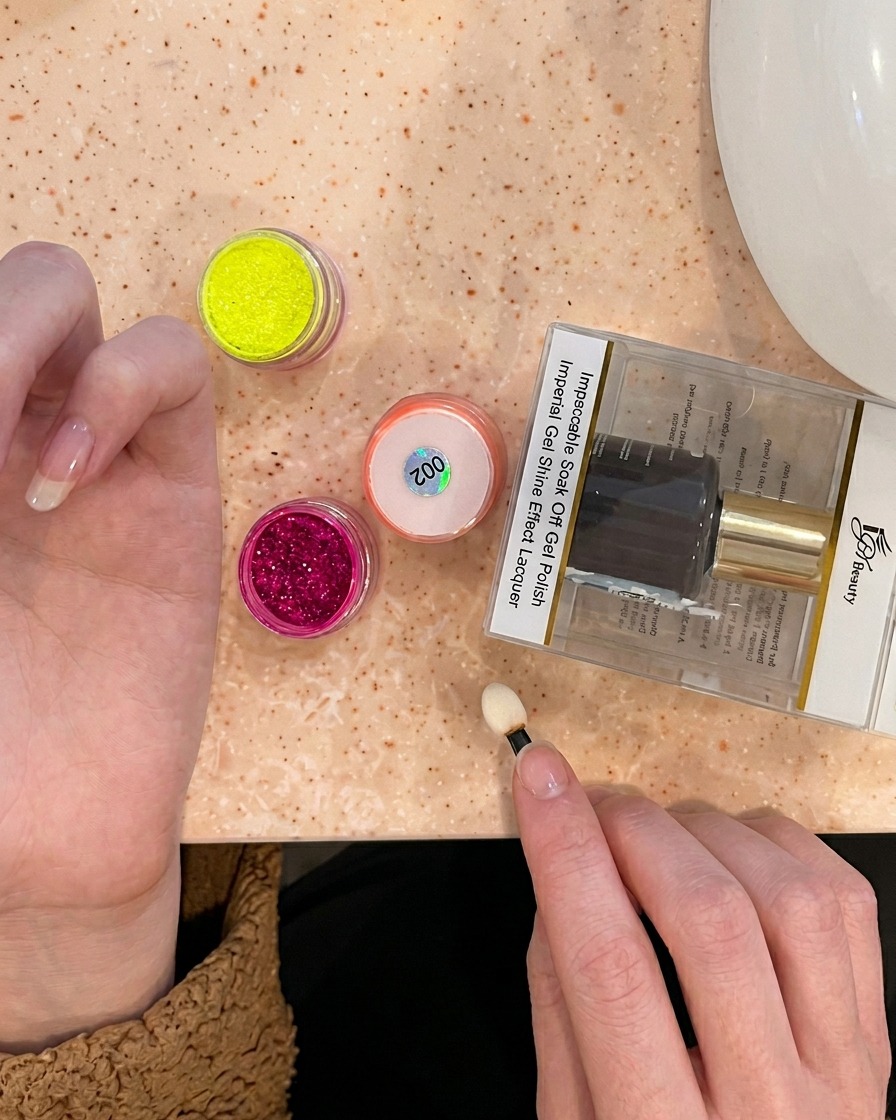
Using a clean section of your sponge applicator, apply orange pigment just below the pink color. Gently dab and blend the two colors where they meet to create a seamless gradient effect. The orange should transition into the pink for a realistic, fiery look.
Tip: Overlap the colors slightly where they meet to ensure a smooth transition without harsh lines. - 5Complete the fire gradient
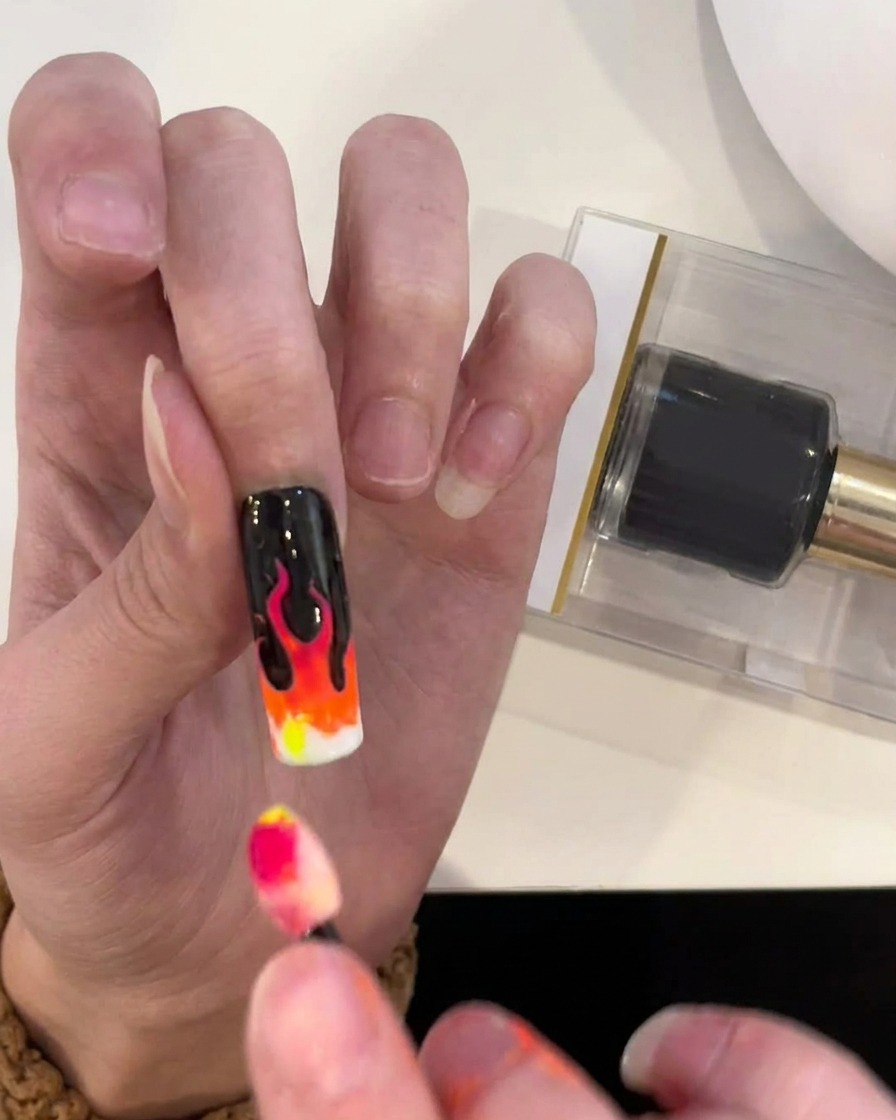
Finally, apply a bright yellow pigment to the very tip of the flame design. This final color adds the intense heat effect to your gradient. Blend it lightly into the orange section to finish the flame look, ensuring a smooth transition from pink to orange to yellow.
Tip: Focus the yellow pigment precisely at the very edge of the flame tip for maximum visual impact.