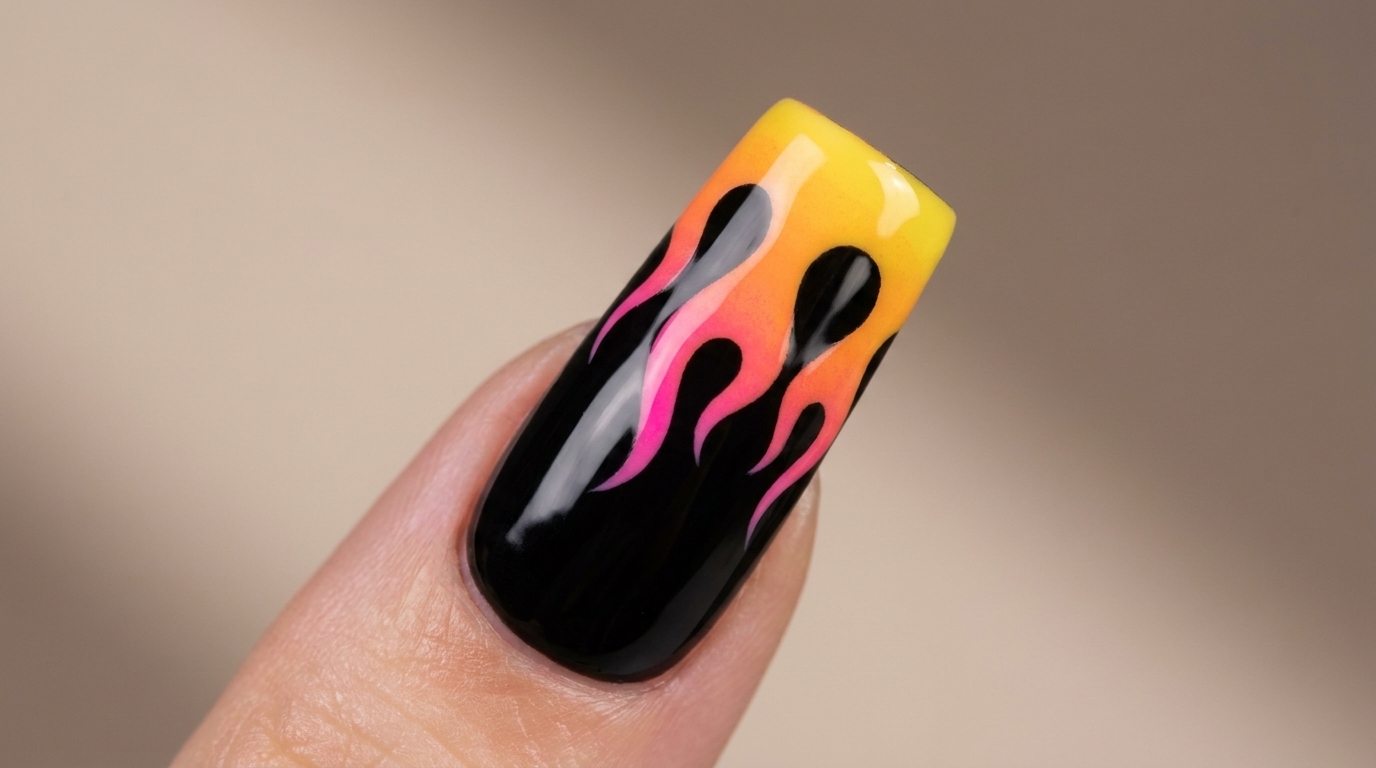
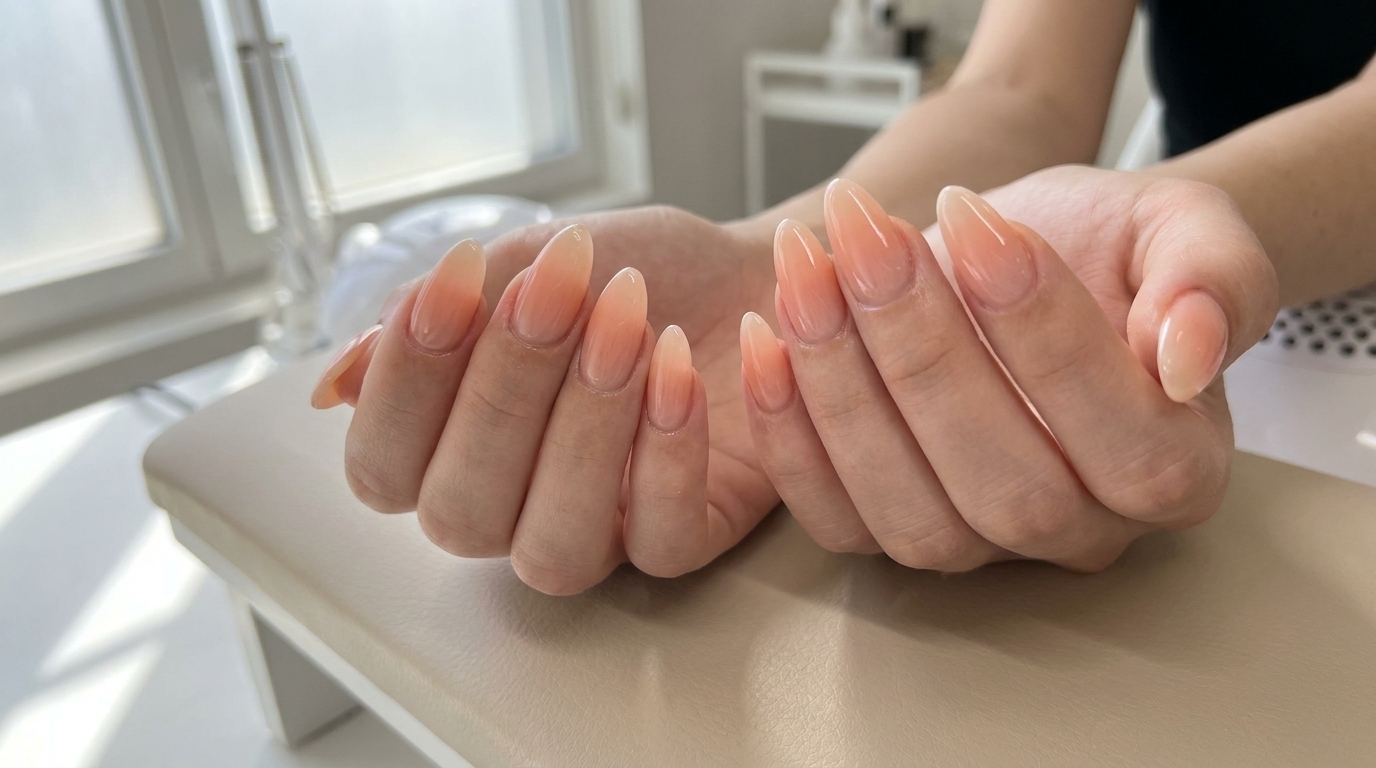
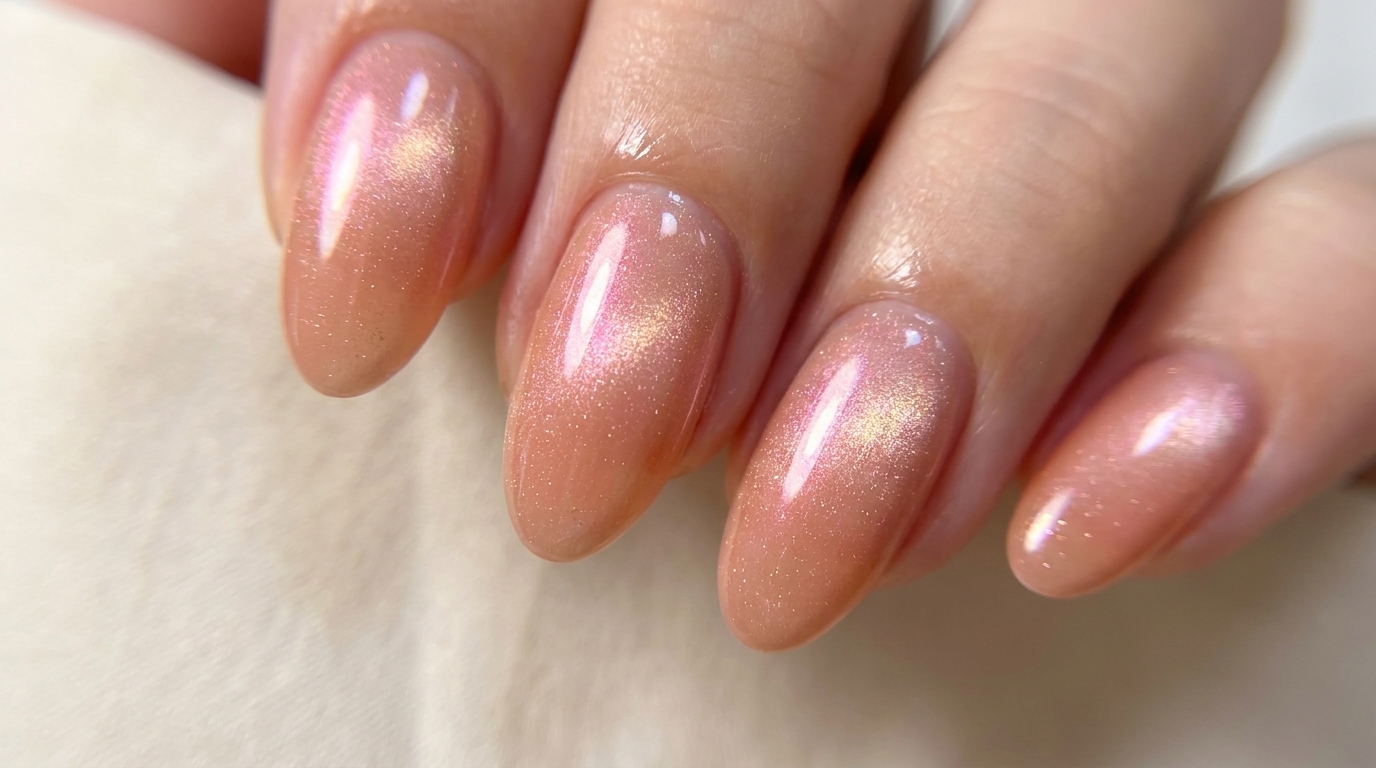
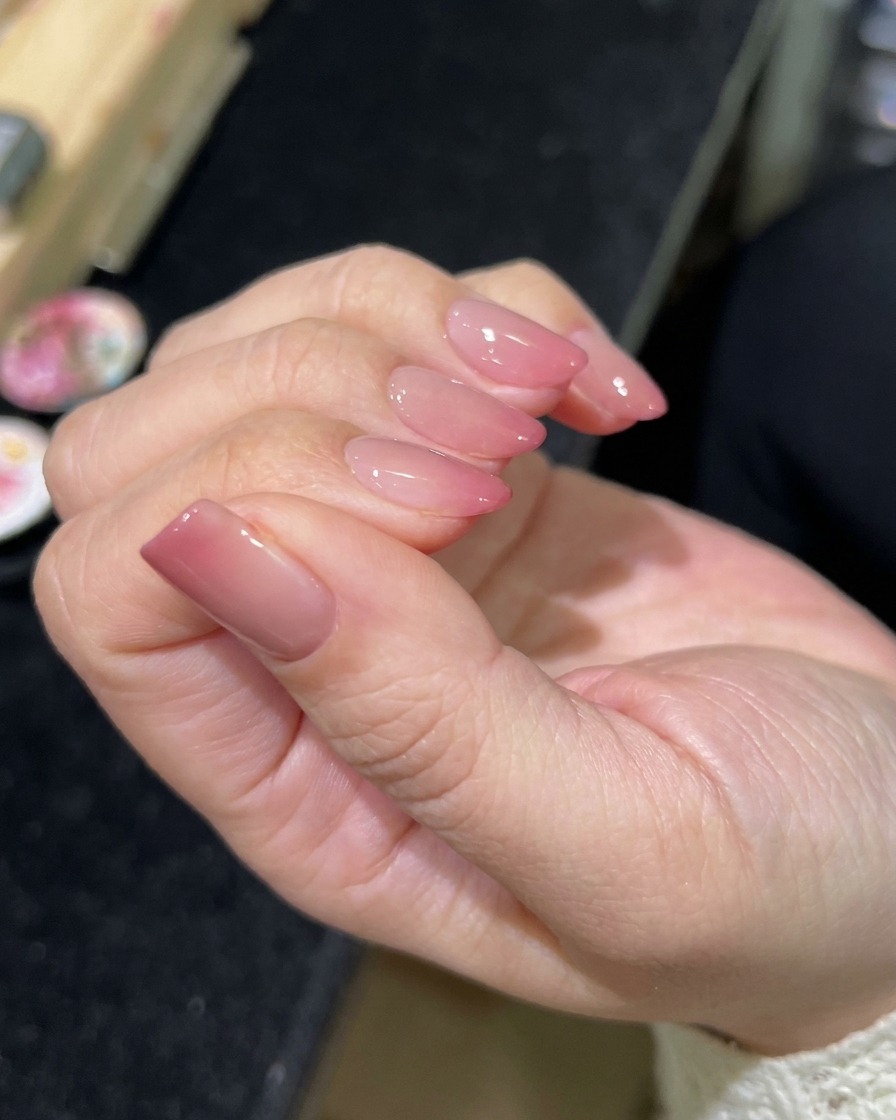
Peach Aurora Cat-Eye Nails — Step-by-Step Tutorial
Achieve a dreamy, ethereal glow with this peach-toned aurora cat-eye manicure. This tutorial guides you through creating a soft, shimmering magnetic effect.
Bring a touch of magic to your fingertips with these delicate peach aurora nails. Combining the depth of magnetic cat-eye polish with a soft, sheer base creates an iridescent finish that looks stunning in any light. Follow this guide to master the magnetic technique for a professional, salon-quality look at home.
Steps
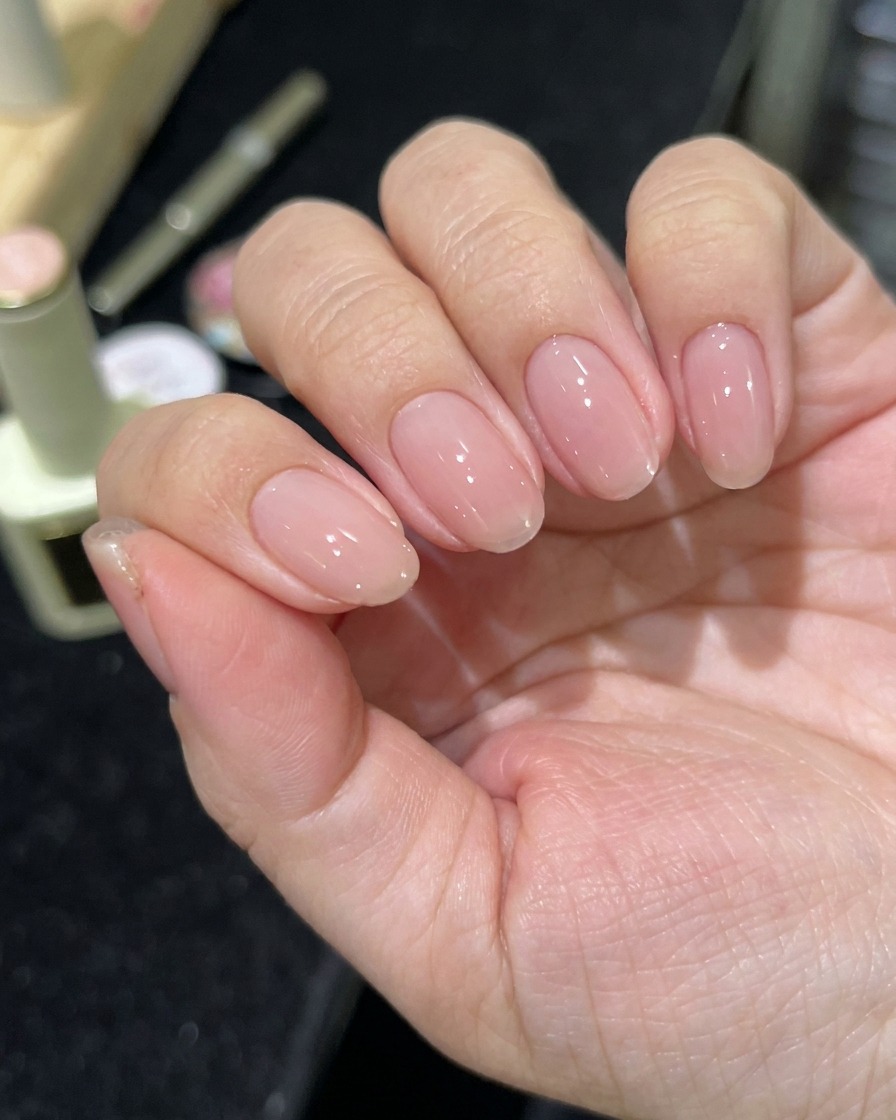
- 1Apply sheer pink base coat
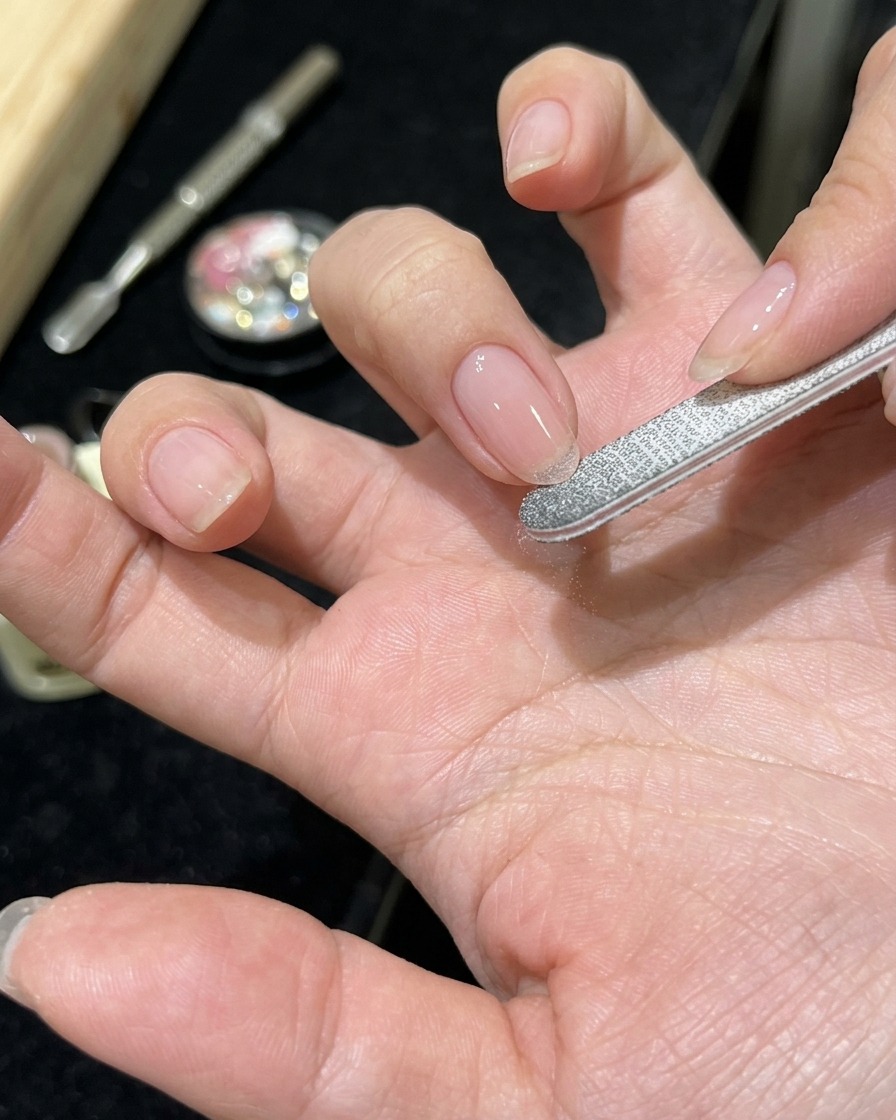
Apply a thin, even layer of sheer pink base coat to your clean, prepped nails. Ensure you cap the free edge to promote longevity and prevent premature lifting. This layer provides the foundation for the natural, clean look.
Tip: Keep the layer thin to prevent pooling at the cuticles and ensure a smooth, natural finish. - 2Cure the base coat
Place your nails inside the LED lamp to cure the base coat. Ensure all fingers are positioned correctly to receive even light exposure. Follow the manufacturers specified curing time to ensure the gel is fully set.
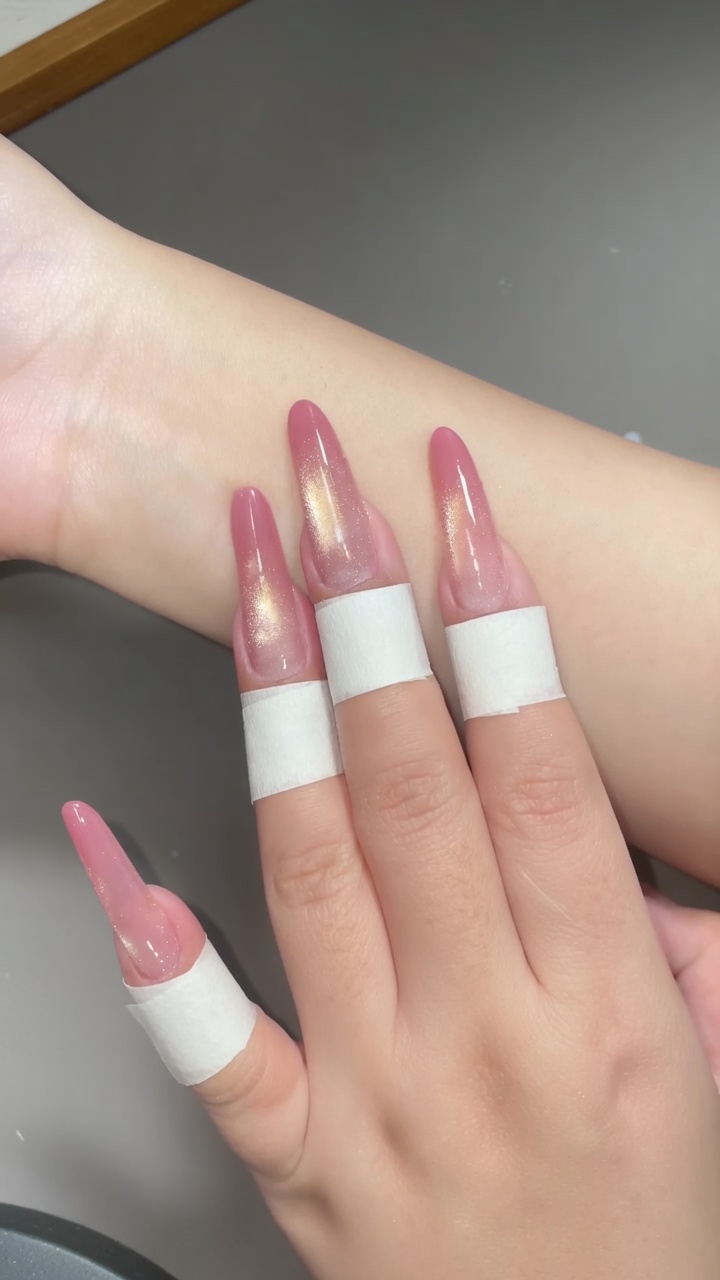
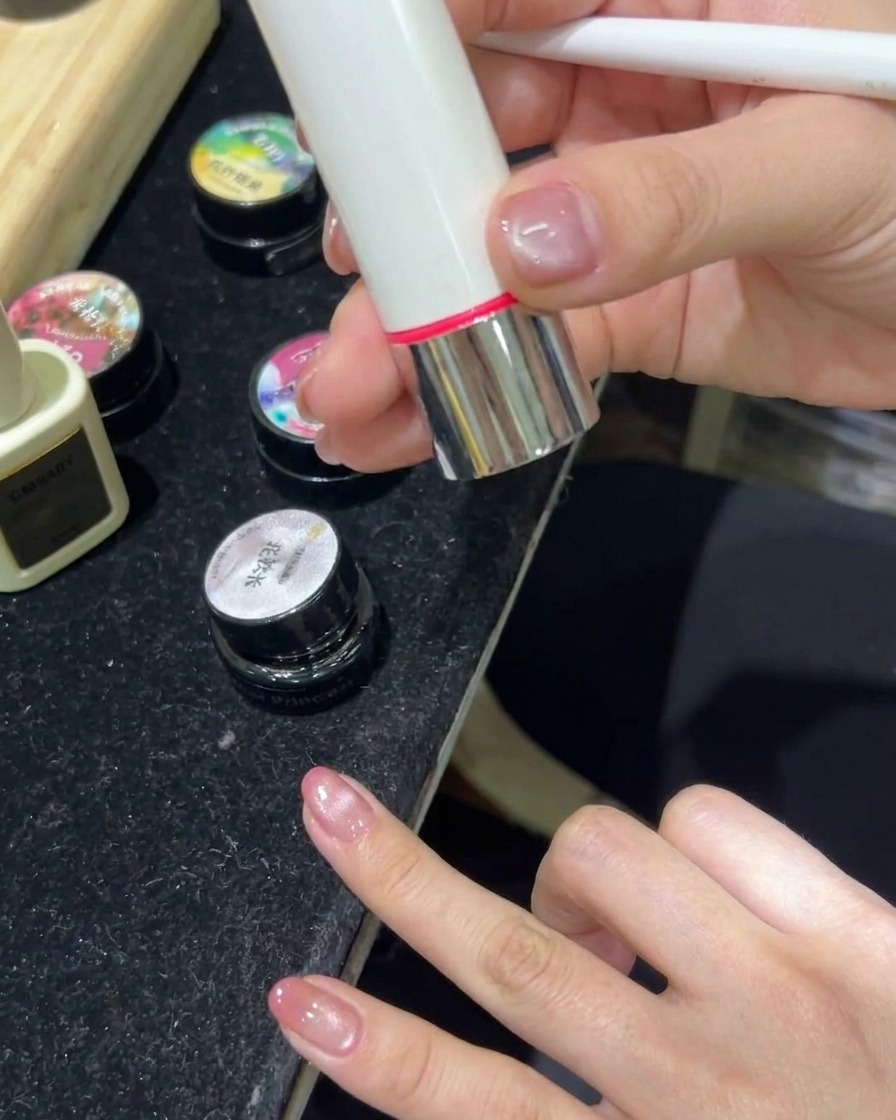
Tip: Do not remove your hand from the lamp until the full curing cycle is complete to avoid a tacky, uncured surface. - 3Prepare cat-eye gel on palette
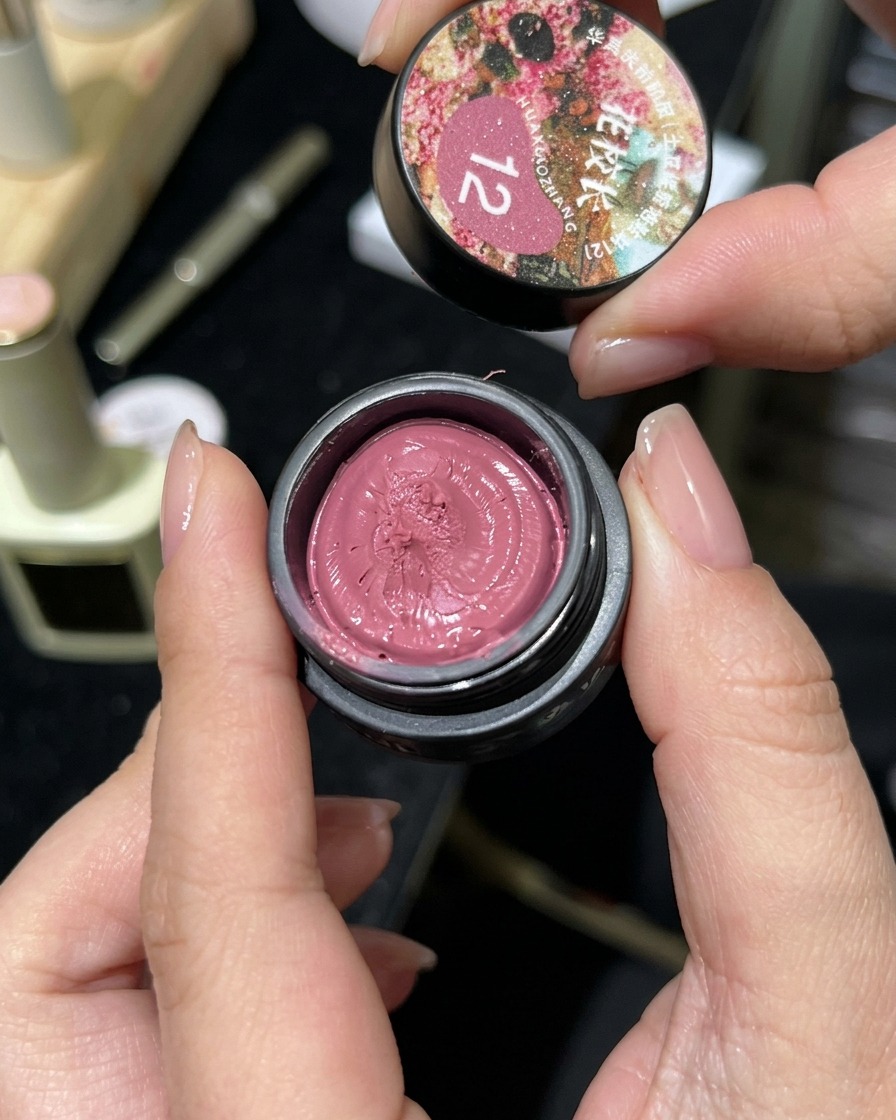
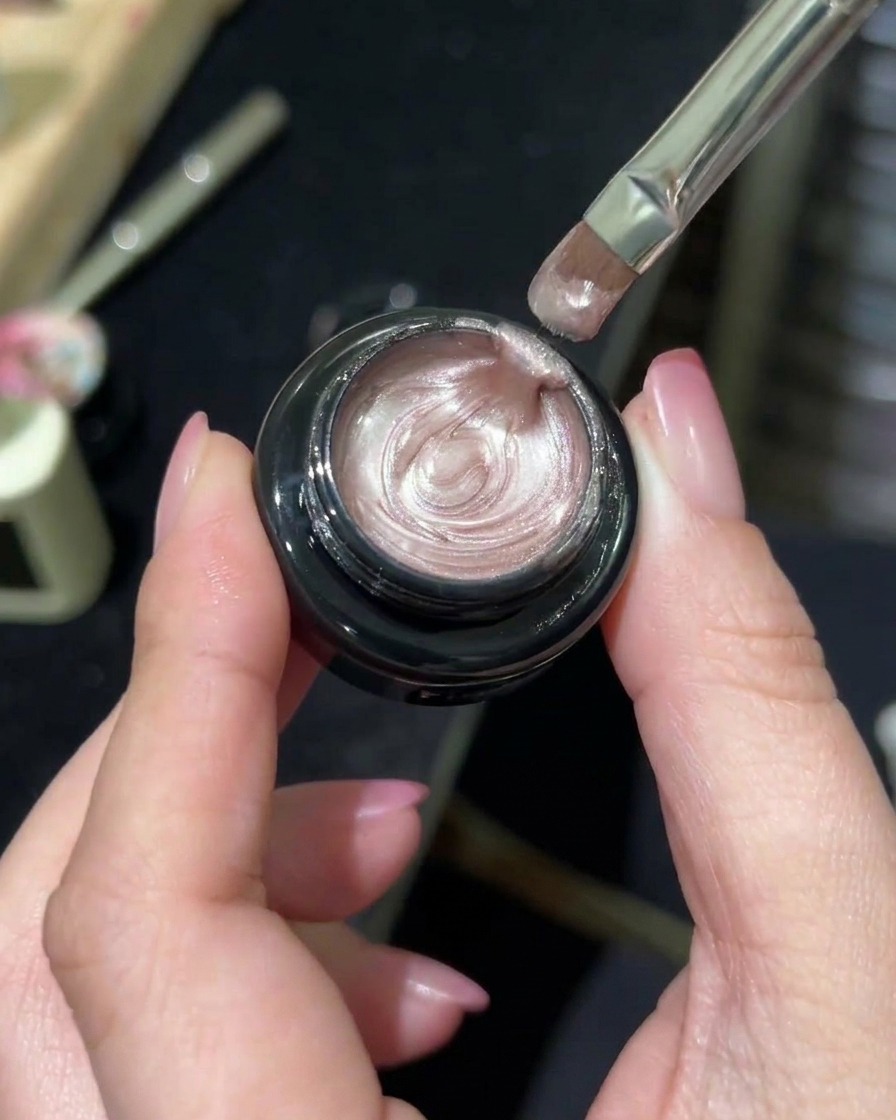
Take your pink-tinted cat-eye magnetic gel and scoop a small amount onto a mixing palette. This allows you to work with the clay-like texture more easily and ensures you do not apply too much product directly to the nails.
Tip: Dab the gel on the palette first to break up the texture and ensure it is evenly distributed for application. - 4Dab cat-eye gel onto nails
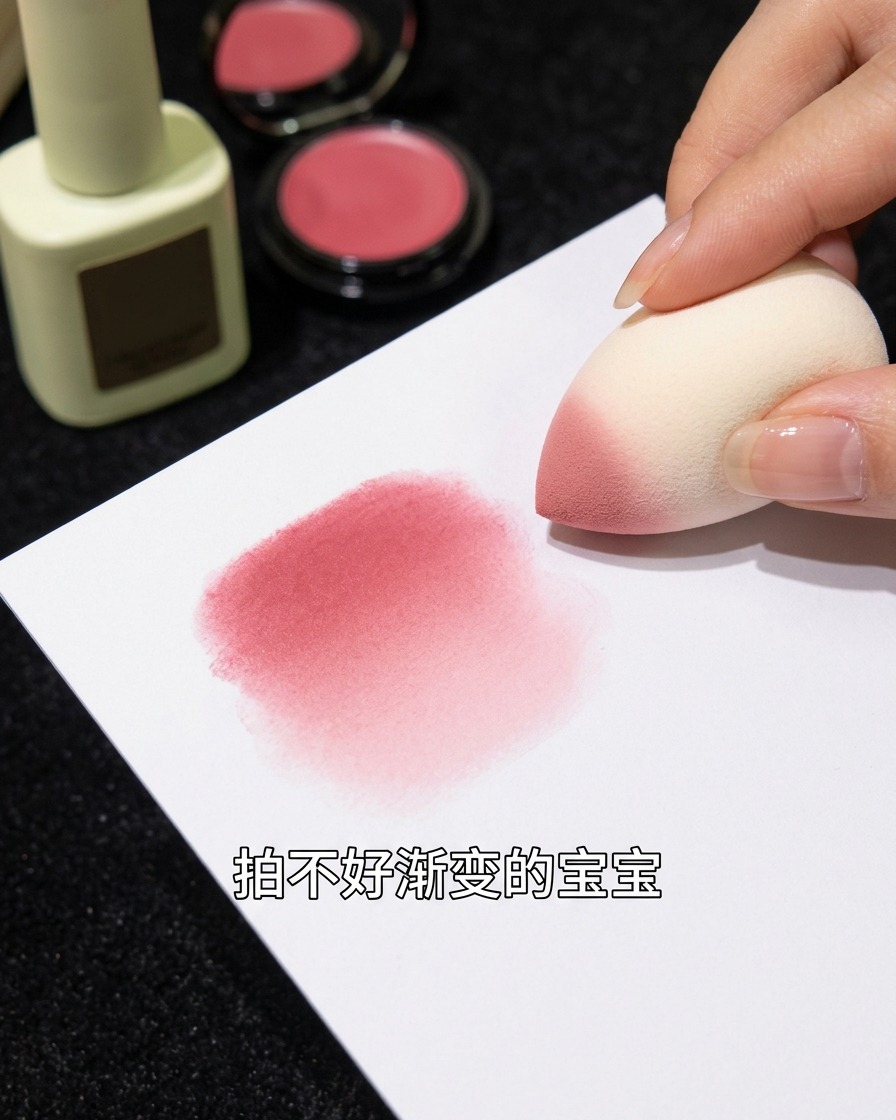
Using a small sponge applicator, gently dab the cat-eye gel from your palette onto the nail surface. Use light, stippling motions to build up the color gradually, ensuring a soft, even coverage rather than a thick, streaky layer.
Tip: Focus the application on the center of the nail, fading it out towards the edges for a soft gradient effect. - 5Apply second layer of cat-eye gel
Once the first layer is set, apply a second thin layer of the pink cat-eye gel using the same dabbing technique. This helps achieve better opacity and depth while maintaining the desired delicate, soft look.
Tip: Build color in thin layers to avoid a bulky finish and to ensure the gel cures thoroughly. - 6Apply aurora magnetic gel
Apply a very thin layer of the aurora magnetic cat-eye gel over your base color. This specialized gel contains magnetic particles that will create the unique, light-reflecting effect when activated with a magnet.
Tip: Ensure this layer is extremely thin so the magnetic particles can move freely and create a sharp, defined aurora look. - 7Create the aurora effect
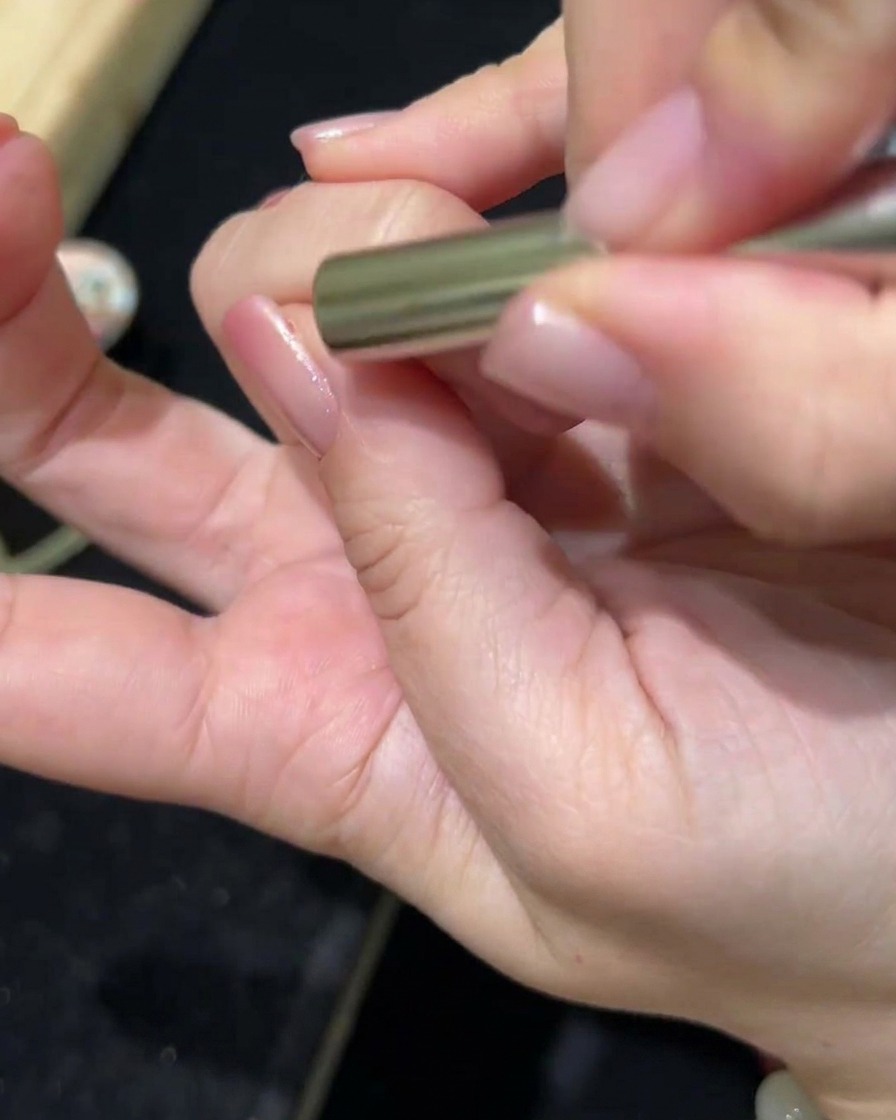
Hold the magnetic wand close to the nail surface and move it in circular or sweeping motions to pull the magnetic particles into your desired aurora pattern. Take your time to achieve a smooth gradient effect before moving to the curing stage.
Tip: Do not touch the nail surface with the magnet; keep it hovering just above the wet gel to avoid smudging the design. - 8Cure the magnetic design
Once you are satisfied with the magnetic aurora effect, place your hand into the LED lamp to cure the gel. Follow the manufacturers recommended curing time to ensure the magnetic particles are locked in place and the gel is fully hardened.
Tip: Ensure your hand is placed flat in the lamp to get even light exposure across all fingers. - 9Apply top coat
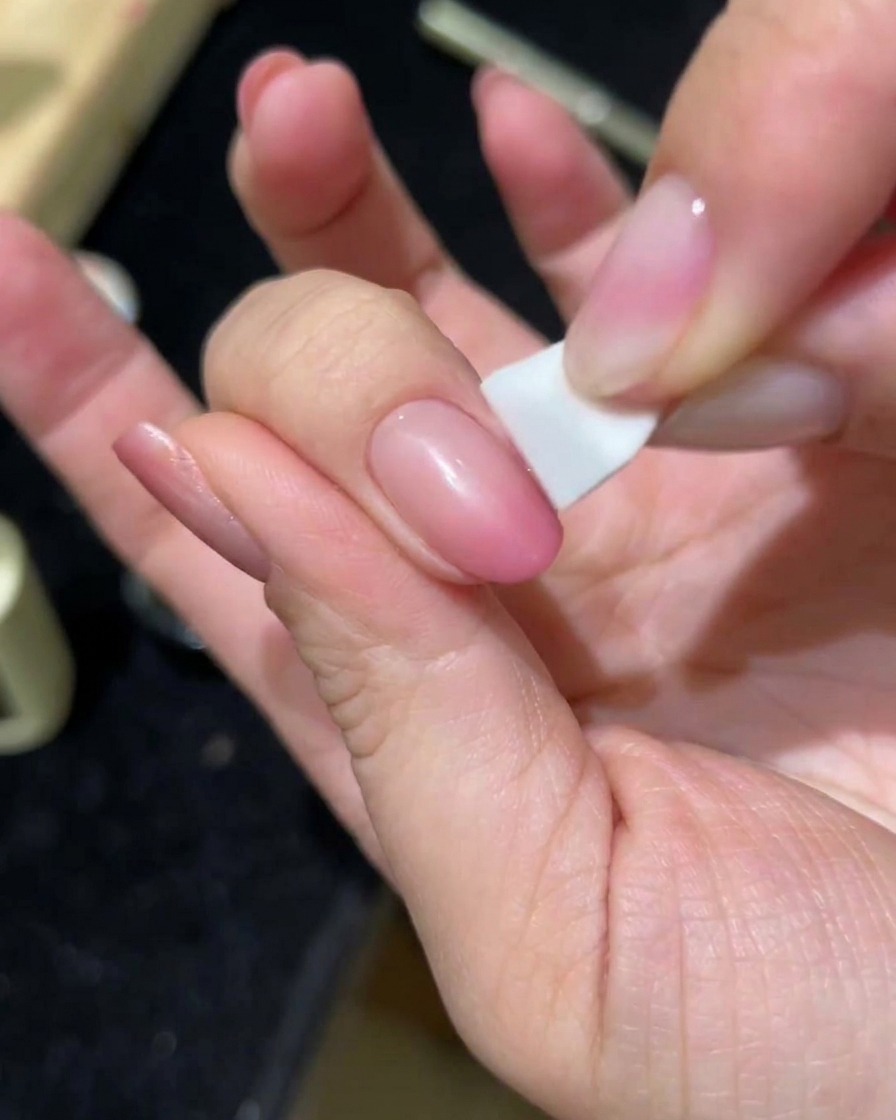
Apply a thin, even layer of no-wipe top coat over the entire nail to seal in your magnetic design and provide a high-gloss finish. Be sure to cap the free edge of the nail to maximize durability and prevent chipping.
Tip: Apply the top coat smoothly to avoid streaks, as the high-gloss finish will highlight any imperfections in the application.