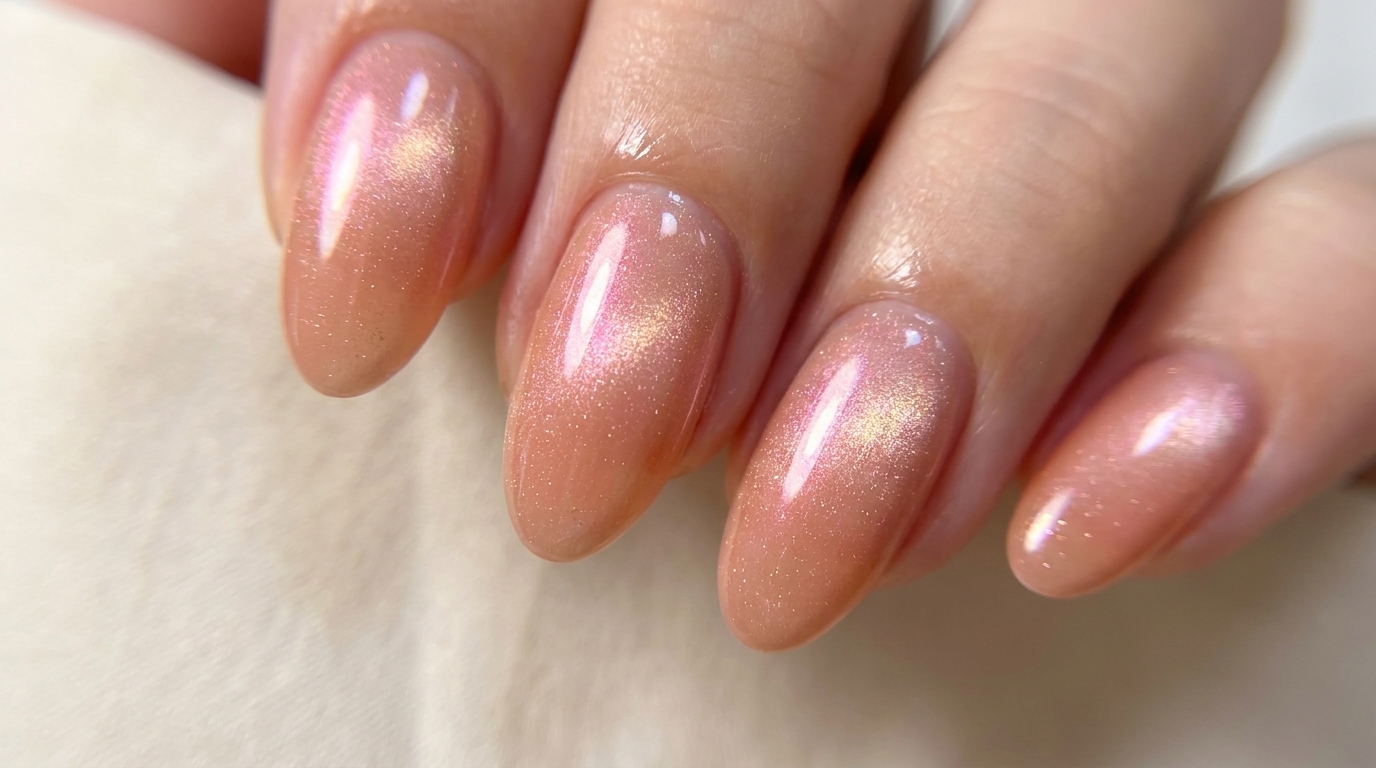
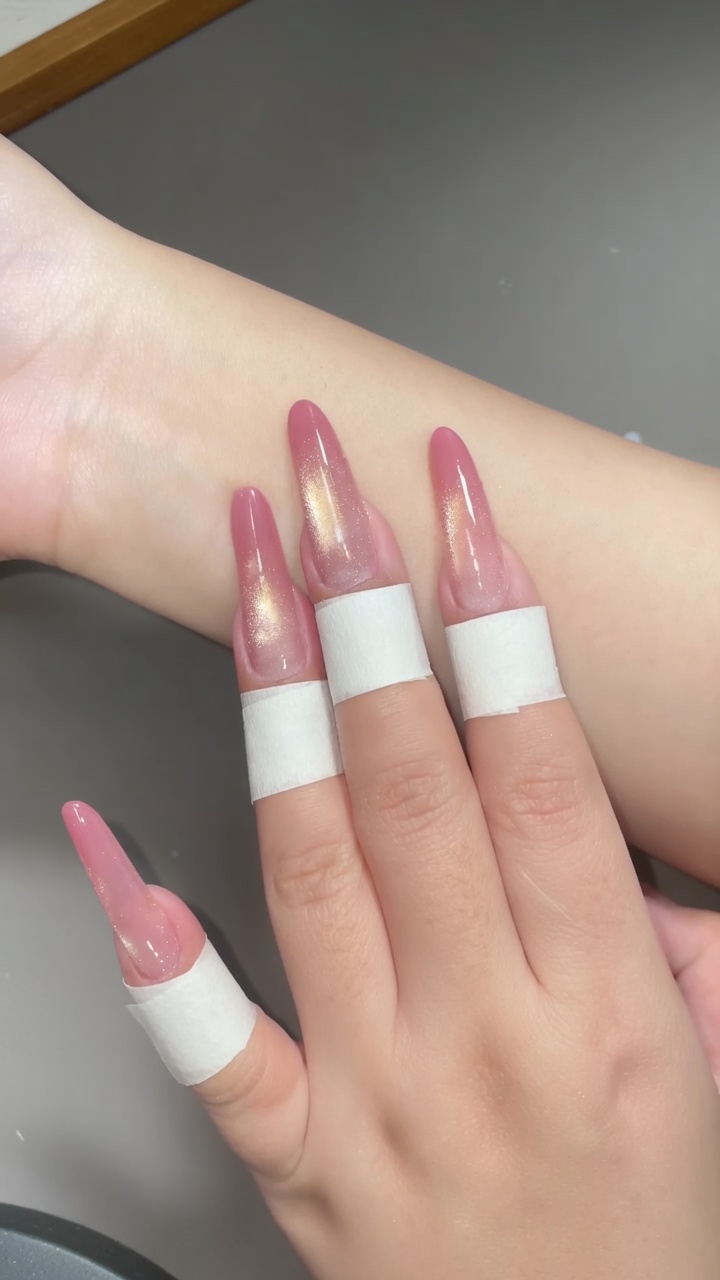
Peach Gradient Gold Cat Eye Nails — Stiletto Manicure Tutorial
Elevate your stiletto nails with this dreamy peach-pink gradient and shimmering gold cat-eye effect. This easy tutorial creates a stunning glass bead look.
The peach gradient look is a fresh, elegant take on the classic ombre trend. By layering a subtle pink tip with a luxurious crushed gold cat-eye effect, you can create a multidimensional glass bead finish that catches the light perfectly. This technique is surprisingly achievable at home with a few simple tools and a bit of magnetic magic.
Steps
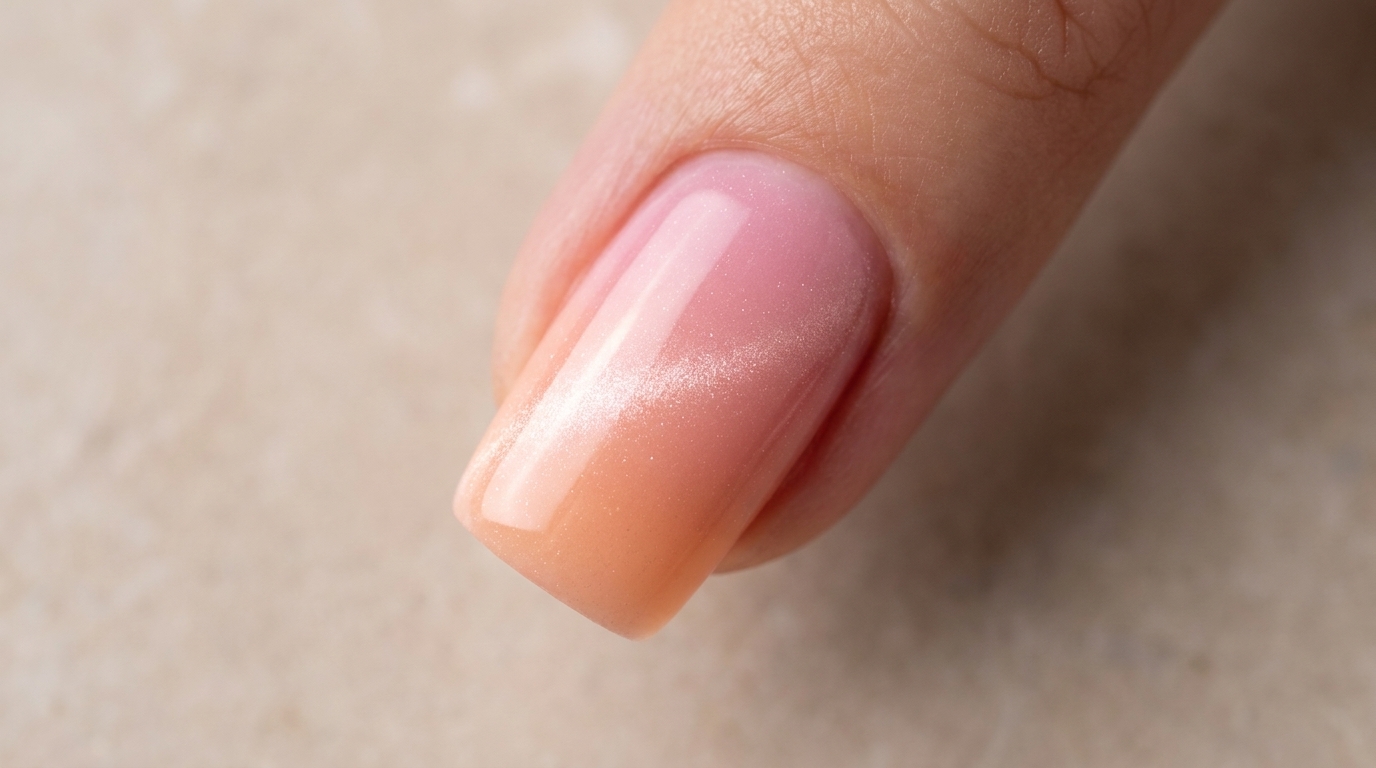
- 1Apply pink gel to the tip
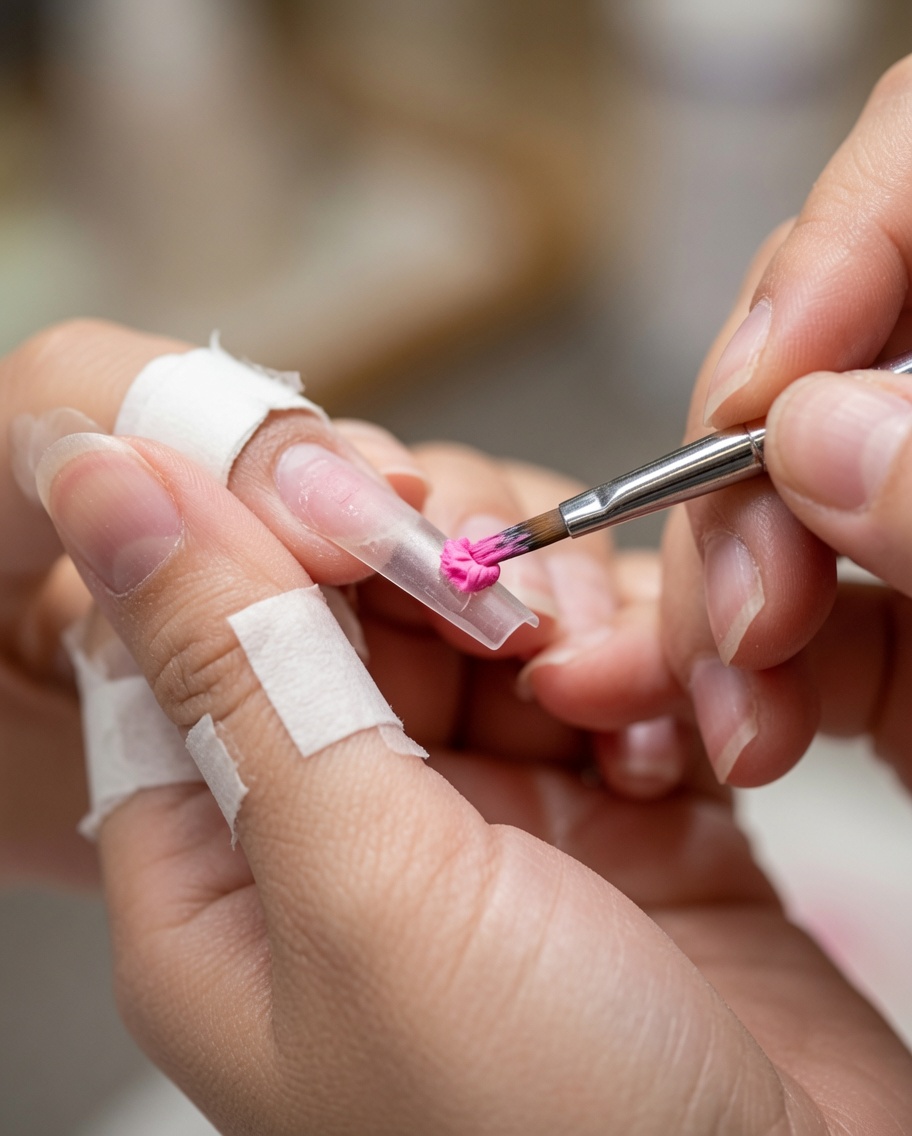
Using a fine detail brush, apply a small amount of pink gel polish exclusively to the tip of the clear extension nail. This will serve as the base color for your gradient effect.
Tip: Keep the application thin to ensure a smooth blend in the next step. - 2Create the first gradient layer
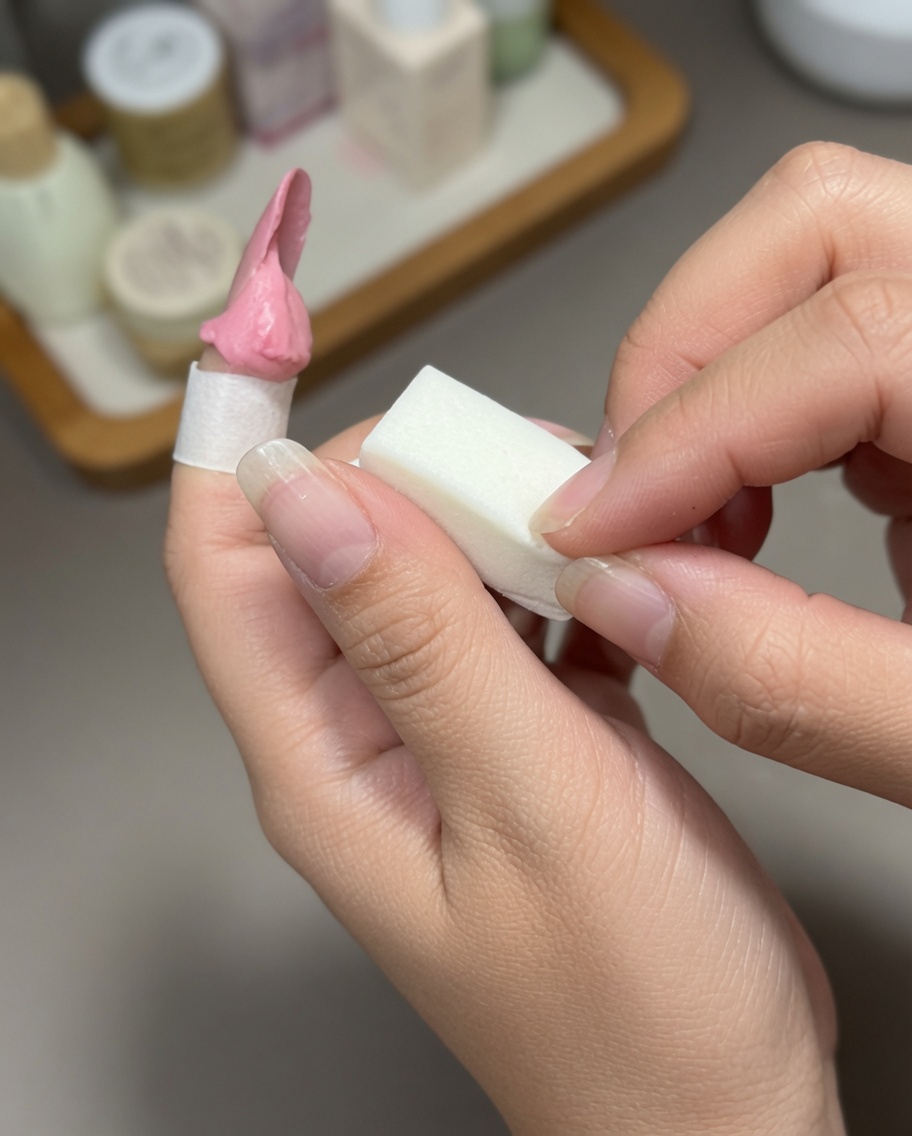
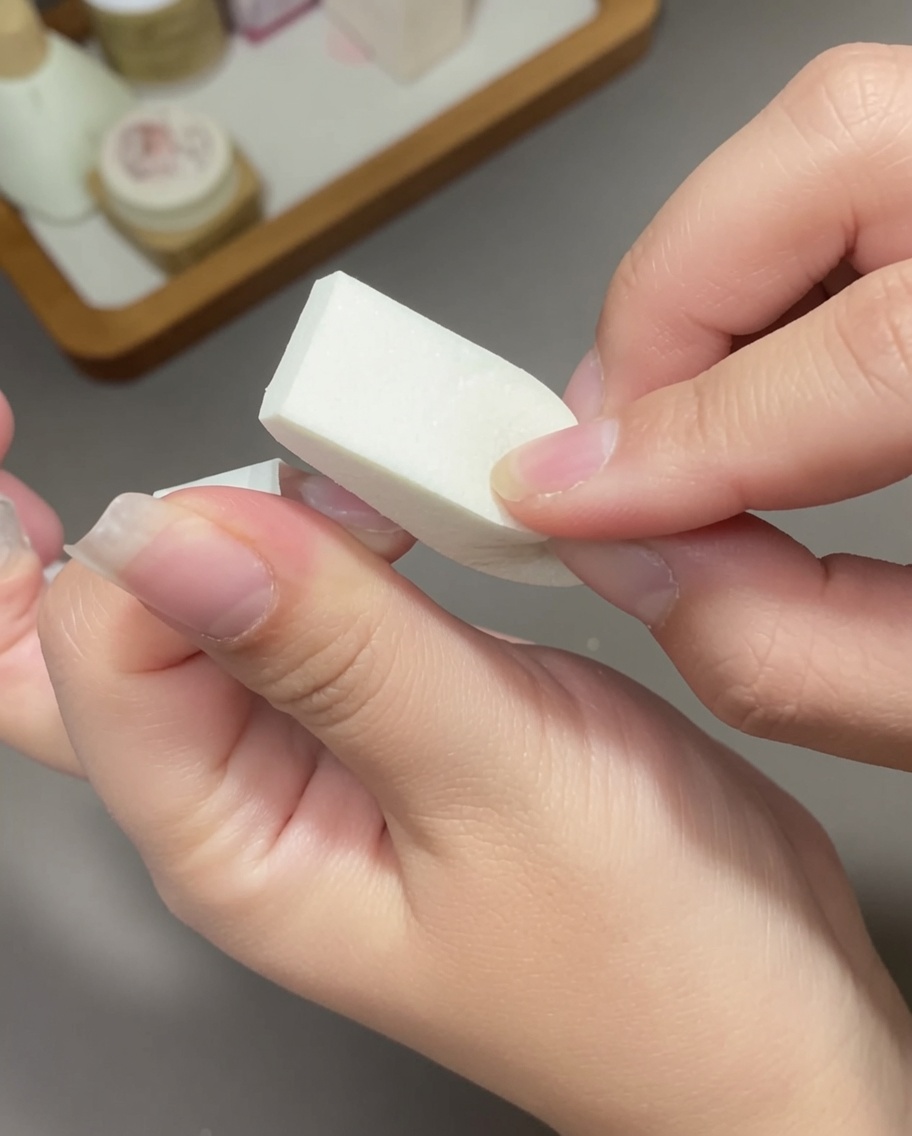
Take a small square sponge block and repeatedly pat the pink gel you just applied. Gently blend the color upwards toward the middle of the nail to create a seamless gradient effect.
Tip: Use light, quick tapping motions with the sponge to avoid lifting the gel off the nail. - 3Cure the first gradient layer
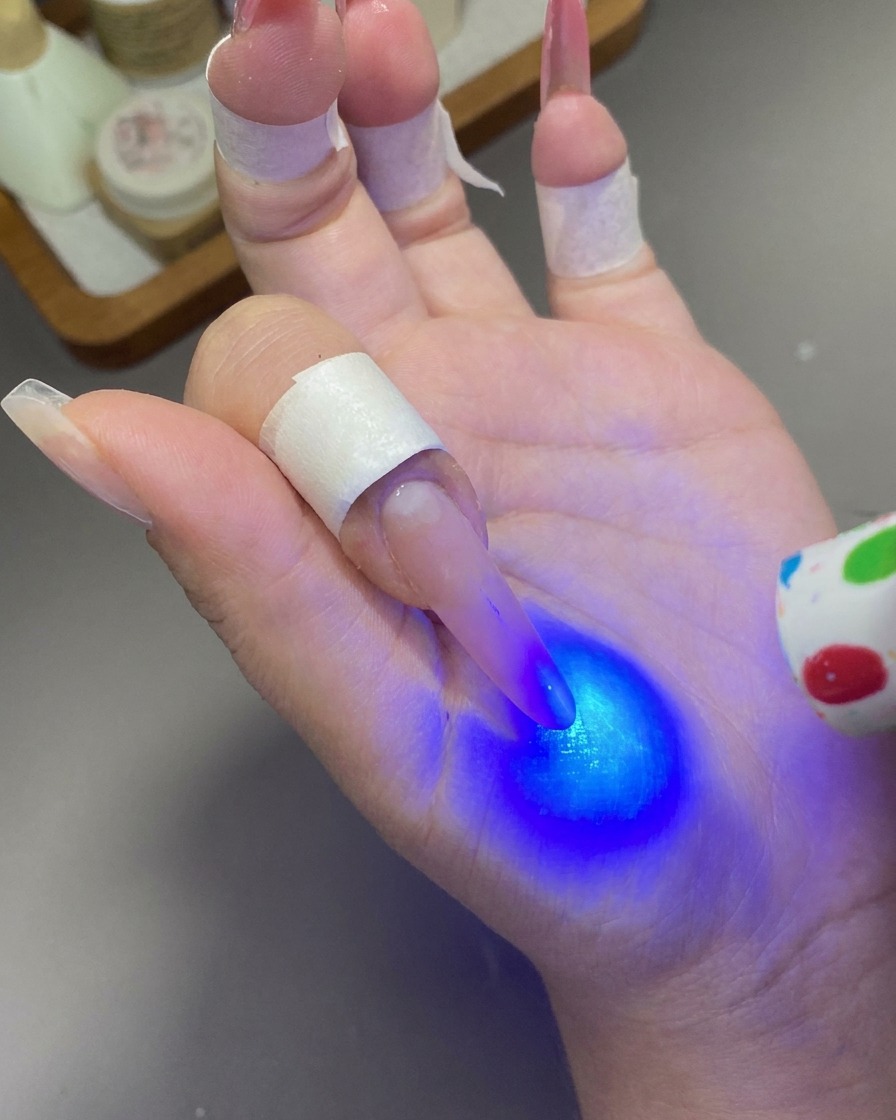
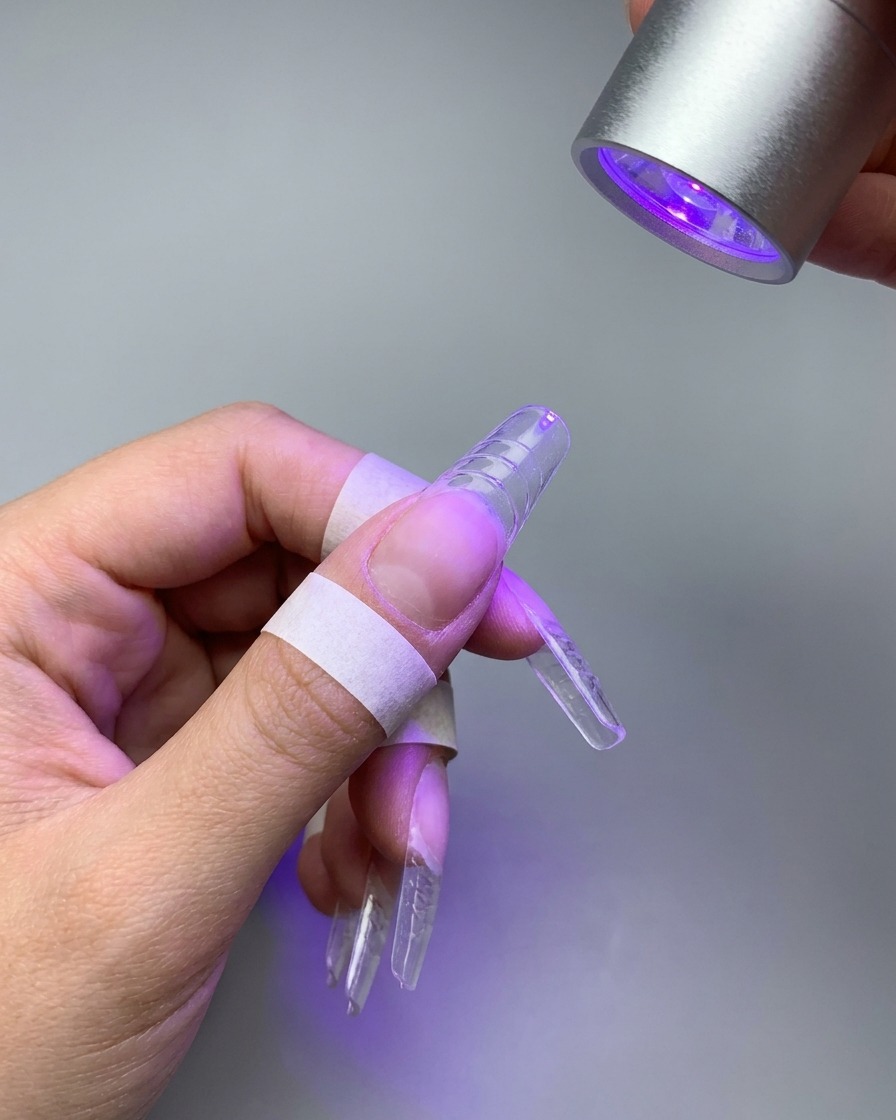
Once you are satisfied with the gradient blend, place a handheld mini UV or LED lamp directly over the nail. Cure the gel completely to lock the first layer in place.
Tip: A mini handheld lamp is perfect for flash-curing individual nails to prevent the gel from shifting. - 4Deepen the gradient color
To intensify the peach gradient, apply a second layer of the pink gel color and use your sponge block to pat it into the nail. Keep this second layer focused entirely at the very tip of the free edge to deepen the color.
Tip: Focusing the second layer only at the tip enhances the depth of the ombre effect. - 5Cure the deepened gradient
After blending the second layer at the tip, use your handheld mini UV/LED lamp again to cure the darker gradient layer completely.
Tip: Ensure the light covers the entire tip of the nail for a thorough and even cure. - 6Apply cat-eye gel
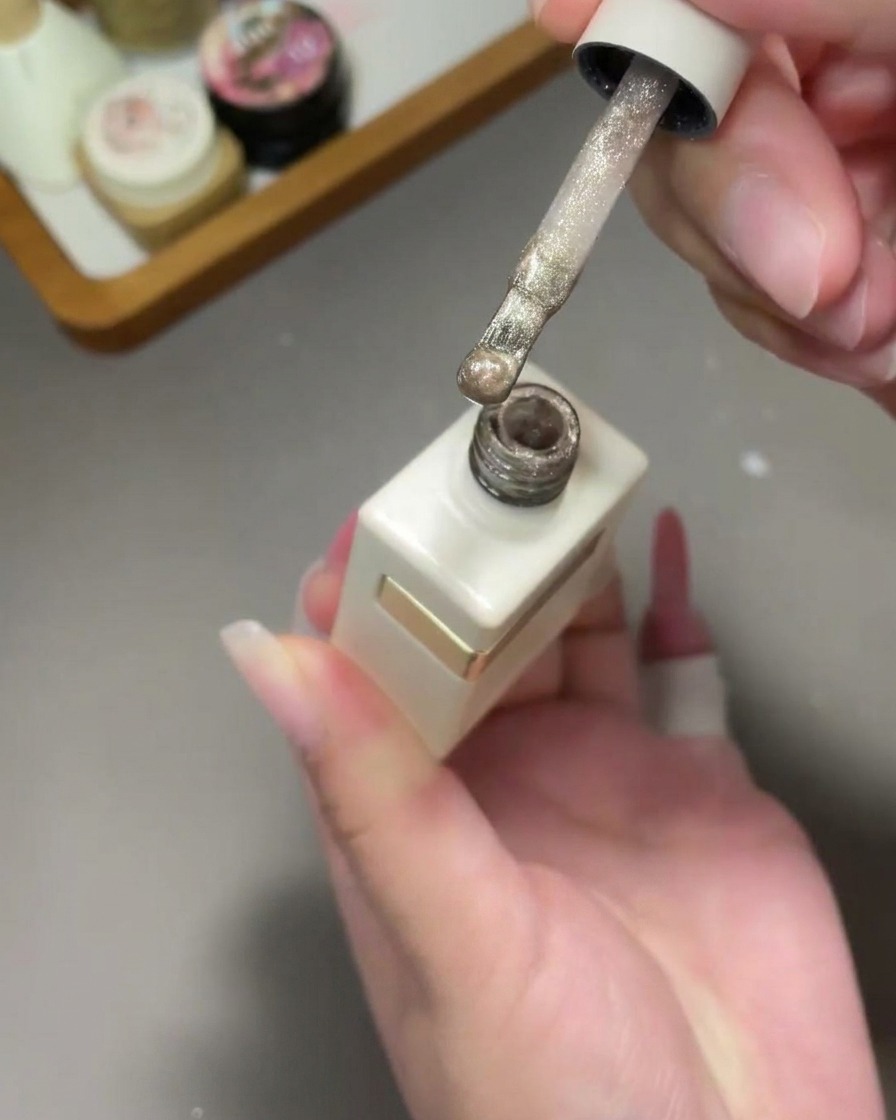
Using the polish bottles brush, apply a thin and even layer of crushed gold sand cat-eye gel over the entire surface of the nail, covering the gradient you just created.
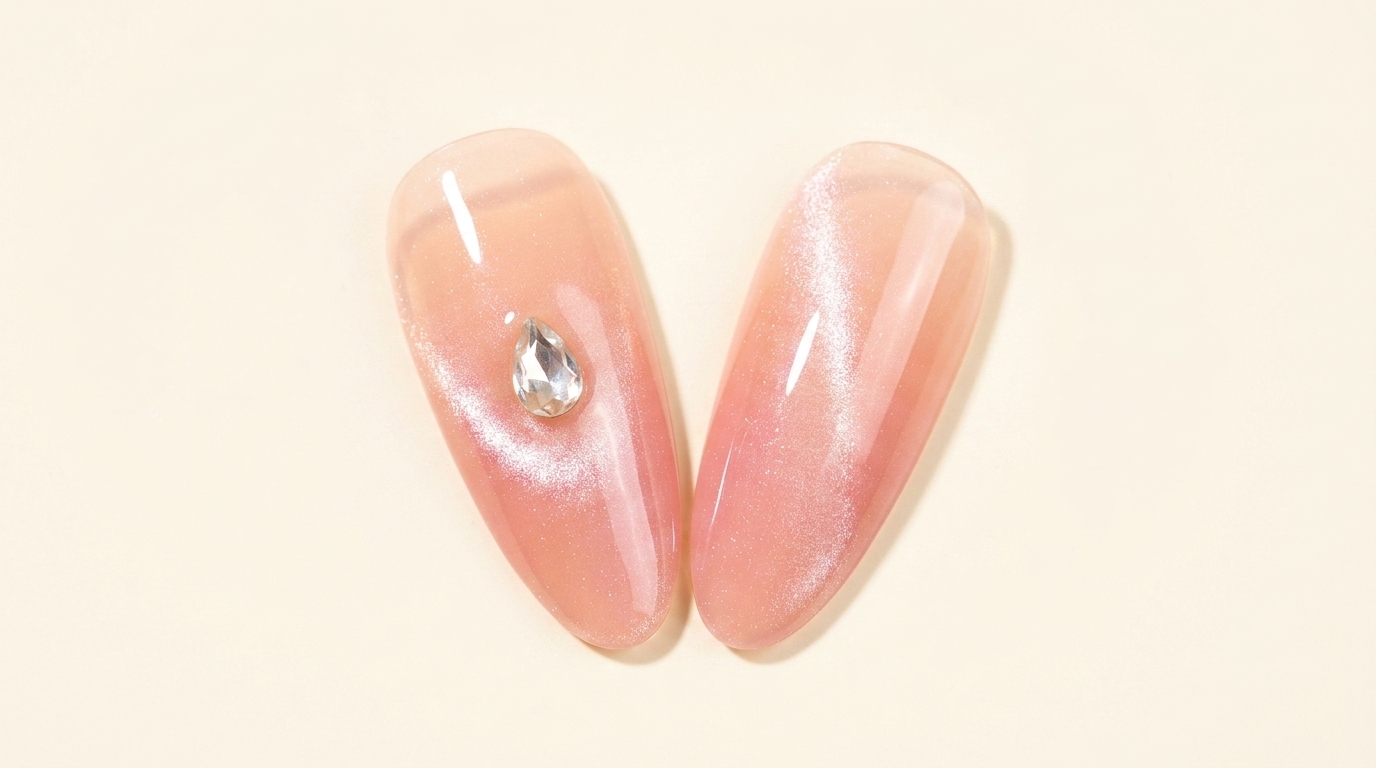
Tip: Keep this layer thin so the beautiful peach gradient underneath still shines through. - 7Create the glass bead effect
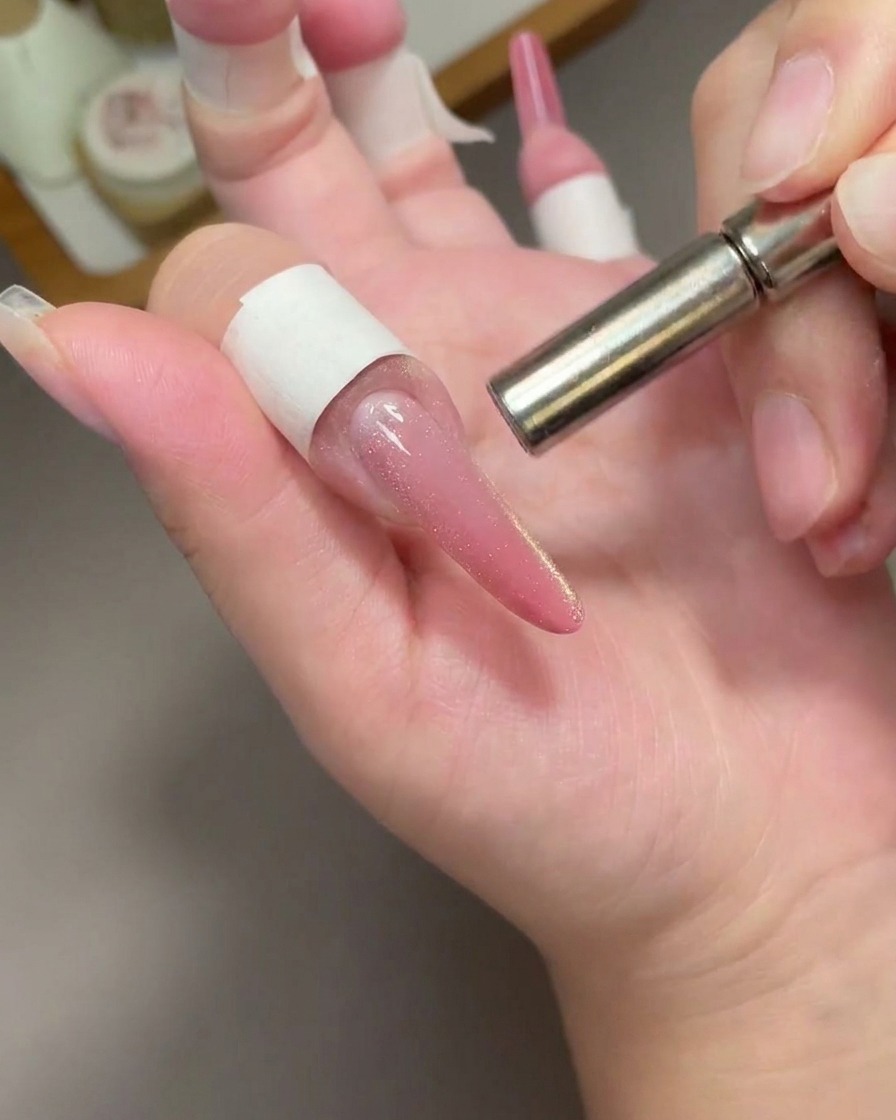
Hold the cylindrical magnet parallel to the nail, hovering just above the wet cat-eye polish. Keep the magnet steady for a few seconds to allow the magnetic glitter particles to shift and form a sharp, concentrated center line. This creates the signature cat-eye glass bead effect.
Tip: For the best effect, hold the magnet as close as possible to the nail without actually touching the wet polish. - 8Cure the magnetized design
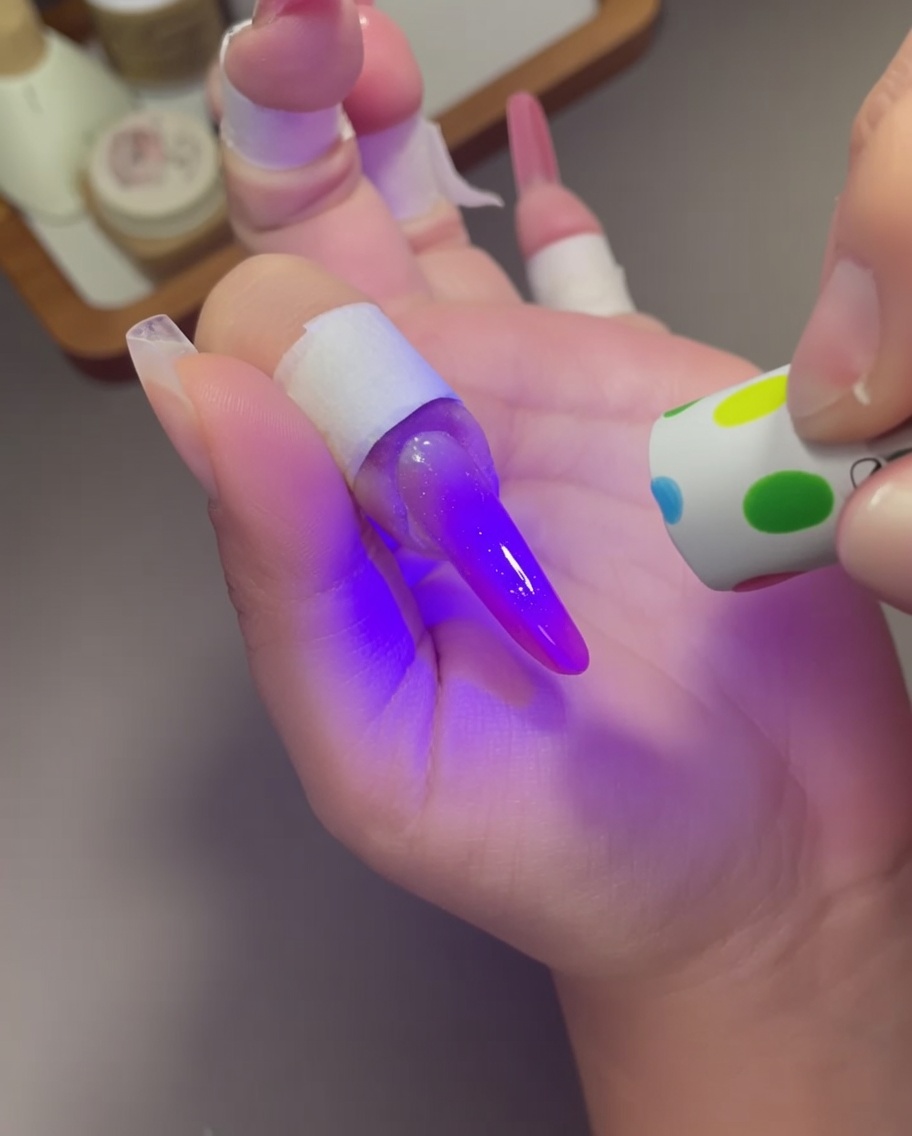
Once the magnetic design is positioned to your liking, immediately place your nail under a UV/LED lamp to cure the polish. This locks the glitter particles in their new position before they can spread out again, ensuring your glass bead effect remains sharp and clear.
Tip: Flash-cure for 10-15 seconds if using a handheld lamp, then follow up with a full cure according to your gel polish manufacturers instructions.