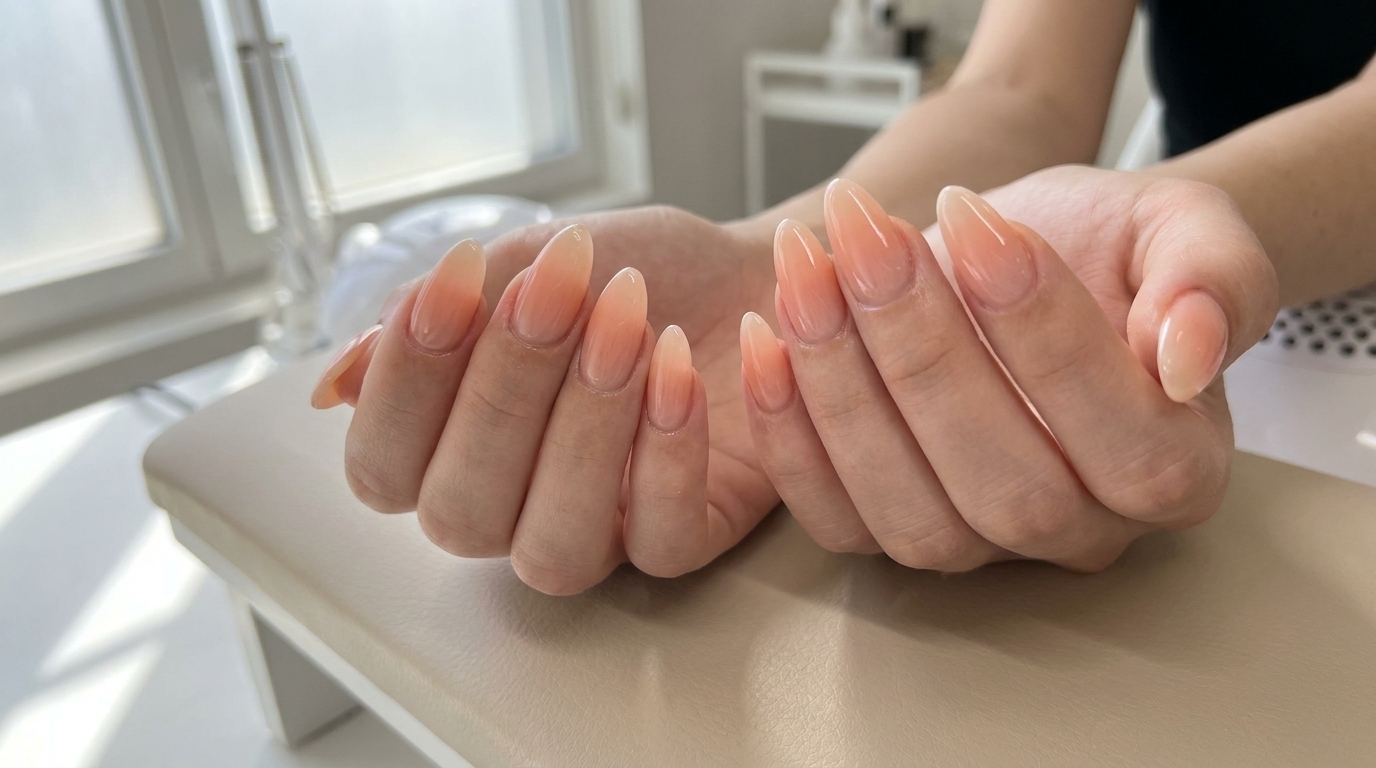
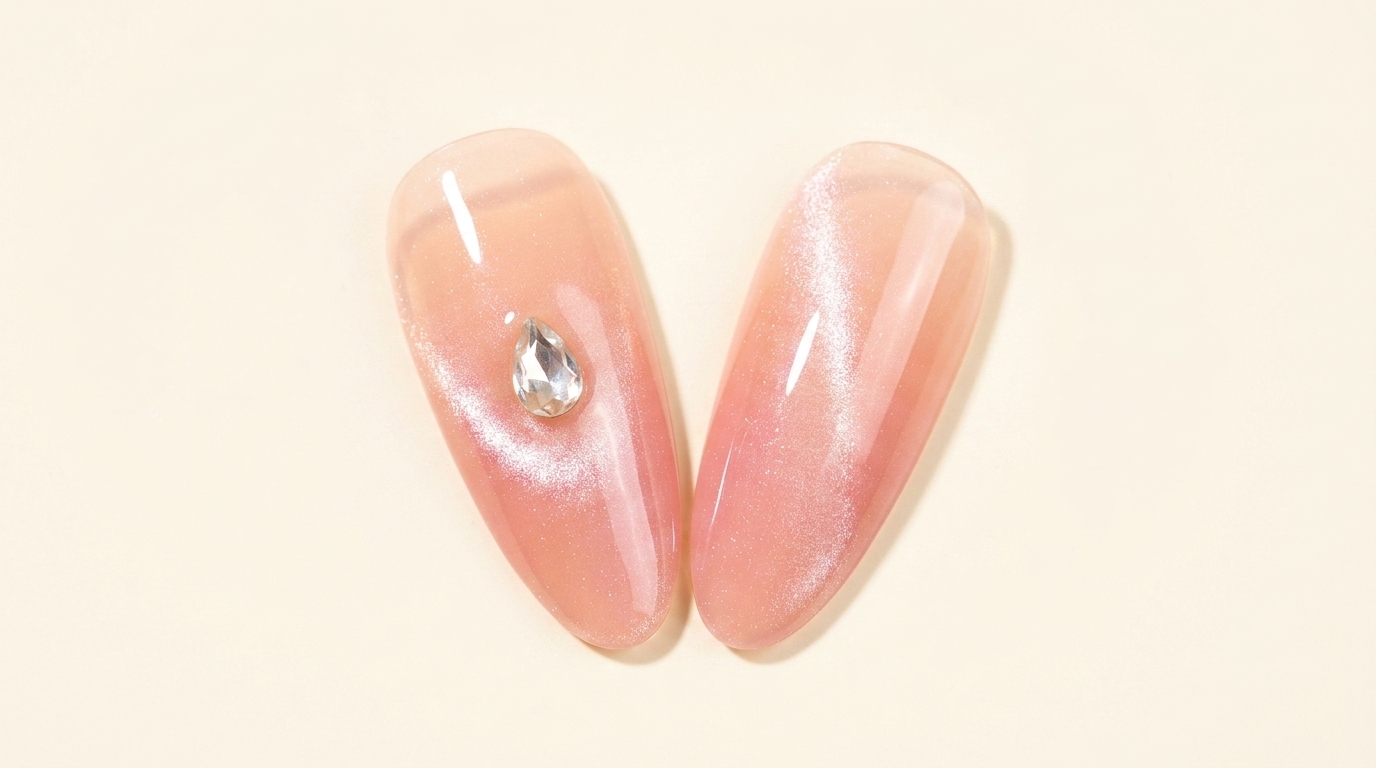
Peach Gradient Cat Eye Nails — Step-by-Step Tutorial
Elevate your manicure with dreamy peach gradient cat eye nails. This simple tutorial uses magnetic polish and color blending for a professional, radiant finish.
Cat eye nails continue to dominate trends with their hypnotic, shifting shimmer. By combining the depth of magnetic gel with a soft, hand-painted peach gradient, you can achieve a sophisticated and ethereal look perfect for any occasion.
Steps
- 1Apply nude gel base coat
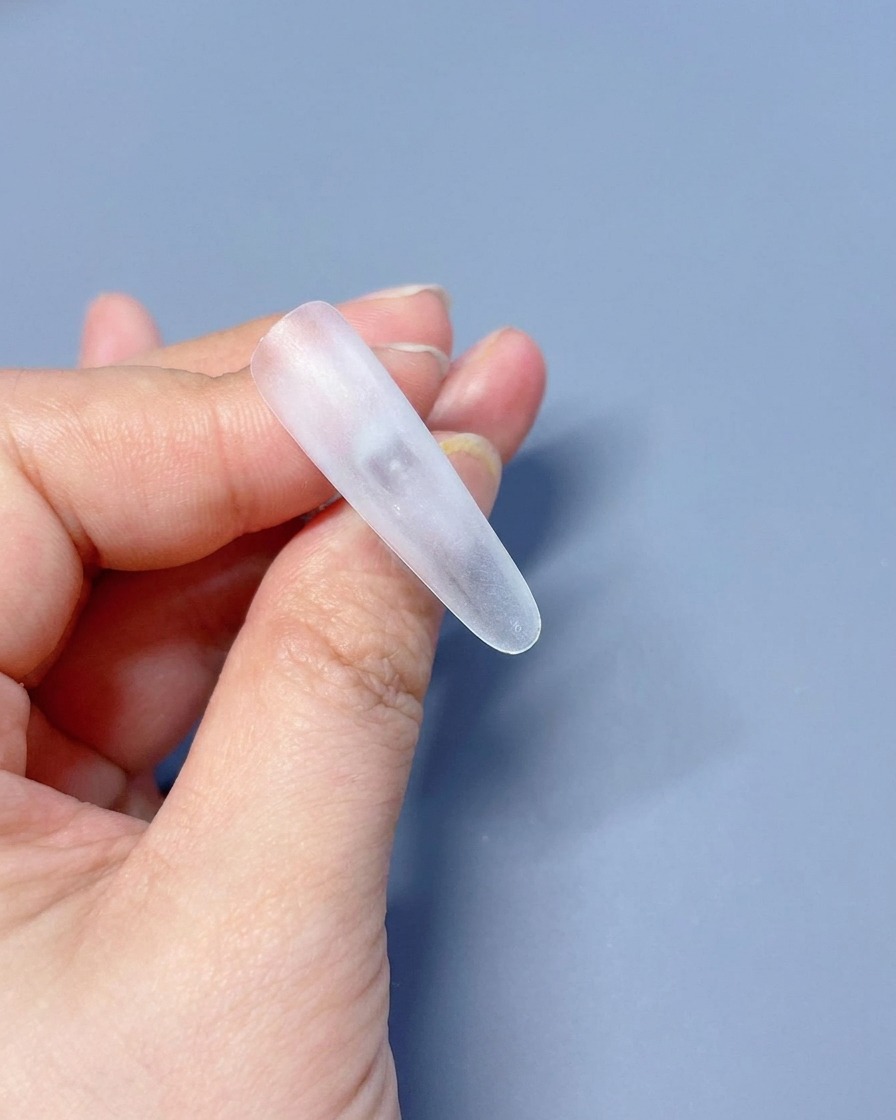
Apply a thin, uniform layer of nude-colored gel base coat over the entire surface of the press-on nail tip. Ensure even coverage from the cuticle area to the free edge, avoiding any pooling of product at the sides. This provides a clean, opaque foundation for the subsequent cat-eye gel application.
Tip: Keep your layers thin to ensure the gel cures perfectly and maintains the shape of the press-on tip. - 2Apply white cat eye gel
Apply a smooth, even layer of white cat-eye gel polish over the cured nude base coat. The cat-eye gel contains magnetic particles that will create the desired shimmer effect once activated. Ensure you coat the surface thoroughly, covering the entire nail tip for a consistent look.
Tip: Do not cure the polish immediately after application, as you need to use the magnet while the gel is still wet. - 3Activate the cat-eye effect

While the white cat-eye gel is still wet, hold a magnetic glass bead tool close to the nail surface. Slowly guide the magnet to pull the magnetic particles toward the cuticle area, creating the signature shimmer effect. Move the tool carefully to achieve the desired concentration of shimmer before curing.
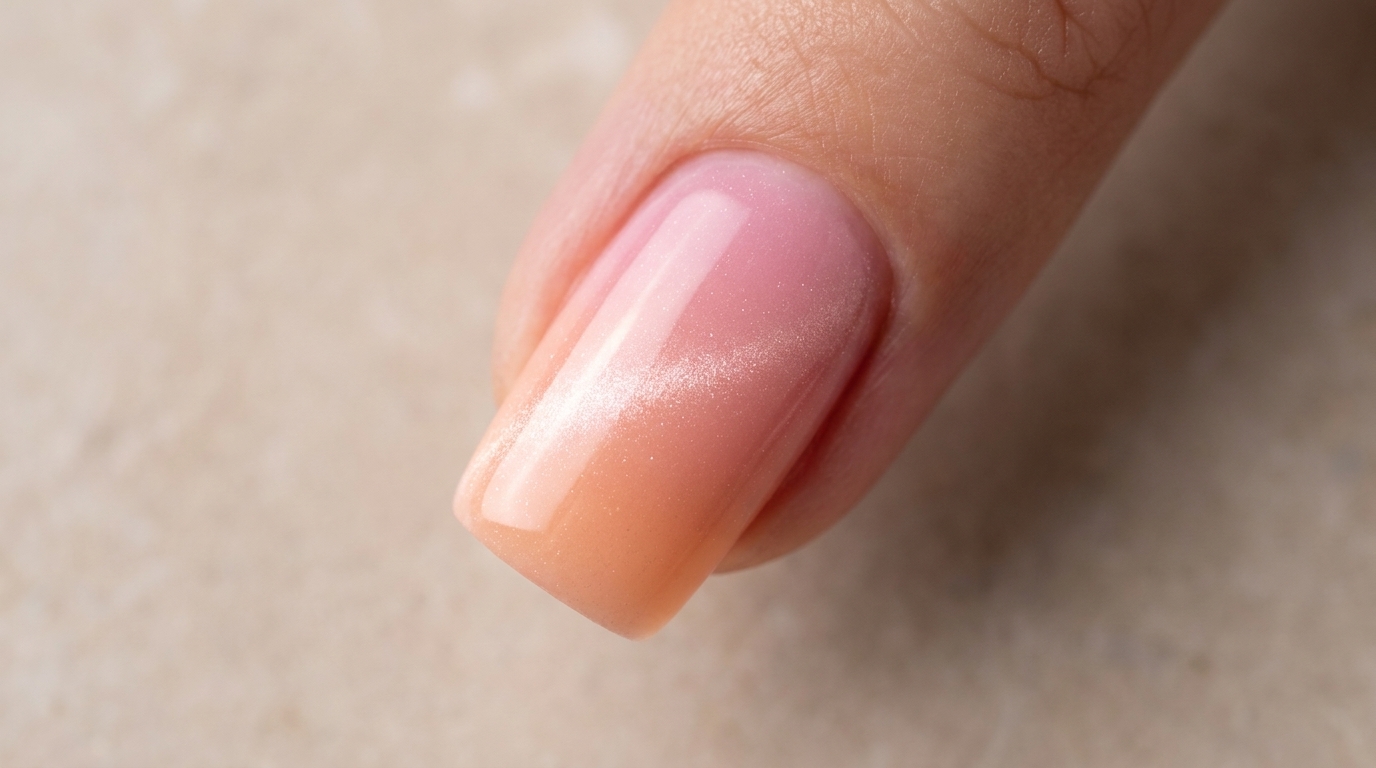
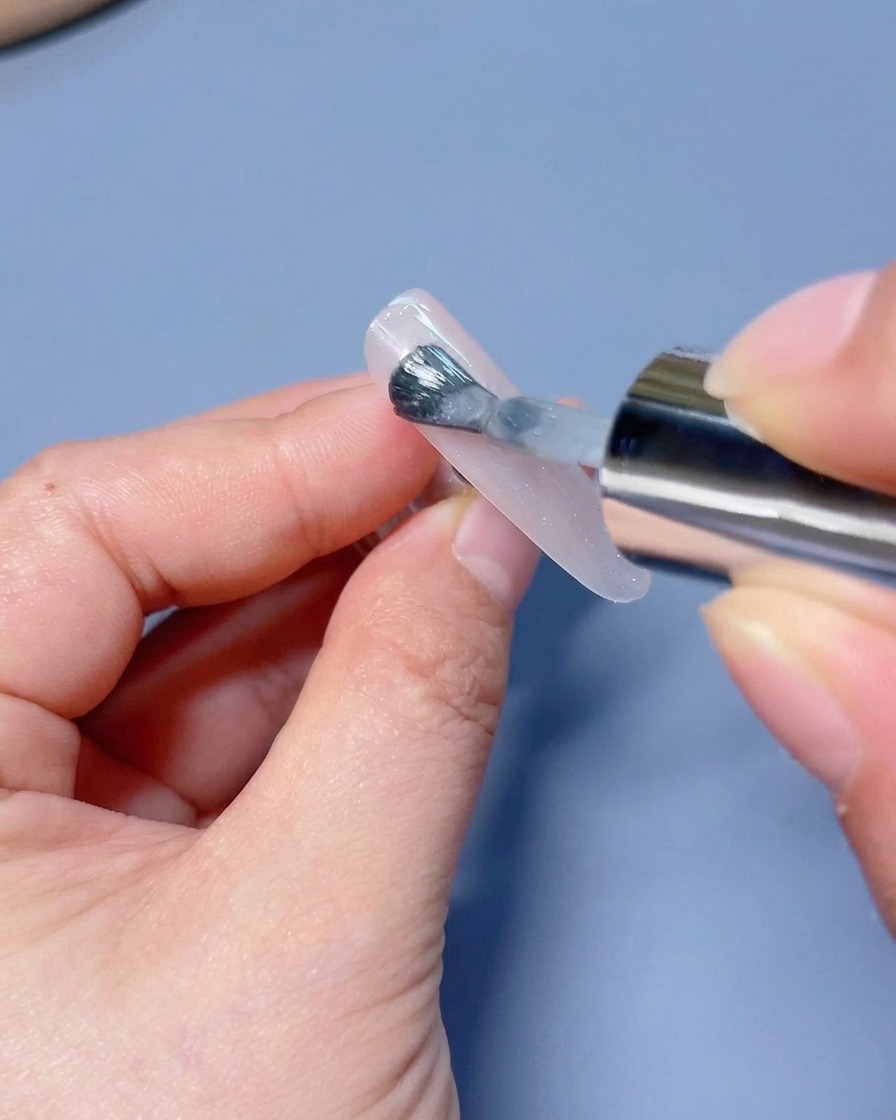
Tip: Hold the magnet steady for a few seconds to let the particles settle into the desired cat-eye pattern. - 4Apply pink gradient color
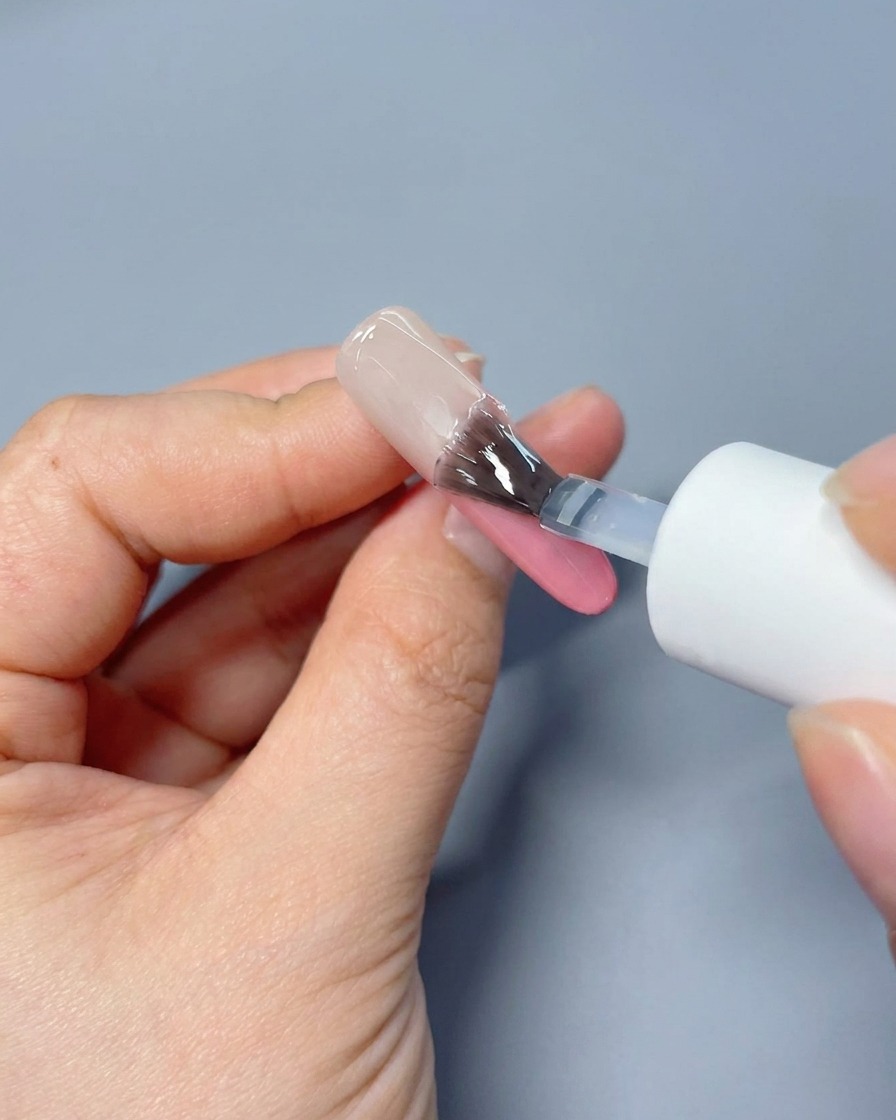
Apply a concentrated drop of pink gel polish specifically to the tip of the nail. This will serve as the base for the gradient effect. Placing the color at the edge allows you to control the blend seamlessly toward the center of the nail.
Tip: Use a small amount of product initially; you can always add more to deepen the color intensity. - 5Blend the gradient
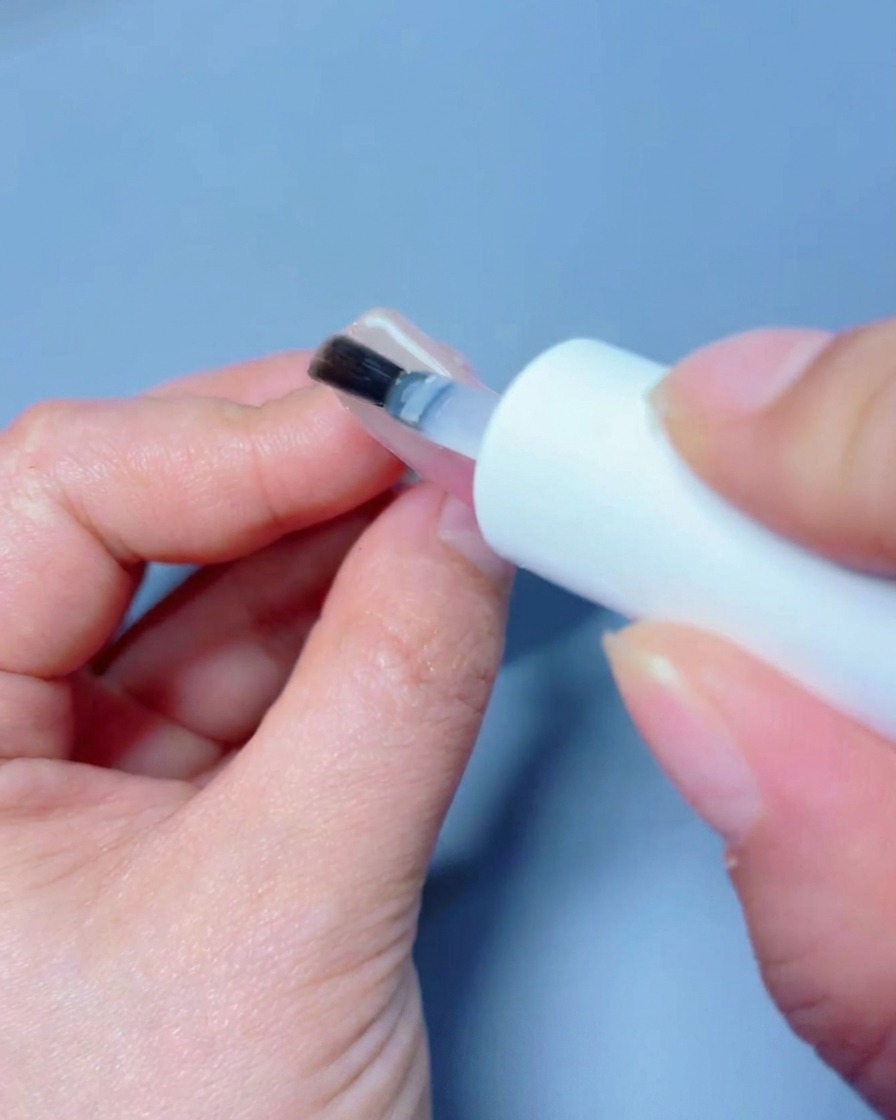
Using a flat gel brush, gently pat and pull the pink gel from the tip toward the center of the nail. Use light, soft strokes to blend the pink color into the cat-eye base, ensuring there are no harsh lines. Continue blending until you achieve a smooth, seamless gradient transition.
Tip: Wipe your brush clean occasionally during blending to prevent buildup and maintain a crisp gradient. - 6Apply top coat
Apply an even layer of clear glossy top coat over the entire nail to seal in your design and protect the gradient effect. Ensure you cap the free edge to prevent chipping and enhance longevity. Before curing, check for any stray particles or uneven spots.
Tip: Applying a smooth top coat layer is key to a professional finish and helps level out any texture from the color blending. - 7Cure the nails
Place your nails into the UV or LED lamp to cure the final top coat layer. Follow the specific cure time recommended by your gel product manufacturer to ensure the finish is fully hardened, non-tacky, and durable.
Tip: Keep your fingers flat and centered in the lamp to ensure even light distribution across all nail surfaces.