Peach Ombre Cat-Eye Gel Nails — Professional Step-by-Step Tutorial
Create a stunning multidimensional look with this peach ombre cat-eye tutorial. Perfect for an elegant, high-shine finish that transitions seamlessly.
The cat-eye effect combined with a soft ombre gradient creates a sophisticated depth that is both trendy and timeless. This tutorial guides you through the professional techniques needed to achieve a smooth, shimmering transition. With the right tools and a steady hand, you can master this salon-quality look at home.
Steps
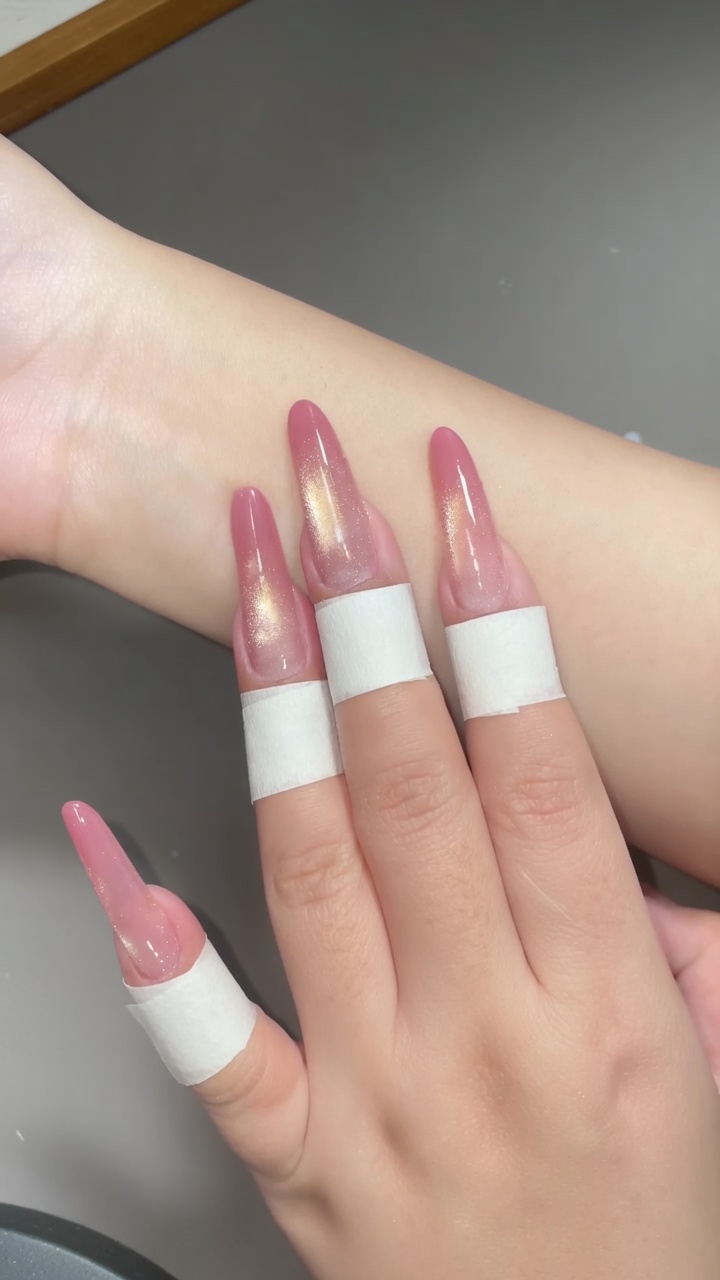
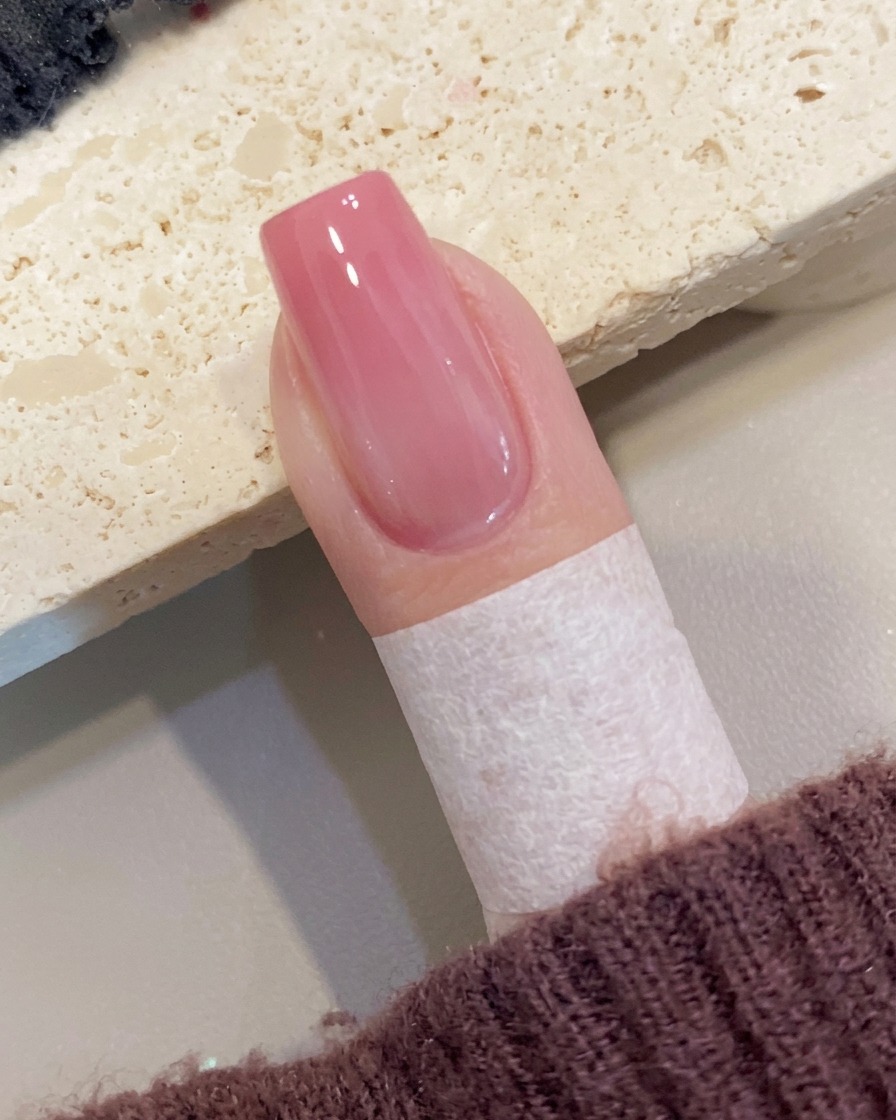
- 1Remove masking tape
Gently peel away the protective masking tape from the skin around the cuticle. This reveals a clean, sharp line where the gel polish ends, ensuring a professional, neat finish without any product on the skin.
Tip: Peel the tape off slowly while the gel is still slightly tacky or immediately after curing to ensure a clean break. - 2Apply shimmer cat-eye gel

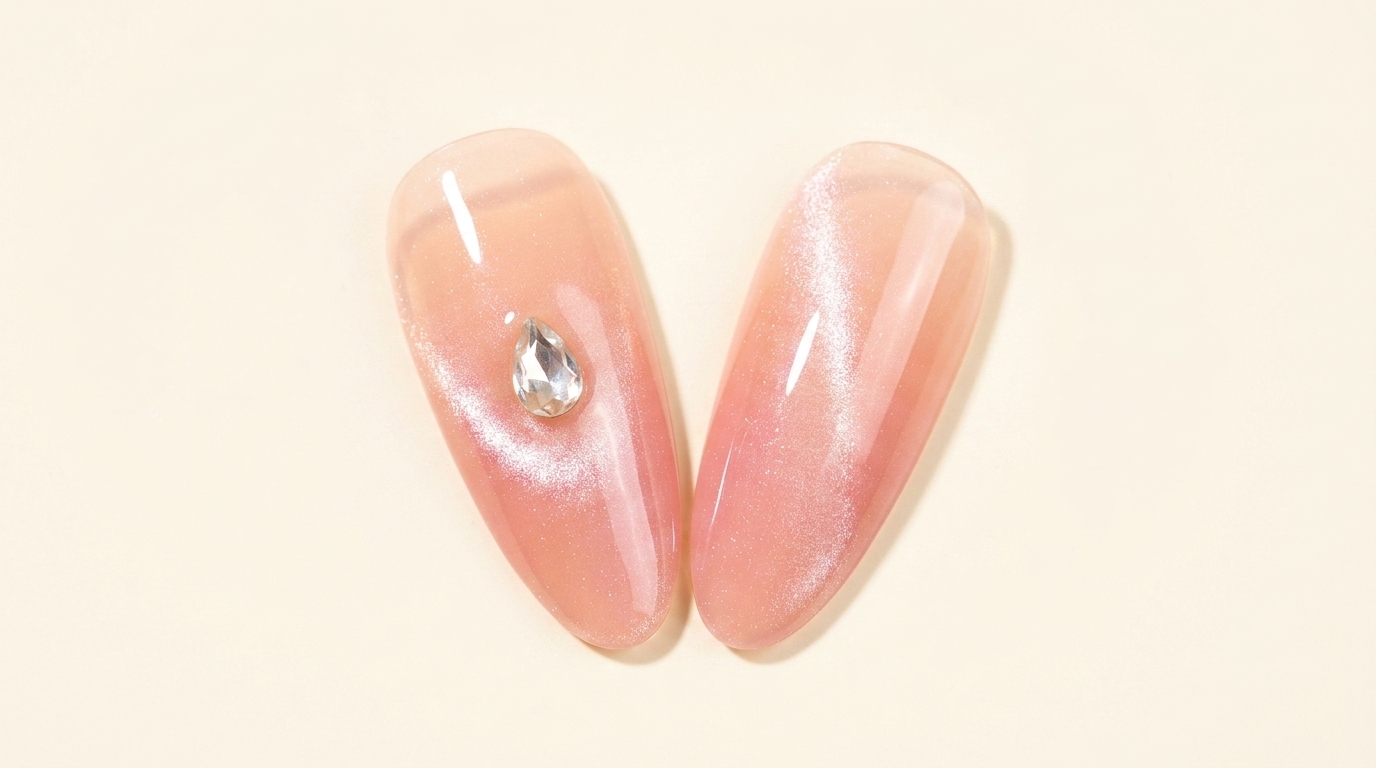
Apply a thin, even coat of sheer, shimmering cat-eye gel polish to the entire nail surface. Do not cure yet, as the polish must remain wet to manipulate the shimmer particles with the magnetic tool.
Tip: Work in thin layers to ensure the magnetic effect is crisp and well-defined. - 3Create cat-eye effect
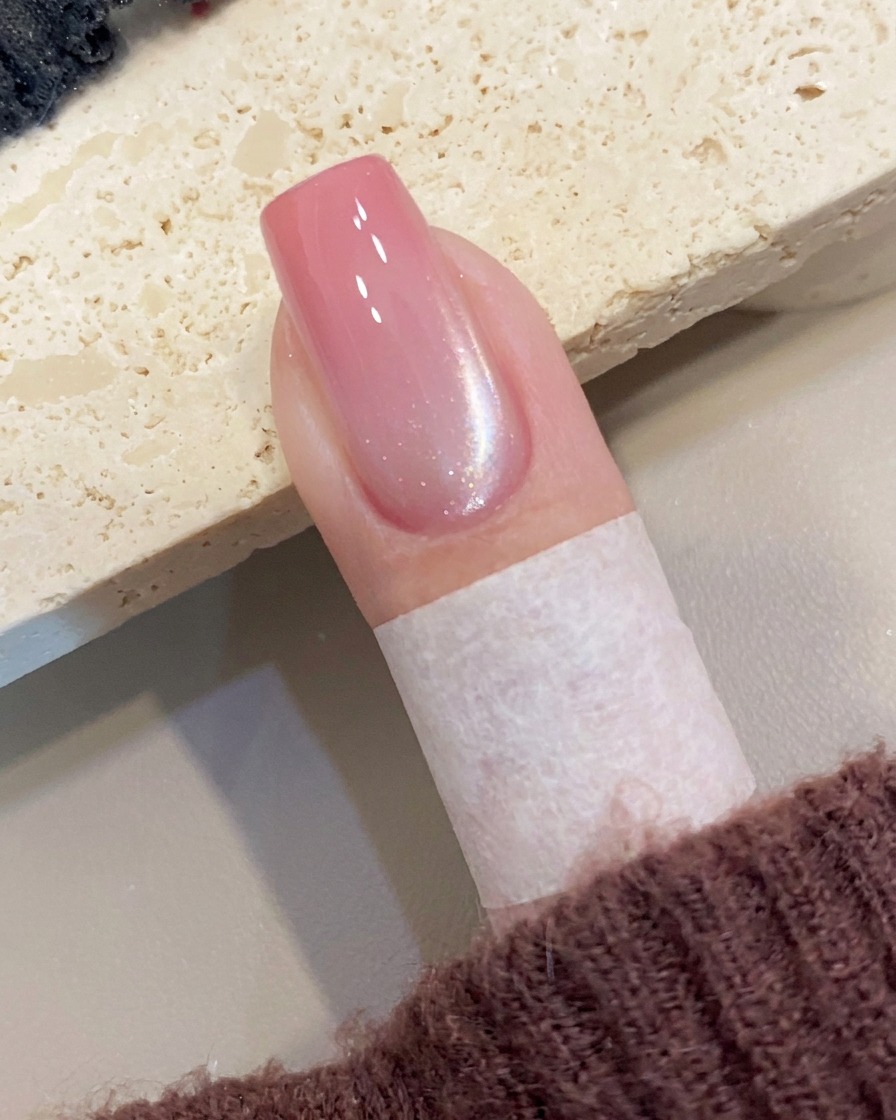
Position your magnetic tool near the side of the nail without touching the wet polish. Hold it steady for a few seconds to draw the magnetic shimmer particles into a distinct, sharp diagonal line across the nail plate. Once satisfied with the effect, cure under your lamp.
Tip: Keep the magnet as close to the nail as possible for a more intense and defined cat-eye line. - 4Clean the nail surface
After curing, the nail may have a tacky inhibition layer. Take a lint-free pad soaked in cleanser or isopropyl alcohol and gently wipe the surface of the nail until it is completely smooth and non-sticky.
Tip: Ensure you are using a lint-free pad to avoid leaving fibers trapped on the freshly cured surface. - 5Apply peach gel to tip
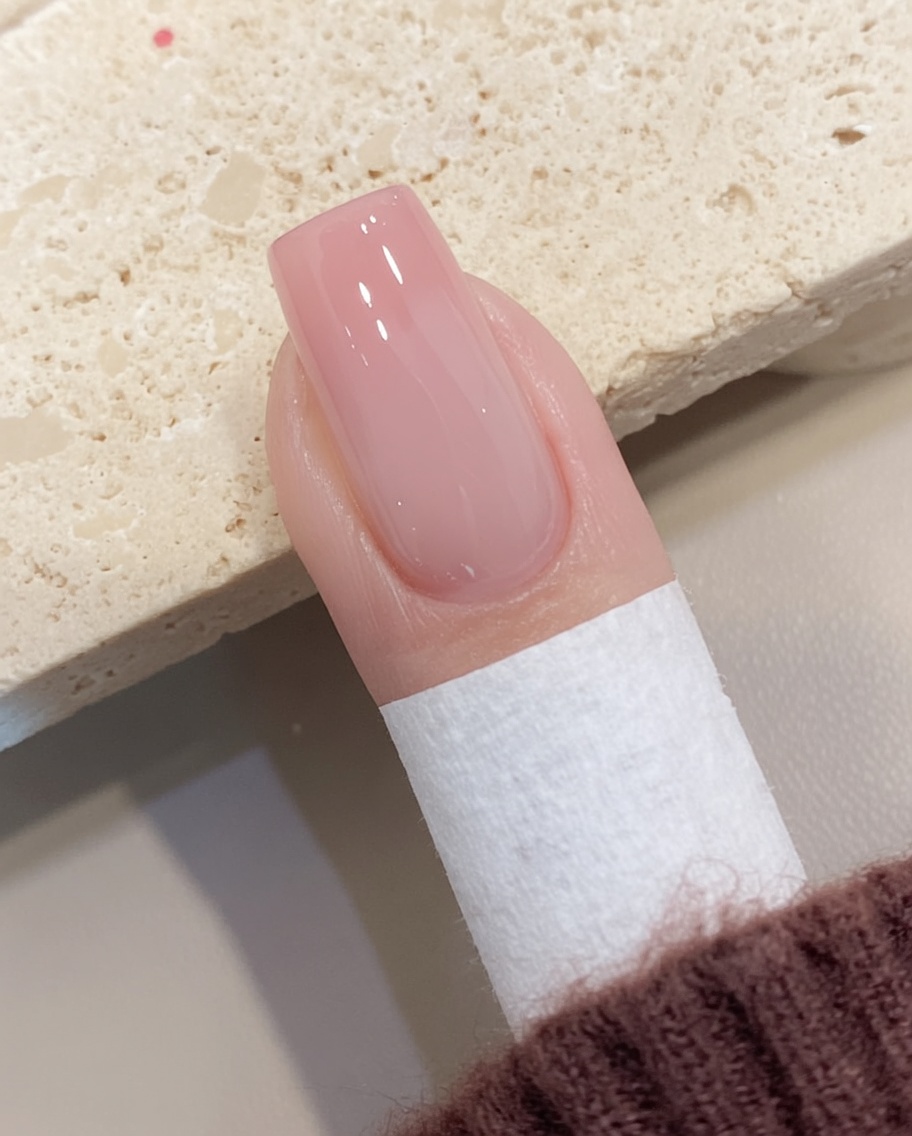
Place a concentrated bead of peach-colored gel onto the tip of the nail. This will serve as the base for creating the ombre transition toward the cuticle.
Tip: Apply just enough product to cover the tip, as you will be blending this upward to maintain a seamless gradient. - 6Blend for ombre effect
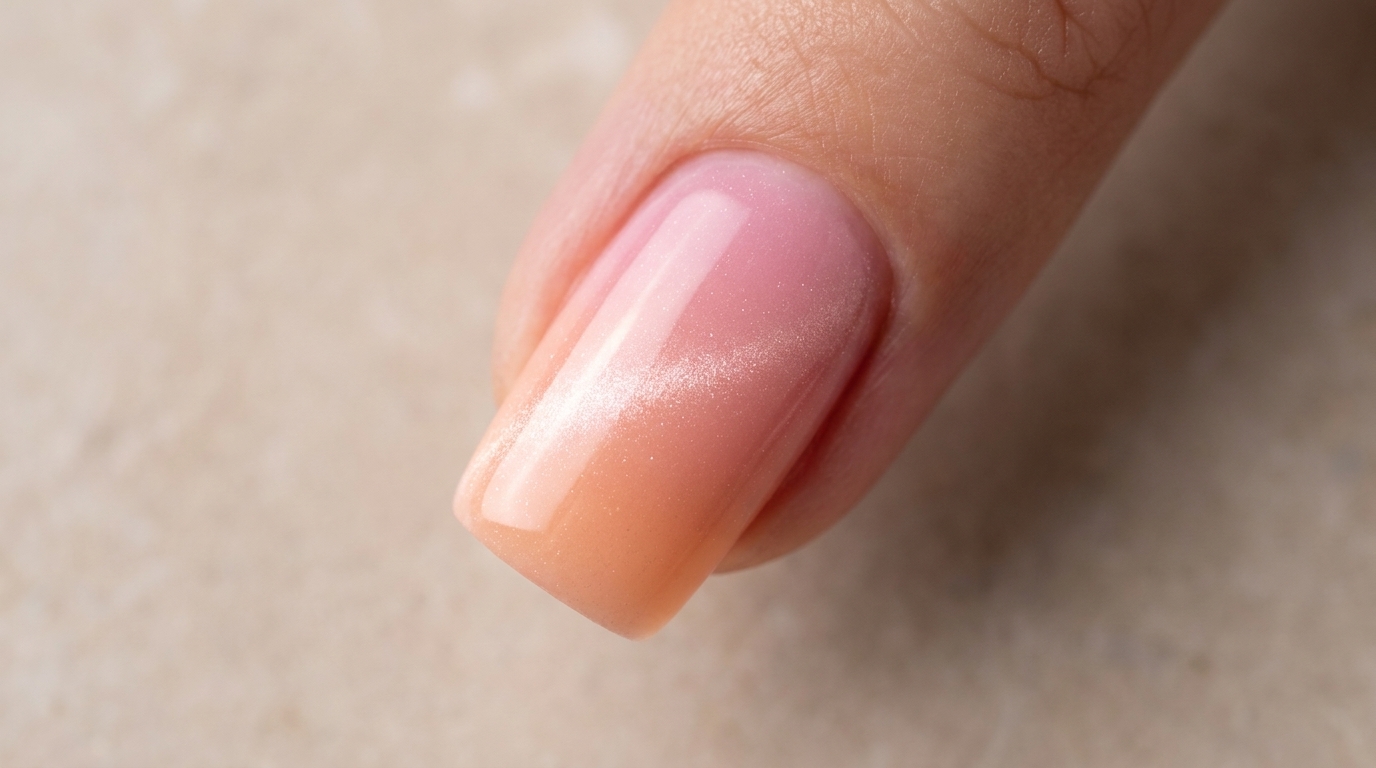
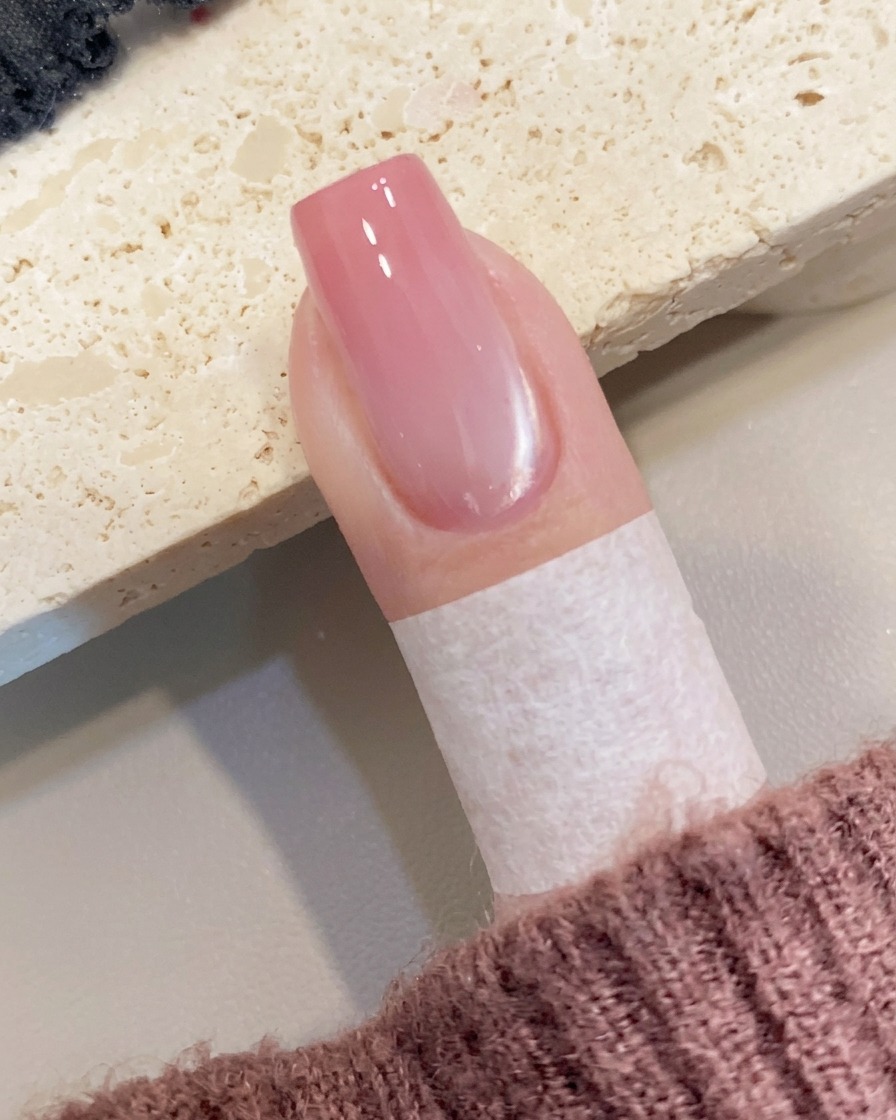
Using a clean sponge or a soft blending brush, gently pat the peach gel from the tip toward the center of the nail. Continue blending in an upward motion until the color transitions smoothly into the nail base for a soft, natural ombre effect.
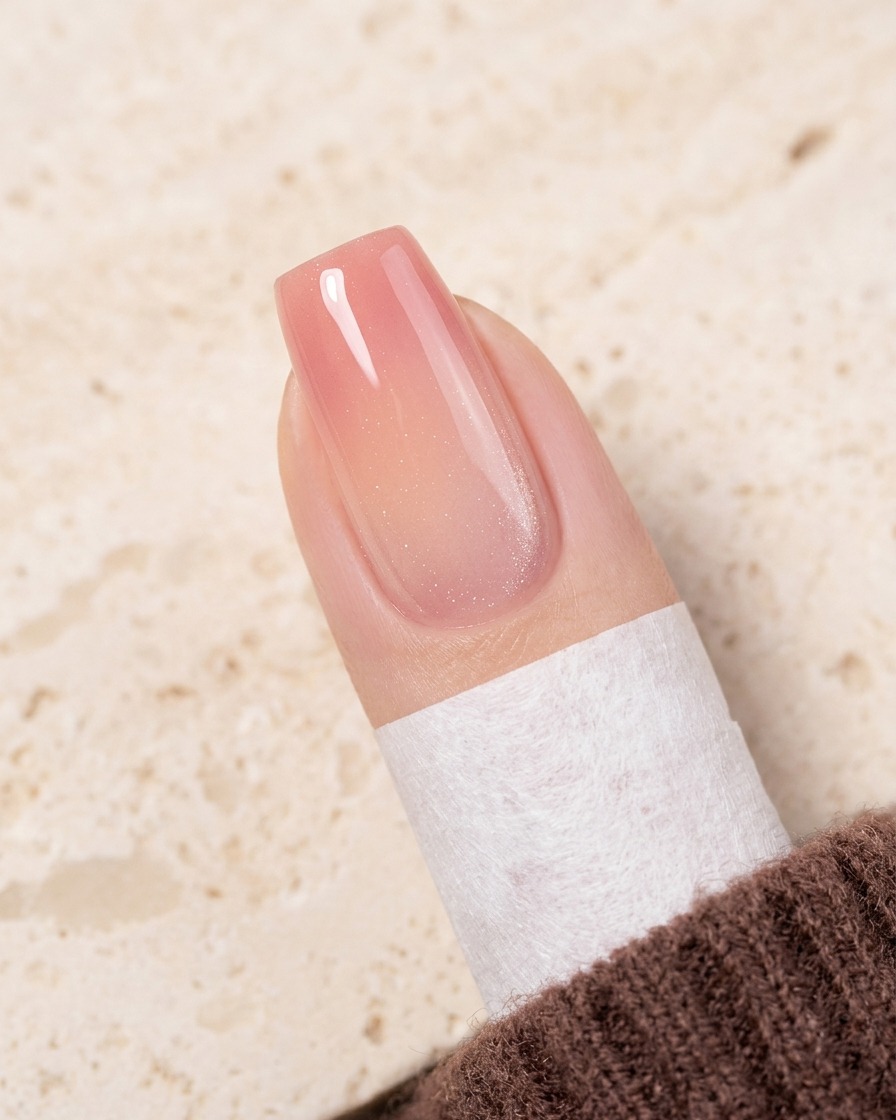
Tip: Use a light tapping motion to avoid creating harsh lines or pulling too much product away from the tip. - 7Apply glossy top coat
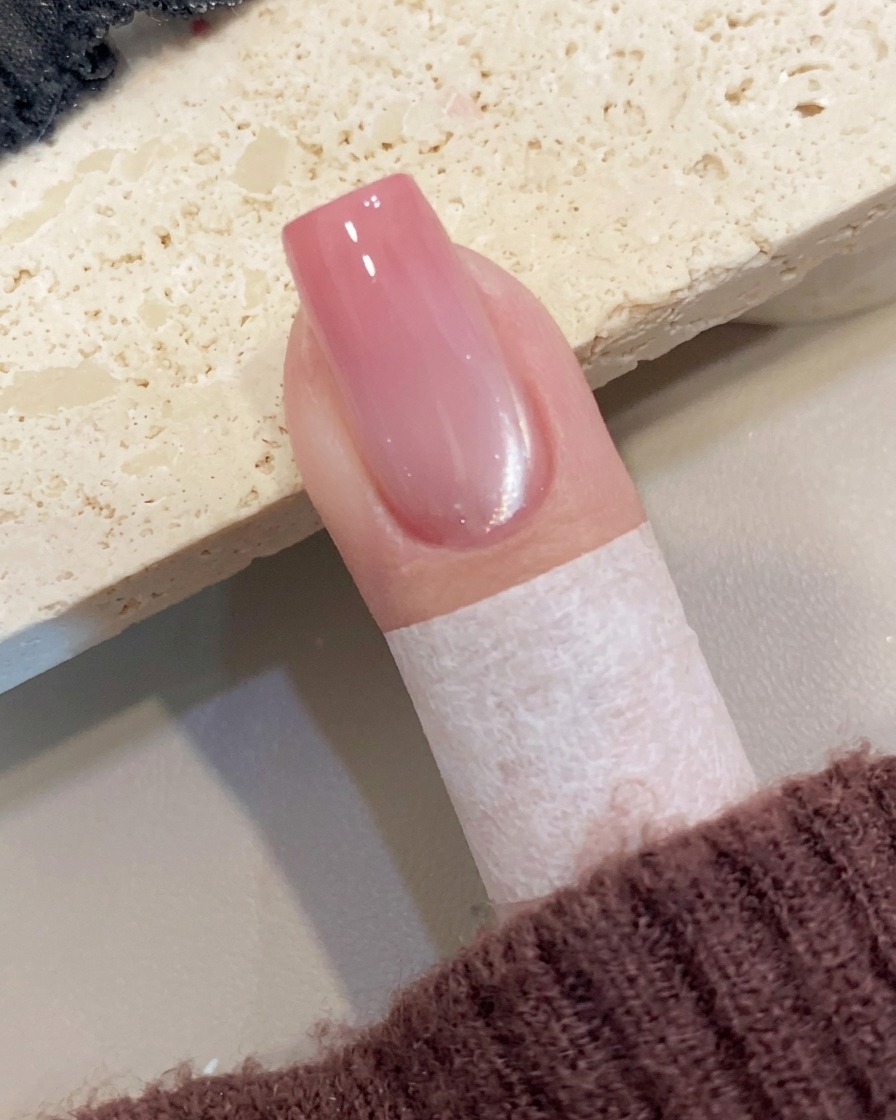
Apply a generous, smooth layer of glossy top coat over the entire surface of the nail. Ensure you cap the free edge to seal the design and provide long-lasting shine. Cure under your UV or LED lamp as recommended.
Tip: Check for any bubbles in the top coat before curing for a glass-like finish.