Blue Watercolor Gradient Nails
Gold Stars — Step-by-Step Tutorial
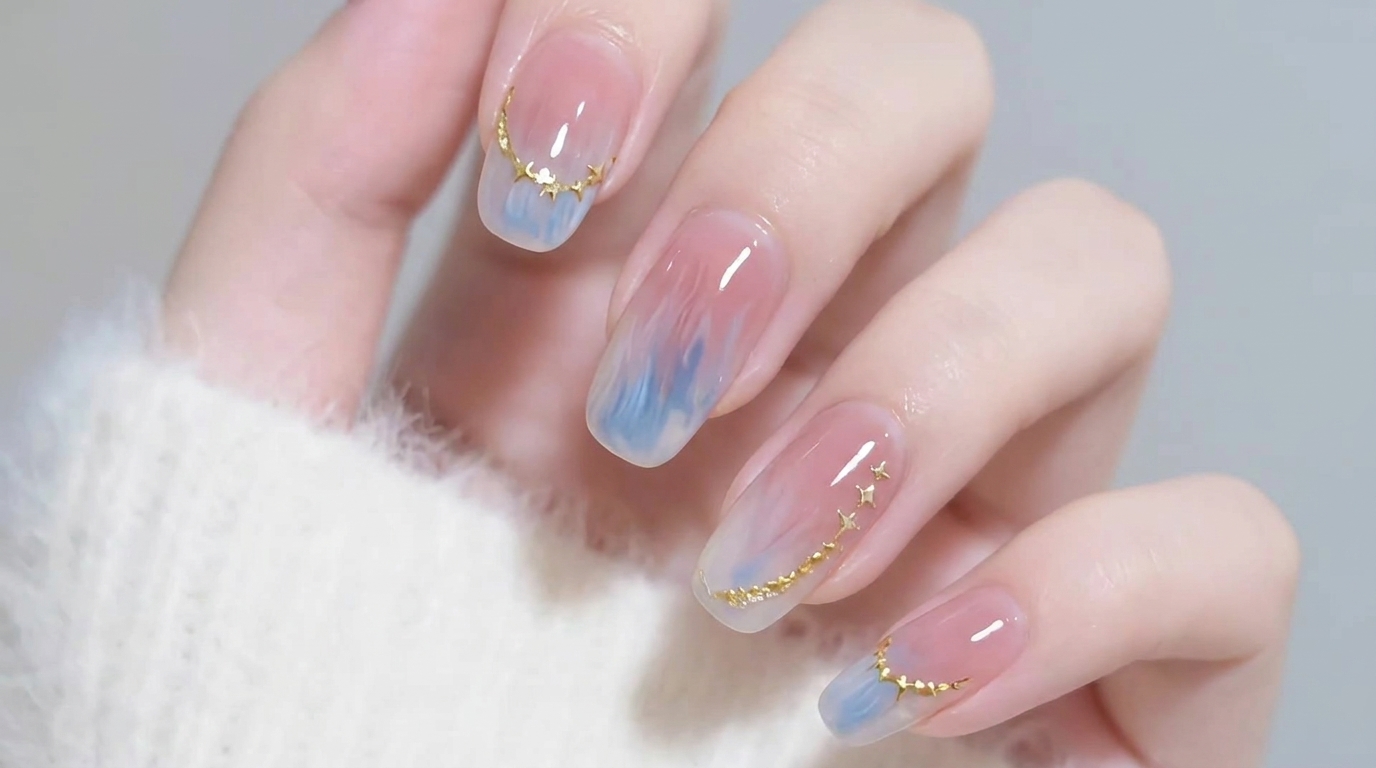
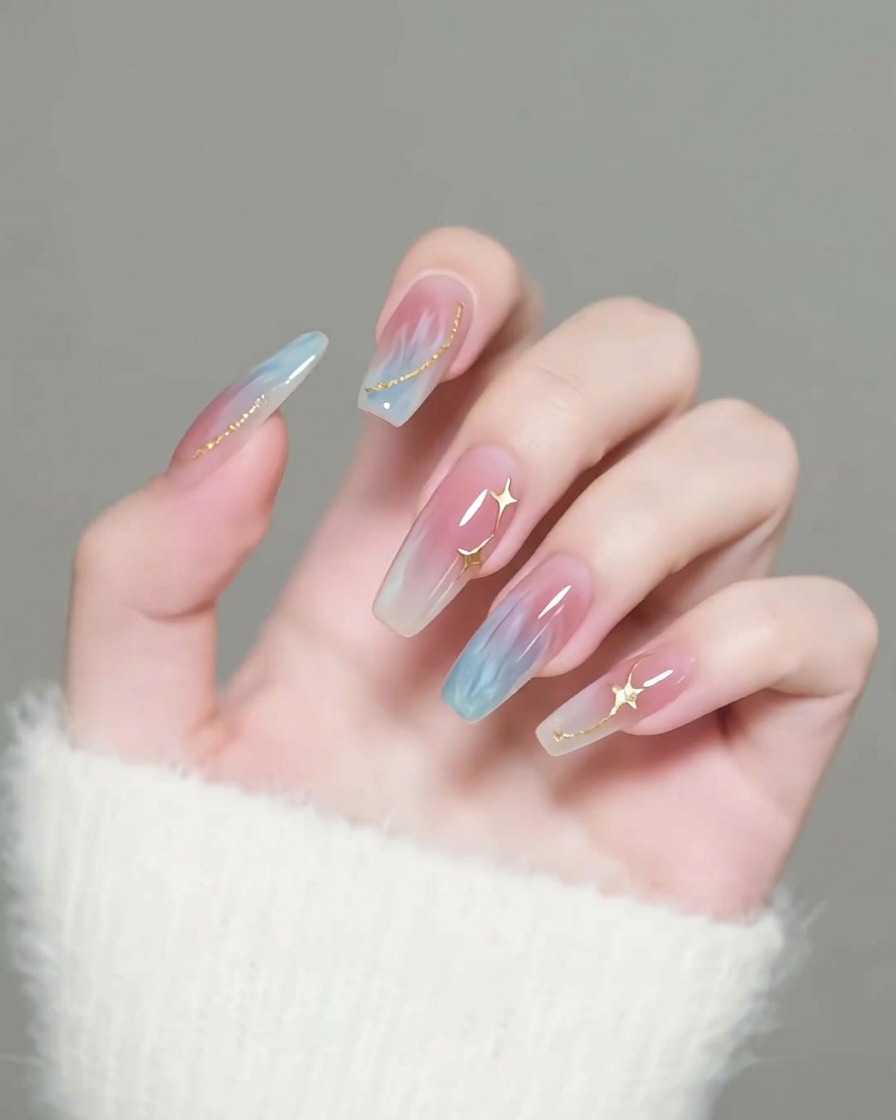
Achieve a high-end look with this blue watercolor gradient nail tutorial. Delicate gold star embellishments add a sparkling touch perfect for any occasion.
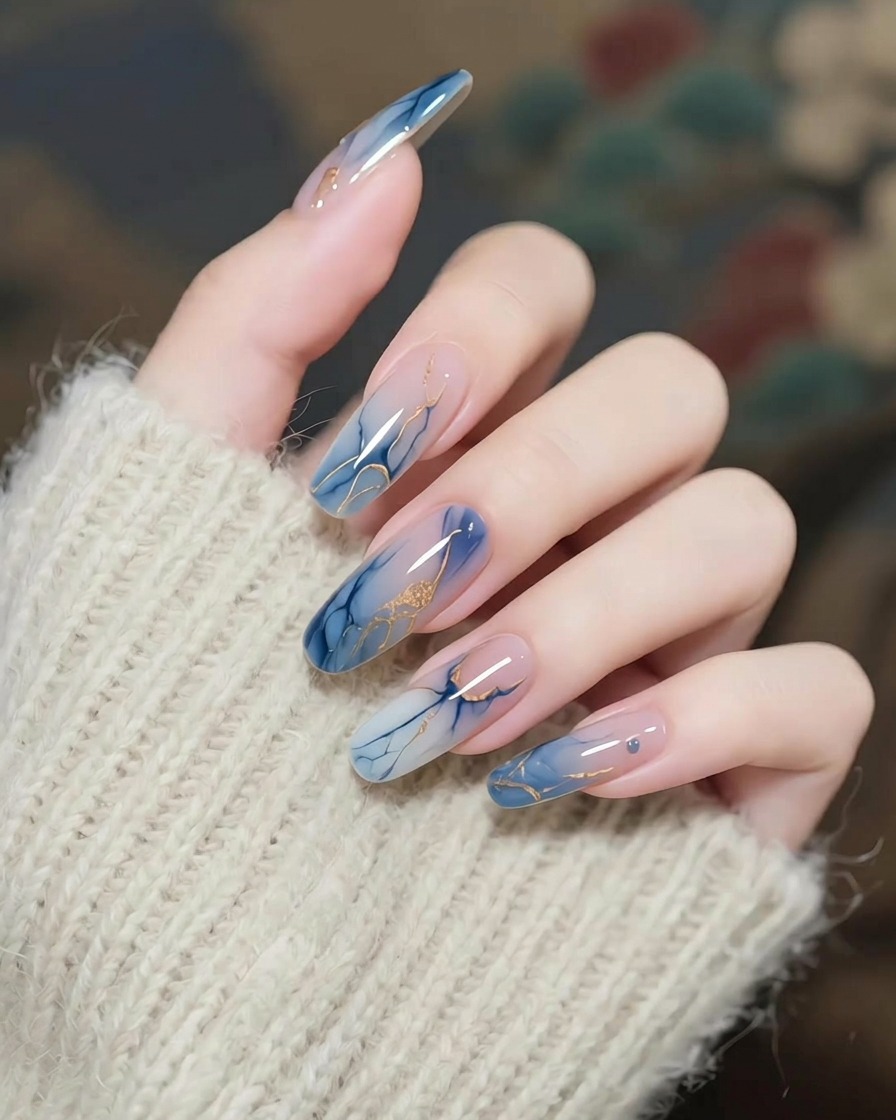
This blue watercolor gradient gives off a cool, high-end atmosphere that feels like blending the sea into your nails. The soft transition combined with sparkling gold embellishments creates an undeniably elegant look. It is exceptionally flattering for warm skin tones and easily transitions from a professional daytime setting to a romantic evening out.
Steps
- 1Create watercolor gradient
Using a soft, clean brush, gently blend the blue gel outward from the center of the nail. Use light, patting motions to diffuse the edges, creating a soft, cloudy watercolor effect. This technique builds depth and ensures the color transitions smoothly for a professional-looking gradient.
Tip: Keep your brush strokes light to avoid pulling too much color away; a little goes a long way with watercolor pigments. - 2Cure the design
Place your hand into the UV or LED lamp to cure the first layer of the watercolor design. Ensure all nails are positioned directly under the light source for the full duration recommended by the gel manufacturer to ensure even curing and prevent smudging.
Tip: Check that the nails are flat in the lamp to avoid the gel pooling to one side while curing. - 3Deepen the gradient
Apply a small amount of a slightly darker blue pigment to the tips of the nails, or the focal areas of your gradient. Use your blending brush to softly merge this layer upward into the previous one, adding realistic dimension and intensity to the watercolor effect.
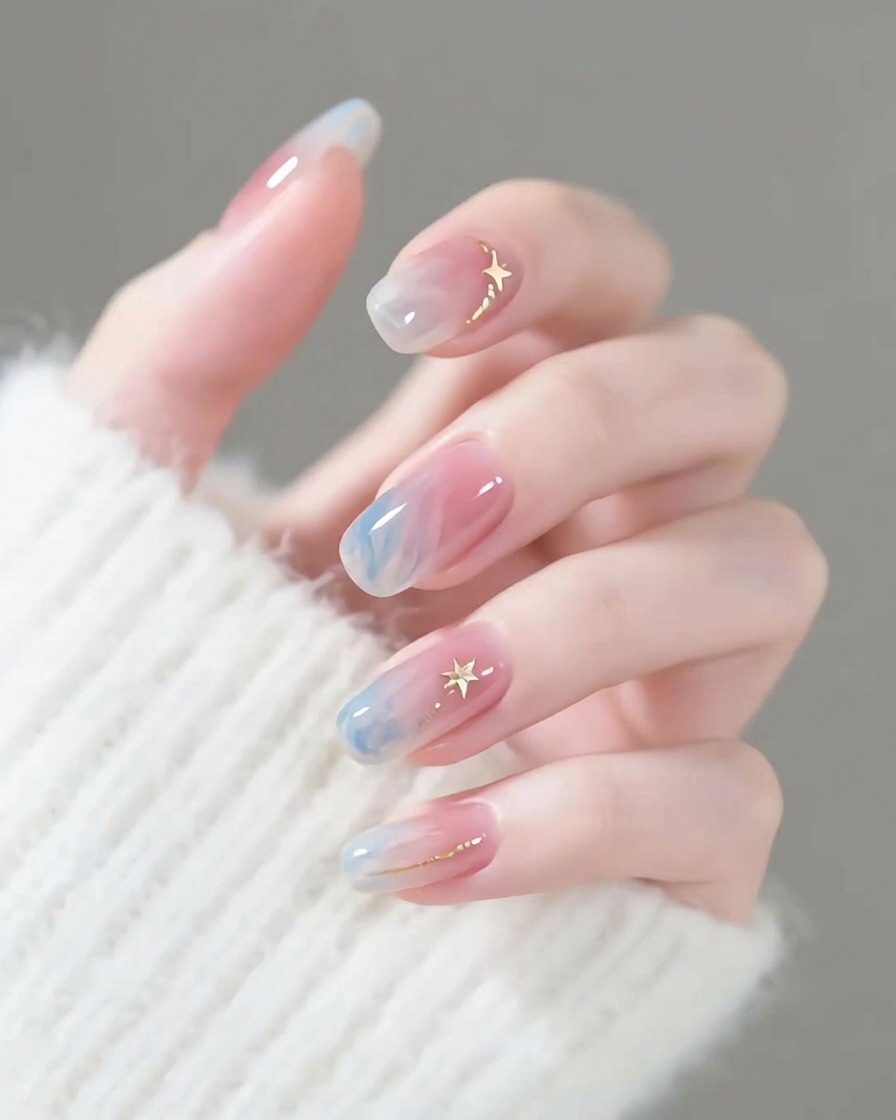
Tip: Focus the darker pigment on the outer edges or corners of the nail to create a more dramatic ombre effect. - 4Apply gold embellishments
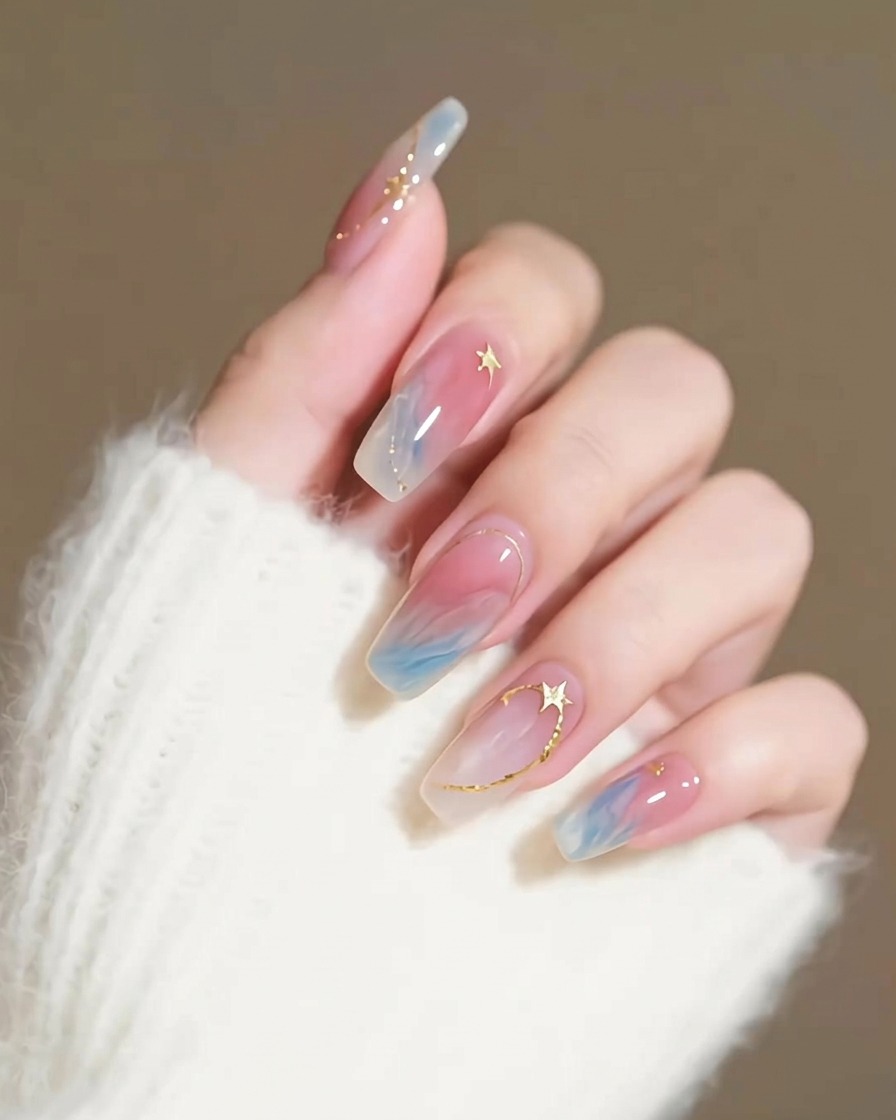
Using precision tweezers, pick up the gold star charms and delicate gold line details, gently placing them onto the nail surface. Press down lightly to ensure all embellishments lie flat against the natural curve of the nail bed, following your desired design placement.
Tip: Place the charms while the nail is still slightly tacky or has a thin layer of top coat to help them adhere during placement. - 5Apply top coat
Apply a generous layer of no-wipe top coat over the entire nail, ensuring the gold charms are completely encapsulated. Cap the free edge to prevent the charms from catching or lifting, and ensure the surface is smooth and glossy.
Tip: Ensure the top coat fully covers the edges of the charms to prevent snagging.