Sunset Aurora Gradient Floral Nail Art — Step-by-Step Tutorial
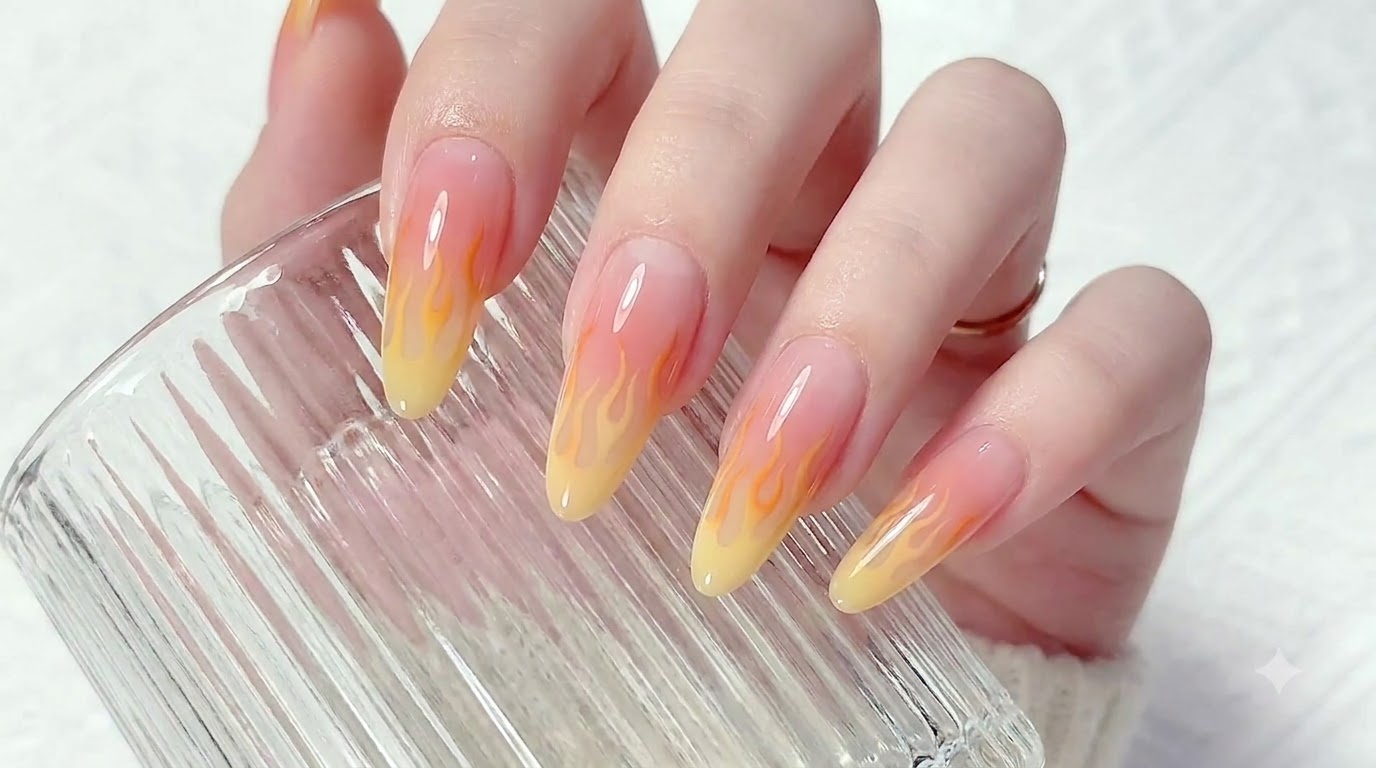
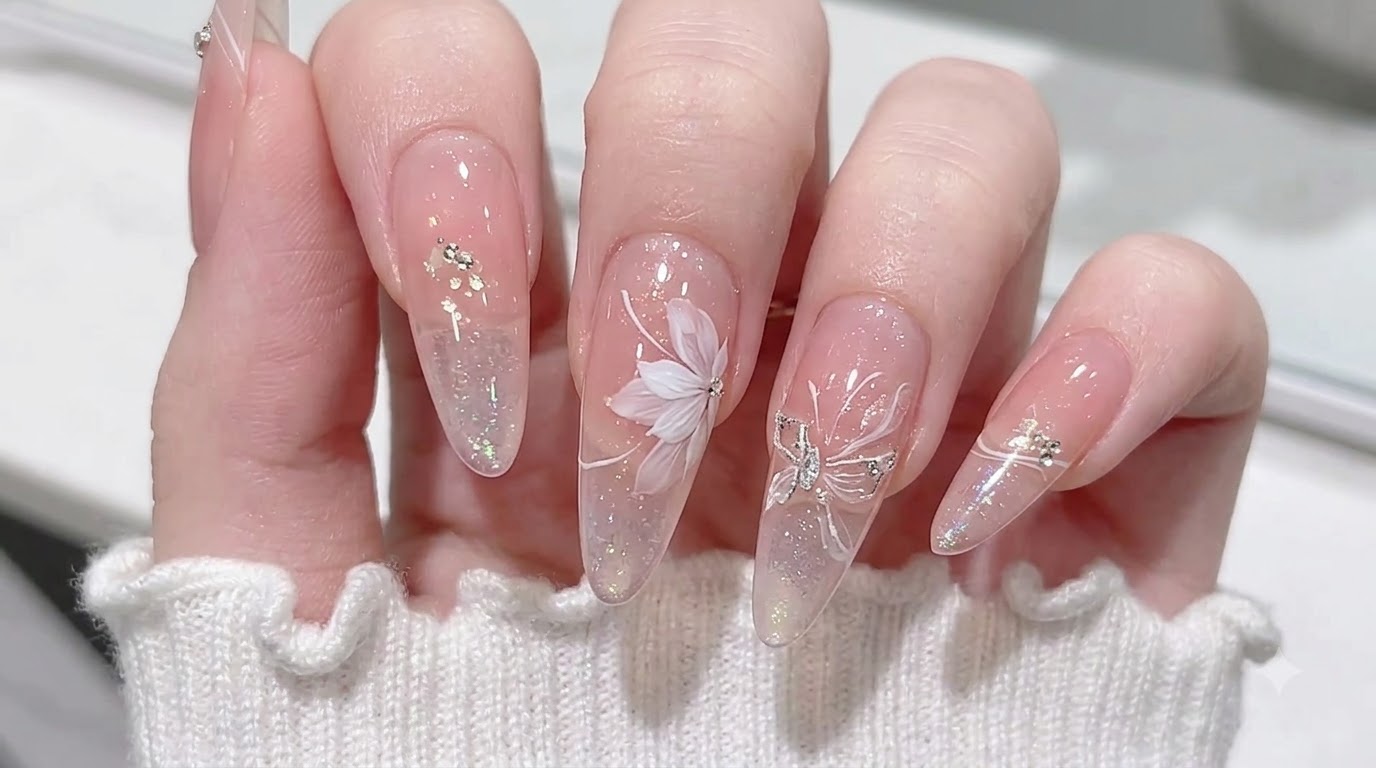
Create an ethereal look with sunset aurora gradient flakes, soft pink blush tones, and delicate hand-painted white floral art on almond nails.
Combining trend-forward aurora powder with timeless botanical hand-painting, this nail art look captures a dreamy and sophisticated aesthetic. Perfect for special occasions or everyday elegance, this tutorial guides you through achieving a seamless blush gradient and crisp floral detailing.
Steps
- 1Apply nude gel base coat
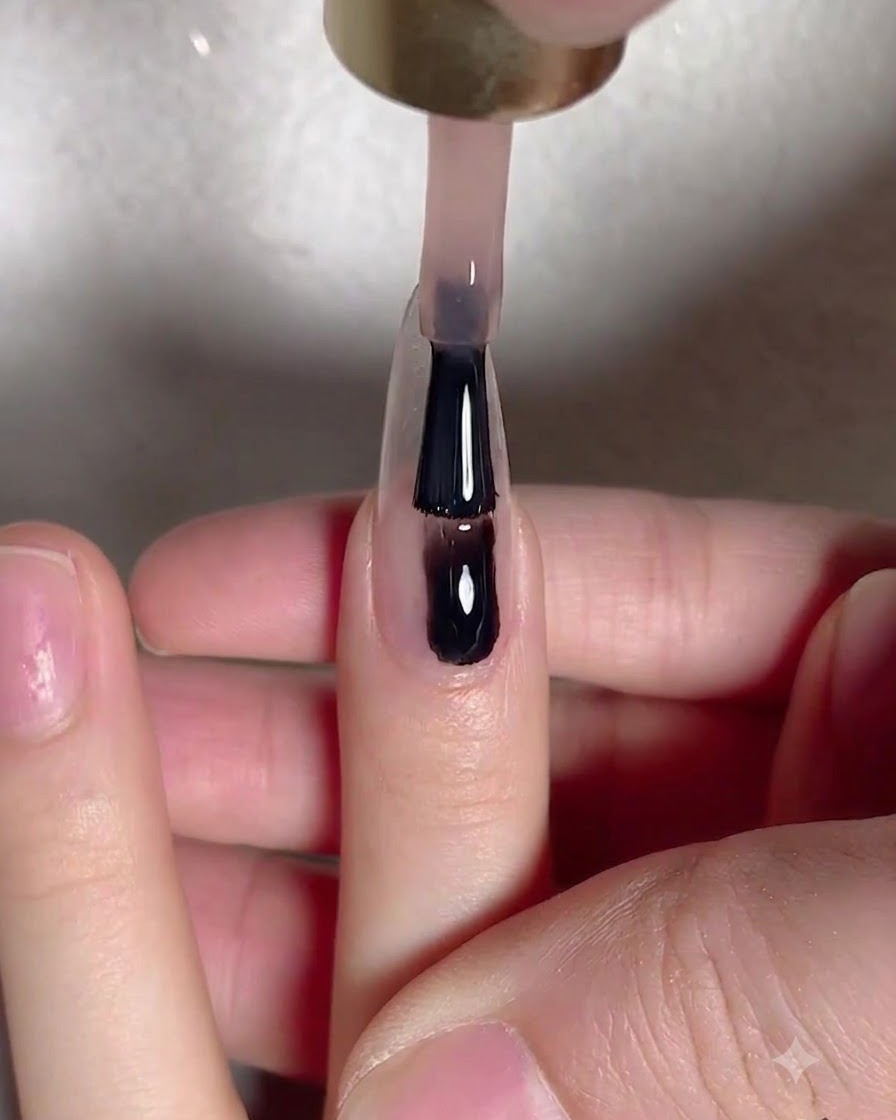
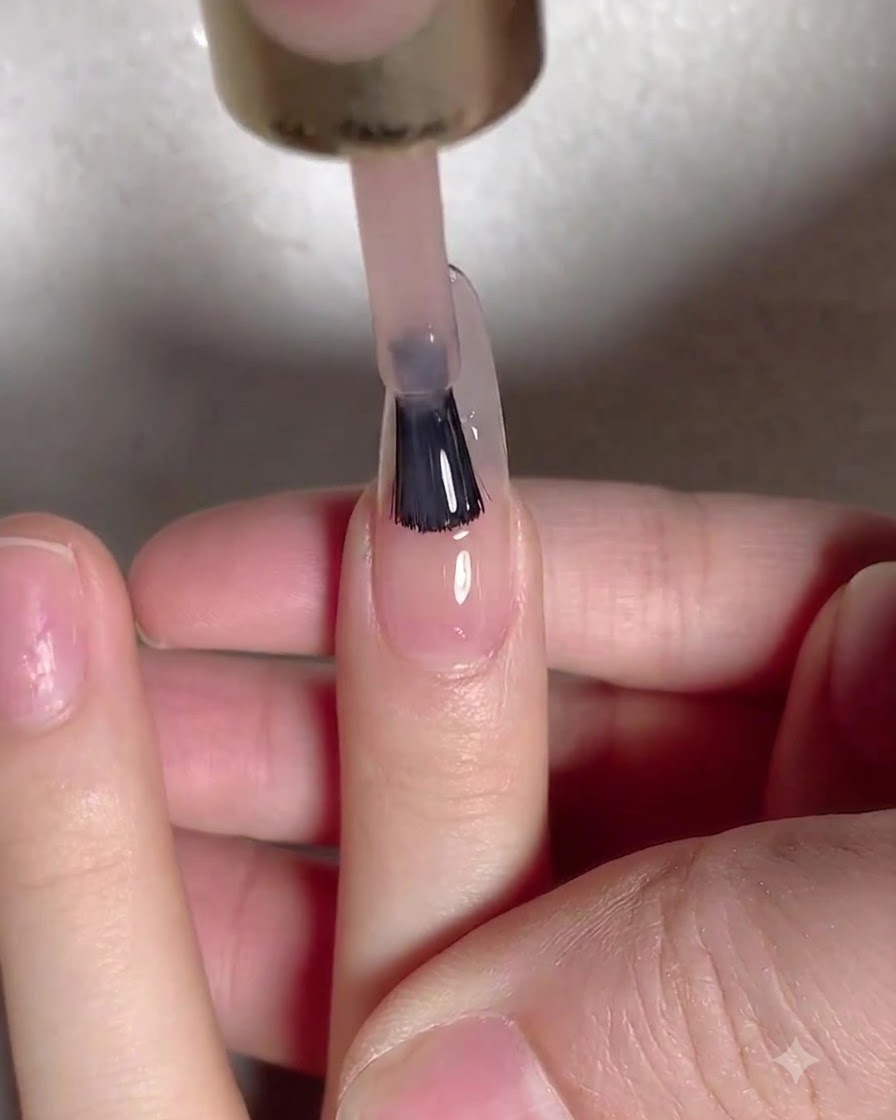
Apply a smooth and even layer of nude gel base coat over the entire nail plate using a gel brush. Ensure full coverage from the cuticle down to the free edge, preparing the nail surface for the upcoming design steps.
Tip: Apply in thin, controlled strokes to prevent pooling around the cuticles and ensure an even cure. - 2Cure the nude base coat
Place your hand inside the UV or LED lamp to cure the newly applied nude base coat. Allow it to cure completely according to the gel manufacturers recommended duration so the foundation is fully set.
Tip: Keep your hand flat inside the lamp to prevent the gel from shifting or curing unevenly. - 3Wipe the inhibition layer
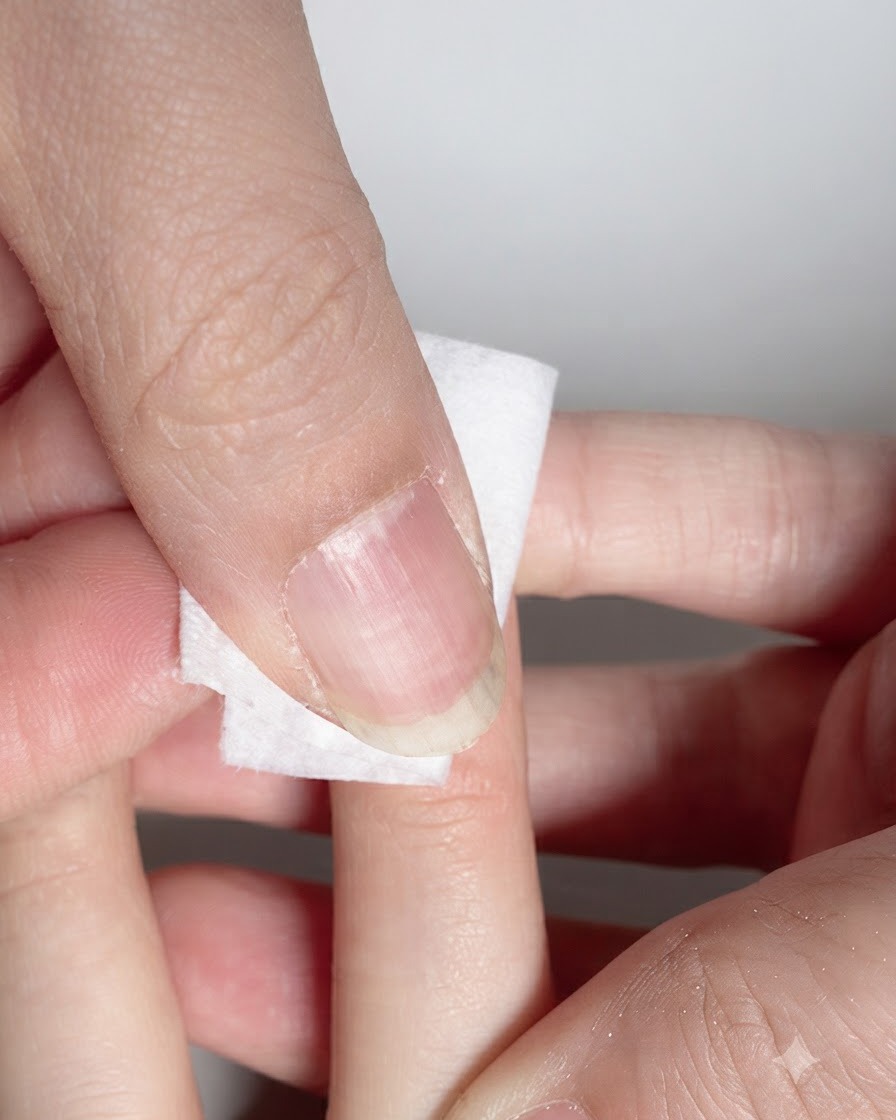
Take a lint-free wipe moistened with nail cleanser and thoroughly wipe the sticky inhibition layer from the cured nail surface. This cleanses the nail and provides a clean foundation for subsequent color applications.
Tip: Ensure the wipe is fully saturated with cleanser to cleanly remove residue without dulling the surface. - 4Apply pink color gel to center
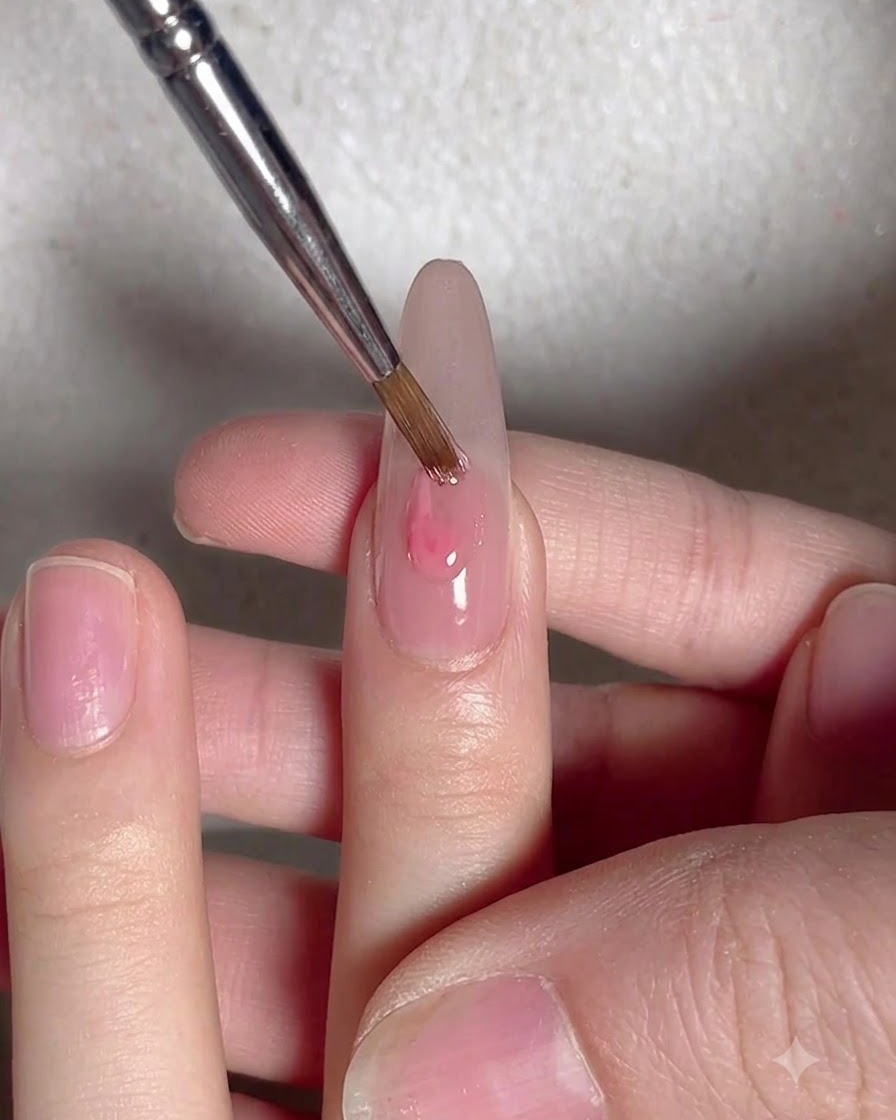
Using a fine brush, apply a small dot of pink color gel onto the middle section of the nail plate. This serves as the starting point for creating a soft, dimensional blush gradient effect.
Tip: Use a minimal amount of product to avoid a thick buildup when blending. - 5Create a blush gradient
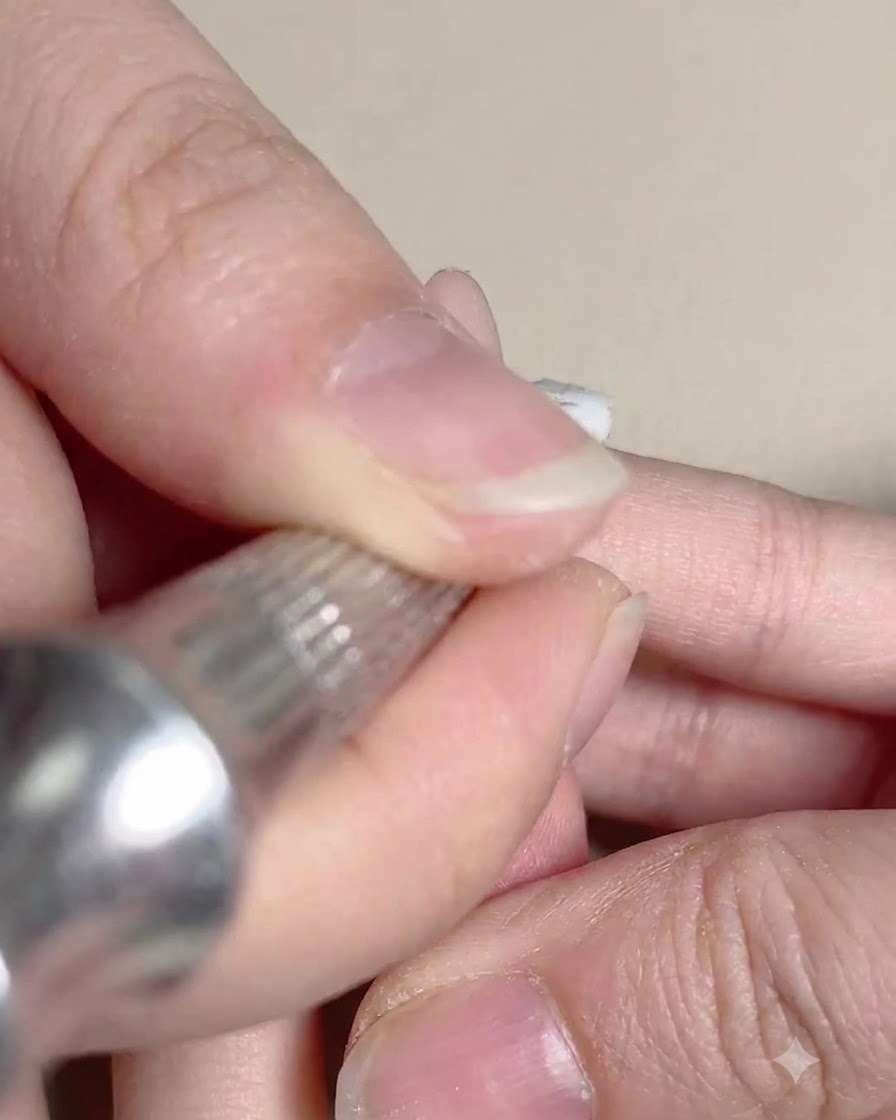
Take a small makeup sponge applicator and gently dab the pink color on the nail to diffuse the edges outward. This technique creates a smooth, airbrushed blush gradient effect centered on the nail plate.
Tip: Dab lightly and repeatedly rather than pressing hard to keep the color transition soft and seamless. - 6Cure the gradient color layer
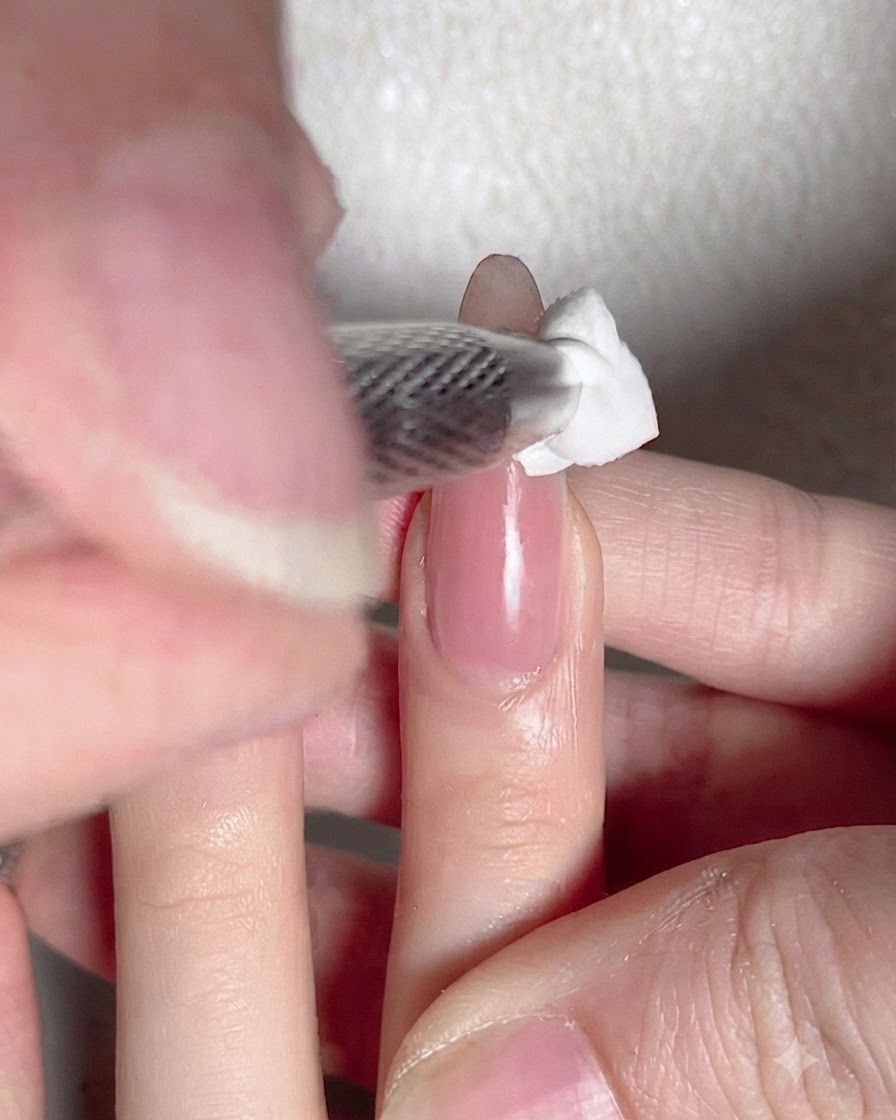
Place the hand back under the UV or LED lamp to cure the newly created pink blush gradient layer. Ensure it cures fully before moving on to the next step of the manicure.
Tip: Double-check that the sponge-textured gradient layer is completely dry and set before touching it. - 7Apply aurora powder flakes
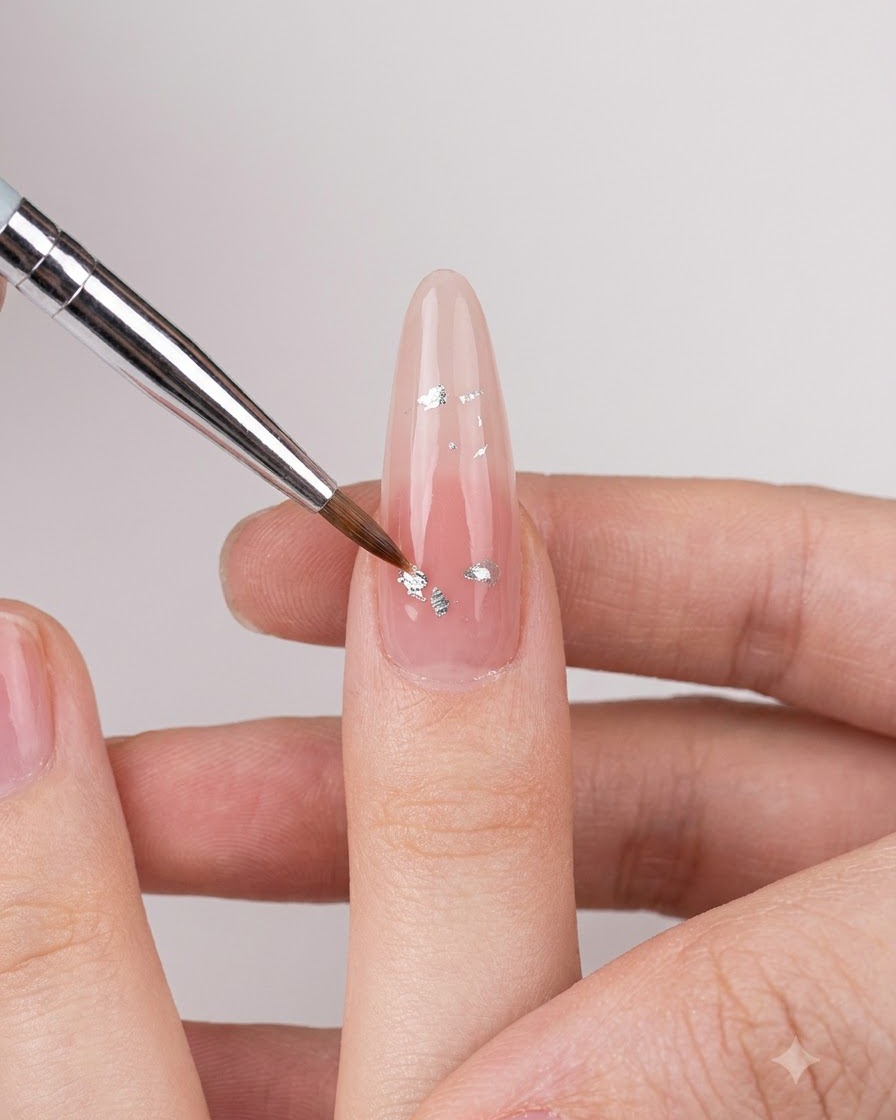
Using a fine brush, pick up small iridescent aurora powder flakes and gently place them onto the tacky nail surface. Arrange the flakes strategically to create a shimmering, ethereal effect that catches the light from different angles.
Tip: Tap off excess flakes from your brush before applying to avoid clustering too many pieces in one spot. - 8Press and secure aurora flakes
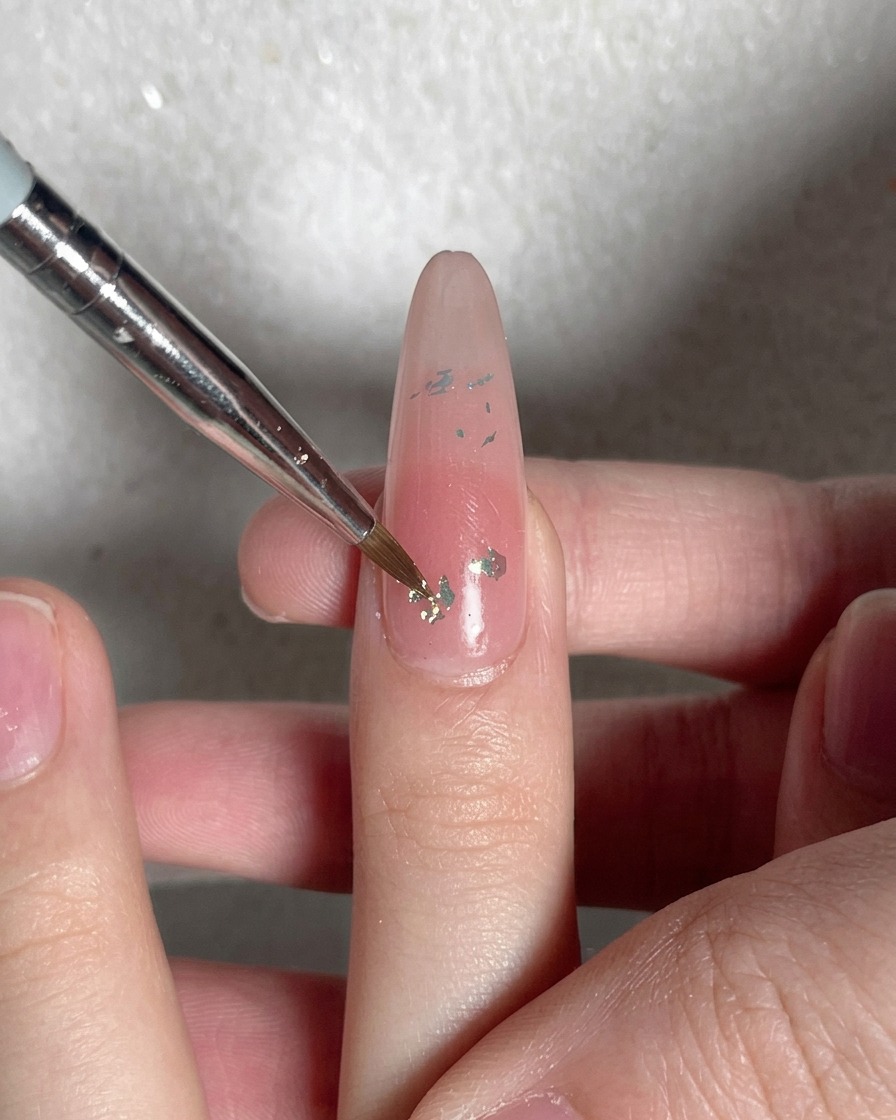
Using the tip of your brush, press down gently on the applied aurora flakes and rhinestones. This ensures that every piece lies flat against the nail surface and securely adheres to the sticky layer, preventing any lifting or rough edges under the top coat.
Tip: Press firmly but carefully so you do not displace the arrangement of the flakes. - 9Paint the first layer of flower petals
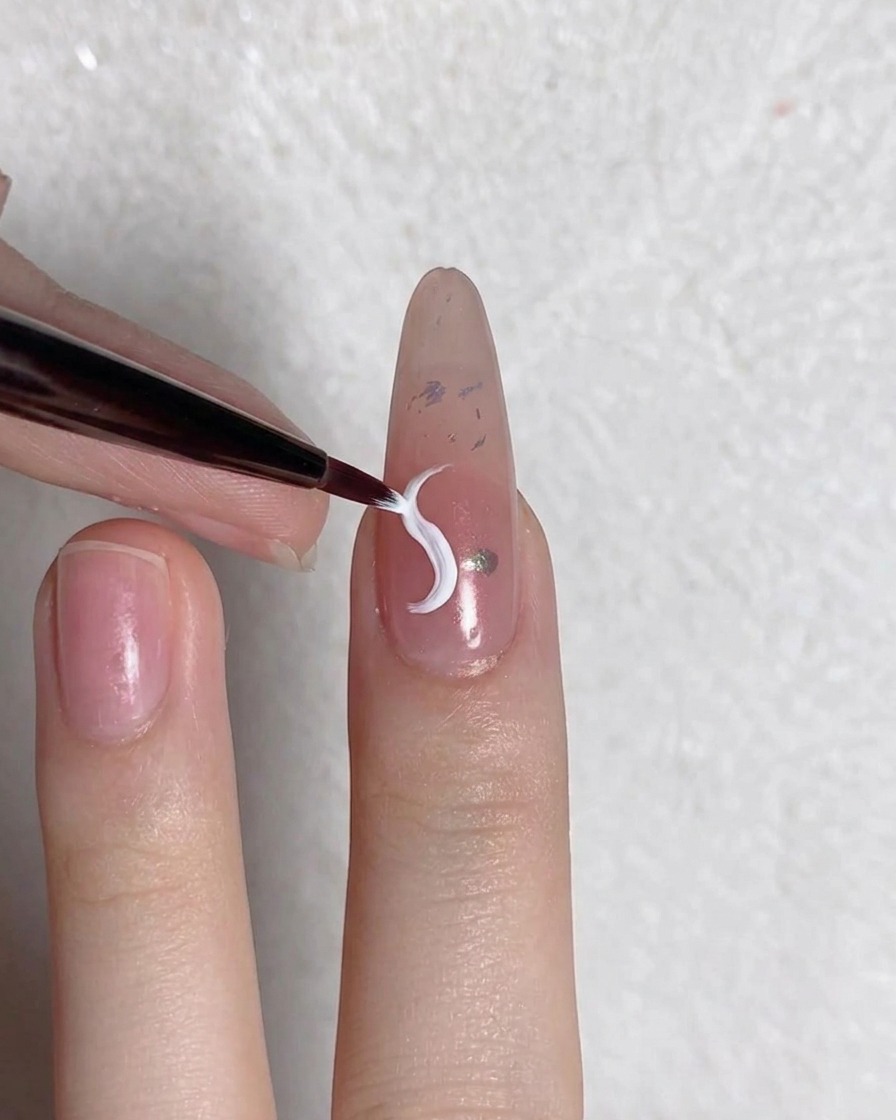
Load a fine liner brush with white gel and begin sketching the initial layer of flower petals. Draw delicate, curved petal shapes radiating outward from the center point to build the foundation of your floral design.
Tip: Keep your hand steady and use light pressure on the tip of the liner brush to achieve fine, crisp petal lines. - 10Cure first petal layer
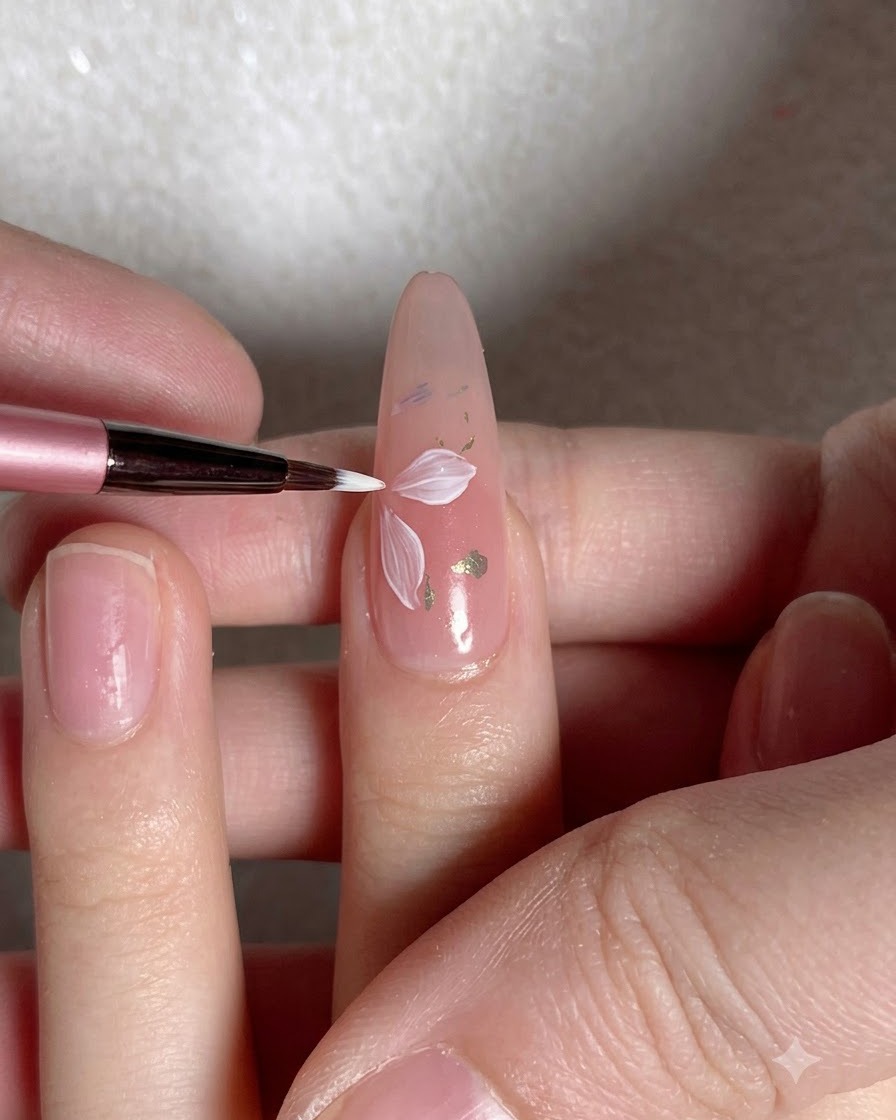
Place your hand under the UV or LED lamp to cure the first layer of painted white flower petals. Curing locks the design in place so it will not smudge or smear when you apply subsequent layers or top coats.
Tip: Follow your gel polish manufacturers recommended curing time for pigment-heavy white gels. - 11Apply glossy top coat
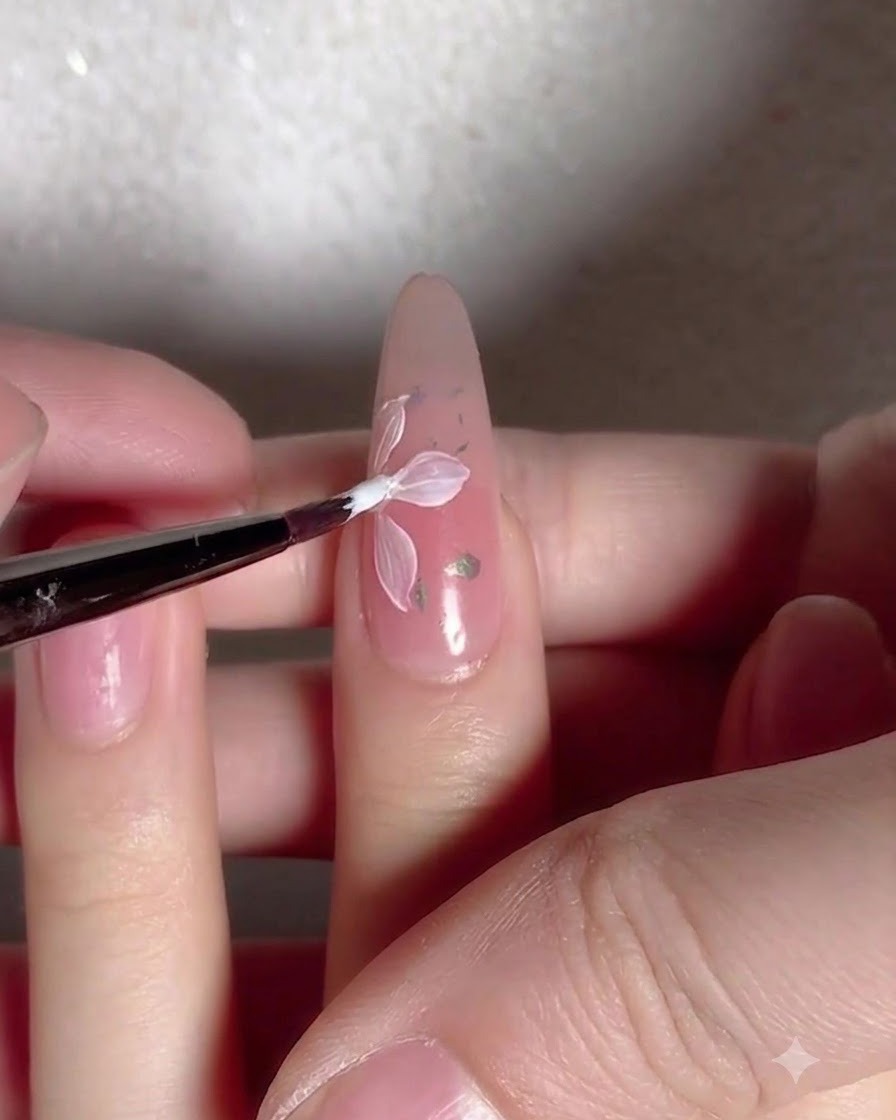
Apply a smooth, even layer of glossy top coat over the entire nail surface, sealing in the aurora flakes and the first layer of flower petals. Cap the free edge tightly to protect the manicure from chipping.
Tip: Ensure the top coat covers all raised edges of the flakes and petals to create a completely smooth finish. - 12Draw vine lines
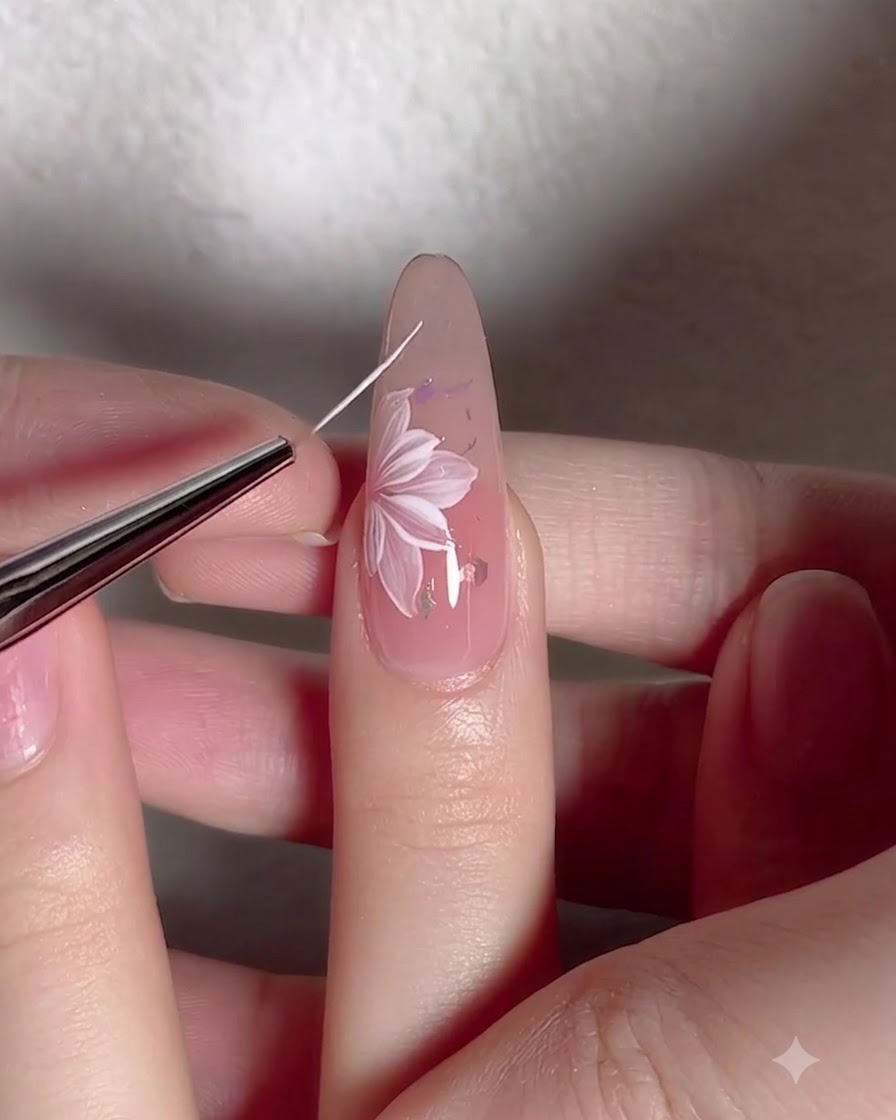
Using a fine liner brush, draw delicate vine and stem lines around the flower to complete the nail art design. Once the lines are placed precisely, place your hand under the UV or LED lamp to cure and set the final details.
Tip: Keep a light touch with the liner brush to ensure the vine lines remain thin and elegant.