Sunset Glow Ombre
Flame Accent Nails — Step-by-Step Tutorial
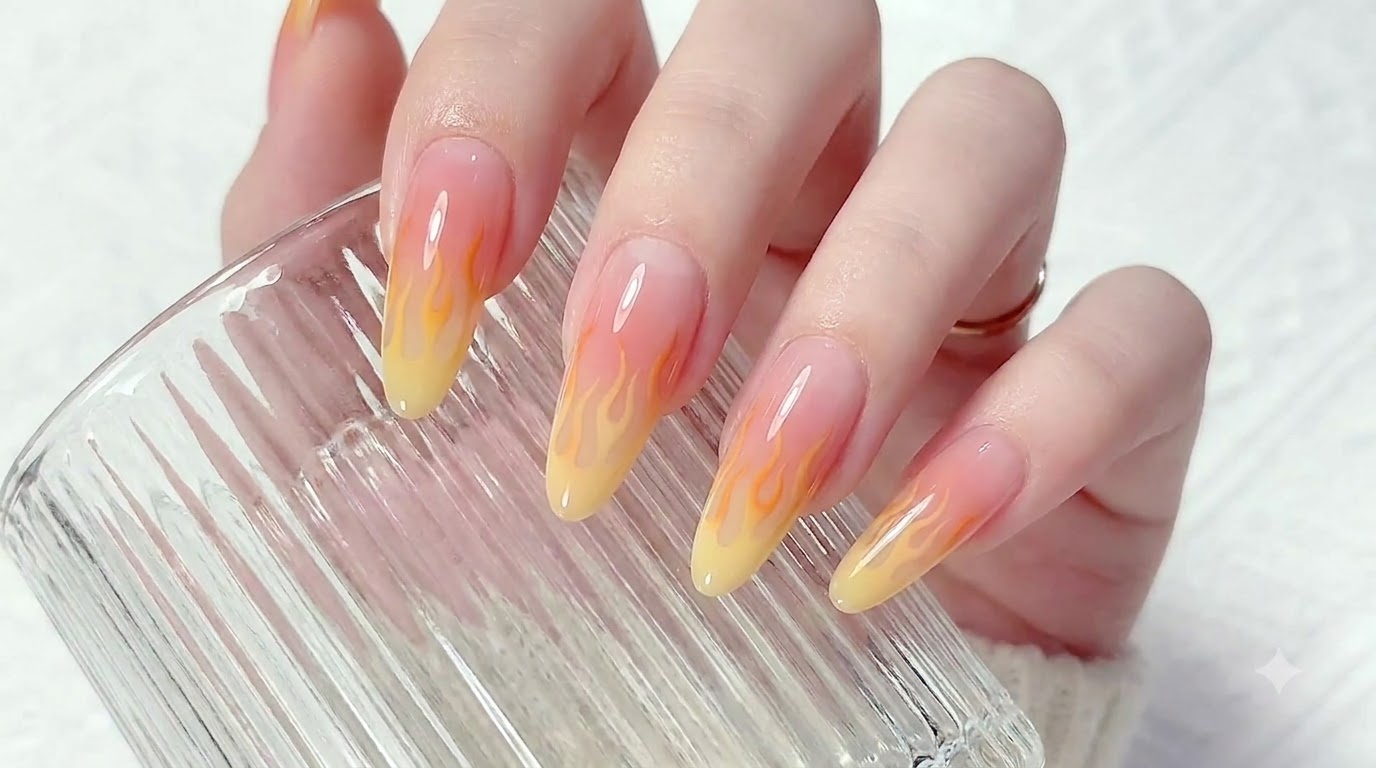
Create vibrant sunset glow ombre nails featuring delicate watercolor flame details at the tips using a simple sponge blending technique.
Sunset-inspired gradient nails combined with fiery fingertip art bring a warm, radiant look to any manicure. This tutorial guides you through using watercolor gels and a makeup sponge to seamlessly blend pink and yellow tones, finished with striking flame details for a standout style.
Steps
- 1Cure the base gel
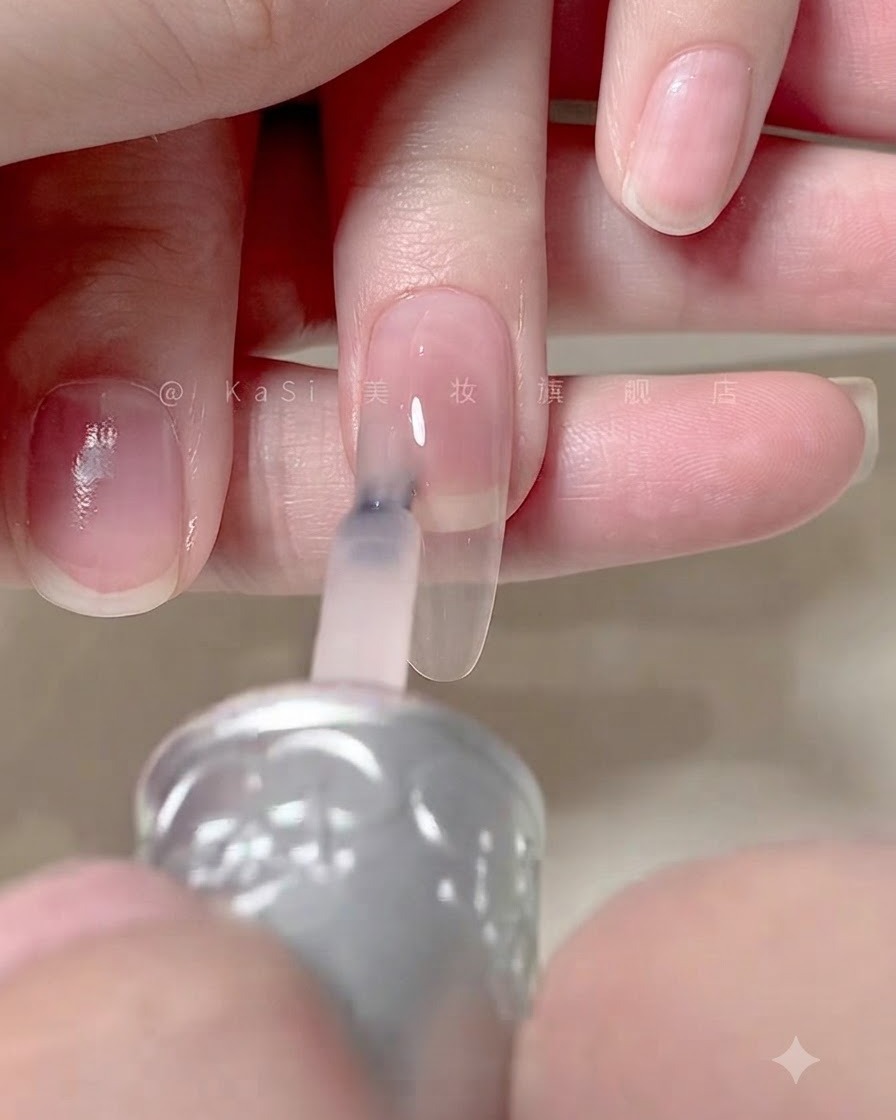
Place the hand inside the UV or LED nail lamp to cure the base gel coat. Ensure all fingers are positioned correctly under the light source for an even cure. Follow the manufacturers recommended curing time to create a solid foundation for the subsequent layers.
Tip: Make sure the hand is centered in the lamp to prevent uneven curing across the fingers. - 2Apply matte top coat
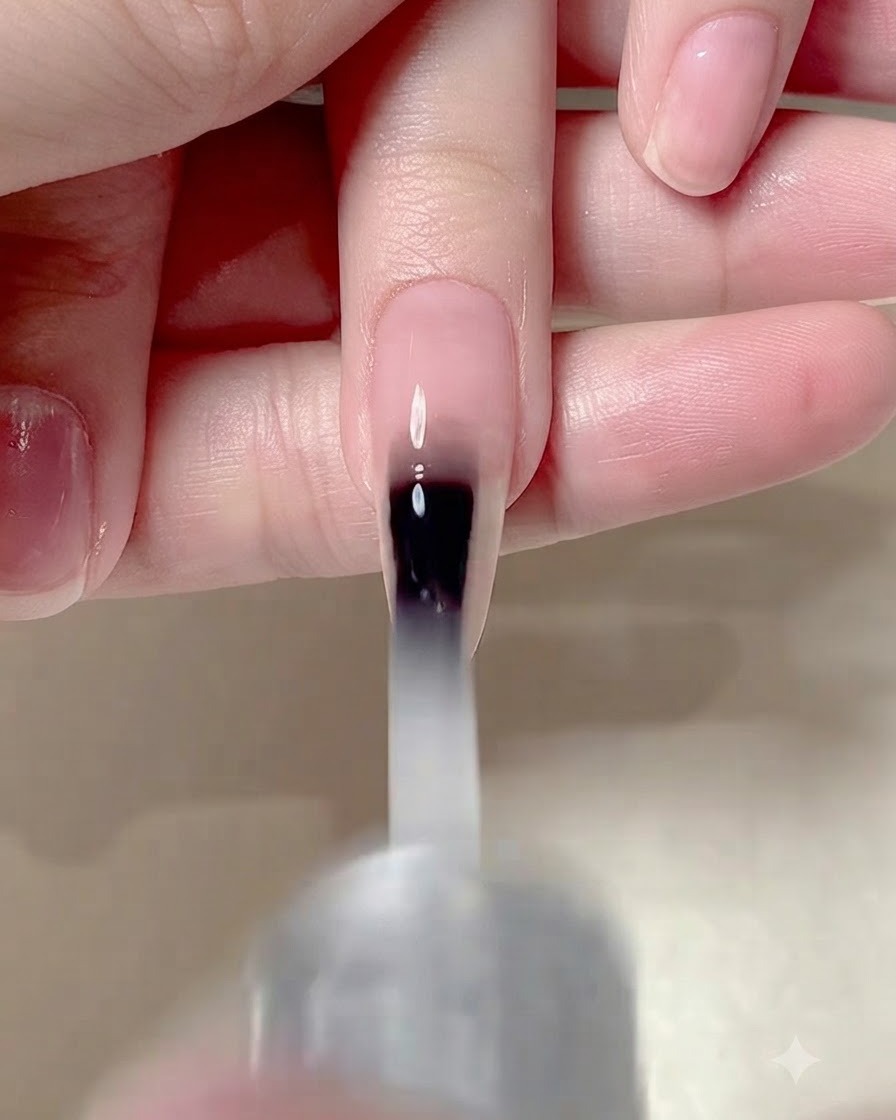
Apply an even layer of matte top coat over the entire surface of the cured nail. Ensure the product covers the entire nail plate smoothly and caps the free edge securely. This creates the proper texture needed for the watercolor gel application.
Tip: Apply in thin, smooth strokes to avoid pooling near the cuticles or sidewalls. - 3Cure matte top coat
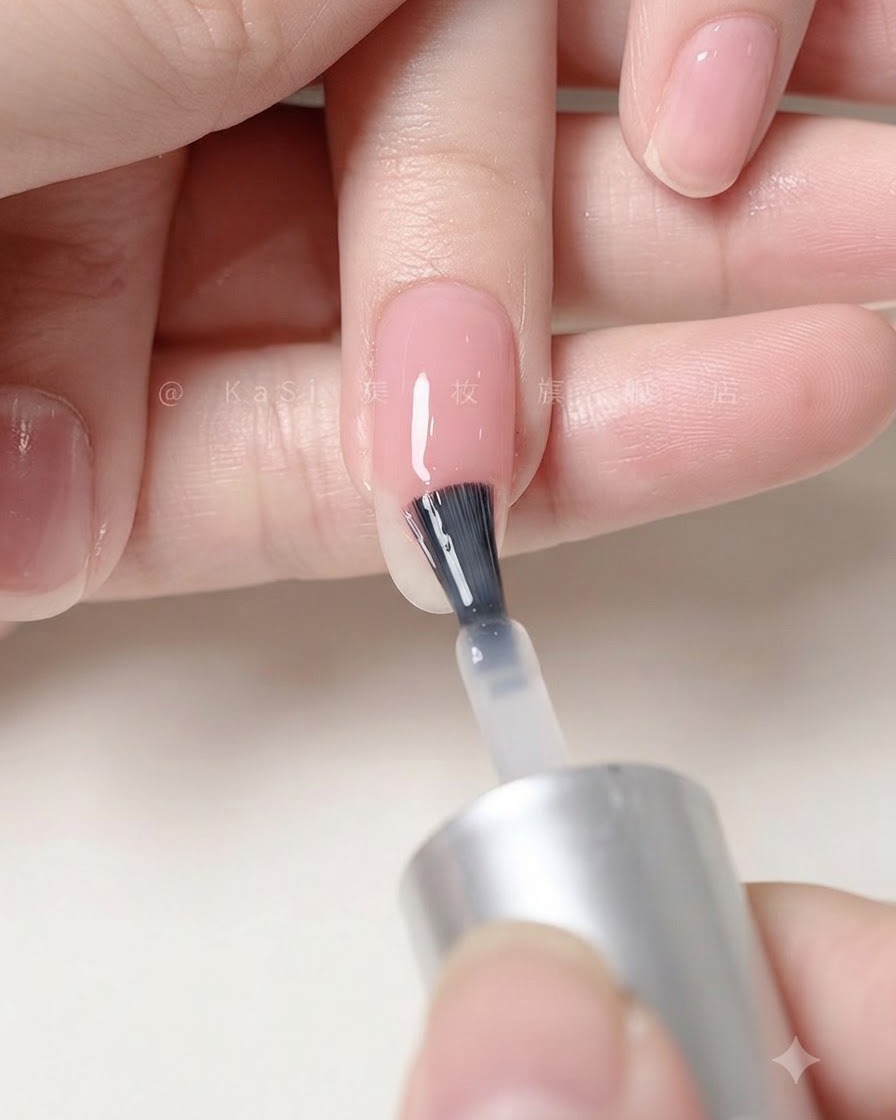
Place the hand under the UV or LED lamp and cure the matte top coat for 1 minute. This fully sets the matte finish, providing a textured base that allows the watercolor gels to spread and blend seamlessly without running.
Tip: Do not remove any inhibition layer if present until the specific product instructions are met. - 4Pick up watercolor gels
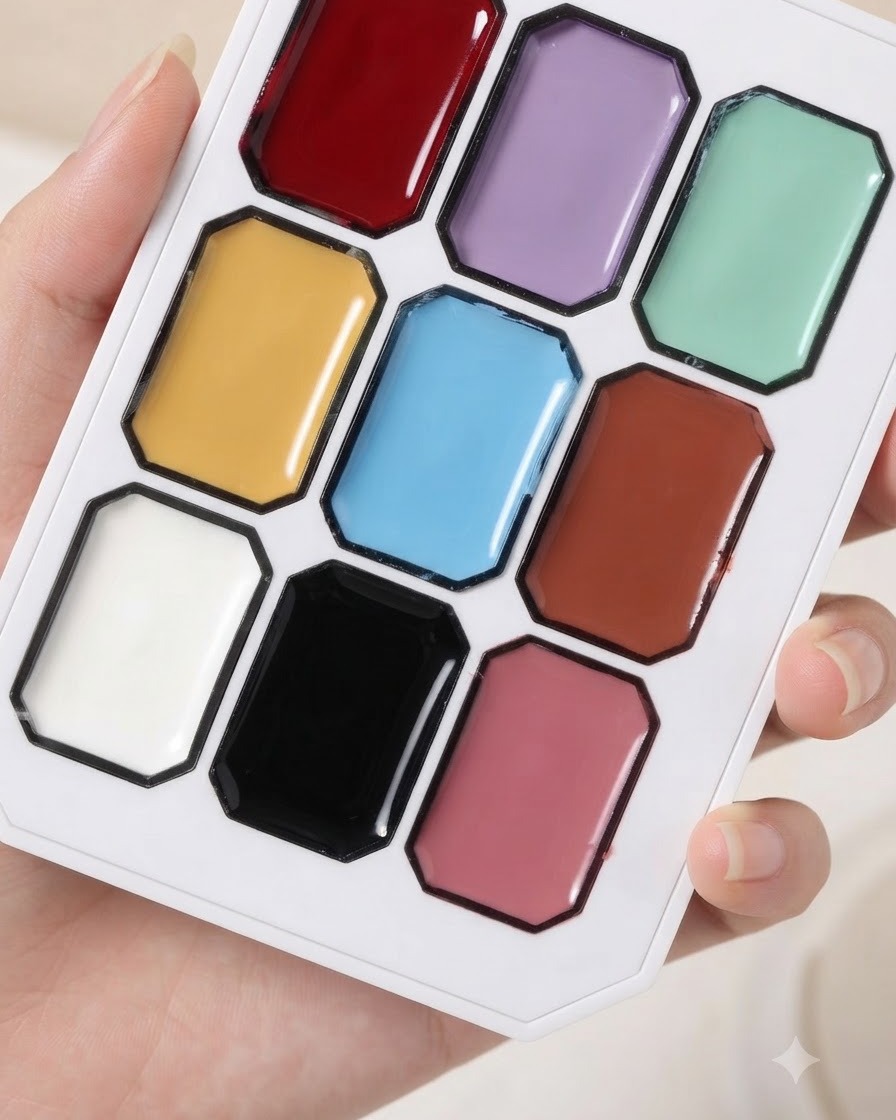
Using a fine detailing brush, pick up red and yellow watercolor gels from a 9-color pigment palette. Prepare the brush with the desired amount of color pigment to start creating the sunset blush gradient effect.
Tip: Control the moisture and pigment load on your brush to prevent the colors from becoming overly diluted. - 5Pick up dabbing gel with sponge
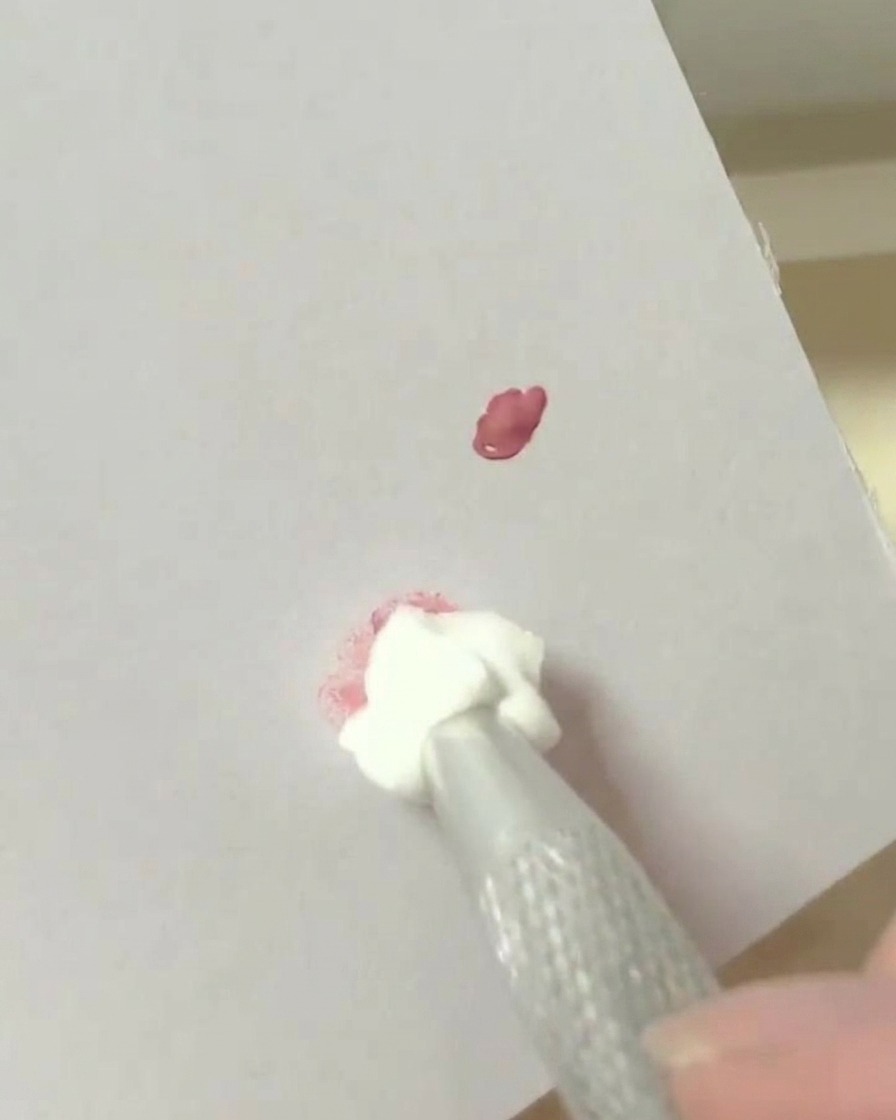
Take a square makeup sponge and use it to pick up the dabbing gel from the mixed pigment spot on your palette. Lightly dab the sponge into the pigment mixture to load it evenly across the surface of the sponge.
Tip: Tap off any excess product on a clean section of the palette before applying it to the nail. - 6Pat blush ombre gradient
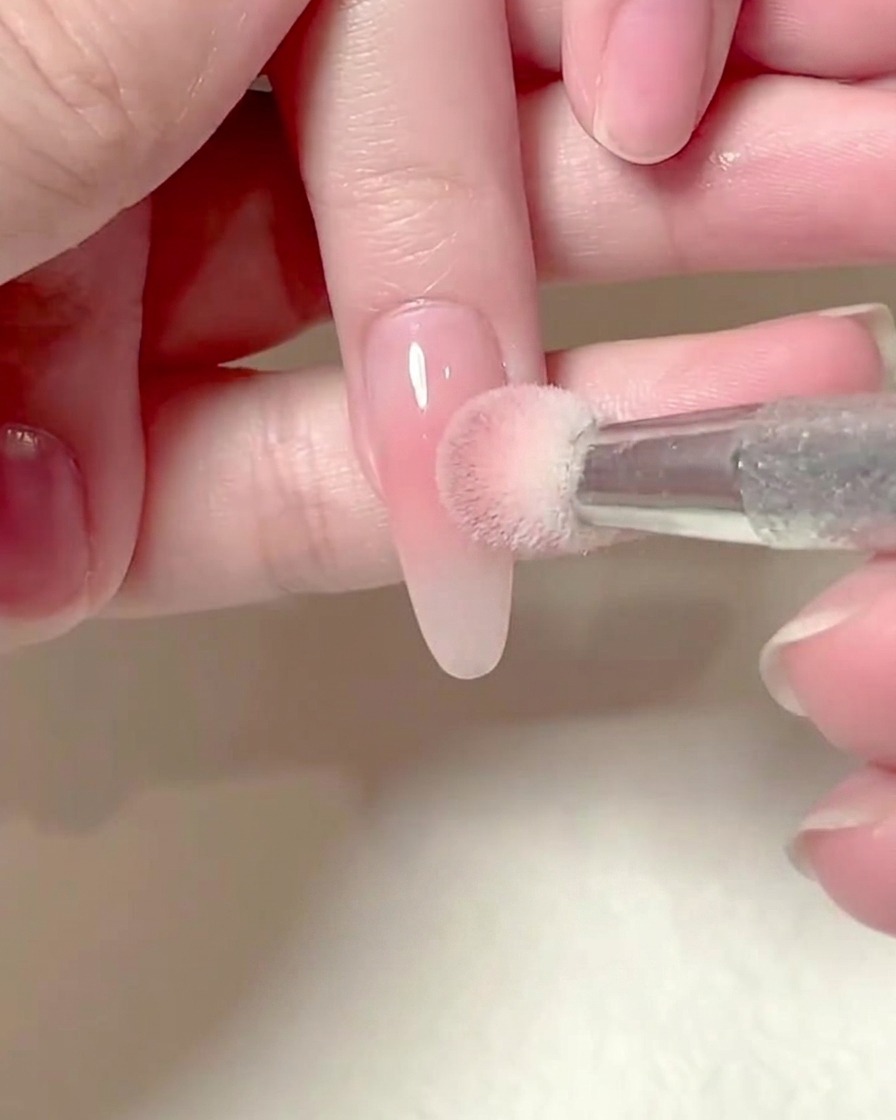
Using a square sponge with dab-dab gel, gently pat the blush color starting from the middle of the nail and moving outward toward the edges to create a smooth, soft ombre transition.
Tip: Keep your dabbing motions light and even to avoid harsh lines or patchy color accumulation on the nail surface. - 7Intensify pink gradient layer
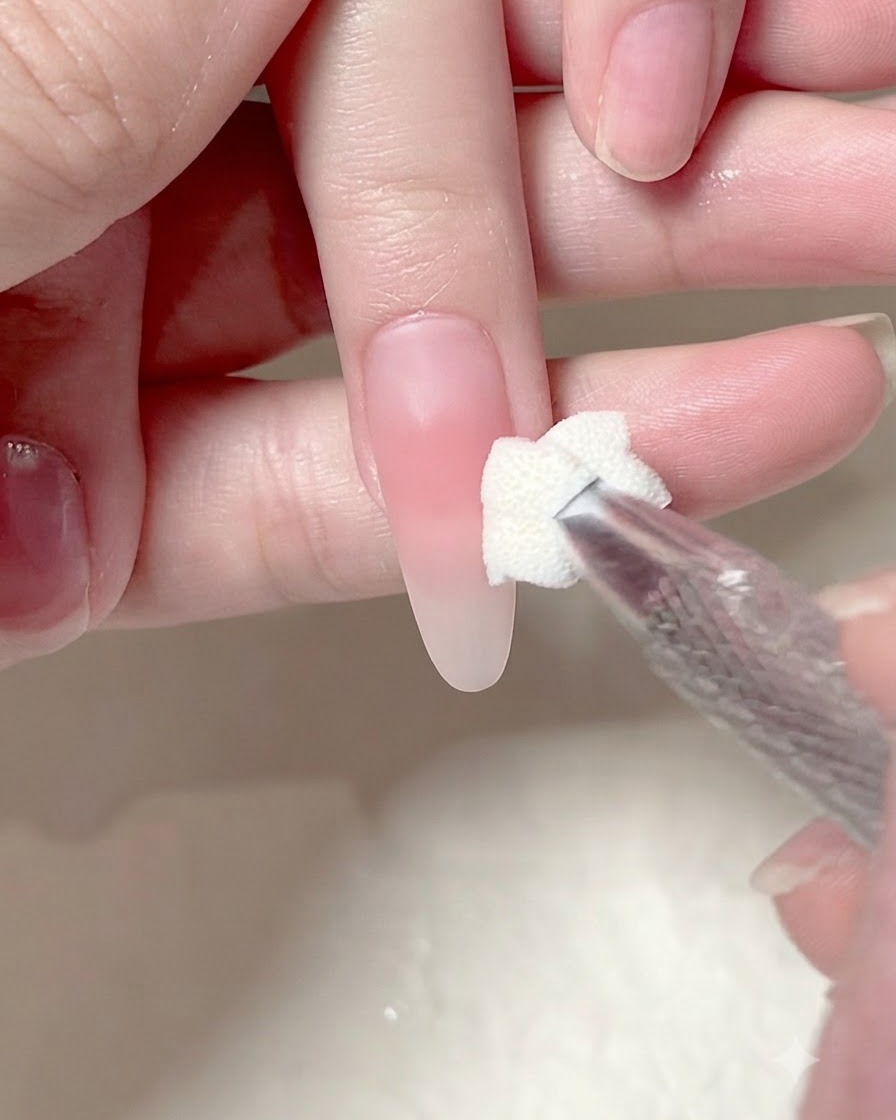
Apply a second layer by dabbing again with the sponge over the same area to deepen the pink gradient color intensity and create a richer finish.
Tip: Building color in thin, repeated layers prevents the gel from pooling and keeps the gradient smooth. - 8Paint yellow vertical stripes
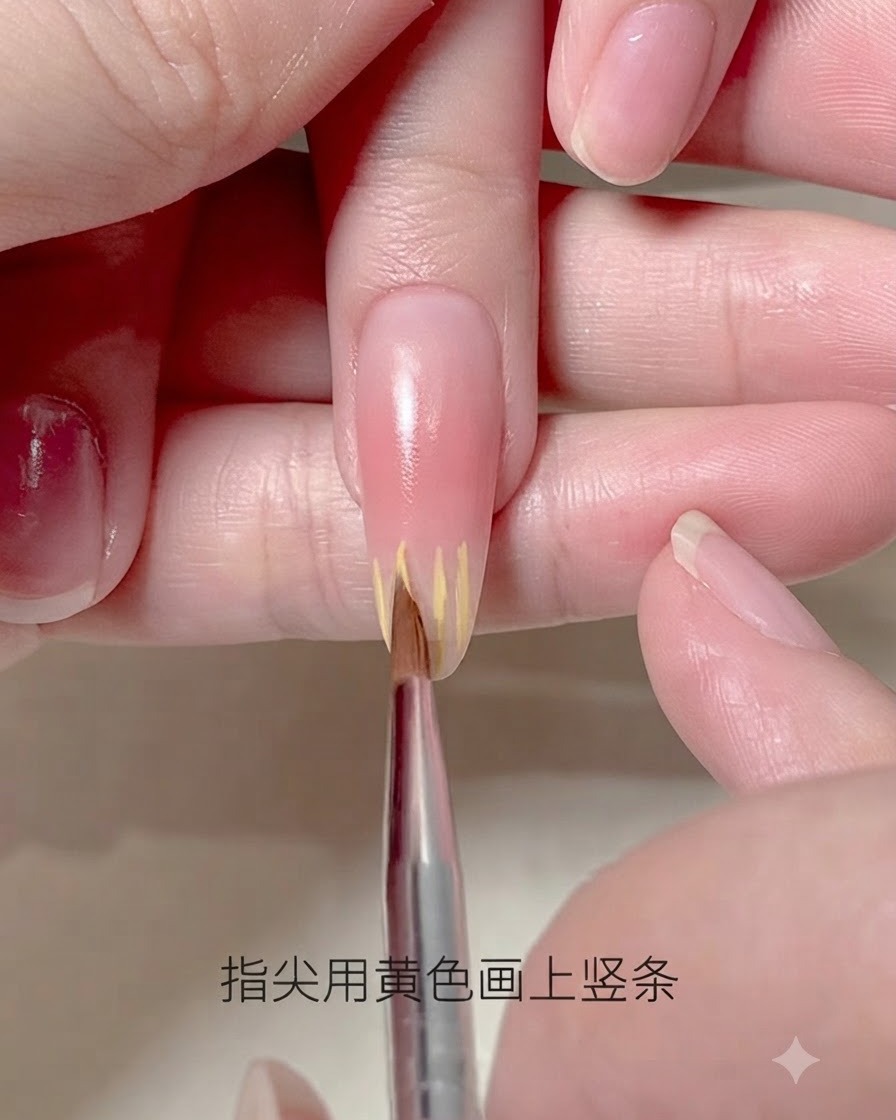
Using a fine liner brush loaded with yellow gel, paint delicate vertical stripes along the fingertip area to lay down the foundation for the final gradient blend.
Tip: Keep the brush strokes light and spaced apart so they blend easily in the subsequent dabbing steps. - 9Blend yellow stripes with a sponge
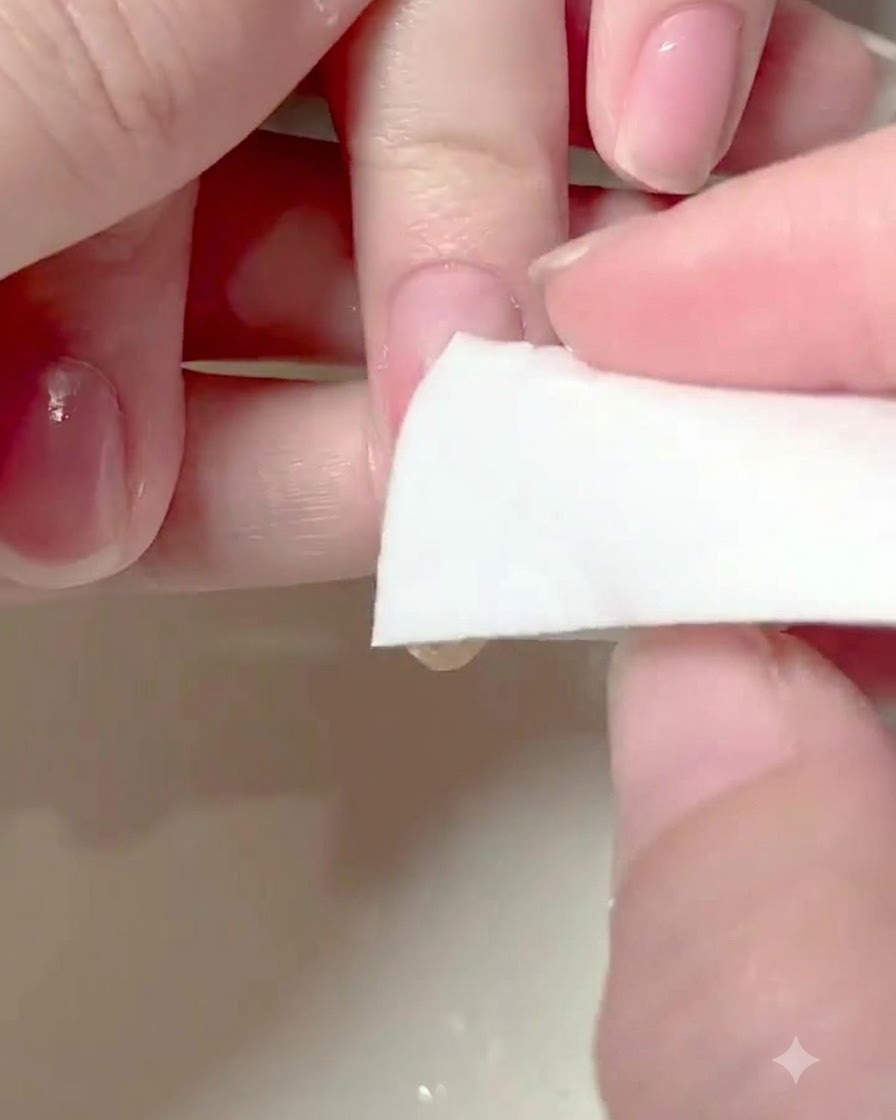
Dab lightly with a clean sponge over the painted yellow stripes to feather and blur the edges, blending them seamlessly into the existing gradient.
Tip: Ensure the sponge is clean so it diffuses the yellow pigment without muddying the colors underneath. - 10Refine gradient with second dabbing layer
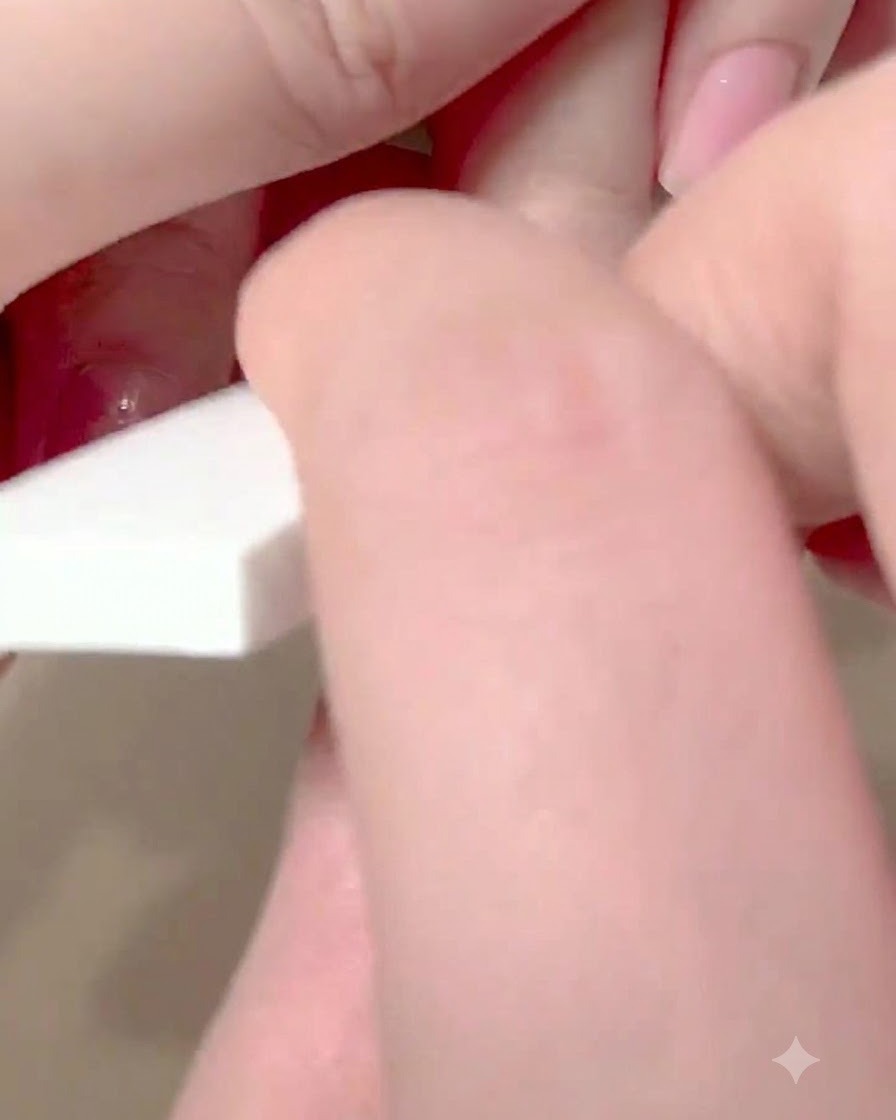
Apply a second overlapping layer of dabbing over the fingertip area to smooth out any remaining line textures and fully refine the sunset gradient effect.
Tip: Check the transition under good lighting to ensure a flawless melt between the pink and yellow tones before curing. - 11Apply glossy crystal top coat
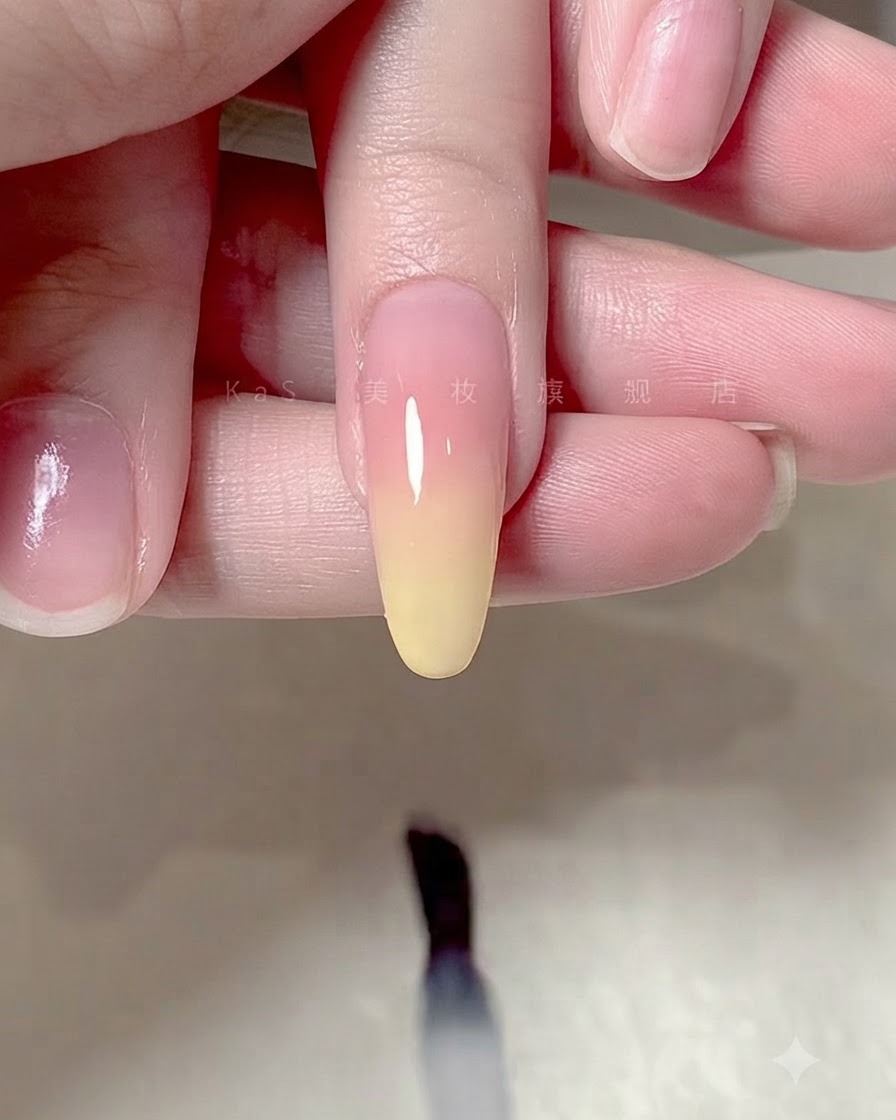
Apply a generous coat of glossy crystal top coat over the entire nail design to seal and protect the colors. Make sure to cap the free edge completely to prevent chipping and ensure a long-lasting mirror shine. Cure under the lamp according to your product instructions.
Tip: Capping the free edge with top coat is essential for preventing premature lifting and chipping at the tip.