Blood-Red Ombre
Blush Gradient Nails — Step-by-Step Tutorial
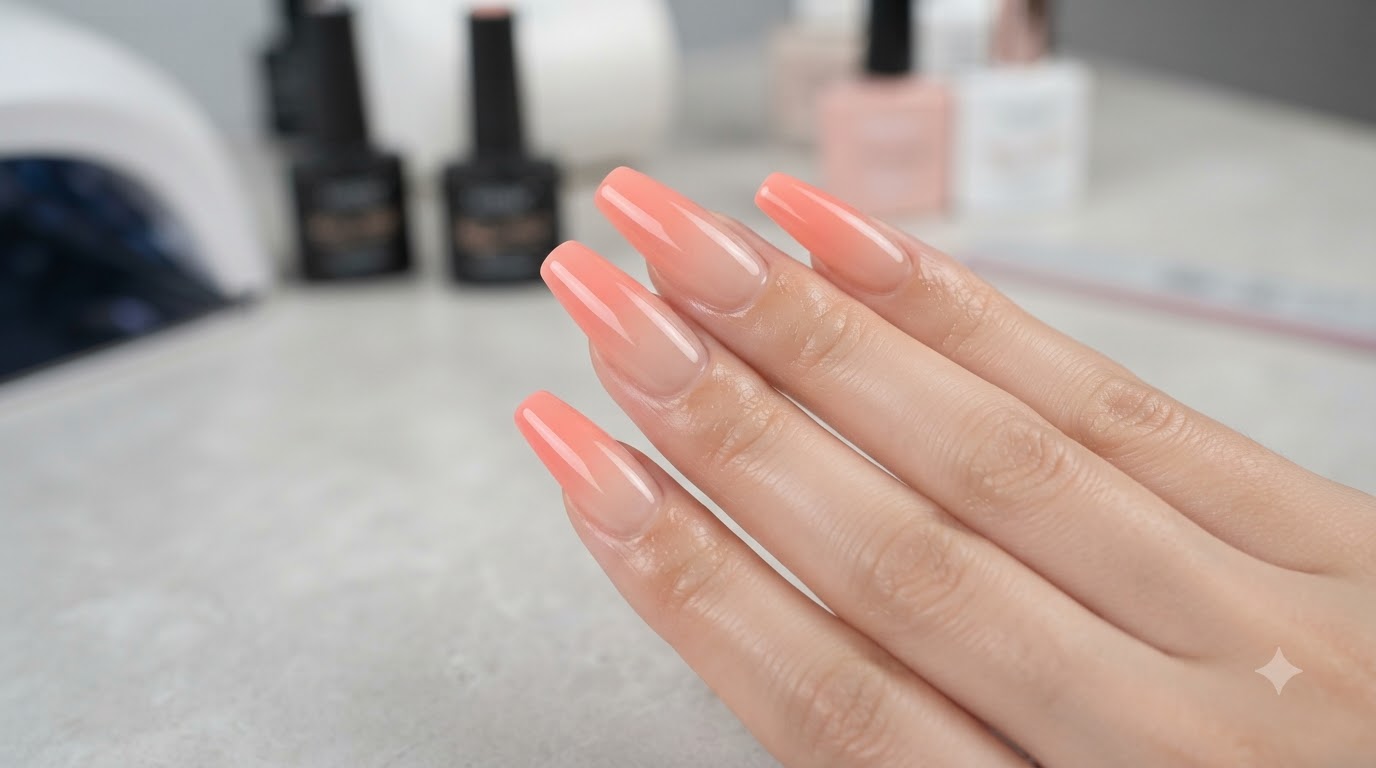
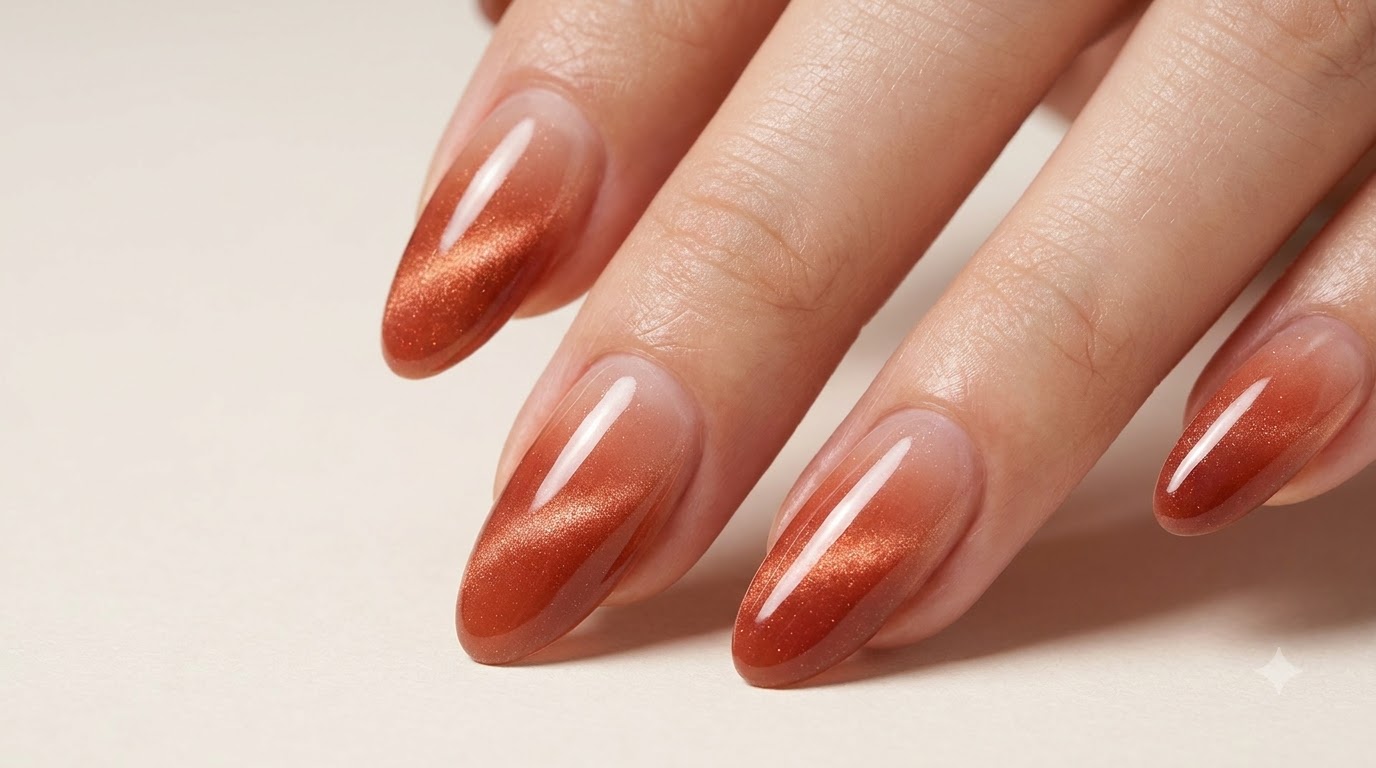
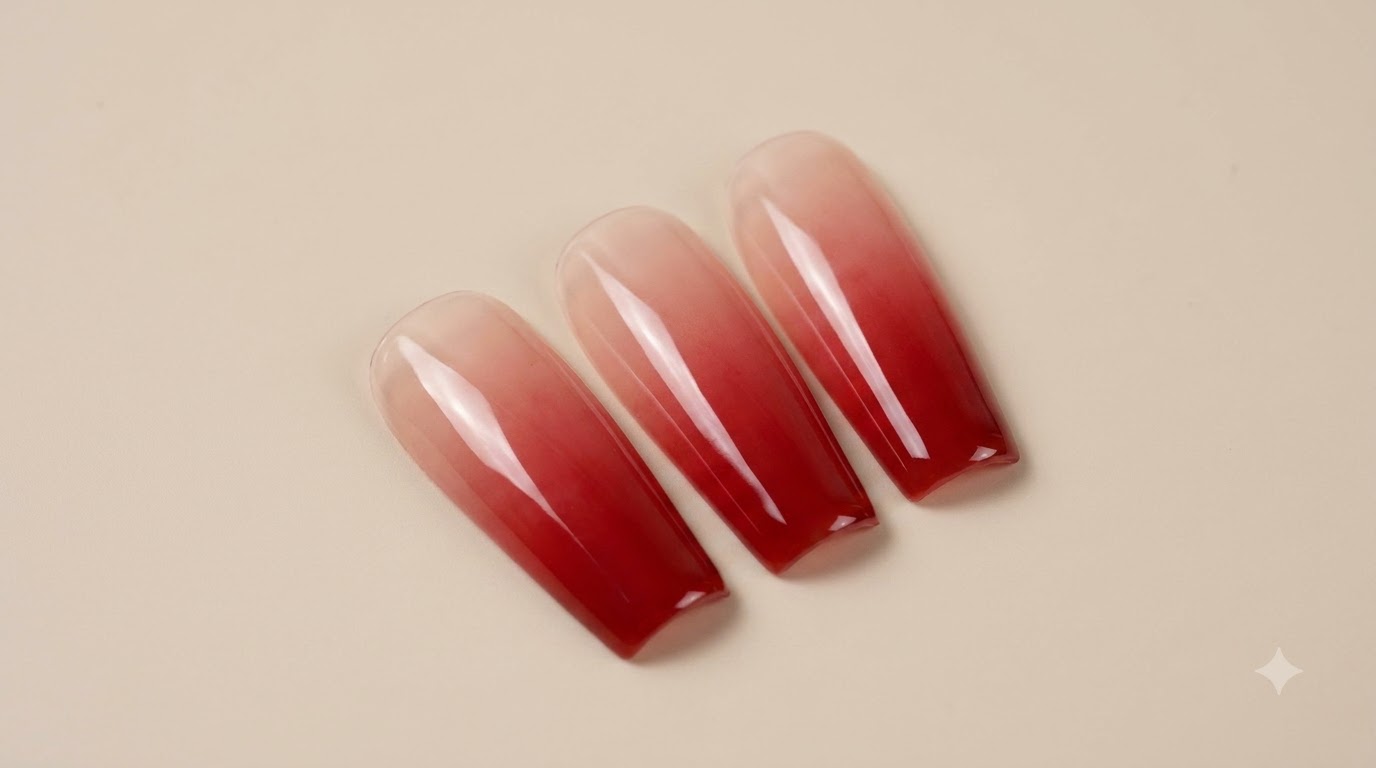
Create a stunning blood-red ombre and blush gradient nail art look using a simple sponge stamping technique for a natural, high-impact finish.
Gradient and ombre styles continue to dominate nail art trends, offering a seamless blend of color that looks sophisticated yet effortless. This blood-red wine tint technique gives your nails a rich, dimensional depth that is especially popular for festive occasions and seasonal wear.
Steps
- 1Spread gel on the palette
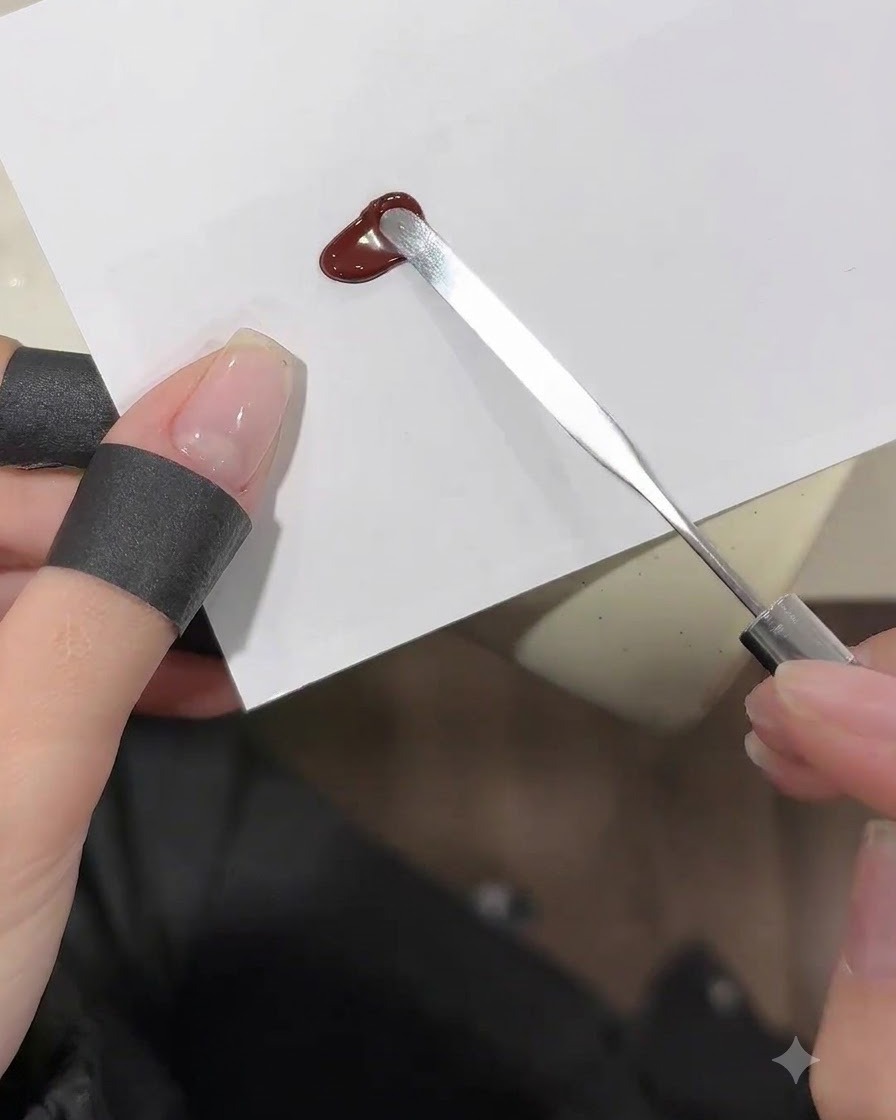
Take a metal spatula and use it to spread and smear the wine red clapping gel into an even layer across a white paper palette. Preparing a smooth patch of color ensures that the makeup sponge can pick up an even amount of pigment for the gradient application.
Tip: Keep the spread layer thin and uniform to prevent clumping on the sponge. - 2Pick up pigment with a sponge
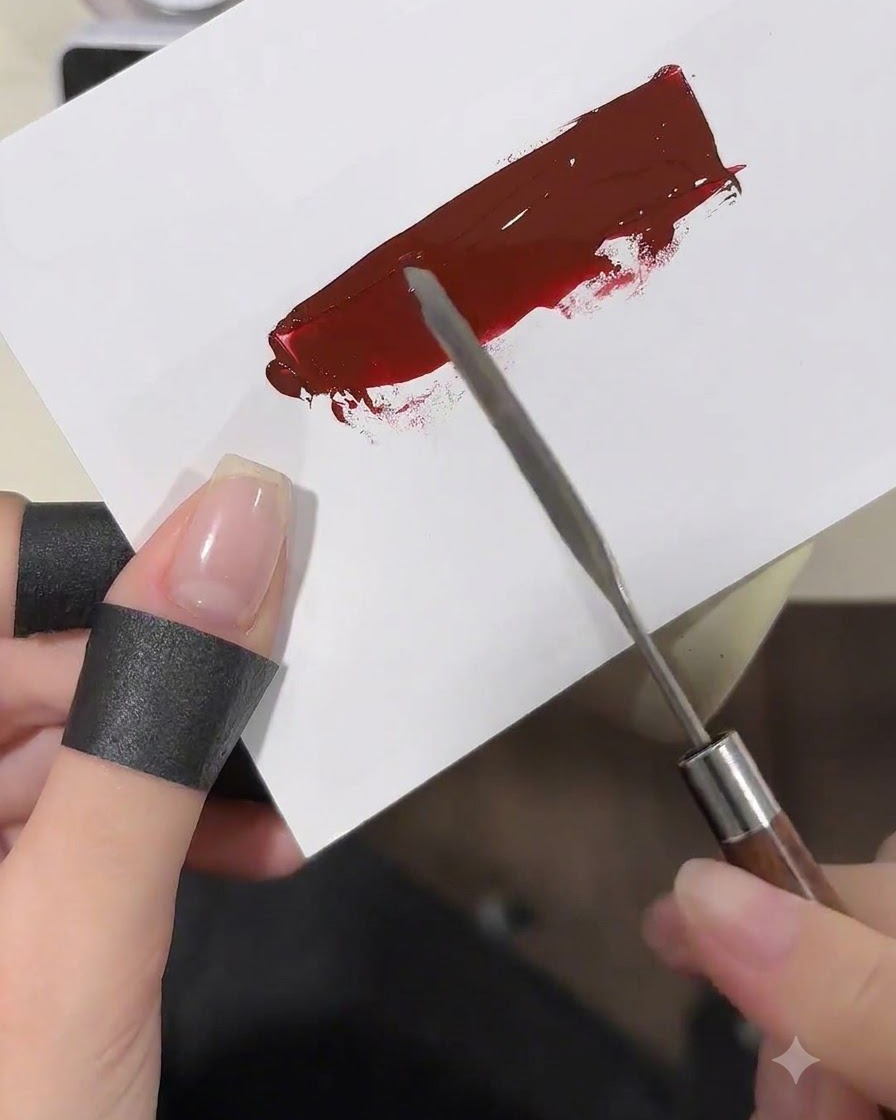
Take a makeup sponge and gently tap it onto the swatched wine red gel on the palette to pick up the pigment. This loaded sponge will be used to stamp the gradient effect directly onto the prepped nail surface.
Tip: Tap off excess product on a clean section of the palette first to avoid a harsh, blotchy application. - 3Apply nude base coat
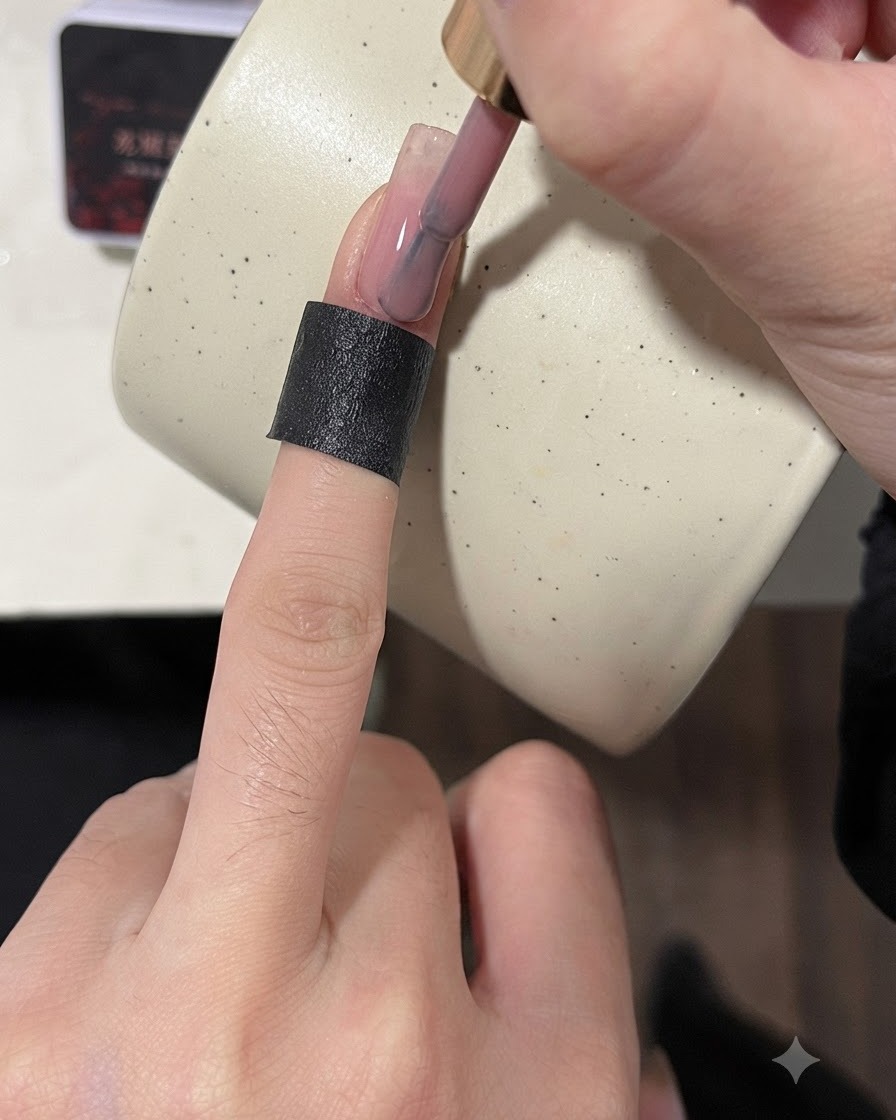
Apply a smooth and even layer of nude base coat onto the practice nail plate using a brush, making sure to cover the surface uniformly before curing.
Tip: Keep the base coat layer thin to ensure proper curing and prevent bubbling. - 4Wipe inhibition layer
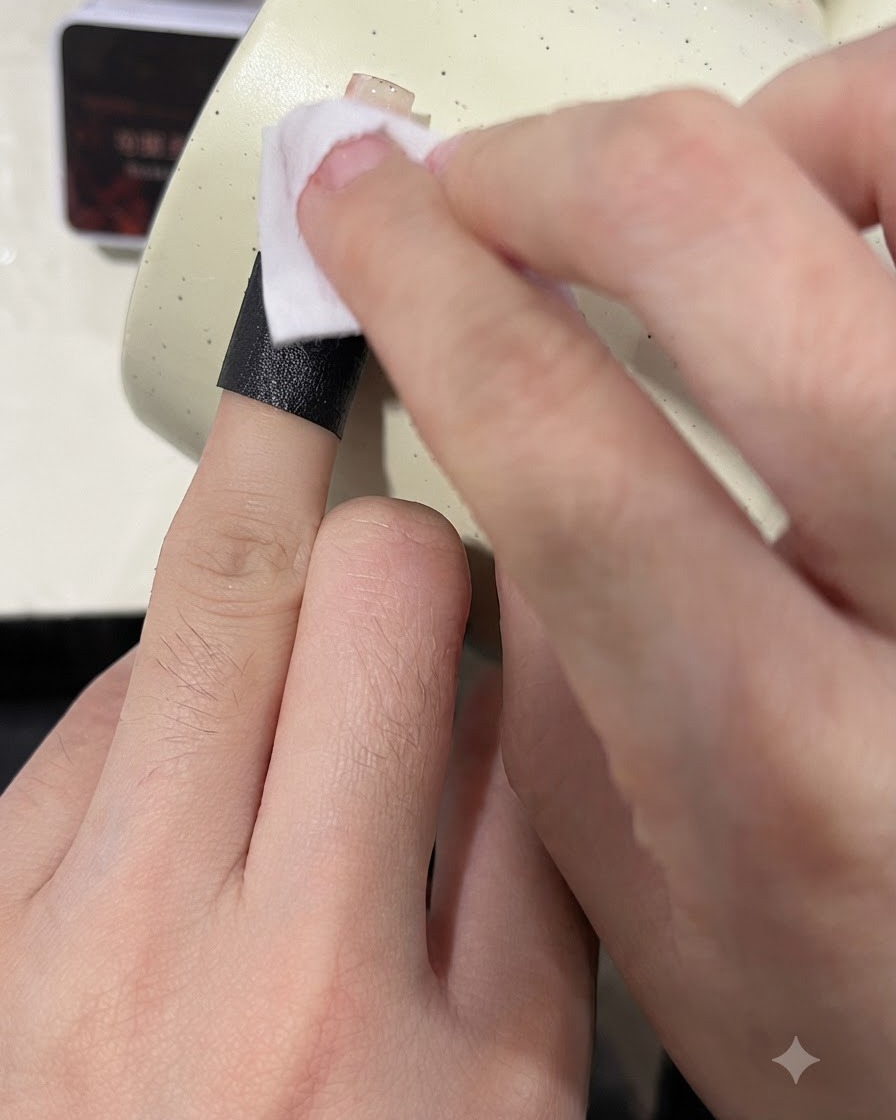
Take a cotton pad soaked in cleanser and gently wipe the sticky inhibition layer off the cured base coat to prepare the surface for the next step.
Tip: Ensure the inhibition layer is completely removed so subsequent layers adhere properly. - 5Stamp first gradient layer
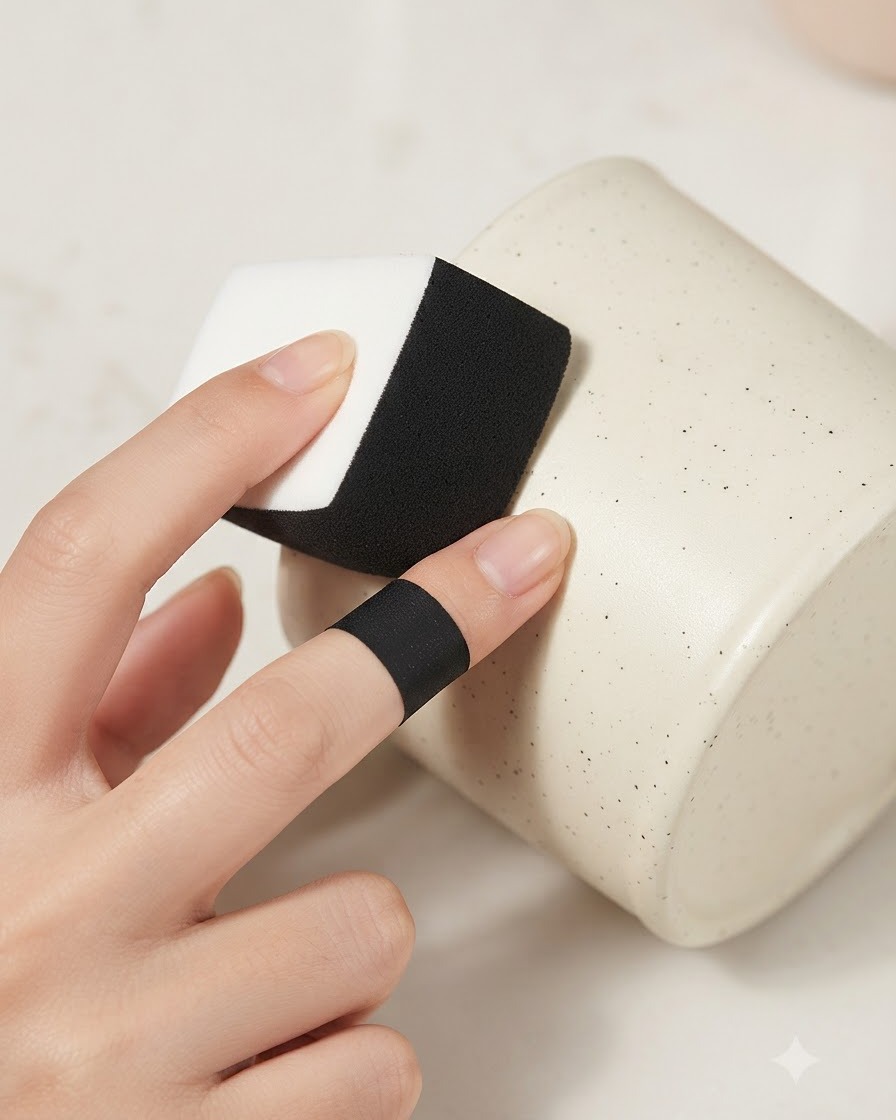
Press the sponge containing the dark wine red color onto the nail, starting slightly higher up to create a sheer and soft first gradient layer.
Tip: Use light tapping motions with the sponge to avoid harsh lines and achieve a smooth gradient. - 6Apply second gradient layer
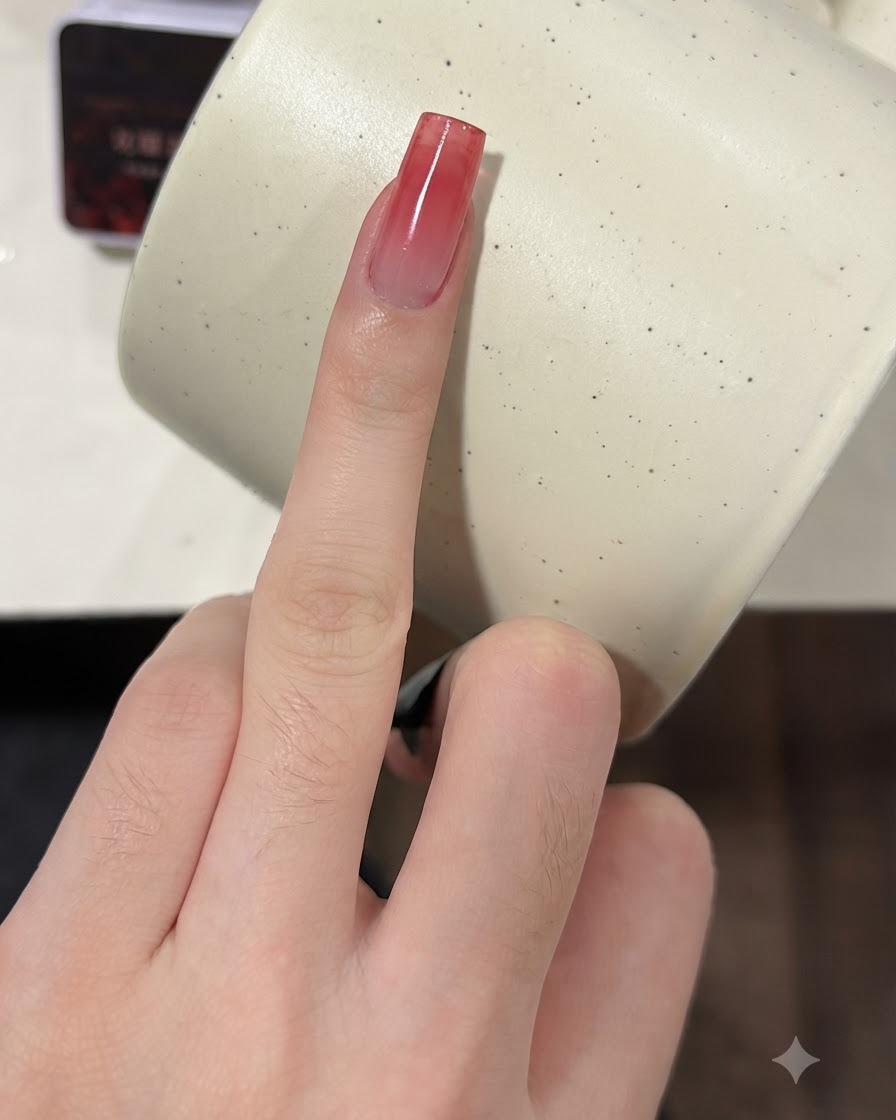
Press the makeup sponge onto the nail once more to build up a second layer of color. This second pass increases color saturation and deepens the opacity of the ombre gradient towards the tip.
Tip: Align the sponge similarly to the first pass to maintain a smooth, seamless transition gradient. - 7Darken the nail tip
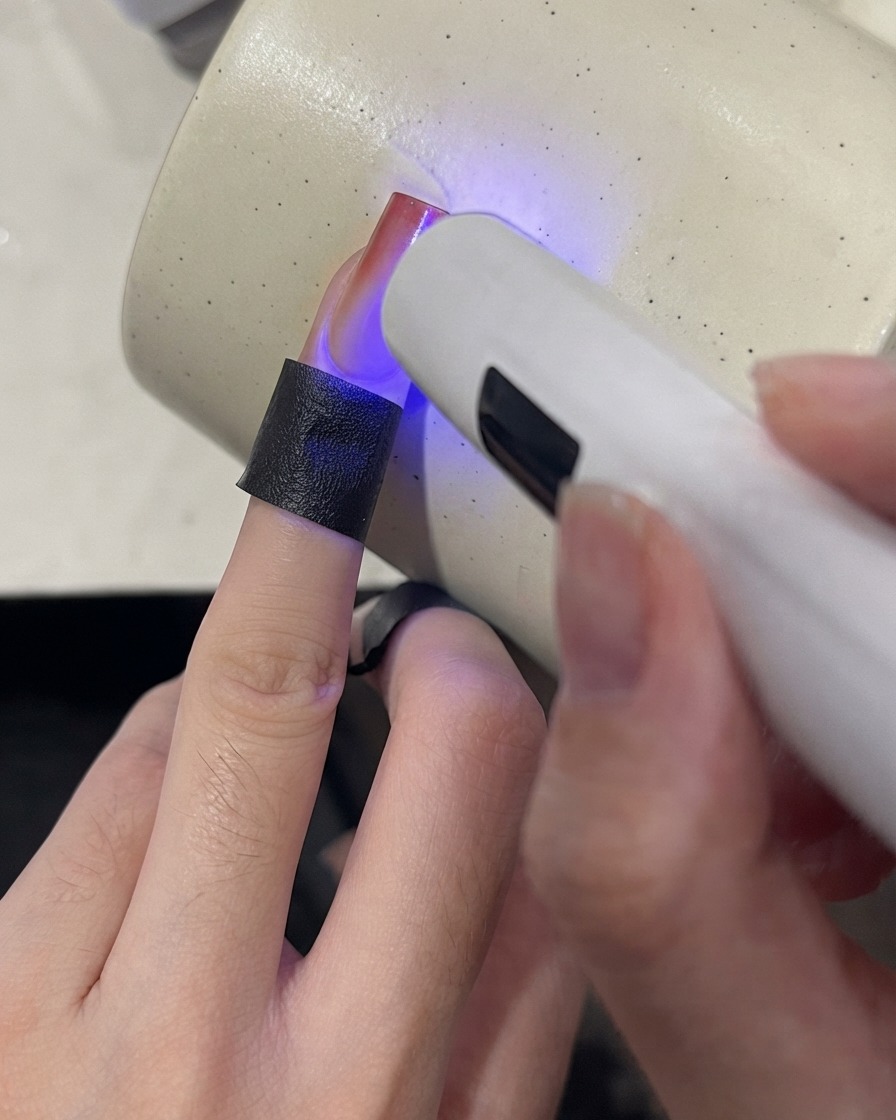
For the third pass, concentrate the sponge specifically on the very edge of the nail to darken the free edge tip. Cure the layer under a portable UV lamp immediately after stamping to lock the concentrated color in place.
Tip: Focusing only on the tip in the final pass adds depth and creates a rich, dimensional ombre look. - 8Apply glossy top coat
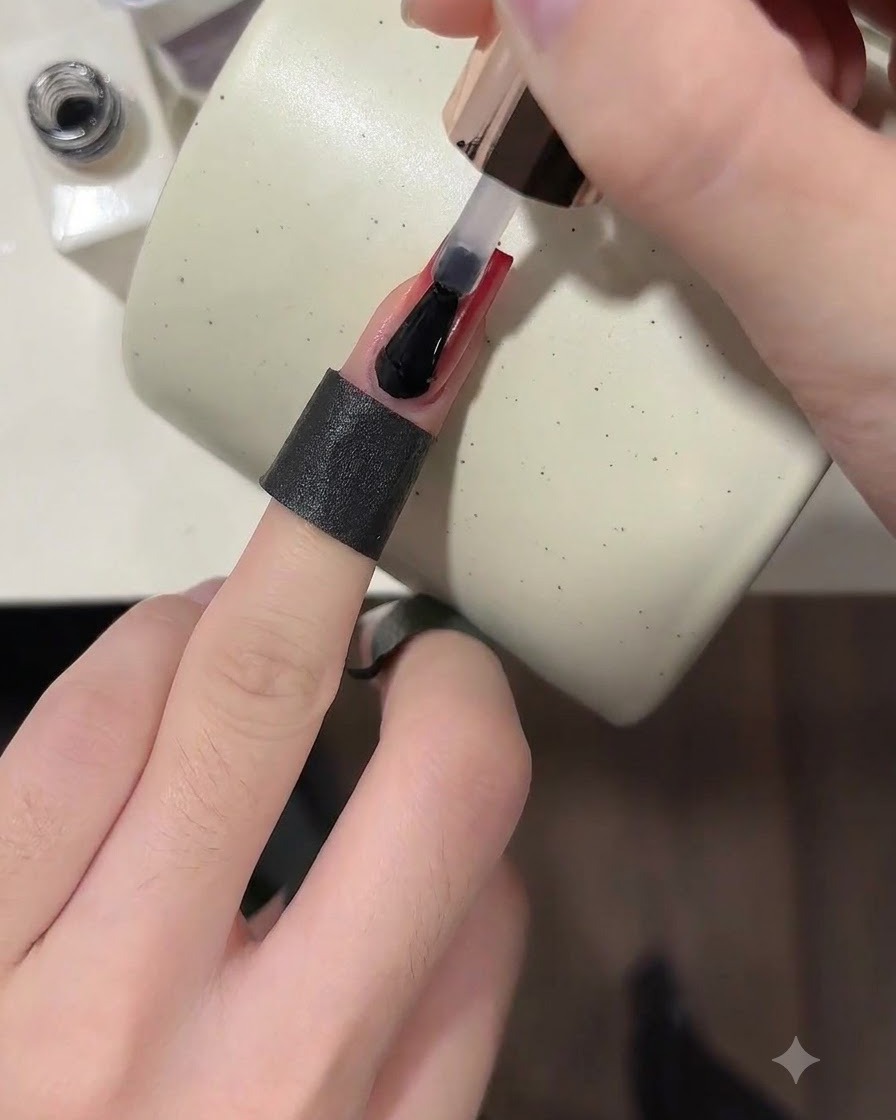
Apply a final layer of glossy top coat directly over the completed red gradient nail art to seal in the design and protect it against chipping. Cure under the lamp to finish the manicure with a high-shine finish.
Tip: Cap the free edge carefully with top coat to extend the wear time of your gradient manicure.