Peach Ombre Spray Gel Nails — Step-by-Step Airbrush Tutorial
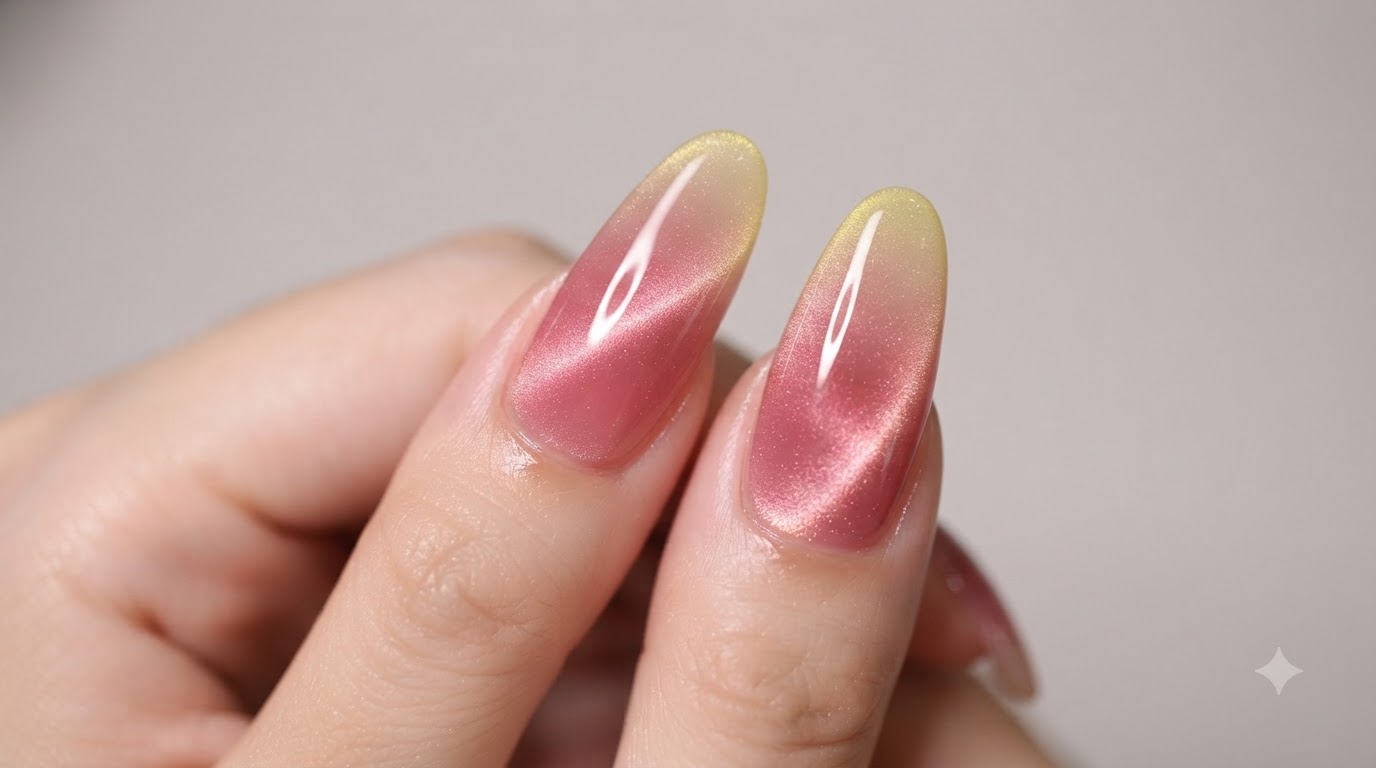
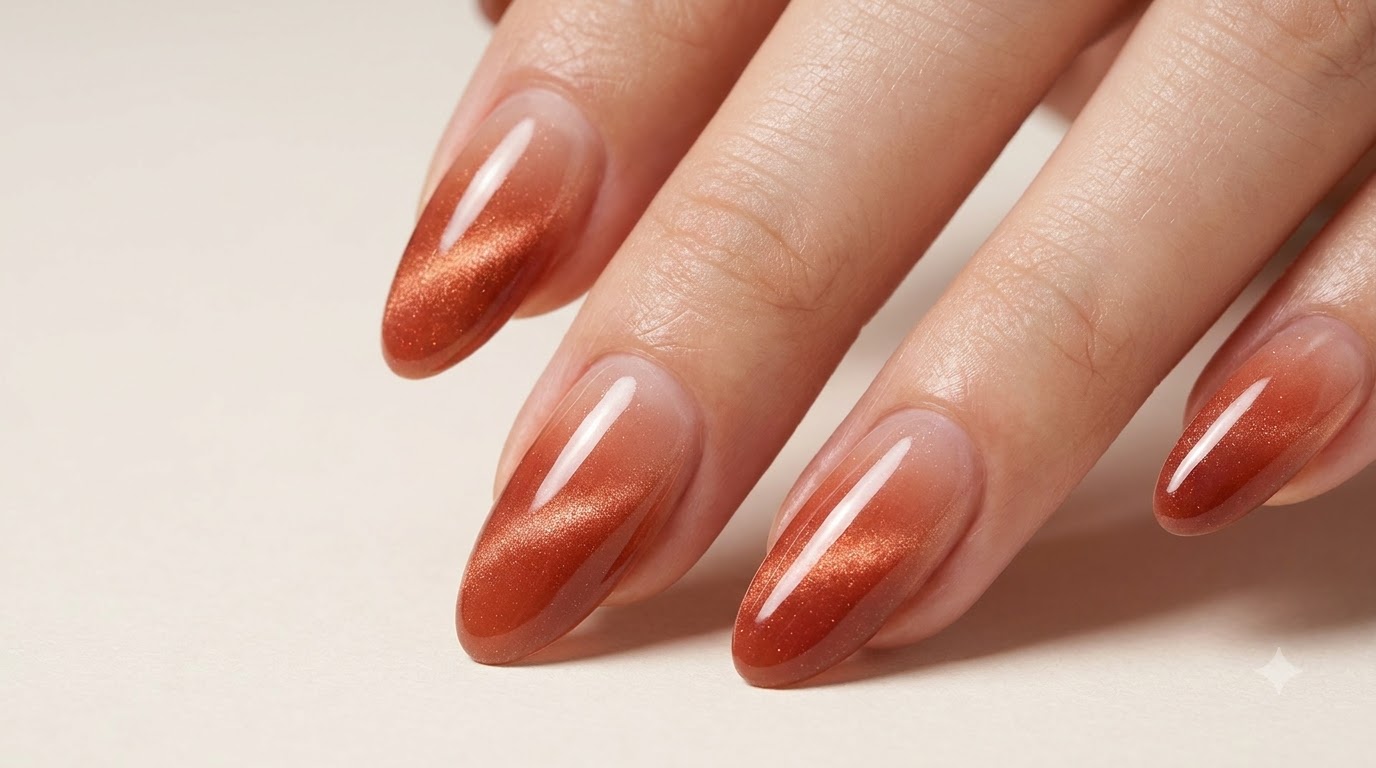
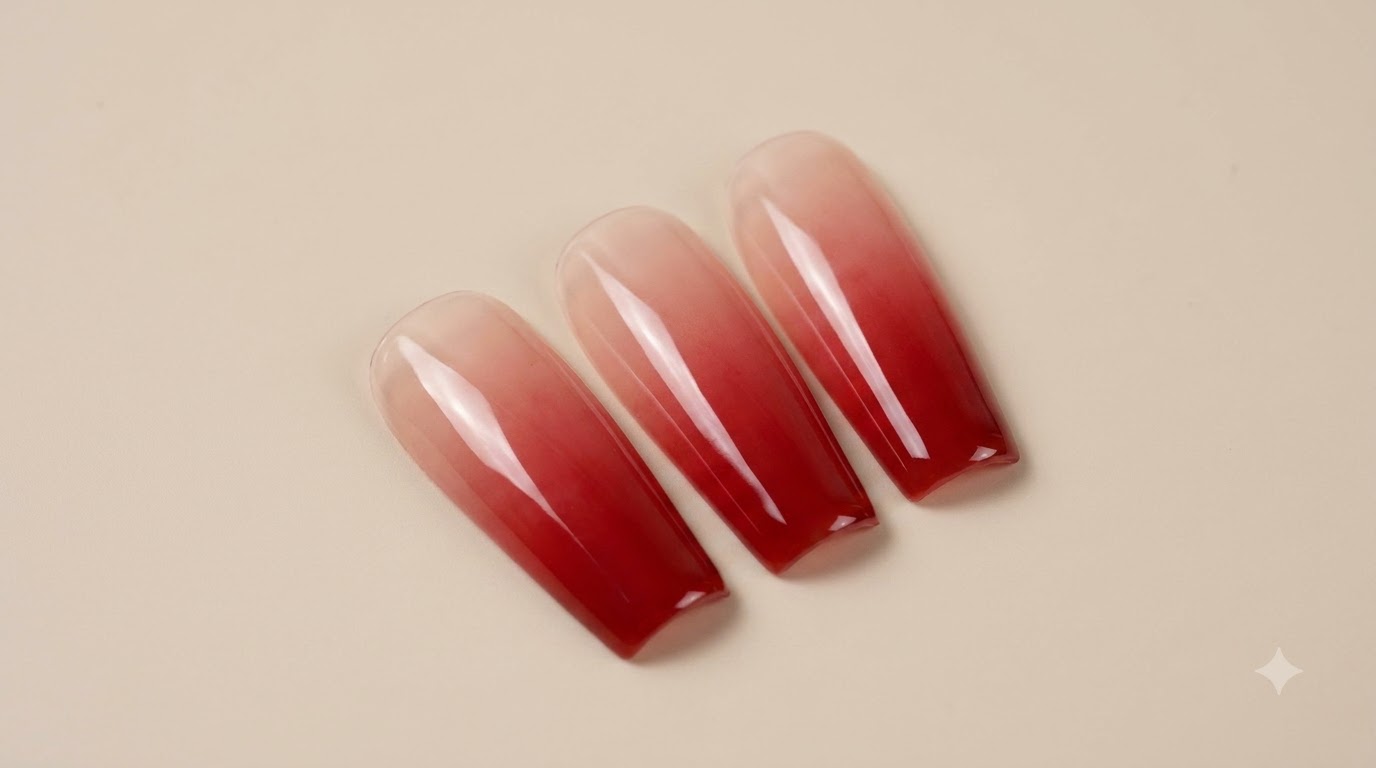
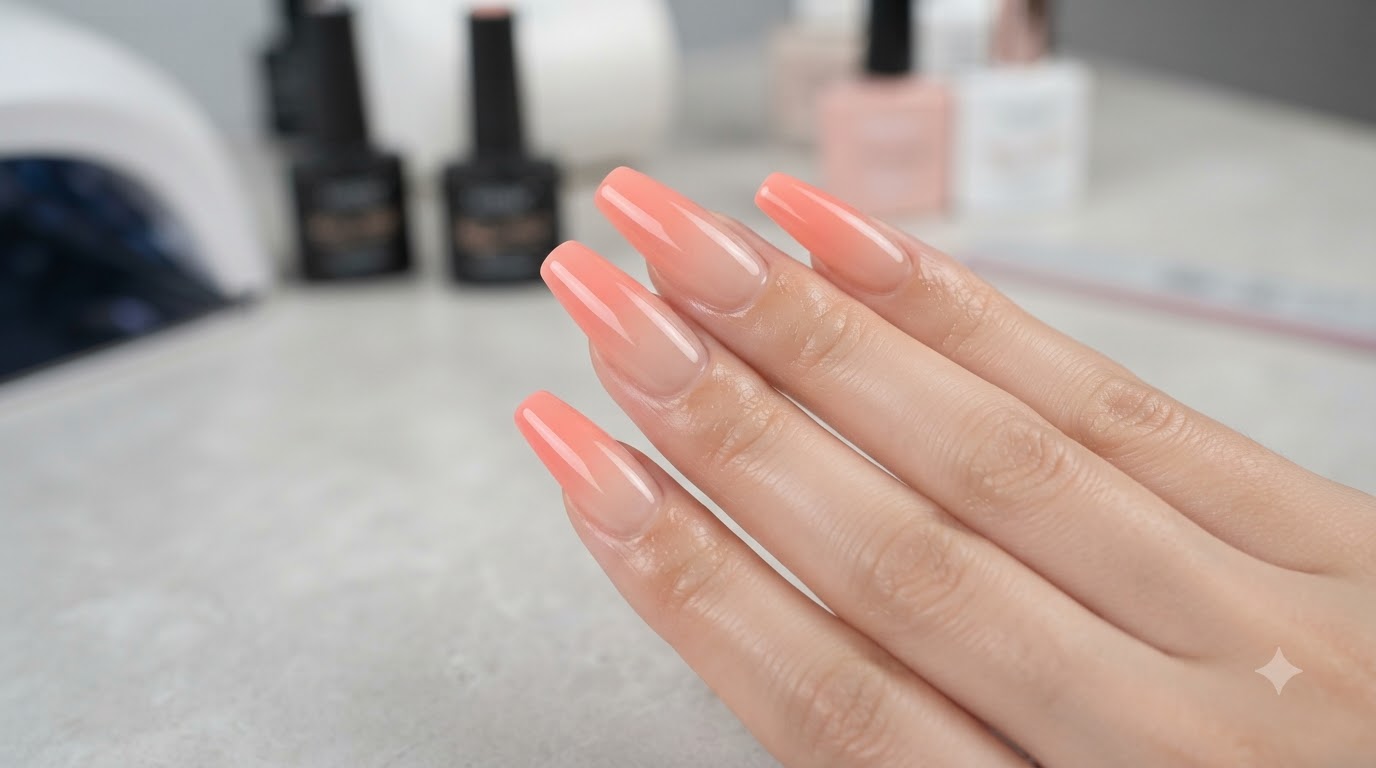
Achieve flawless peach ombre spray gel nails using bbg spray gel number 18 for a smooth, vibrant gradient with a high-gloss finish.
Spray gel technology has revolutionized how nail artists create seamless ombre and gradient designs quickly and evenly. This tutorial guides you through applying bbg spray gel number 18 to build a gorgeous transition from a translucent nude base to a vibrant peach-pink tip. Perfect for achieving salon-quality gradients with minimal effort.
Steps
- 1Prepare and inspect nail surface
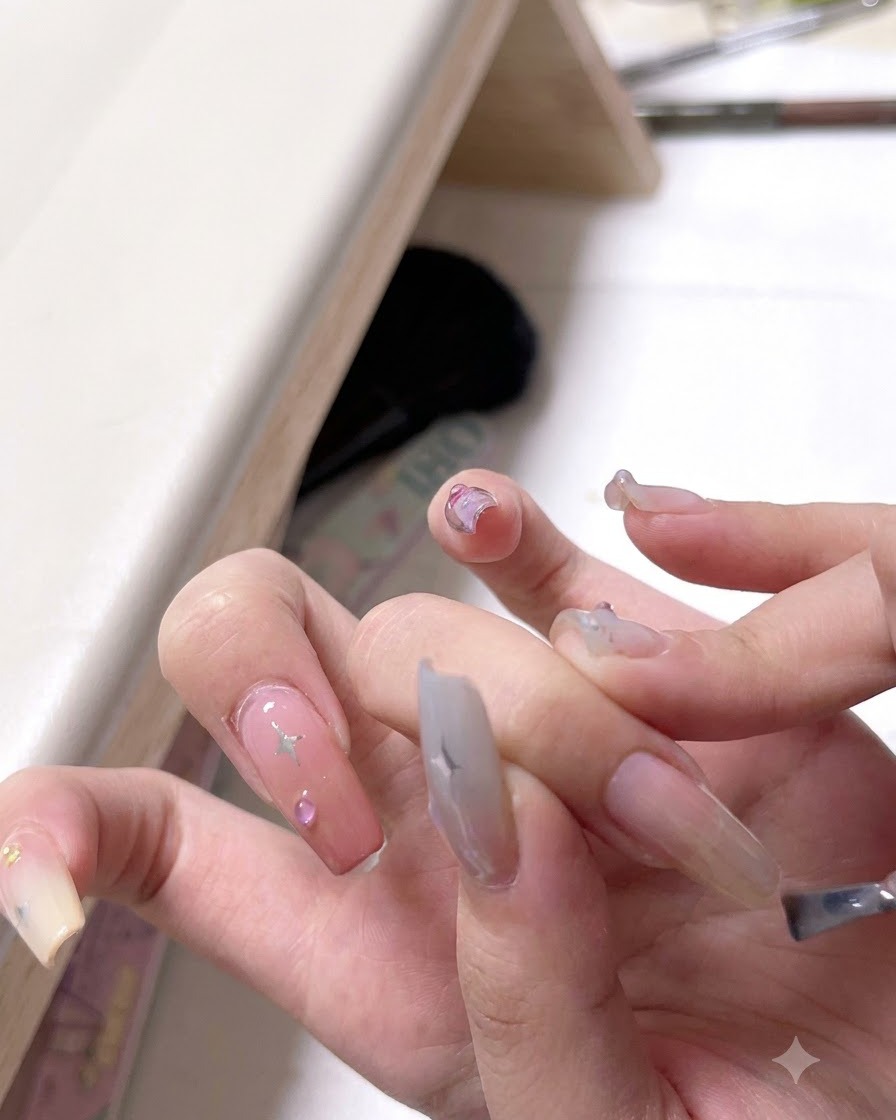
Examine the nail surface closely under good studio lighting to ensure it is clean, prepped, and ready for the spray gel application. Check that any previous enhancements or nail art are properly smoothed or filed as needed so the new product layer will adhere evenly.
Tip: Good lighting is essential to catch any hidden dust or uneven spots before applying colored gel products. - 2Select spray gel bottle
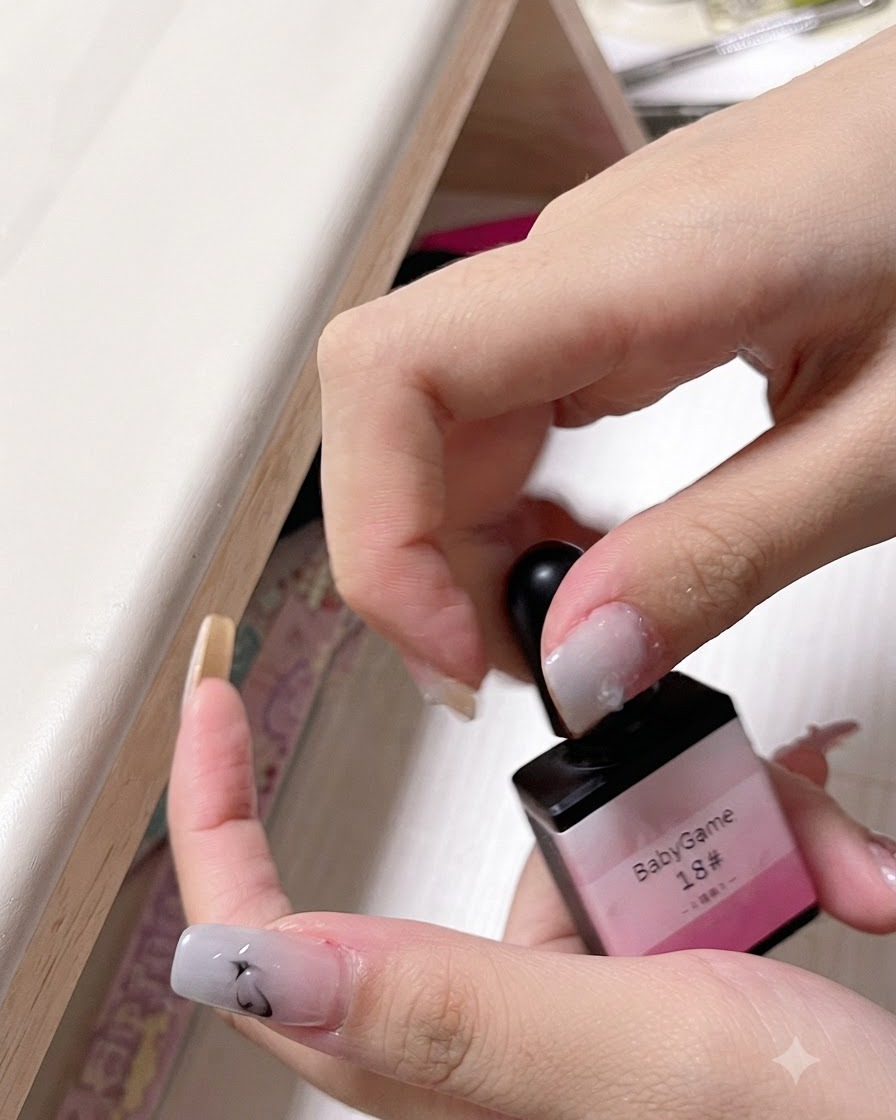
Pick up and display the specific product bottle for the audience, showing bbg spray gel number 18 in pink color. Verify the shade name and number clearly so viewers can replicate the exact look using the correct pigment.
Tip: Always double-check product numbers before starting application to avoid using the wrong shade. - 3Prepare spray gun apparatus
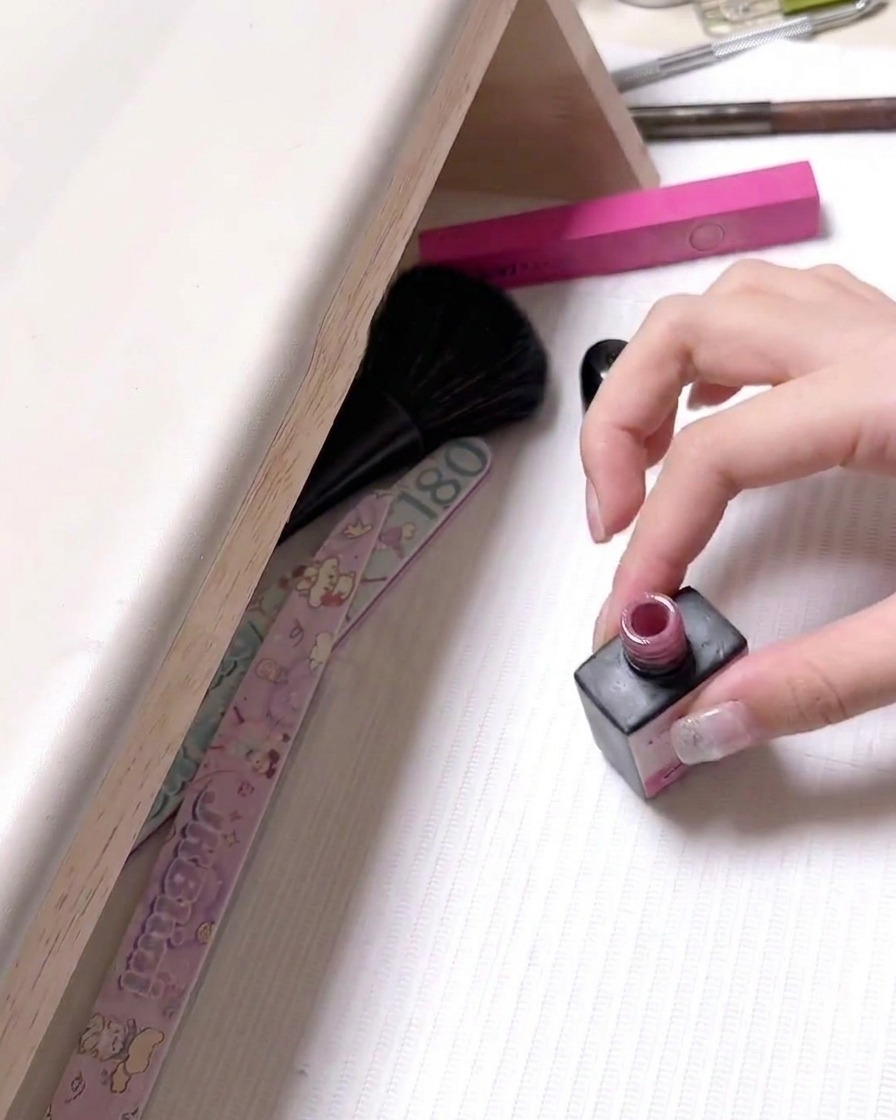
Hold the spray gun apparatus that has been loaded with the color product, and prepare to apply it onto the nail. Ensure the nozzle is clean and the airflow or trigger mechanism is functioning smoothly before pointing it toward the hand.
Tip: Test the spray on a paper towel first to check pressure and atomization consistency before spraying directly onto nails. - 4Spray pink pigment for ombre
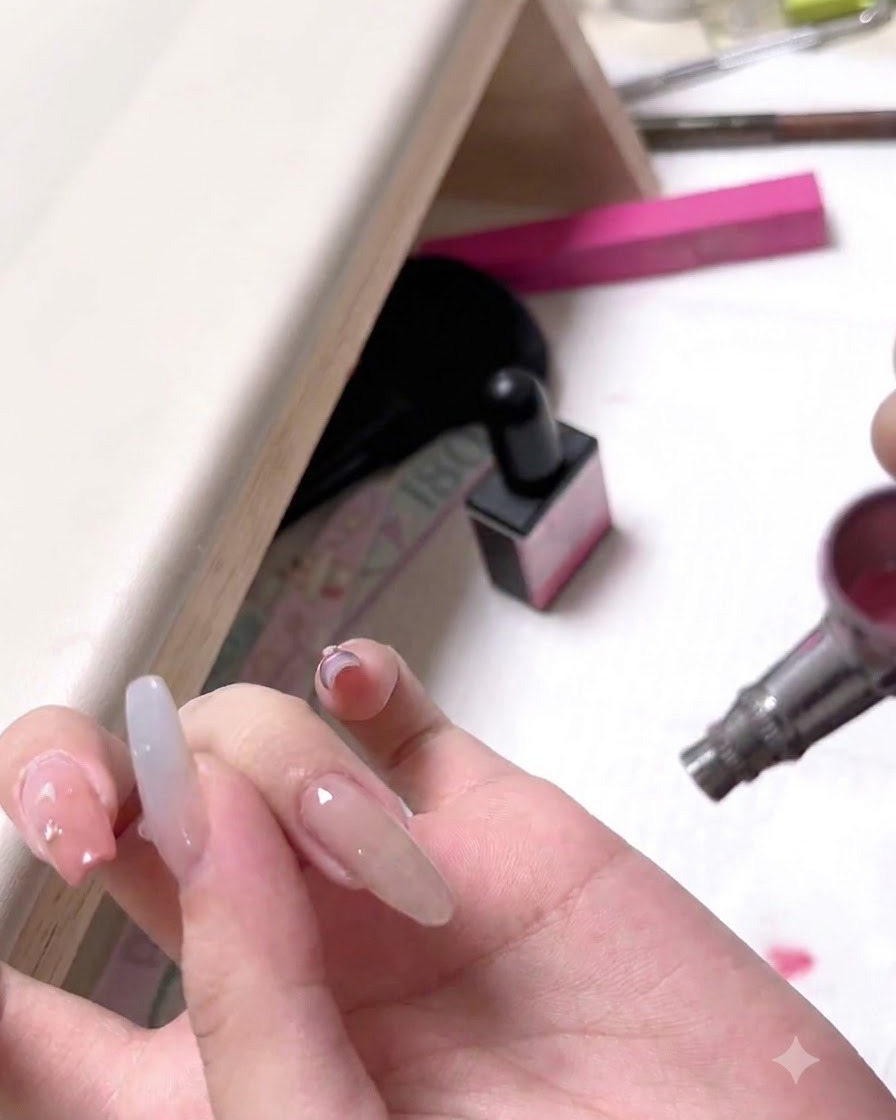
Use the spray gun to quickly and evenly spray the pink pigment onto the nail tips to create a seamless ombre effect. Keep a consistent distance from the hand to prevent pooling or harsh lines.
Tip: Keep the spray gun moving continuously in light passes to achieve a smooth gradient fade. - 5Cure sprayed gel layer
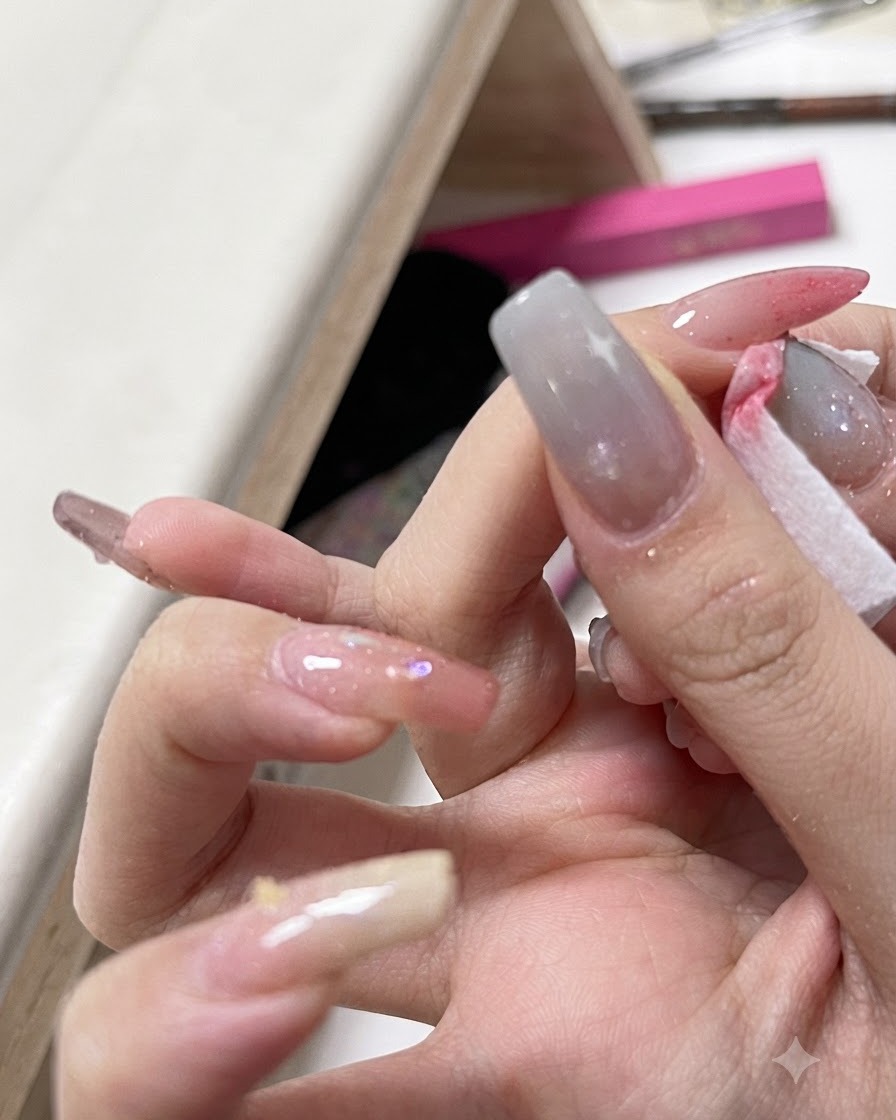
Place the hand under a purple UV/LED curing lamp to fully cure the freshly sprayed gel layer. Keep the hand steady inside the lamp for the manufacturers recommended time to ensure the pigment sets properly.
Tip: Ensure all fingers are positioned correctly under the lamp diodes to avoid uncured spots. - 6Apply clear top coat
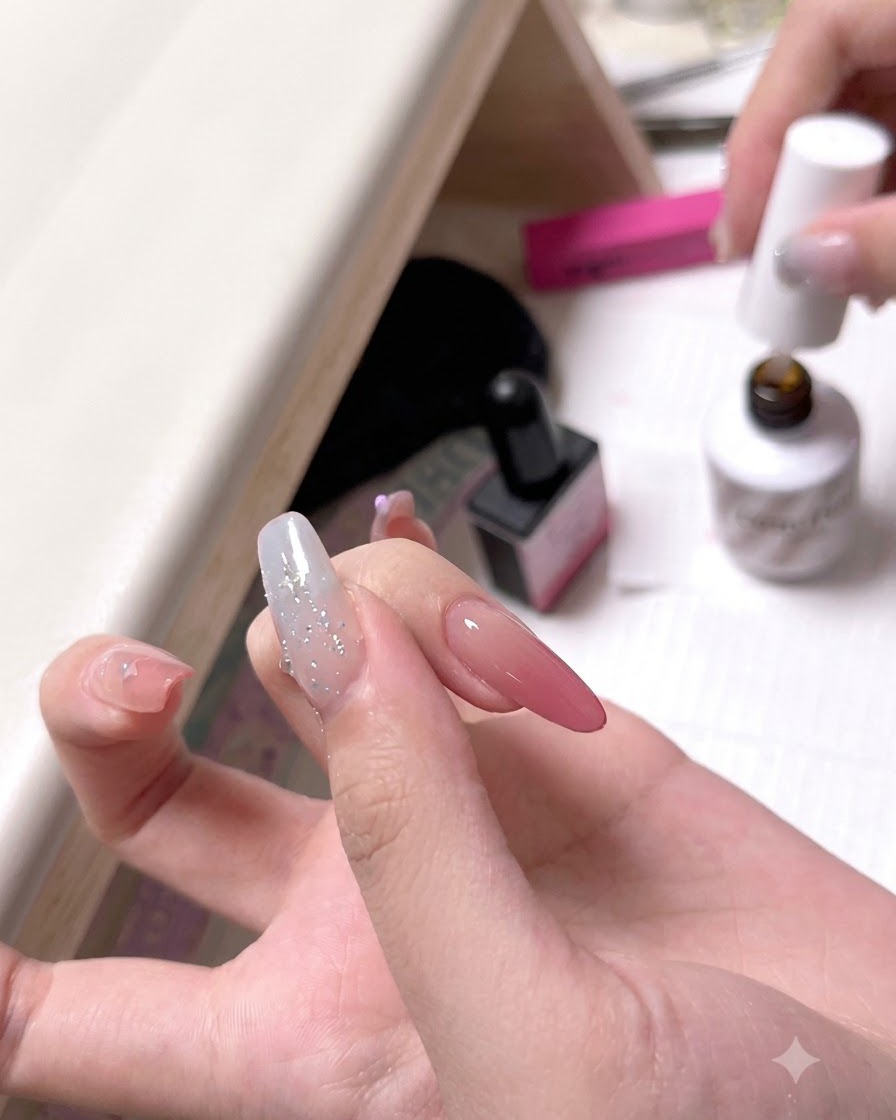
Apply a glossy clear top coat over the cured ombre nails to seal the design, protect the color, and provide a high-shine finish. Ensure you cap the free edge completely to prevent chipping or peeling over time. Cure under the lamp as required by your top coat instructions.
Tip: Cap the free edge carefully with top coat to lock in the manicure and significantly extend its wear time.