Mango Pomelo Sago Gradient Cat Eye Nails — Translucent Dewy Nail Art Tutorial
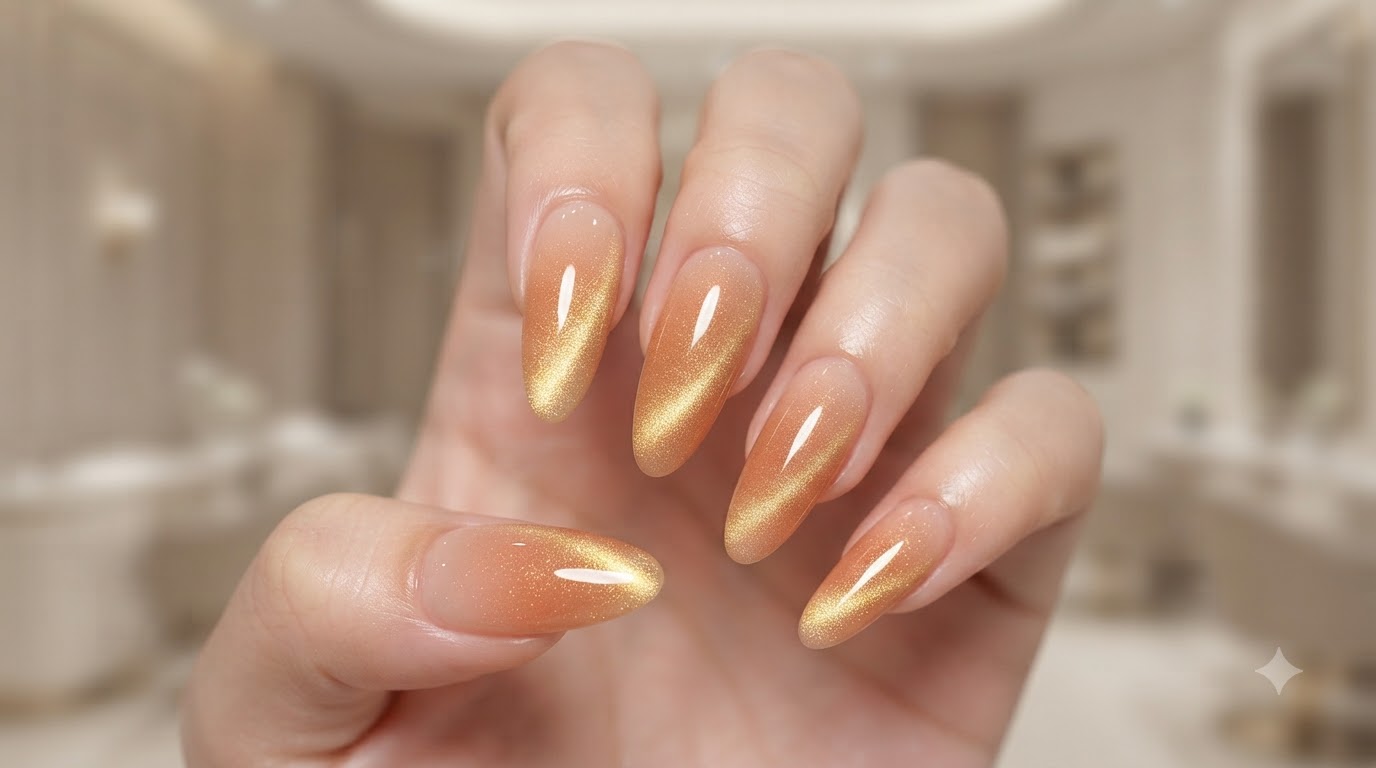
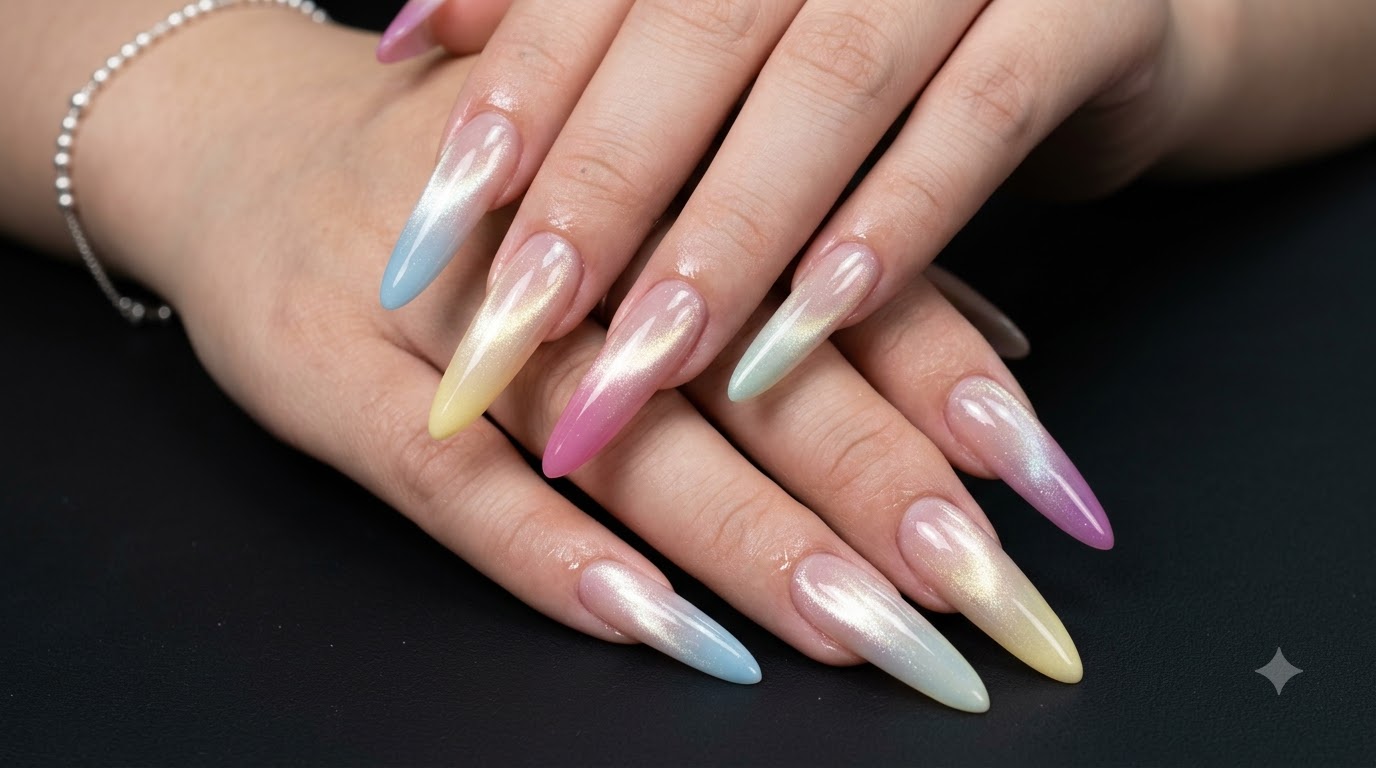
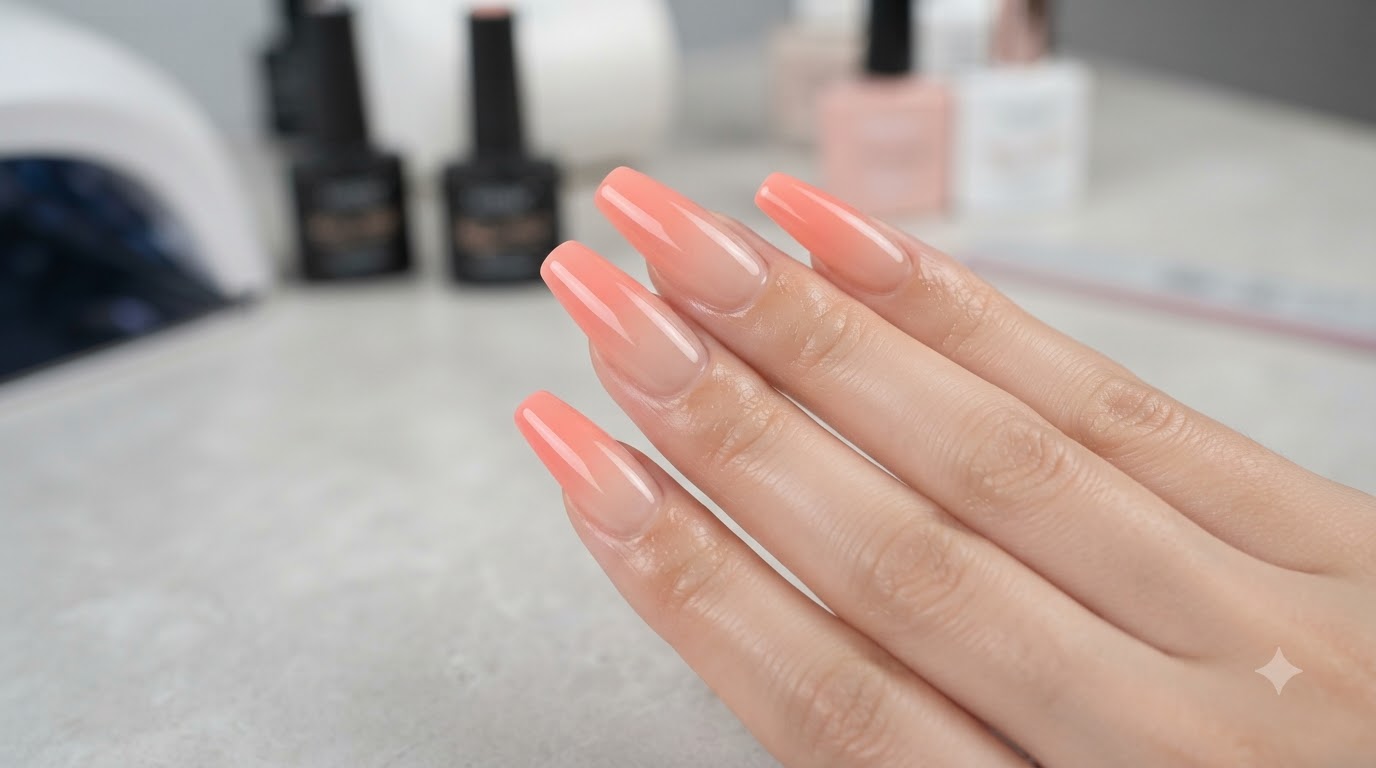
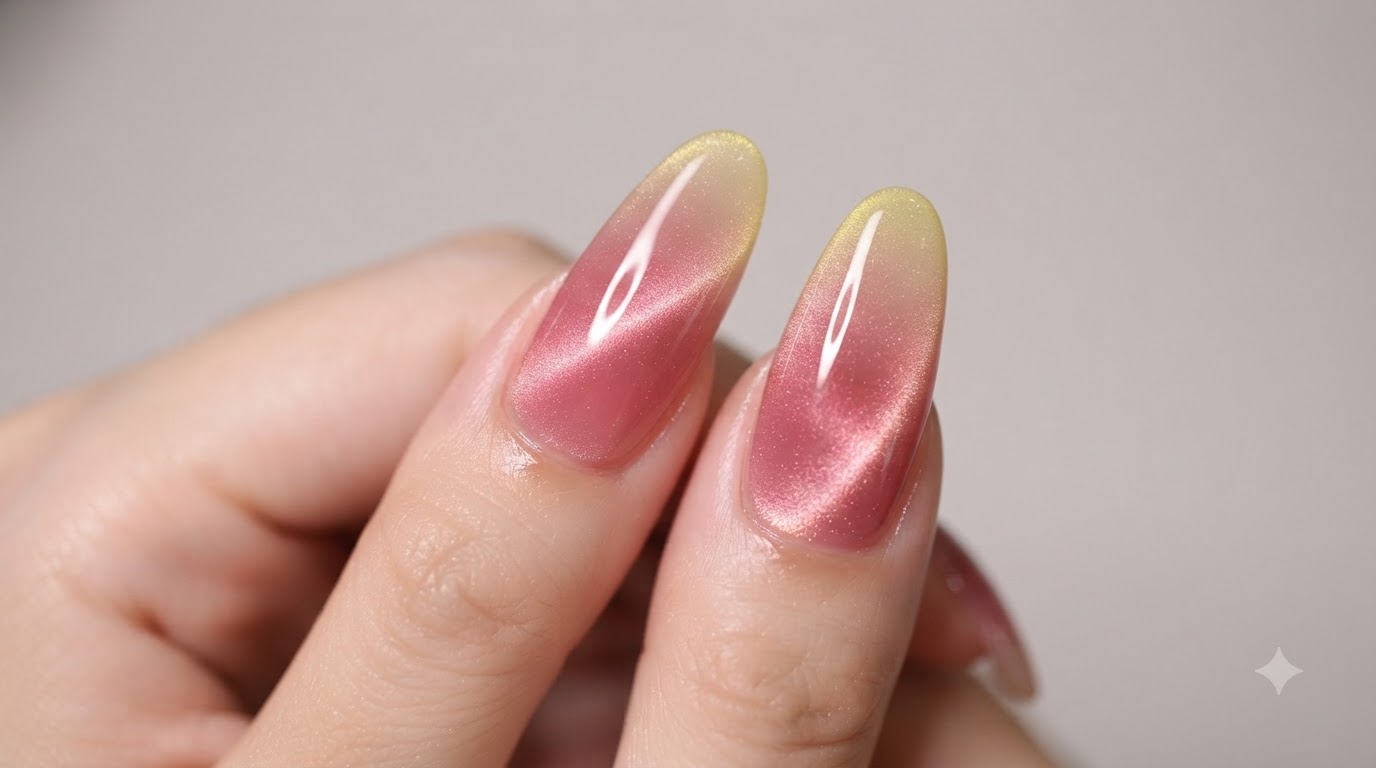
Create stunning Mango Pomelo Sago nails featuring a vibrant pink-to-yellow blush gradient and a translucent side-light cat eye shimmer effect.
Inspired by the refreshing dessert, Mango Pomelo Sago nail art combines a vibrant pink blush center with a sunny yellow tip, all tied together under a sheer milky cat eye overlay. This technique creates an ultimate dewy, translucent finish that looks multidimensional and catches the light from every angle.
Steps
- 1Apply base gel
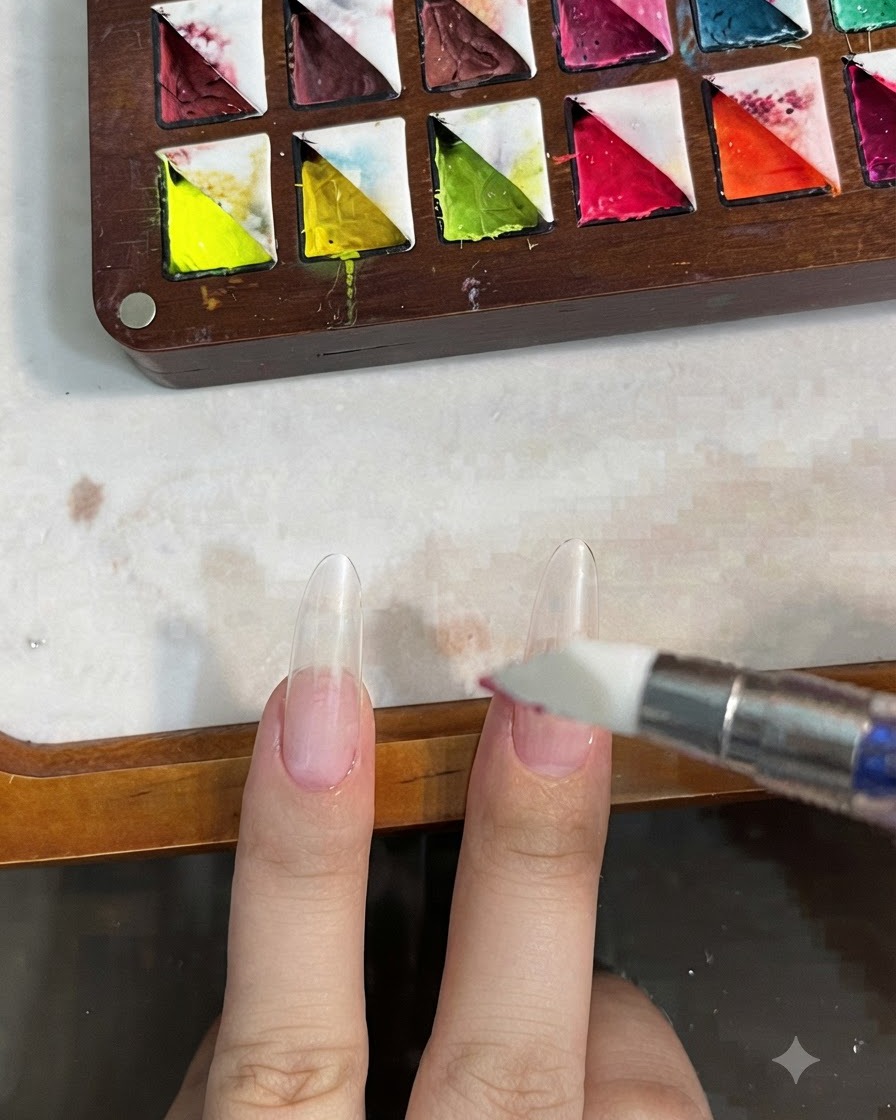
Apply a thin layer of base gel to the prepared nail plate, ensuring complete coverage from the cuticle area to the free edge. Cap the edge to prevent lifting and prepare the surface for subsequent gel layers. Take care not to flood the cuticles.
Tip: Apply a very thin coat to ensure proper curing and prevent the gel from pooling around the edges. - 2Cure base coat
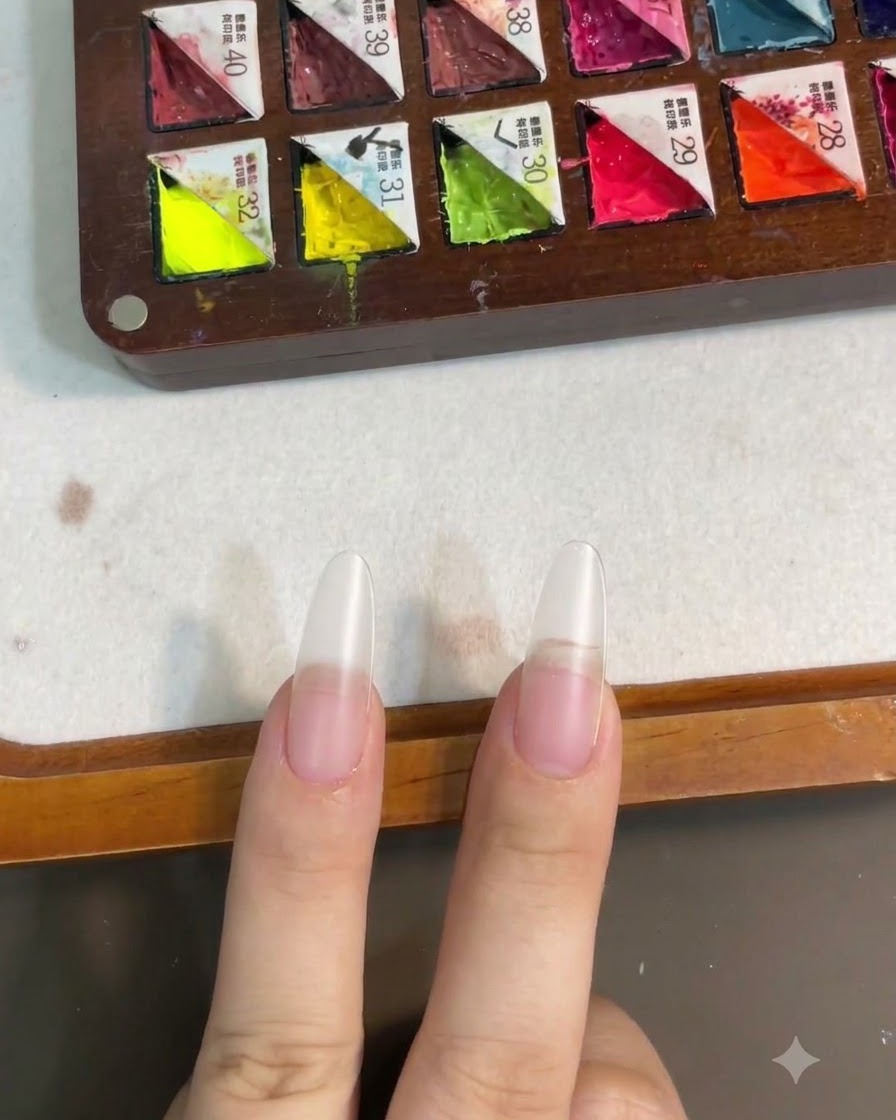
Place the hand under the UV or LED lamp to cure the base coat layer securely. Follow the manufacturers recommended curing time to ensure a strong, tacky inhibition layer is left behind for optimal adhesion of the next product.
Tip: Ensure the entire nail surface is exposed evenly under the lamp light source to prevent incomplete curing. - 3Pick up pink gel color
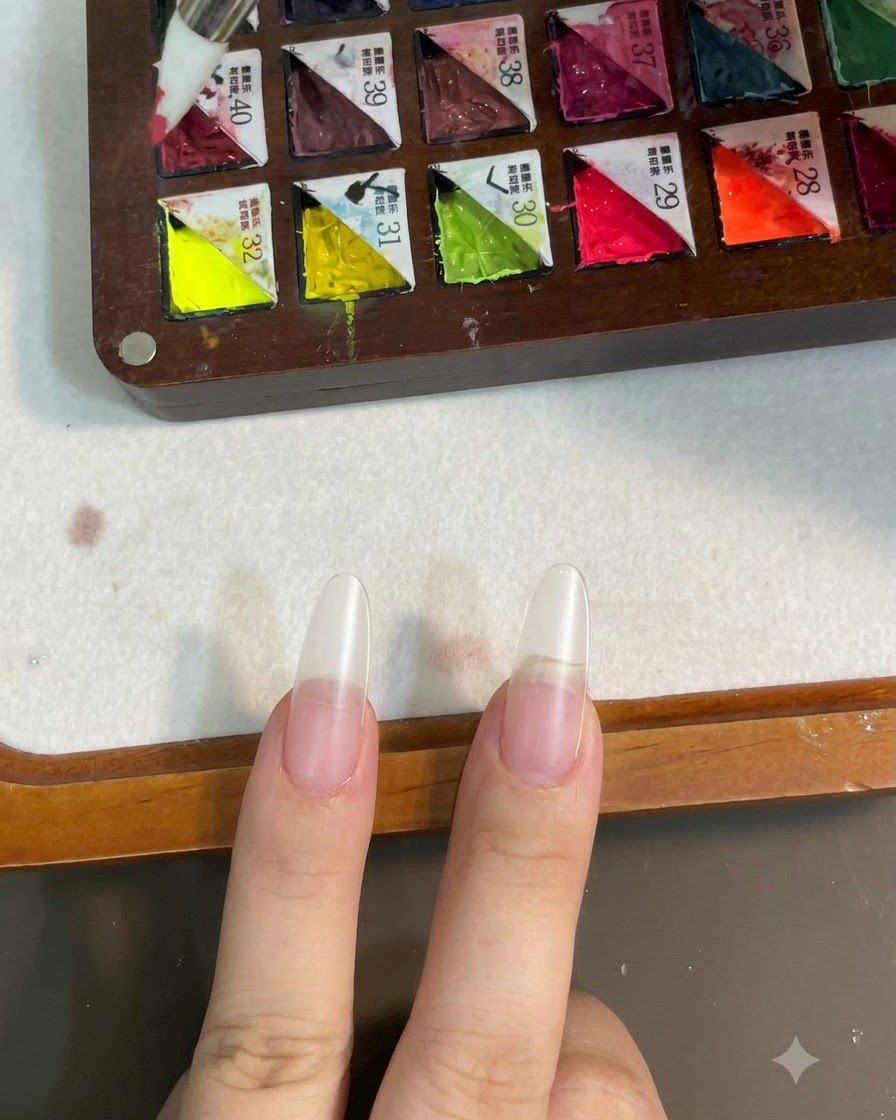
Using a precision silicone brush, pick up a small amount of the chosen pink gel color from your color palette. Make sure the product is evenly distributed on the tip of the brush tool before application.
Tip: A small amount goes a long way; start with less product to maintain control over the gradient intensity. - 4Create blush nail effect
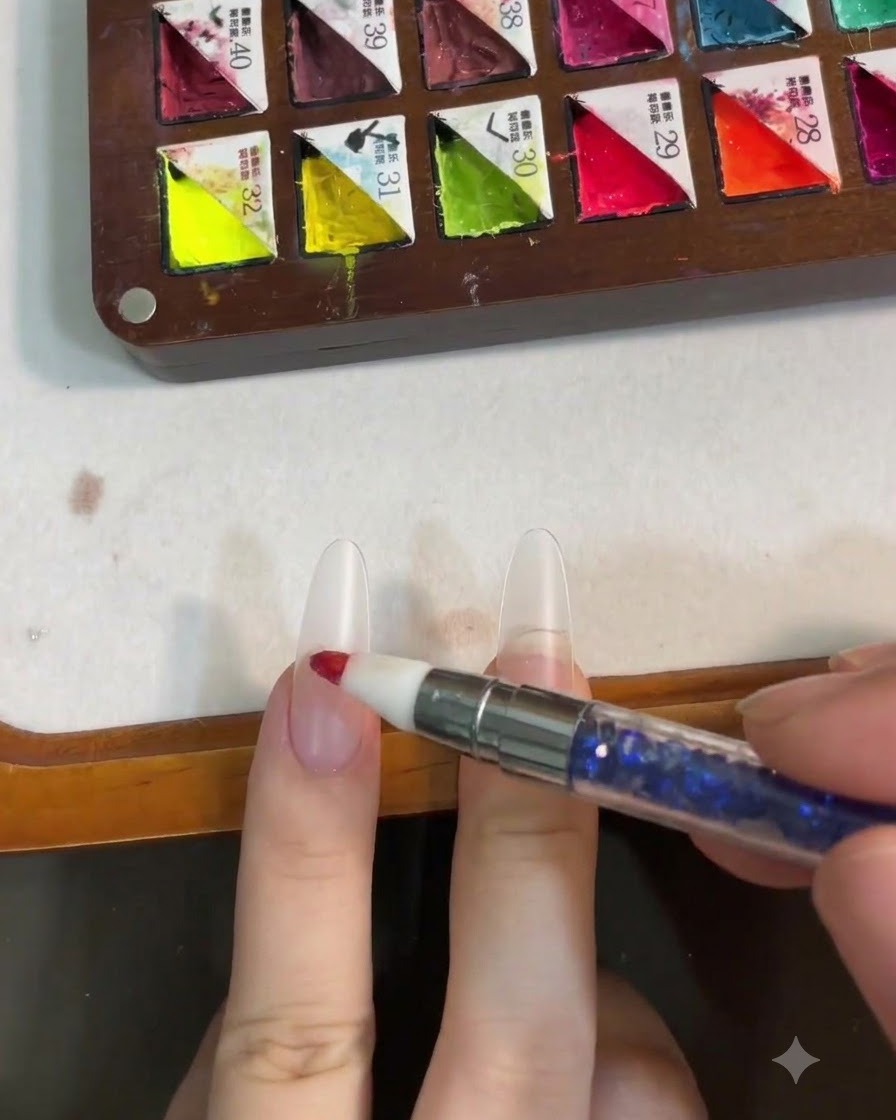
Dab the picked-up pink color directly onto the center of the nail plate. Lightly tap and dab to form a rounded, diffused spot that mimics a natural flush or blush nail effect.
Tip: Keep the edges soft and diffused by gently feathering outward with your tool. - 5Wipe inhibition layer
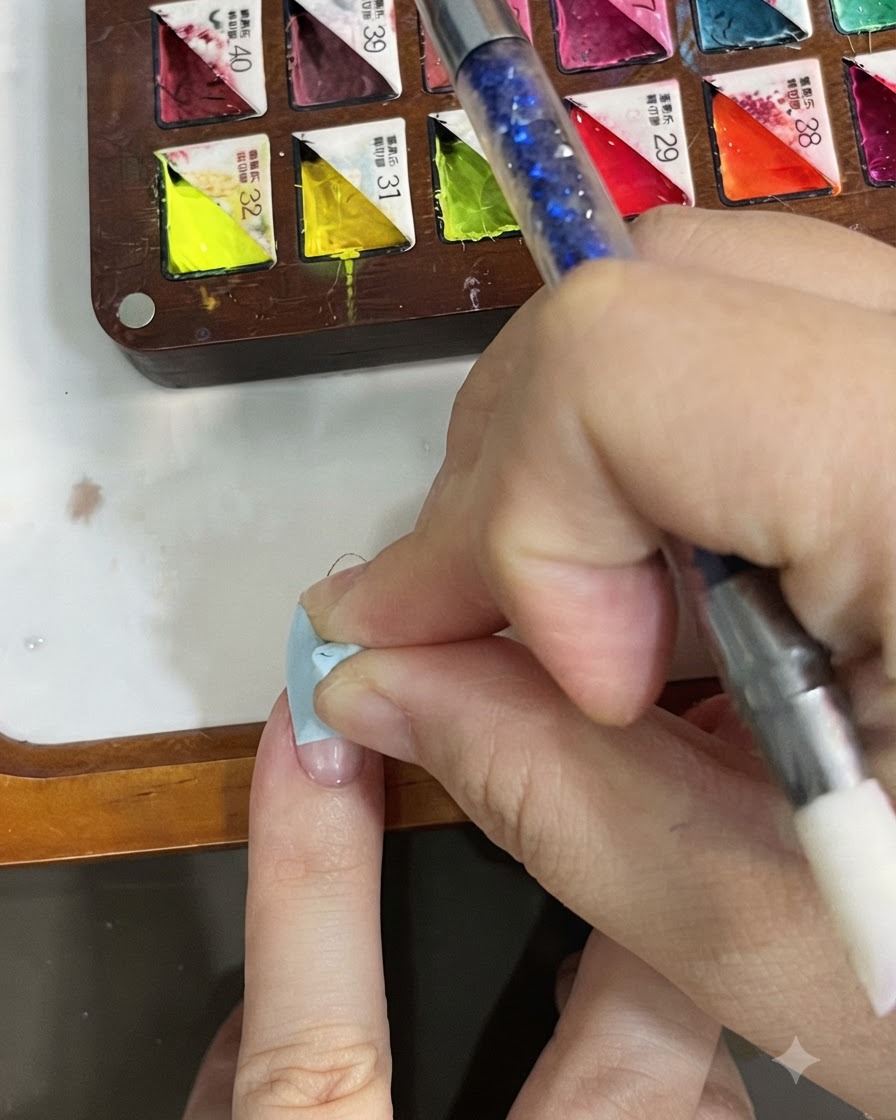
Using a lint-free cleanser wipe moistened with nail cleanser, gently wipe down the surface of the nail to remove any sticky inhibition layer left after curing the previous application step.
Tip: Removing the tacky layer can help create a clean working surface for subsequent blending steps. - 6Blend blush gradient
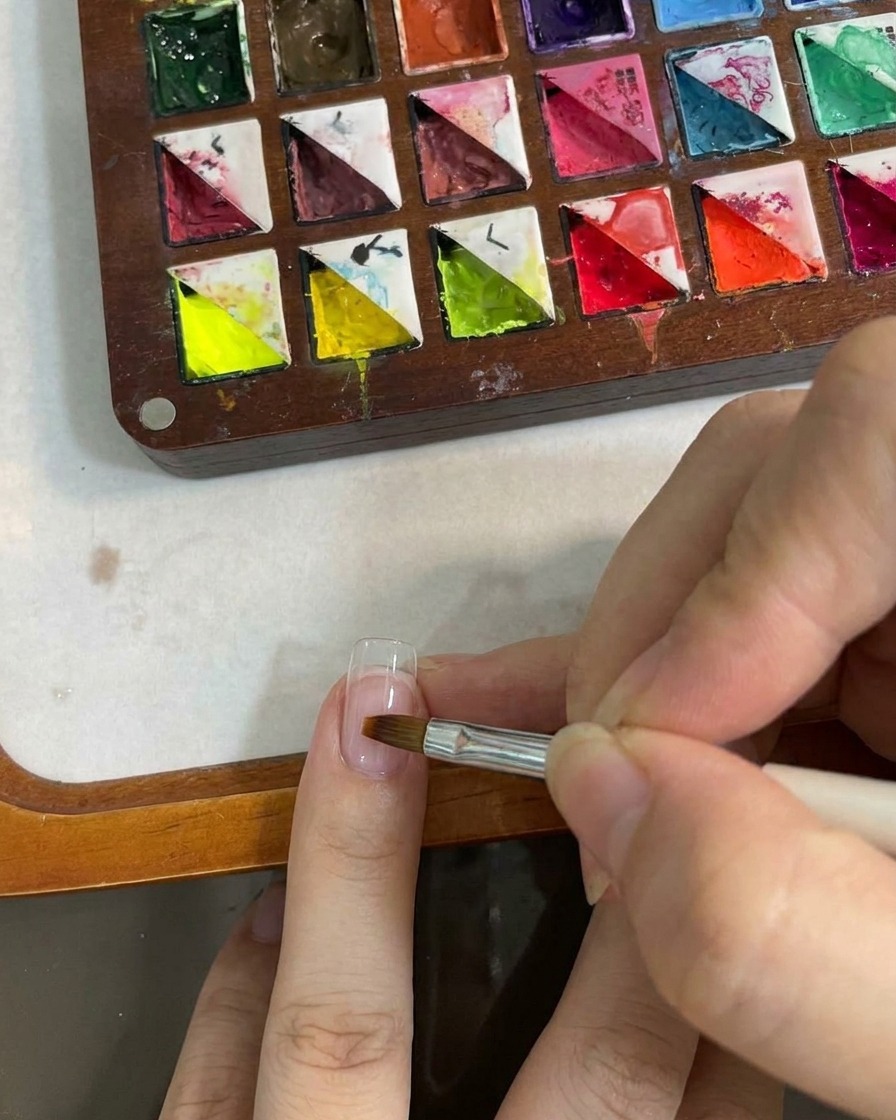
Take a silicone sponge or brush tool to gently pat and diffuse the edges of the blush color. This smooths out any harsh transition lines and perfects the soft gradient appearance across the nail center.
Tip: Use very light tapping motions so you do not rub away the pigment underneath. - 7Cure the pink blush gradient
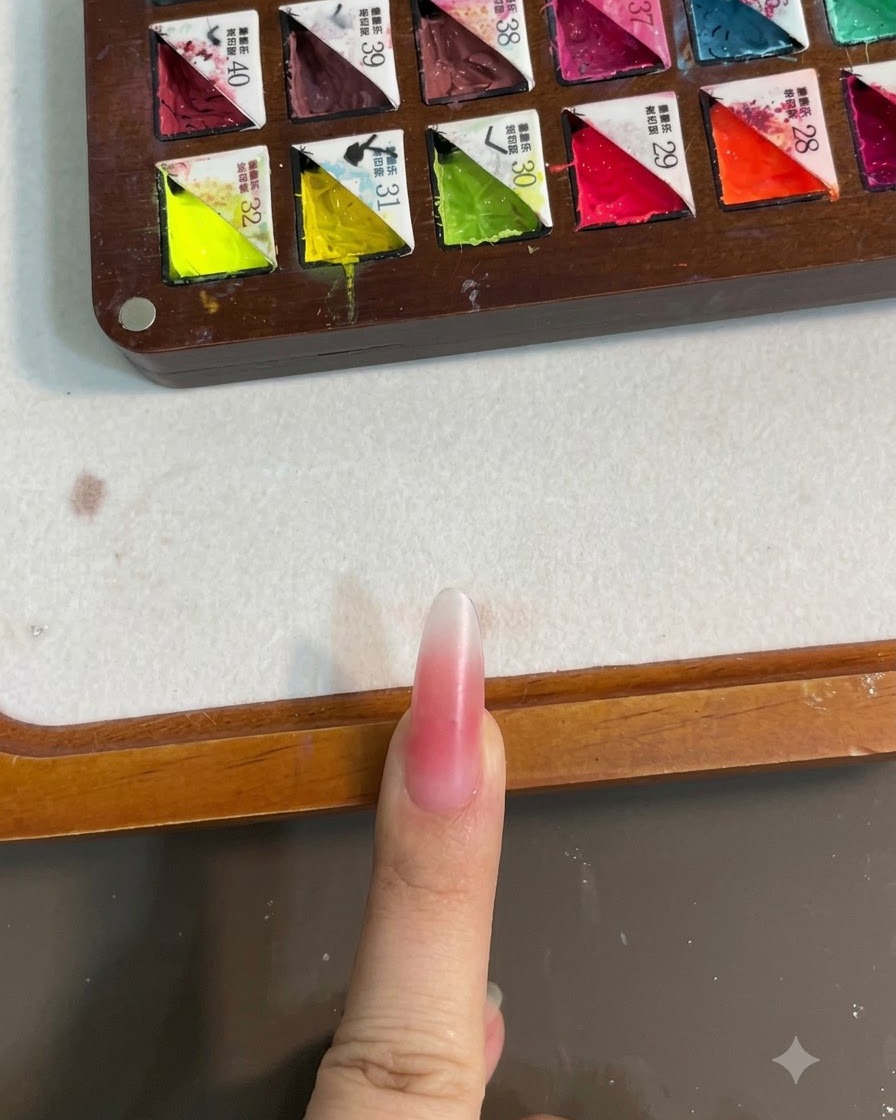
Place the hand under the UV or LED lamp to cure the pink blush gradient layer securely. Ensure it cures fully according to your gel lamp specifications before moving on to the next color application step.
Tip: Make sure your hand is positioned evenly under the light source to cure the gradient smoothly without shifting. - 8Select the yellow gel
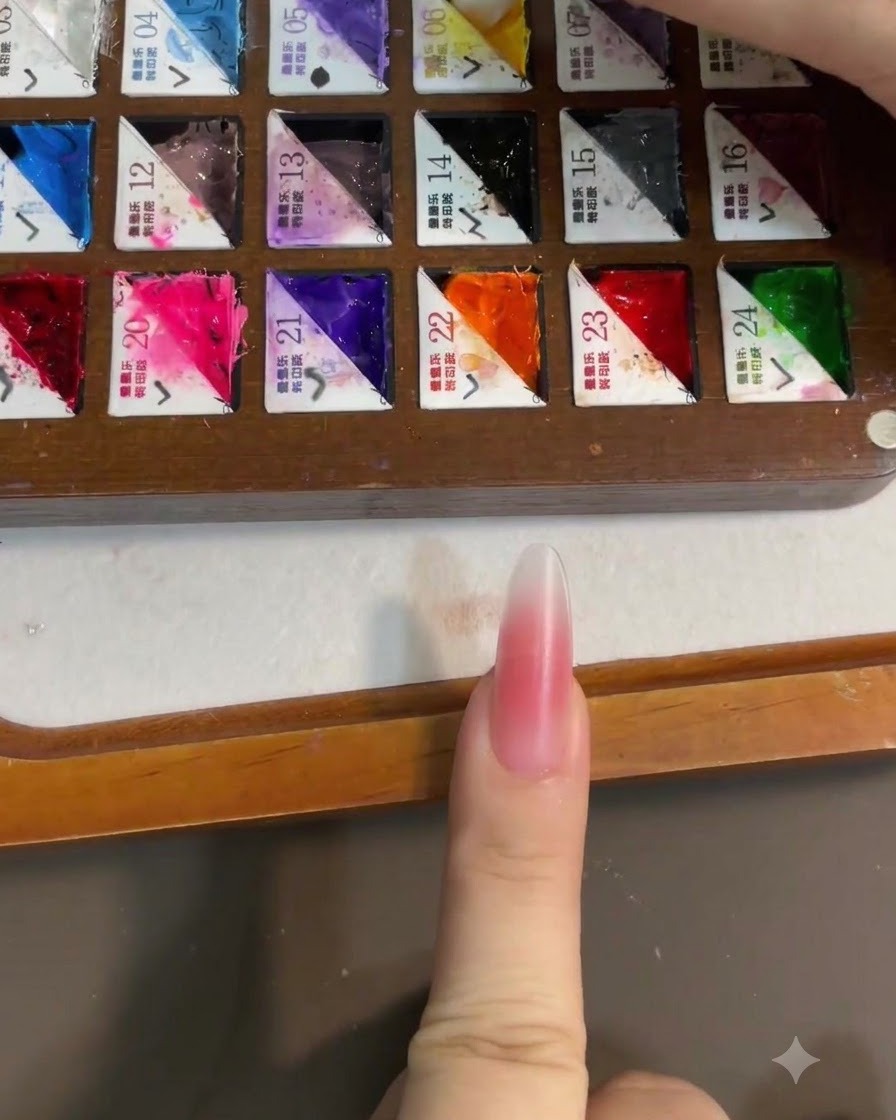
Using your nail brush, pick up a small amount of bright yellow gel from your mixing palette. You will only need a tiny dab to create the delicate gradient effect on the free edge.
Tip: Pick up the gel sparingly. Its always easier to add more product later than to remove excess from the nail. - 9Apply yellow to the nail tip
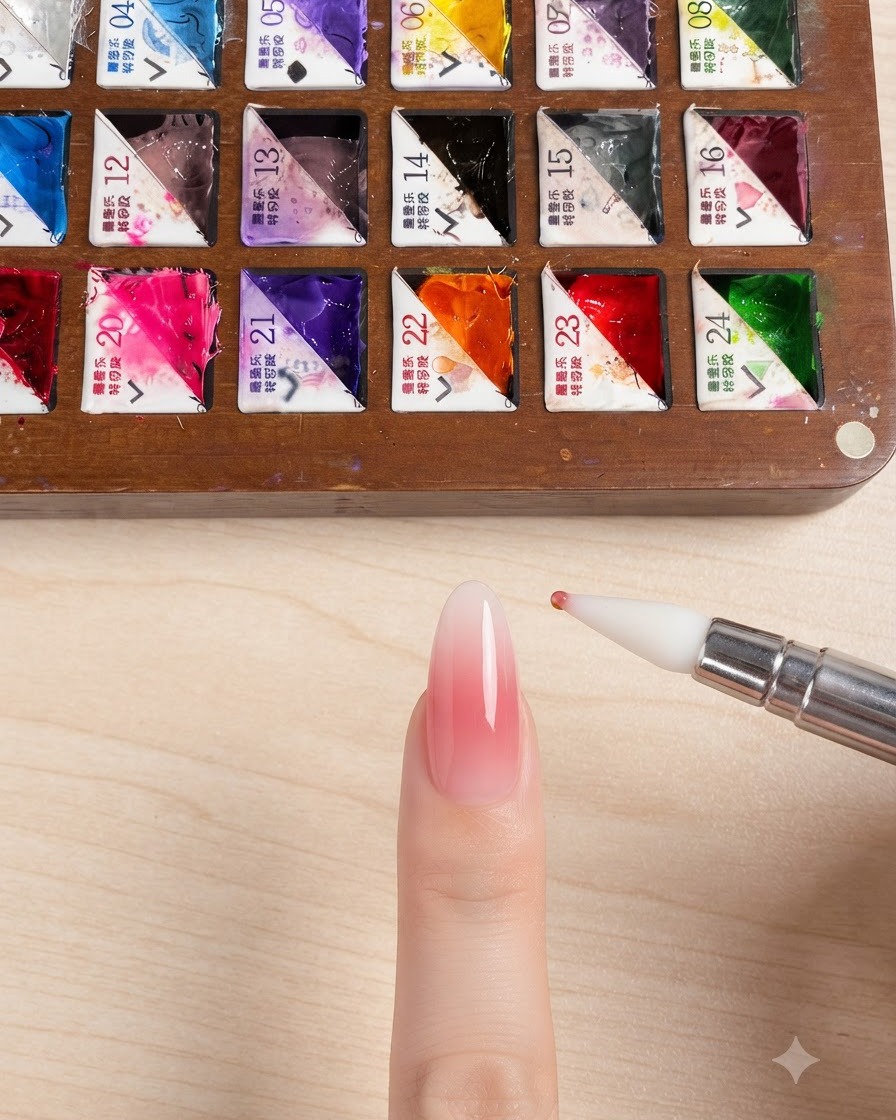
Gently apply the small dab of yellow gel directly onto the very tip of the nail. Keep the application concentrated at the free edge, as this will serve as the base for our soft two-tone gradient effect.
Tip: A silicone tool or a fine detail brush works perfectly here to place the gel exactly where you need it without making a mess. - 10Blend the yellow gradient
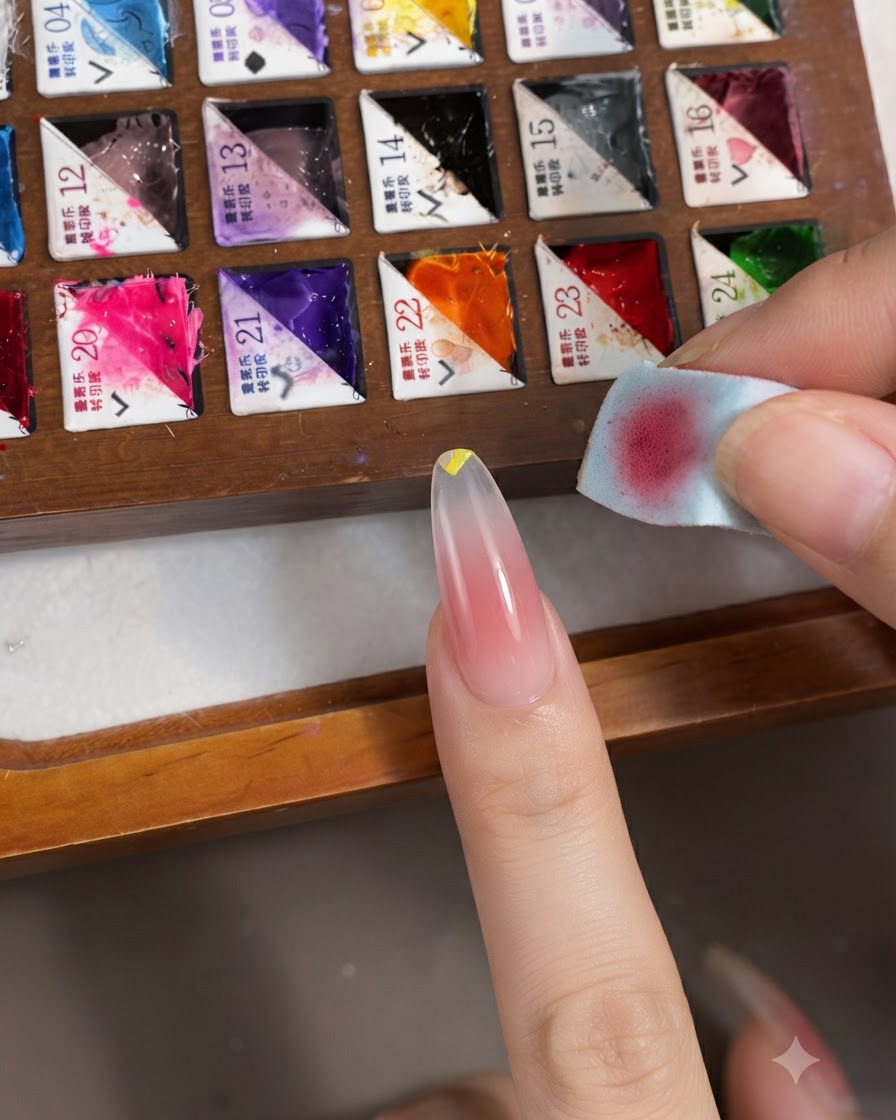
Take a clean section of a nail sponge and lightly pat the yellow gel you just placed on the tip. Use soft, tapping motions to feather the color downwards towards the pink center, creating a seamless and dewy transition between the hues.
Tip: Use a light hand when dabbing with the sponge. Pressing too hard will lift the gel off the nail rather than blending it. - 11Cure the yellow gradient tip
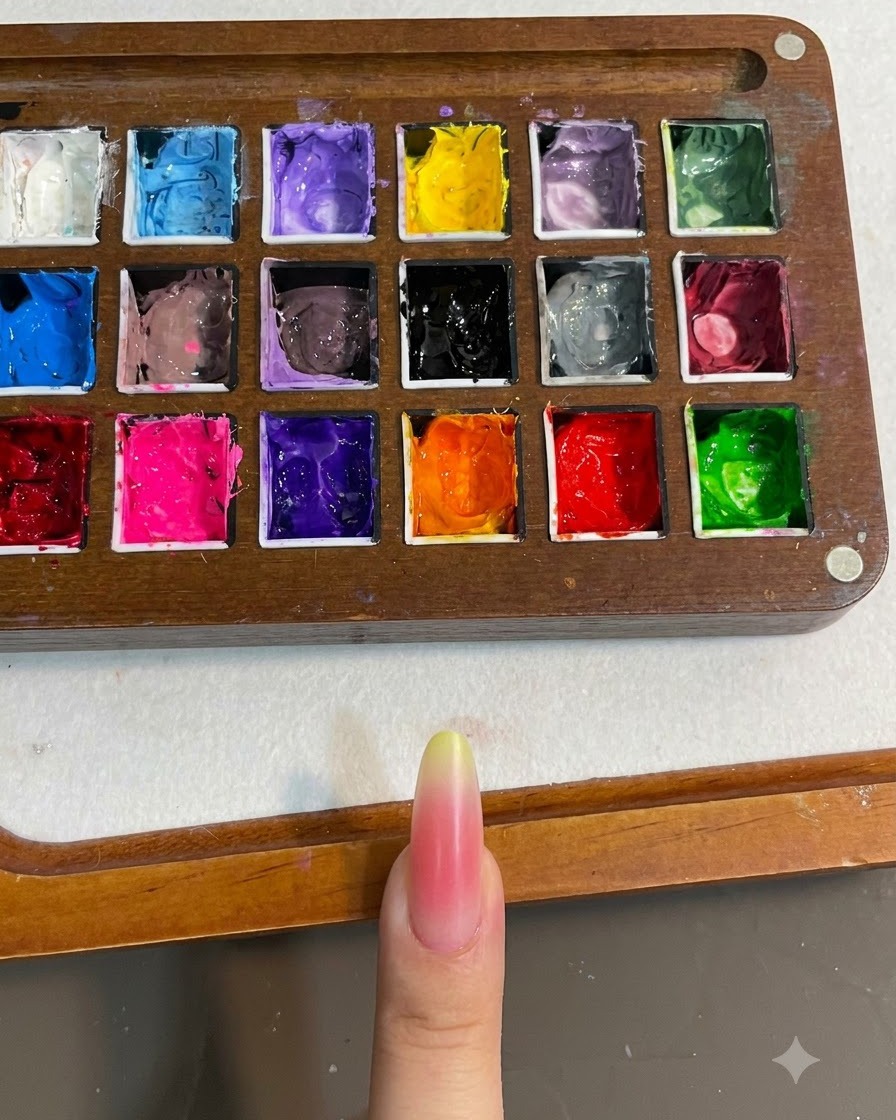
Place the nail under the lamp to cure the yellow gradient applied to the tip. Curing locks the yellow pigment in place before adding the overlay layer.
Tip: Keep the finger steady inside the lamp to maintain the crisp gradient effect on the nail tip. - 12Pick up the cat eye gel
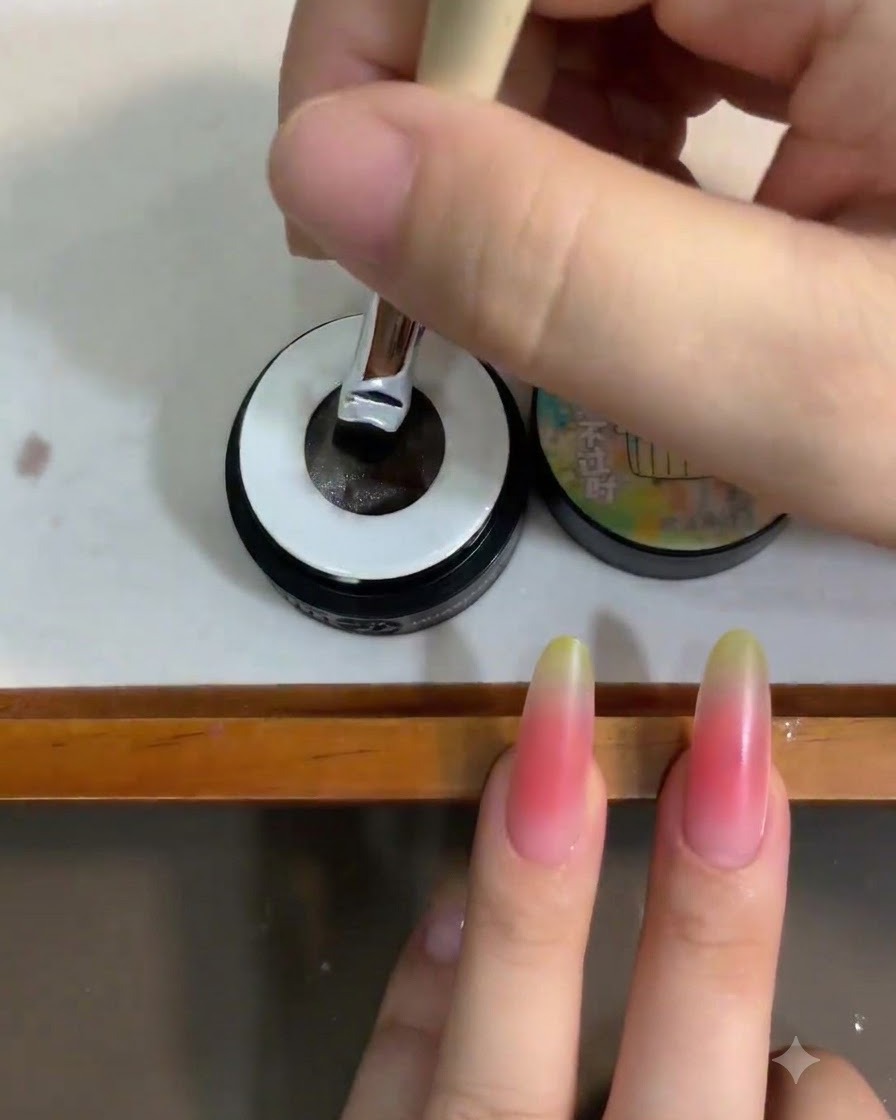
Open your jar of sheer, milky white cat eye gel. Dip a clean flat or oval gel brush into the pot to pick up a bead of the product. This translucent magnetic gel will give the design its final dewy, multidimensional finish.
Tip: Make sure your brush is completely clean of any yellow or pink residue before dipping into the sheer white gel to avoid contaminating the pot. - 13Apply sheer white cat eye gel
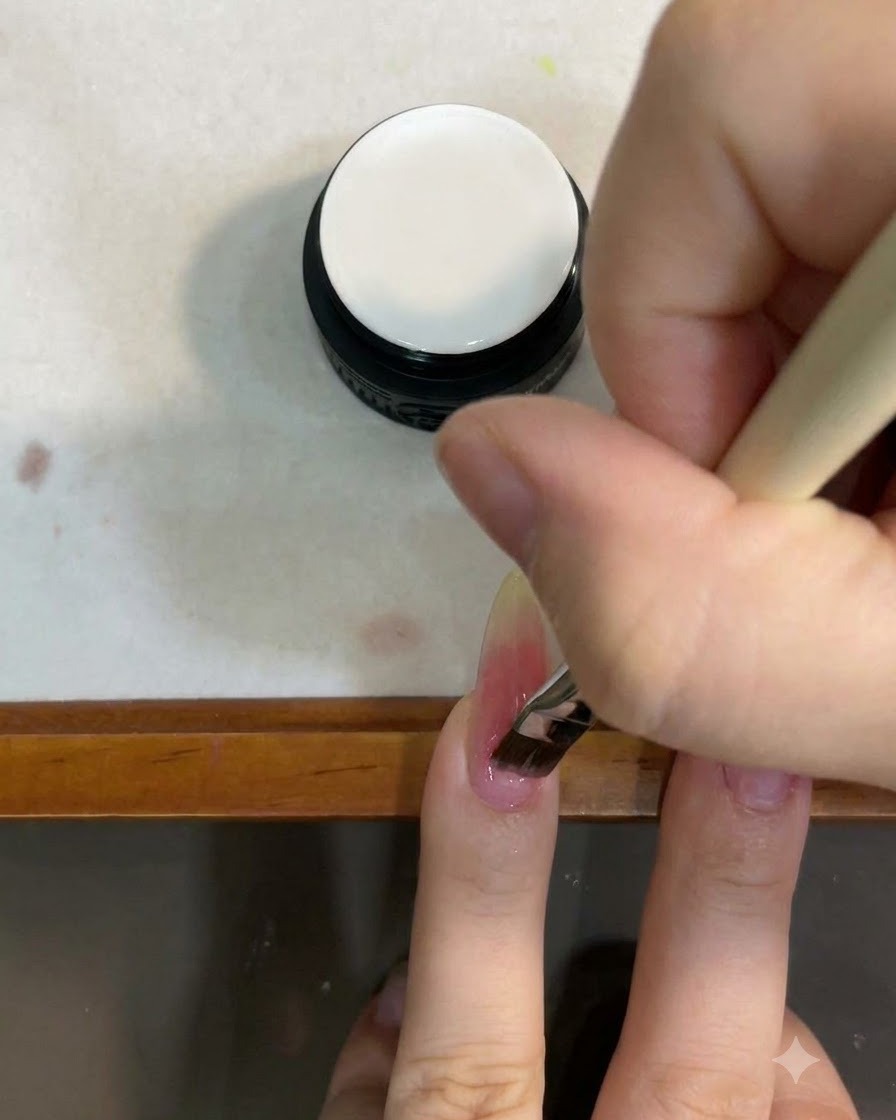
Apply a very sheer milky white cat eye gel evenly over the entire gradient nail surface. This acts as a soft translucent overlay that softens the underlying colors and prepares the surface for the cat eye magnetic effect.
Tip: Apply a thin, even coat so the underlying pink and yellow gradients remain visible underneath. - 14Create side-light cat eye effect
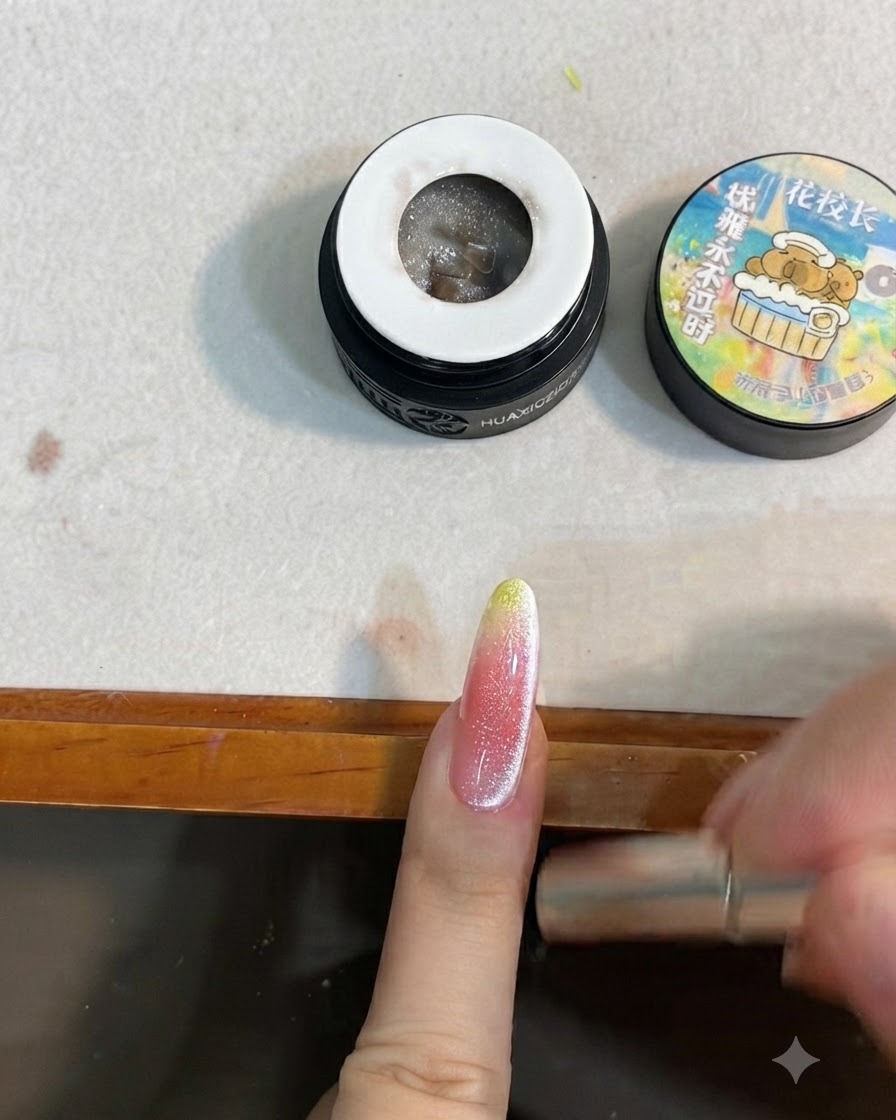
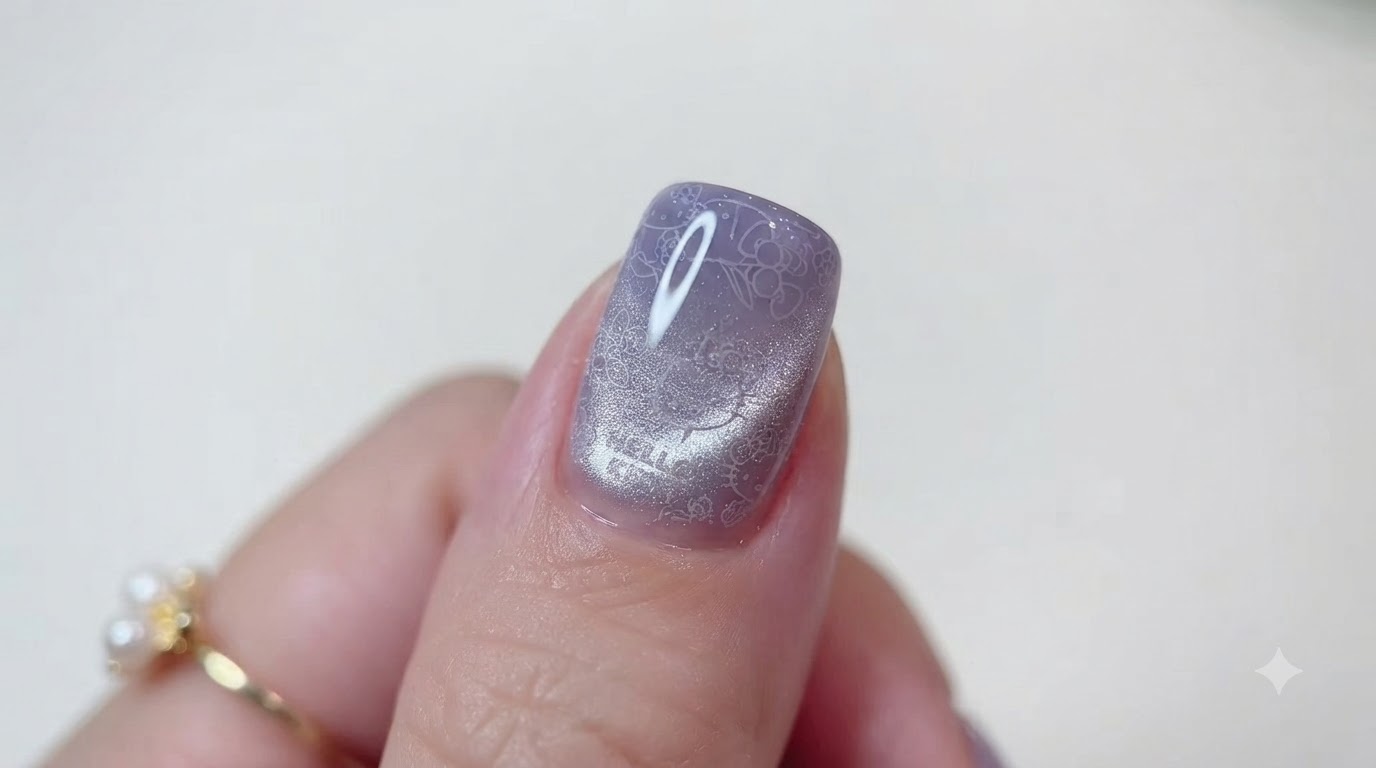
Take the edge of the magnet and hold it near the top, bottom, left, and right sides of the nail. This pushes the magnetic particles into a striking side-light cat eye reflection across the translucent overlay.
Tip: Hover the magnet close to the nail edges without touching the wet gel to achieve a sharp, defined light line. - 15Cure the cat eye gel layer
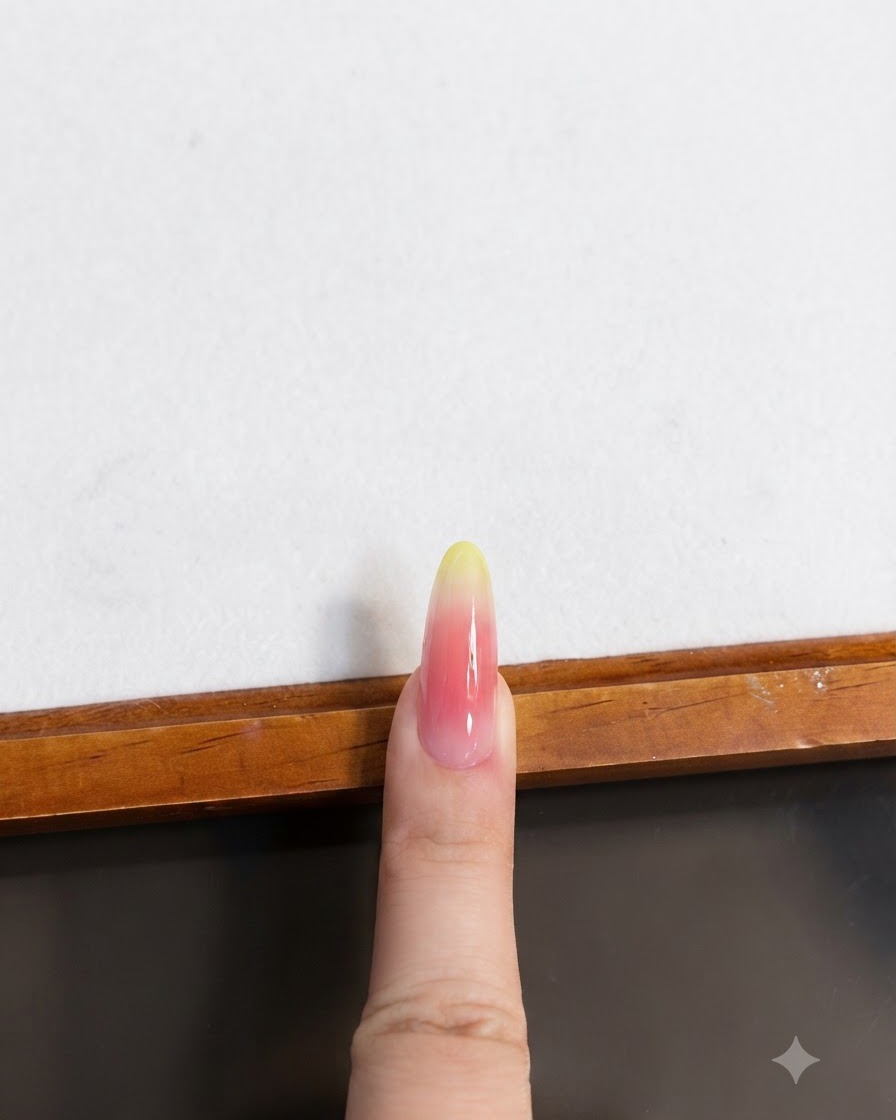
Immediately place the hand under the UV or LED lamp to cure and freeze the cat eye magnetic effect in place. Curing ensures the shifted magnetic particles do not disperse or lose their bright reflection.
Tip: Cure immediately after magnetizing to preserve the precise side-light angle you created. - 16Apply a sealing top coat
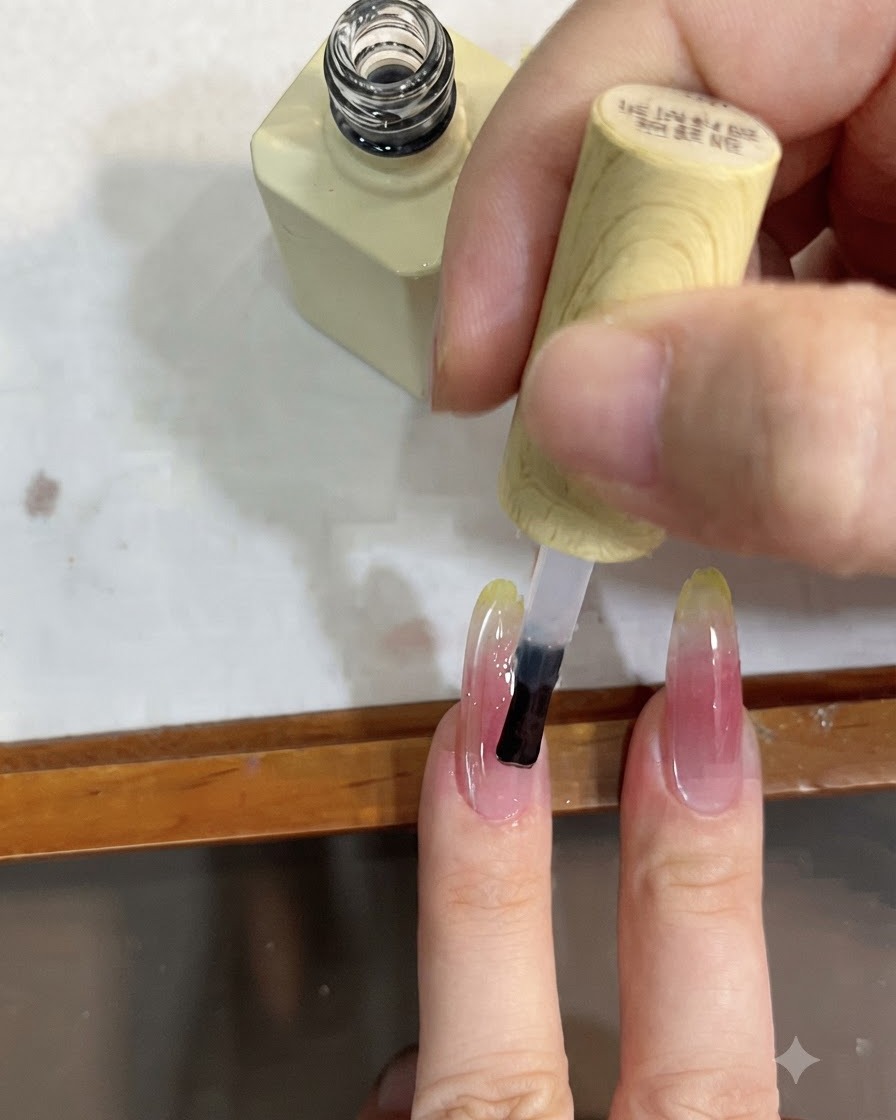
Apply an even layer of clear top coat over the entire nail to seal in the cat eye gel and the blush gradient. Ensure you cap the free edges to prevent peeling and to give the nails a perfectly smooth, glossy finish.
Tip: A high-quality top coat is essential to maximize the translucent, dewy effect of this Mango Pomelo Sago design.