Summer Purple Ombre
Hello Kitty Cat Eye Nail Art Tutorial
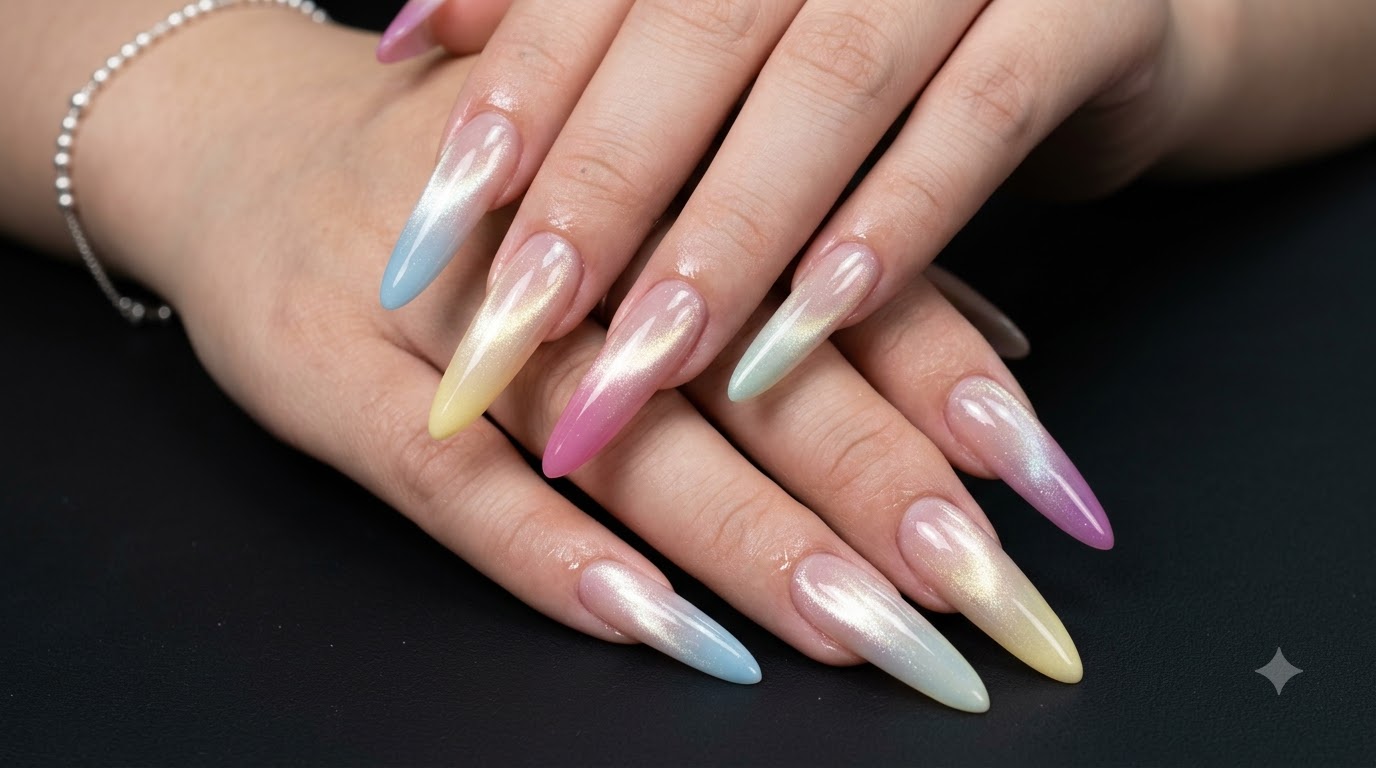
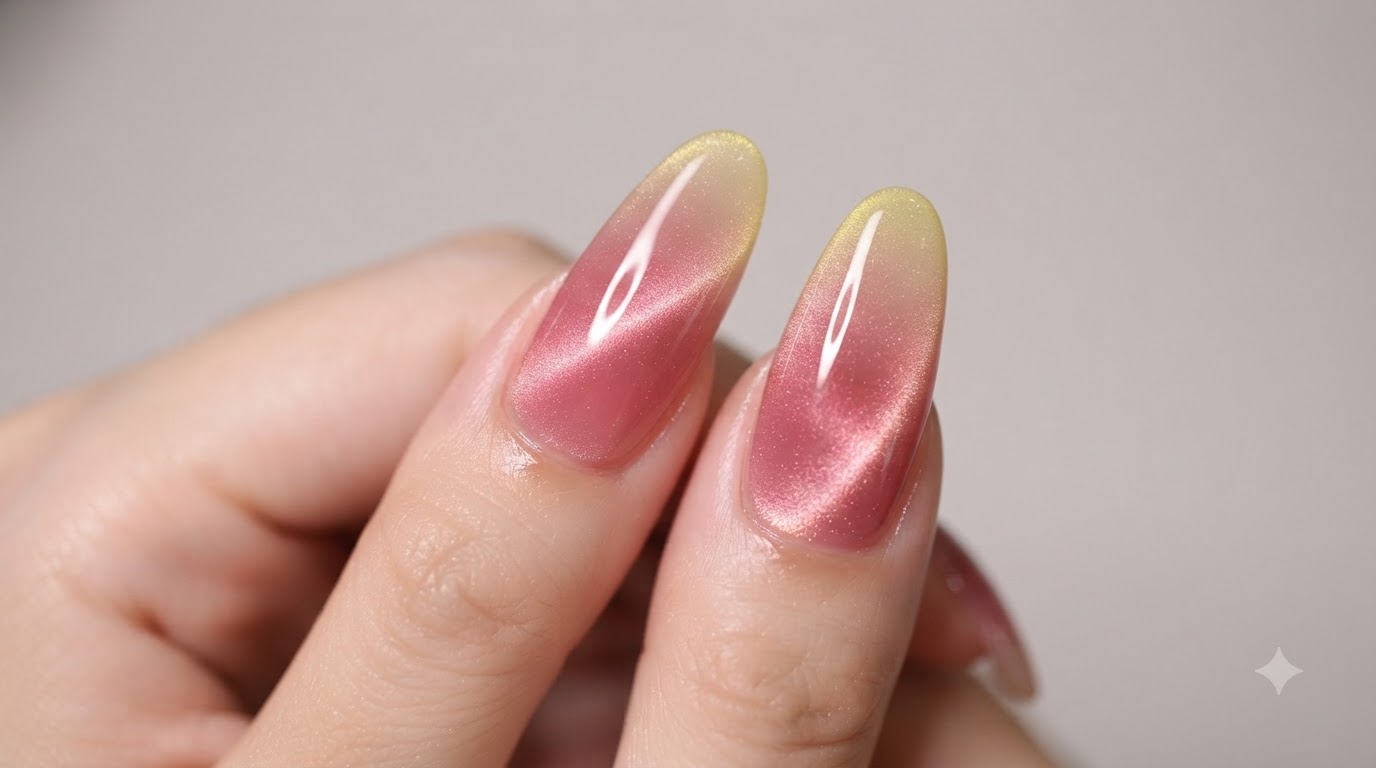
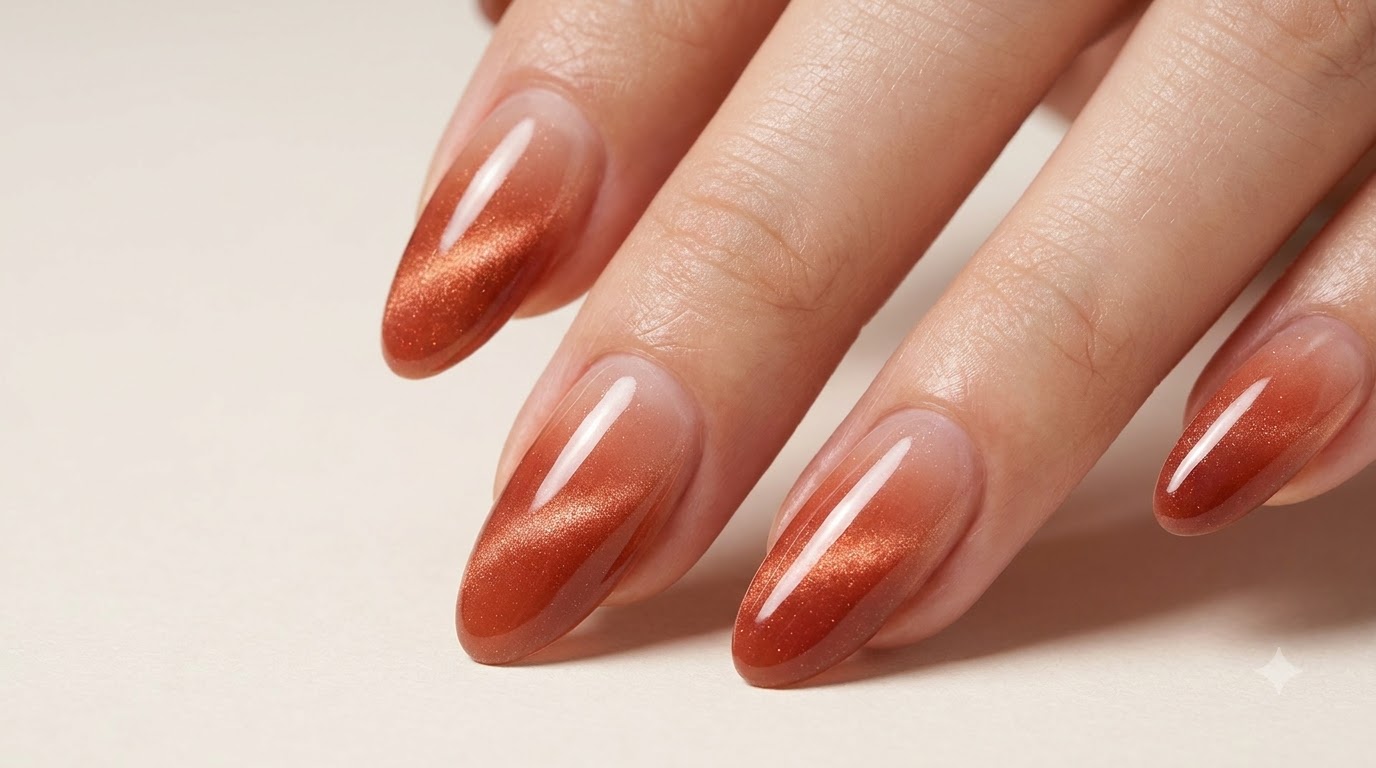
Create a dreamy translucent purple ombre gradient combined with shimmering silver cat-eye magnetic effects and delicate Hello Kitty stamped details.
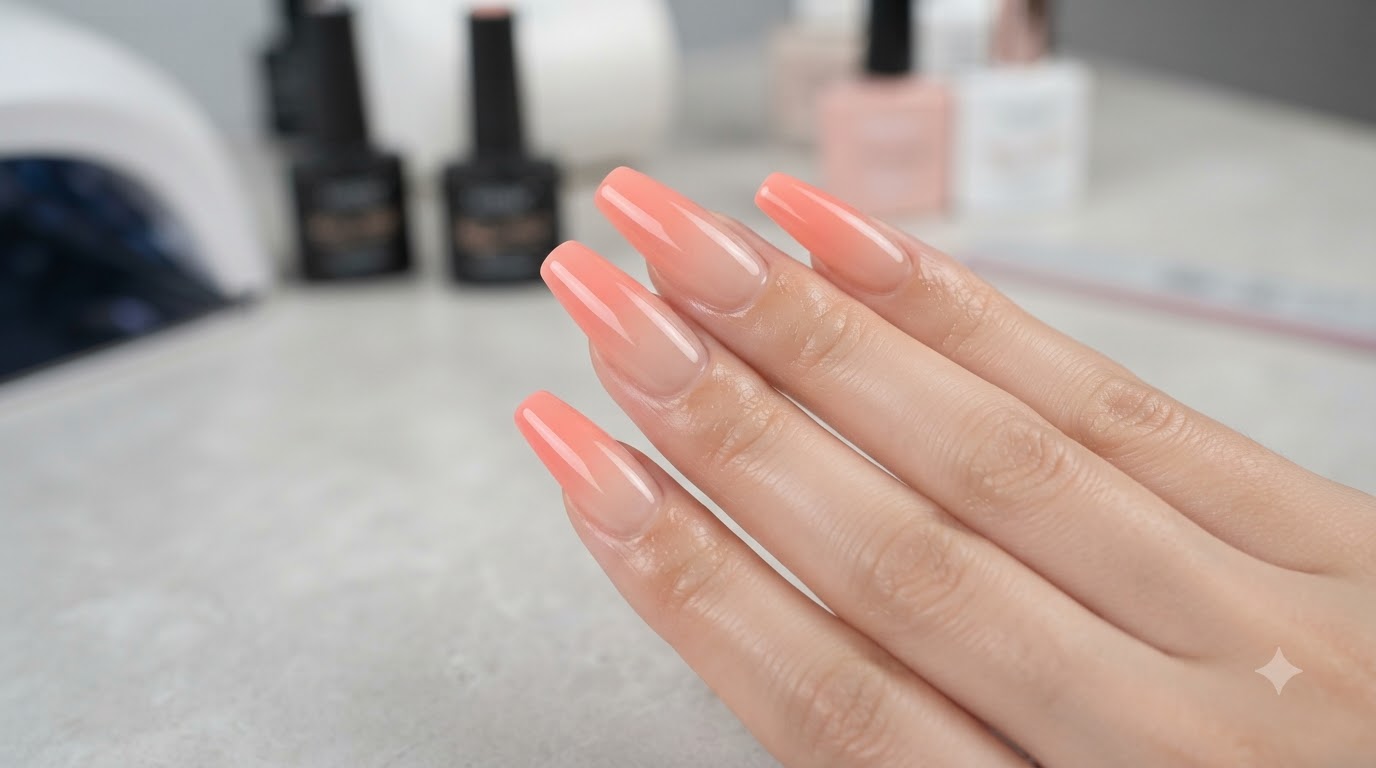
Combining translucent pastel gradient styling with trendy cat-eye magnetic shimmer and cute character stamping, this nail design offers a magical multi-dimensional finish. The soft purple hue paired with delicate Hello Kitty details brings a playful yet polished salon-quality aesthetic right to your fingertips.
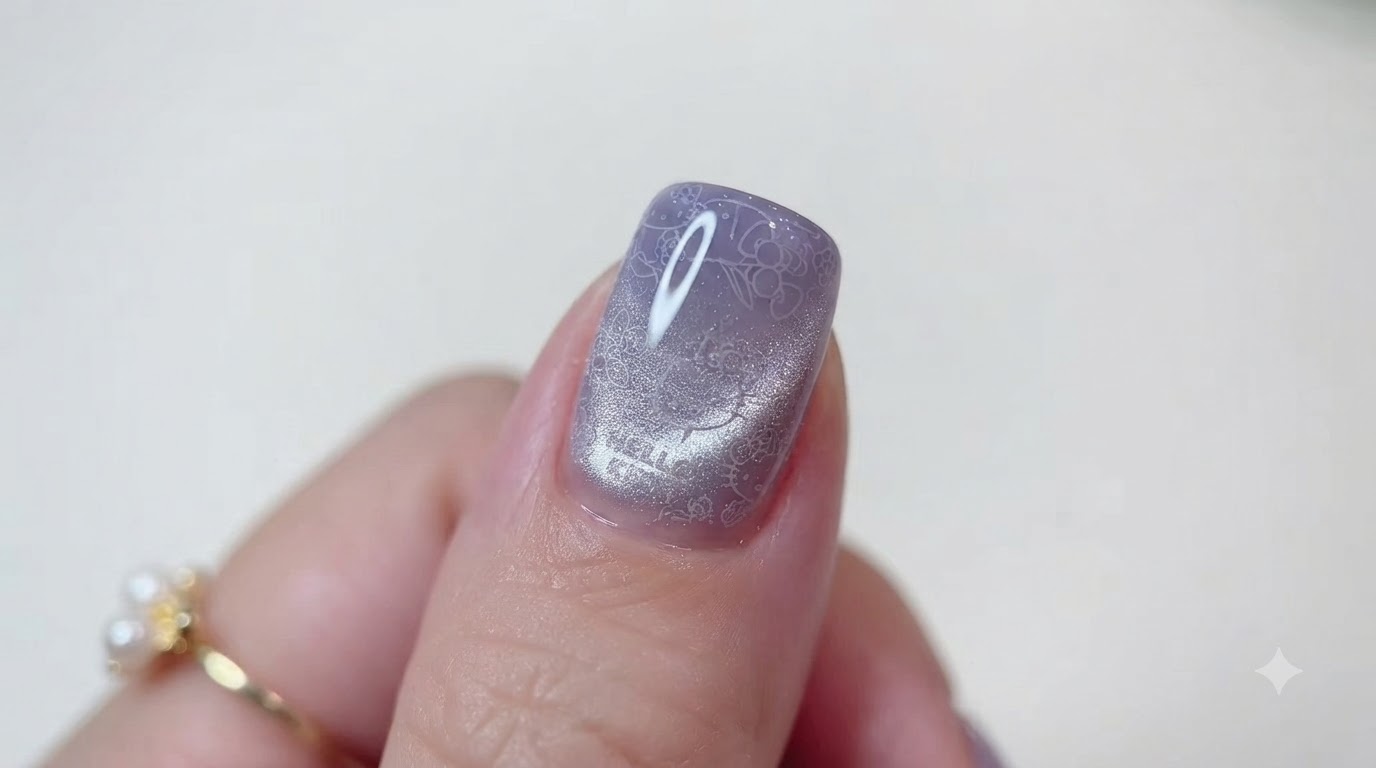
Steps
- 1Apply White Base Coat
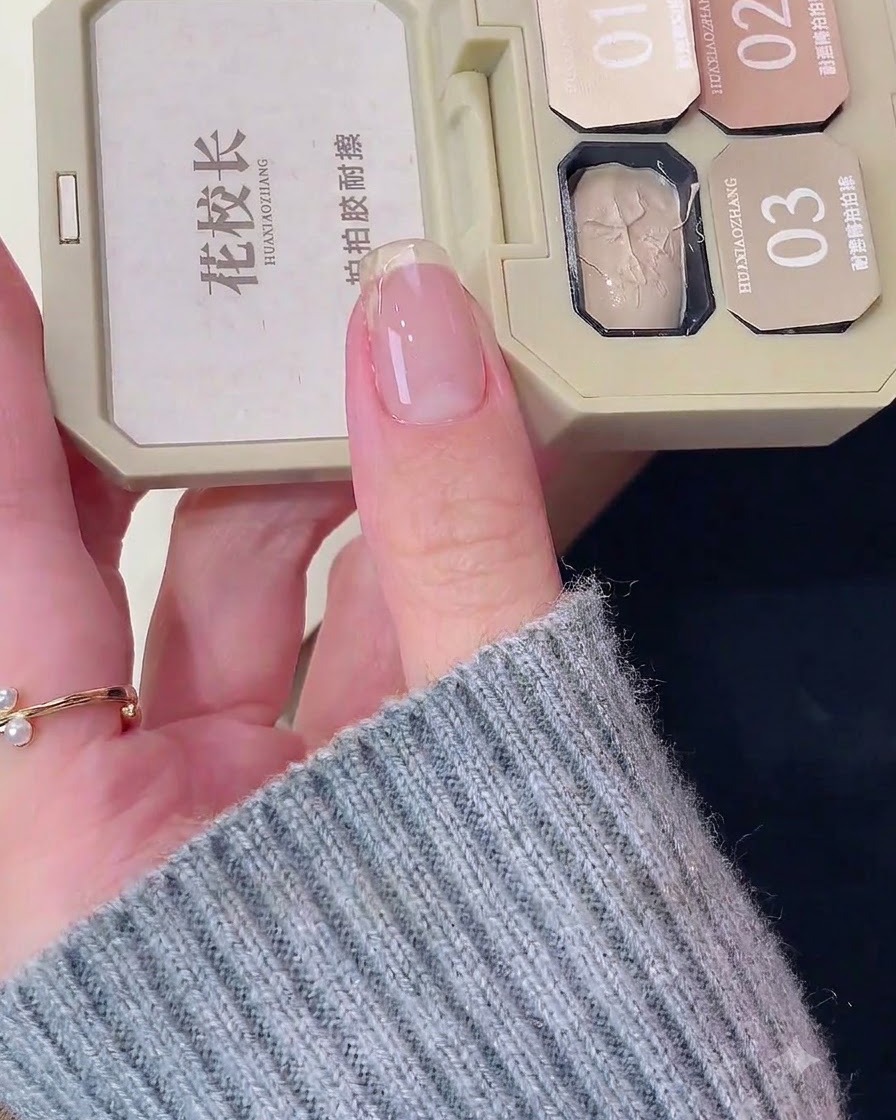
Apply a white base coat gel near the free edge area of the nail to effectively cover and blur the nail bed line, creating a clean canvas for the ombre design.
Tip: Apply this layer thinly near the transition area to ensure a smooth gradient effect later. - 2Apply reinforcing builder gel
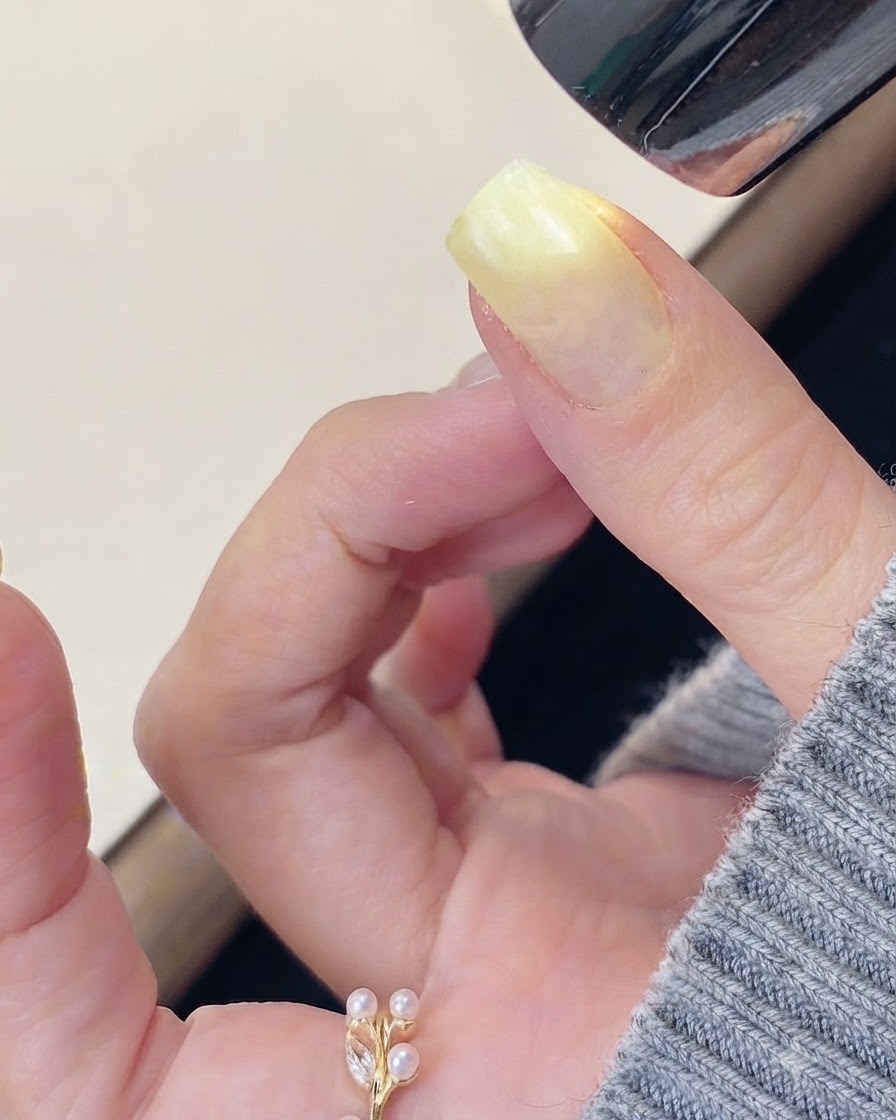
Brush a layer of reinforcing builder gel over the nail plate to add structural strength and smooth out any surface unevenness. This creates a durable foundation for subsequent gel art layers and protects the natural nail underneath. Cure under the UV or LED lamp as required.
Tip: Make sure to cap the free edge with the builder gel to prevent chipping and lifting at the tip. - 3Cure and Wipe Inhibition Layer
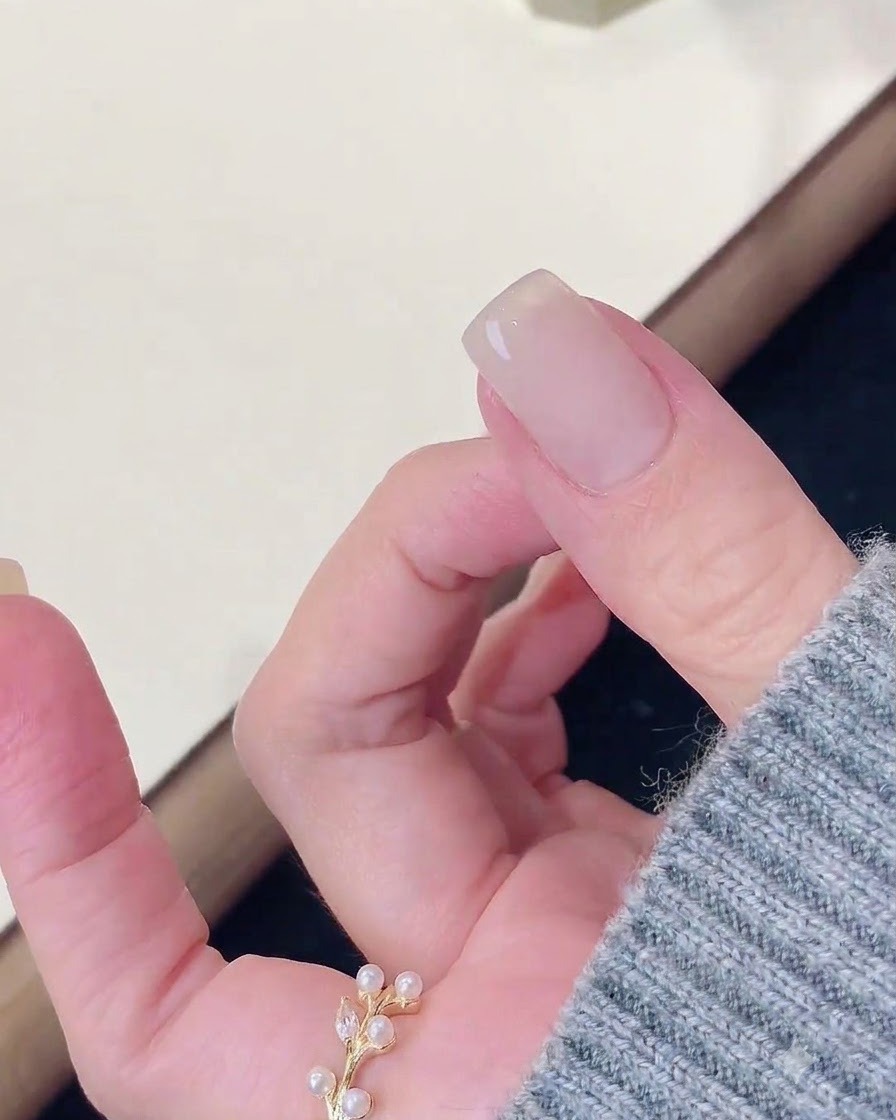
Place the finger under the UV/LED lamp to fully cure the applied gel layer. After curing, use a cleanser or alcohol wipe to remove the sticky inhibition layer from the surface.
Tip: Ensure the entire nail surface is thoroughly wiped to provide a clean layer for the subsequent color application. - 4Prepare Purple Color Gel
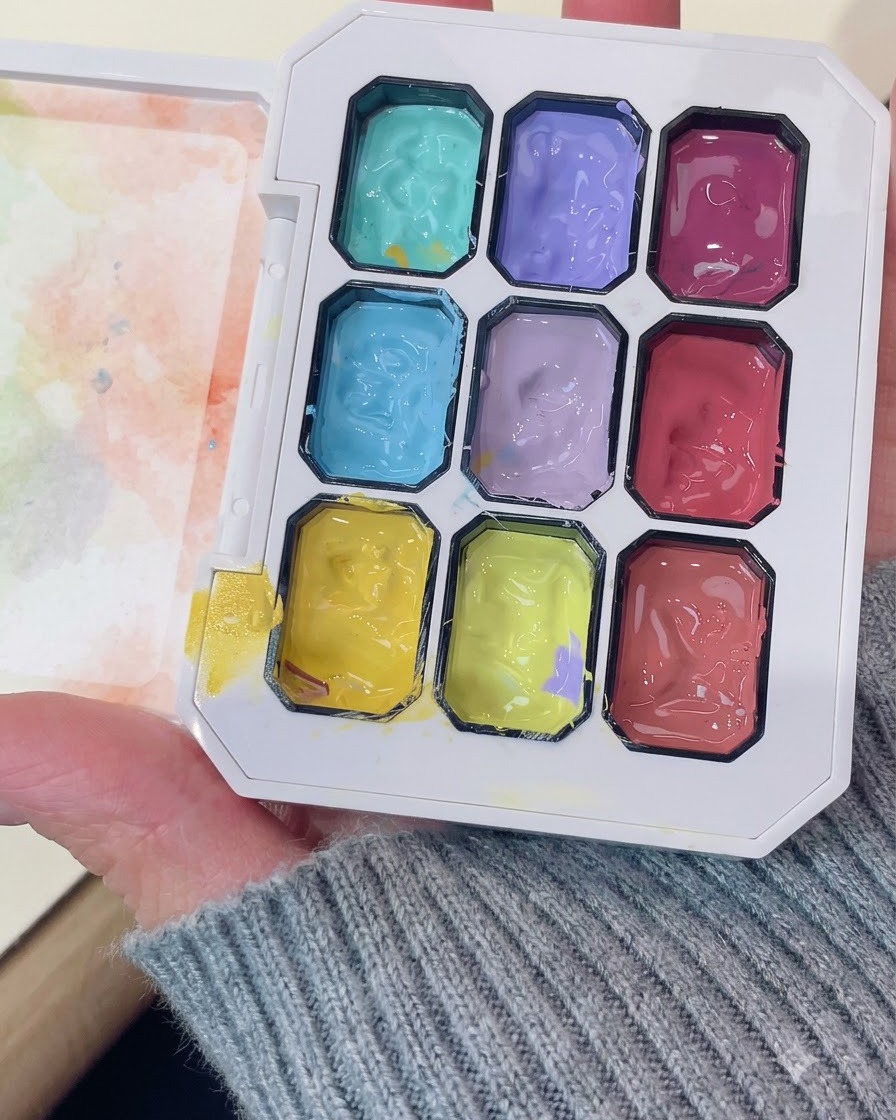
Select the purple color gel from your palette and dab a small amount onto the silicone tool pad or sponge to prepare for the ombre application technique.
Tip: Do not overload the sponge with too much product to prevent clumping and uneven texture on the nail. - 5Create Ombre Gradient Effect
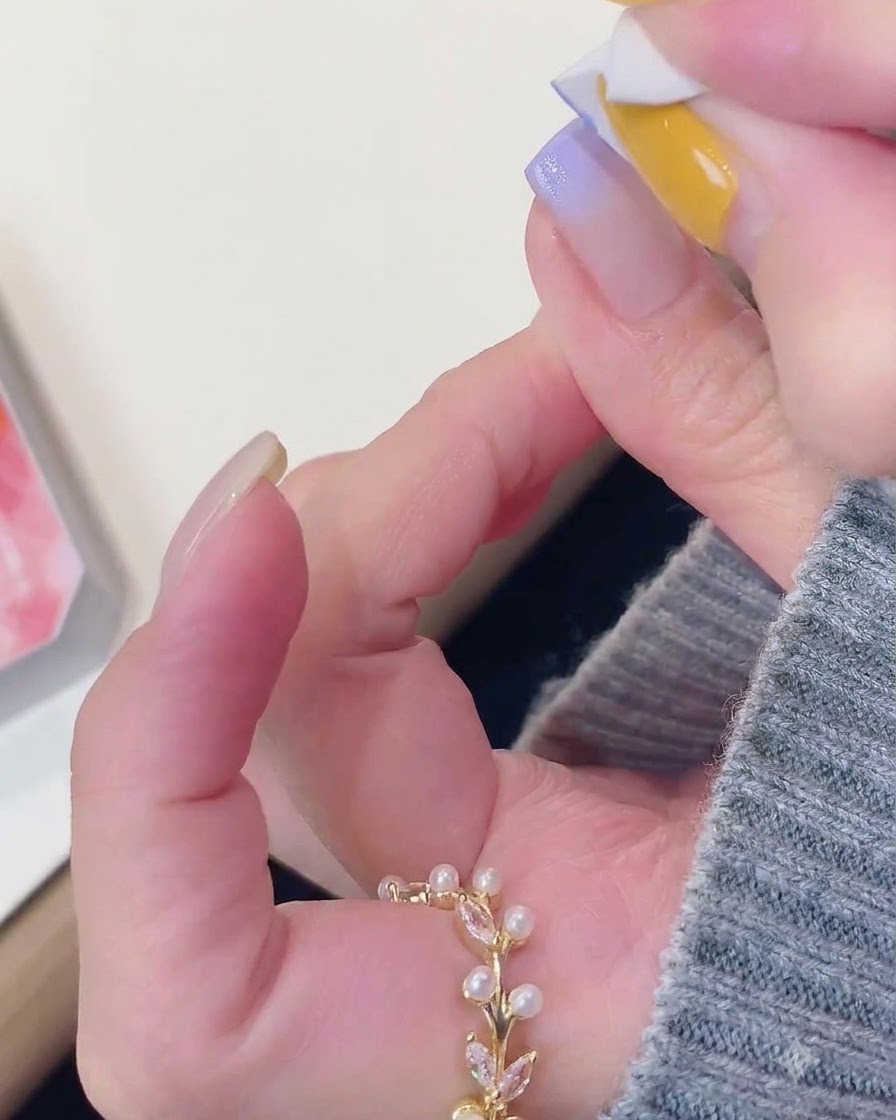
Using a sponge tool, lightly dab the purple gel onto the nail tip area, gently blending it upwards toward the center to build a soft and seamless ombre gradient effect.
Tip: Dabbing with light, repetitive tapping motions yields a smoother gradient than dragging the sponge. - 6Cure First Ombre Layer
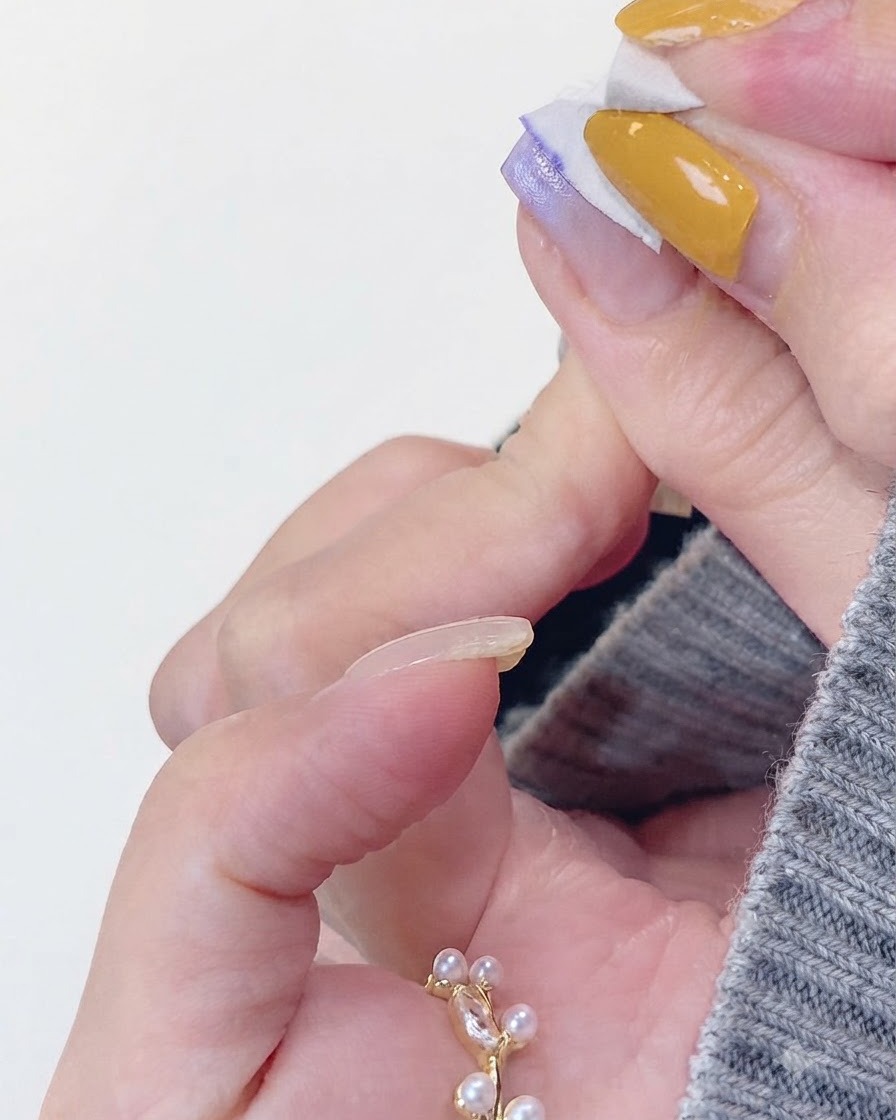
Place the hand back under the UV/LED lamp to cure the first layer of the purple ombre design, locking the gradient colors into place before adding details.
Tip: Cure for the standard manufacturer recommended duration to ensure the color layers do not shift during the next step. - 7Apply second purple gradient layer
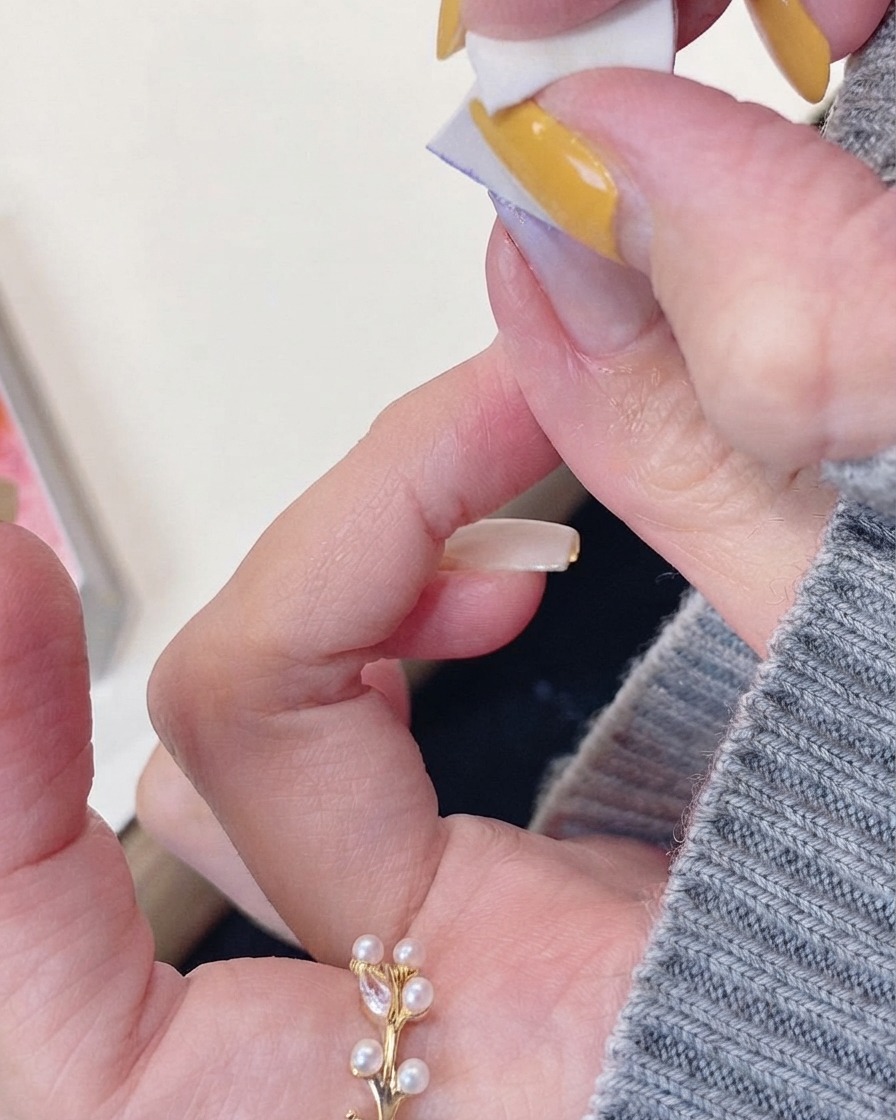
Apply a second layer of purple gel concentrated along the edge to intensify the gradient ombre effect at the tip. Dab and blend smoothly to ensure a seamless color transition from the clear base. Wipe the skin edges clean if any excess color transfers during application.
Tip: Dabbing lightly with a sponge or blending brush helps create a soft, smoke-like gradient transition. - 8Clean skin edges
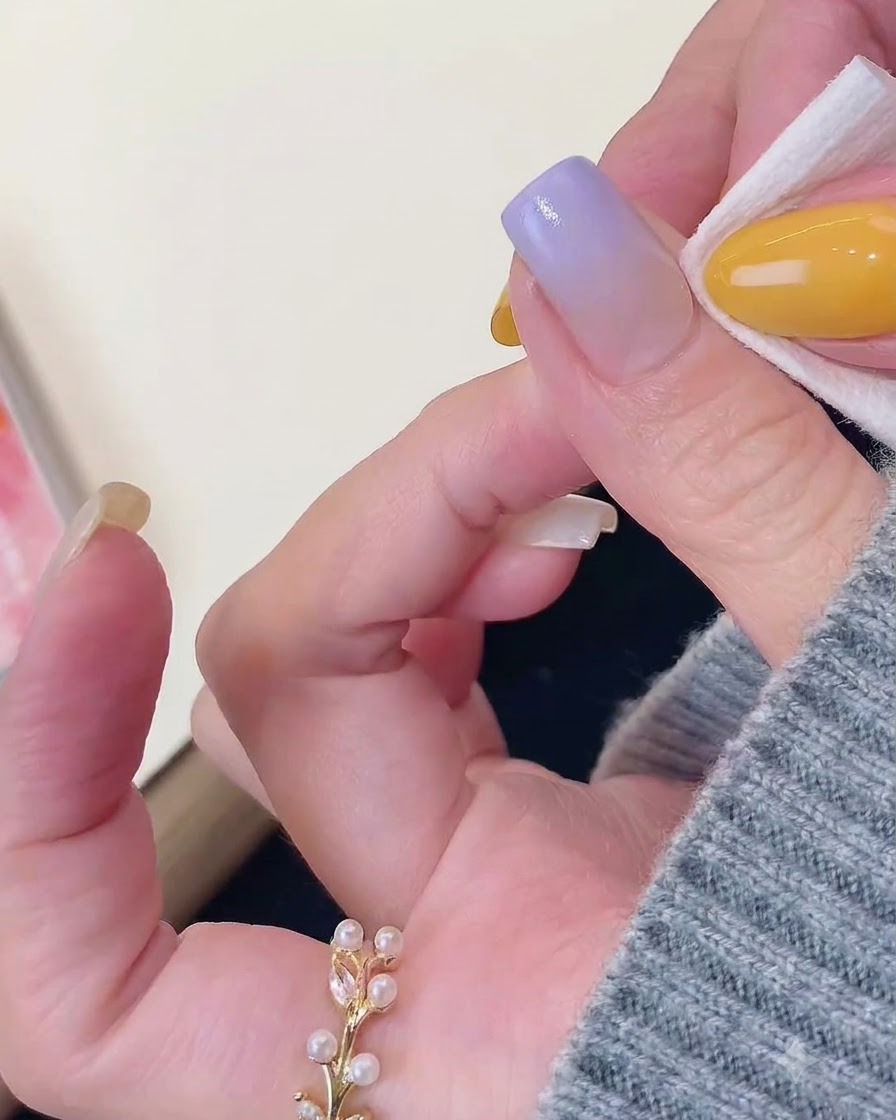
Carefully wipe around the skin and cuticle edges of the nail to remove any stray gel polish before curing. Maintaining clean sidewalls ensures a professional, salon-quality finish and prevents skin irritation from uncured product.
Tip: Use a lint-free wipe dampened with cleanser or alcohol for precise edge cleanup. - 9Apply white boiling water cat eye gel
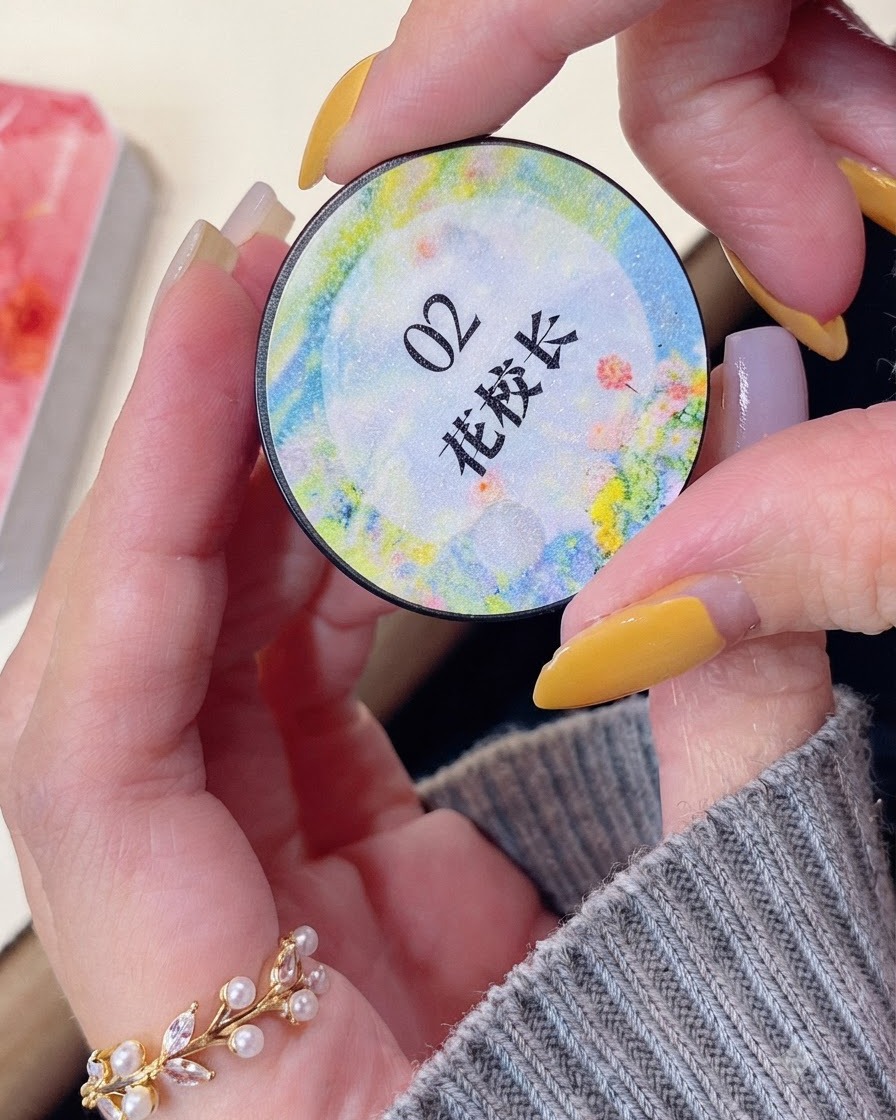
Apply a thick coat of white boiling water cat eye gel evenly over the entire nail surface. This specialized magnetic gel contains reflective particles that create a translucent, shimmering look when activated. Do not cure yet, as you will need the wet consistency to manipulate the cat-eye effect.
Tip: Applying a slightly thicker coat allows the magnetic particles to move and concentrate more freely. - 10Create cat-eye magnetic effect
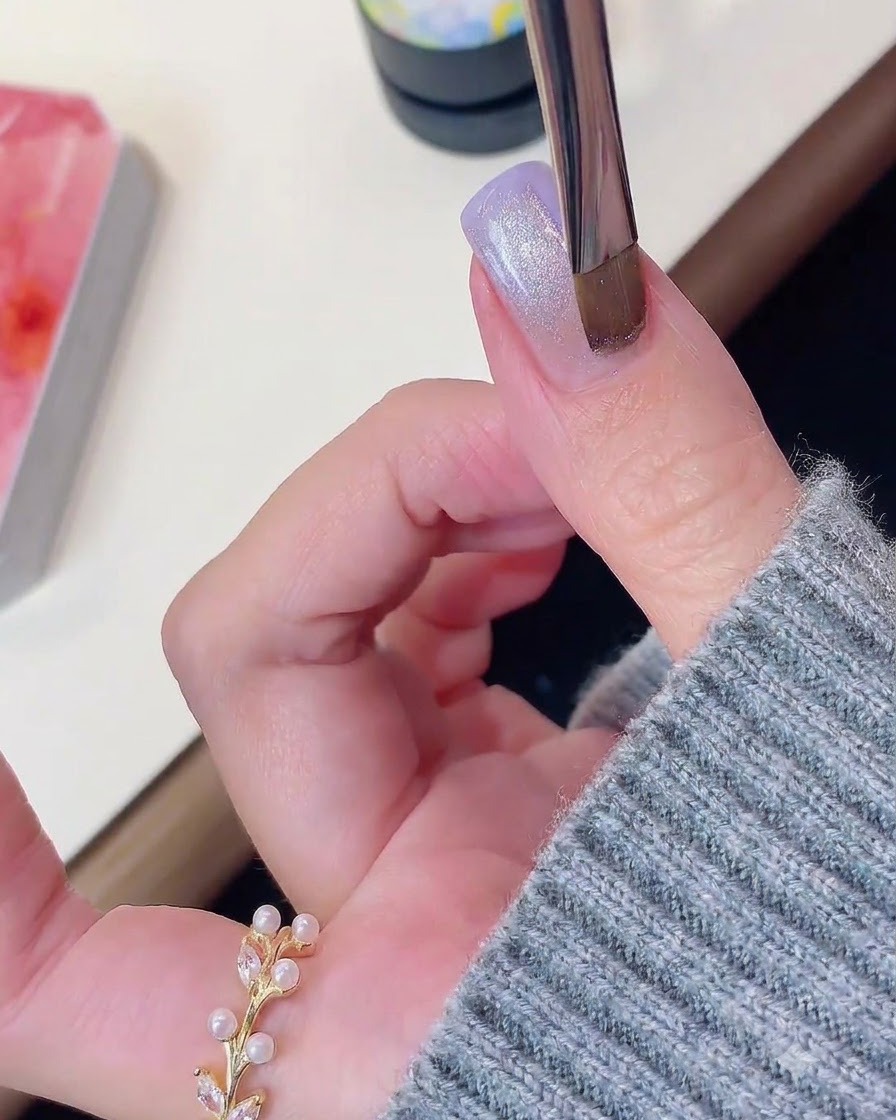
Hold a magnetic tool close to the wet cat-eye gel to draw out a wide light band, then guide and pull the light reflection toward the rear edge position of the nail. This technique creates a luminous, dimensional cat-eye shimmer centered near the cuticle area.
Tip: Keep the magnet steady and close to the nail without touching the wet surface to achieve a sharp, defined light line. - 11Cure cat-eye gel
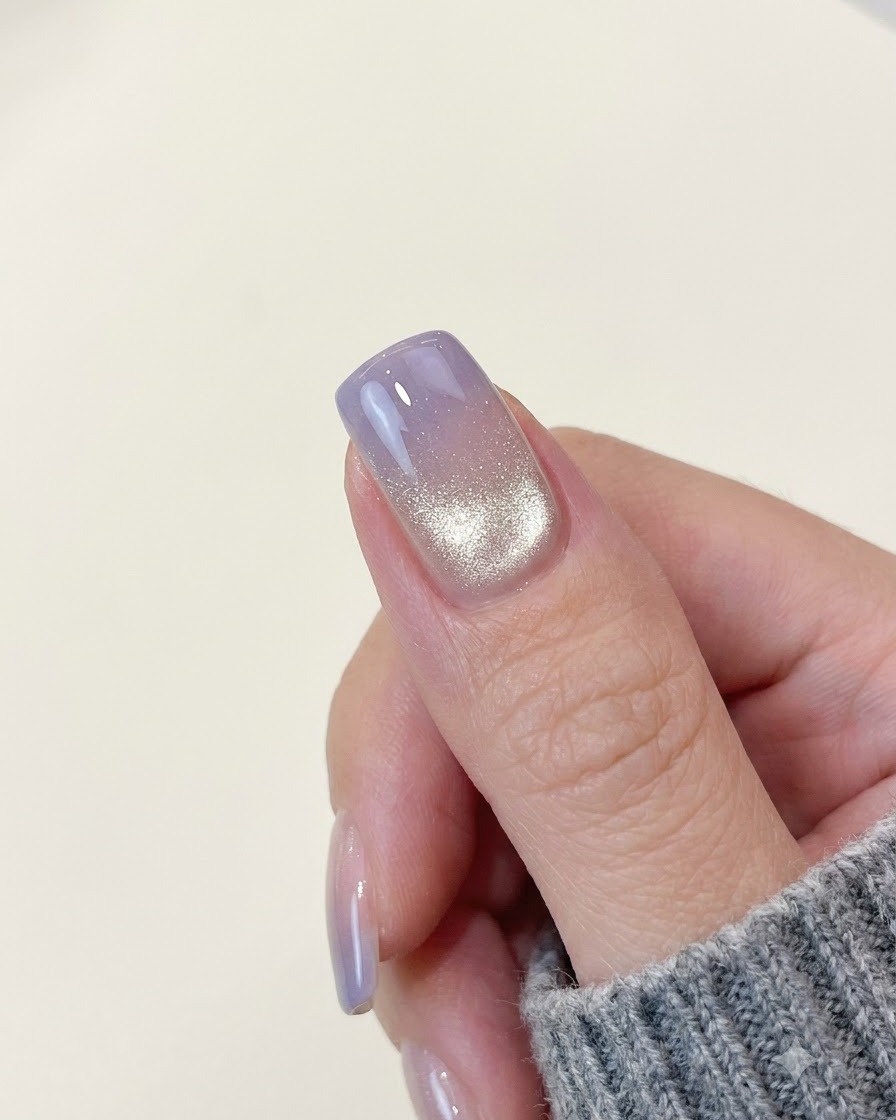
Place the hand under the UV or LED lamp to fully cure the cat-eye gel layer and lock the magnetic light pattern in place. Ensure proper curing time according to the product specifications to avoid shifting or wrinkling.
Tip: Check that the finger is centered under the lamp light source for an even and complete cure. - 12Apply purple gel to stamping plate
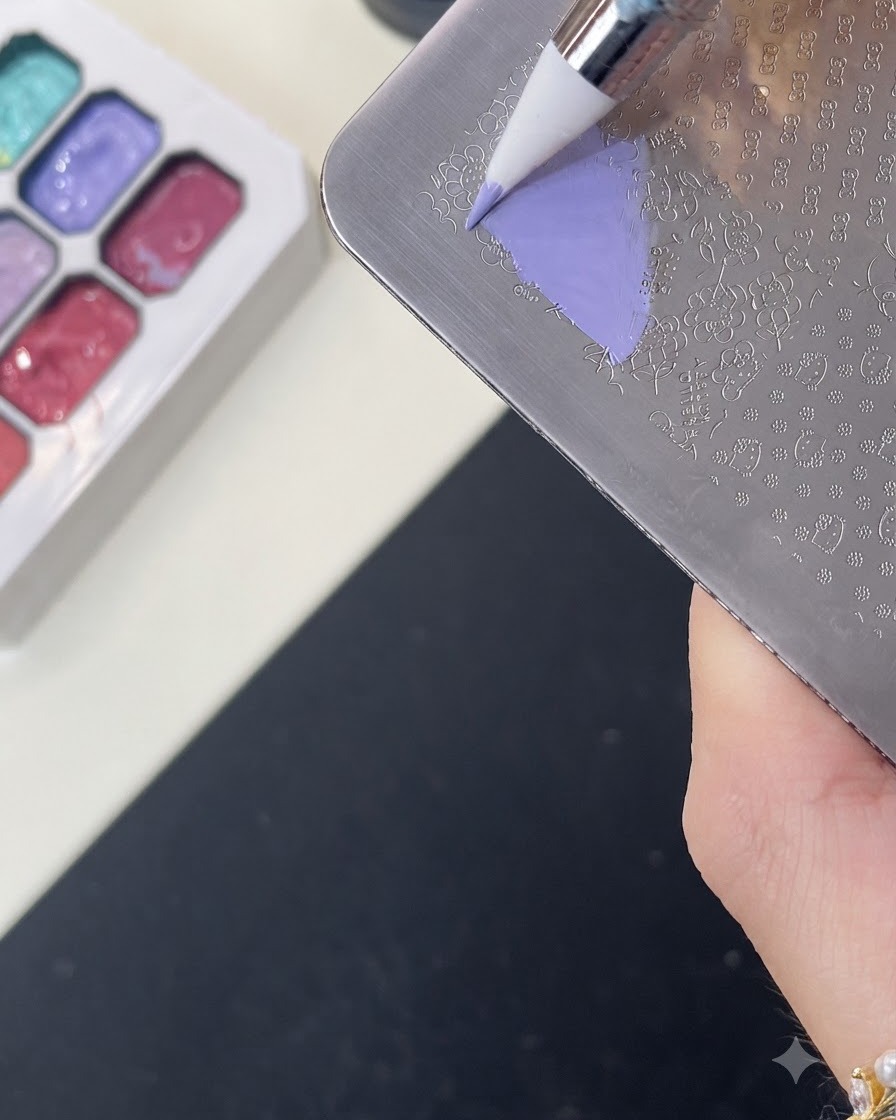
Apply a generous amount of purple color gel directly onto the engraved Hello Kitty pattern on the metal stamping plate. Ensure the gel covers all the etched lines of the design completely so that the pattern will pick up cleanly without any gaps.
Tip: Use a specialized stamping gel or a highly pigmented gel polish for crisp, opaque transfer. - 13Scrape excess gel from plate
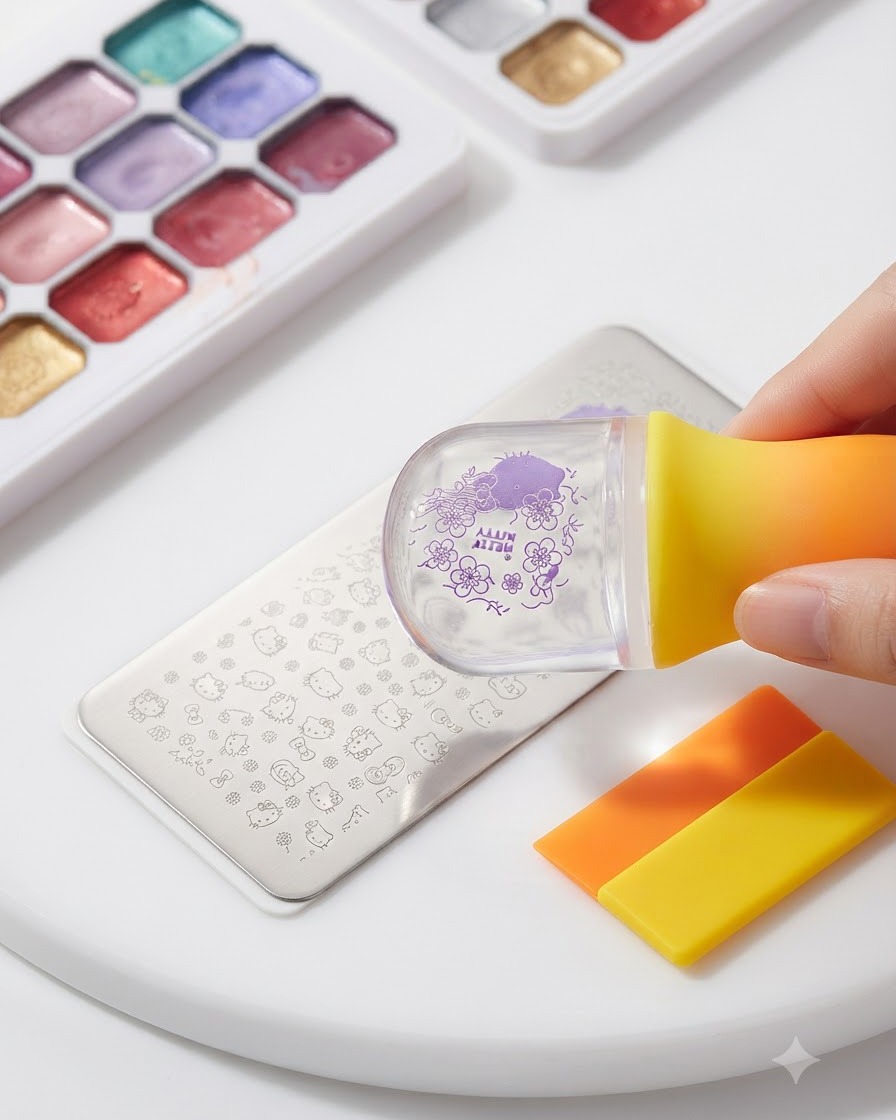
Hold the scraper card at a 45-degree angle and firmly glide it across the metal stamping plate to remove all excess purple gel. This leaves gel only inside the etched recesses of the Hello Kitty design.
Tip: Do not press down too hard with the scraper card, or you may scoop gel out of the shallow etched lines. - 14Pick up design with silicone stamper
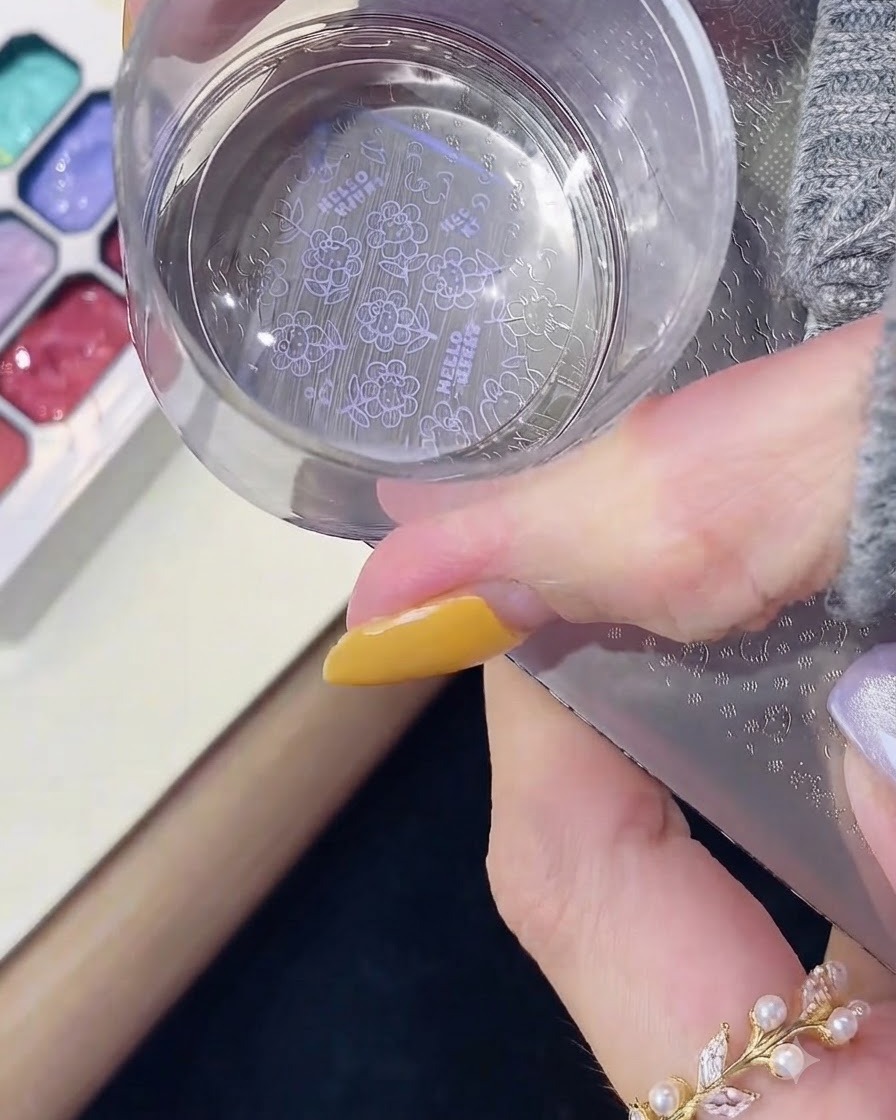
Gently press the clear silicone stamping head straight down onto the prepared Hello Kitty pattern on the metal plate. Roll or press firmly once to transfer the purple gel design entirely onto the silicone surface.
Tip: A light rolling motion helps prevent air bubbles from getting trapped under the silicone stamper. - 15Transfer design onto the nail
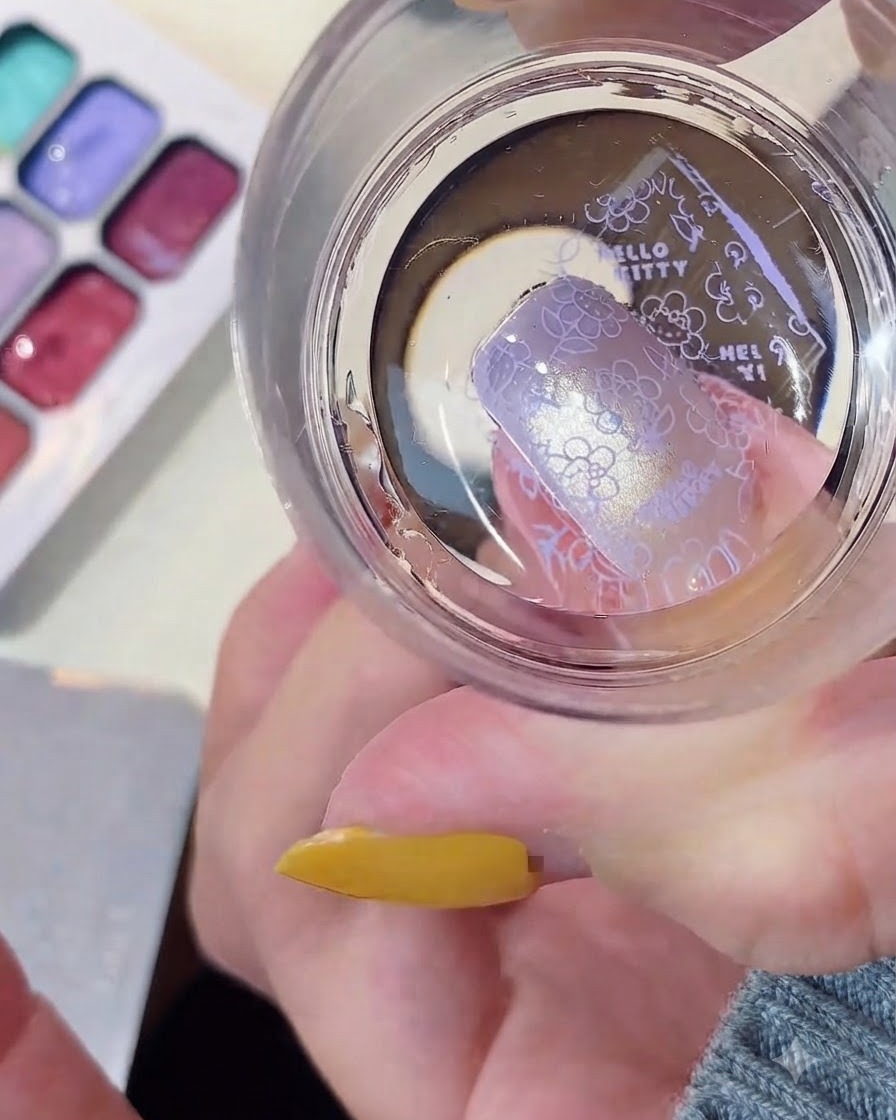
Align the stamped Hello Kitty image on the silicone stamper over the nail surface, then press it down to transfer the pattern. Position the design carefully according to your nail art layout before pressing.
Tip: Look through the back of a clear silicone stamper to ensure perfect placement on the nail. - 16Clean up nail edges
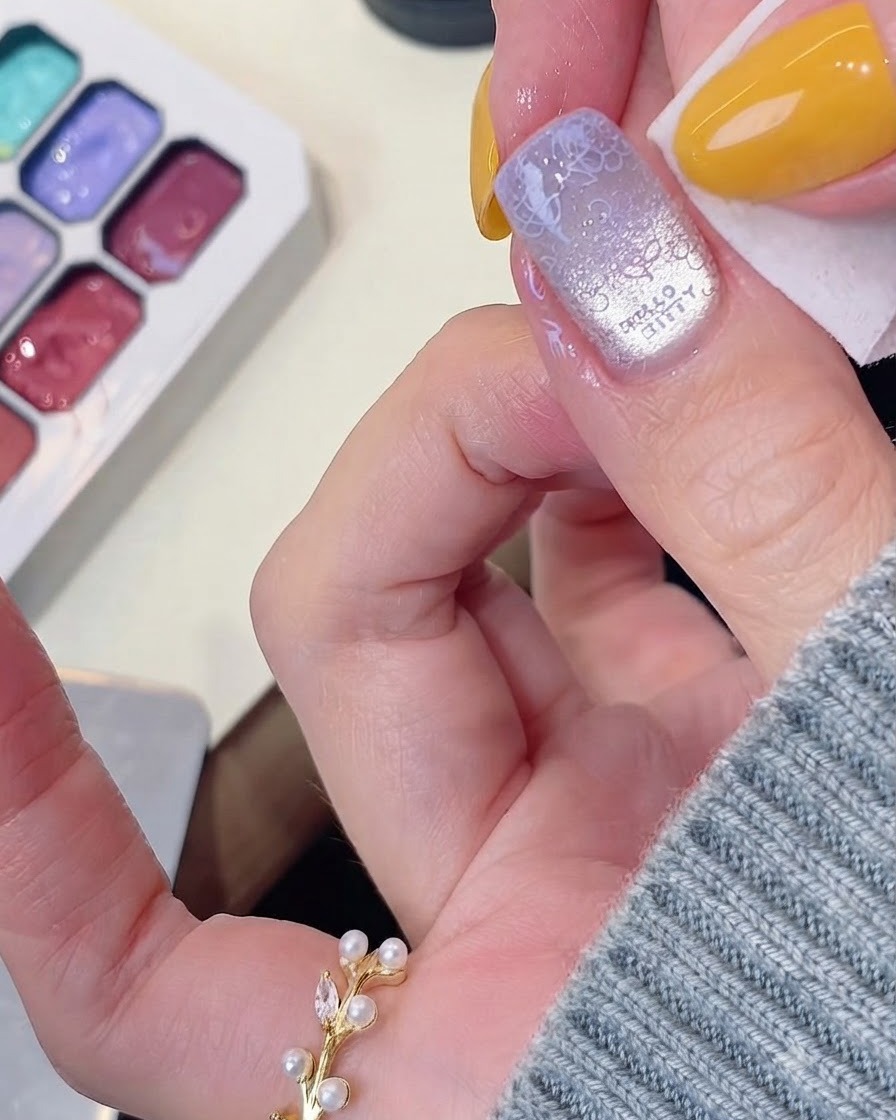
Use a lint-free wipe or a cleanup brush dipped in cleanser to gently remove any stray gel or excess stamped lines around the skin and edges of the nail. This ensures a neat, professional-looking manicure.
Tip: Clean up any accidental smudges on the skin before curing the gel under the lamp. - 17Cure the stamped design
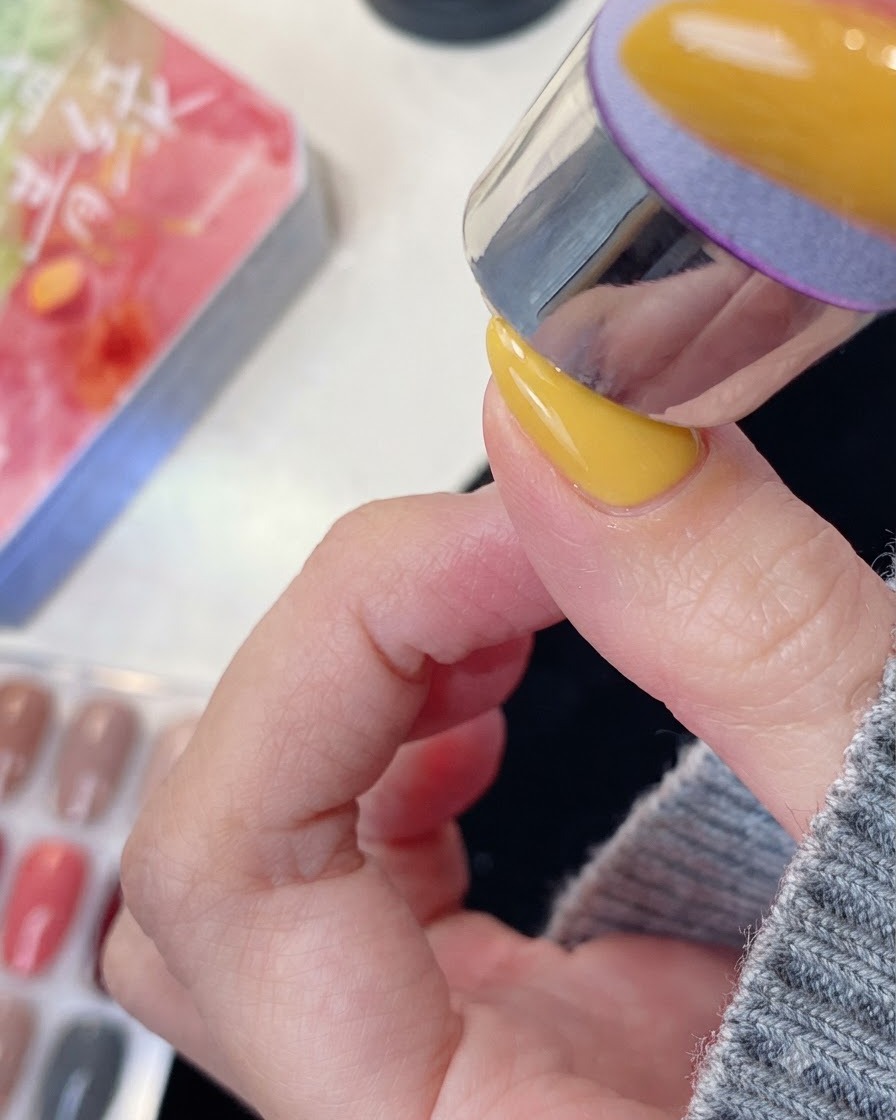
Place the hand under the UV or LED lamp and cure the newly stamped Hello Kitty design for the manufacturers recommended time. This locks the pattern in place so it will not smudge during the final top coat application.
Tip: Ensure full cure time is met to prevent the stamped design from wrinkling when top coat is applied. - 18Apply reinforcing gel and top coat
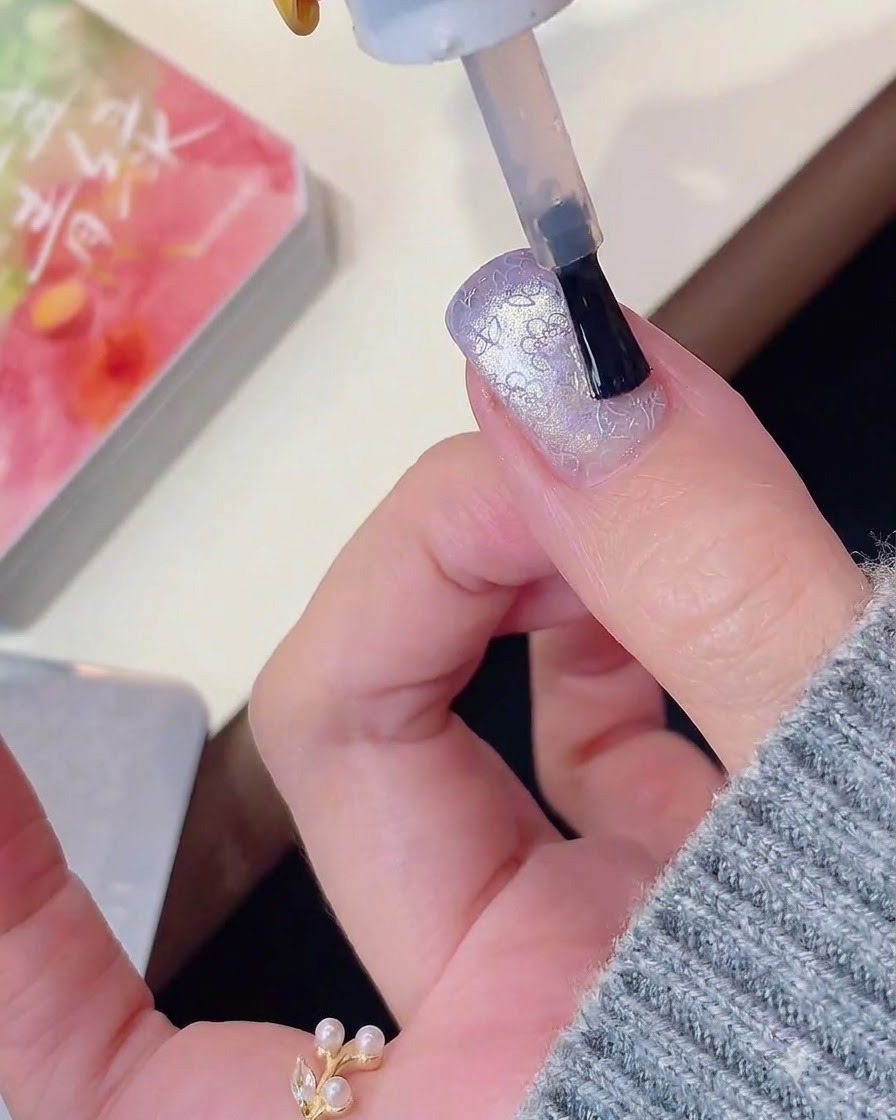
Brush on a layer of reinforcing builder gel followed by a final glossy top coat over the entire nail to seal and protect the Hello Kitty stamp and cat eye nail art design. Ensure the edges are fully capped to prevent chipping or peeling. Cure completely under your UV or LED lamp to lock in the high-shine finish.
Tip: Capping the free edge with top coat is essential for long-lasting wear and prevents premature lifting at the tip.