Autumn and Winter Gentle Fair-Skin Cat Eye Gradient Nail Art Tutorial
Discover how to create a stunning autumn and winter cat eye gradient nail art look featuring warm copper tones, magnetic shimmer, and a glossy finish.
As the cooler seasons approach, warm and cozy nail designs take center stage. This gentle fair-skin cat eye gradient combines rich autumn hues with mesmerizing magnetic shimmer to create a sophisticated, multidimensional effect that flatters every hand.
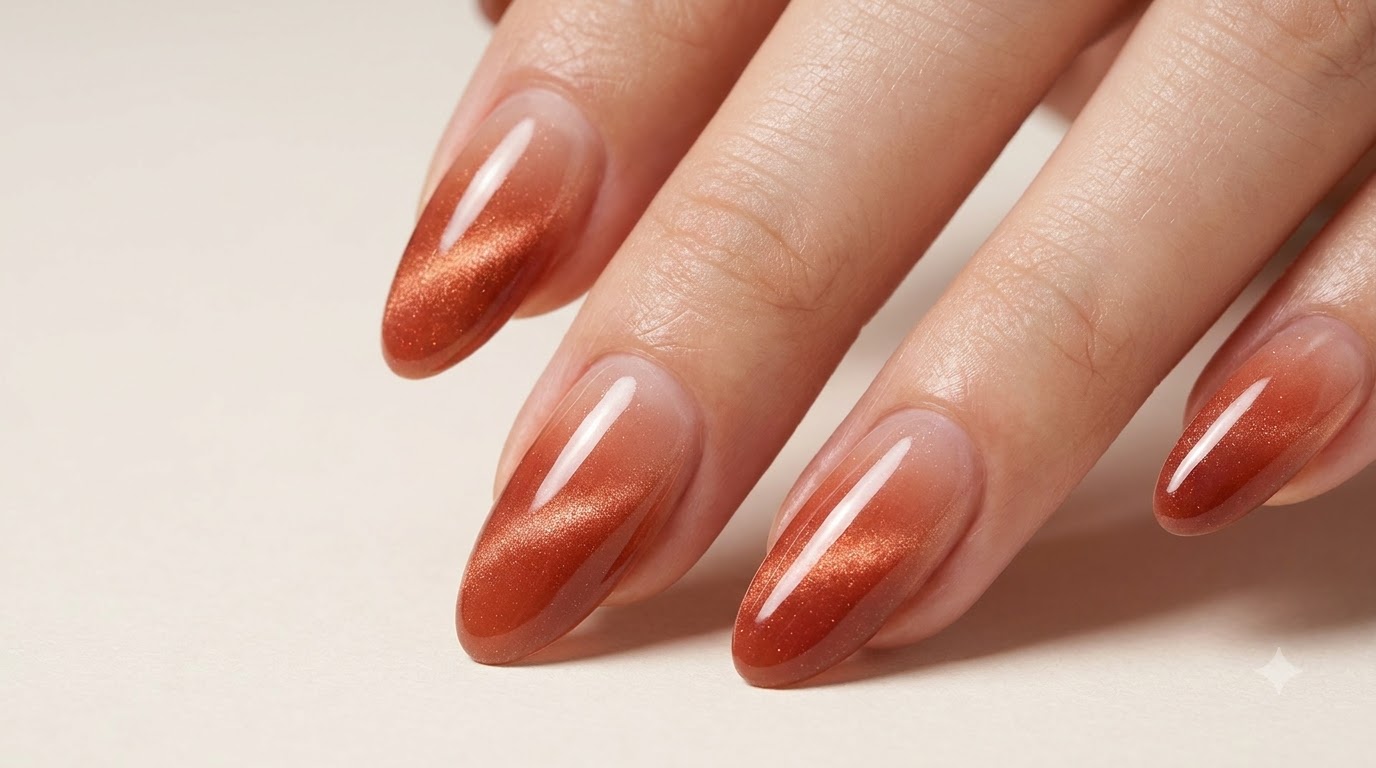
Steps
- 1Apply M03 magnetic gel polish
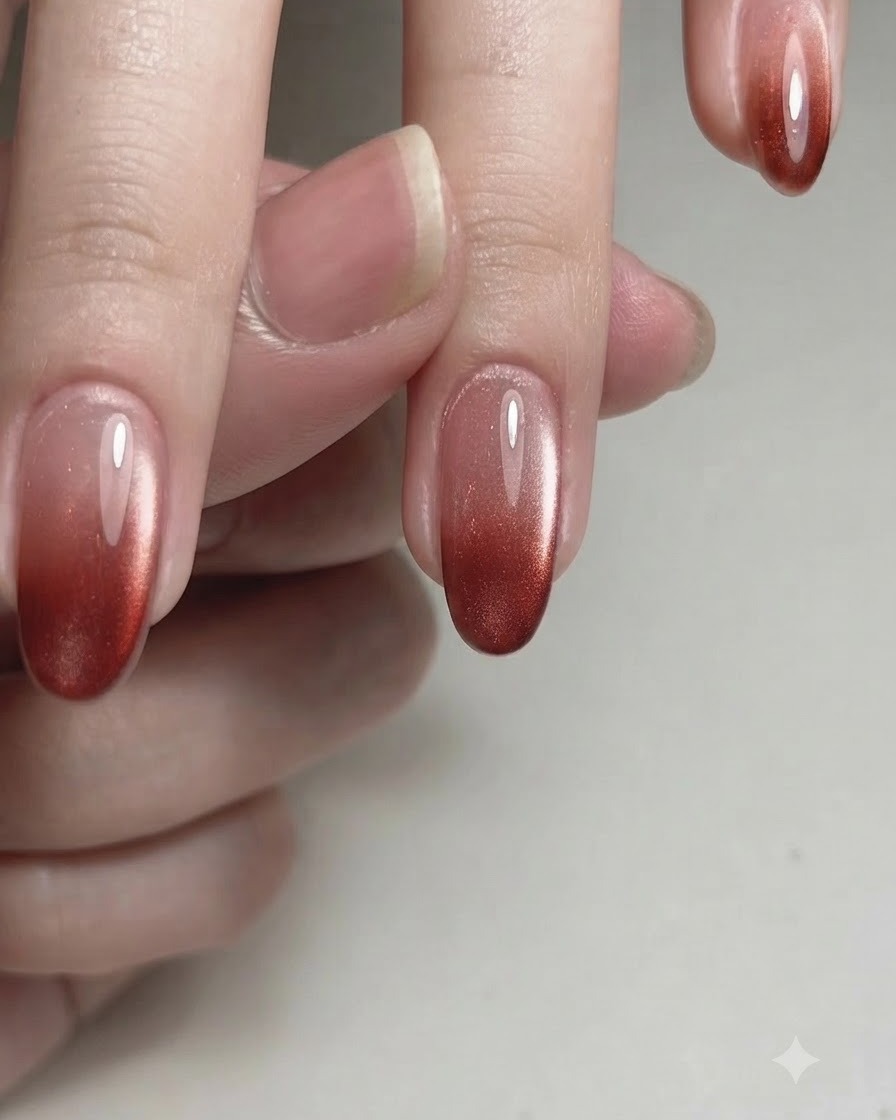
Using a fine brush, carefully apply the M03 magnetic gel polish directly onto the nail plate. Ensure an even and smooth coating across the surface to prepare for the cat eye effect activation.
Tip: Keep the gel layer thin and consistent to allow the magnetic particles to move freely when the wand is applied. - 2Smooth and distribute gel
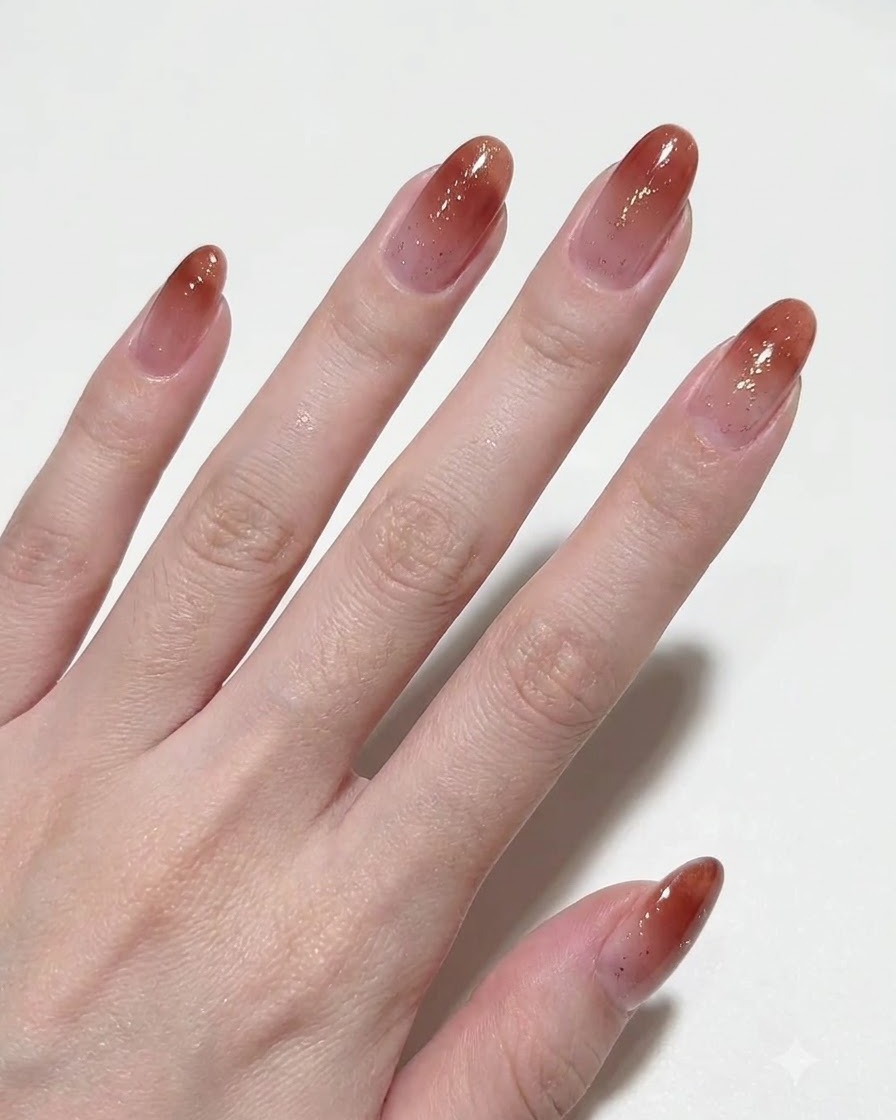
Smooth and distribute the M03 gel evenly across the entire nail surface using the brush. Work gently to eliminate any streaks or uneven thickness before magnetizing.
Tip: Check the surface under good lighting to ensure the gel layer is completely level. - 3Activate cat eye shimmer
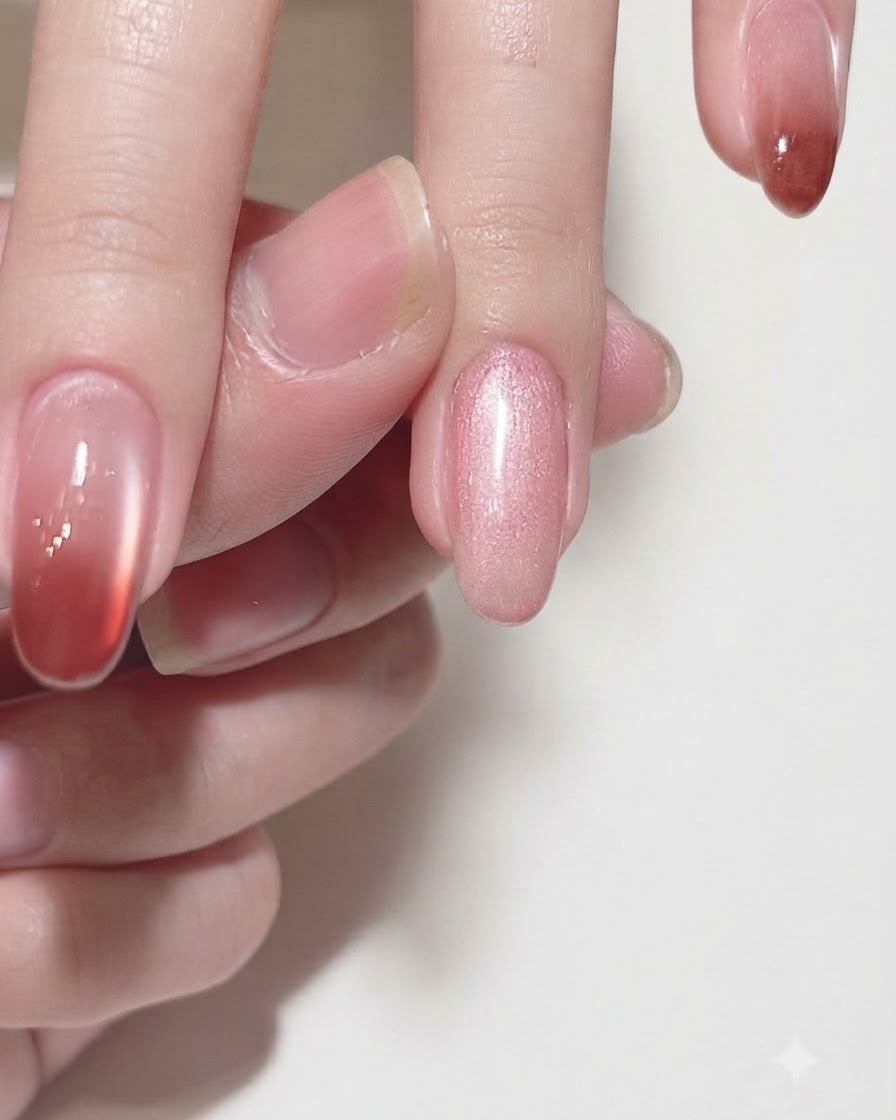
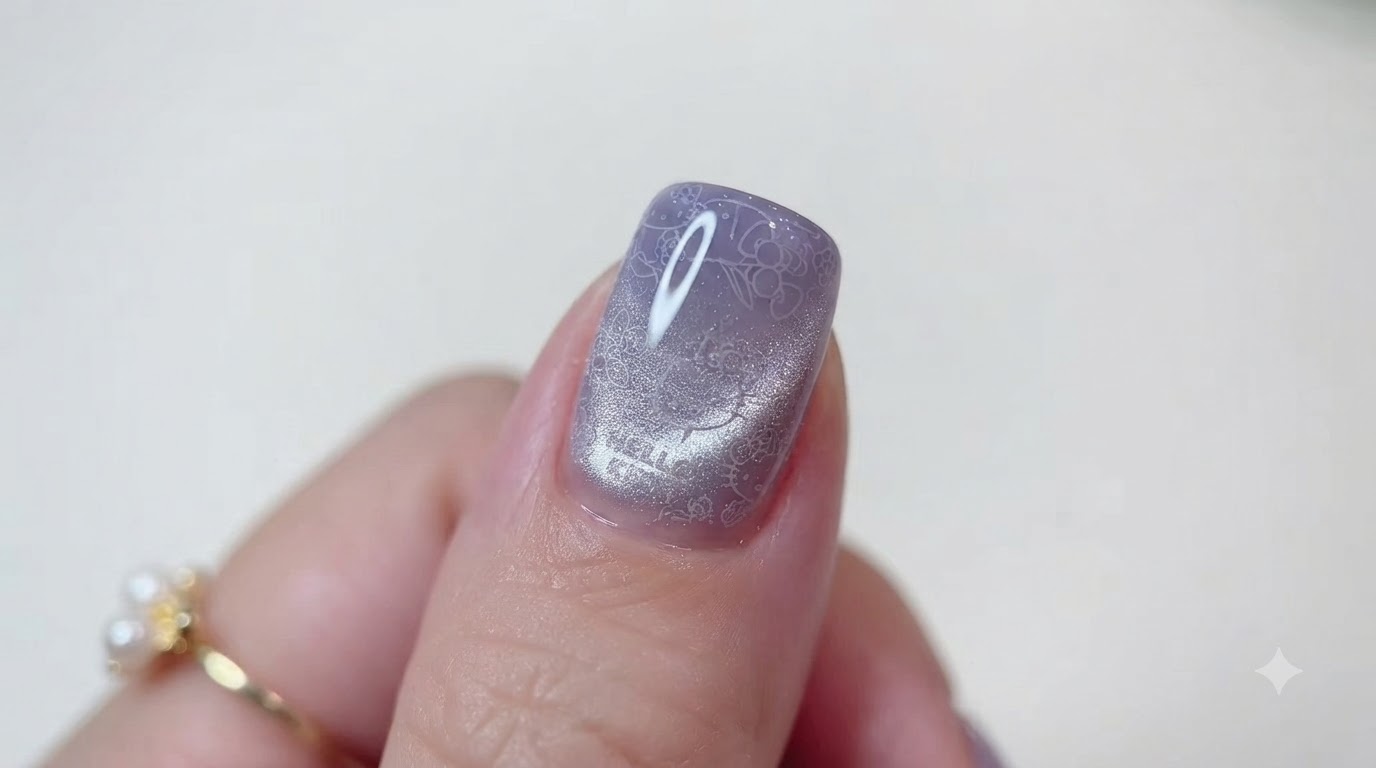
Hold a magnetic wand close to the nail surface without touching it to magnetize and activate the cat eye shimmer effect. Keep it steady for a few seconds until the desired reflection line forms.
Tip: Keep the magnet close and stable to achieve a sharp, well-defined cat eye beam. - 4Display magnetized base effect
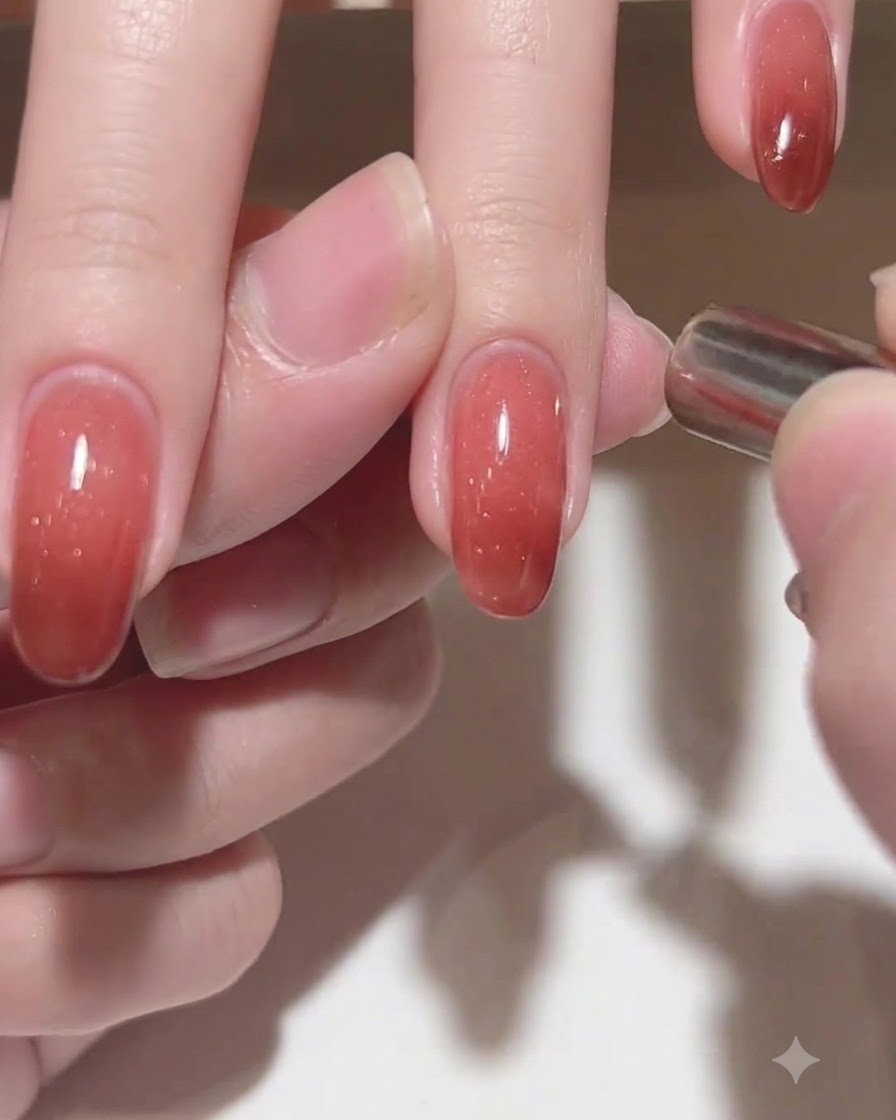
Display the magnetized cat eye shimmer effect on the base layer to verify the light reflection. Cure the layer immediately in the lamp once satisfied with the effect.
Tip: Cure immediately after achieving the desired magnetic look to prevent the particles from dispersing. - 5Pick up color gel C102
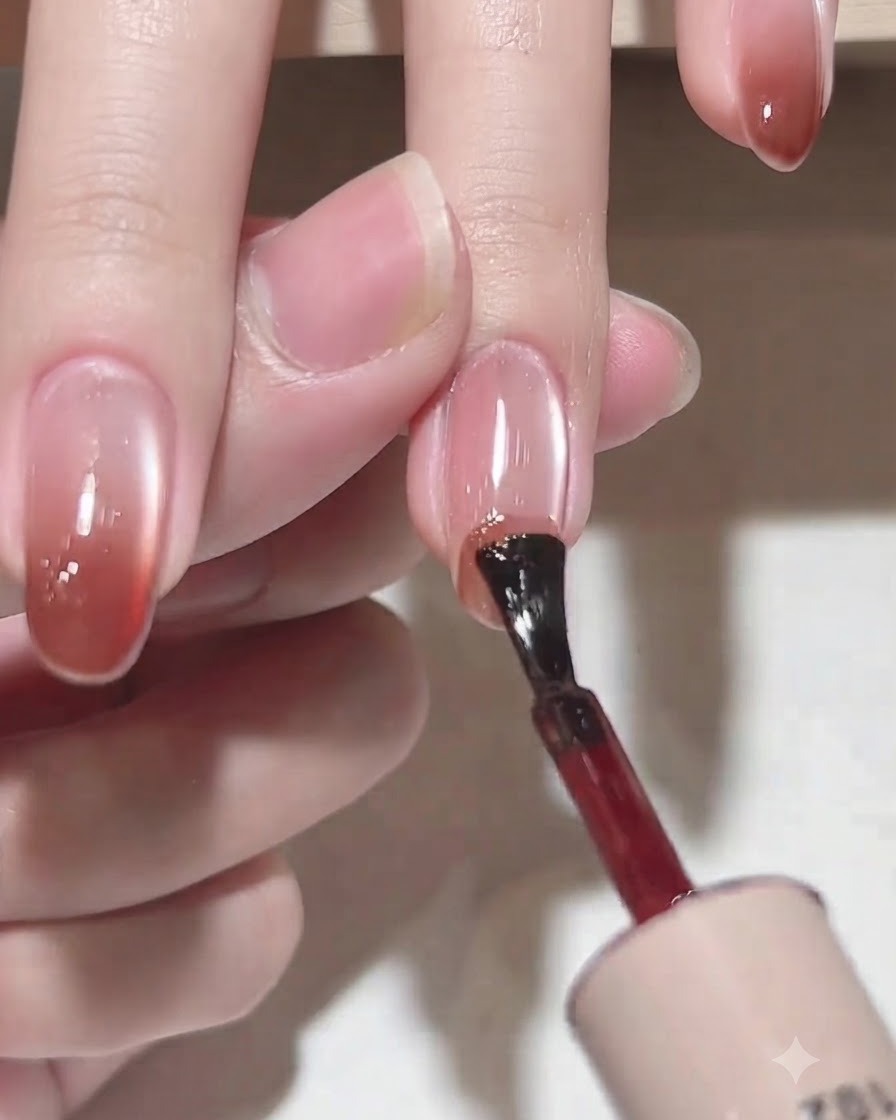
Pick up a small amount of color gel C102 using the applicator brush. Wipe excess product on the rim of the bottle to maintain control during application.
Tip: A controlled amount of gel on the brush prevents pooling and messy edges. - 6Create gradient tip with color gel C102
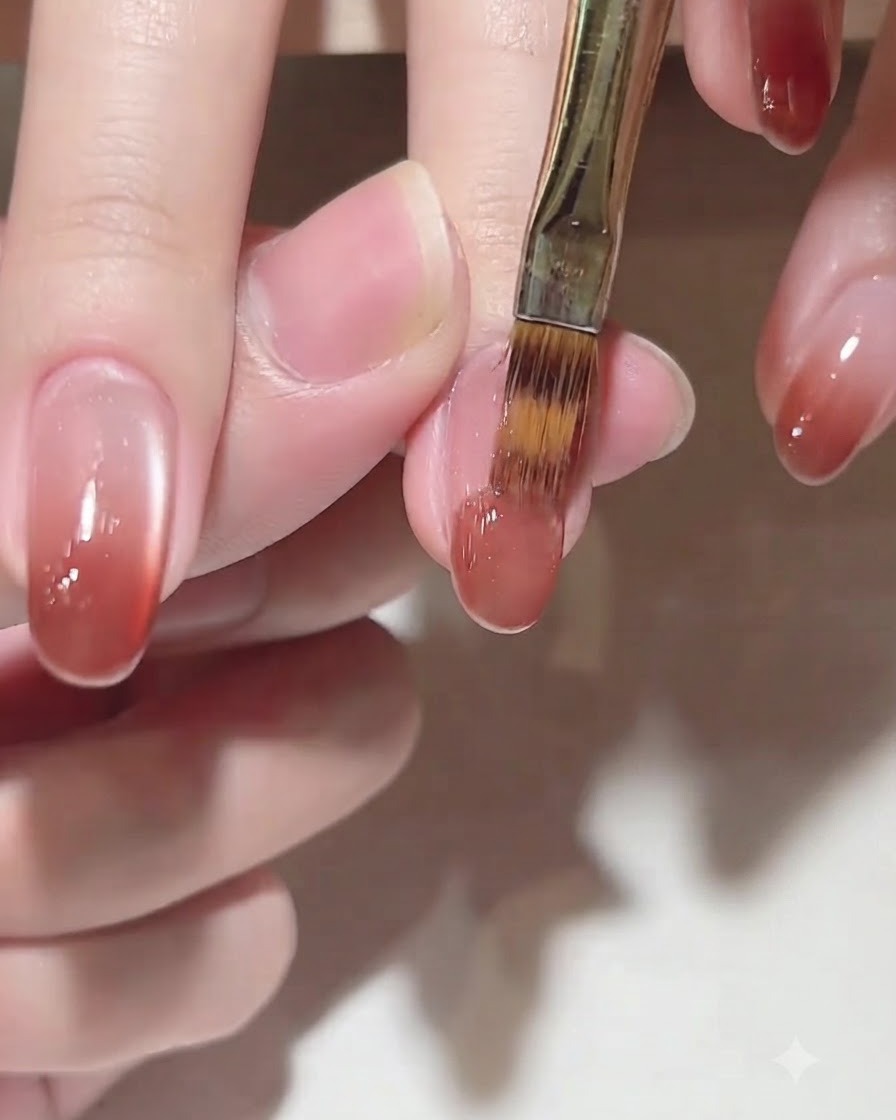
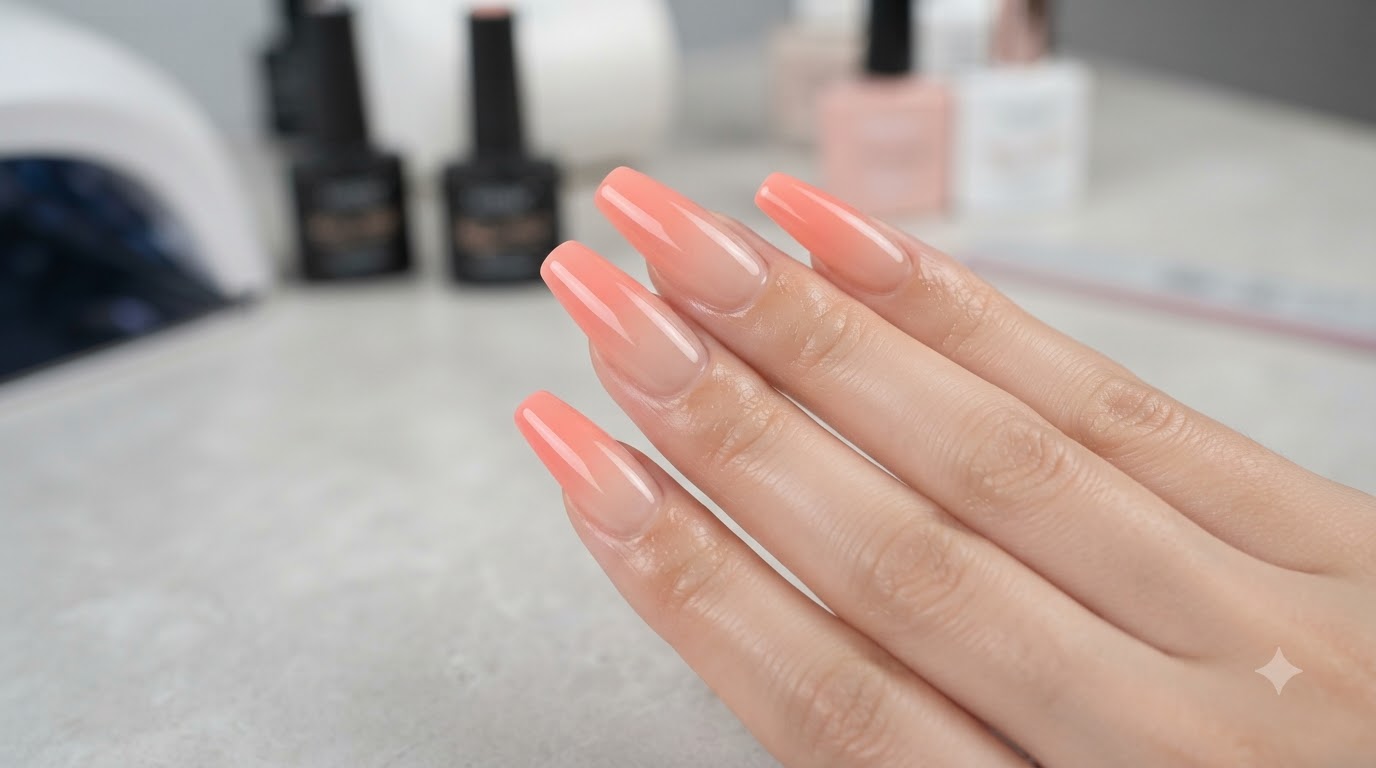
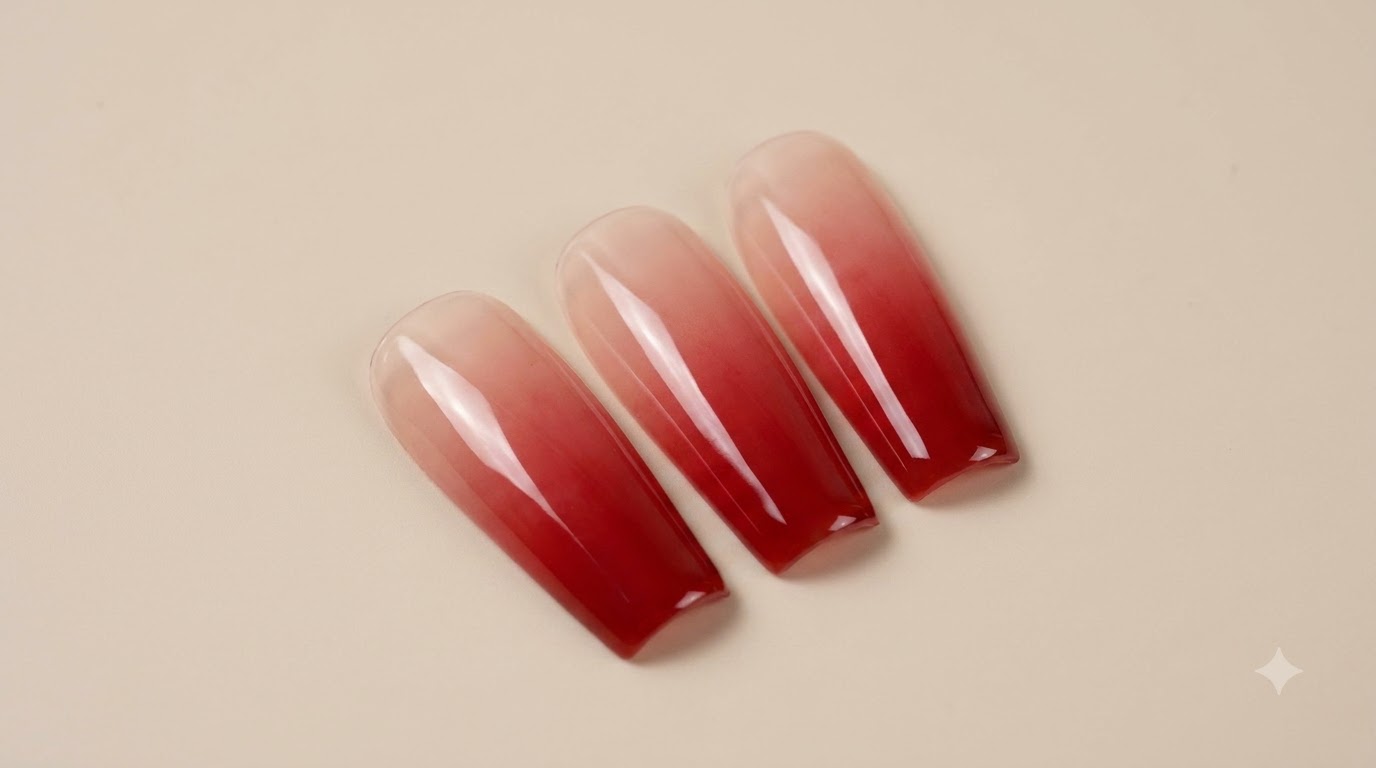
Apply color gel C102 onto the tip of the nail to create a smooth gradient effect. Blend the color softly toward the center of the nail plate for a seamless transition.
Tip: Tap and feather the edges of the gel to achieve a natural, diffused ombre transition. - 7Blend and feather color gradient
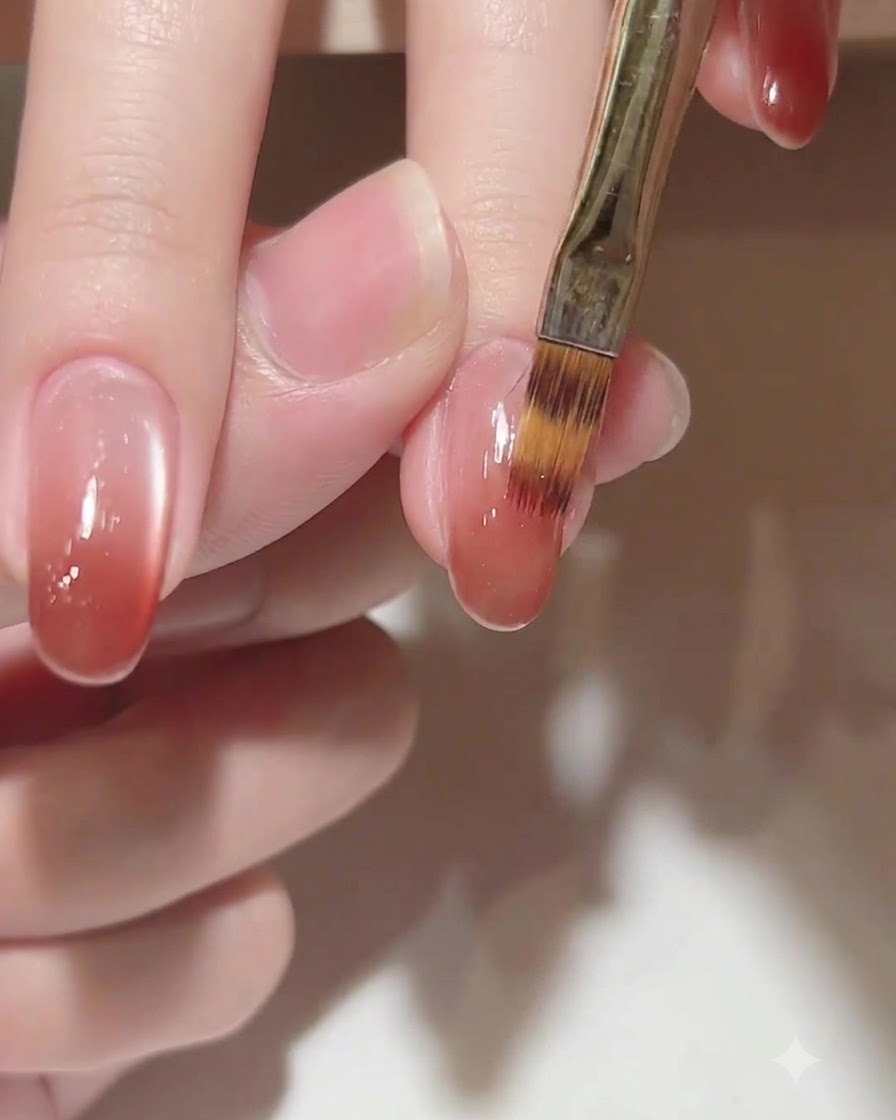
Using a clean nail brush, gently blend and feather the C102 color gradient smoothly upward toward the cuticle area to soften harsh lines and create a seamless ombre transition.
Tip: Keep your brush clean and lightly dampened with cleanser or base gel if needed to achieve a smoother blend. - 8Apply final top coat
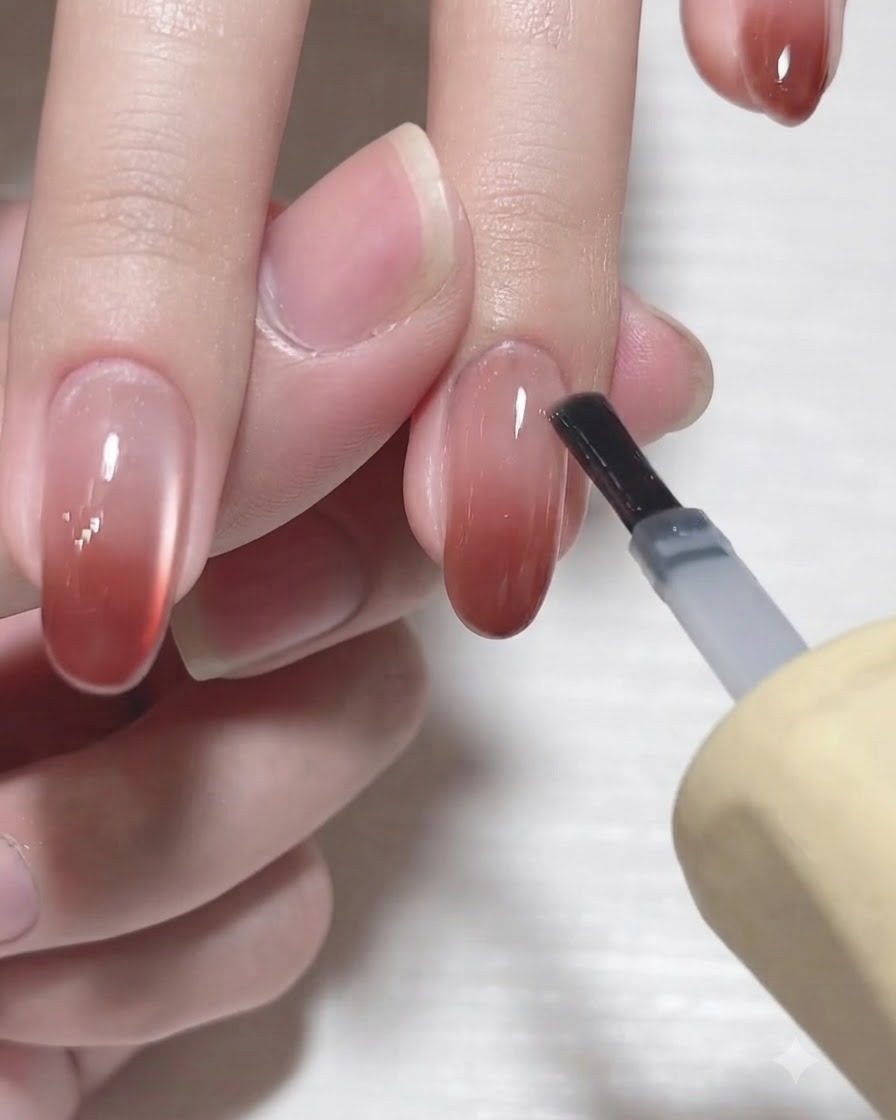
Apply a clear, high-gloss top coat evenly over the cured gradient nails to seal the design, enhance shine, and protect against chipping. Ensure you cap the free edge completely before curing under the lamp.
Tip: Capping the free edge with top coat is essential for preventing premature lifting and peeling at the tips.