Sparkling Blush Gradient Gel Nails
Rhinestone Embellishments
Create an enchanting sparkling blush gradient gel manicure featuring delicate silver glitter tips, crystal accents, and dazzling rhinestone clusters.
Blush gradient nails combined with sparkling glitter and intricate rhinestone placements bring a sophisticated yet dreamy aesthetic to your fingertips. This step-by-step guide walks you through achieving a seamless nude-to-pink gradient, layering fine glitter, and securing statement crystal clusters for a polished salon-quality finish.
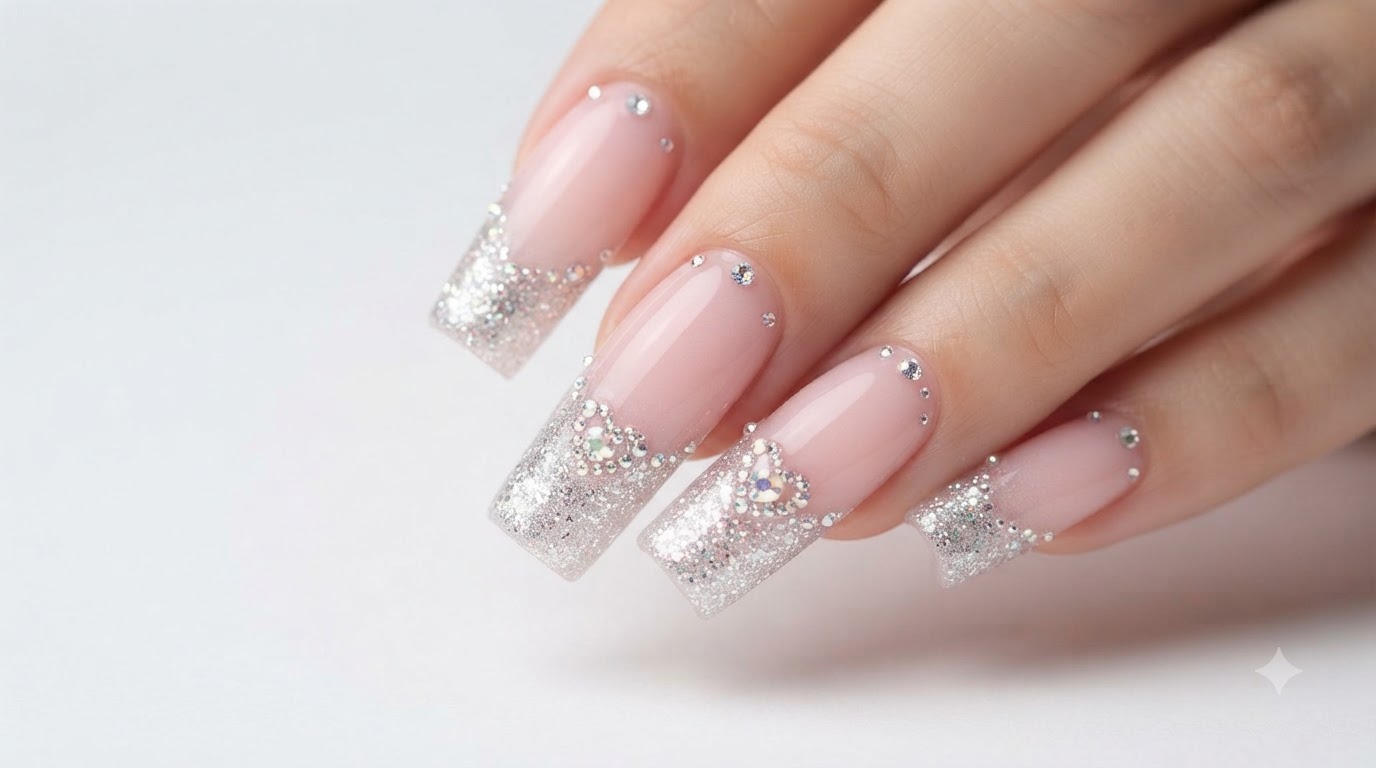
Steps
- 1Inspect the glossy nude base and glitter gradient
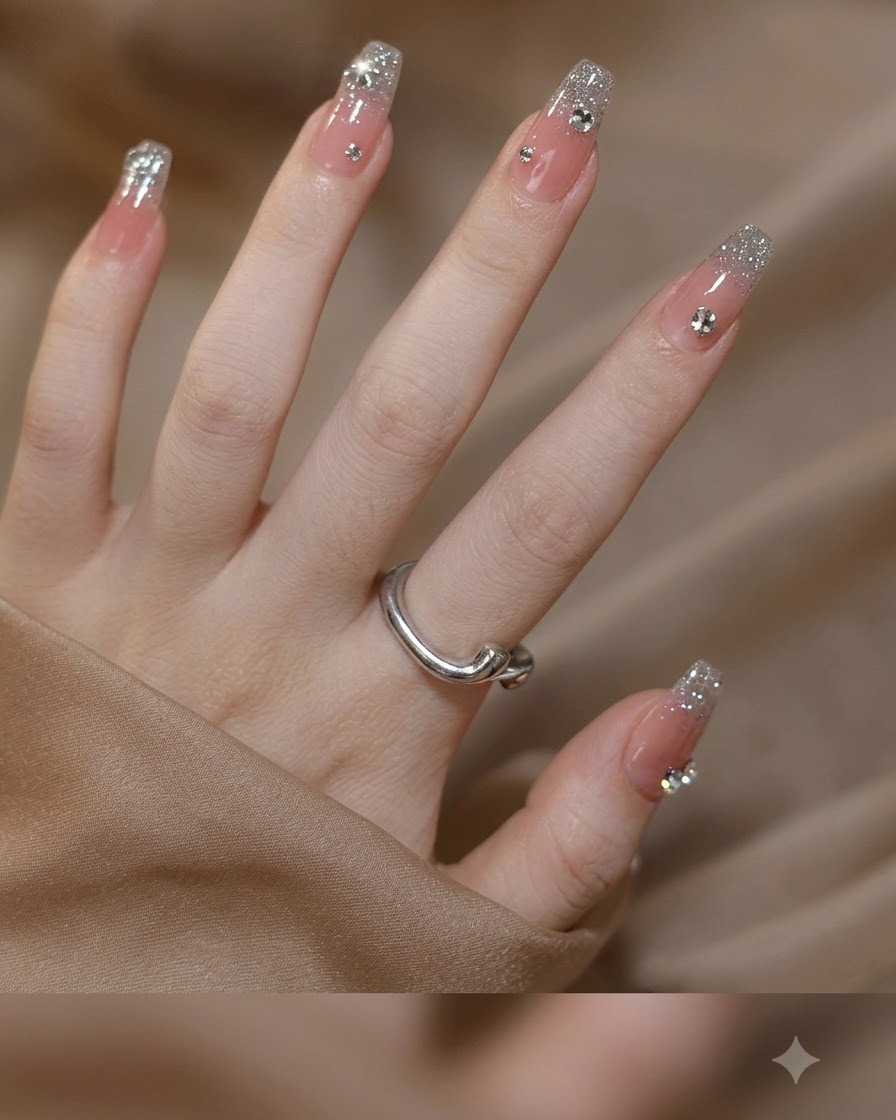
Examine the translucent nude base layer to ensure a smooth, flawless foundation across all nails. Check that the sparkling silver glitter gradient transitions evenly from the free edge down toward the center without harsh lines. Apply a high-gloss top coat over the entire surface to seal the gradient and lock in the shine, then cure under a UV or LED lamp.
Tip: Keep the glitter application concentrated mostly at the tips and lightly fade it downward using a sponge or fine brush for a seamless, natural-looking gradient. - 2Place silver rhinestones and star charms
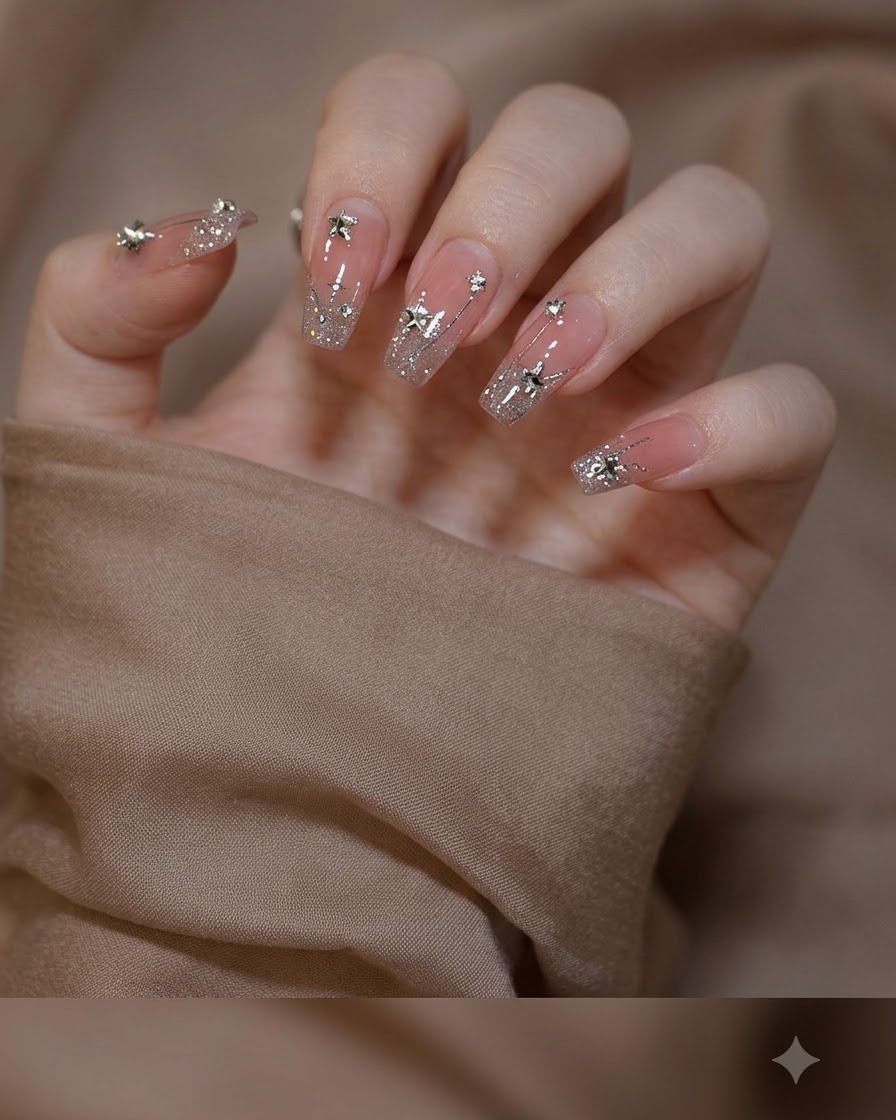
Carefully pick up individual silver rhinestones and star charms using a wax pencil or fine tweezers. Apply small dotes of nail glue or thick builder gel onto the cured nail surface where desired, and press each charm firmly into place. Arrange the metallic stars and tiny crystals along the nail plate to complement the shimmering glitter gradient.
Tip: Double-cure the charm placement gel under your lamp for an extra few seconds to ensure the embellishments stay securely locked in place. - 3Refine the blush gradient transition
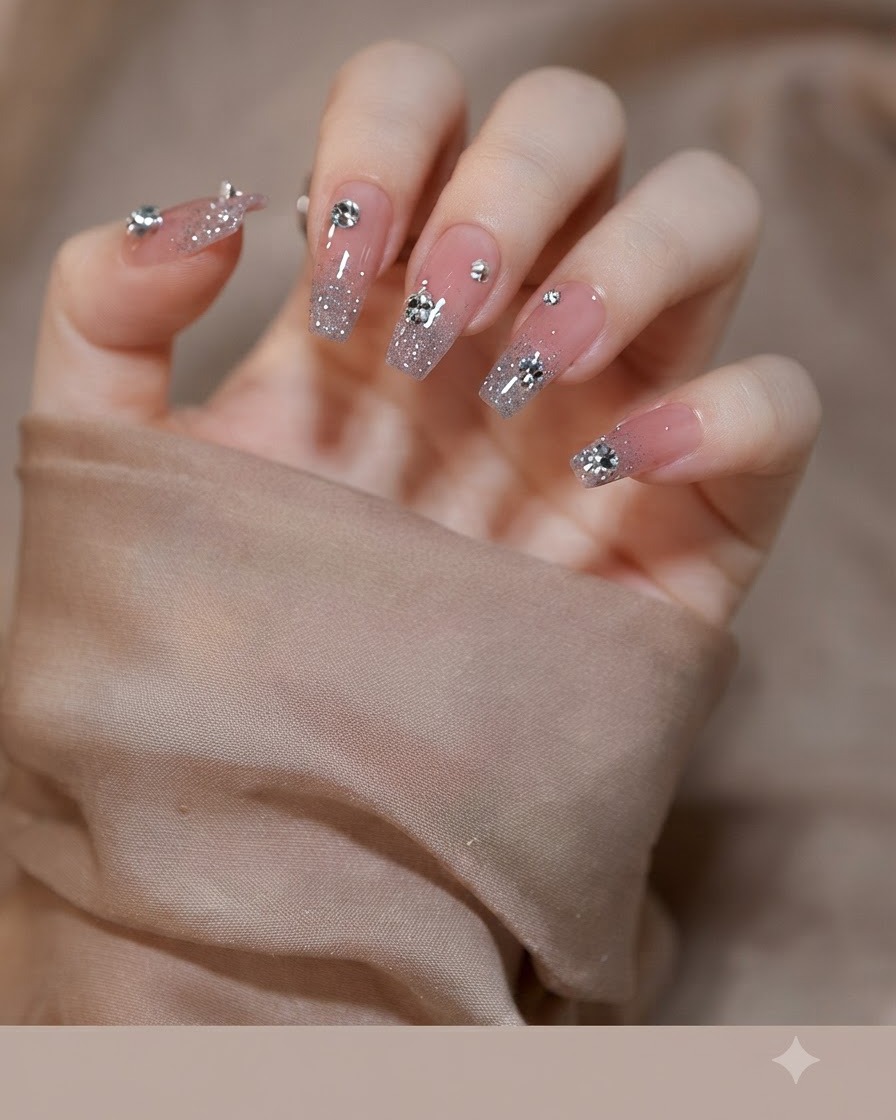
Review the gradient effect to ensure the pink blush center blends smoothly into the surrounding nude and shimmering silver elements. Gently dab additional fine glitter or sheer pink tint if any areas appear patchy or uneven. Cure the layer fully before moving on to the final sealing steps.
Tip: Building the gradient in multiple thin layers creates a softer, more dimensional depth than trying to achieve full opacity in one heavy application. - 4Showcase top coat glossy shine
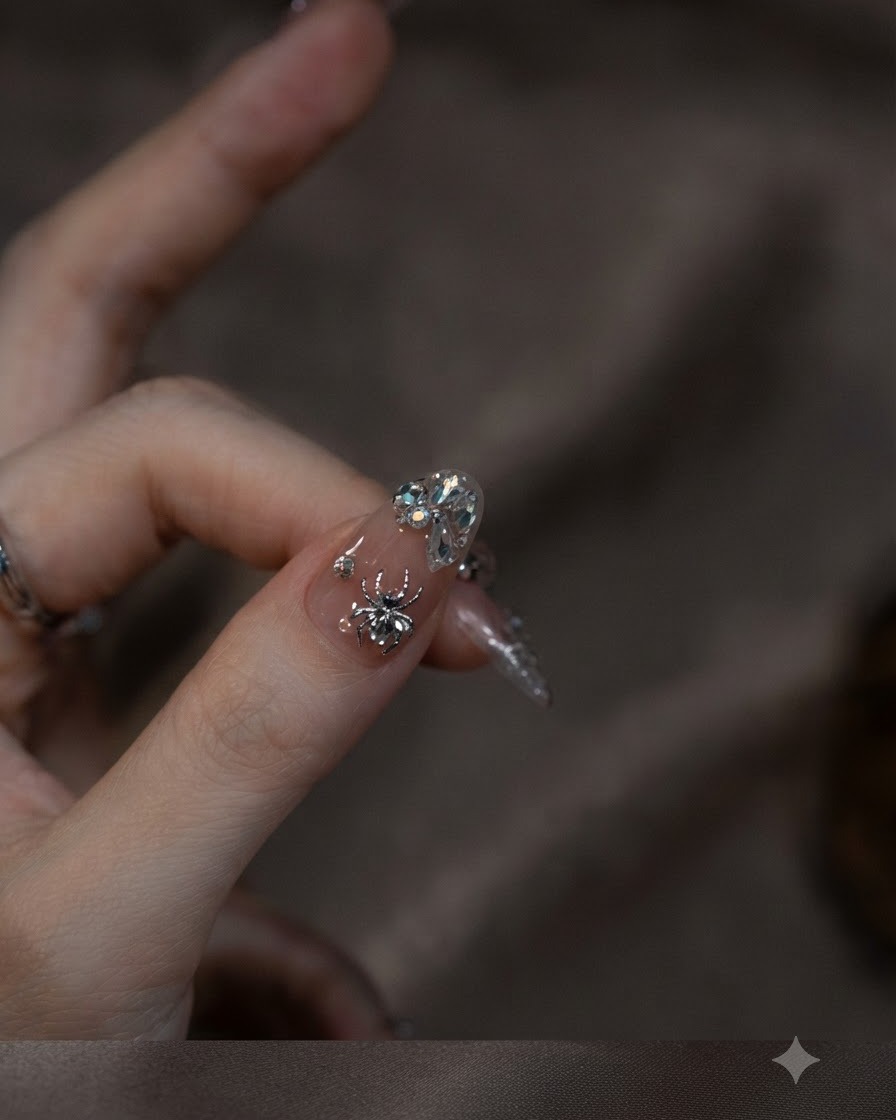
Gently move your fingers under lighting to inspect the high-gloss shine and smooth finish of the top coat. This final check ensures there are no dull spots, uneven areas, or missed sections on any of the nails before completing the manicure.
Tip: Catching minor surface imperfections in the light now lets you quickly fix them before the final cure. - 5Add statement rhinestone cluster to thumb and index finger
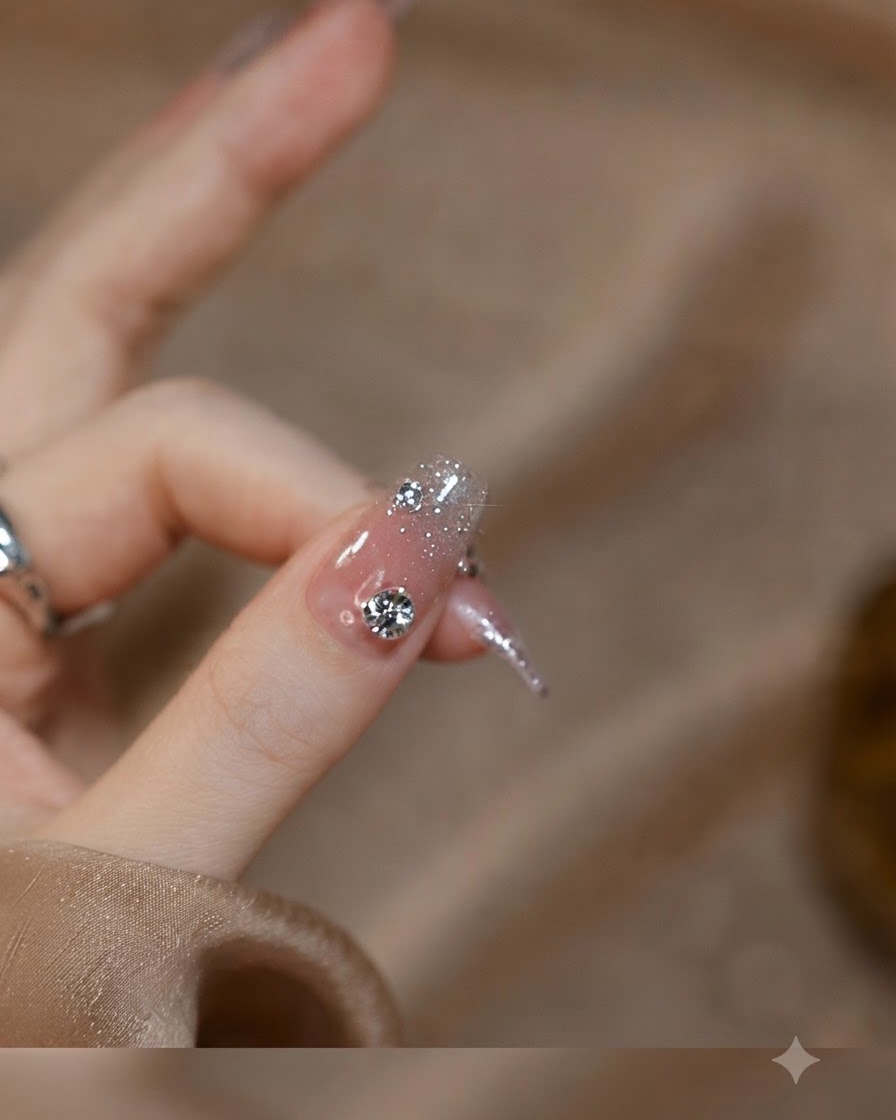
Position a large, brilliant central rhinestone on the lower portion of the thumb and index fingernail plate. Surround the statement gem with a ring of tiny crystal accents to create a sophisticated clustered look. Secure the arrangement with builder gel and cure thoroughly under the UV or LED lamp.
Tip: Seal around the base of the large rhinestone with a fine detail brush dipped in top coat, making sure not to cover the facets, to lock down the edges and prevent hair or clothing fibers from catching. - 6Display the overall nail aesthetic
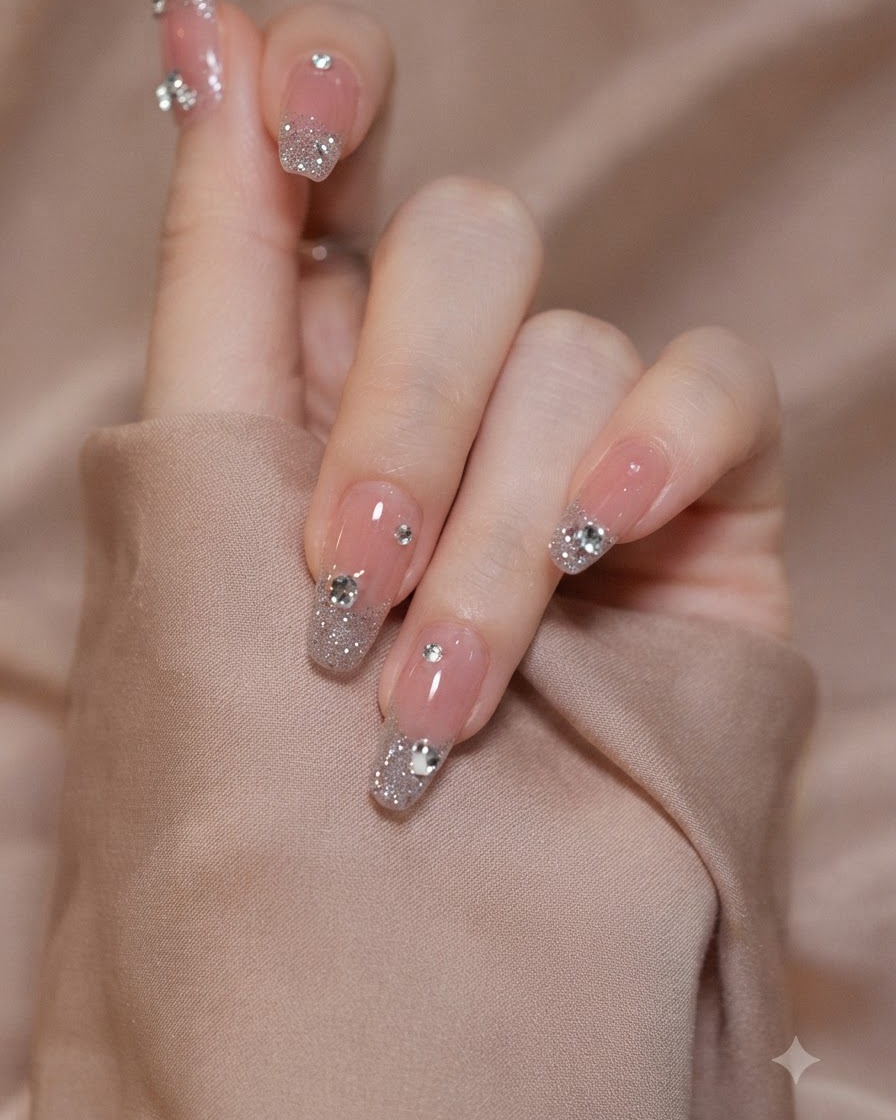
Position your hand gracefully against a soft textile background to capture and display the complete nail aesthetic. This pose highlights the harmony between the nail design, length, and embellishments, presenting a polished and cohesive look.
Tip: A soft, neutral fabric background keeps the focus entirely on the details and sparkle of the nail art.