Neon Fluorescent Oil Painting Nails — Bold Artistic Step-by-Step Tutorial
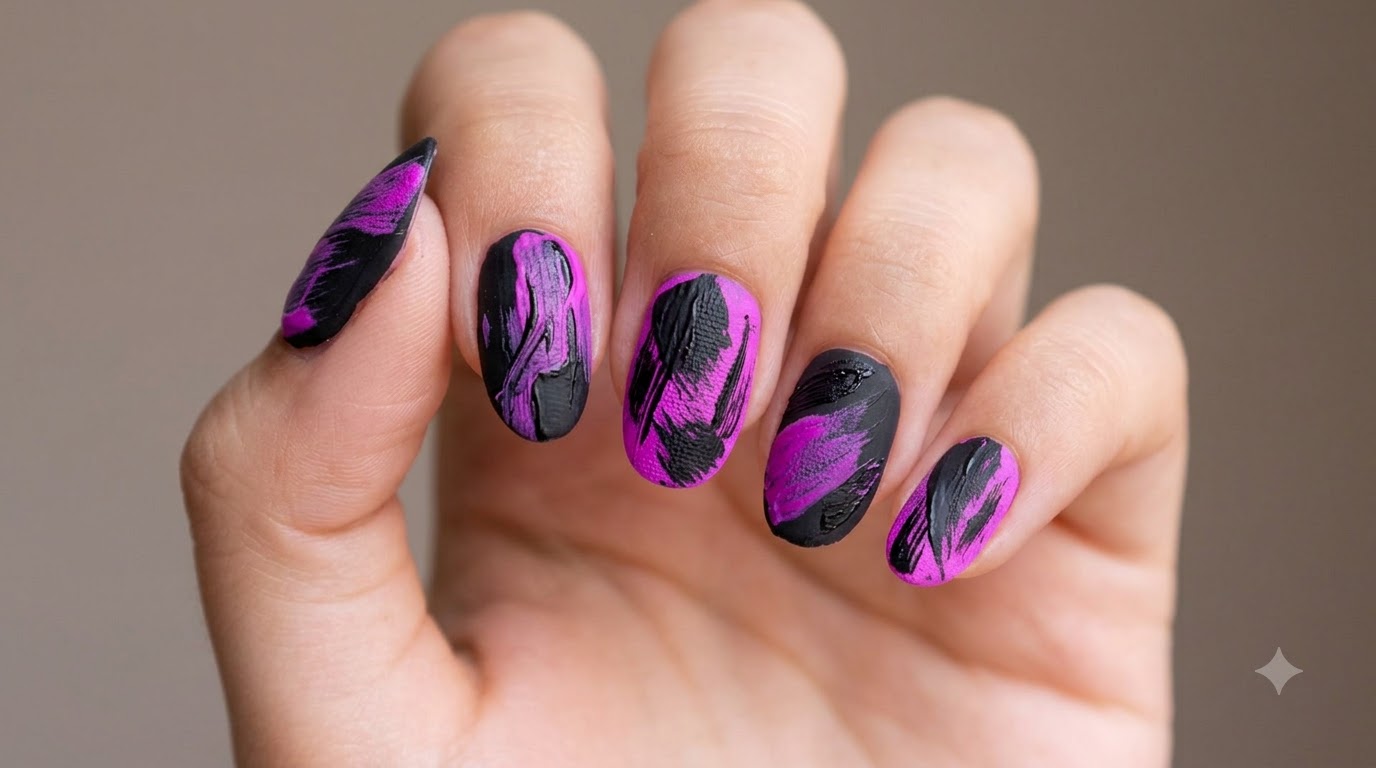
Create an edgy, high-contrast matte manicure featuring textured brush strokes of neon purple over a deep black base.
The oil painting nail art trend merges fine art textures with modern edge, combining high-contrast palettes like neon and black. This design utilizes a distinctive matte finish to soften the vivid pigments, giving it a tactile, velvety appearance reminiscent of a canvas. Perfect for those looking to make a bold, artistic statement with their manicure.
Steps
- 1Apply second coat of black gel
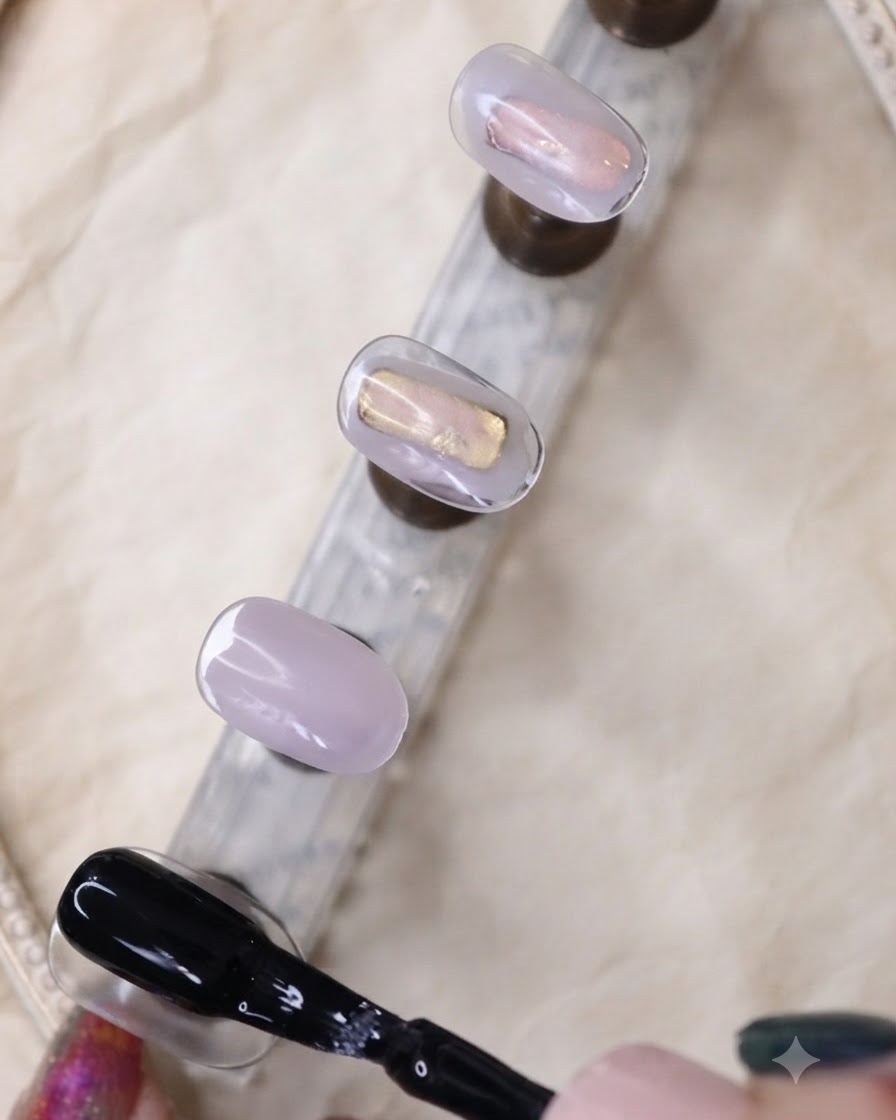
Apply a second coat of black gel polish over the practice nails to ensure complete coverage and full opacity. Make sure to cap the edges cleanly before curing under the lamp to set the dark base properly.
Tip: Two thin coats prevent wrinkling and ensure a smooth, opaque foundation for your nail art. - 2Apply first coat of neon purple color gel
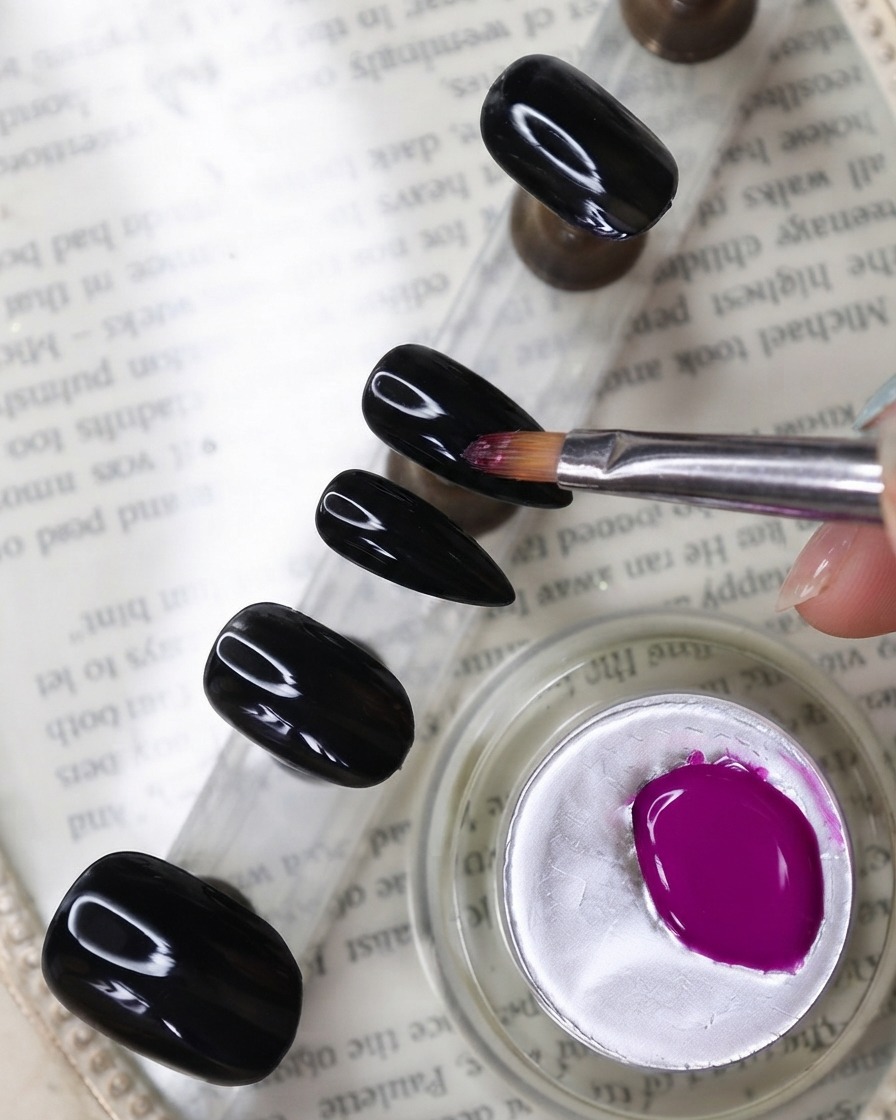
Take the neon purple color gel, specifically shade kellykesa 005, and apply a first even layer onto the designated accent nail. Ensure the application is smooth and covers the entire nail plate evenly.
Tip: Keep the first layer thin to avoid pooling around the cuticles. - 3Apply second coat of neon purple color gel
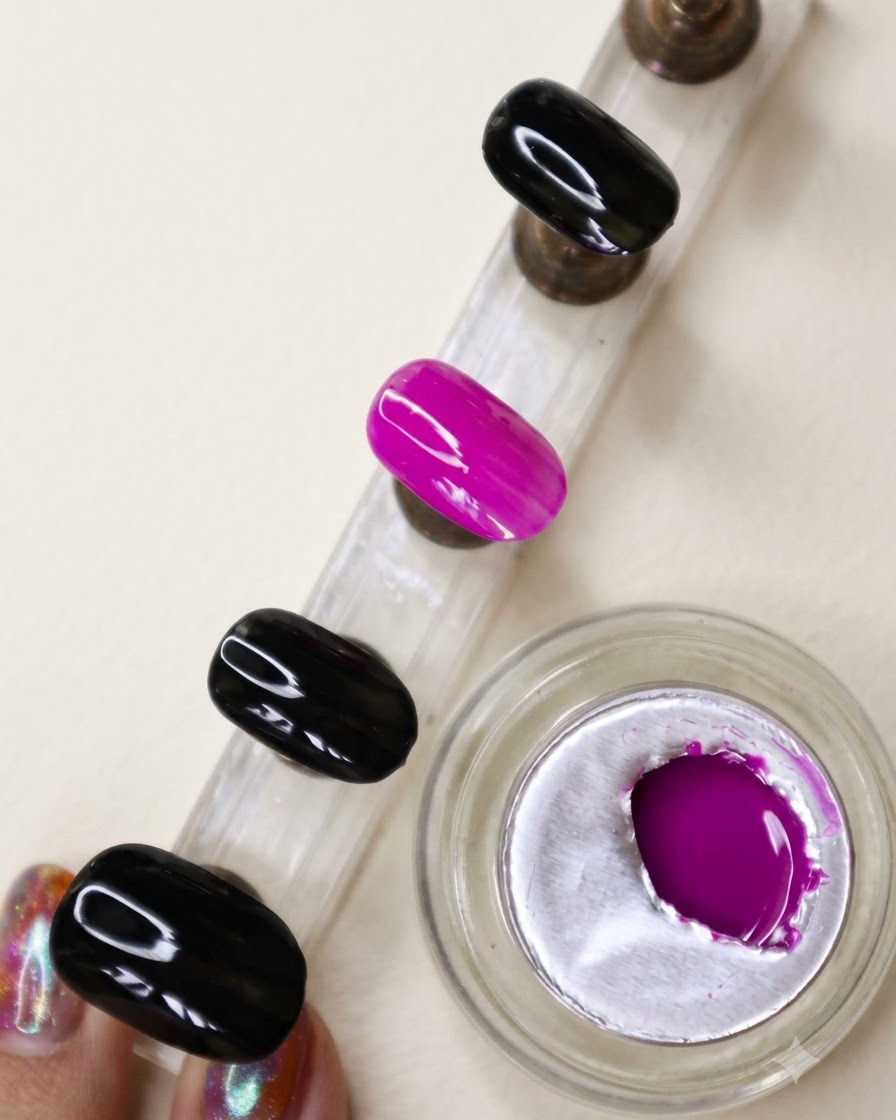
Apply a second layer of the neon purple color gel to the accent nail to intensify the vibrancy and richness of the color. Cure the layer under the UV or LED lamp once finished.
Tip: Building color in thin layers keeps the neon shade bright and saturated. - 4Apply random neon purple strokes
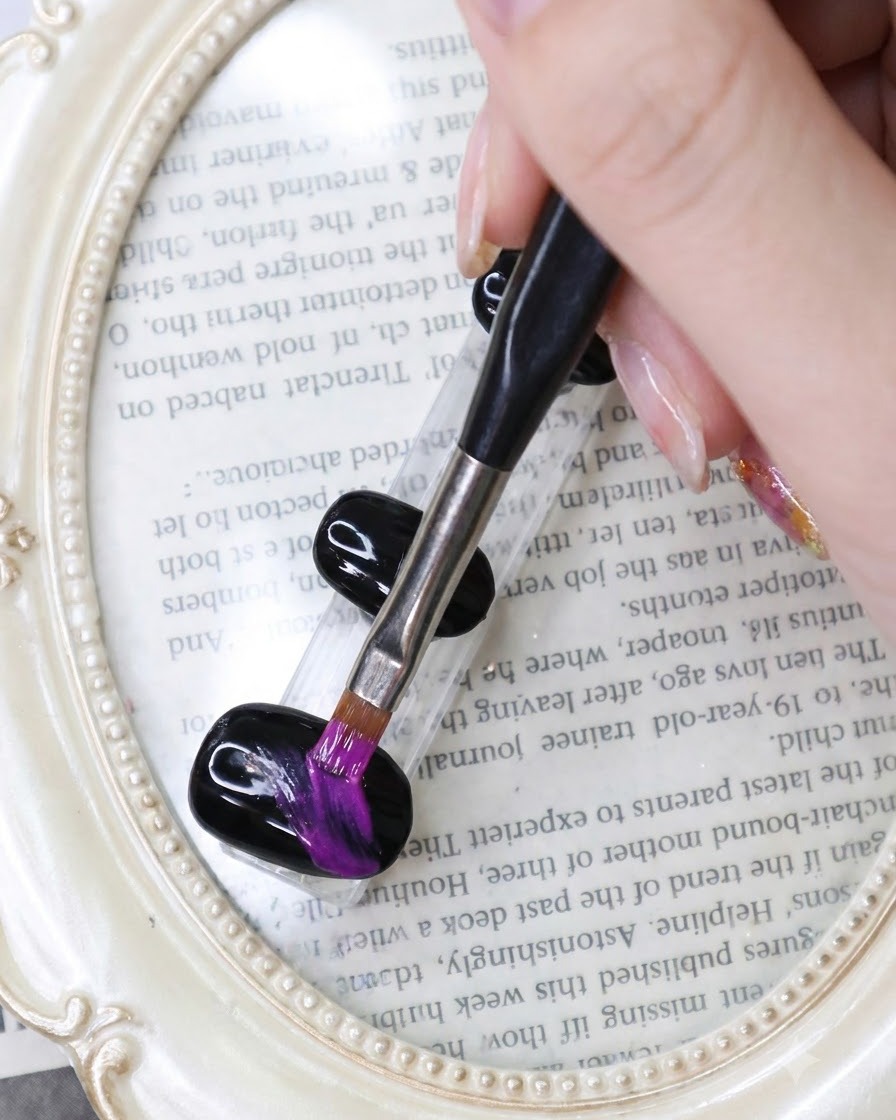
Dip a fine liner brush into the neon purple gel and swipe random, textured brush strokes across the black nail bases. Allow visible brush textures to remain to achieve the unique artistic style.
Tip: Do not over-blend; the raw, textured brush strokes give it the signature oil painting effect. - 5Add overlapping black brush strokes
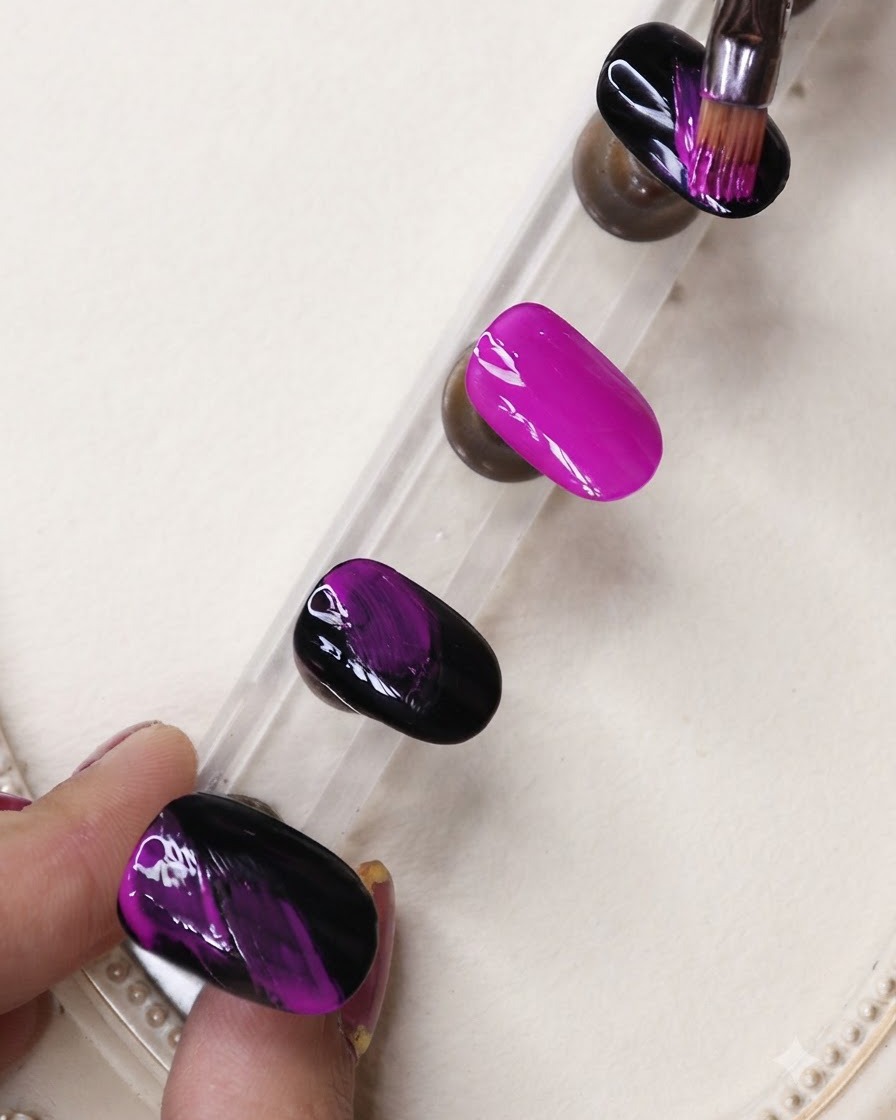
Clean the fine liner brush, dip it into the black gel, and apply random overlapping strokes directly onto the neon purple accent nail. This creates an artistic contrast and depth between the dark and fluorescent tones.
Tip: Keep strokes light and sporadic to maintain the balance of both colors. - 6Refine the oil painting texture
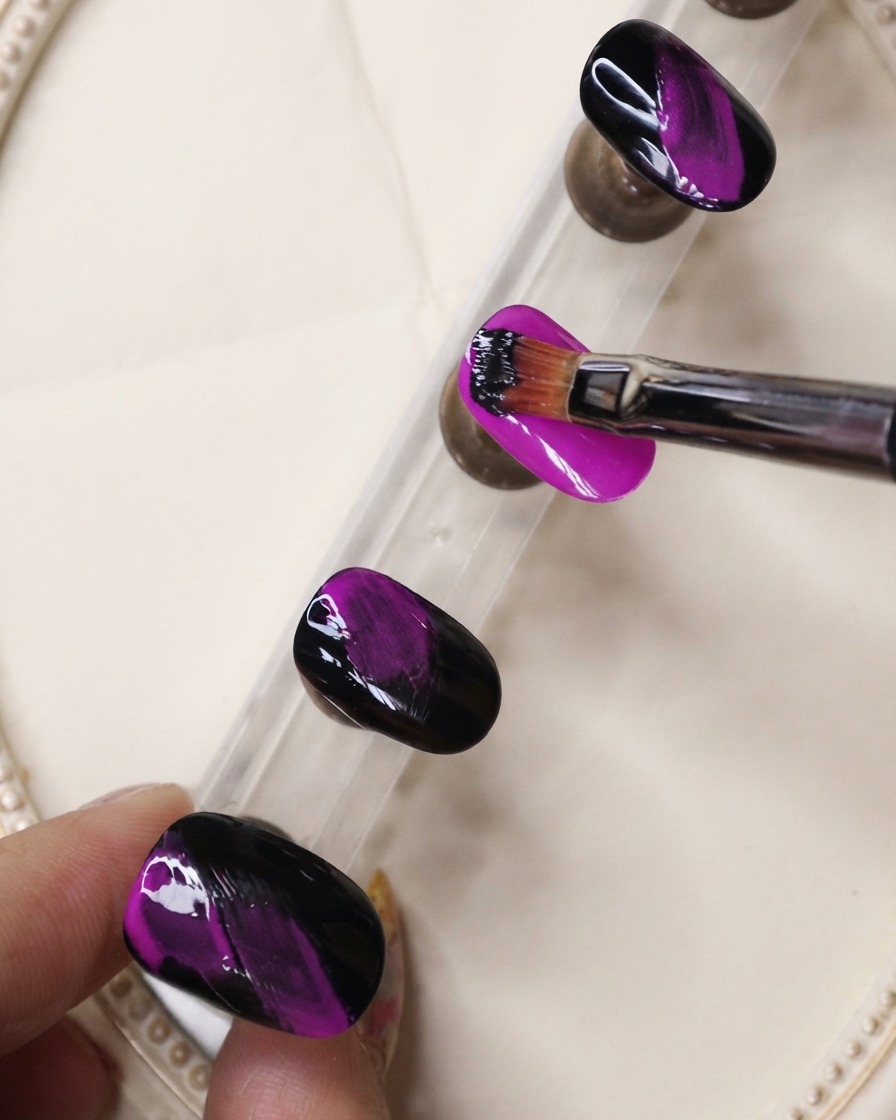
Continue the process by alternating brush strokes between black and neon purple on the respective nails. Repeat this layering a few times to build opacity and achieve a rich, textured oil painting effect.
Tip: Keep your strokes light and varied to preserve the unique multi-layered texture of the design. - 7Apply matte top coat
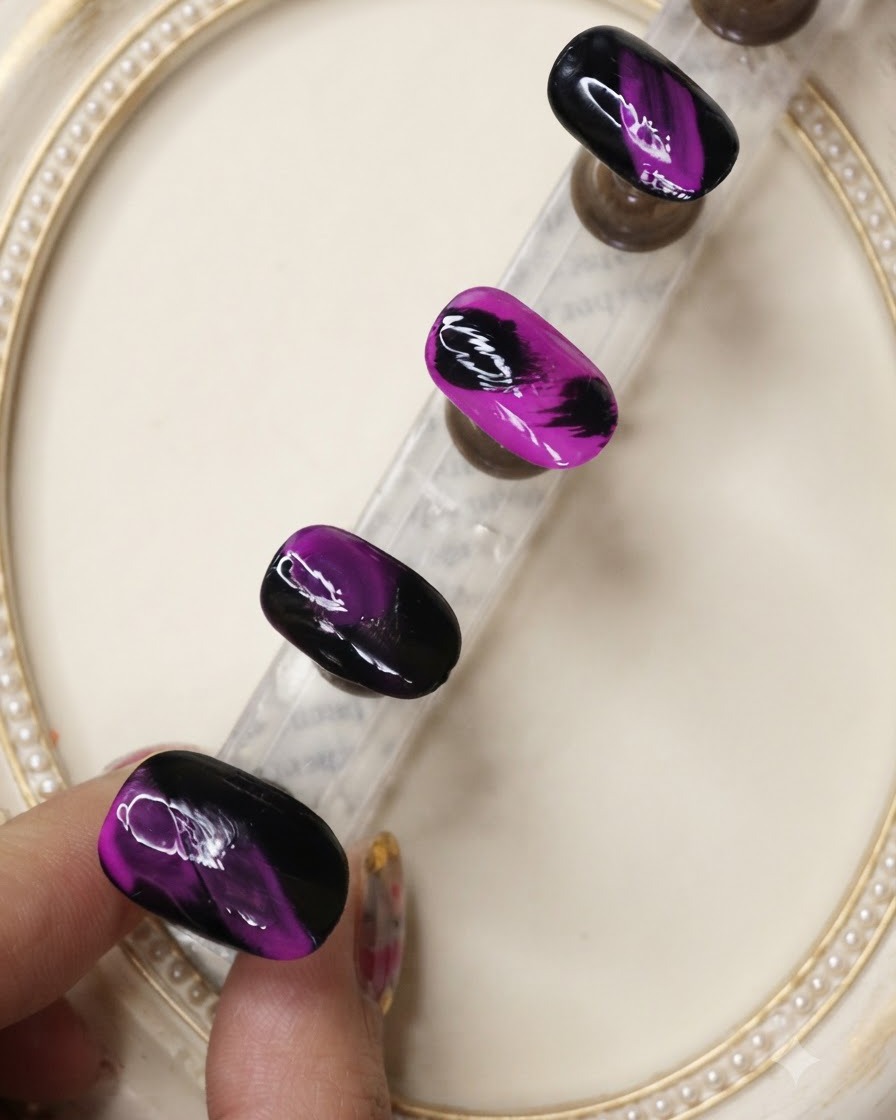
Apply a smooth, even layer of matte top coat over all the completed nail designs. The matte finish instantly transforms the look, softening the gloss and accentuating the fluorescent oil painting texture.
Tip: Seal the edges of each nail carefully with the top coat to ensure the matte finish lasts without chipping. - 8Cure under UV/LED lamp
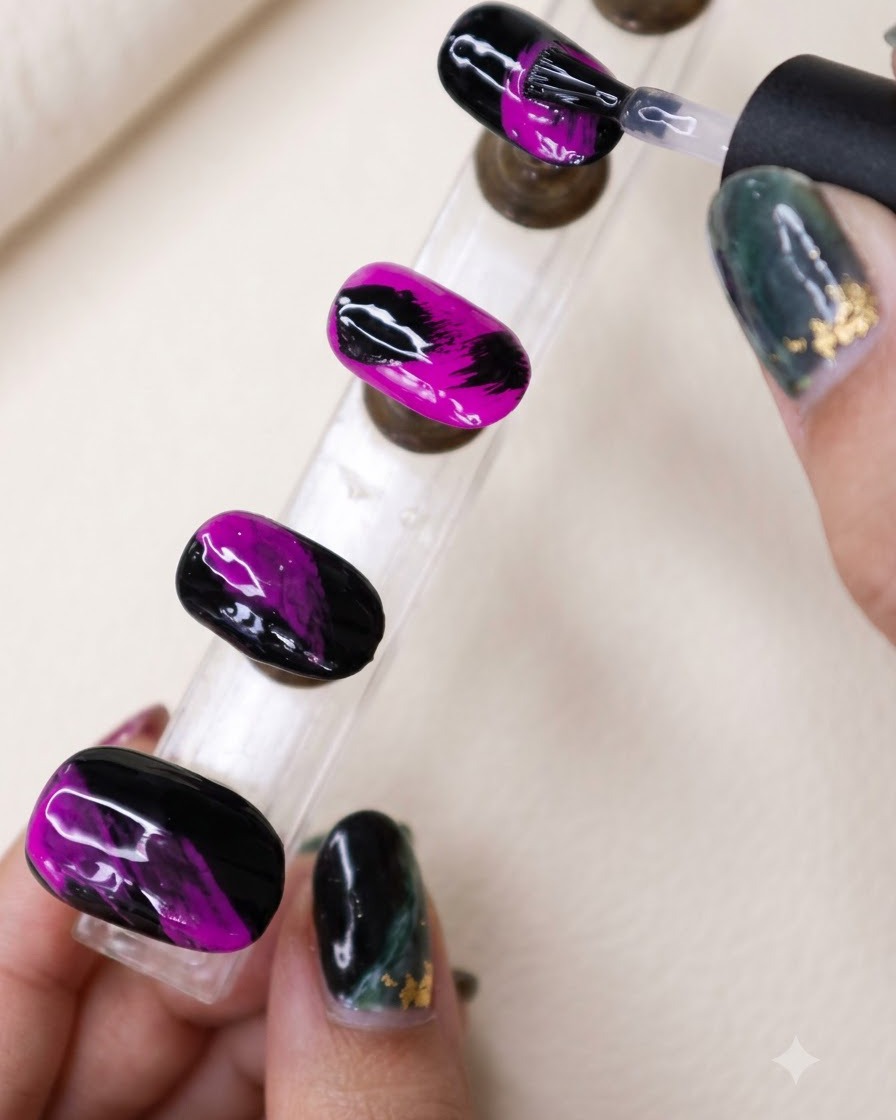
Place your nails under a UV or LED lamp and cure for the full recommended time to lock in the matte top coat. Once cured, wipe away any residual tackiness if necessary to reveal the final finished velvet texture.
Tip: Ensure complete curing time for matte top coats, as under-curing can cause patchy shiny spots instead of a uniform matte finish.