Pastel Ombre Cat Eye Nails — Spring
Summer Gradient Tutorial
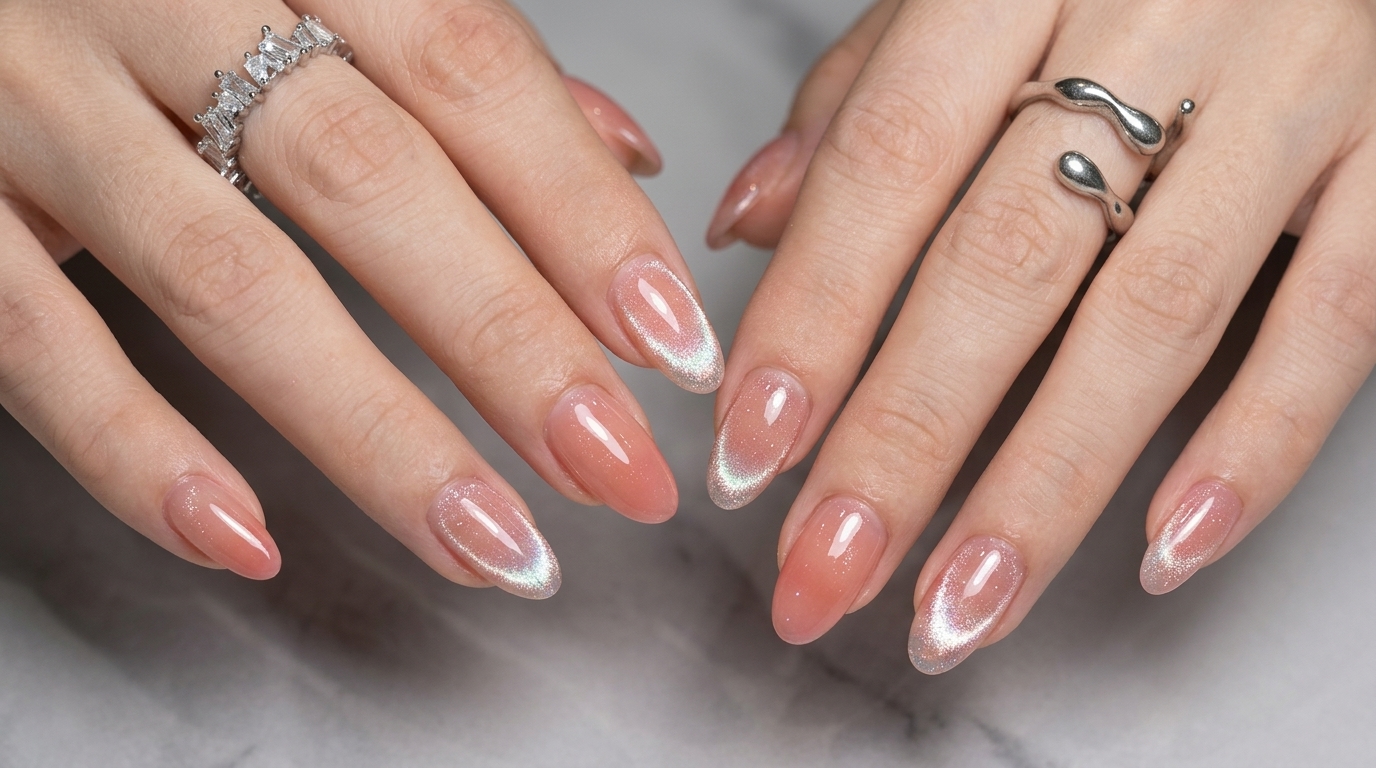
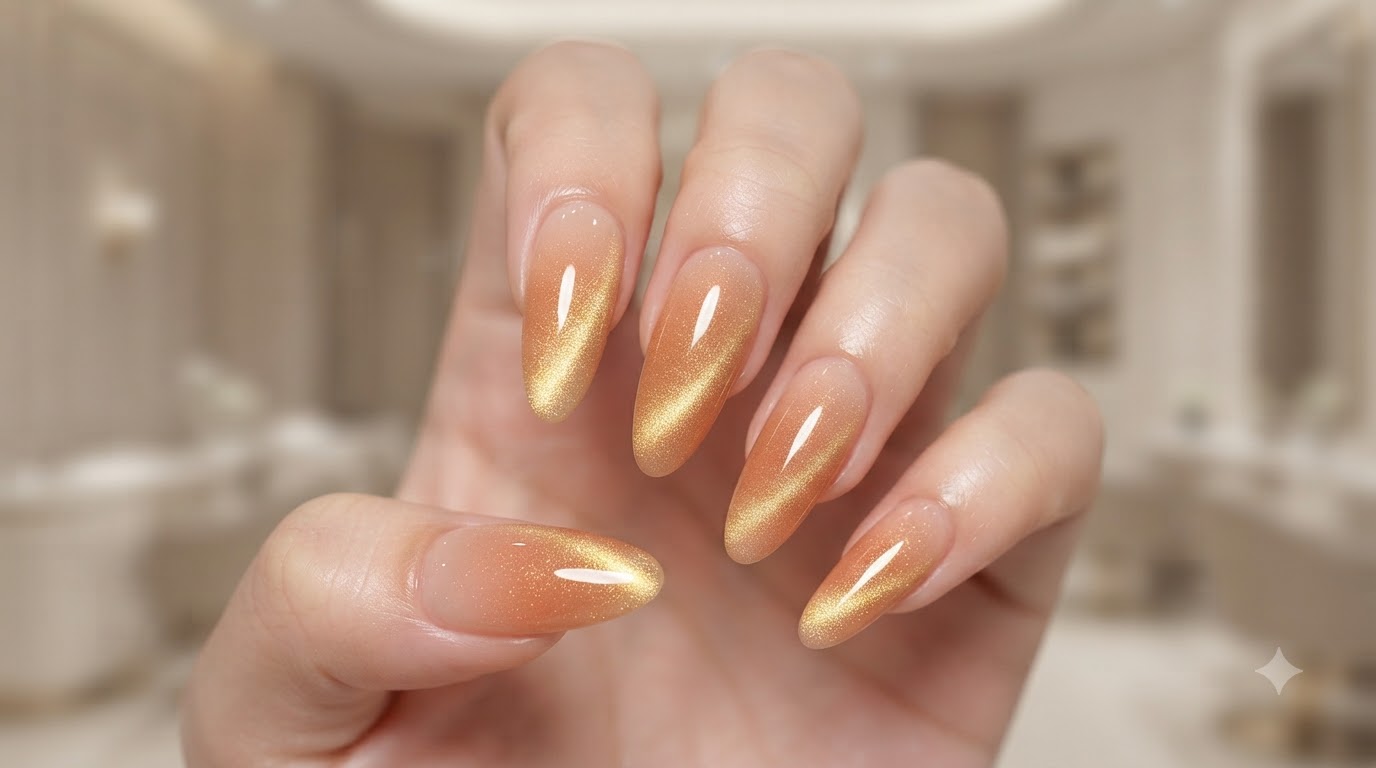
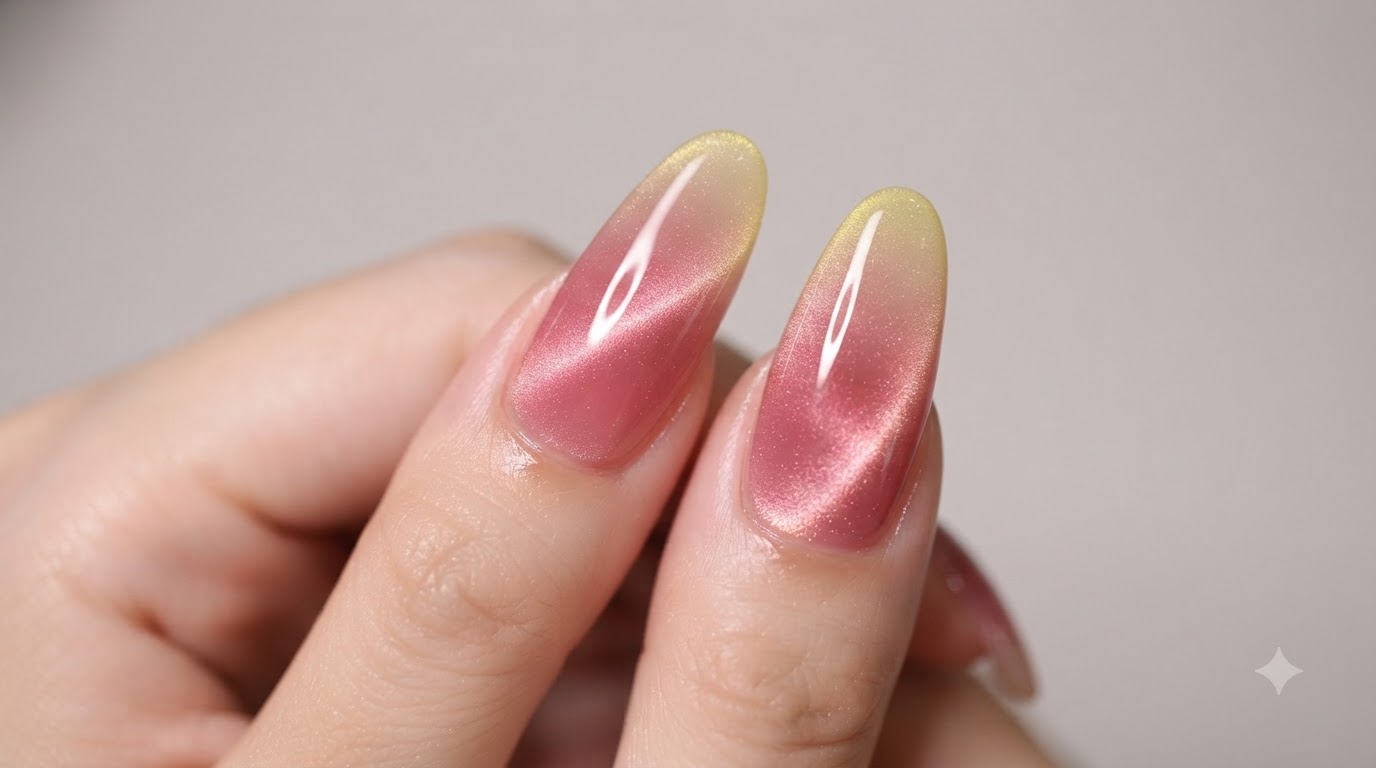
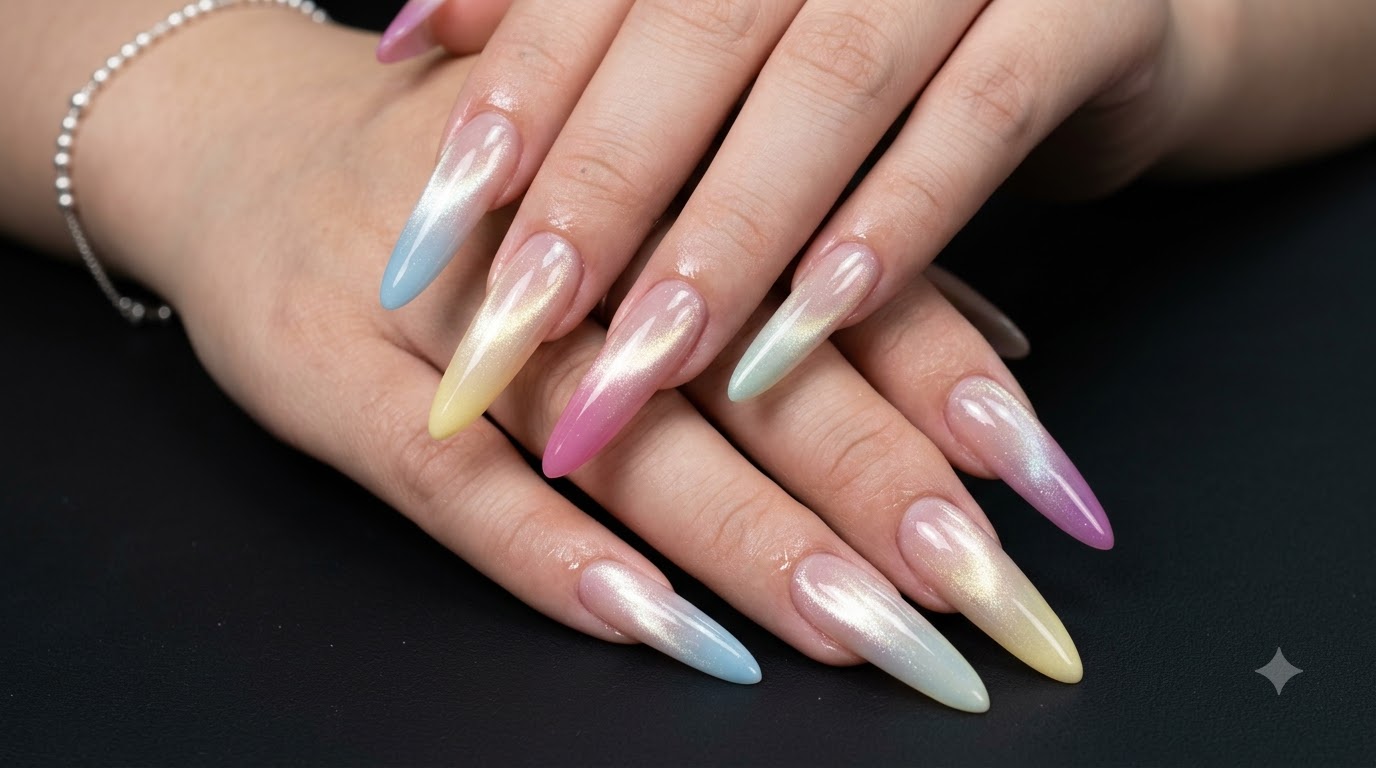
Create a dreamy spring and summer dopamine gradient featuring translucent macaron colors and a shimmering cat-eye effect on long stiletto nails.
This is a sweet girls dream nail look that you will fall in love with at first sight! The more you look at it, the more addictive it is, bringing a vibrant spring and summer dopamine gradient right to your fingertips. By combining highly clear cat-eye gel with soft translucent macaron shades and an effortless ombre technique, this stunning style can be completed in an hour.
Steps
- 1Apply a sheer nude base coat
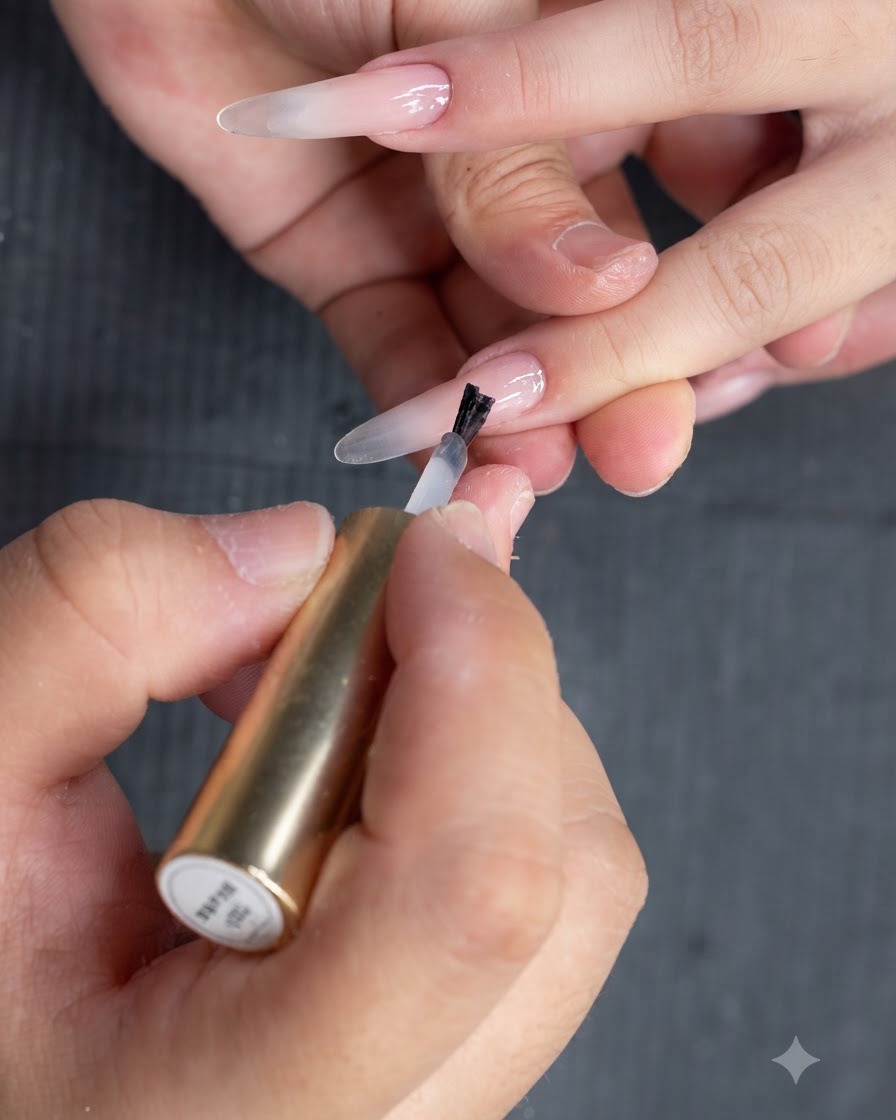
Apply a sheer nude base coat evenly across the entire surface of the nail using the built-in bottle brush. This creates a smooth and uniform foundation for the subsequent layers of gel. Make sure to coat the nail thoroughly from the cuticle to the free edge without flooding the skin.
Tip: Keep the initial layers thin and controlled to prevent any pooling around the cuticles. - 2Activate the magnetic cat eye effect
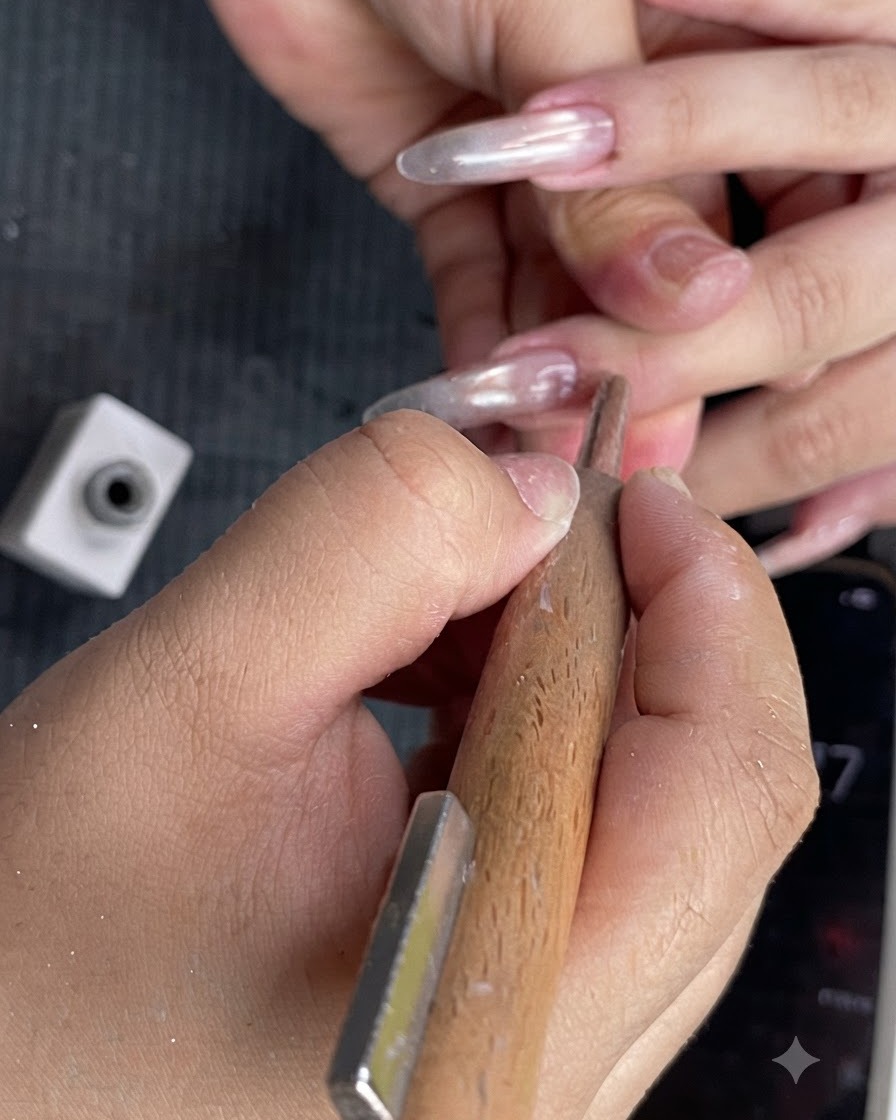
Position a cylindrical magnet closely to the side of the nail without touching the wet gel surface. Hold it steady for a few seconds to draw and pull the magnetic particles into a striking, luminous beam. This technique gives the cat eye gel its signature depth and floating light reflection.
Tip: Keep your hand completely steady while holding the magnet to ensure a sharp, well-defined cat eye line. - 3Apply translucent light blue gel to the tip
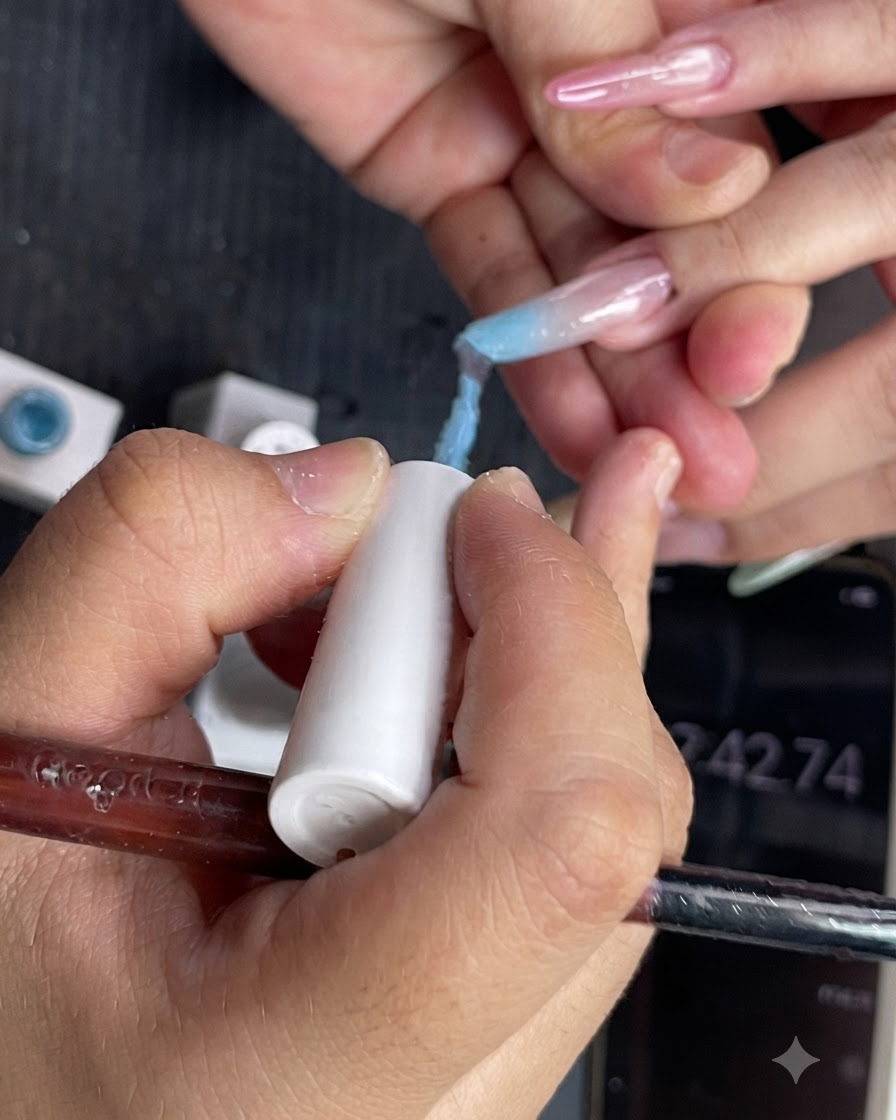
Take a translucent light blue gel polish and apply it carefully to the upper tip half of the middle finger nail. This step begins the spring and summer dopamine gradient design by introducing a soft burst of color to the top portion of the nail.
Tip: Concentrate the color primarily on the upper half to leave room for a seamless fade downward. - 4Apply translucent yellow gel to the ring finger
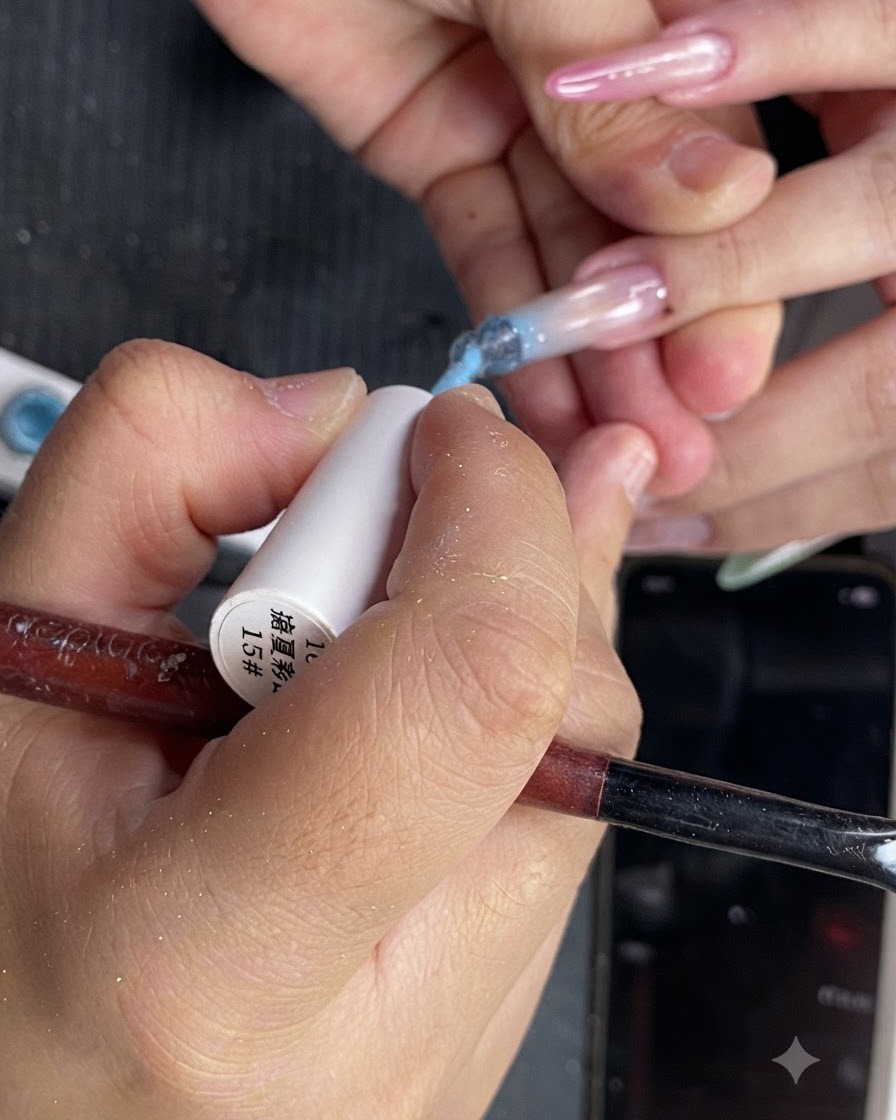
Select a translucent yellow gel polish and apply it onto the upper tip half of the ring finger nail. Continuing the multicolor gradient theme, this shade adds a bright, cheerful element to the overall look. Keep the application clean and concentrated near the upper tip area.
Tip: Ensure the amount of gel product on your brush is minimal to avoid thick clumps before blending. - 5Blend the light blue gradient
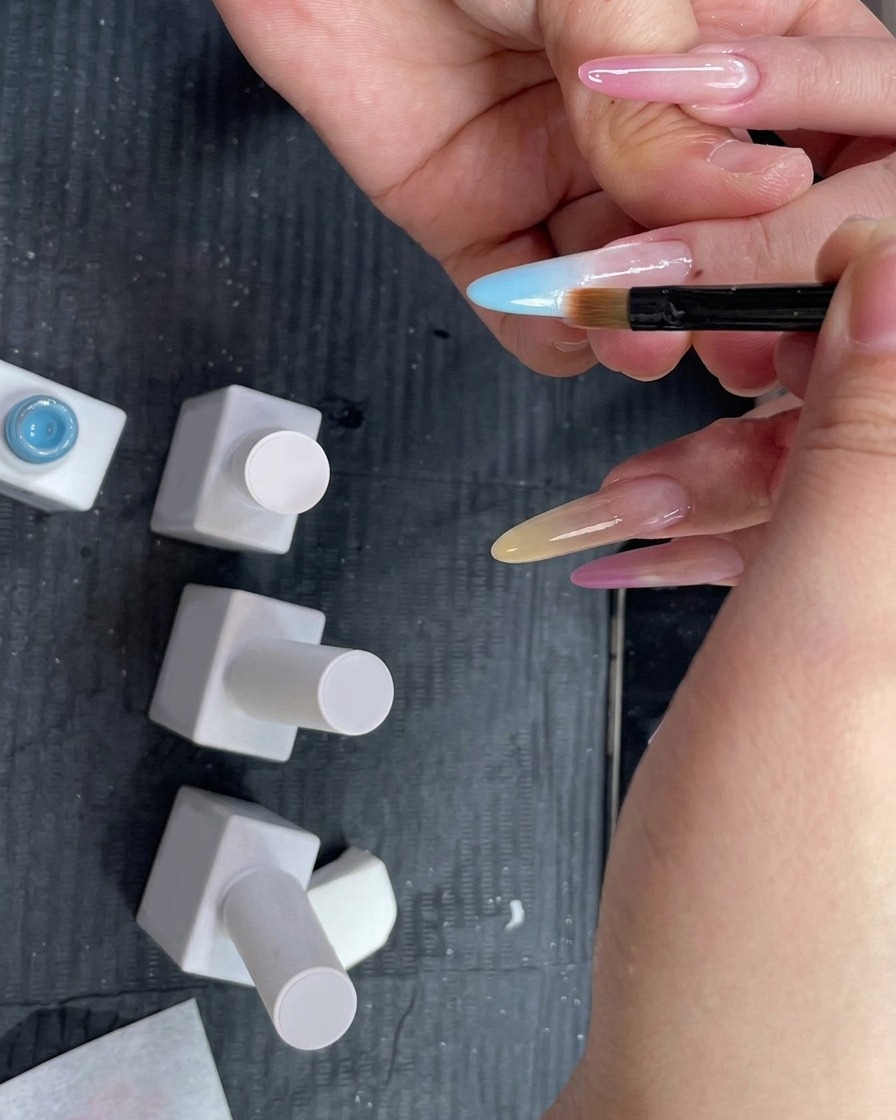
Hold an ombre blending brush completely flat against the nail surface and gently sweep the light blue gel downwards toward the cuticle area. This sweeping motion softens the harsh transition line, creating a natural and seamless color gradient on the middle finger.
Tip: Keep the brush flat and use very light pressure so you diffuse the color rather than wiping it away entirely. - 6Blend yellow gel on ring finger
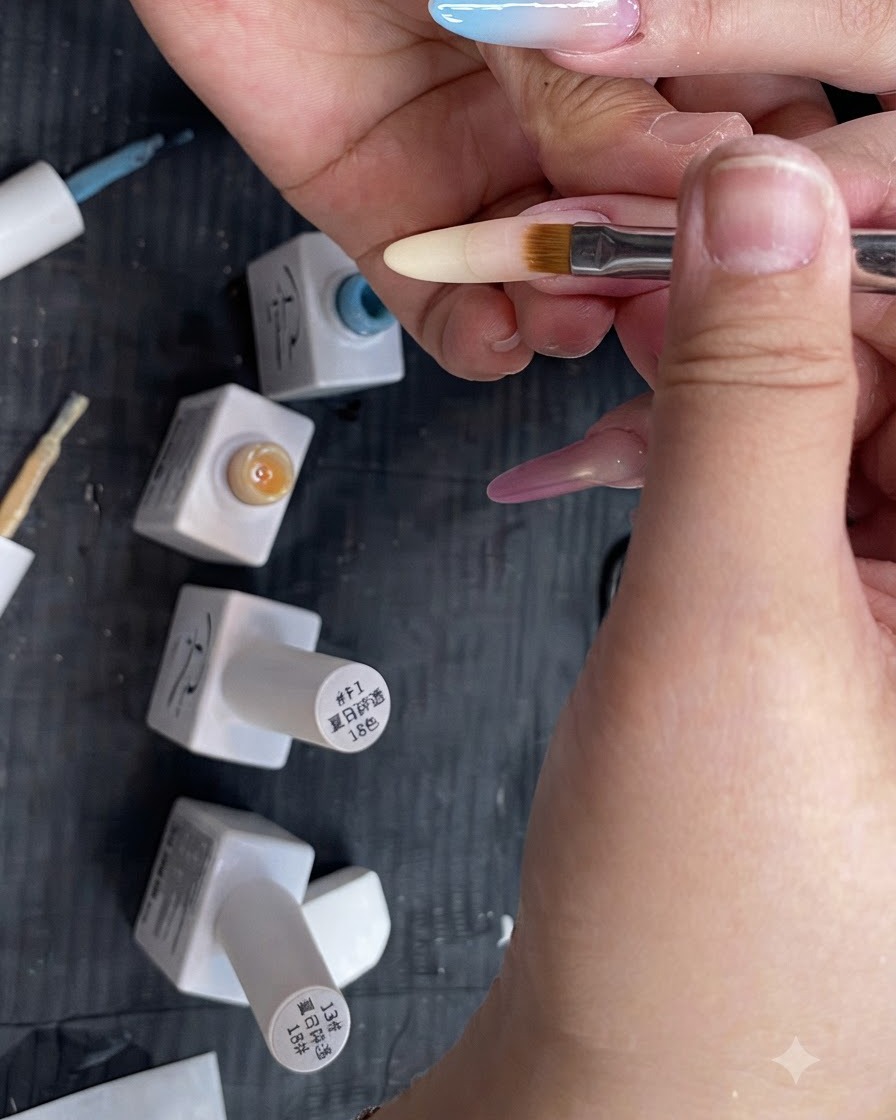
Using a clean ombre blending brush kept flat against the nail surface, gently sweep and blend the translucent yellow macaron gel downwards toward the cuticle area on the ring finger to create a seamless, natural gradient.
Tip: Keep the blending brush completely flat to avoid harsh streaks or bald patches in the gradient. - 7Blend pink gel on index finger
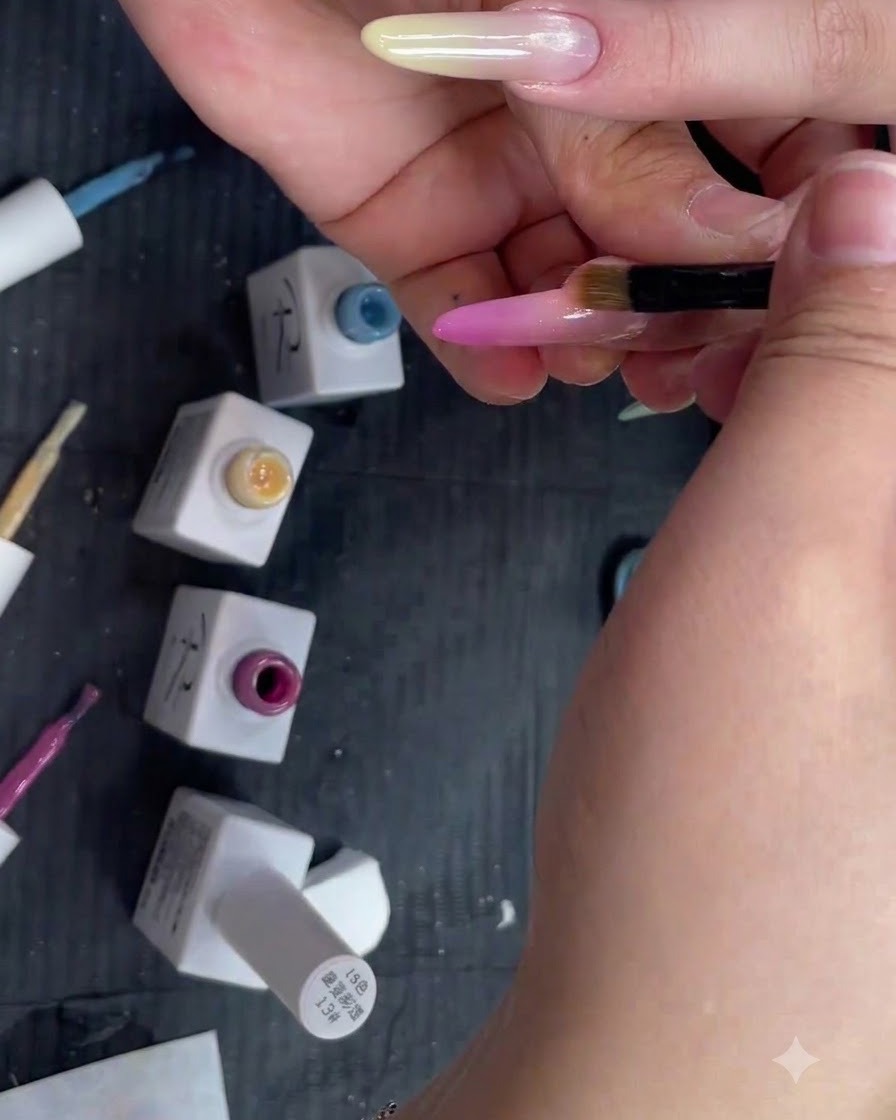
Apply translucent pink macaron gel to the top half of the index finger and use the flat ombre blending brush to gently sweep and blend it downwards toward the base, achieving a smooth and even dopamine gradient effect.
Tip: Work with light, feather-like strokes to ensure the color transitions smoothly without moving too much product down. - 8Apply builder and top coat gel
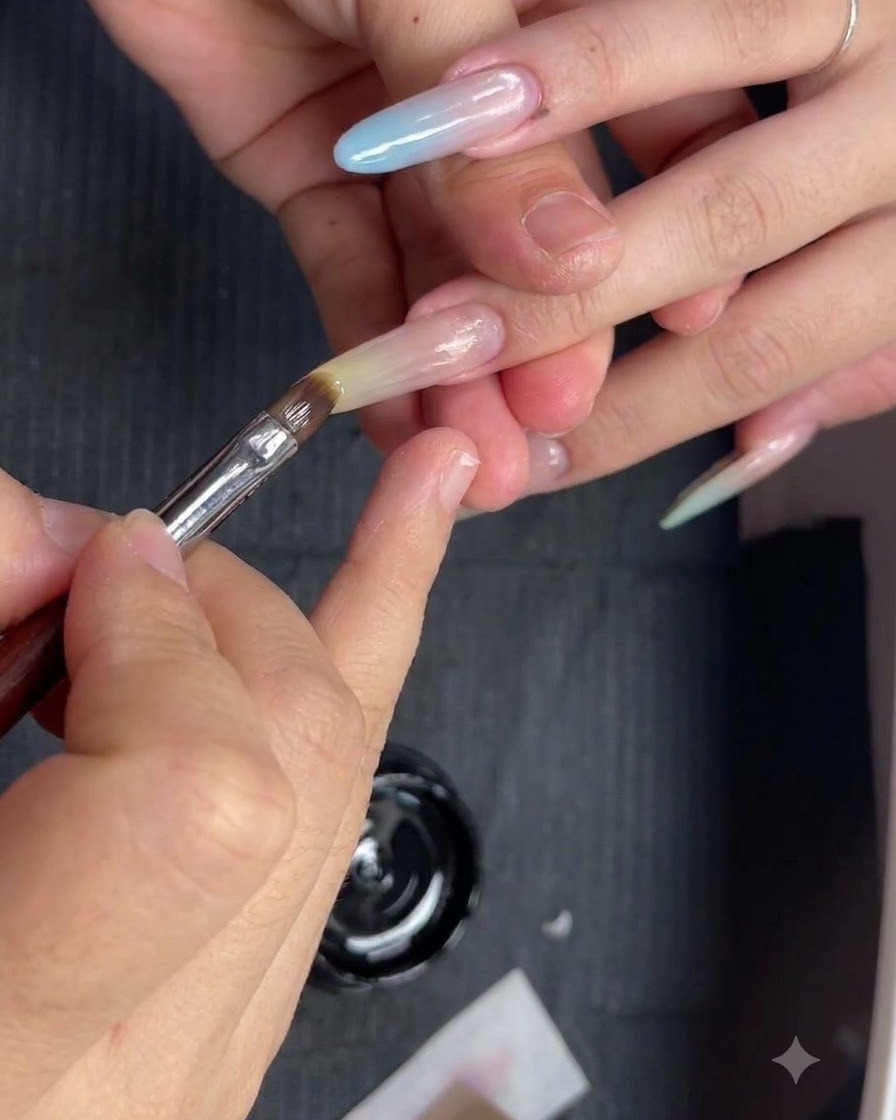
Apply a generous layer of clear two-in-one builder and top coat gel over the middle finger nail using a flat brush. This step builds strength, perfectly levels the nail surface, and seals the entire gradient design in one simple step.
Tip: Allow the builder gel a moment to self-level before curing under the lamp to ensure a glossy, flawless finish. - 9Seal ring finger with top coat
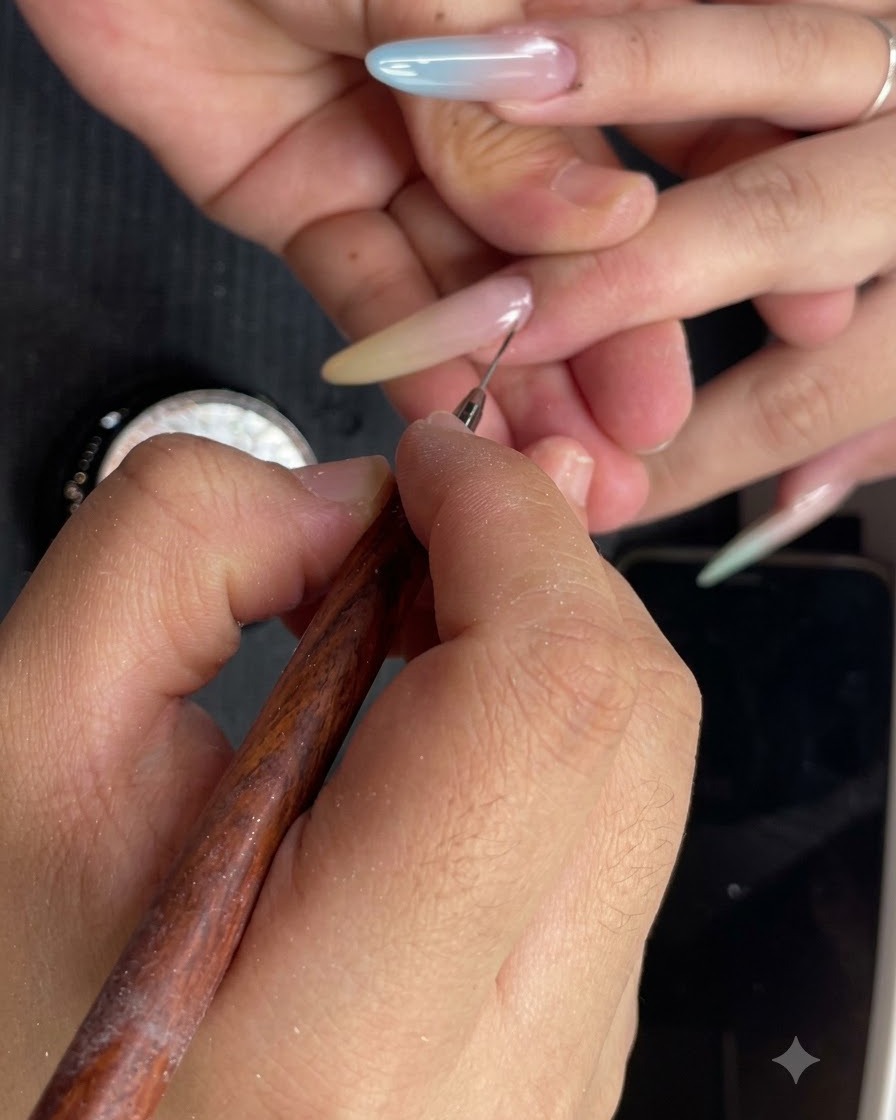
Carefully apply the clear two-in-one builder and top coat gel over the ring finger nail, making sure to cap the free edge completely to protect the finished gradient art and give it a brilliant, long-lasting shine.
Tip: Check the reflection under the light to ensure the surface is completely smooth before curing.