Peach Gradient
Magnetic Cat-Eye Gel Nails — Step-by-Step Tutorial
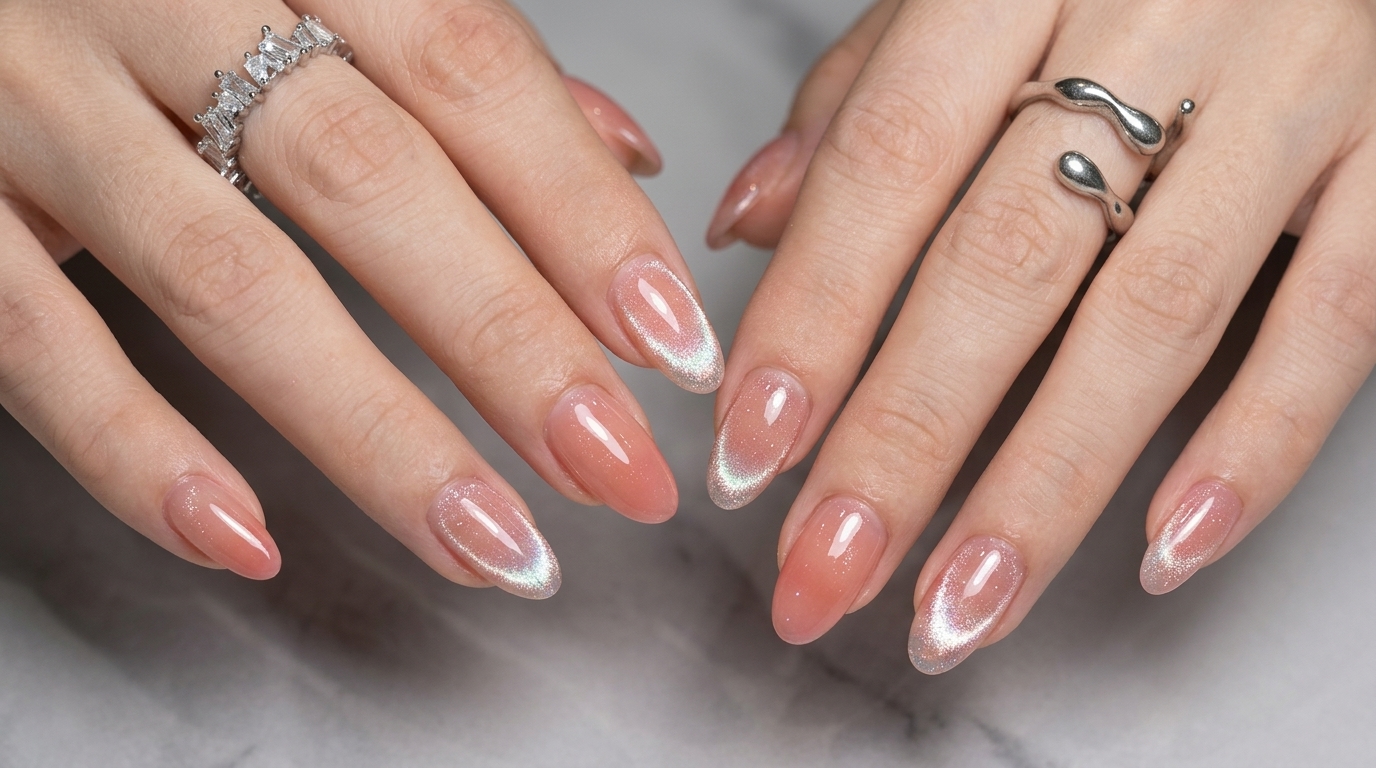
Discover how to create stunning peach gradient and magnetic cat-eye gel nails with a glossy finish using professional prep and layering techniques.
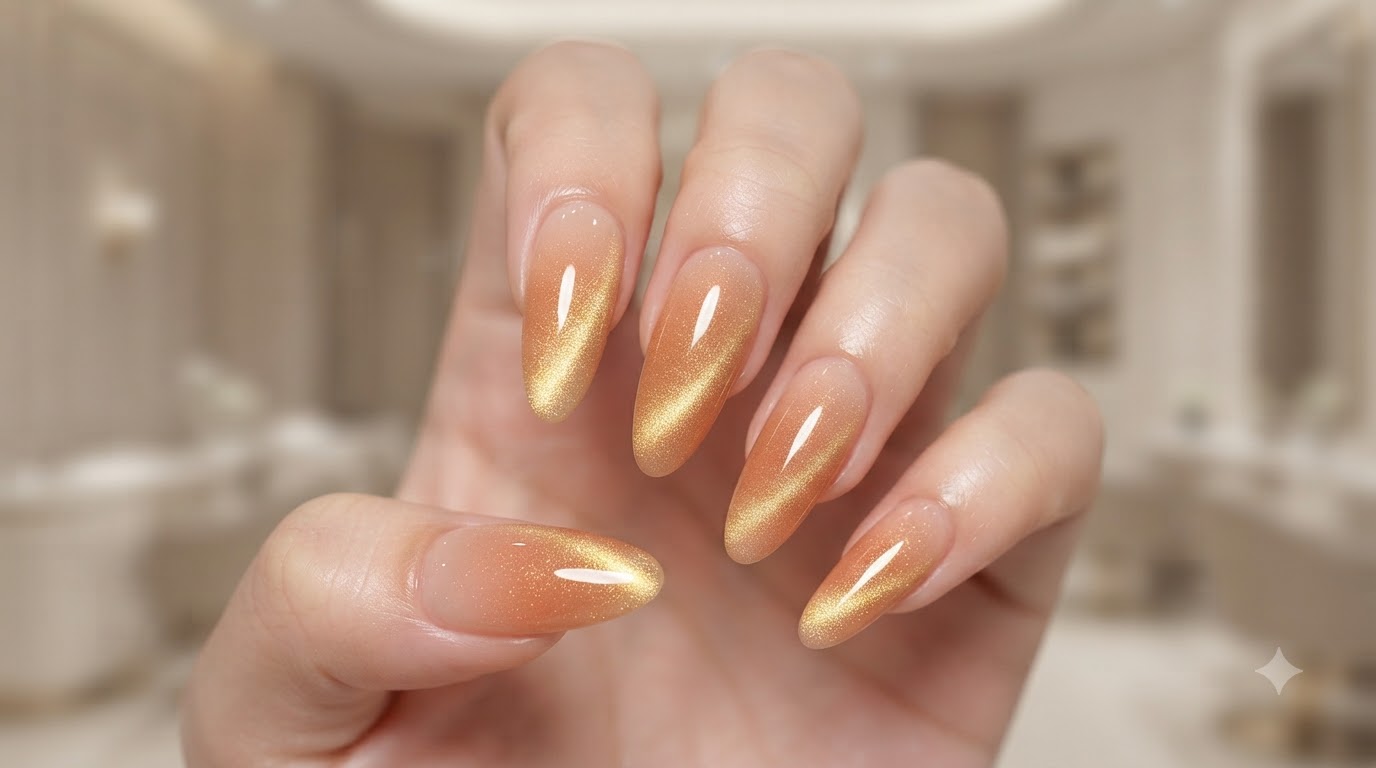
Combining a soft peach gradient with a shimmering magnetic cat-eye effect creates a mesmerizing multi-dimensional manicure. This tutorial guides you through each phase, from meticulous cuticle care to flawless gel layering and finishing touches.
Steps
- 1Select ceramic drill bit
Choose a clean ceramic drill bit from its sterile packaging to begin the cuticle preparation process. Ceramic bits generate less heat and provide a smooth, gentle touch on the skin compared to metal bits, making them ideal for safely lifting and clearing dead cuticle tissue.
Tip: Always inspect your drill bits before use to ensure they are completely clean and free of any debris from previous clients. - 2Clean around the cuticle bed
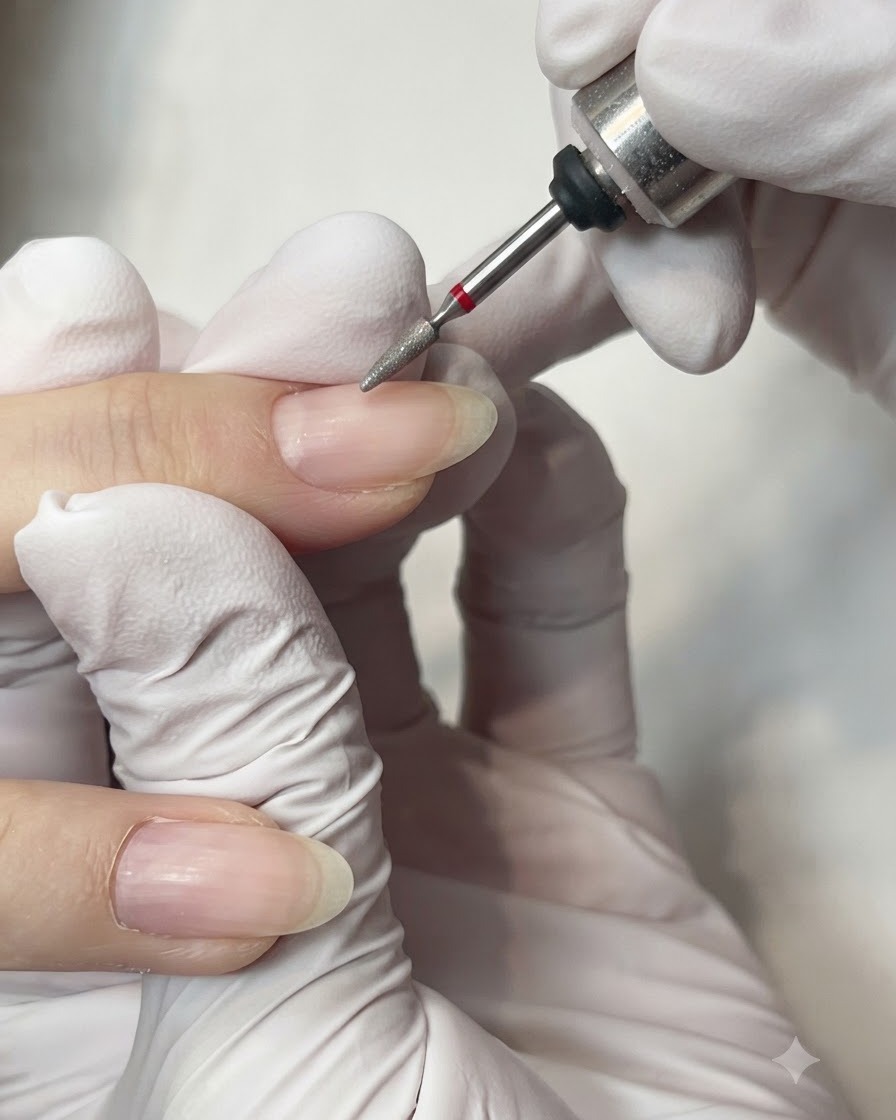
Using an electric file equipped with a fine conical bit, gently clean around the cuticle bed and remove dead skin cells. Keep the file moving smoothly at a low speed to avoid friction burns or thinning the natural nail plate.
Tip: Maintain a light touch and keep the bit parallel to the nail surface for safe and precise cuticle cleaning. - 3Brush away nail dust
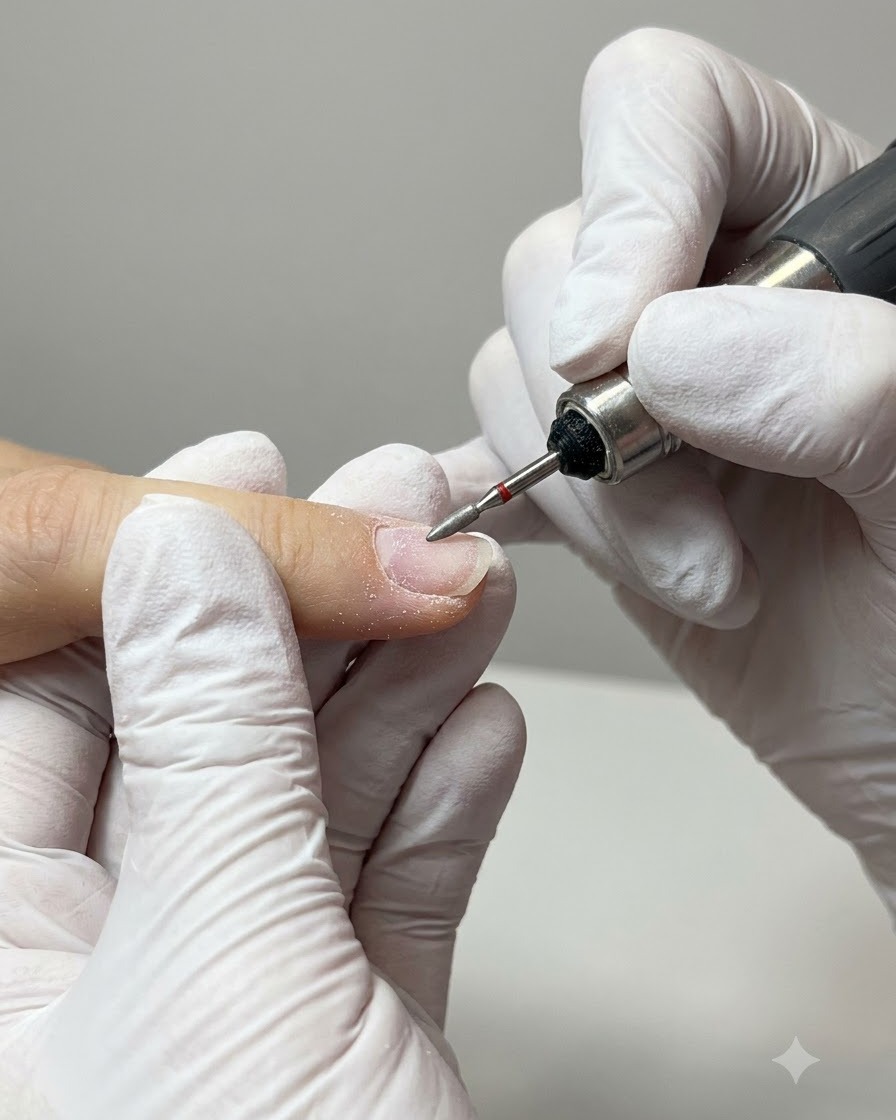
Use a soft dusting brush to gently sweep away all debris and nail dust created during the electric file cuticle cleaning process. Ensure the nail plate and surrounding skin are completely clean before moving on to the next preparation stage.
Tip: Sweep in a downward motion away from the cuticle to clear trapped dust particles from the nail folds. - 4Refine cuticle area and nail surface
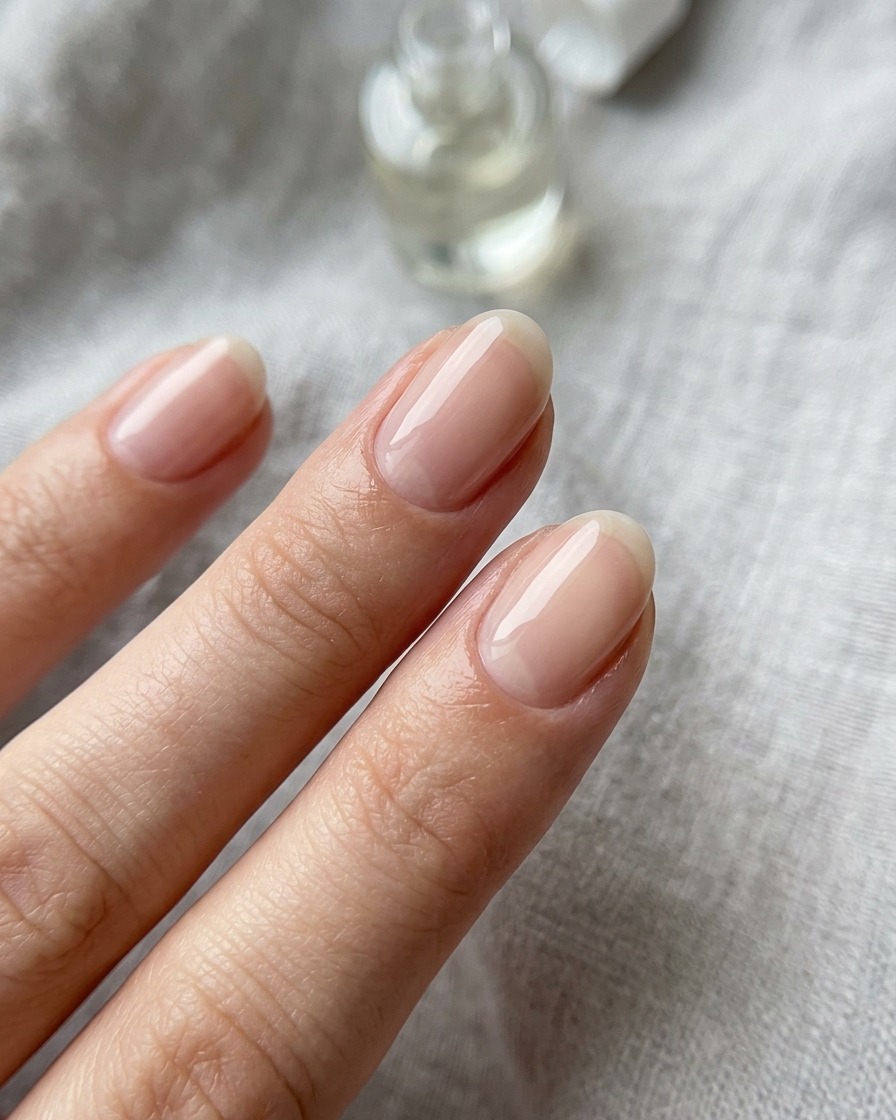
Using an electric file at a lower speed, gently refine the cuticle area and smooth out the nail surface. Keep the handpiece moving steadily to avoid thinning the natural nail plate, ensuring a clean and even foundation for the upcoming gel application.
Tip: Keep the file moving constantly at a low speed to prevent friction heat and accidental gouging of the natural nail. - 5Select 180-grit sanding band
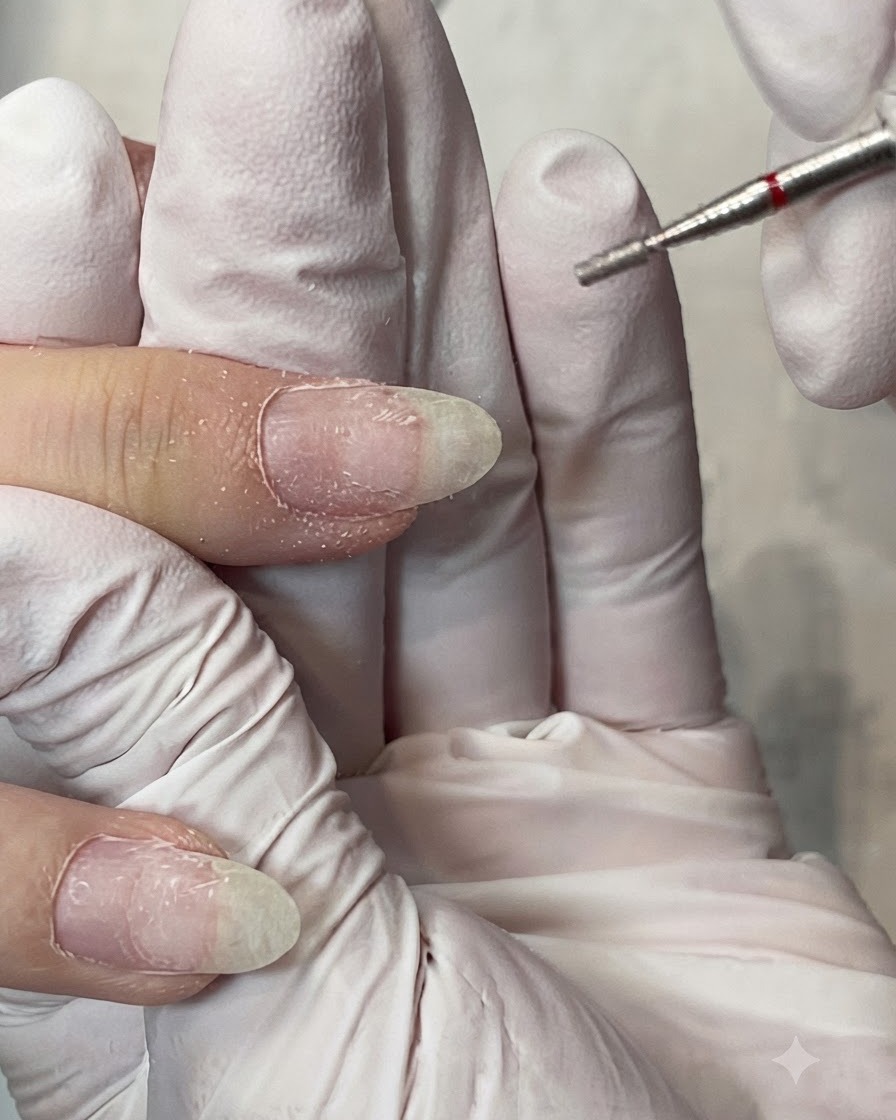
Choose a purple 180-grit sanding band for refining the nail surface and preparing it for product application. The fine grit is gentle enough to avoid damaging the natural nail plate while effectively removing remaining shine and smoothing out minor imperfections.
Tip: Ensure the sanding band is securely fitted onto the mandrel bit before turning on the electric file to prevent it from slipping. - 6Attach sanding band mandrel bit
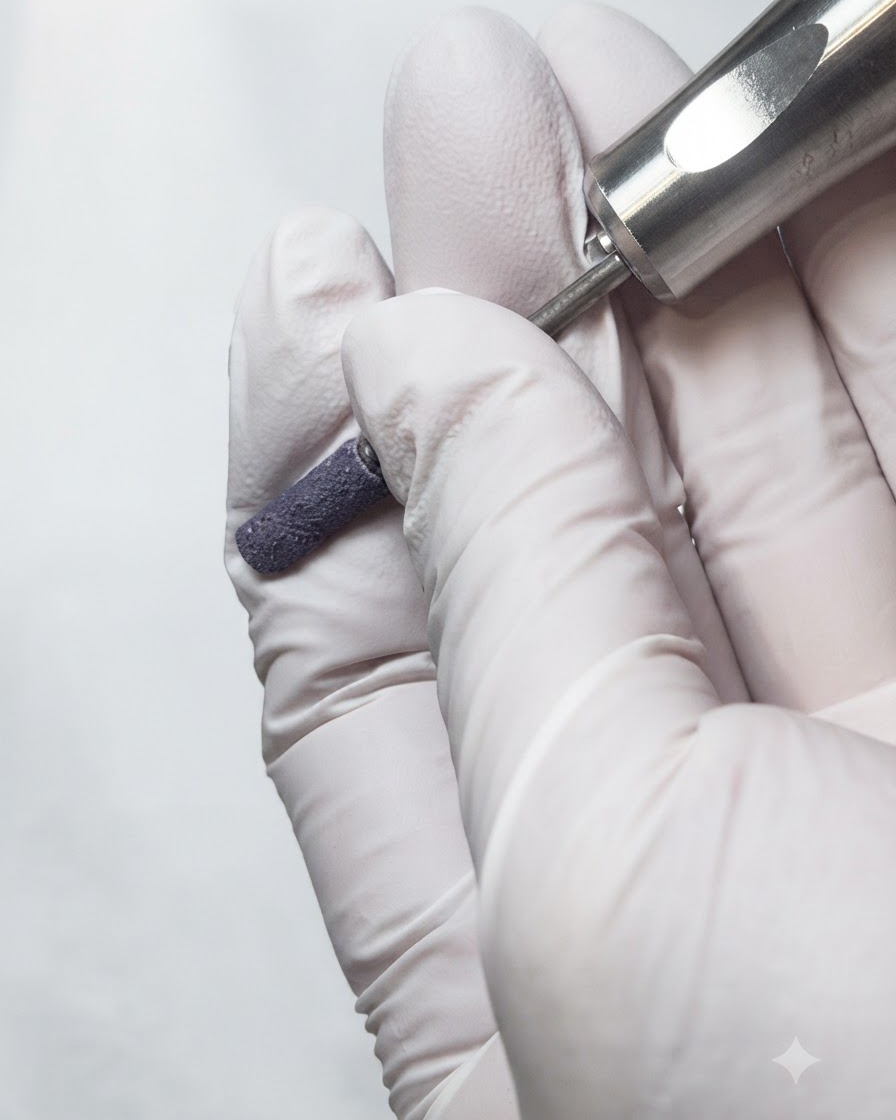
Securely attach the sanding band mandrel bit into the electric file handpiece, making sure it is locked firmly in place. This tool will be used to prep the nail surface texture for the upcoming gel layers.
Tip: Always double-check that your drill bit is pushed all the way into the chuck before turning on the machine. - 7Buff nail surface
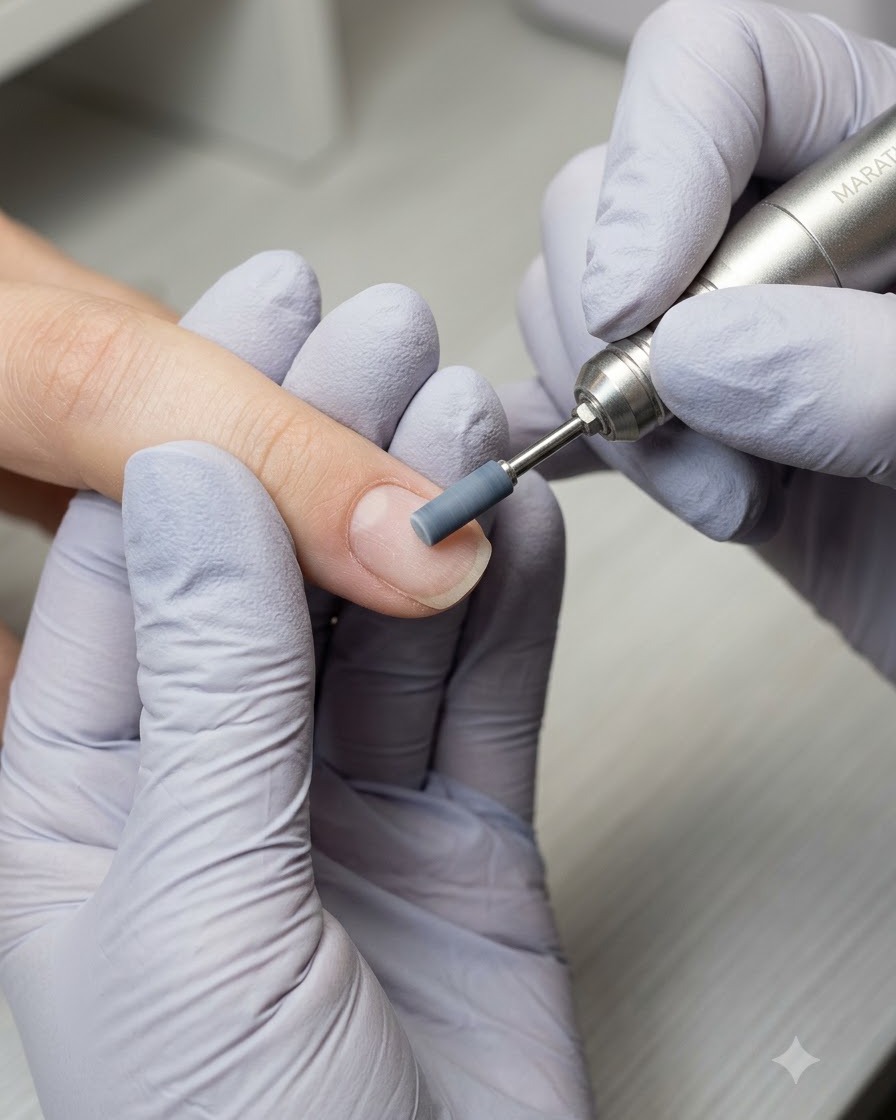
Using the electric file at a low speed with the sanding band attached, gently buff the surface of each nail. Move smoothly across the nail plate to eliminate natural shine, smooth out ridges, and create an optimal textured surface for maximum product adhesion.
Tip: Keep the file moving constantly and avoid applying heavy pressure to prevent thinning or burning the natural nail. - 8Select metal cuticle nippers
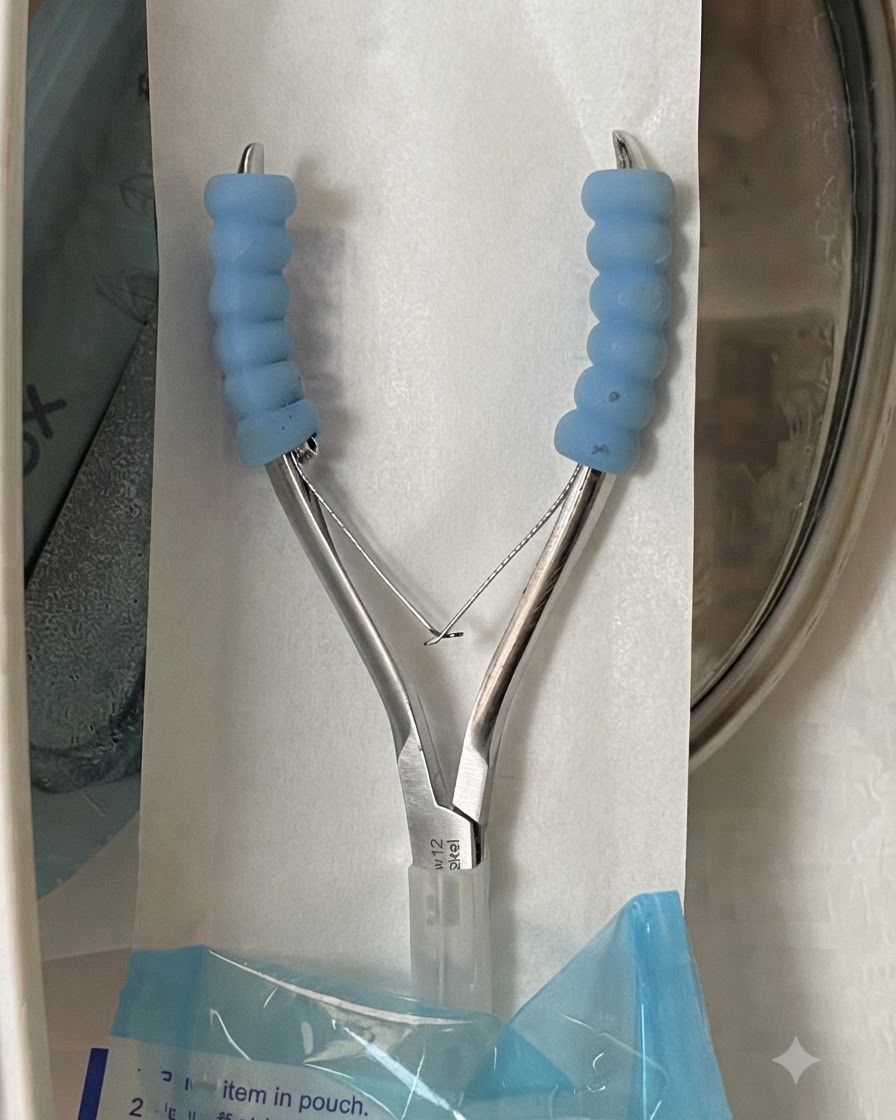
Retrieve a pair of metal cuticle nippers directly from their sterile packaging pouch. Ensure the blades are sharp, clean, and properly aligned for precise trimming of loose skin around the nail folds.
Tip: Always store nippers with protective tip covers to maintain blade sharpness and prevent accidental damage. - 9Trim excess cuticle skin
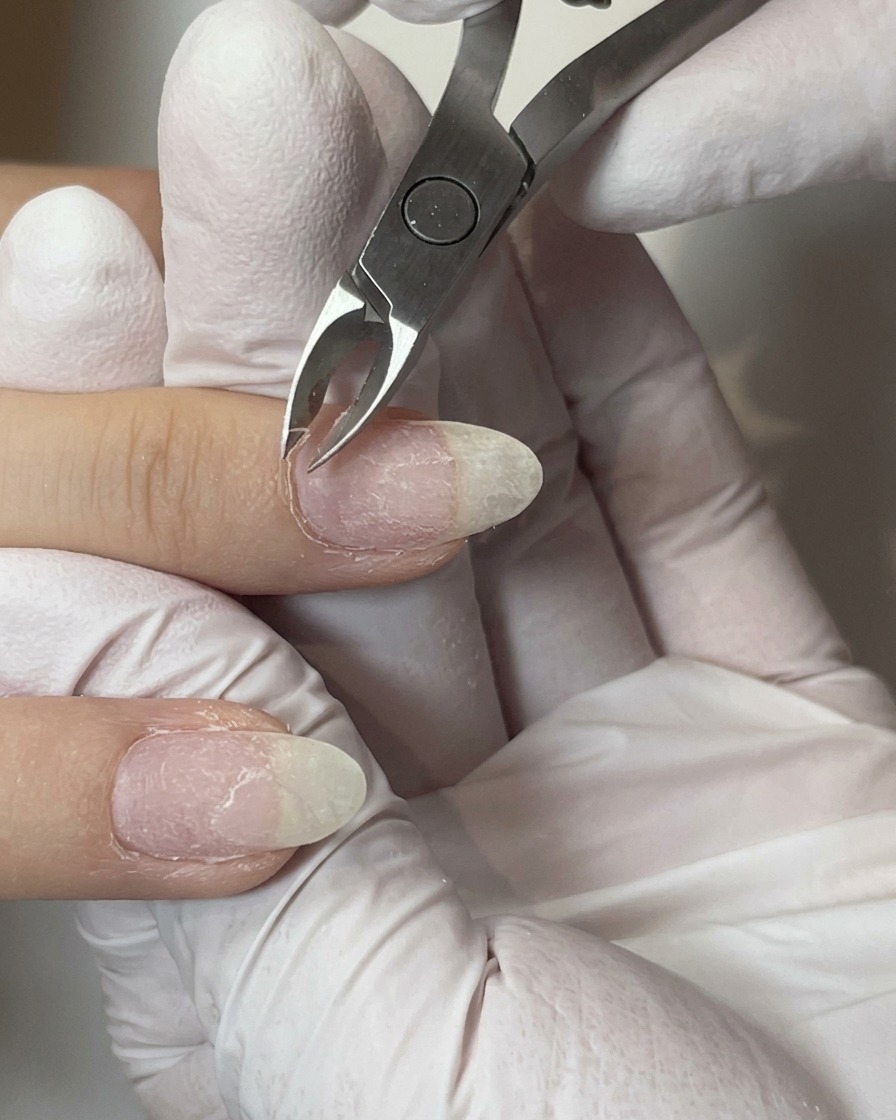
Using the metal cuticle nippers, carefully snip away any dead or excess cuticle skin around the nail fold. Take small, controlled bites with the tip of the blades to achieve a clean, polished look without cutting into living skin.
Tip: Keep the nippers at a slight angle relative to the skin to ensure a clean cut close to the surface without snagging. - 10Detail the nail edges with a flame bit
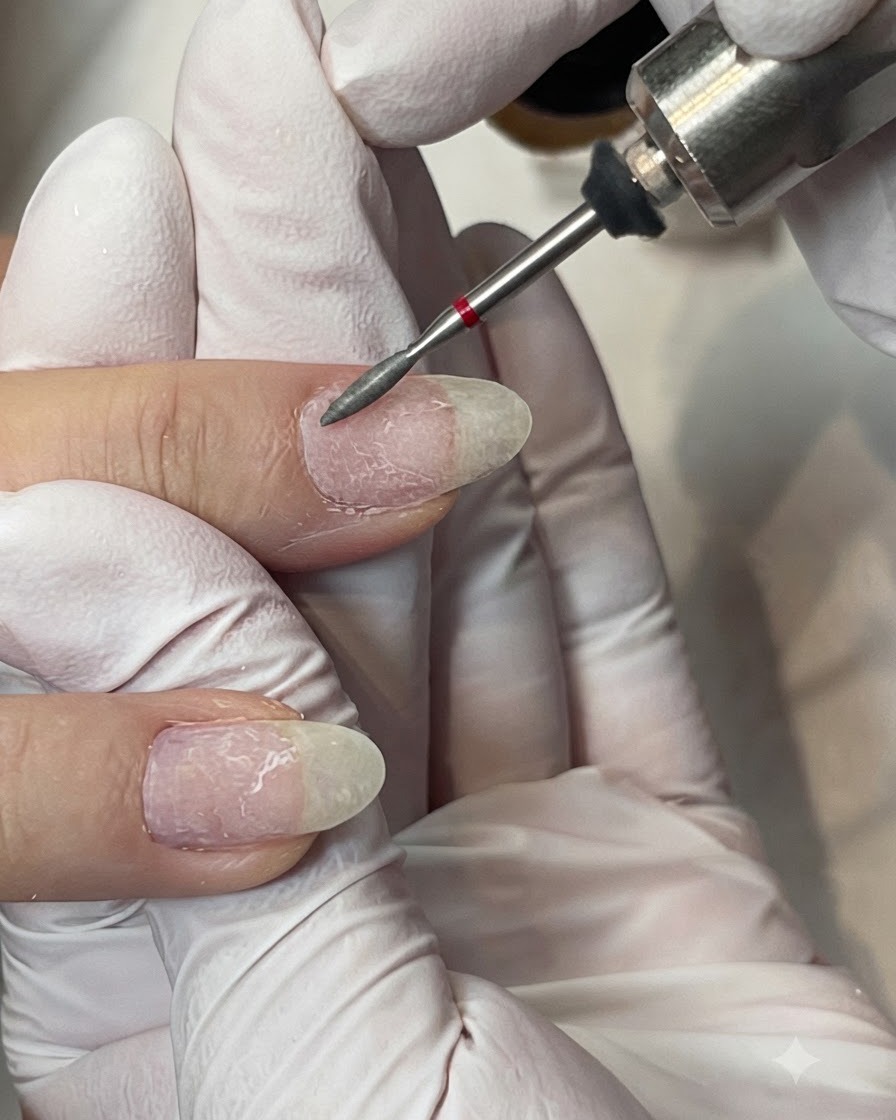
Using a fine flame drill bit at a controlled, low speed, carefully clean and detail the edges around the sidewalls and cuticle area. Maintain a light touch to smooth out any remaining rough patches without harming the natural skin or nail plate.
Tip: Keep the bit parallel to the nail surface and use gentle sweeping motions to avoid creating grooves. - 11Clean residual dust from the nail plate
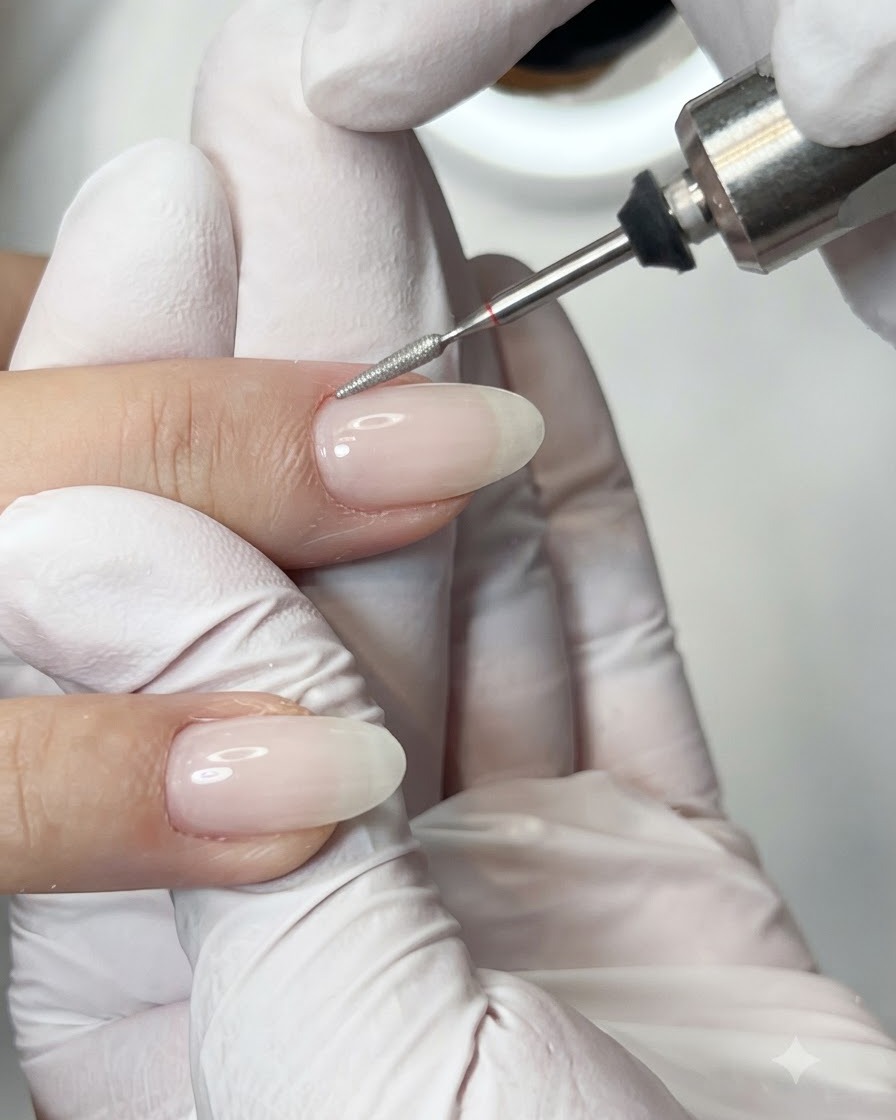
Take a soft dusting brush and gently sweep away all filing residue and dust particles from the nail plate and surrounding skin. Ensure the surface is completely clean to provide optimal adhesion for subsequent gel products.
Tip: Use a downward stroking motion away from the cuticle to effectively lift and clear trapped dust. - 12Smooth nail edges and sidewalls
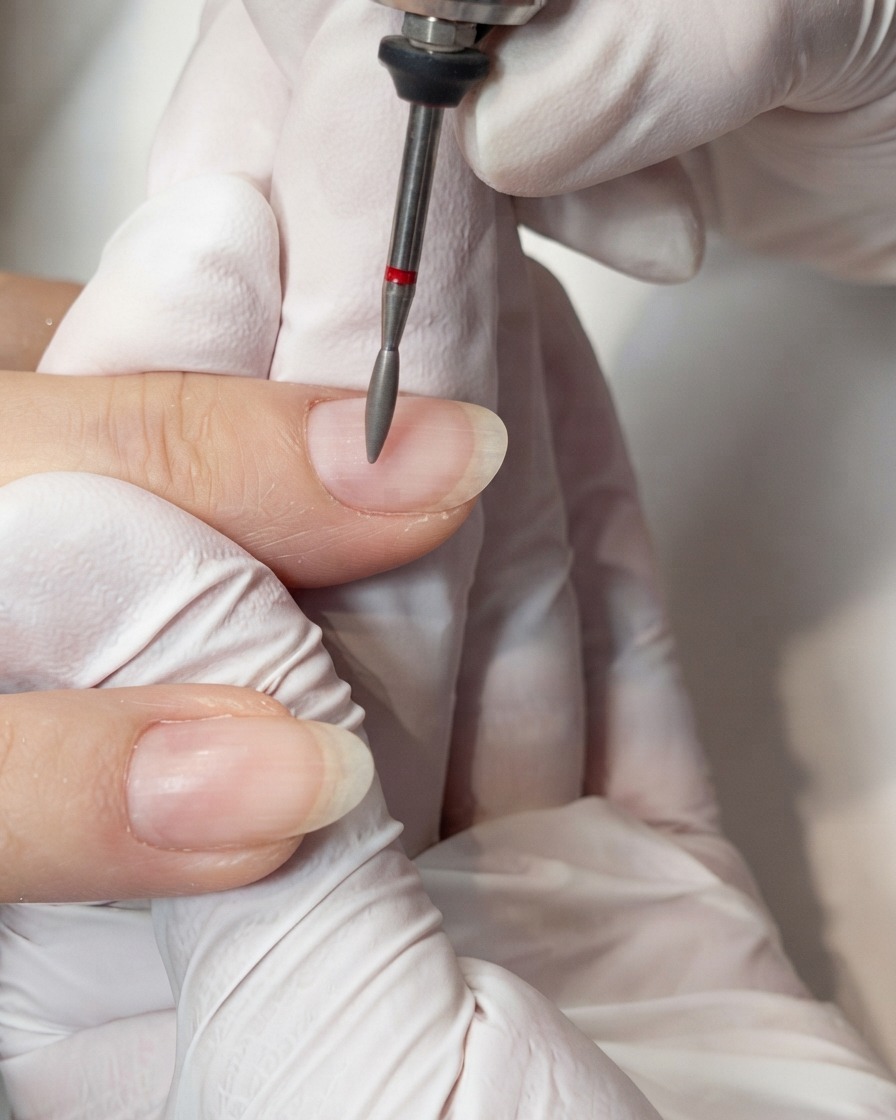
Carefully guide the fine drill bit along the nail sidewalls and free edge to smooth out any irregularities. This step perfects the overall shape and contours of the nail, ensuring a seamless foundation for the upcoming gel application.
Tip: Lift the file frequently to check your progress and prevent friction heat buildup. - 13Thoroughly dust the nail surface
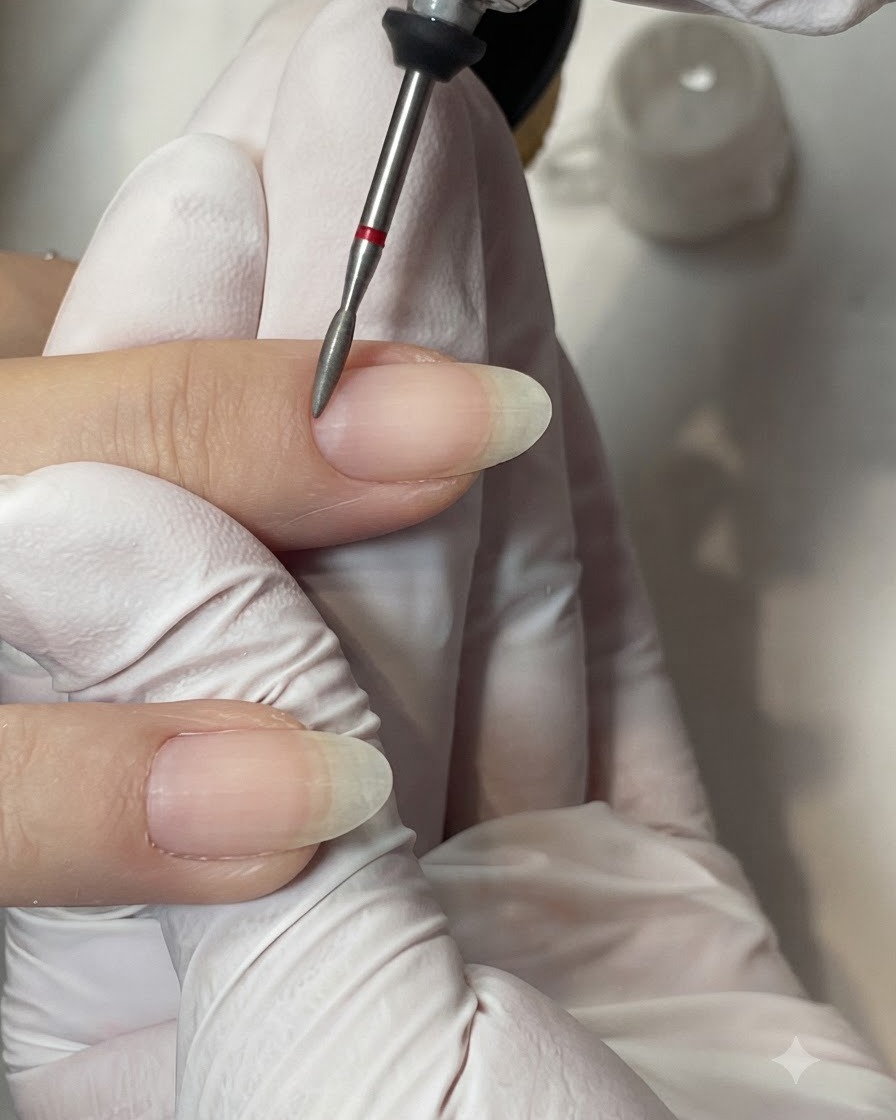
Perform a comprehensive cleaning pass by dusting the nail plate and surrounding finger areas thoroughly. Removing all micro-debris guarantees that no particles interfere with the chemical bond of the base coat.
Tip: Combine dusting with a quick wipe of isopropyl alcohol if necessary for an immaculate, oil-free surface. - 14Apply gel base coat
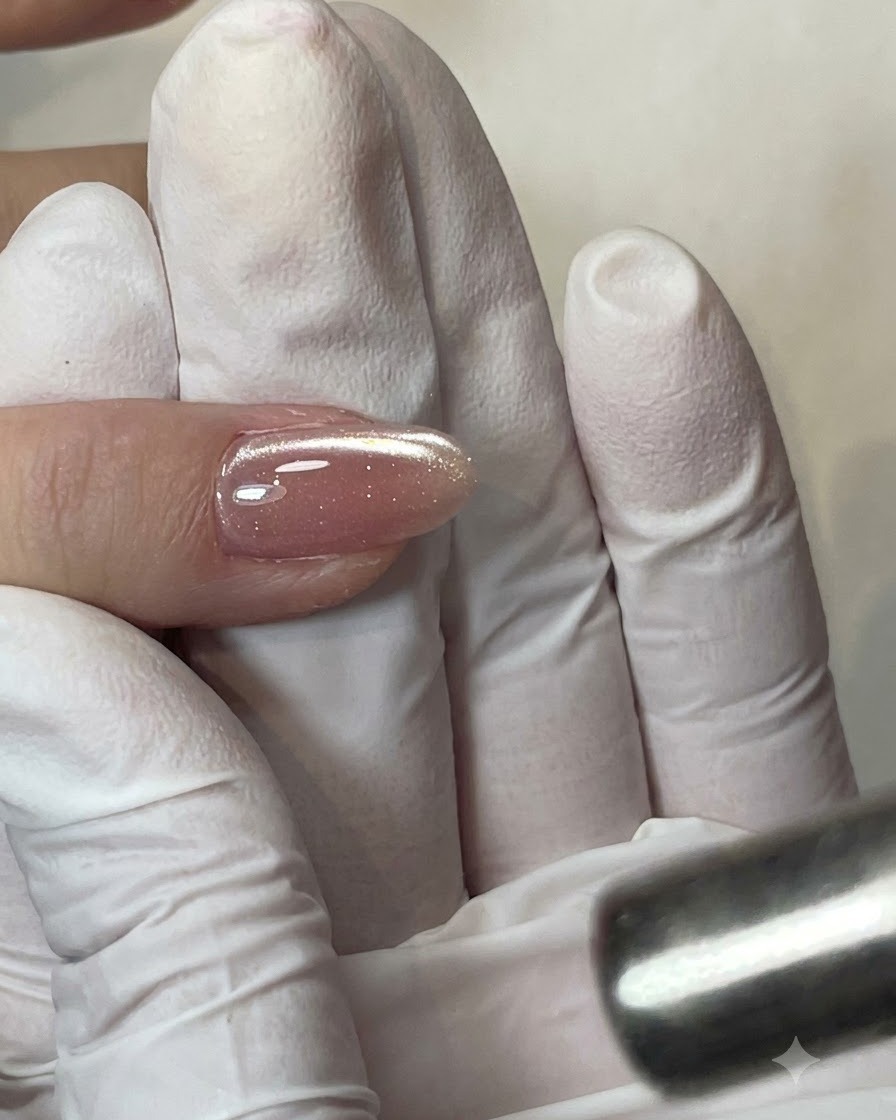
Apply a thin, even layer of gel base coat onto the nail plate using a flat brush. Carefully brush the product across the entire surface while capping the free edge to prevent lifting, making sure to avoid flooding the surrounding skin.
Tip: Apply in thin layers to ensure proper curing and to prevent the gel from pooling near the sidewalls. - 15Cure base coat
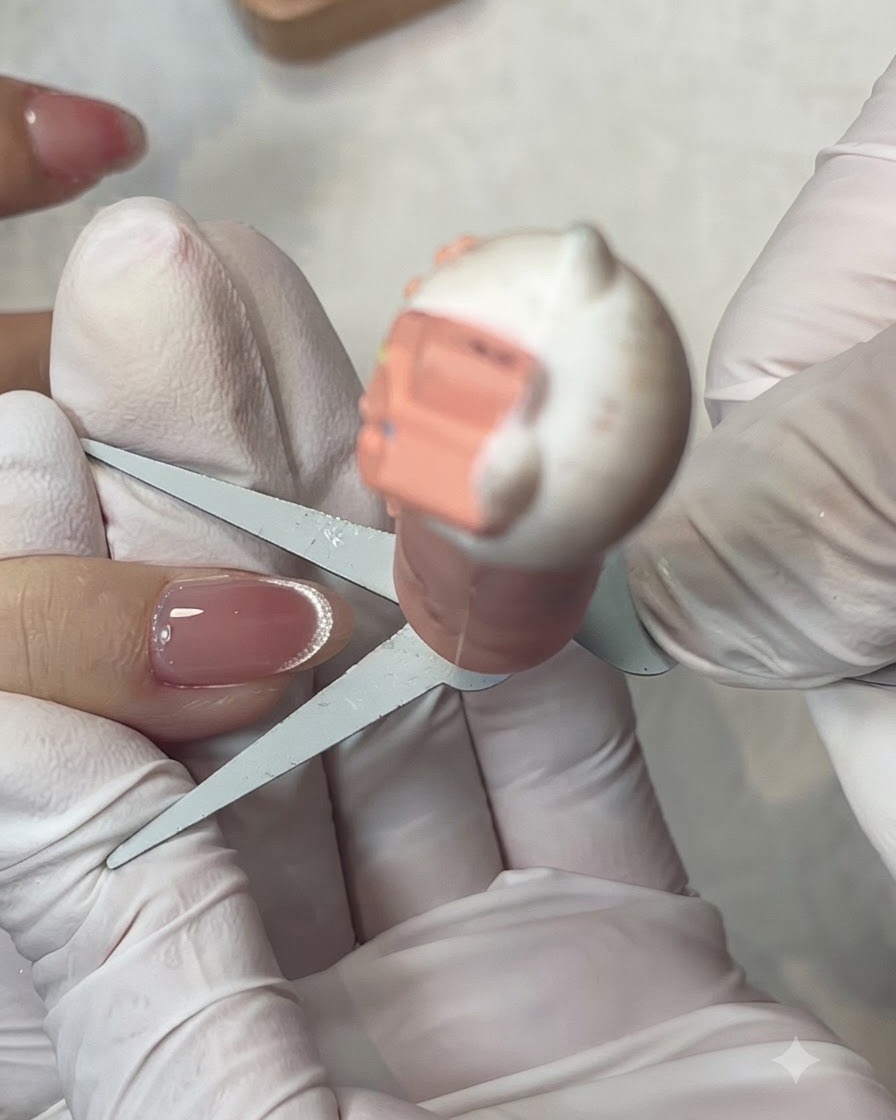
Place the hand inside the UV or LED lamp to cure the base coat thoroughly. Follow the manufacturers recommended curing time to ensure the layer polymerizes correctly and provides a secure bond for the color layers.
Tip: Ensure the finger is positioned directly under the light source for an even and complete cure. - 16Apply first color coat
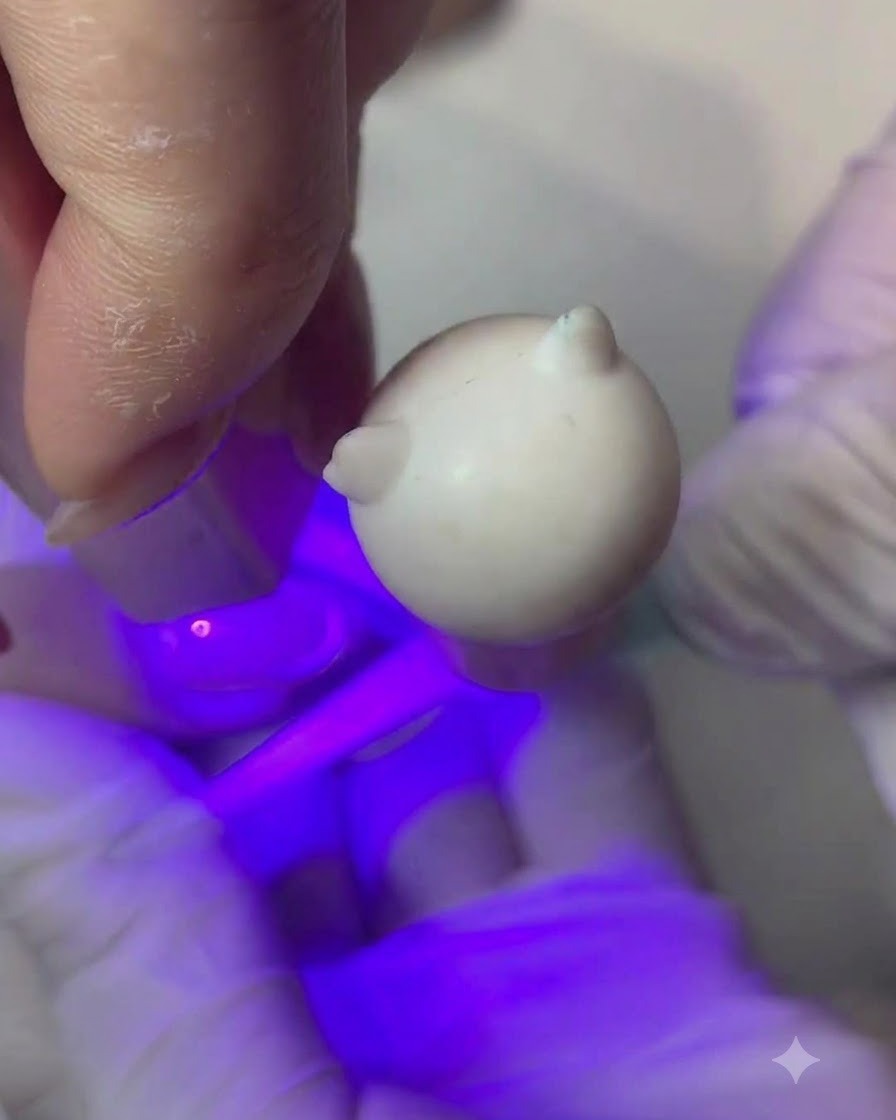
Apply the first layer of nude peach color gel onto the nail, keeping the application thin and smooth. Work systematically from the cuticle down to the free edge for an even tint across the nail plate.
Tip: The first layer of color should be translucent; build opacity gradually with subsequent coats rather than laying down thick product. - 17Refine cuticle line
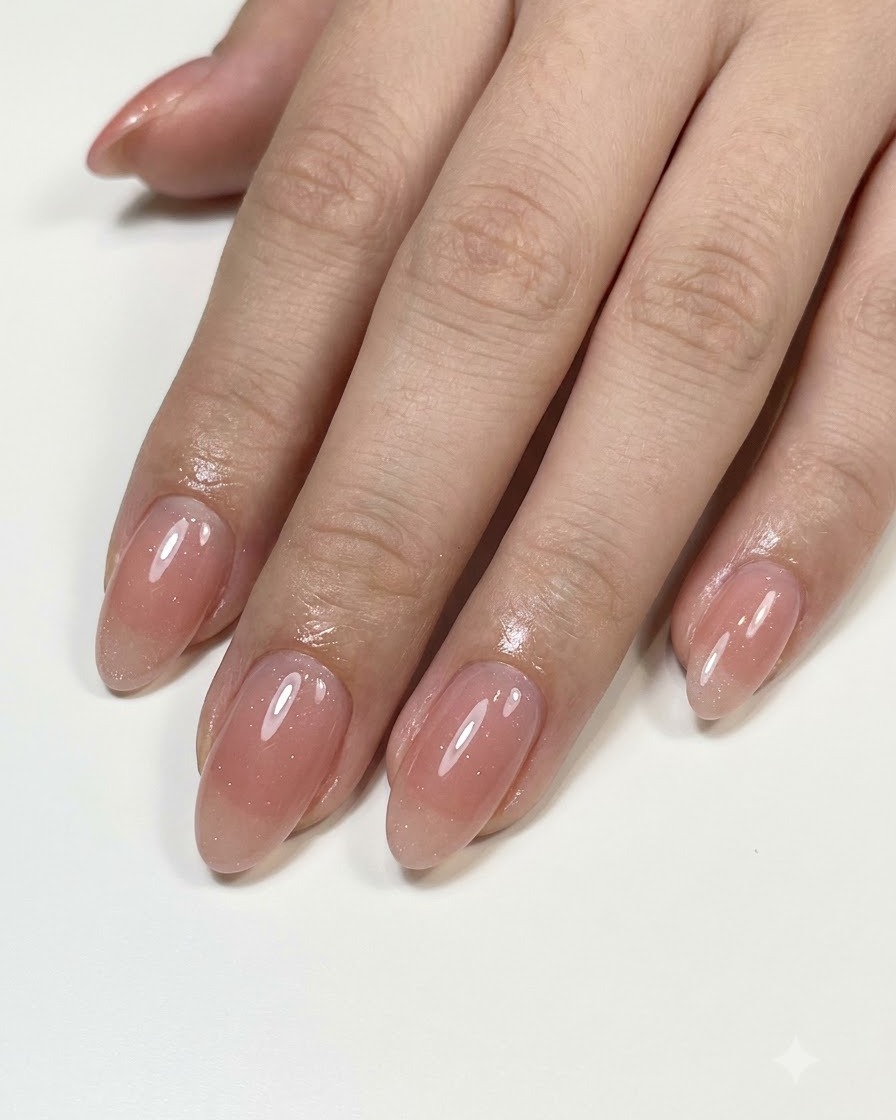
Take a fine liner brush to meticulously refine the cuticle line of the color gel. Carefully nudge the product close to the skin boundary without touching it, creating a crisp, professional arch shape.
Tip: Clean up any stray color gel with a brush dipped in isopropyl alcohol before curing. - 18Cure first color coat
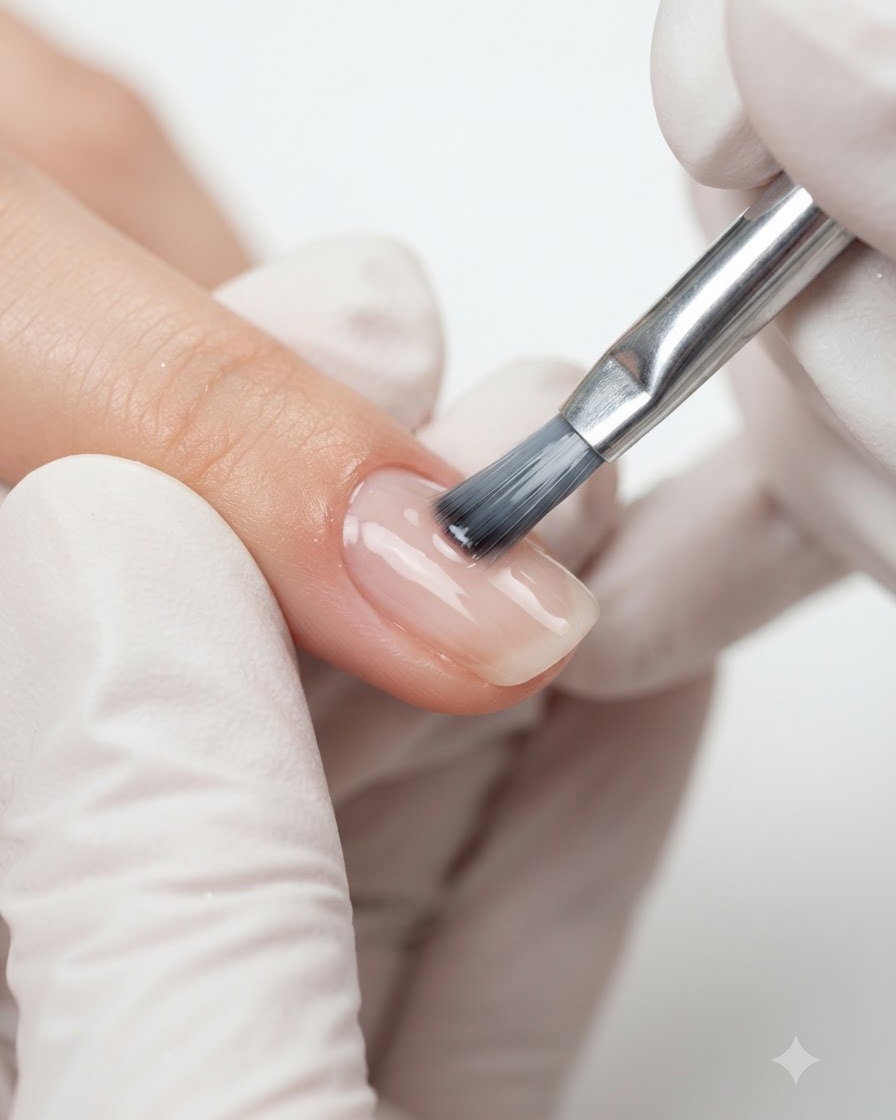
Cure the first color coat under the UV or LED lamp according to the gel systems instructions. This locks in the peach shade and sets the refined cuticle line before the next phase of the design.
Tip: Do not skip full curing time between color layers to prevent wrinkling or bubbling of the gel. - 19Open the blooming gel color
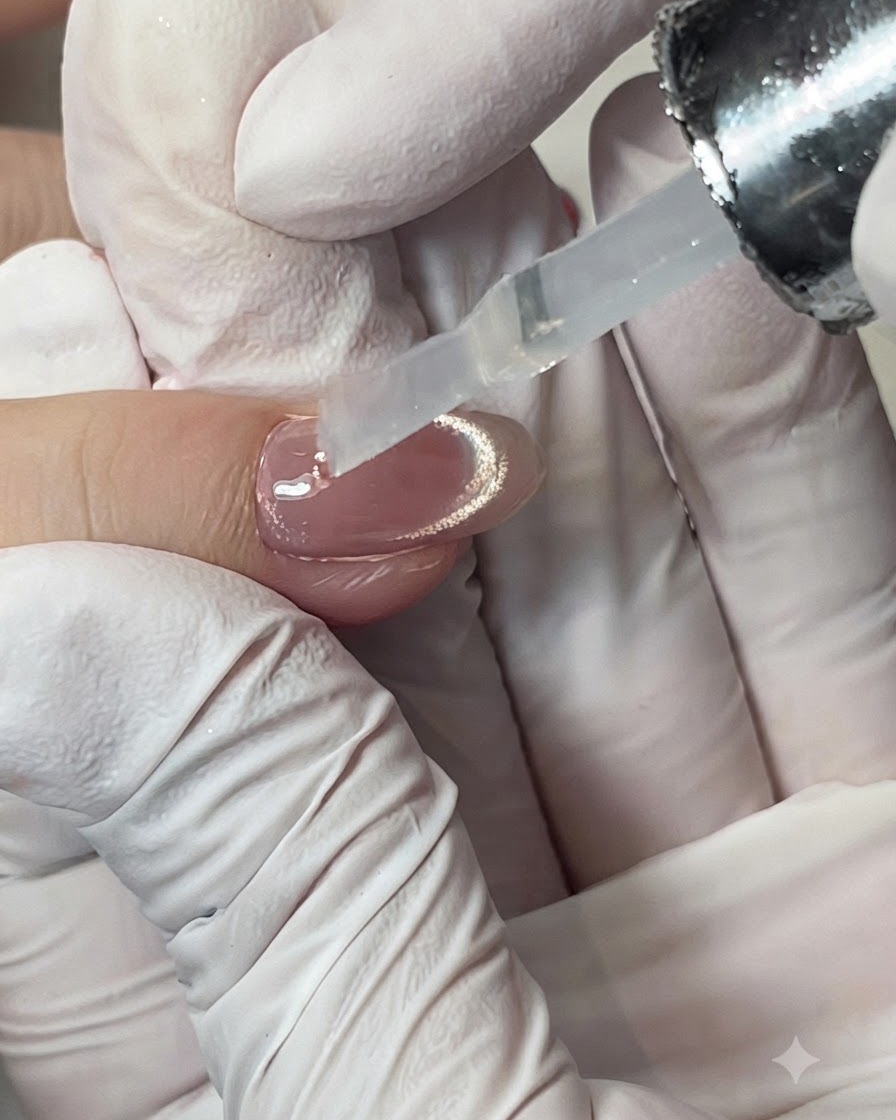
Unscrew the cap of the peach-pink blooming gel bottle, carefully wiping any excess product on the inner rim to ensure a clean application. Having the bottle ready allows for smooth, uninterrupted placement onto the nail surface.
Tip: Keep the bottle neck clean to prevent the cap from sticking shut over time. - 20Blot color for gradient
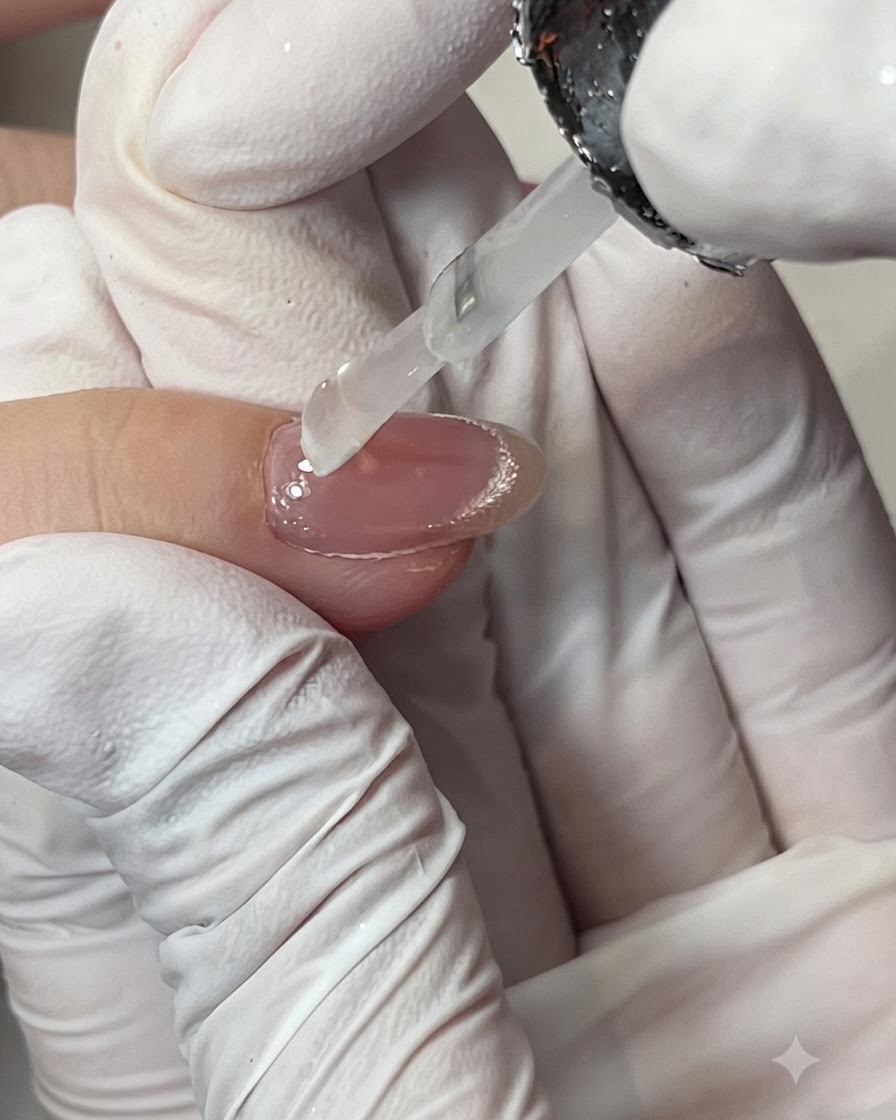
Apply the gel color onto a sponge tool to prepare for stamping or blotting a soft gradient effect onto the nail surface. Gently press the sponge onto the nail to build the color transition smoothly, ensuring the pigment disperses evenly without heavy patches.
Tip: Light, tapping motions prevent the sponge texture from looking too rough on the nail surface. - 21Apply a second translucent pinkish gel layer
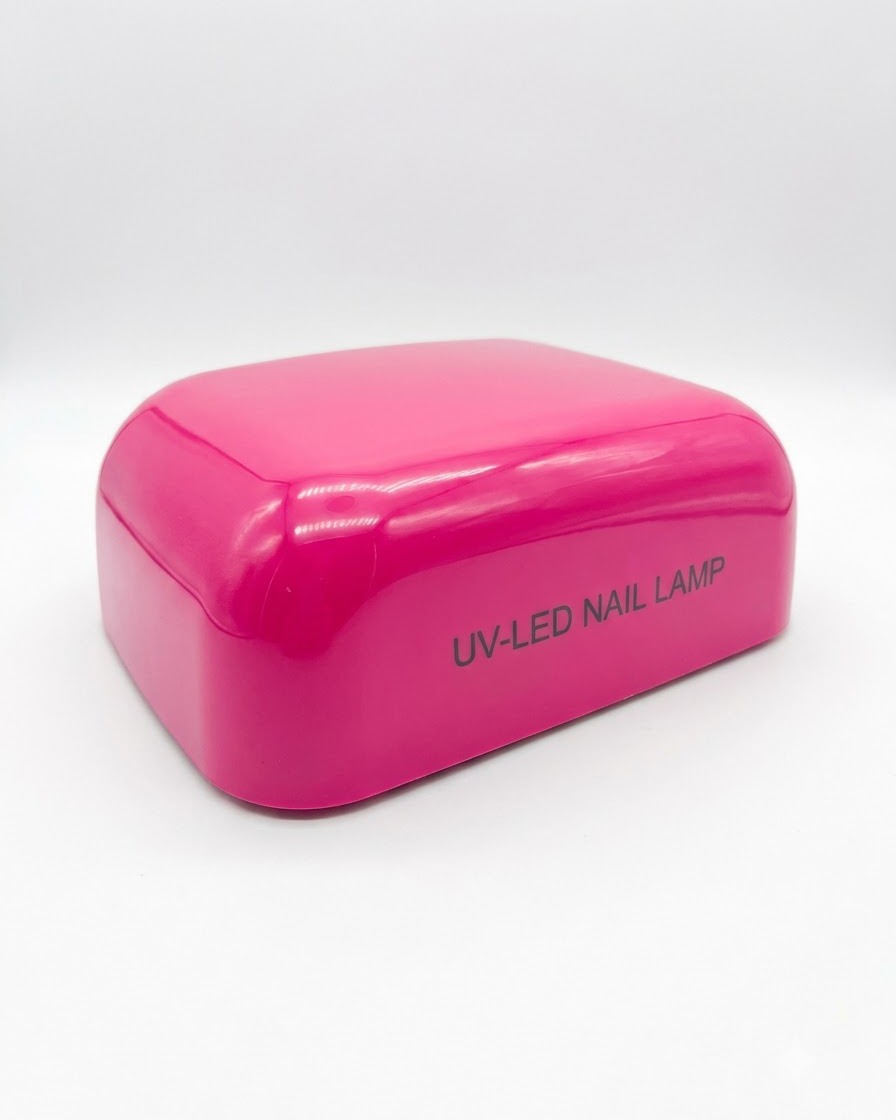
Apply another thin, translucent layer of pinkish gel over the existing gradient to deepen the color saturation and enhance the overall depth of the design. Cure this layer thoroughly under the UV-LED nail lamp to lock in the rich gradient finish.
Tip: Build color in multiple thin layers rather than one thick coat to maintain transparency and avoid curing issues.