Summer Ocean
3D Lily Floral Nail Art — Step-by-Step Tutorial
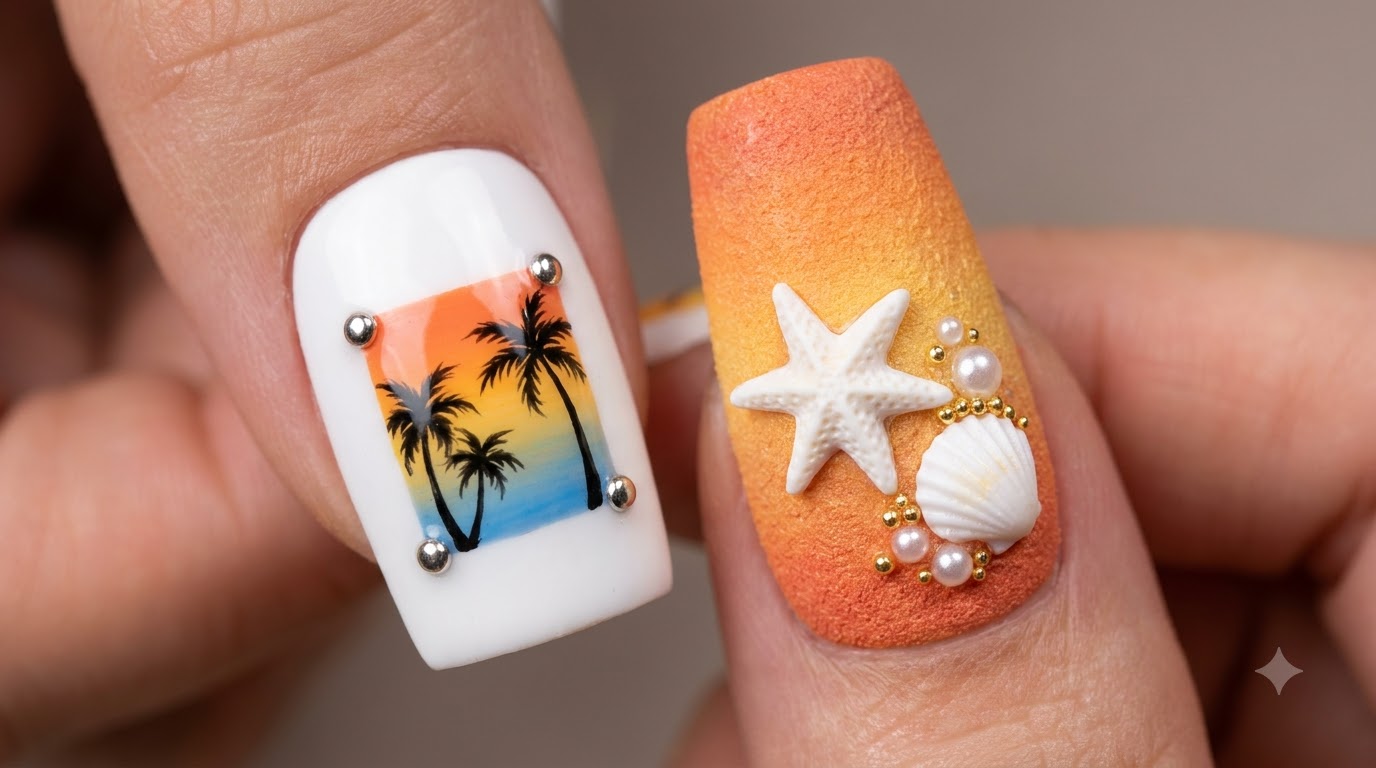
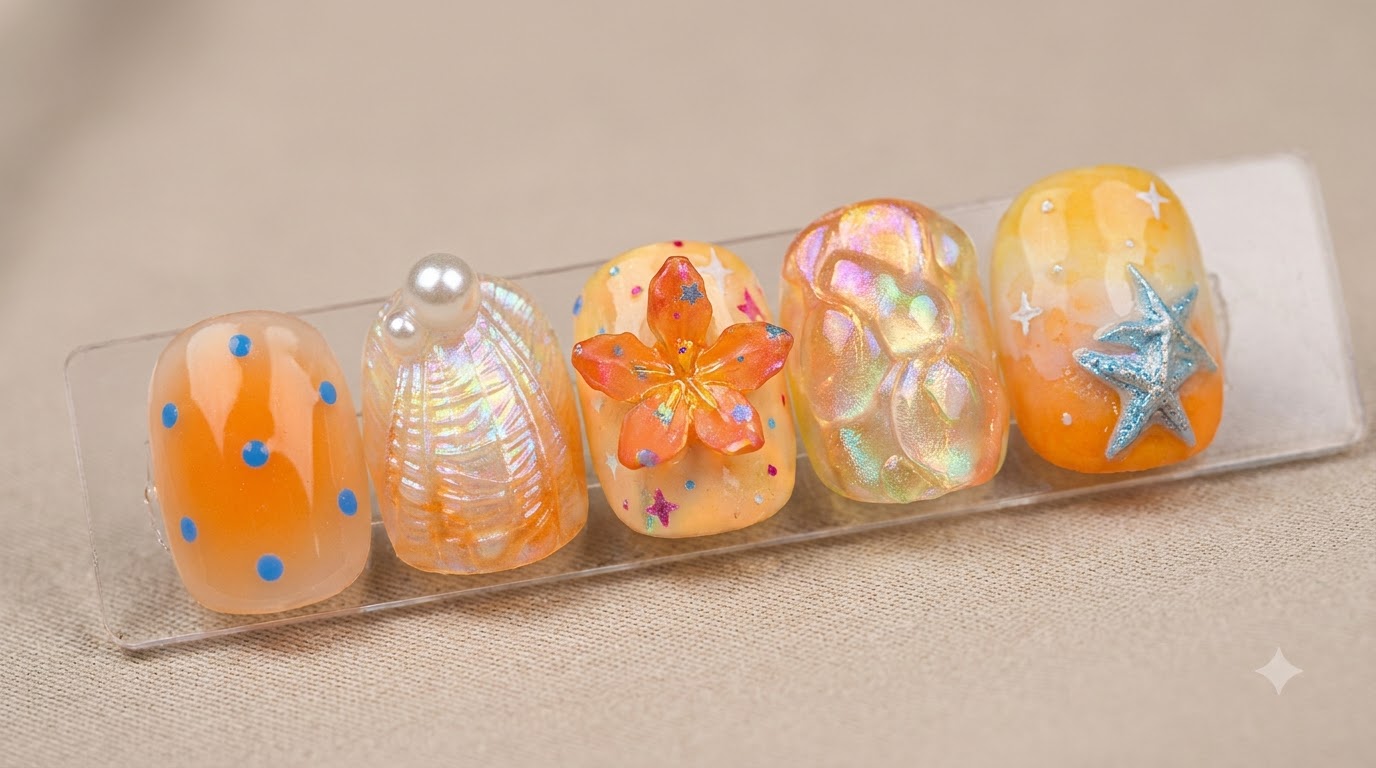
Capture the ultimate summer vibe with this vibrant ocean-inspired nail tutorial. Learn to create iridescent water textures and custom sculpted 3D florals.
Nothing screams summer vacation quite like bright tropical colors, shimmering water textures, and beautiful dimensional florals. This island-style nail design combines the mesmerizing effect of iridescent moonlight powder with sculpted soft candy gel to mimic rippling ocean waves. It also introduces a fun technique using silicone molds to craft custom 3D lily flowers, making it easier than ever to achieve professional-level nail art right at home.
Steps
- 1Apply base colors
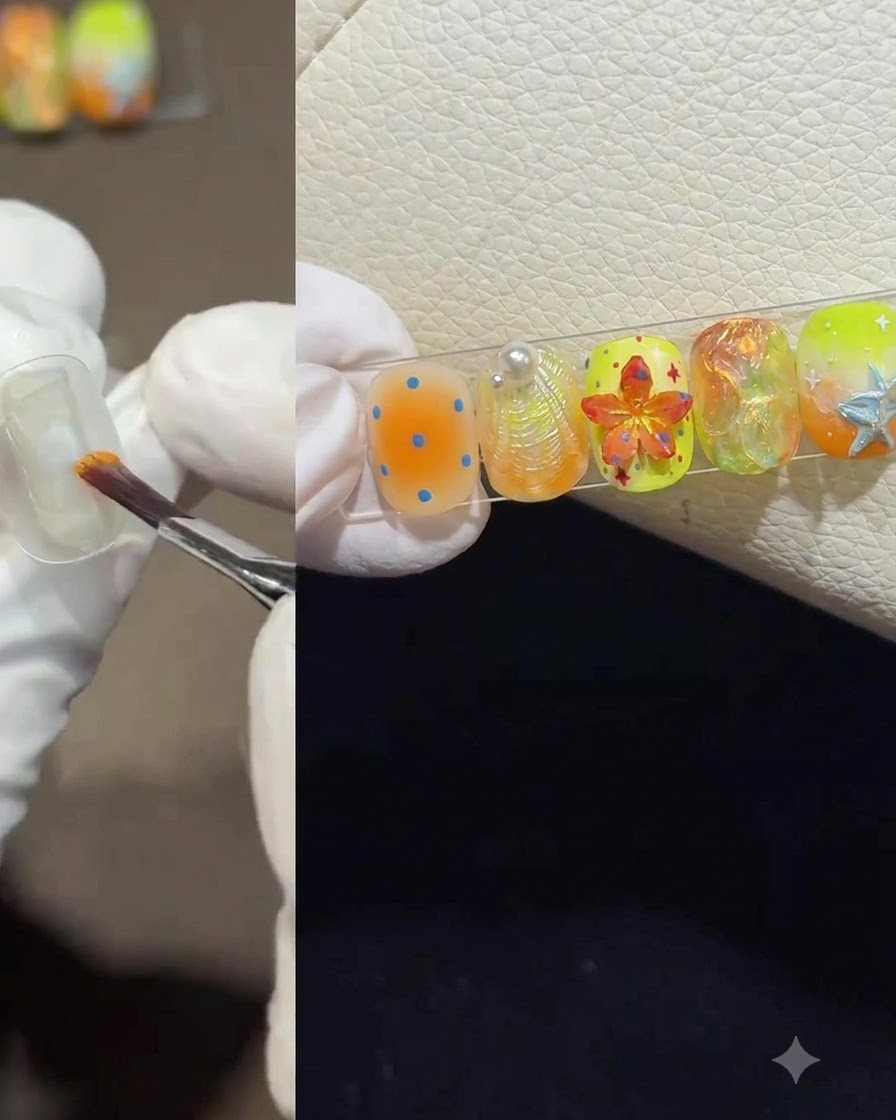
Begin by applying small amounts of orange and blue gel polish directly onto the nail surface. You dont need to be perfectly precise, as these colors will soon be blended together to create a seamless island-style gradient base.
Tip: Keep the amounts of gel balanced so one color doesnt completely overpower the other during the blending process. - 2Blend colors in an S-shape
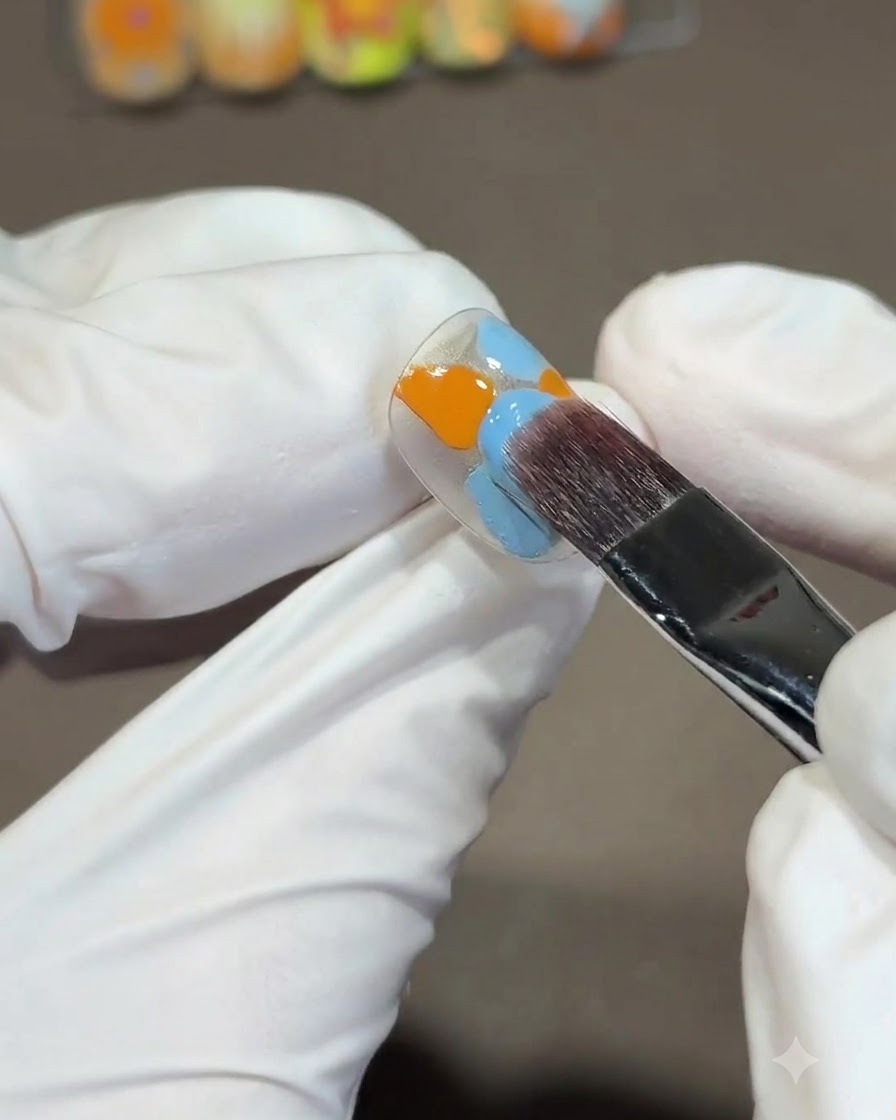
Using a large square brush, gently stroke downwards from the top of the nail to the bottom in a continuous S-shaped motion. This technique beautifully blends the orange and blue gels, creating a natural, fluid transition between the two shades.
Tip: Clean your brush periodically if the colors start getting too muddy while blending. - 3Apply a structural top coat
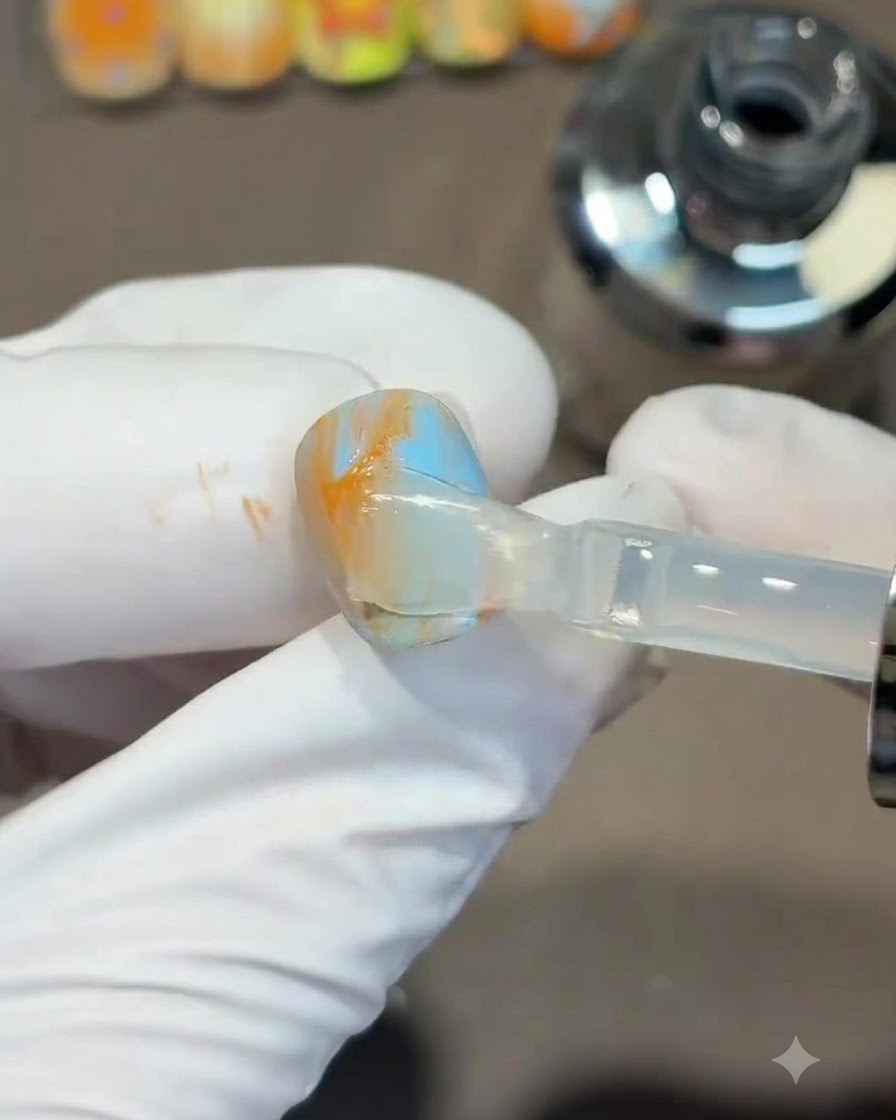
Once your blended base colors are cured, apply a layer of top coat over the entire nail. The fluidity of this top coat is particularly suited for building structure, helping to self-level the surface and create a perfectly flat base for the upcoming powder.
Tip: Ensure this layer is perfectly even and smooth, as any bumps will show up prominently once the chrome powder is applied. - 4Burnish orange moonlight powder
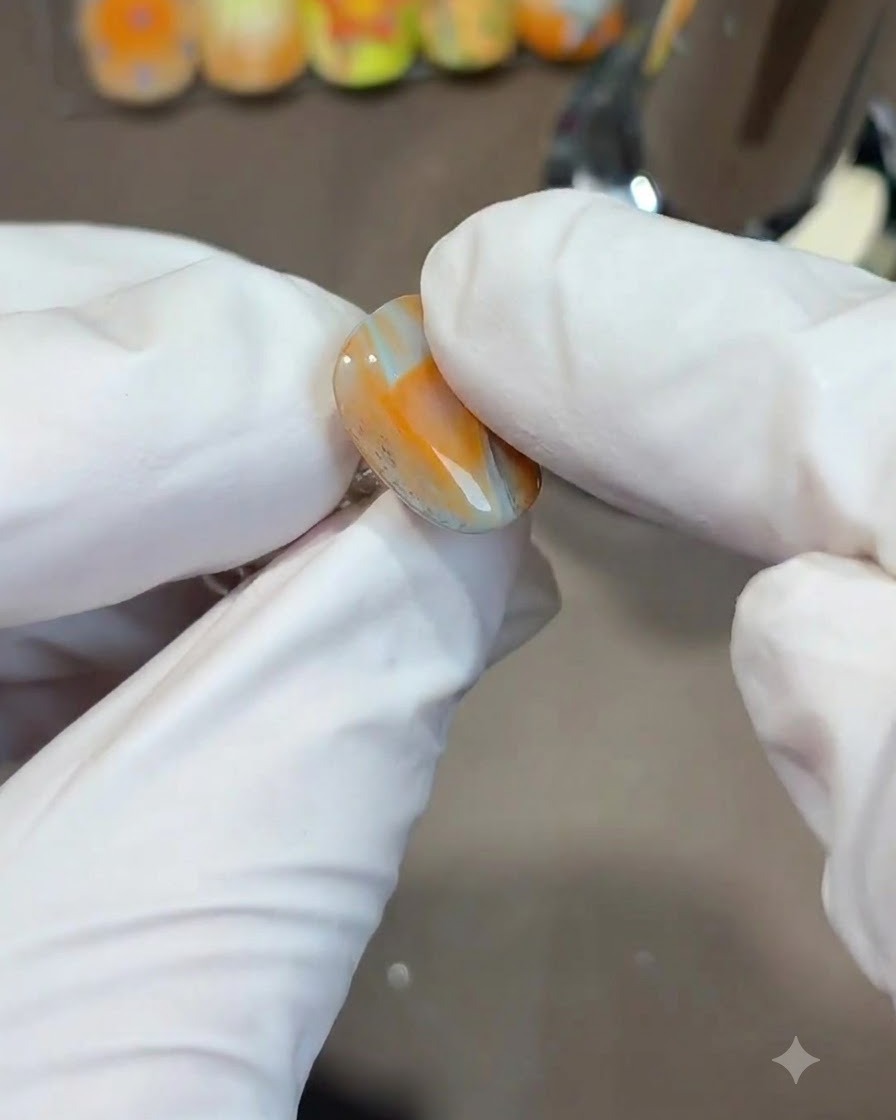
Rub orange moonlight powder thoroughly over the cured nail surface. Burnish it in evenly until the nail looks entirely flat and smooth, giving off a striking, iridescent pearlescent gleam that perfectly captures a summer vibe.
Tip: Use a silicone tool or an eyeshadow sponge to firmly rub the powder into the surface for maximum shine. - 5Add clear soft candy gel
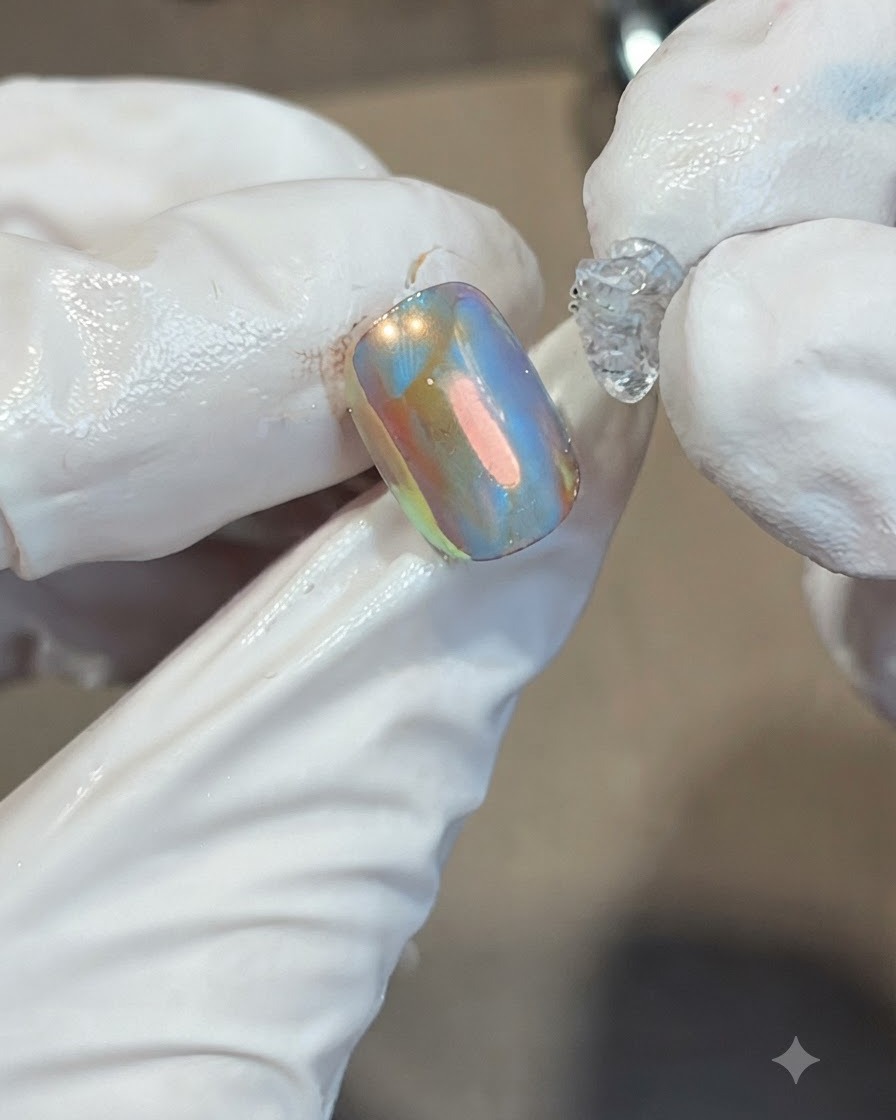
Take a portion of clear soft candy gel and place it directly onto the top of your iridescent nail surface. Gently press it down so that it spreads evenly across the area where you plan to build your 3D texture.
Tip: You can use a little bit of slip solution or nail cleanser on your tool or fingers to prevent the sticky gel from lifting while pressing it down. - 6Create abstract wave textures
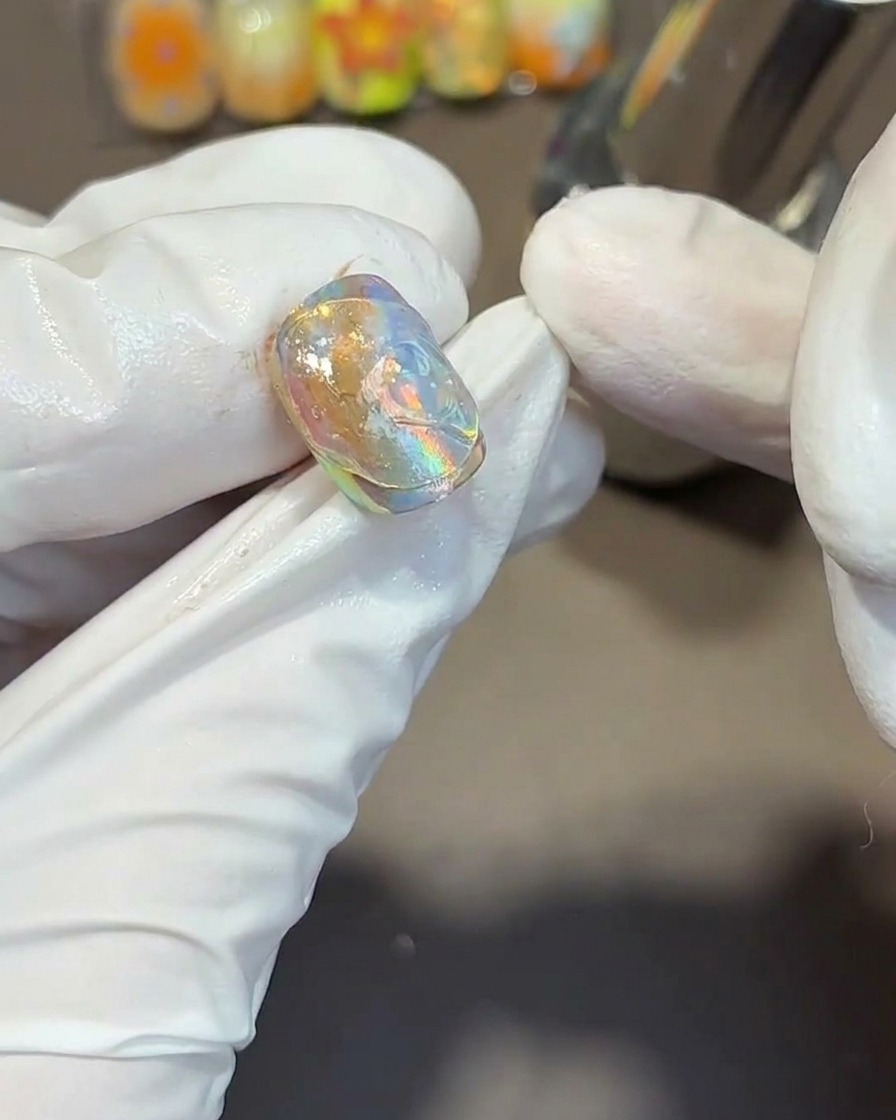
Using the other end of your nail pen or a metal dotting tool, press into the clear soft candy gel to carve out abstract wave-like textures. Adjust the indentations until you achieve your desired shape, then immediately cure it under a UV or LED lamp to lock the design in place.
Tip: Work quickly and cure immediately once you are happy with the texture to prevent the gel from self-leveling and losing its definition. - 7Apply a sealing top coat
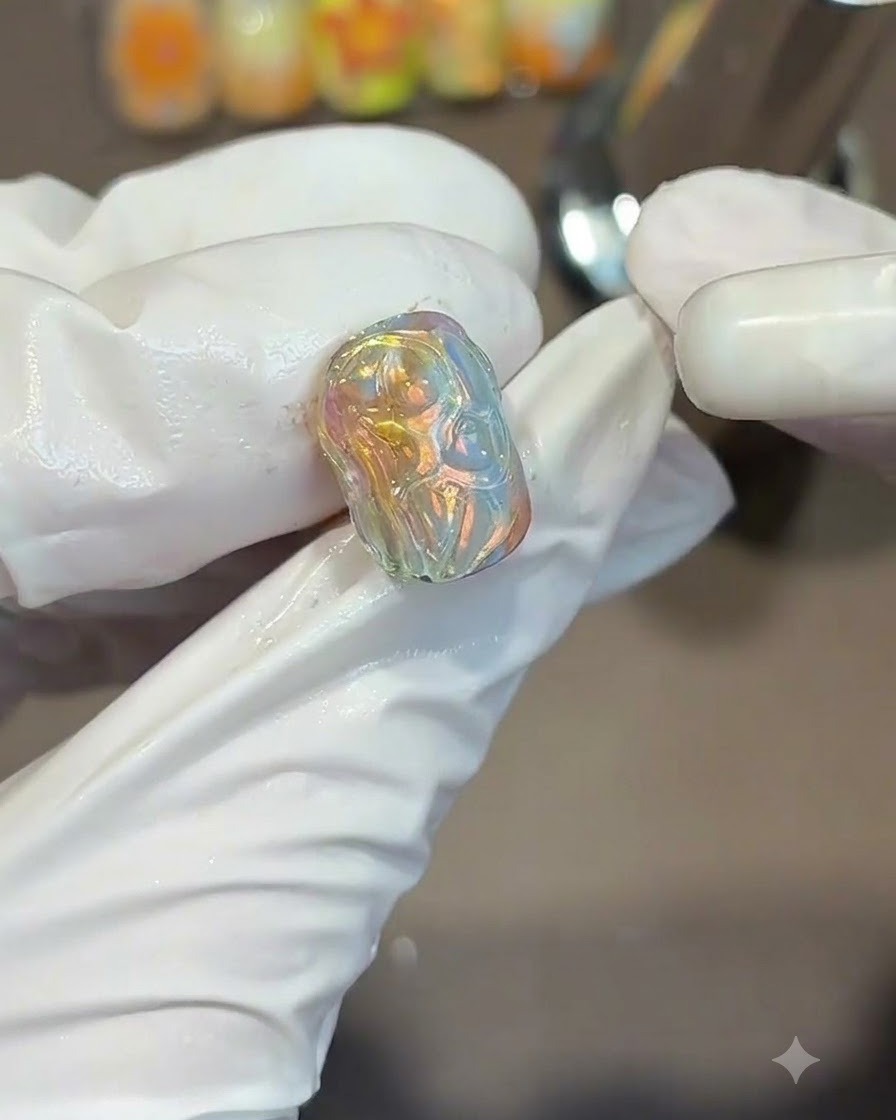
Apply a final sealing top coat over the textured nail art to protect the design and give it a polished, glossy finish. Ensure the coat covers all edges smoothly, then cure under a UV or LED lamp.
Tip: Make sure to cap the free edge with top coat to prevent chipping and premature lifting. - 8Apply yellow base color
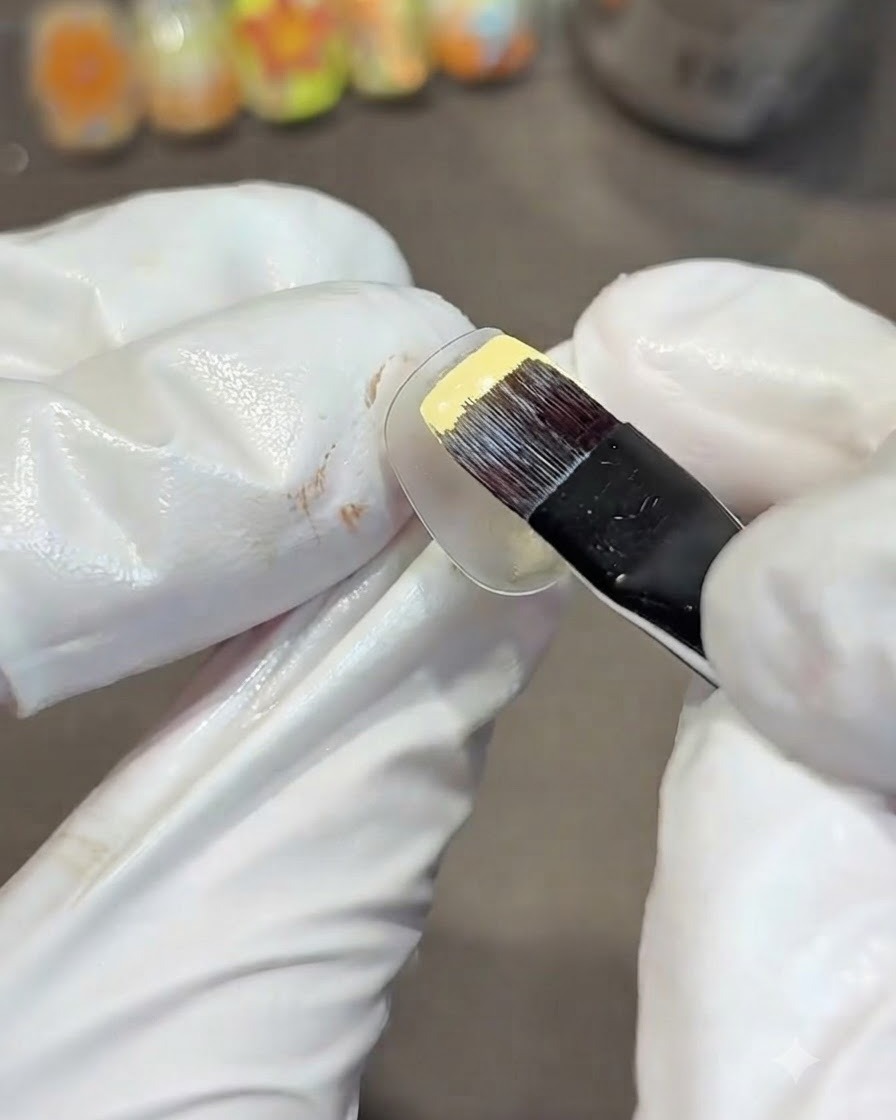
Use a gel brush to apply a solid, even layer of yellow base color across the entire surface of the next practice nail. Ensure full coverage and a smooth finish, then cure under your UV/LED lamp.
Tip: Apply the color in thin layers to ensure proper curing and prevent the gel from wrinkling. - 9Apply green gel to the corner
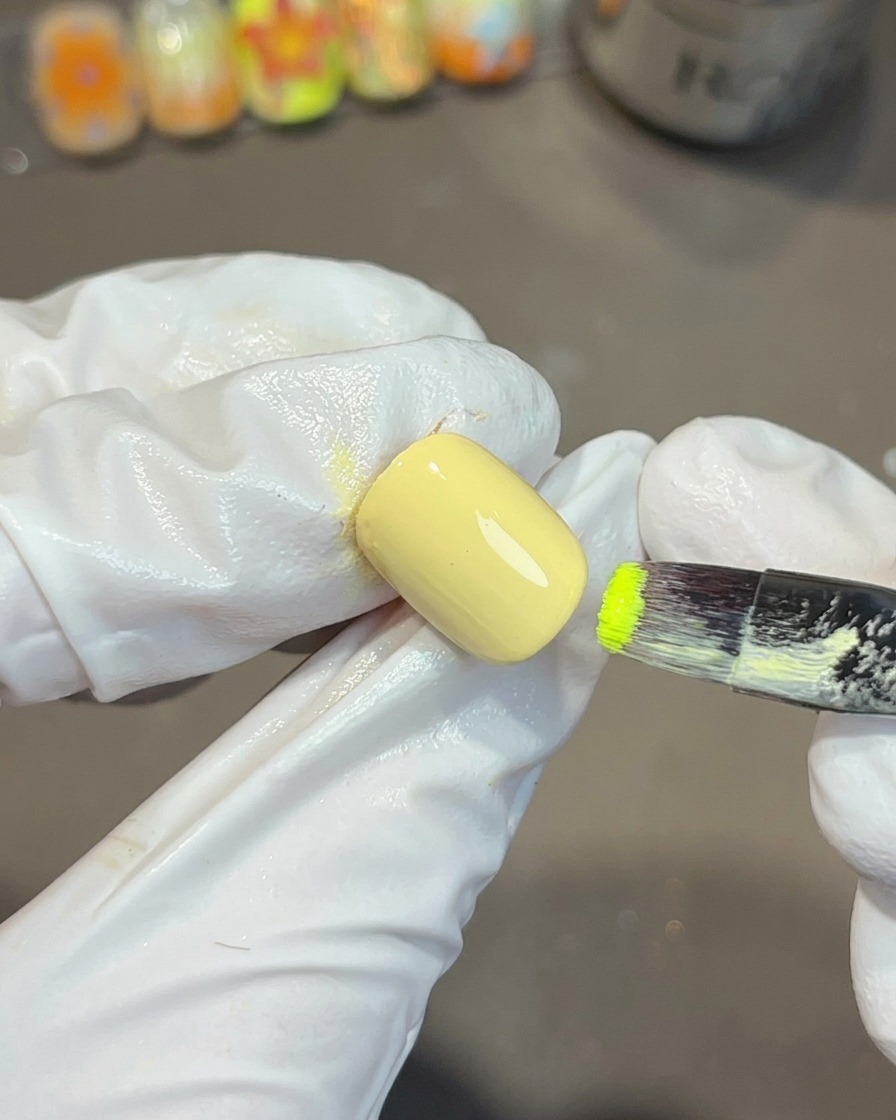
Pick up a small amount of green tapping gel and place it onto the corner of the yellow nail. Positioning the color correctly sets the foundation for your gradient blend in the following step.
Tip: Tapping gel has a thicker consistency, making it perfect for creating controlled gradients without running. - 10Blend with a sponge
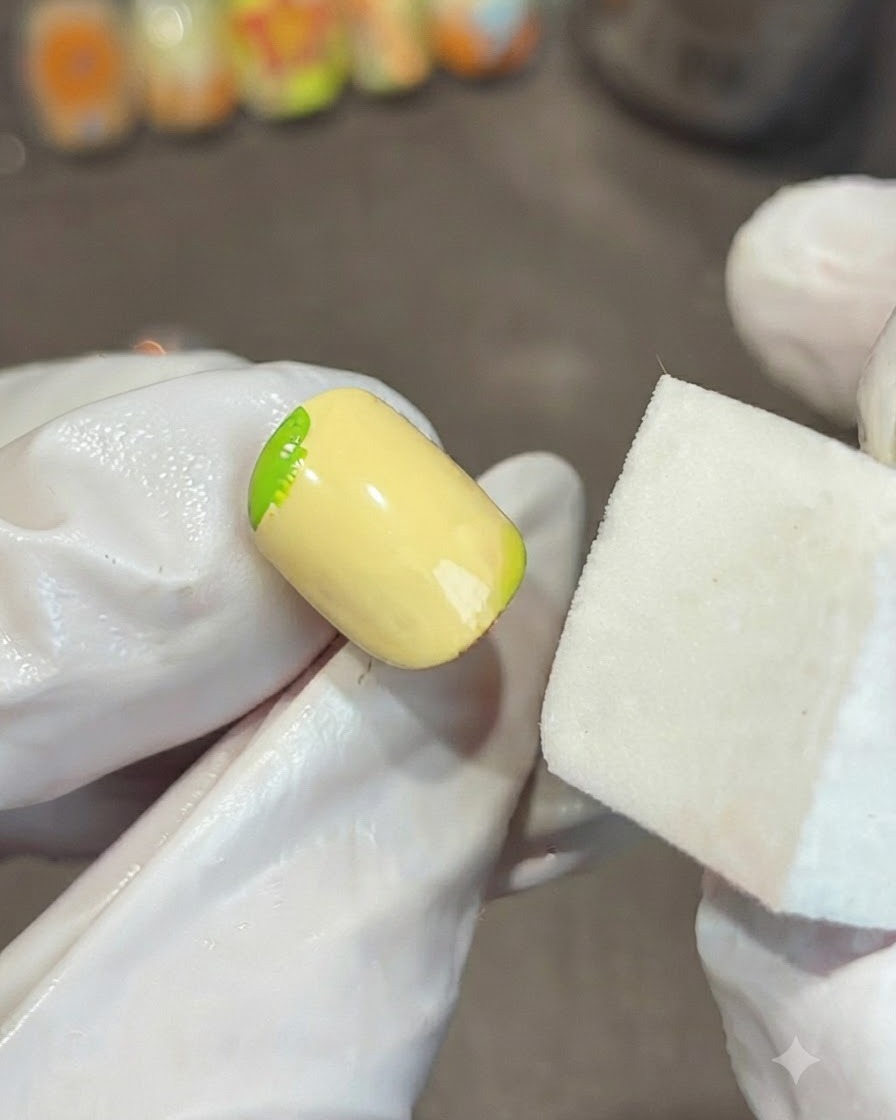
Gently dab the edges of the green gel with a makeup sponge to diffuse the color into the yellow base. Continue tapping softly until you achieve a smooth, natural gradient effect, then cure the nail.
Tip: Use a light hand when sponging to avoid lifting the base color or creating harsh lines. - 11Dispense the clear mold gel
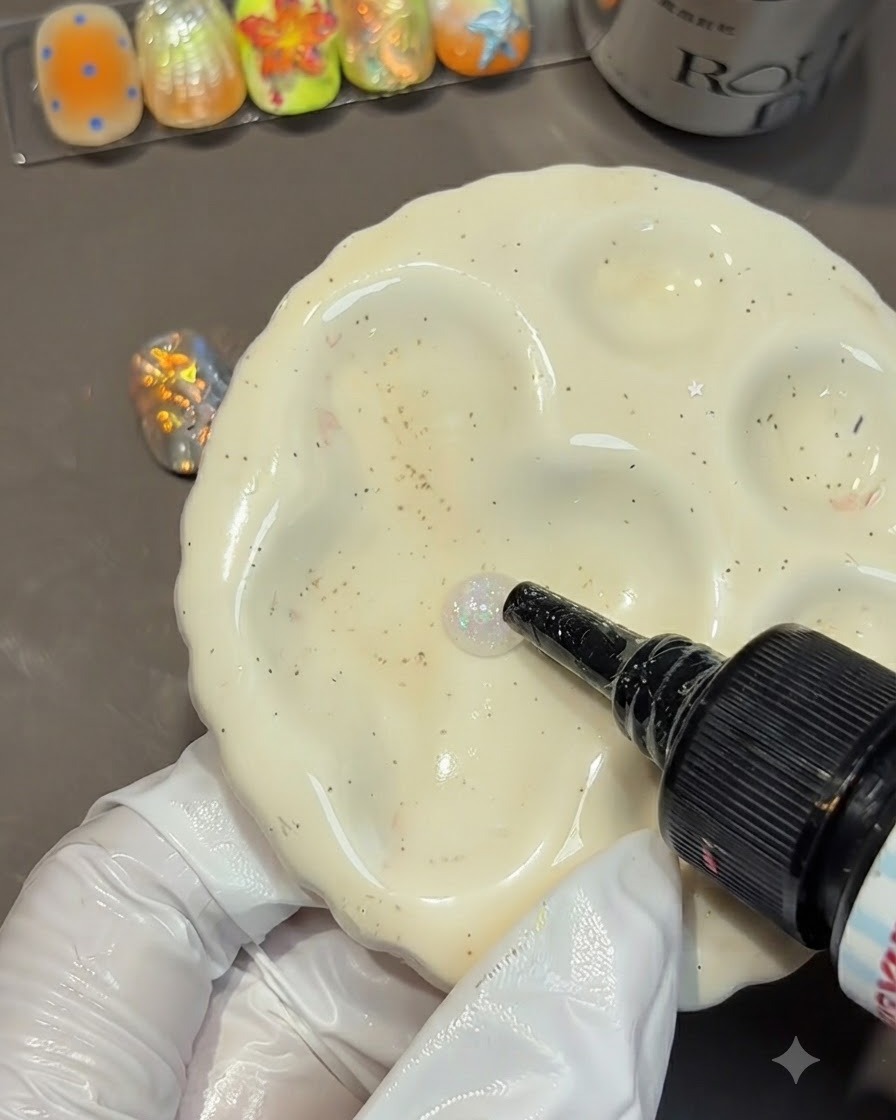
Squeeze a small amount of clear mold gel onto a clean palette. You will mix this with an orange color gel to create the perfect tinted shade for your 3D flower pieces.
Tip: Keep your palette away from direct sunlight or your curing lamp to prevent the gel from setting prematurely. - 12Fill the silicone lily mold
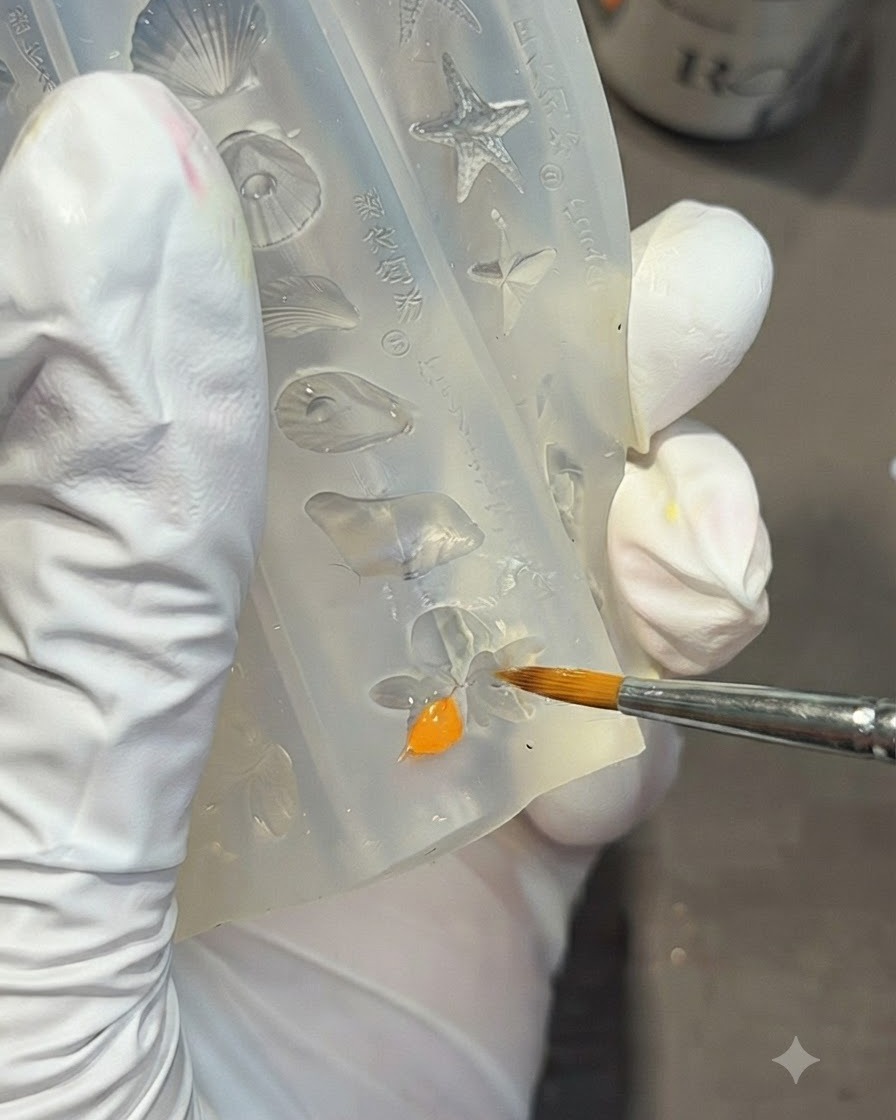
Using a small liner brush or a 3D sculpting tool, carefully press the mixed orange mold gel into the lily flower cavity of your silicone mold. Ensure the gel is pushed into all the edges of the design for a crisp final shape.
Tip: Avoid overfilling the mold cavity; keeping the back flat will make it much easier to adhere the flower to the nail surface later. - 13Remove the cured 3D orange lily piece
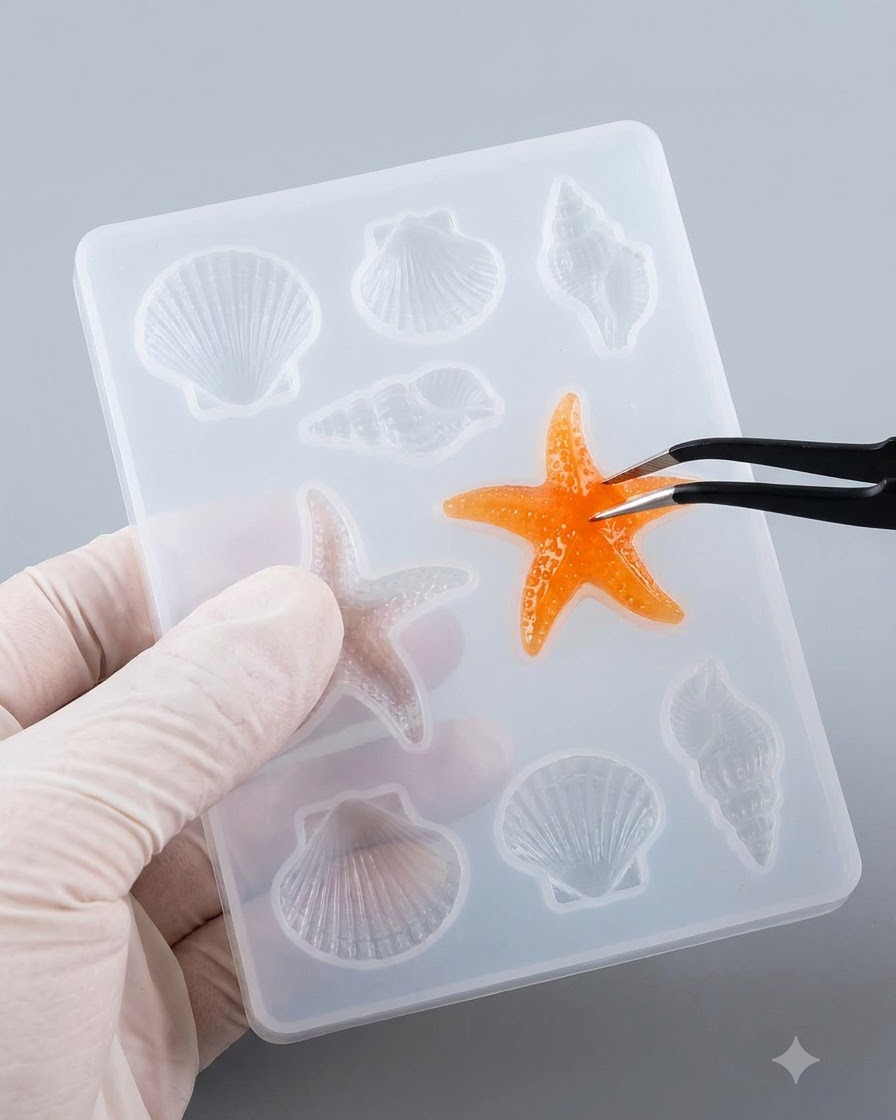
After curing the mold under a UV lamp, carefully use tweezers to remove the cured orange lily 3D piece from the silicone mold. Handle it gently to keep the shape intact.
Tip: Pry the flexible silicone mold gently around the edges to release the piece without tearing it. - 14Adhere the 3D orange lily piece
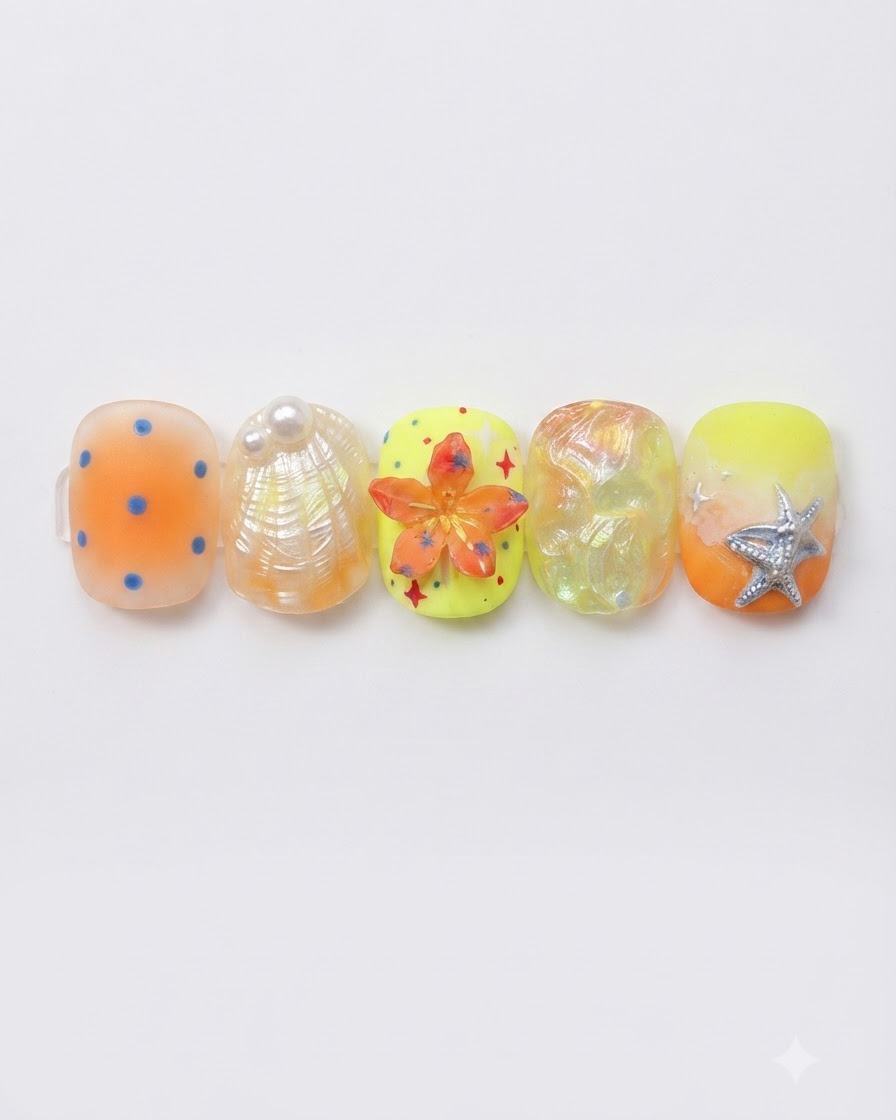
Apply a small amount of clear gel adhesive to the center of the yellow gradient nail surface. Place the 3D orange lily piece onto the adhesive and press it down gently before curing under the lamp.
Tip: Check the alignment from multiple angles before curing to ensure the piece sits evenly in the center. - 15Dab red tapping gel on petal tips
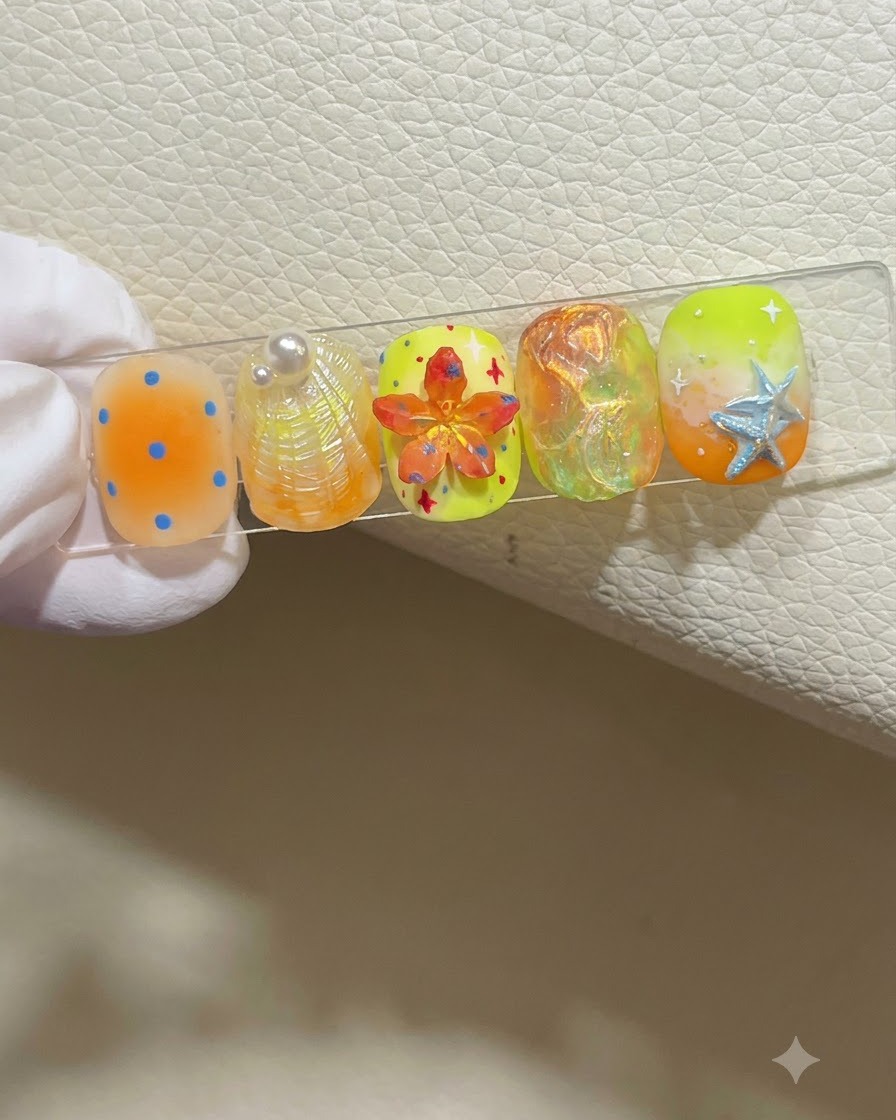
Take a fine brush or detailing tool with red tapping gel and gently dab it onto the tips of the 3D lily petals. This adds depth, contrast, and a realistic multi-tonal look to the flower.
Tip: Use a light tapping motion rather than a heavy brush stroke to maintain texture and dimension. - 16Apply yellow gel to the flower center
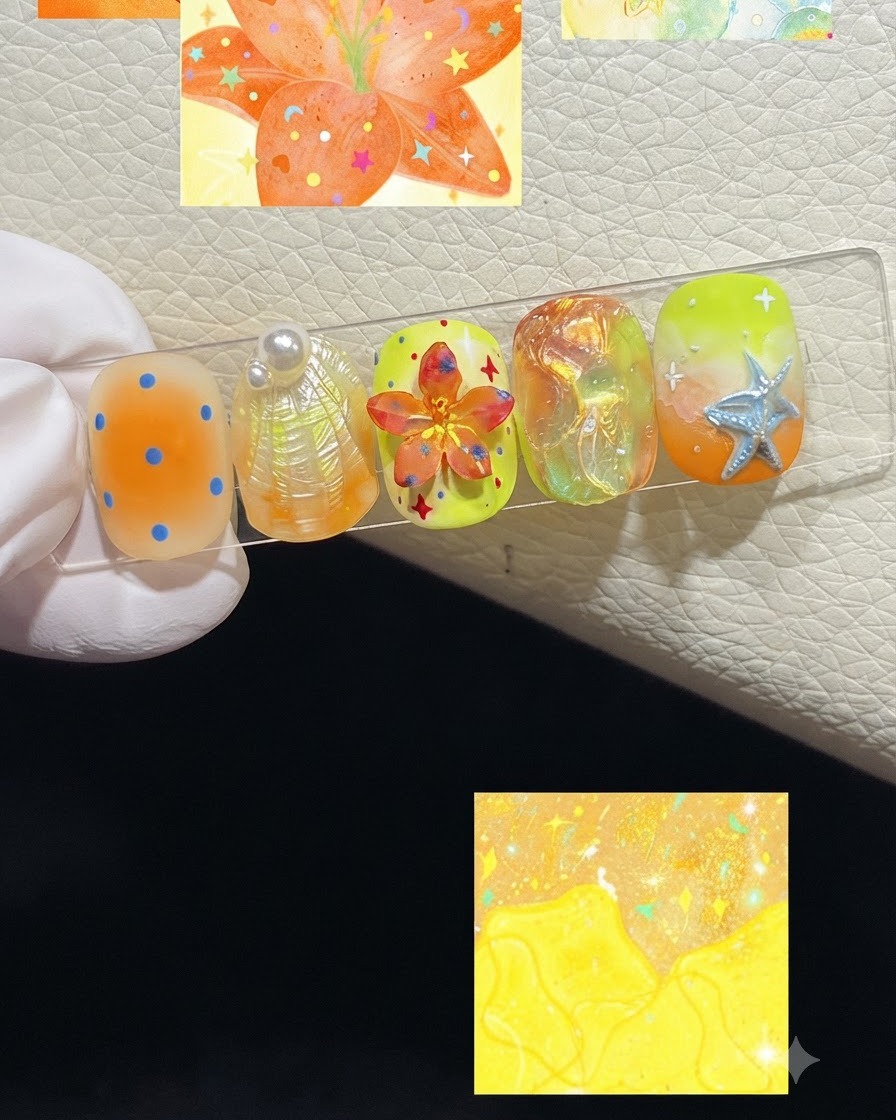
Using a fine detailing tool, dab a small amount of yellow gel right into the center position of the lily flower to highlight the core and create realistic floral detailing.
Tip: Keep the yellow dab compact in the exact center so it contrasts sharply with the surrounding orange tones. - 17Paint small star shapes with blue gel
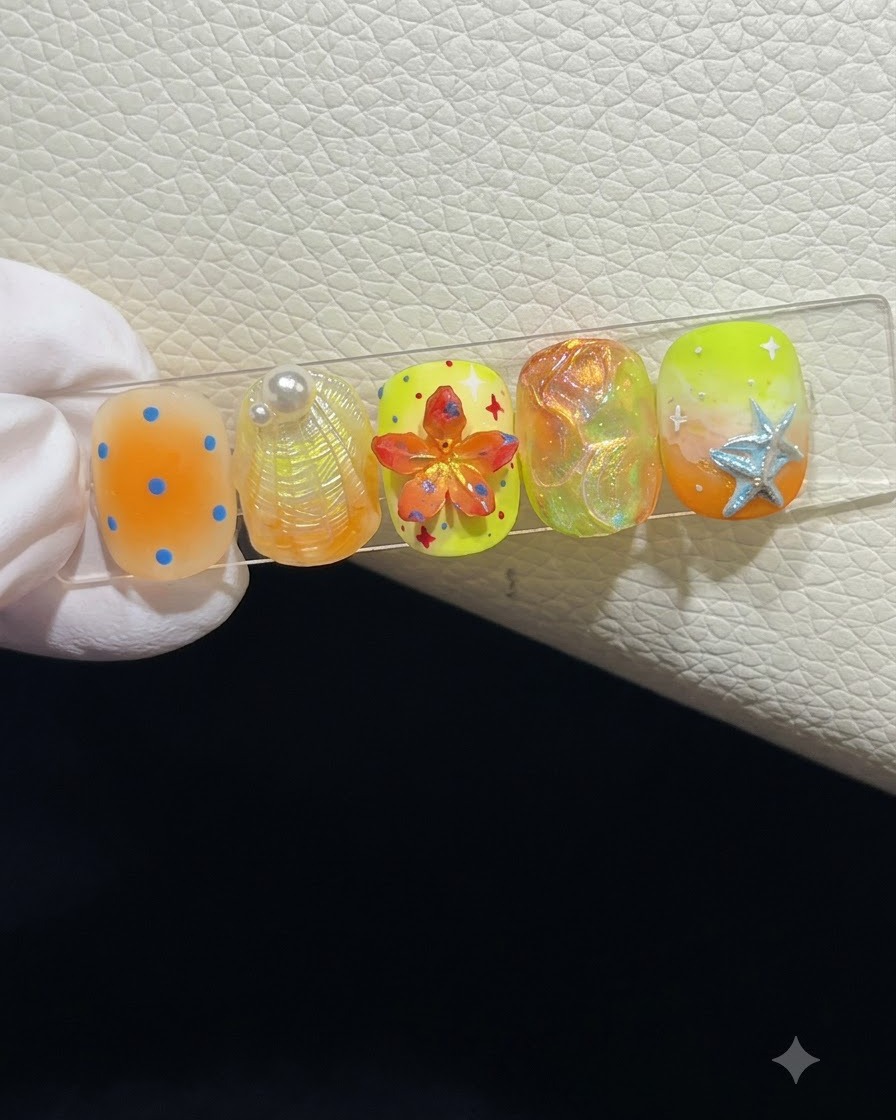
Dip a fine liner brush into blue gel and carefully paint small star shapes and delicate accents across the yellow gradient nail surface surrounding the floral centerpiece.
Tip: Draw the center point first and pull out fine lines outward to form crisp, clean star points. - 18Paint the flower stamen details
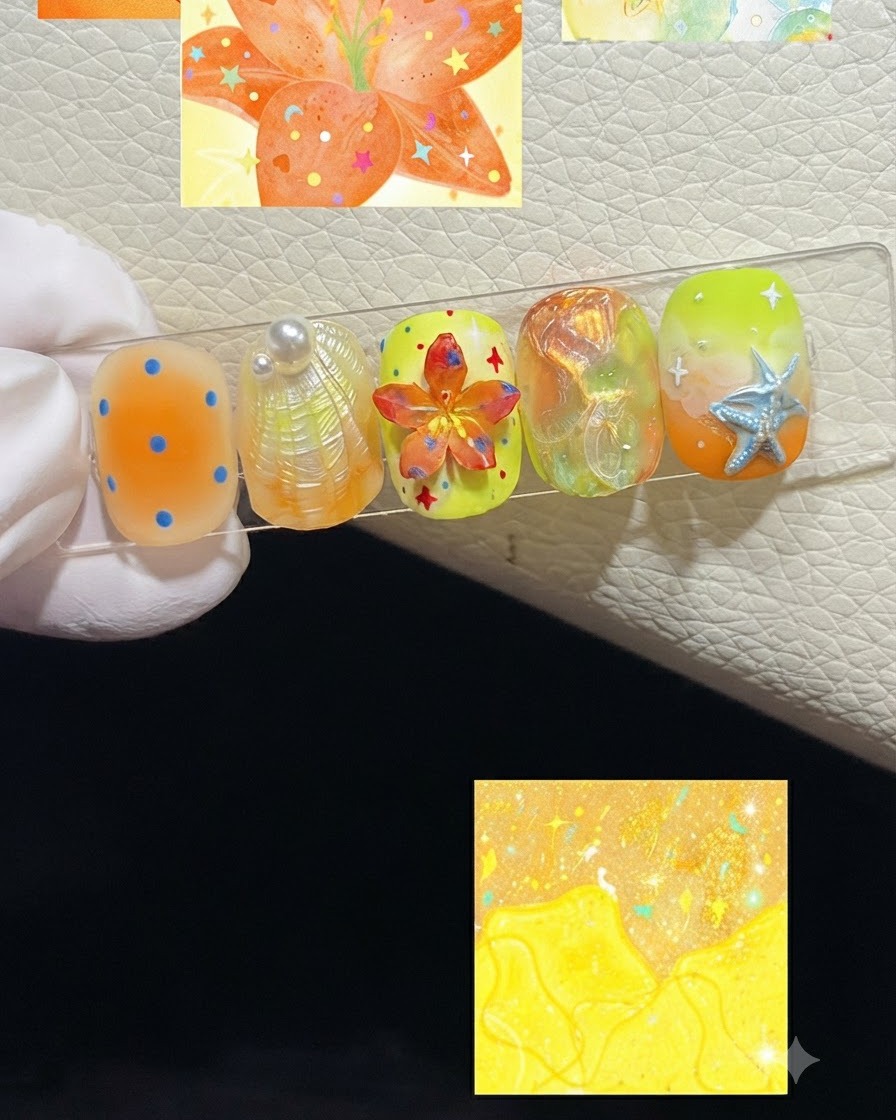
Using a fine liner brush, carefully paint yellow stamen details in the center of the flower to give it depth and a realistic, dimensional appearance.
Tip: Keep your hand steady and use only the very tip of the liner brush to ensure the stamen lines remain crisp and delicate.