Peach Matte Cat-Eye Star Press-On Nails — Step-by-Step Tutorial
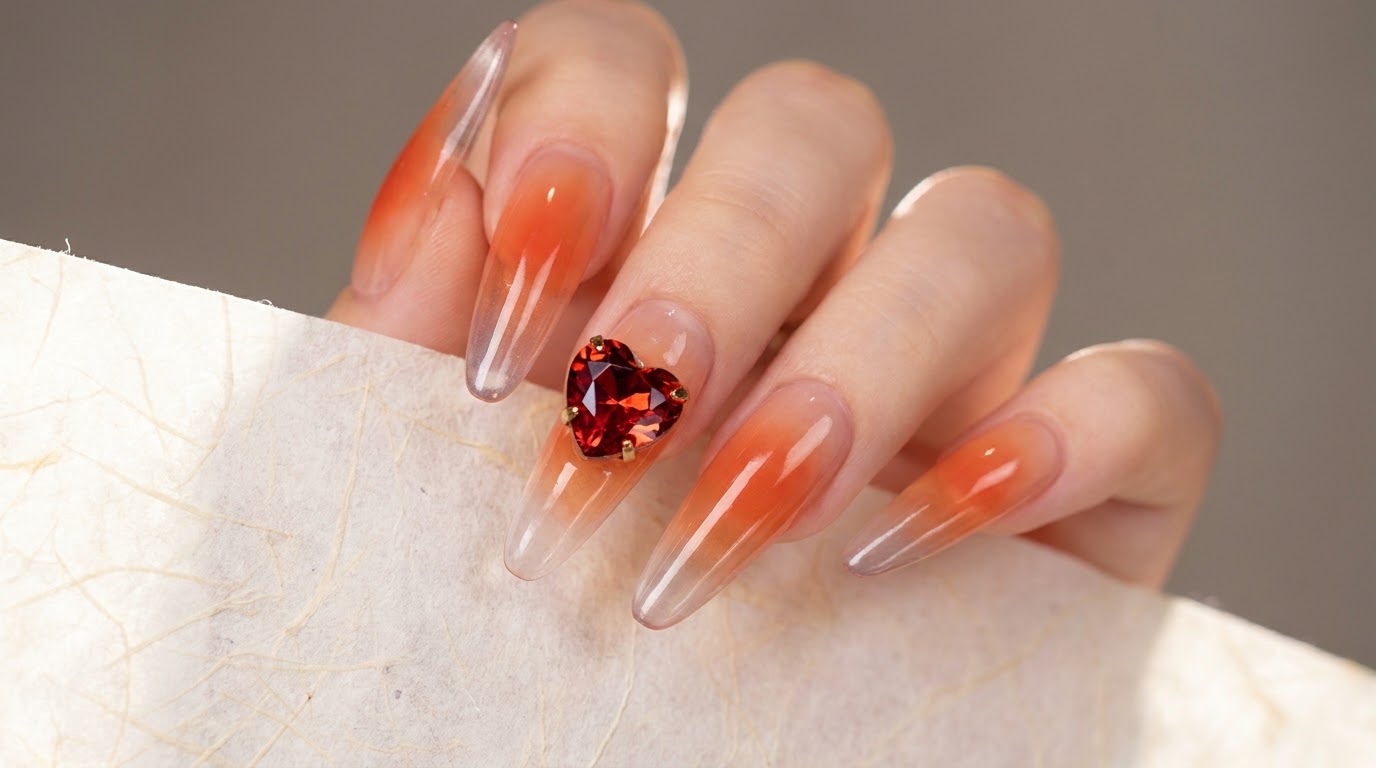
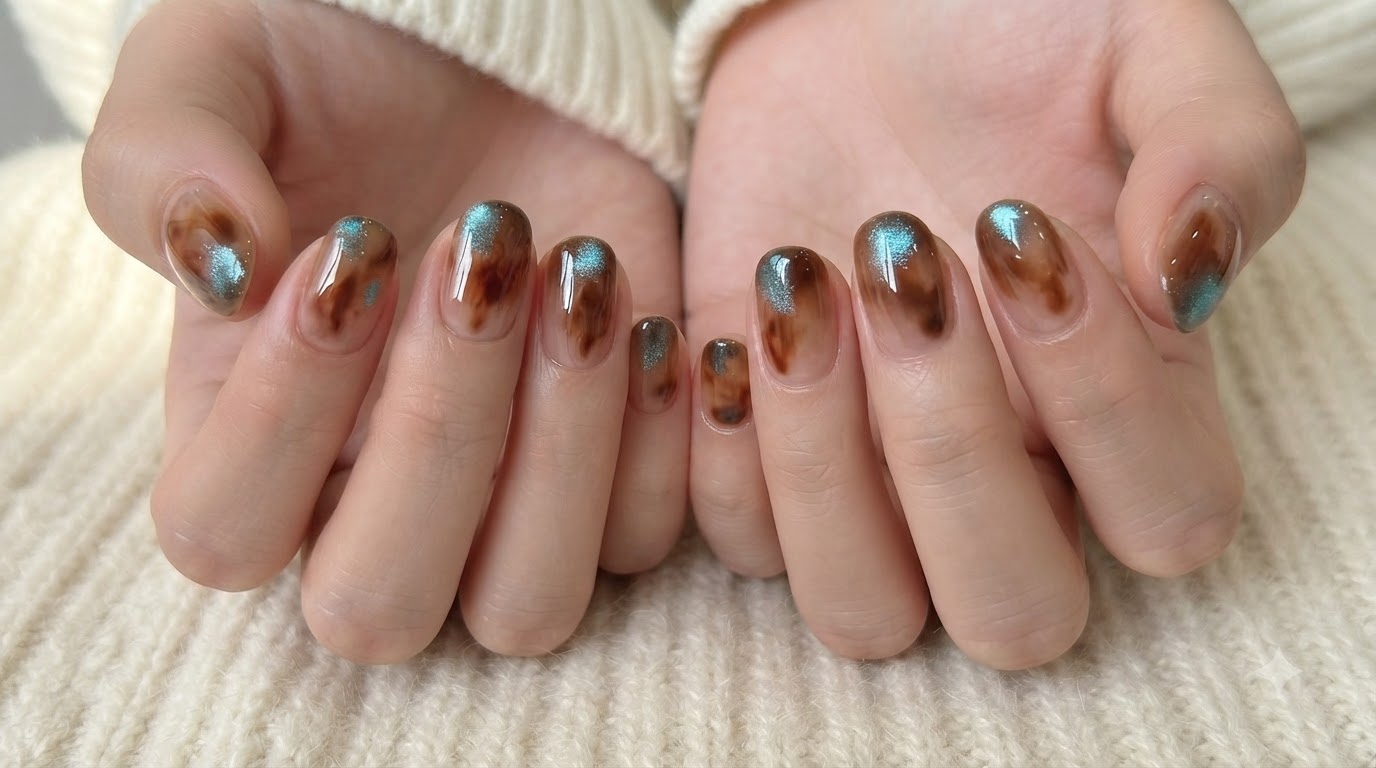
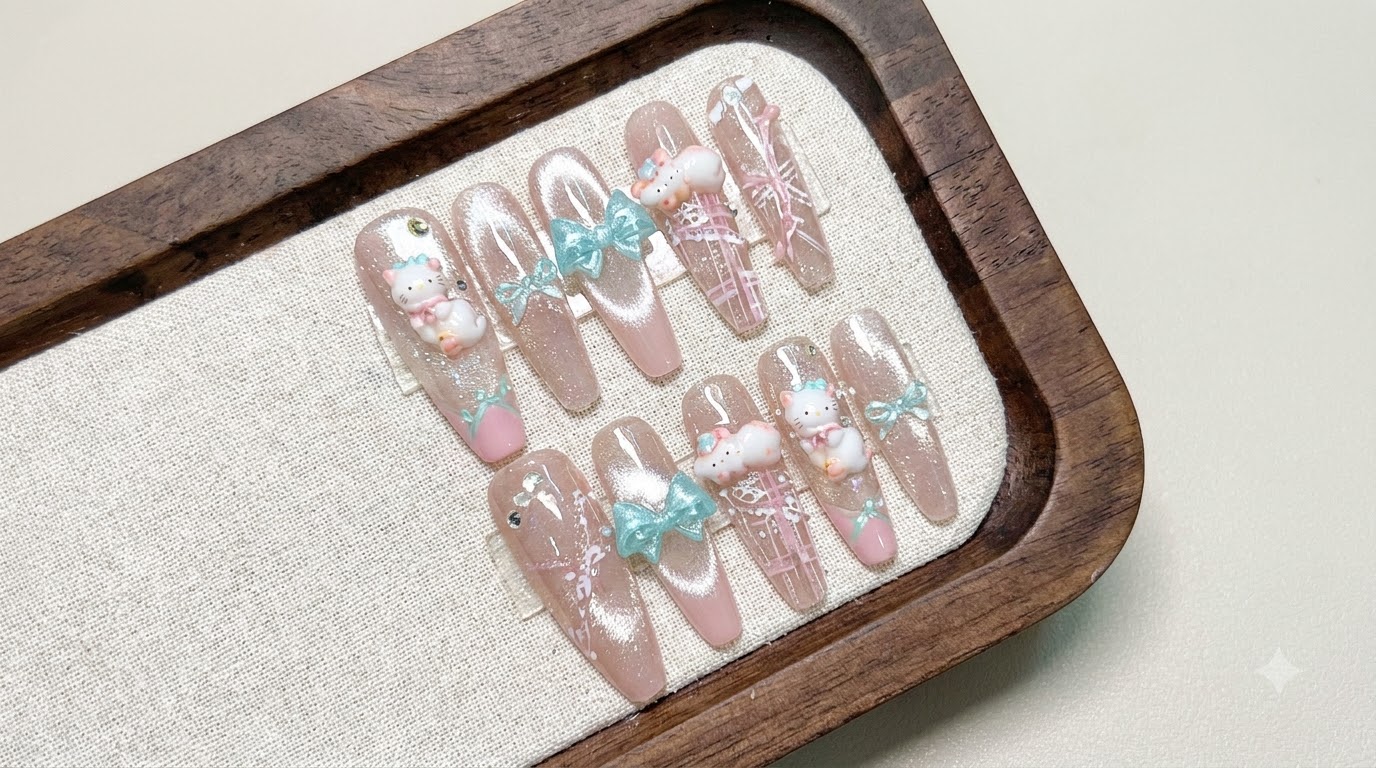
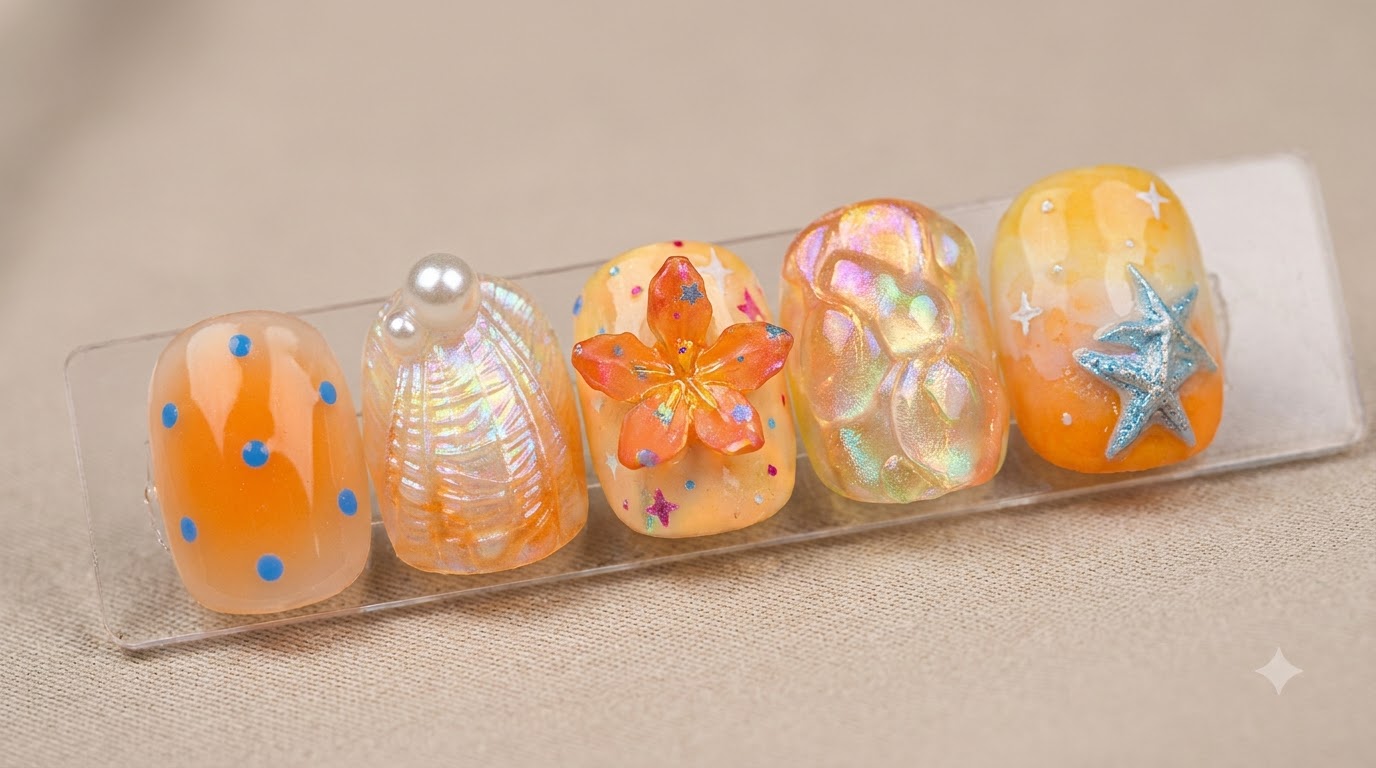
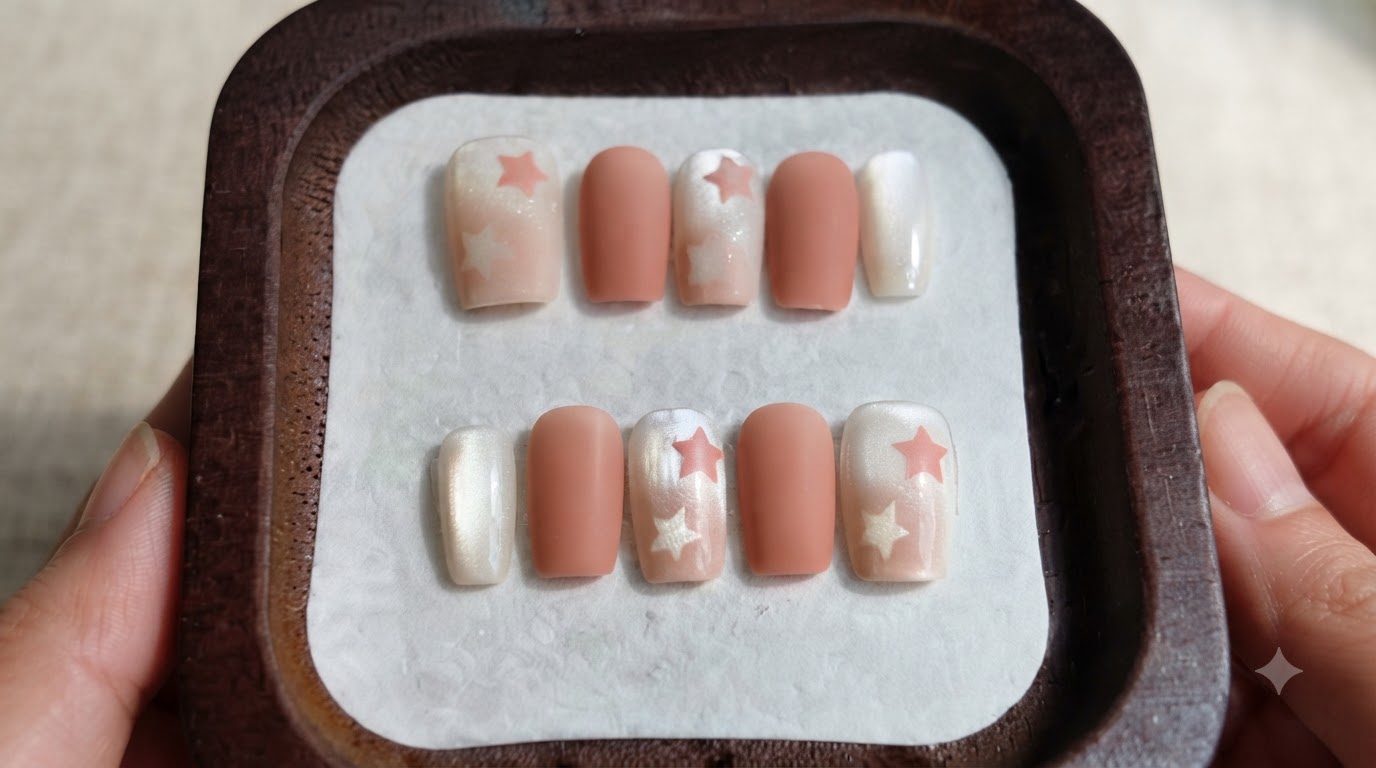
Learn how to craft stunning peach matte press-on nails at home. This tutorial combines a milky white cat-eye gradient with crisp hollow star designs for a beautifully textured finish.
Creating custom press-on nails allows for endless creativity and salon-quality results from the comfort of your home. This beautiful peach and white design masterfully mixes textures, pairing a glowing glass-bead cat-eye effect with a smooth, velvety matte finish. The crisp hollow star accents add a playful yet refined touch that elevates the entire look.
Steps
- 1Apply glossy base coat
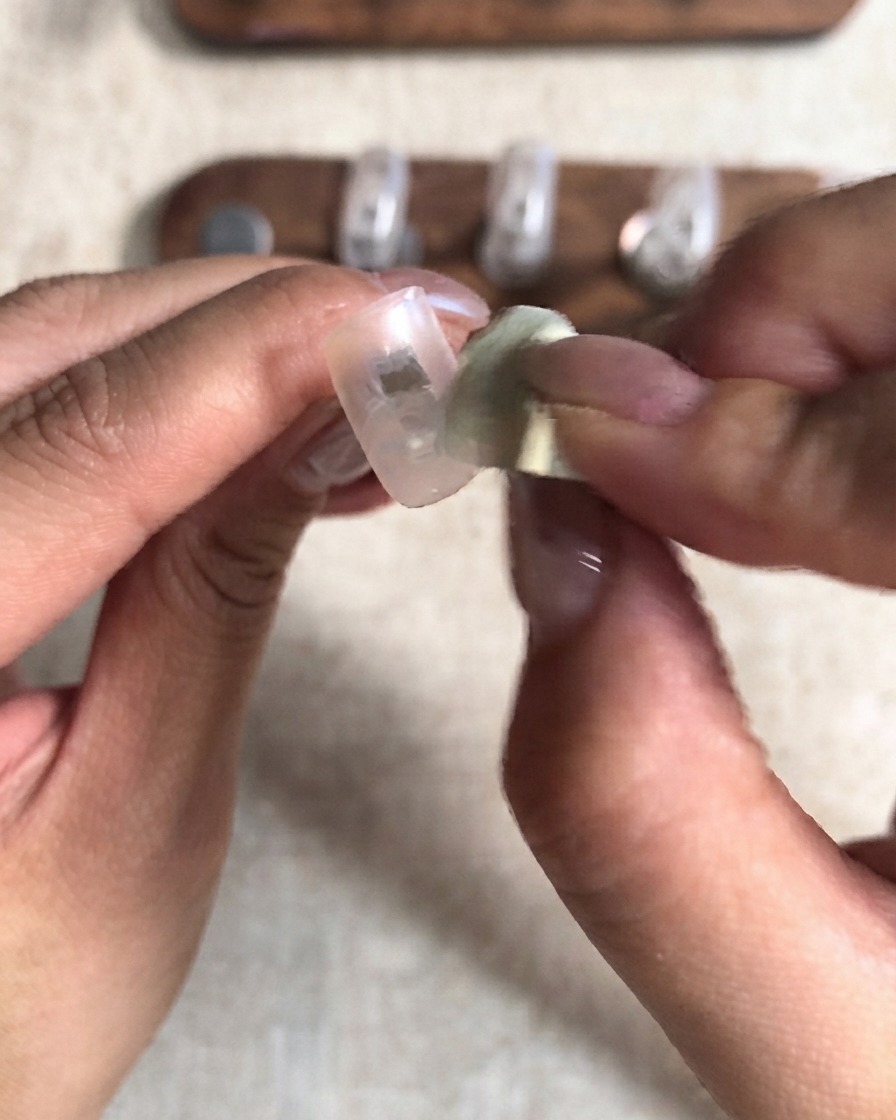
Apply a thin layer of glossy base coat specifically to the middle and little fingers to prepare the nail surface for the cat-eye gel application. Ensure the coat is even and smooth across the free edge before moving on to the next step.
Tip: Cap the free edge carefully with the base coat to prevent chipping and lifting later. - 2Magnetize the thumb cat-eye gel
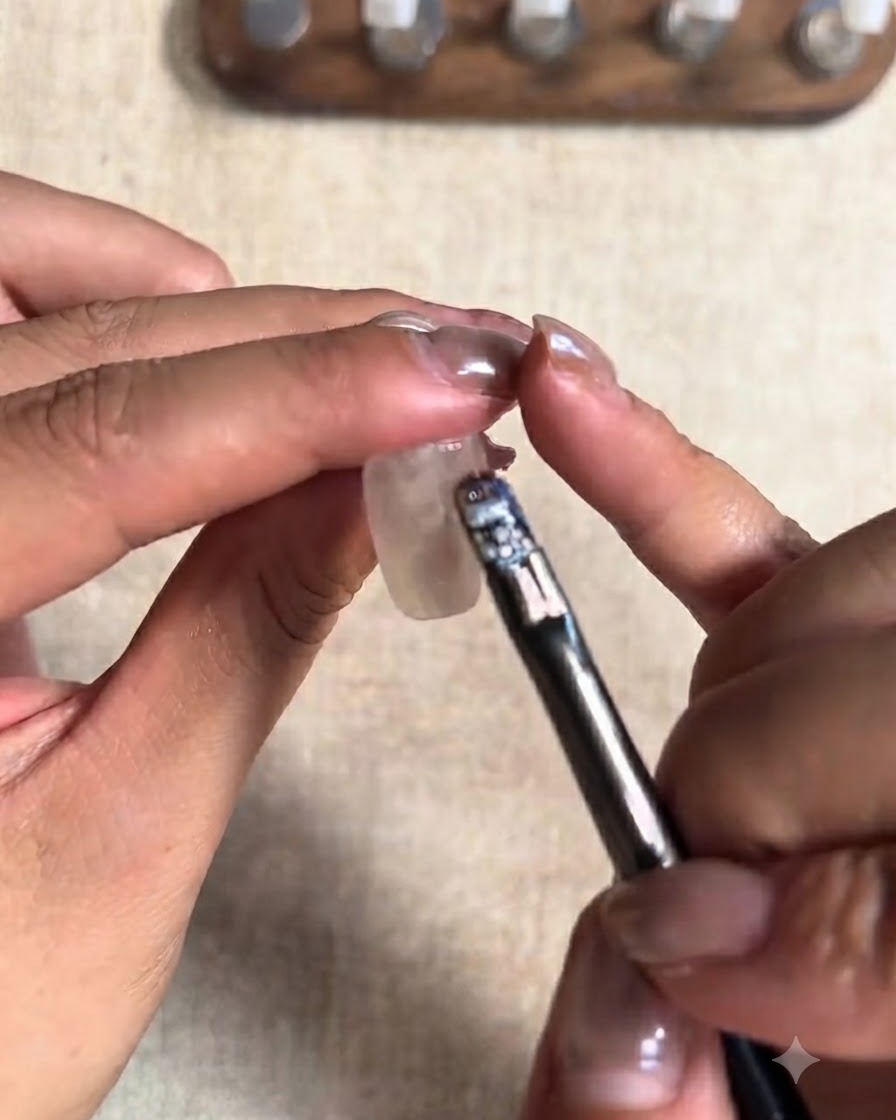
Hold a cylindrical magnet close to the sides of the wet cat-eye gel on the thumb nail to draw out the magnetic particles, creating side and wide light reflections for a glass bead effect. Immediately check the alignment of the light before curing.
Tip: Keep the magnet steady and close without touching the wet polish surface to achieve a sharp, defined cat-eye stripe. - 3Form the glass bead cat-eye and cure
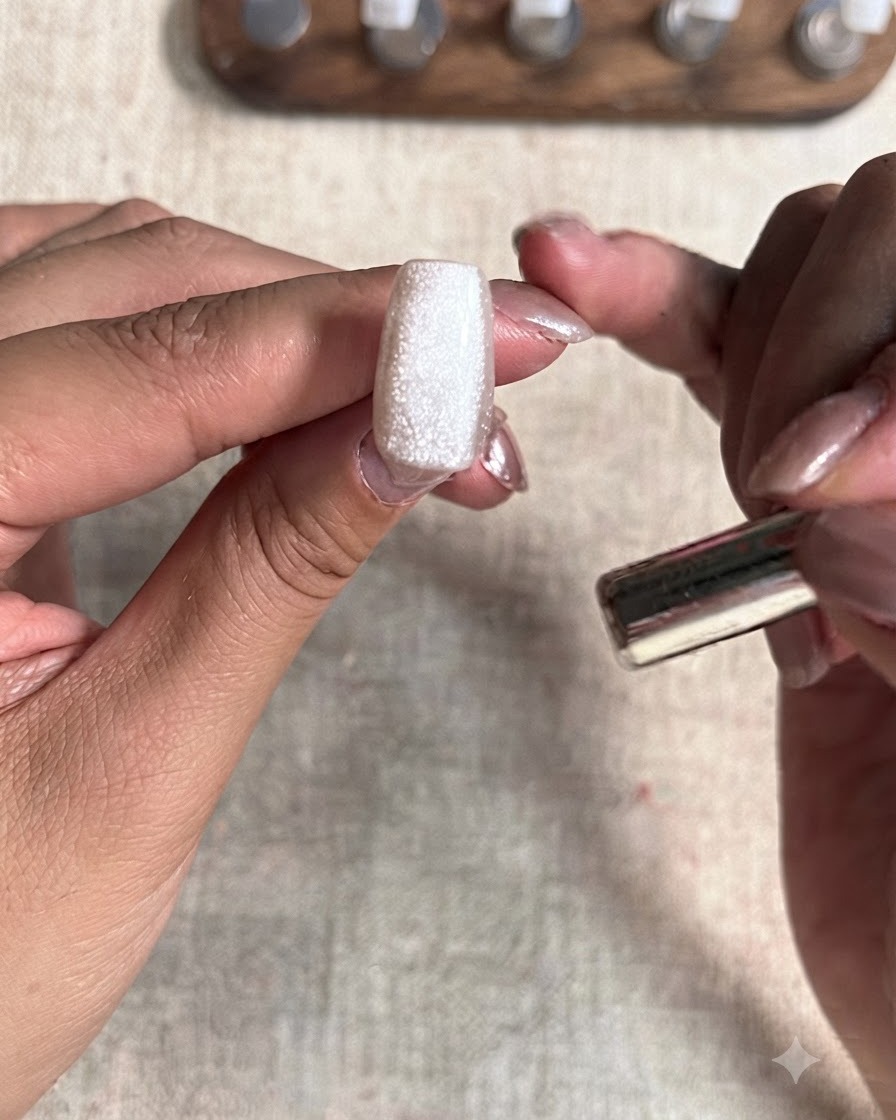
Refine the magnetic placement to form a concentrated, glowing glass bead cat-eye appearance across the nail surface. Place the nail under the UV or LED lamp to cure the gel completely and lock the effect in place.
Tip: Ensure proper curing time to prevent the cat-eye particles from shifting before the top coat application. - 4Magnetize the middle finger cat-eye
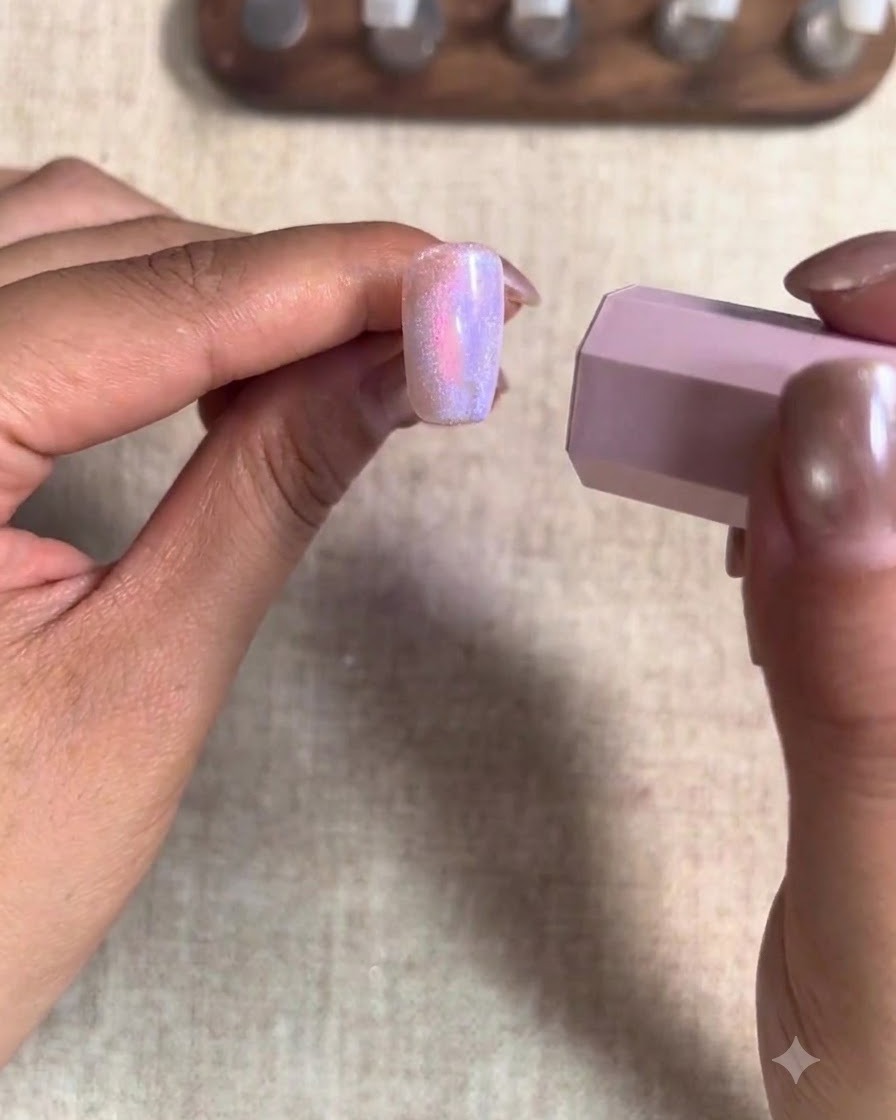
Apply the same cat-eye magnetization technique used on the thumb to the middle finger nail. Use the cylindrical magnet to pull out the side and wide lights to maintain a consistent glass bead style across all matching fingers.
Tip: Match the angle of the magnet to keep the cat-eye reflections uniform across multiple fingers. - 5Cure the middle finger
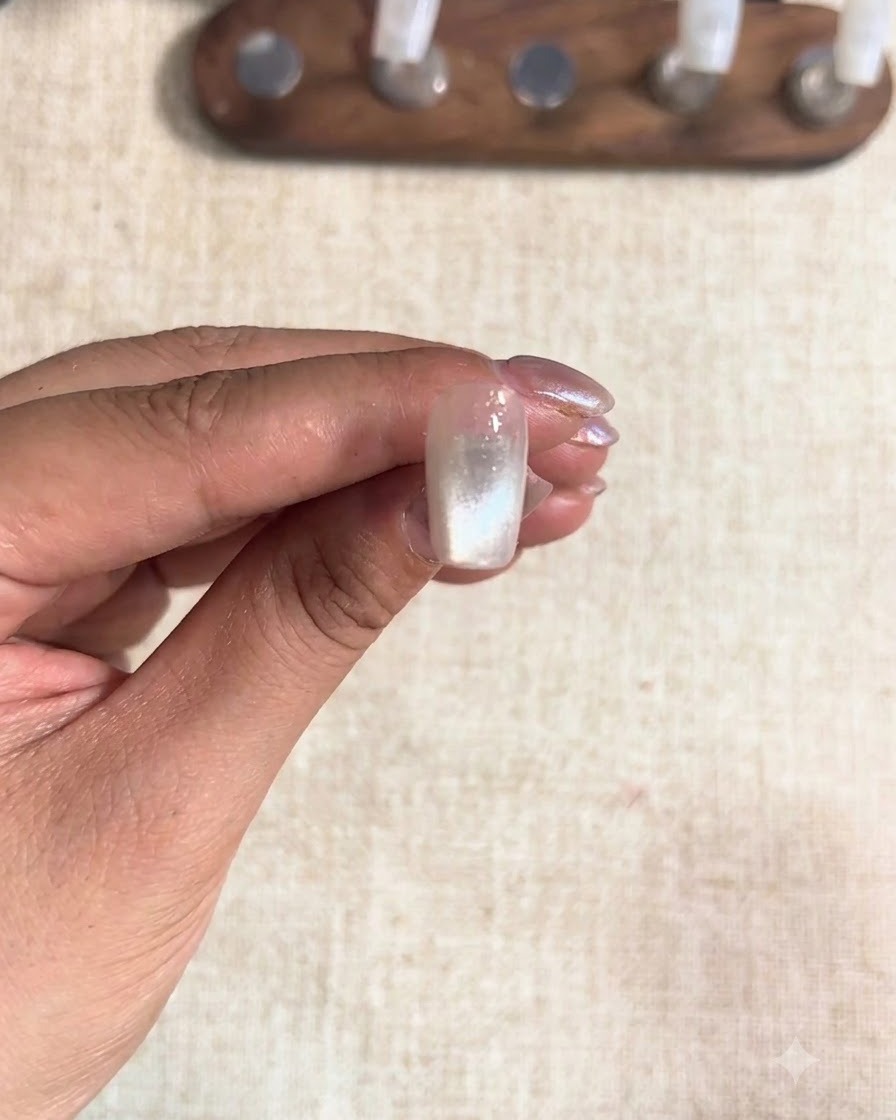
Place the middle finger under the UV or LED lamp to cure the newly shaped cat-eye gel layer. Double-check that the light reflection is locked in securely before moving on to the next step.
Tip: Make sure your hand enters the lamp at an angle that prevents the wet gel from sliding or shifting. - 6Apply first coat of peach nude
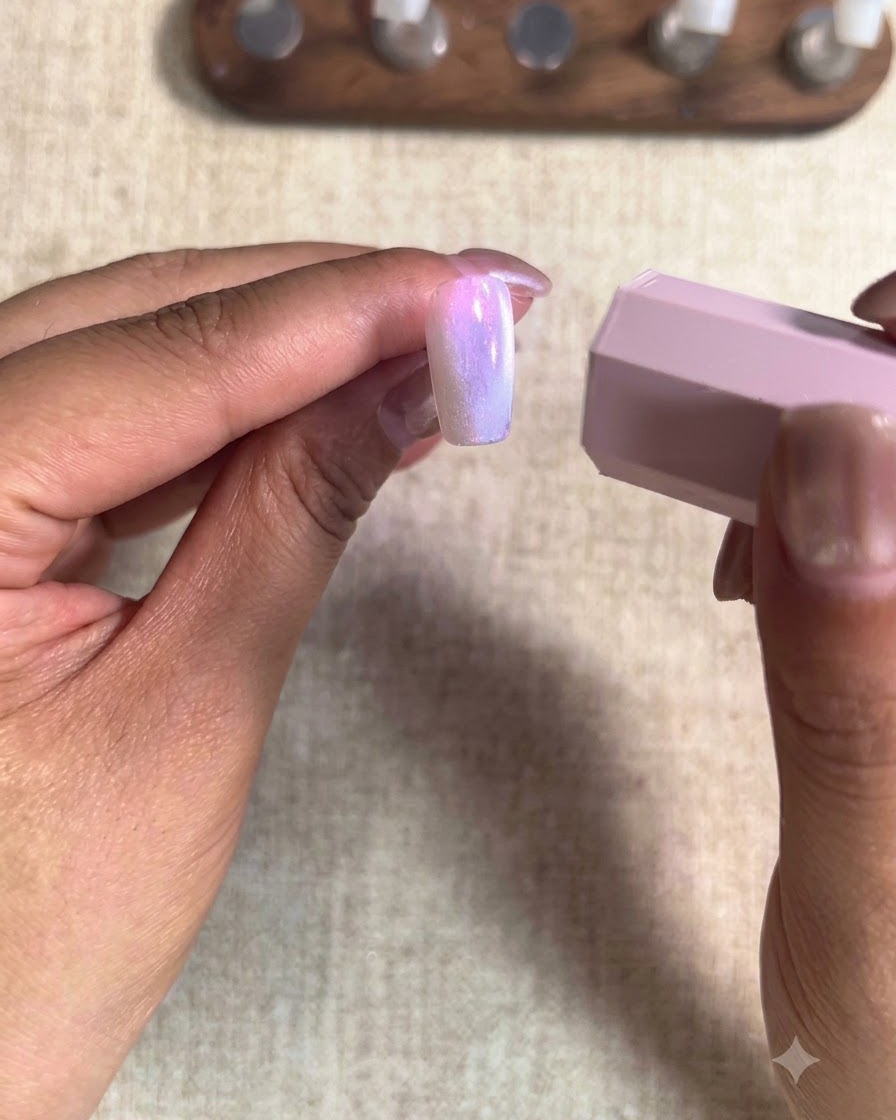
Apply the first coat of peach nude color evenly onto the index finger. Since the initial layer may appear a bit light or translucent, apply it smoothly and prepare to follow up with a second coat for full opacity.
Tip: Keep the first coat thin to avoid streaks and ensure proper curing under the lamp. - 7Apply peach nude color
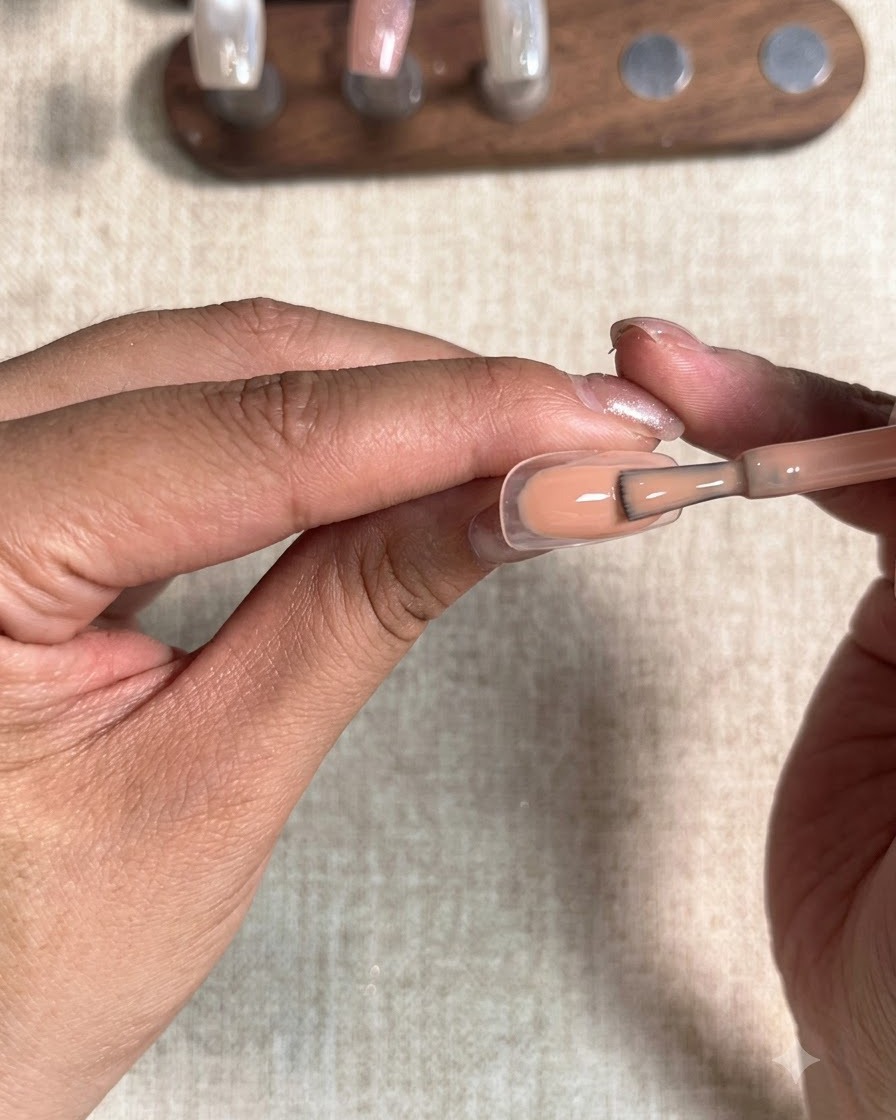
Paint a second layer of peach nude gel polish over the nail to achieve full, opaque coverage. The first layer often appears too sheer, so a second coat ensures the base color is completely solid and perfectly even before moving on to the nail art. Cure thoroughly under the lamp.
Tip: Keep your layers thin and even to prevent the gel from wrinkling or pooling at the cuticles during the curing process. - 8Select a hollow star sticker
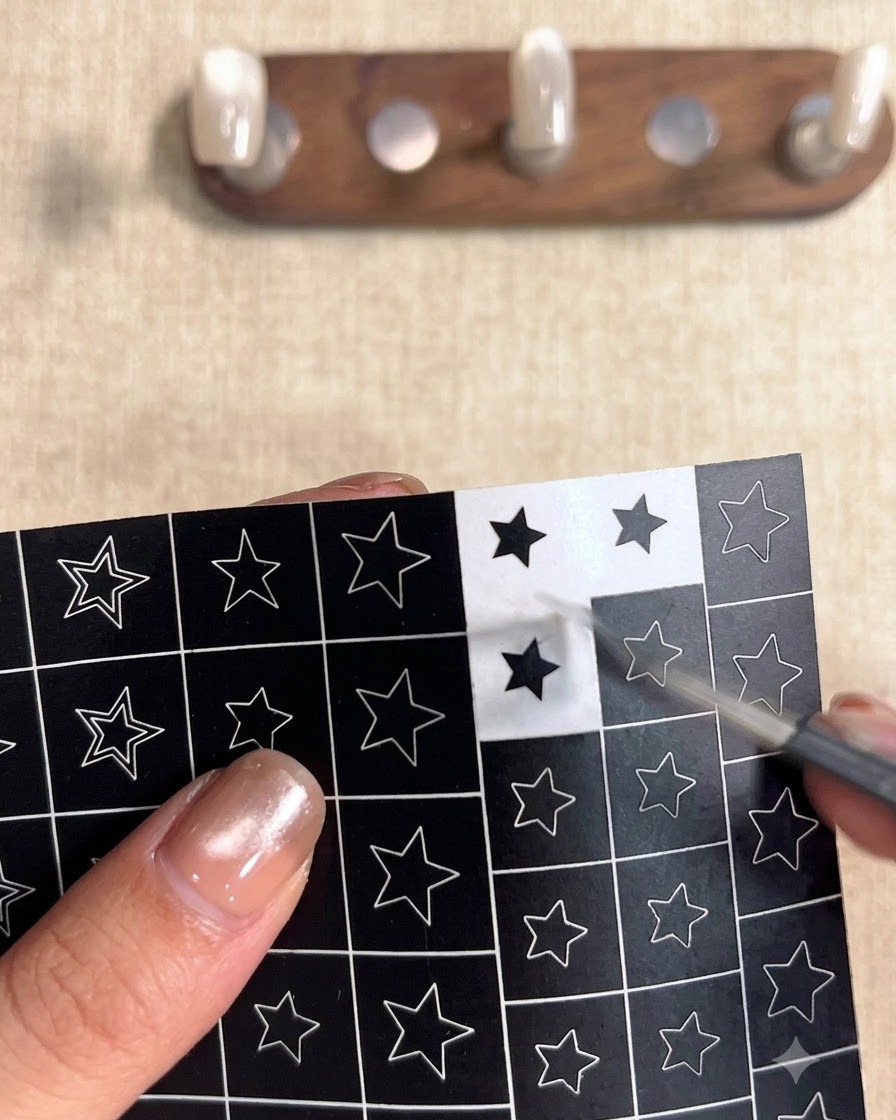
Using a pair of precision tweezers, carefully lift a hollow star stencil sticker from its backing sheet. Gently peel it off to ensure you do not bend, stretch, or tear the delicate inner edges of the star shape, which will act as your stencil.
Tip: Always use tweezers instead of your fingers to handle stickers; this prevents natural oils from weakening the adhesive. - 9Secure the star sticker
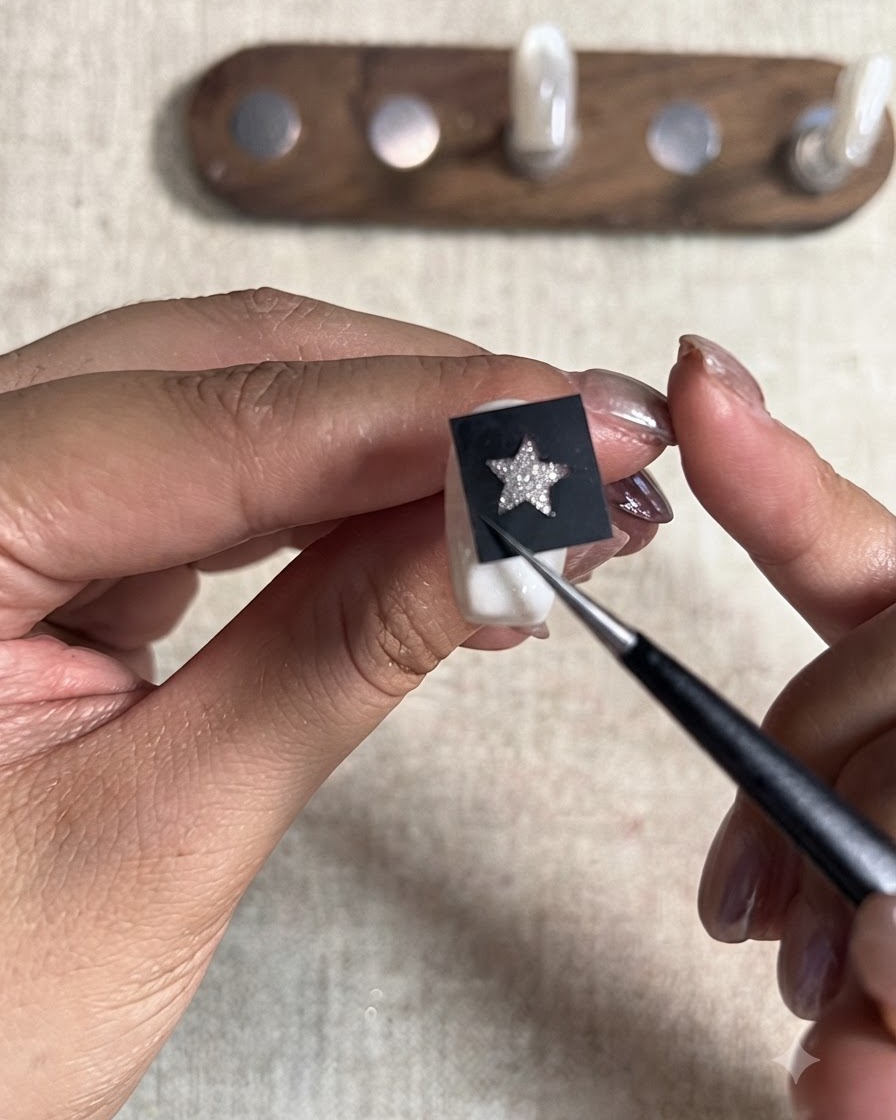
Position the hollow star sticker onto the nail surface. Using a silicone pen or a precision tool, press down firmly across the entire sticker, paying special attention to the inner edges of the star cutout. This creates a tight seal and prevents the colored gel from bleeding underneath.
Tip: A silicone tool is ideal for this step because it applies firm, even pressure without scratching or damaging the sticker. - 10Apply red gel over the star stencil
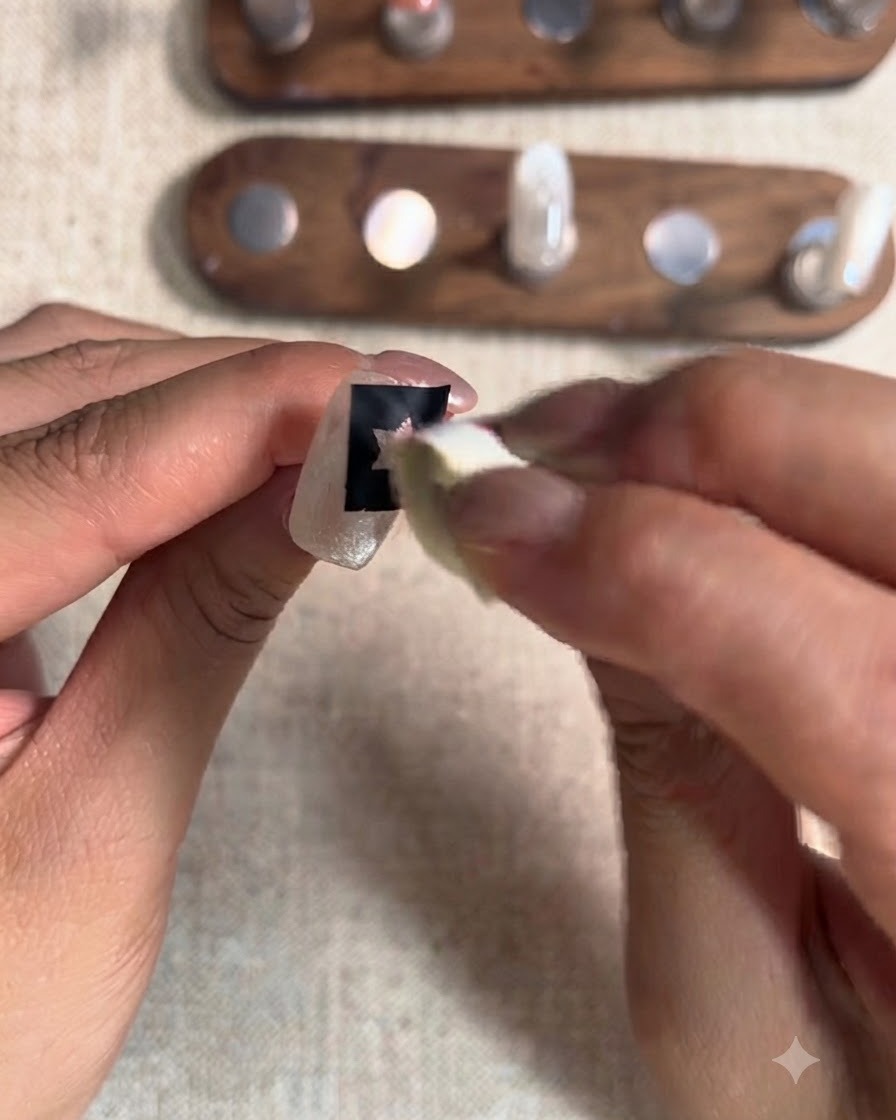
Place the hollow star sticker firmly onto the nail. Using a small sponge, gently dab the first layer of red patting gel over the cutout to create the star shape.
Tip: Press the edges of the sticker down firmly before applying gel to prevent it from bleeding underneath the stencil. - 11Cure the first star layer
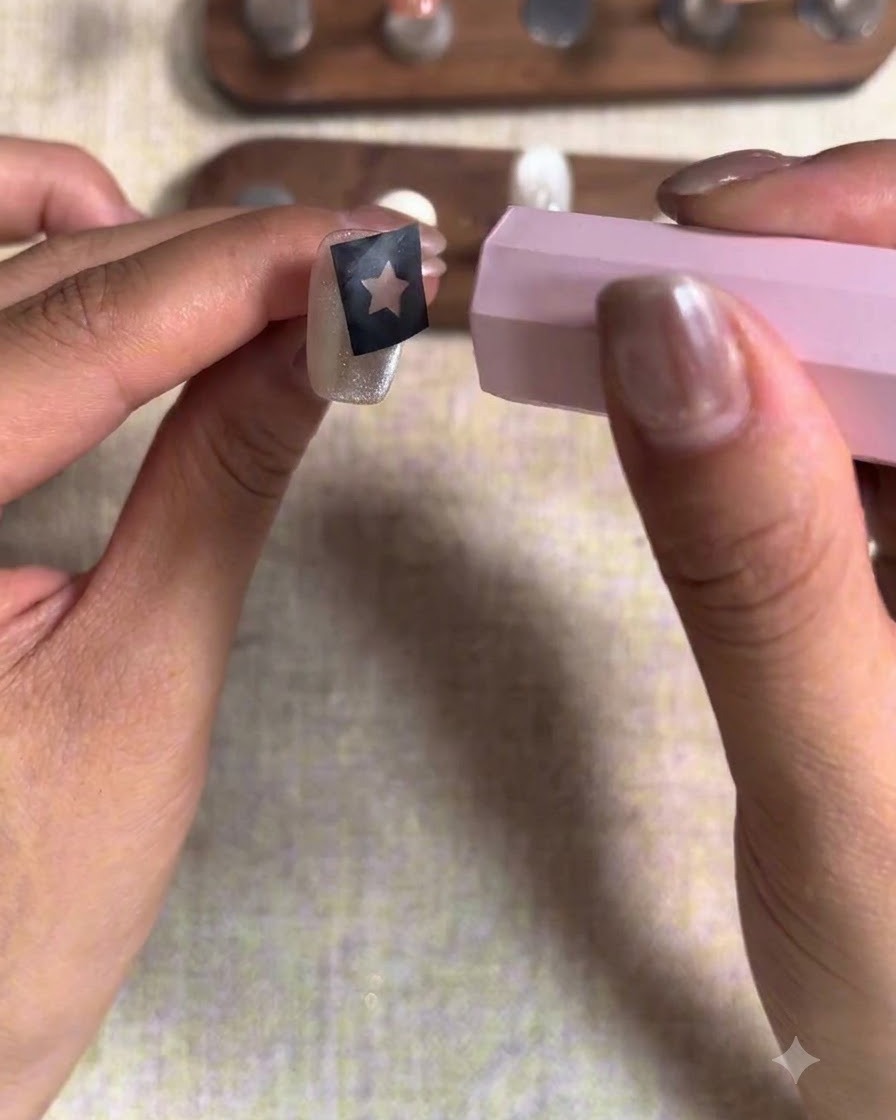
Use a handheld mini UV or LED lamp to flash cure the first layer of red gel over the stencil. This sets the shape so you can build up the color opacity without the gel spreading.
Tip: A quick flash cure of 10 to 15 seconds is usually enough to set the gel before applying the next coat. - 12Add a second layer of red gel
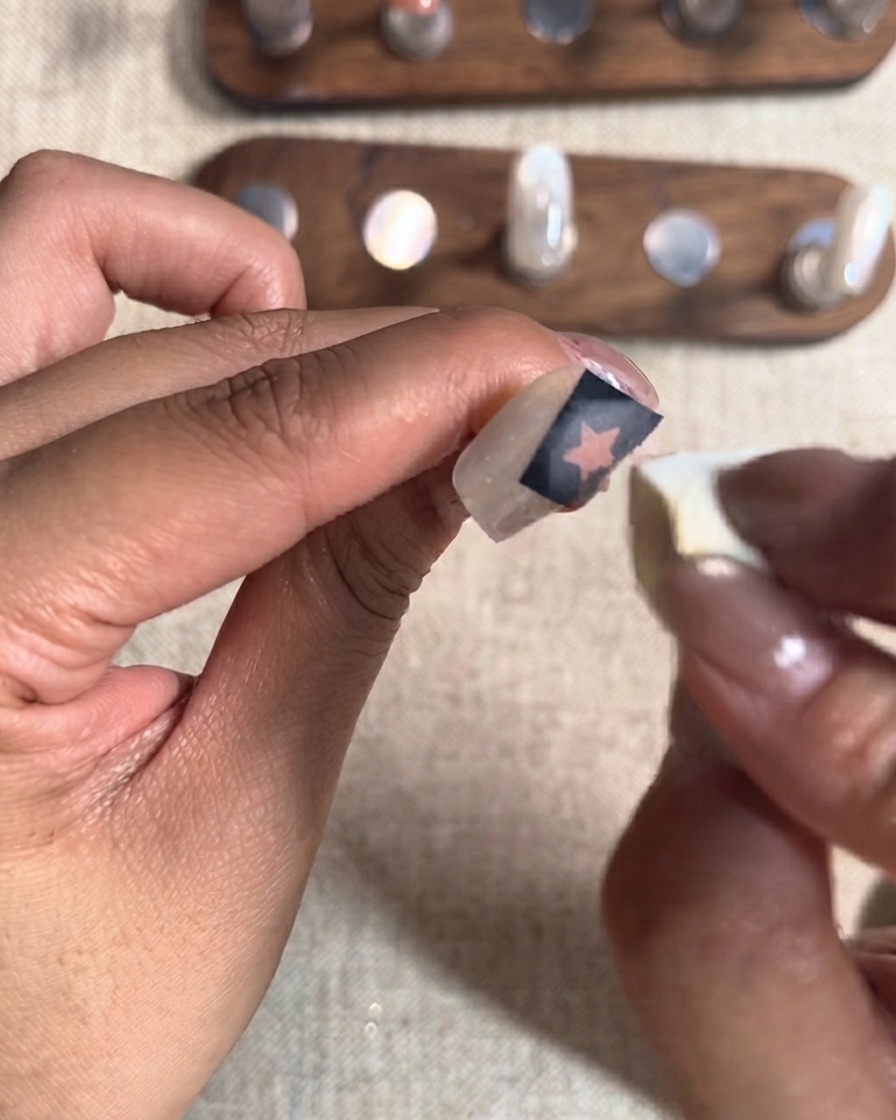
Once the first layer is flash cured, dab a second layer of red patting gel over the star stencil using your sponge. This builds up the color depth and ensures the star is vibrant and opaque.
Tip: Use light, even dabbing motions rather than swiping to build the color smoothly without disturbing the layer underneath. - 13Cure the final gel layer
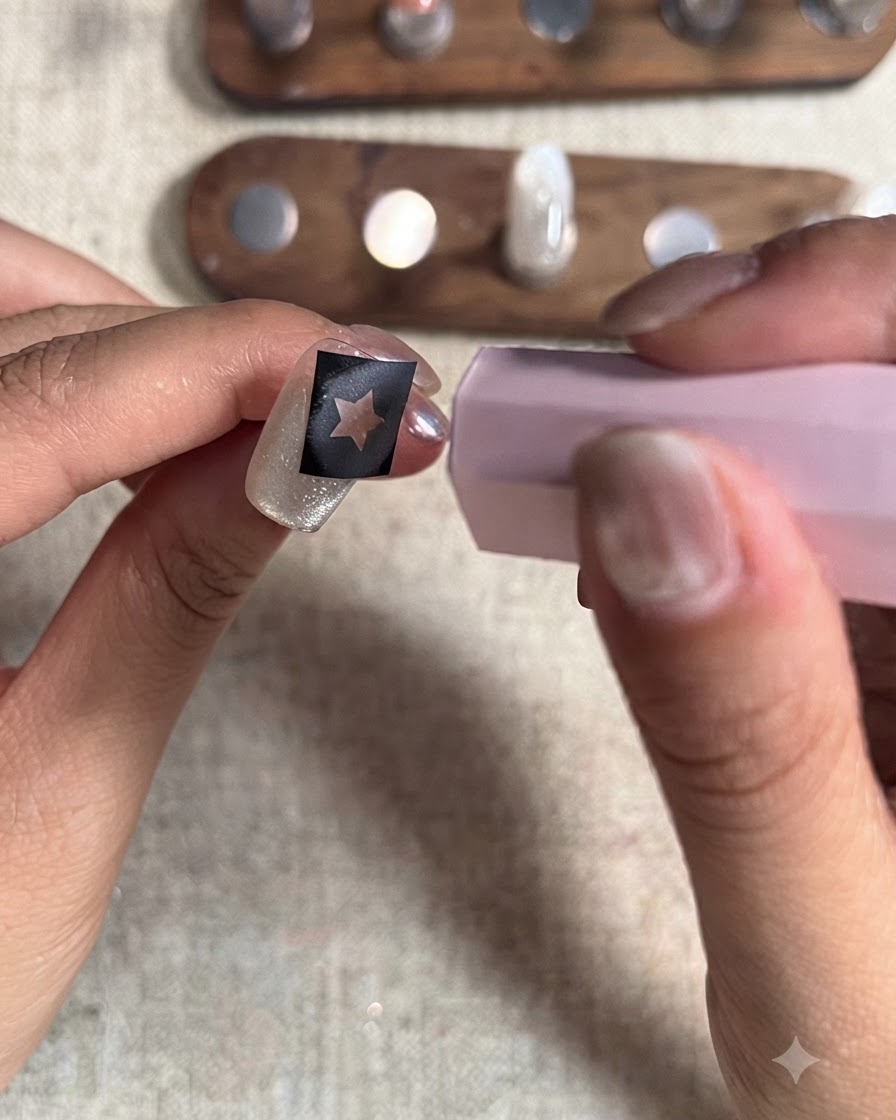
After applying your third and final layer of red patting gel to achieve full opacity, use the mini lamp to cure it once more. Ensure it is fully set before attempting to remove the stencil.
Tip: Make sure to cure completely so the edges of your star remain crisp and clean when the sticker is peeled off. - 14Reveal the star design
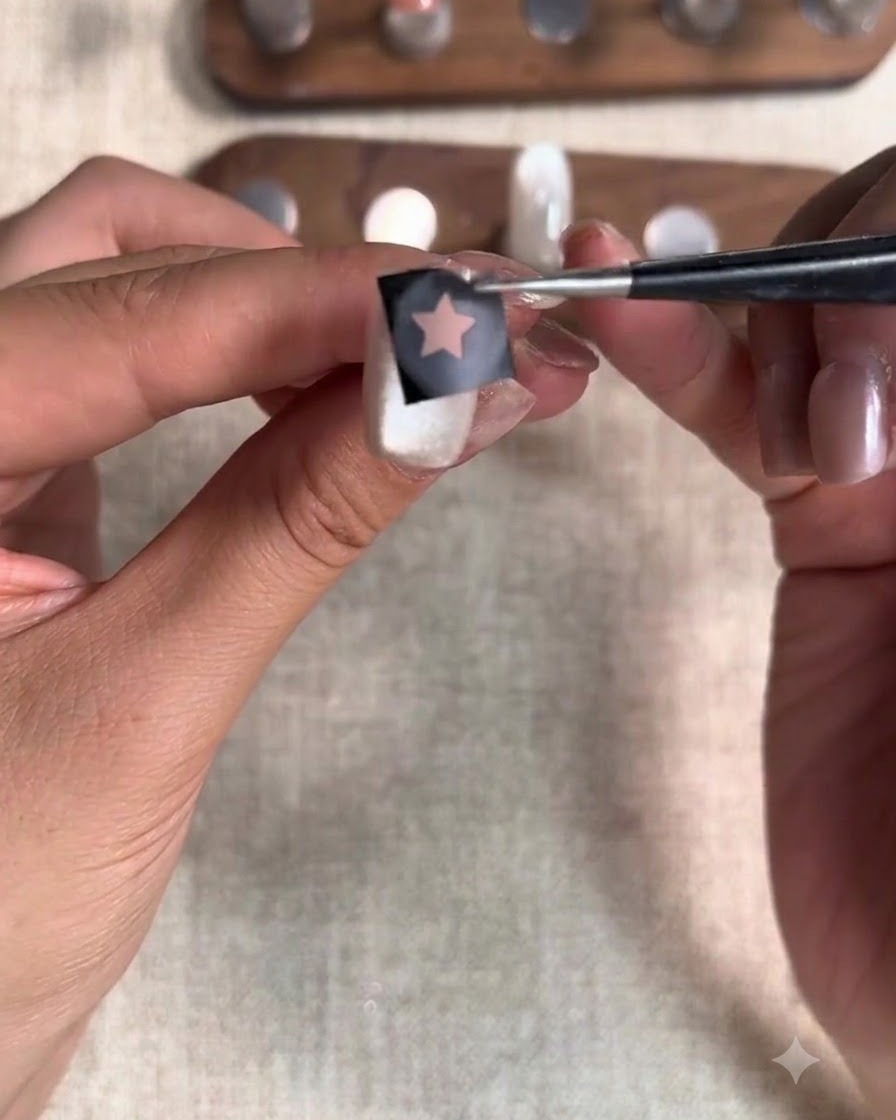
Carefully peel off the hollow star sticker from the nail surface to reveal the clean, complete star shape underneath after the patting gel process. Make sure to remove it gently to keep the surrounding gel intact.
Tip: Peel the sticker slowly at an angle to avoid smudging the freshly cured or patted gel edges. - 15Add second star and pat red gel
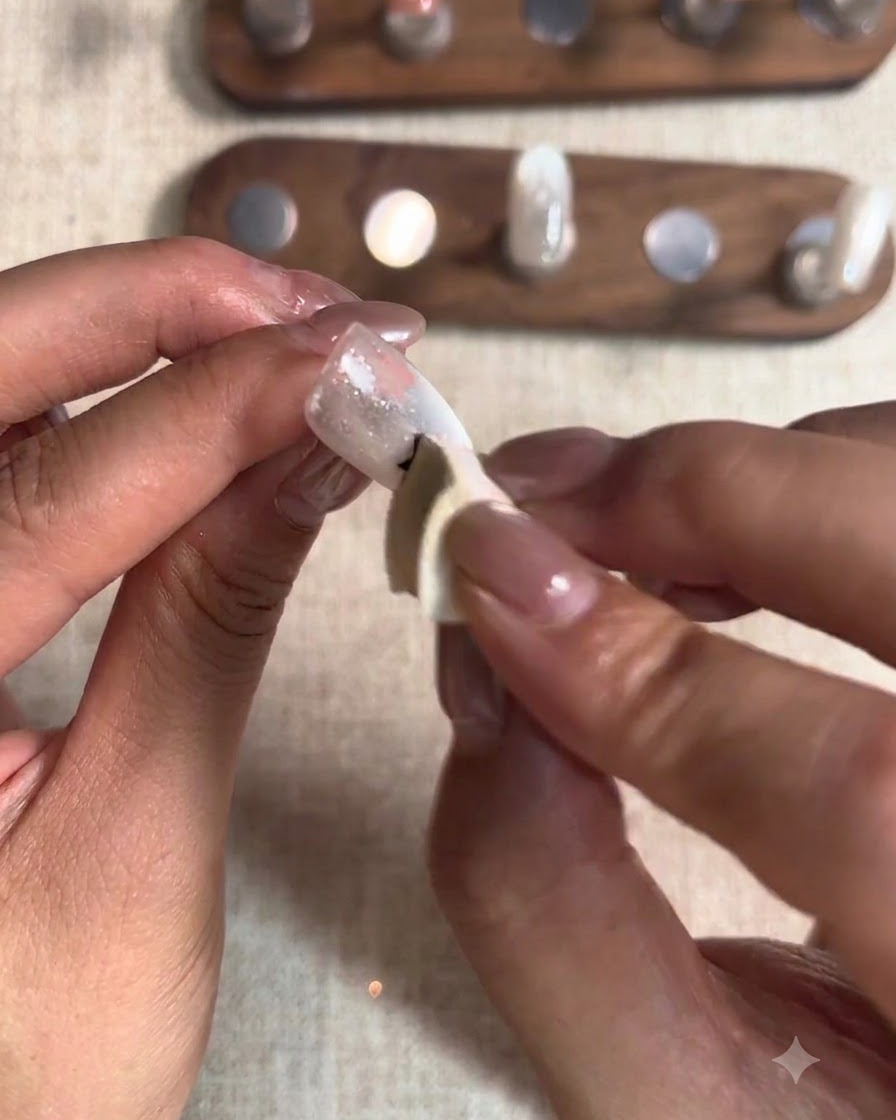
Place another hollow star sticker at the fingertip position of the nail. Use a sponge or patting tool to apply red patting gel over the sticker area, gently patting to create the textured gradient effect.
Tip: Pat the gel lightly and evenly over the hollow section to keep the star outline sharp. - 16Cure second star application
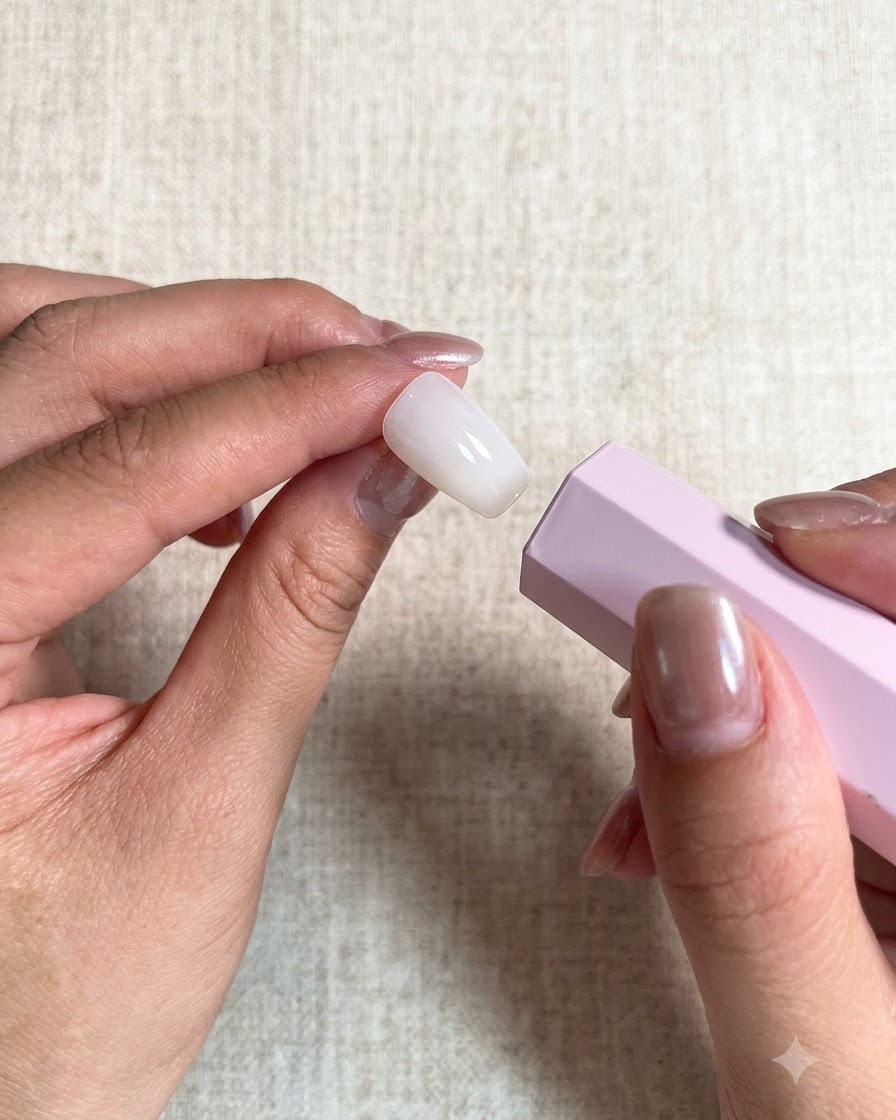
Place the nail under the UV or LED lamp to cure the second star application and red gel layer. This ensures the patted gel sets completely before any subsequent steps or top coats are applied.
Tip: Follow your lamp manufacturers recommended curing time to ensure complete polymerization of the gel. - 17Apply Matte Top Coat
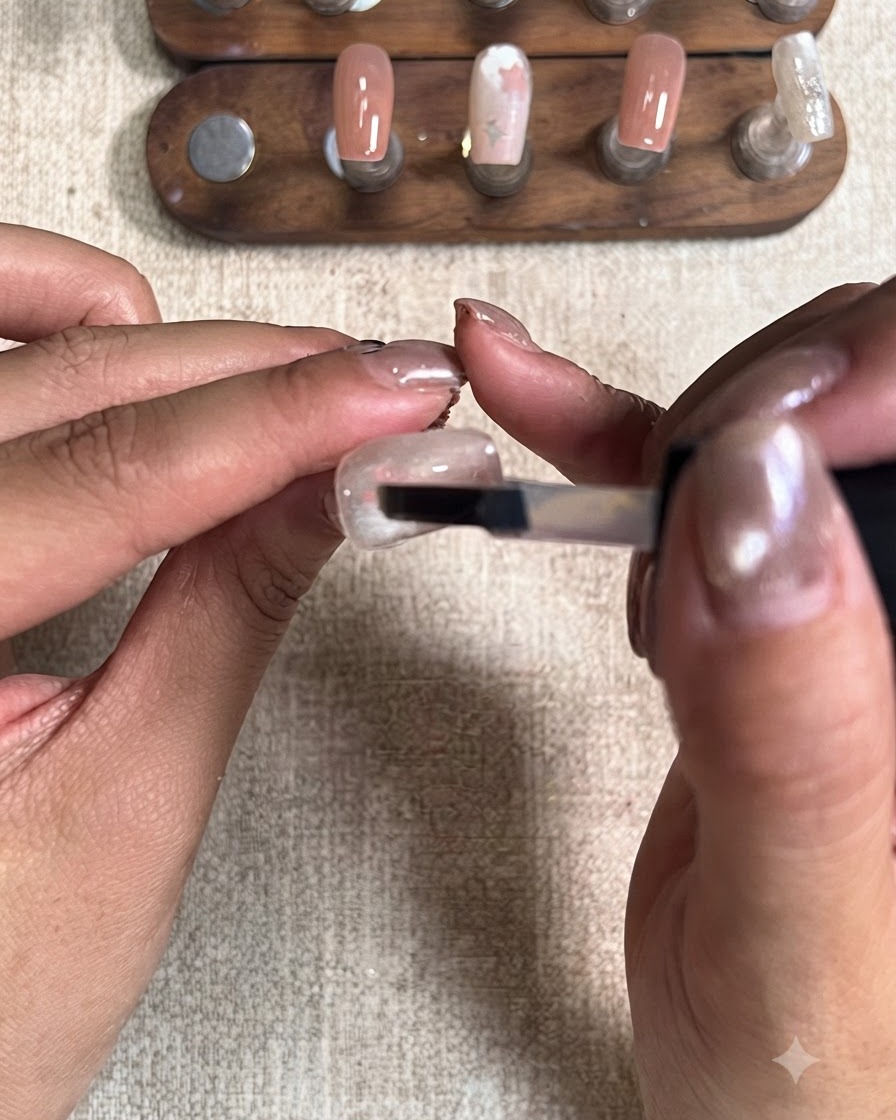
Apply a final layer of matte top coat over the entire surface of the nail to seal the design and give it a smooth, velvety finish. Ensure complete coverage across the entire nail, then cure thoroughly under the lamp.
Tip: Make sure the top coat covers all edges completely to protect your nail art and prevent peeling.