Amber Smudge
Blue Cat-Eye Accent Gel Nails — Step-by-Step Tutorial
Create stunning gemstone amber smudge nails with a brilliant blue cat-eye accent and a high-gloss, scratch-resistant finish using this easy guide.
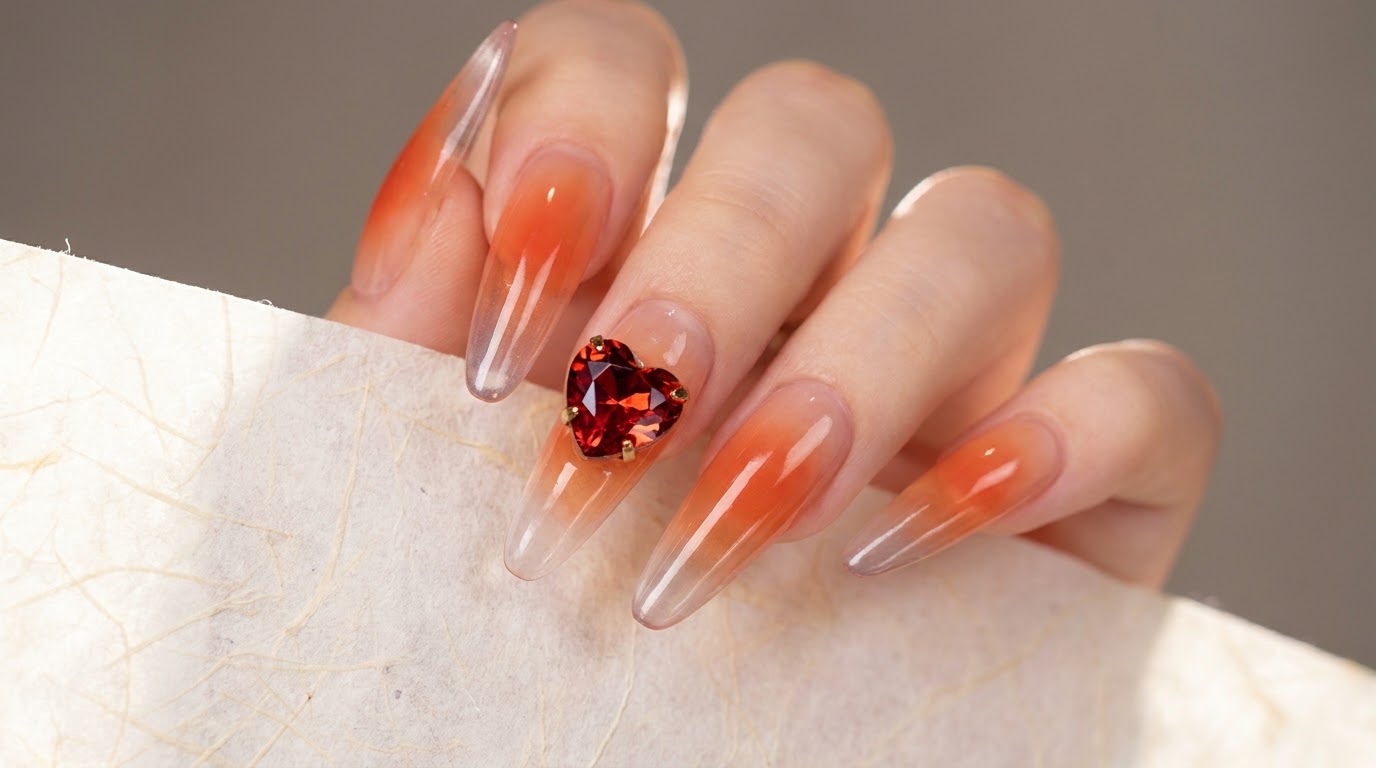
Amber smudge nails offer a gorgeous, multi-dimensional look that mimics genuine natural stone. By layering warm caramel, rich red, and deep brown tones with a moistened brush, you can achieve a seamless watercolor effect. Adding a flash of blue magnetic cat-eye polish and sealing it with a high-durability tempered top coat elevates this design into a true salon-quality masterpiece.
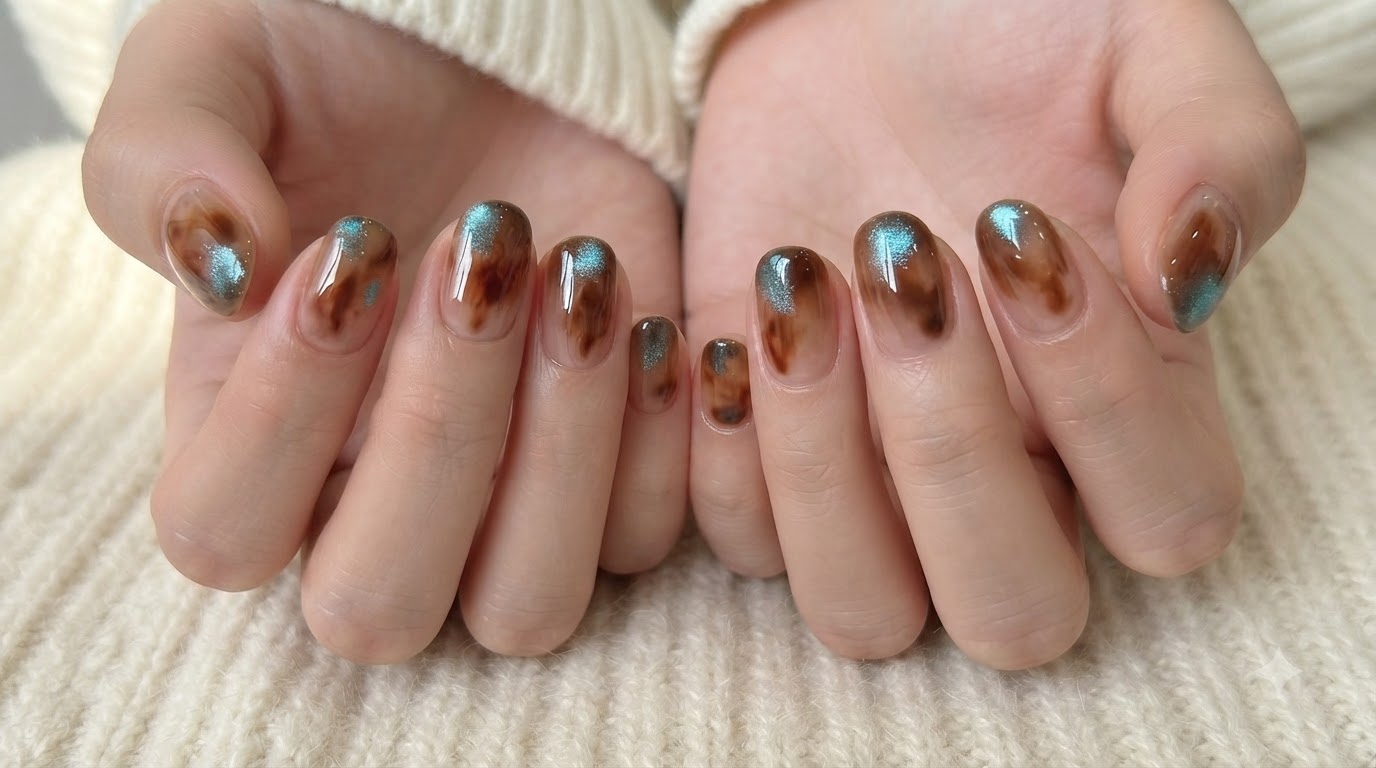
Steps
- 1Apply Nude Base Color
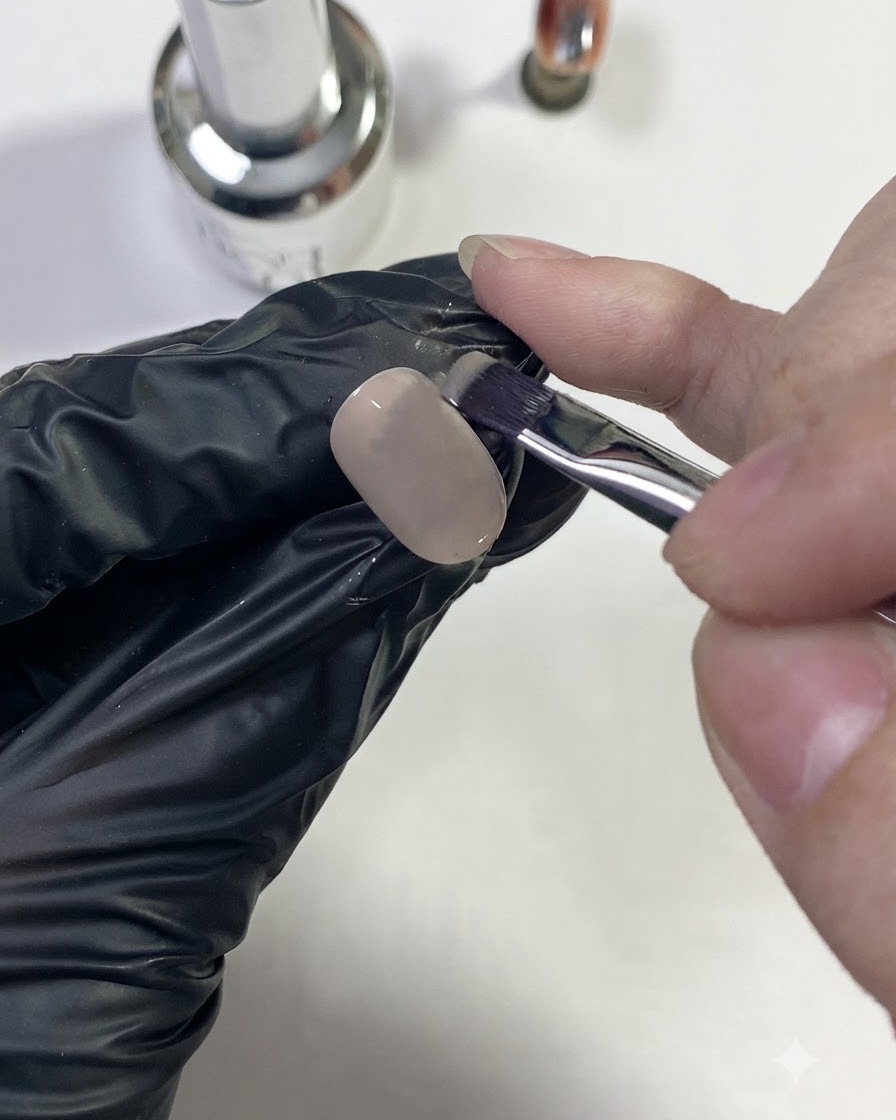
Brush a smooth layer of nude base color onto the nail tip to create the foundation for the amber smudge design.
Tip: Ensure the base coat is applied evenly to create a clean canvas for subsequent layering. - 2Moisten the Brush with Base Gel
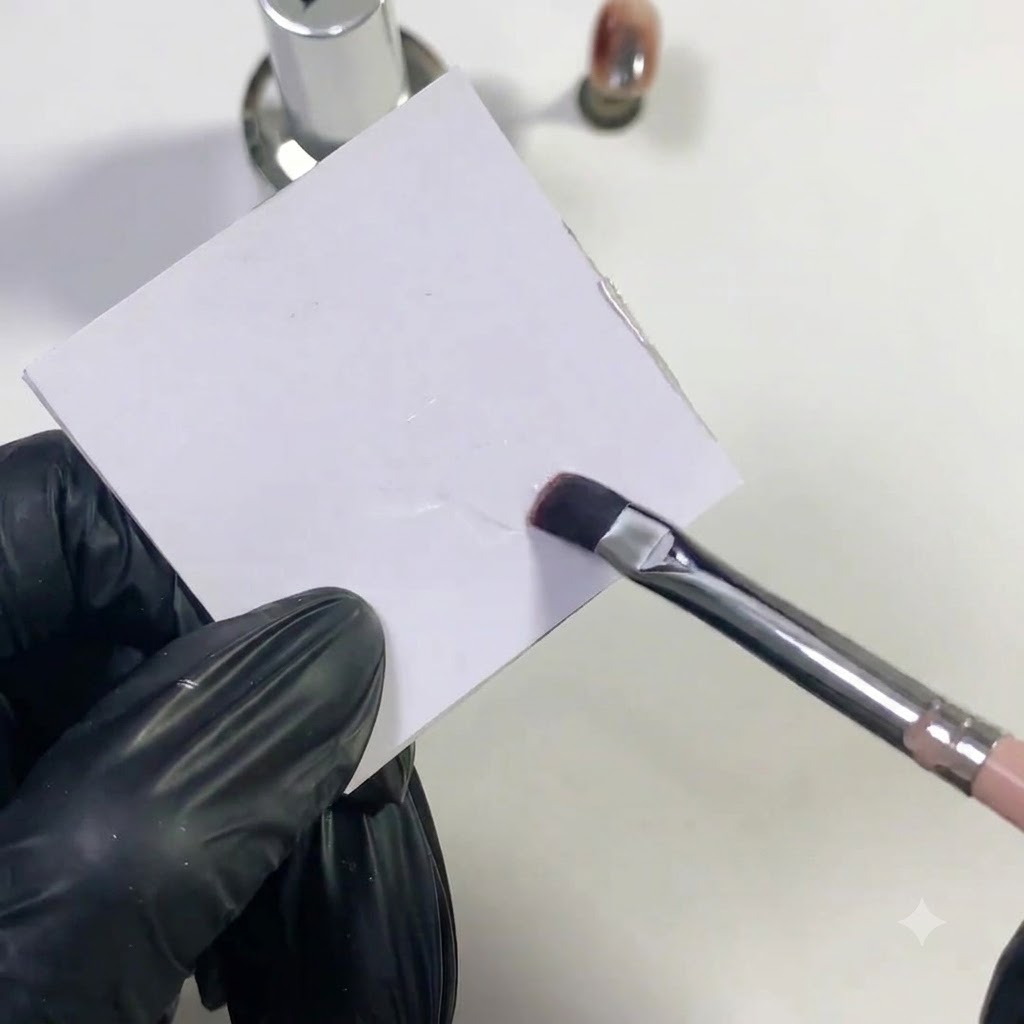
Dab a flat brush into clear base gel on a palette to moisten it properly, eliminating the need for a specialized smudging brush.
Tip: Only use a small amount of base gel to keep the brush damp rather than overly saturated. - 3Apply Light Caramel Brown Gel
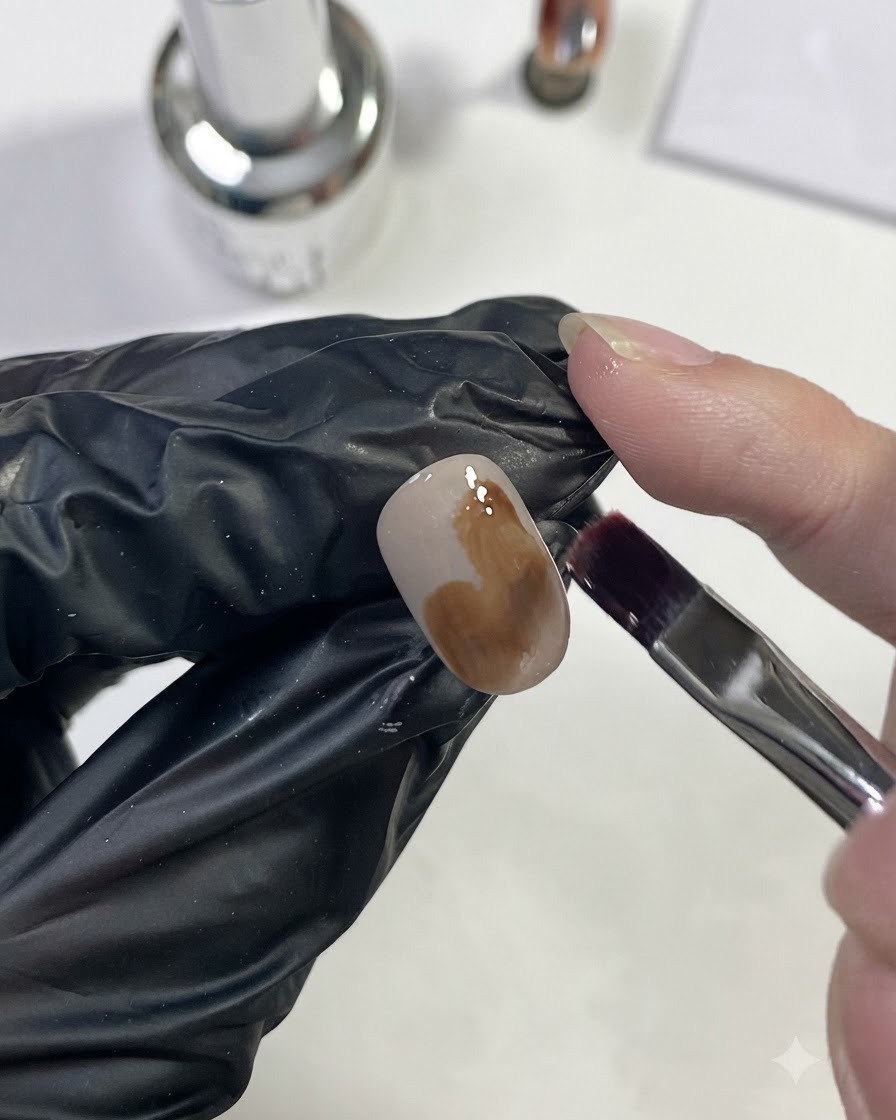
Apply a light caramel brown gel in a large patch onto the nail surface as the first color layer of the amber effect.
Tip: Keep the application soft and concentrated over a large area to allow for smooth blending. - 4Smudge the Caramel Gel Edges
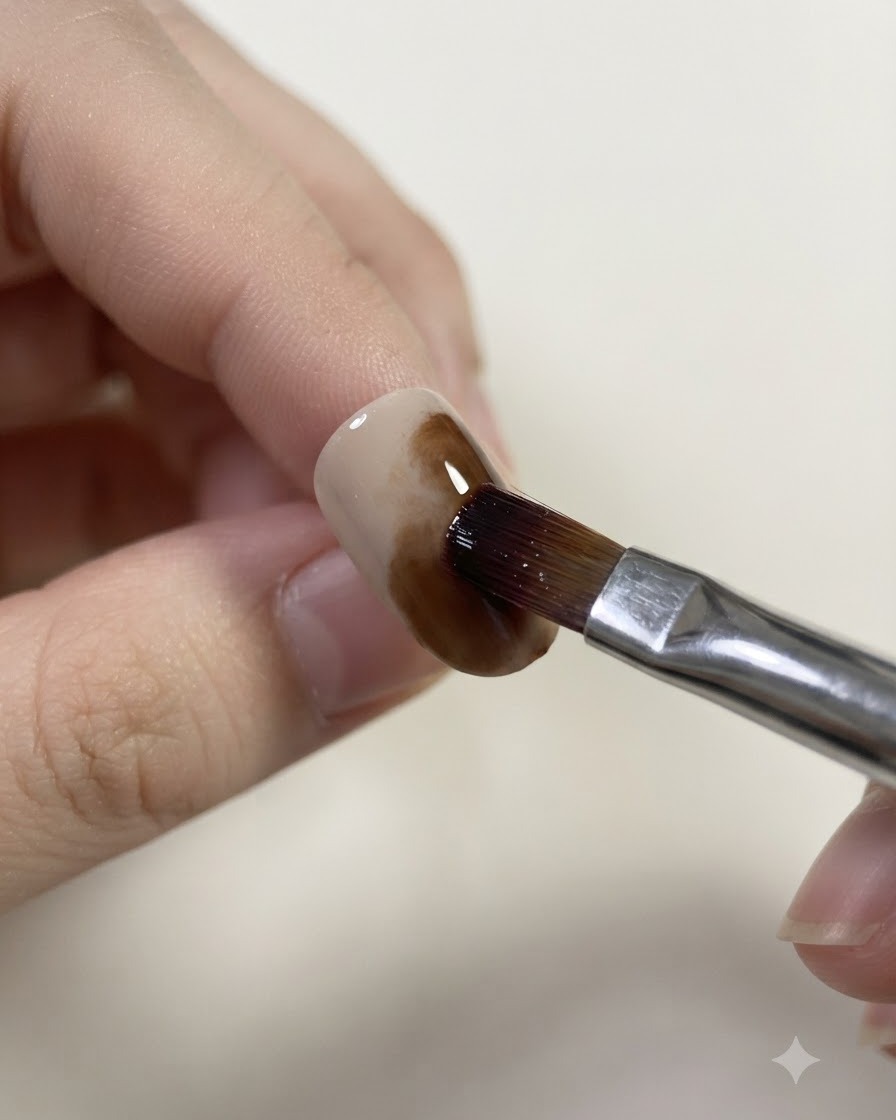
Use the moistened brush to gently soften and smudge the edges of the caramel gel for a seamless gradient appearance.
Tip: Light, circular tapping motions help feather out the harsh lines. - 5Layer Deep Red Gel Locally
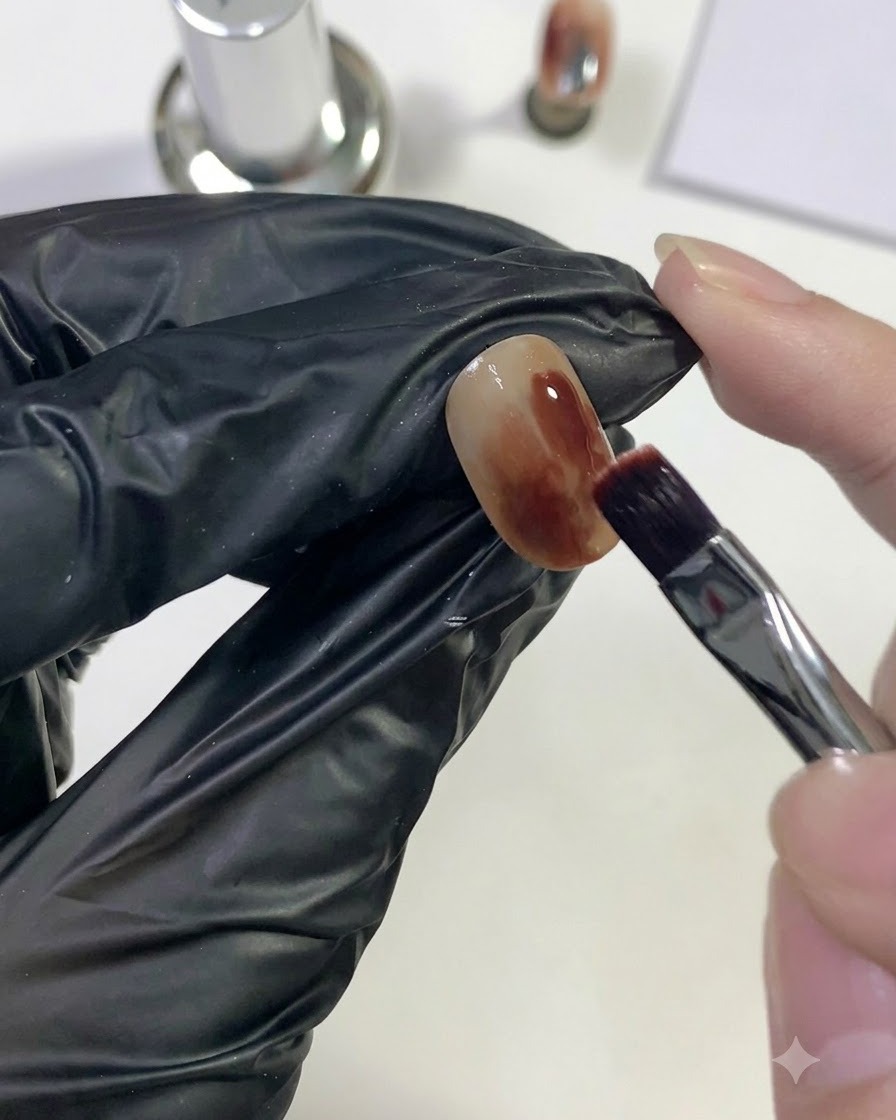
Dab a deep red gel onto a smaller, localized area of the nail to introduce rich color variation and dimension.
Tip: Place the red pigment strategically to build depth in targeted sections. - 6Blend Deep Red with Caramel Base
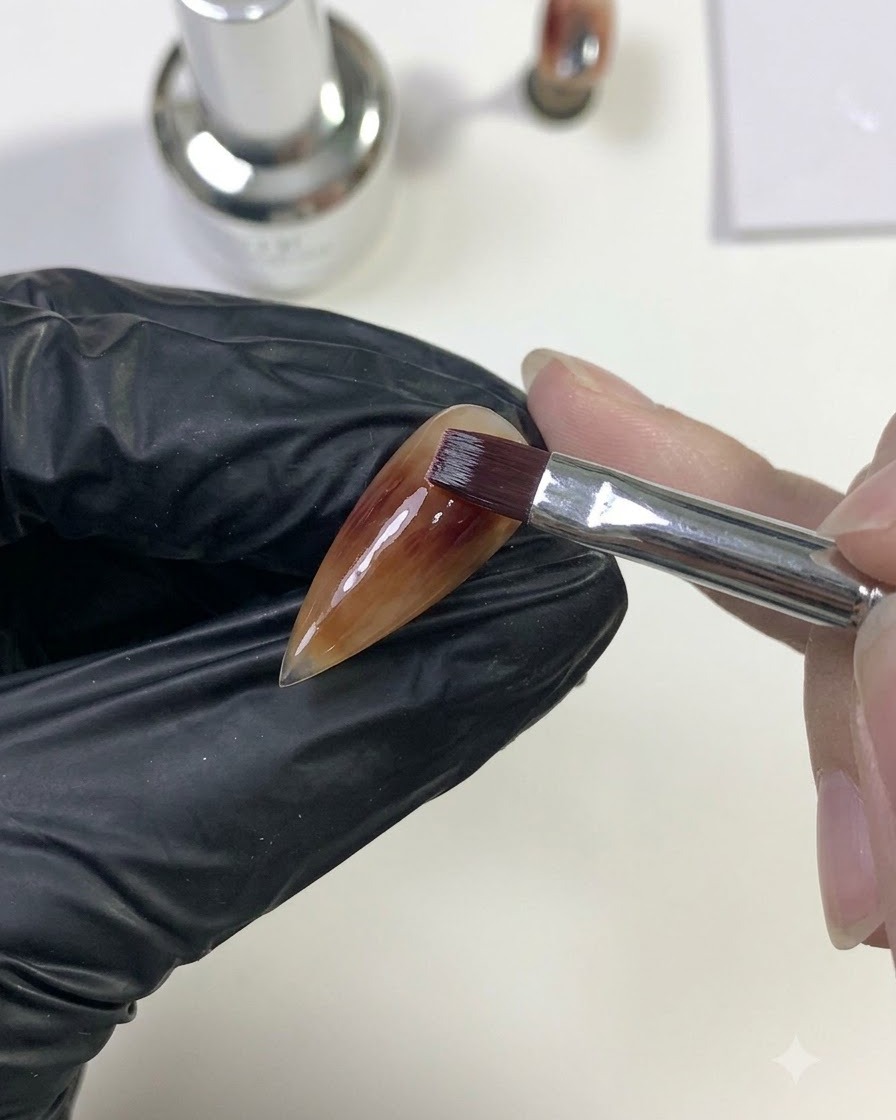
Gently blend the deep red gel outwards so that it merges smoothly and naturally with the underlying caramel base.
Tip: Work lightly along the boundaries to preserve the layered watercolor effect. - 7Apply Dark Brown Gel for Depth
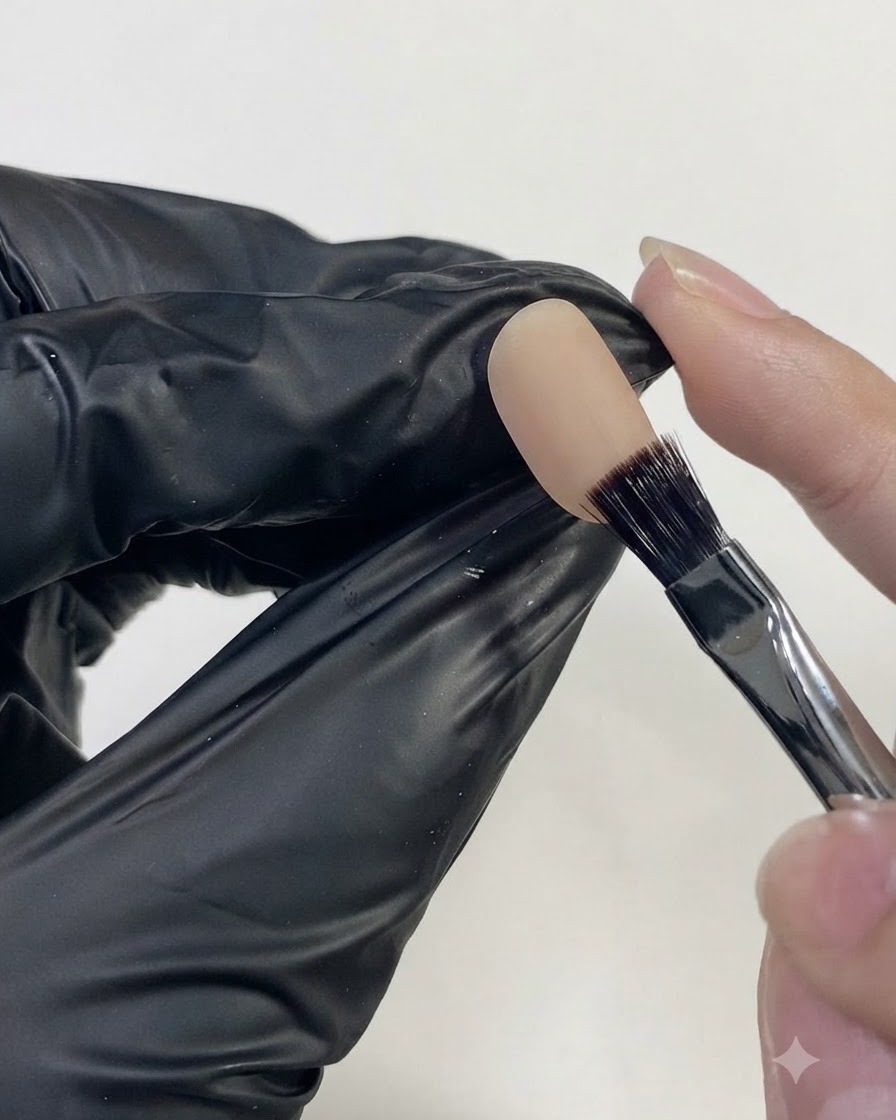
Apply a small dot of dark brown gel onto the prepped nail to build depth and dimension within your amber smudge design. This darker tone creates realistic shadows and rich layered contrasts characteristic of natural amber stones.
Tip: Keep the dot small and localized; you can always blend outward if needed. - 8Blend dark brown gradient
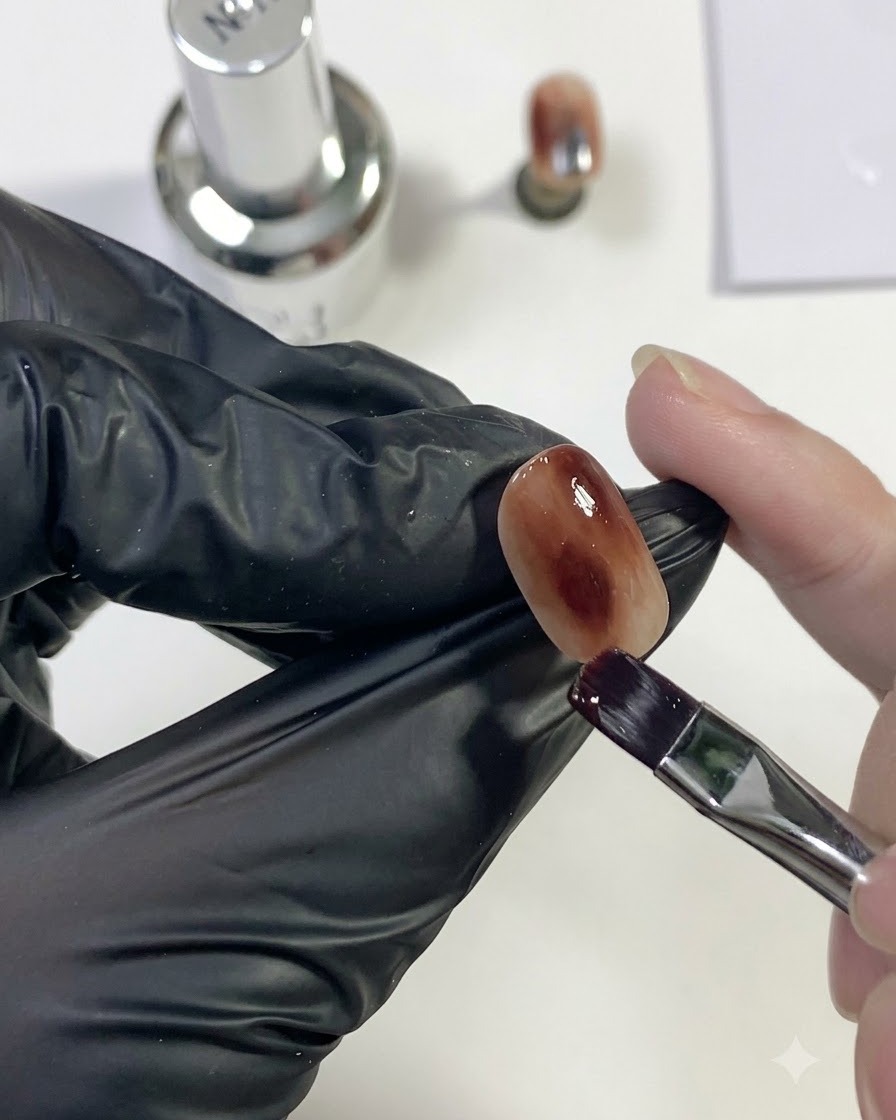
Gently blend the dark brown gel outwards using your brush to create a smooth, smoky gradient effect. Soften the edges so it merges seamlessly with the underlying caramel and red layers.
Tip: Moisten your brush slightly with base gel if needed to help the colors diffuse evenly. - 9Apply blue magnetic cat-eye gel
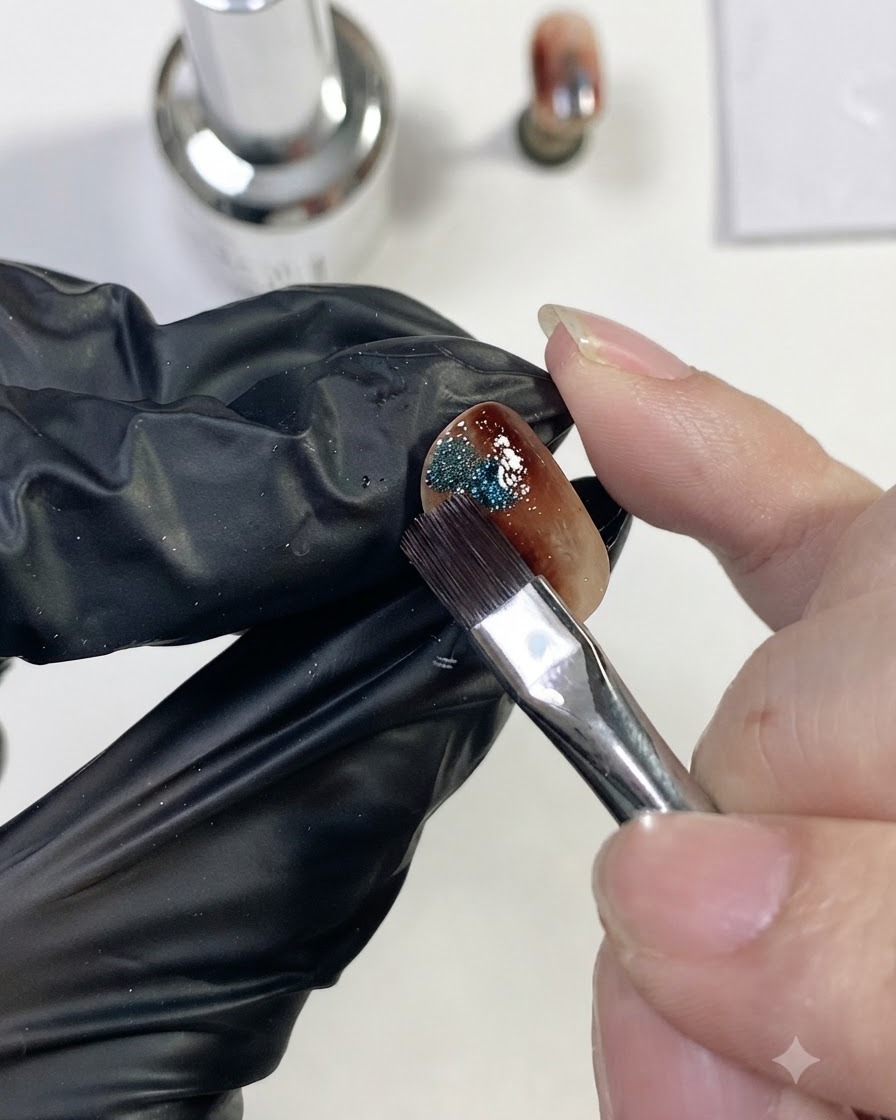
Brush a small patch or stroke of blue magnetic cat-eye gel onto one side of the nail over the cured smudge design. This provides a brilliant multi-dimensional shimmer contrast against the warm amber tones.
Tip: Place the cat-eye gel slightly off-center to create an eye-catching asymmetrical accent. - 10Activate Cat-Eye Magnetic Particles
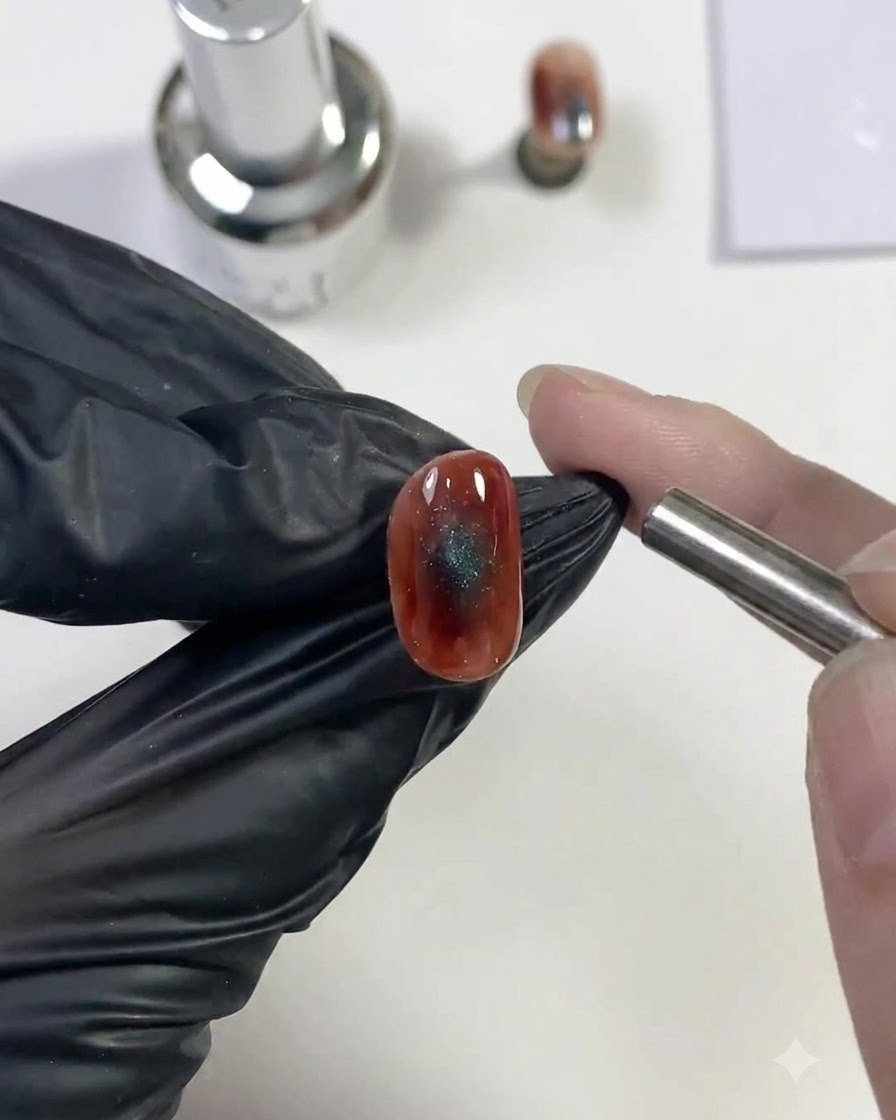
Hold a cylindrical magnet close to the wet cat-eye gel without touching it to pull and concentrate the magnetic particles into a sharp light circle. Observe the sparkling light effect shift as the particles align.
Tip: Hold the magnet steady for a few seconds until you achieve your desired light reflection shape before curing. - 11Prepare clear tempered top coat
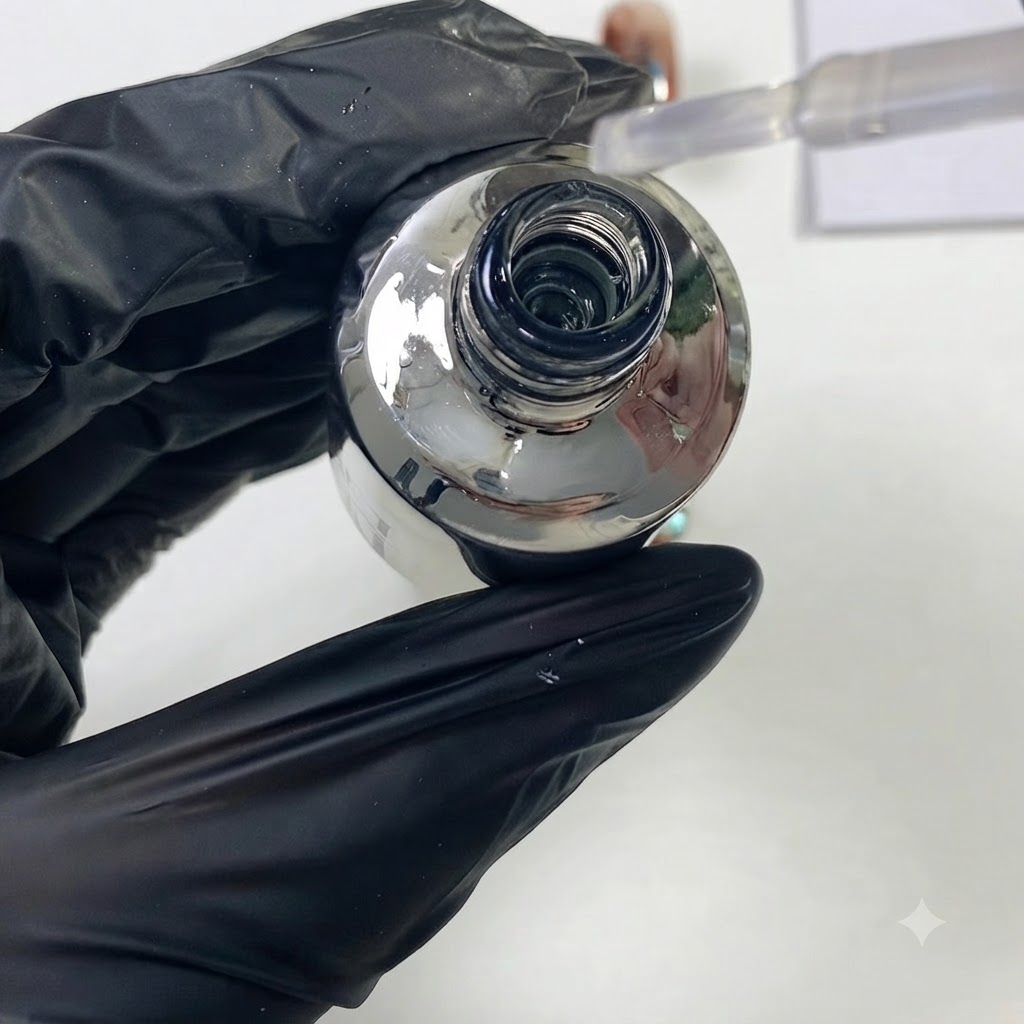
Lift the brush from the bottle of thick, clear tempered top coat, ensuring an appropriate amount of product is loaded. This top coat features a fast flow speed and a soft brush head designed for smooth leveling.
Tip: Wipe excess product off one side of the brush stem to maintain better control during application. - 12Apply glossy tempered top coat
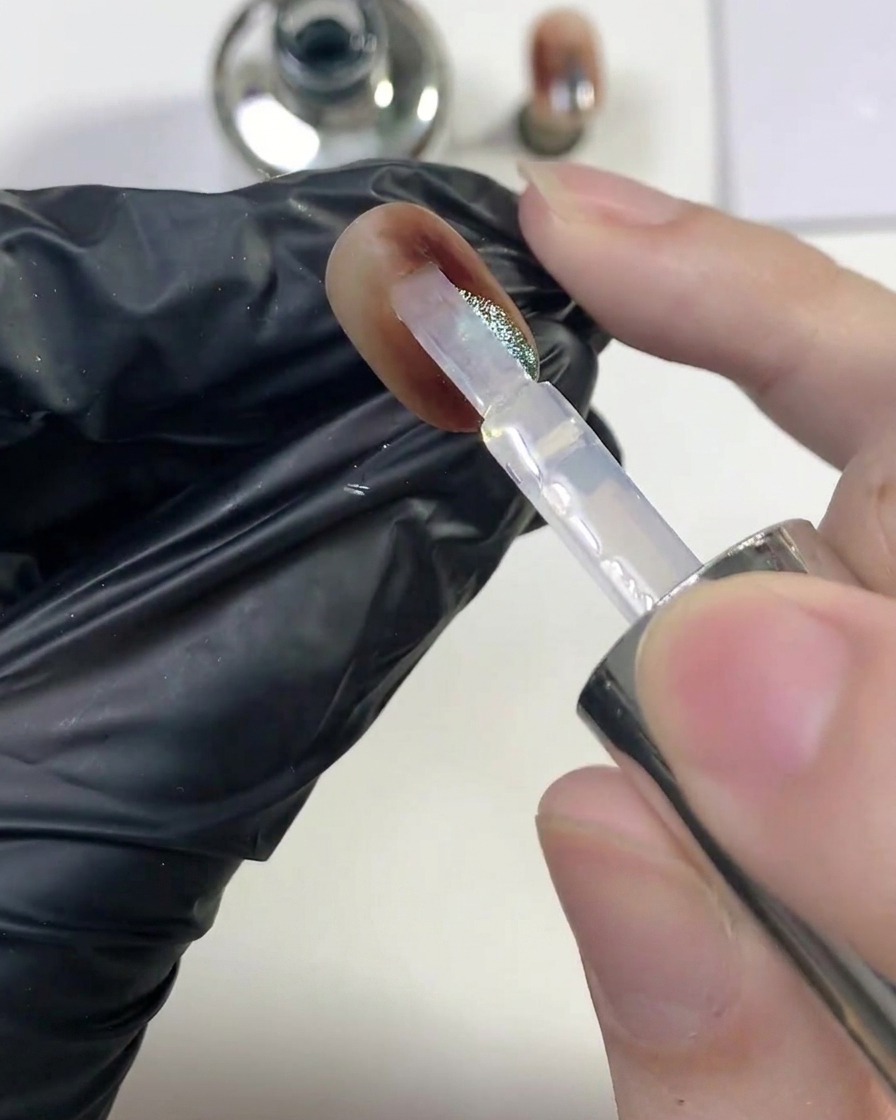
Apply a generous, even layer of the clear glossy top coat over the entire nail surface. Slightly build the apex to enhance durability and structure, allowing the self-leveling formula to create a flawless light circle.
Tip: Cure under your lamp for 120 seconds once leveled for a scratch-resistant, high-shine finish. - 13Shape the Apex and Level Top Coat
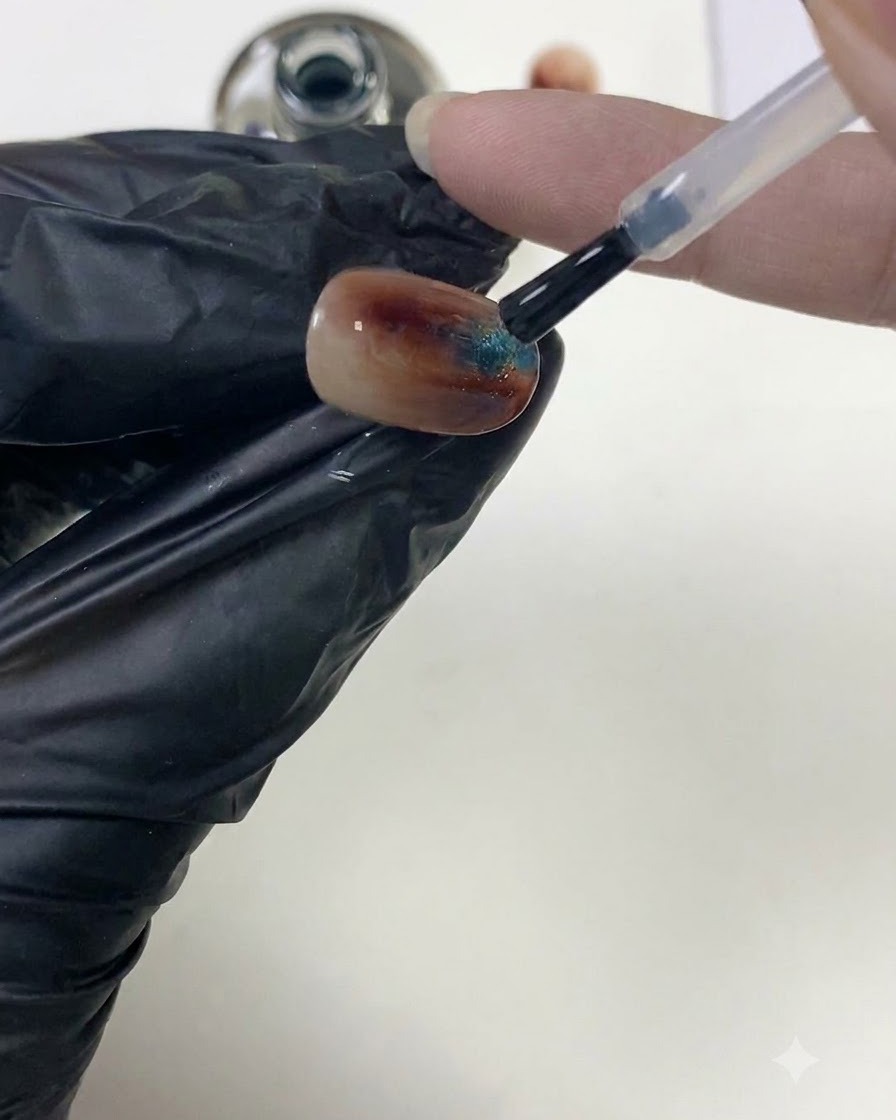
Use the brush to gently shape the apex and ensure the top coat levels smoothly. Although the colloid flows fast, the self-leveling property is great, allowing you to easily build the apex and achieve a perfect light circle.
Tip: Slightly build the apex and allow the fast-flowing top coat to self-level for a smooth finish. - 14Test Scratch Resistance
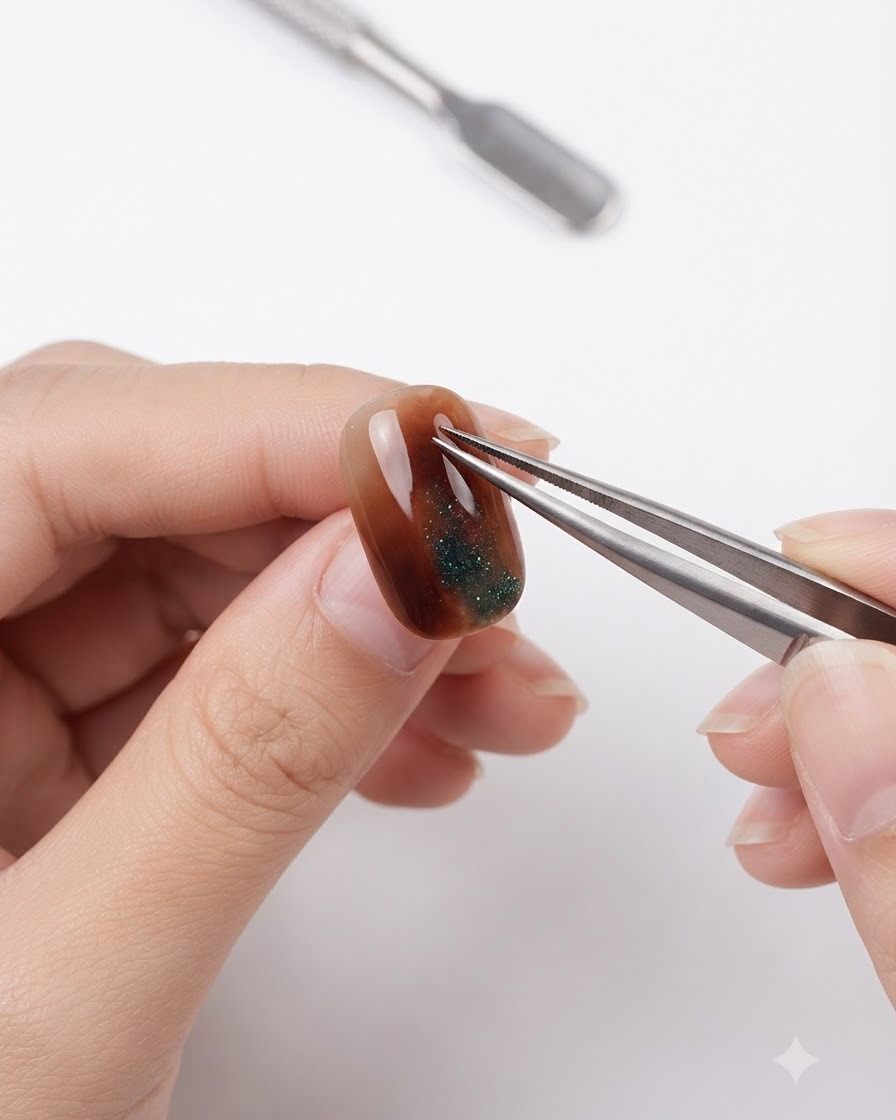
Scrape the surface of the fully cured nail with metal tweezers to demonstrate scratch resistance. After curing for 120 seconds, the top coat is super shiny and durable, ensuring that scratching with tweezers leaves no marks.
Tip: Cure for a full 120 seconds to ensure maximum scratch resistance and shine. - 15Check Stain Resistance and Clarity
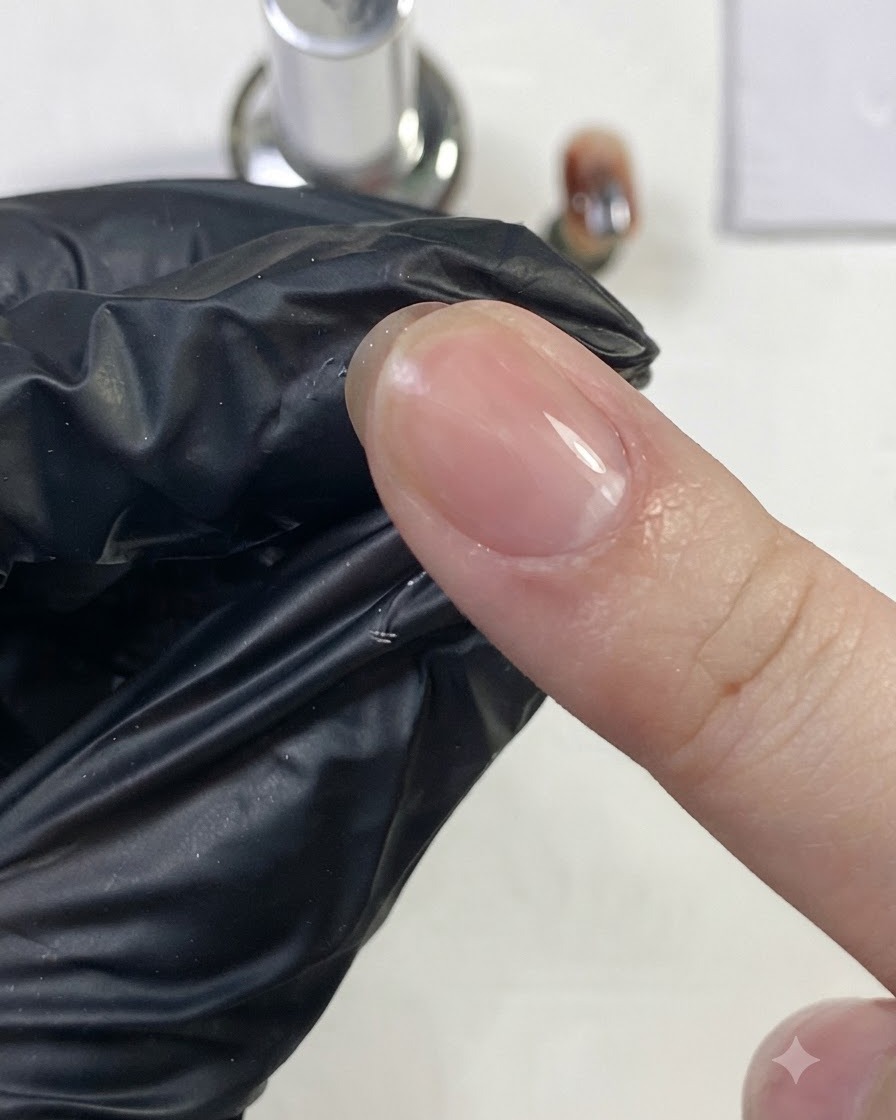
Rub the cured nail surface firmly with a finger to show stain resistance and clarity. Rubbing repeatedly does not affect the transparency or finish of the top coat.
Tip: Rubbing the surface repeatedly confirms that the finish remains crystal clear and stain-resistant.