Gold and Black Butterfly Cat-Eye Nails — Step-by-Step Tutorial
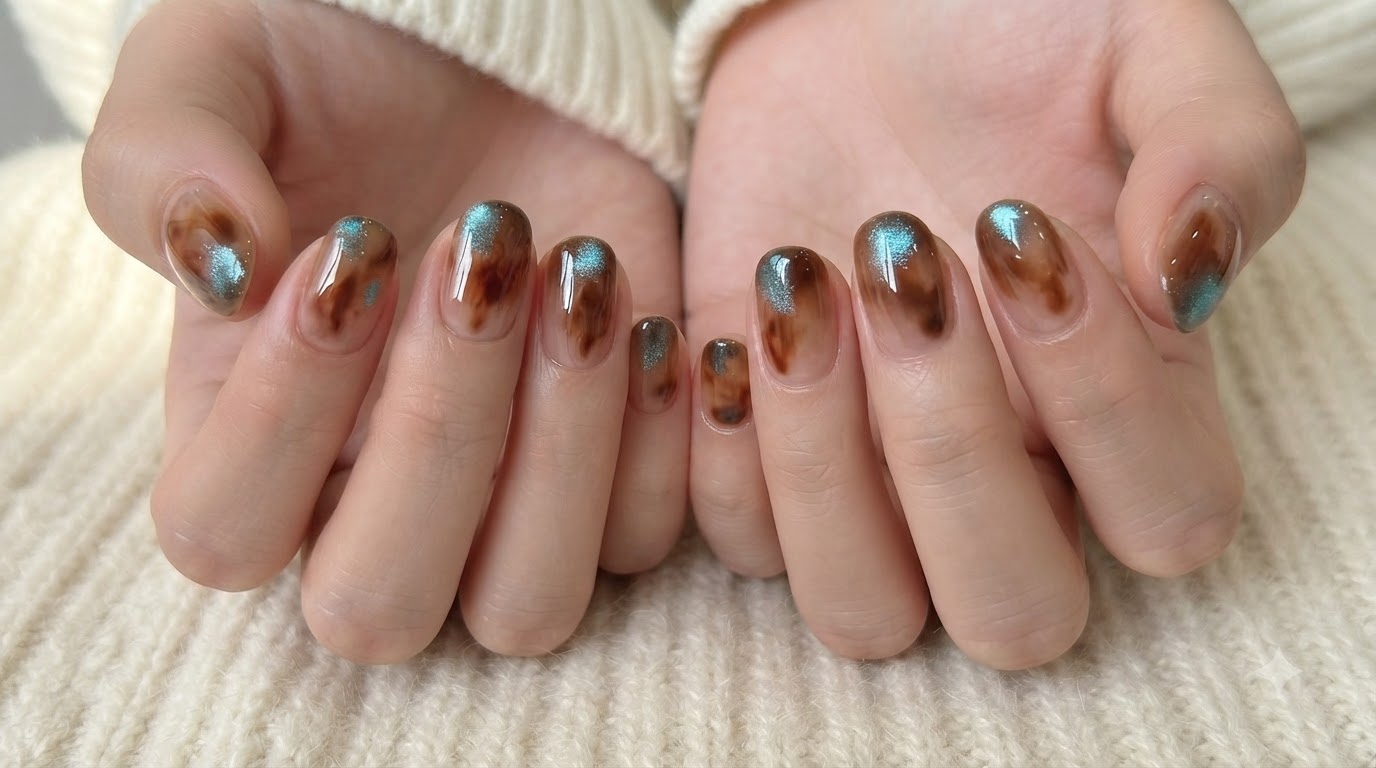
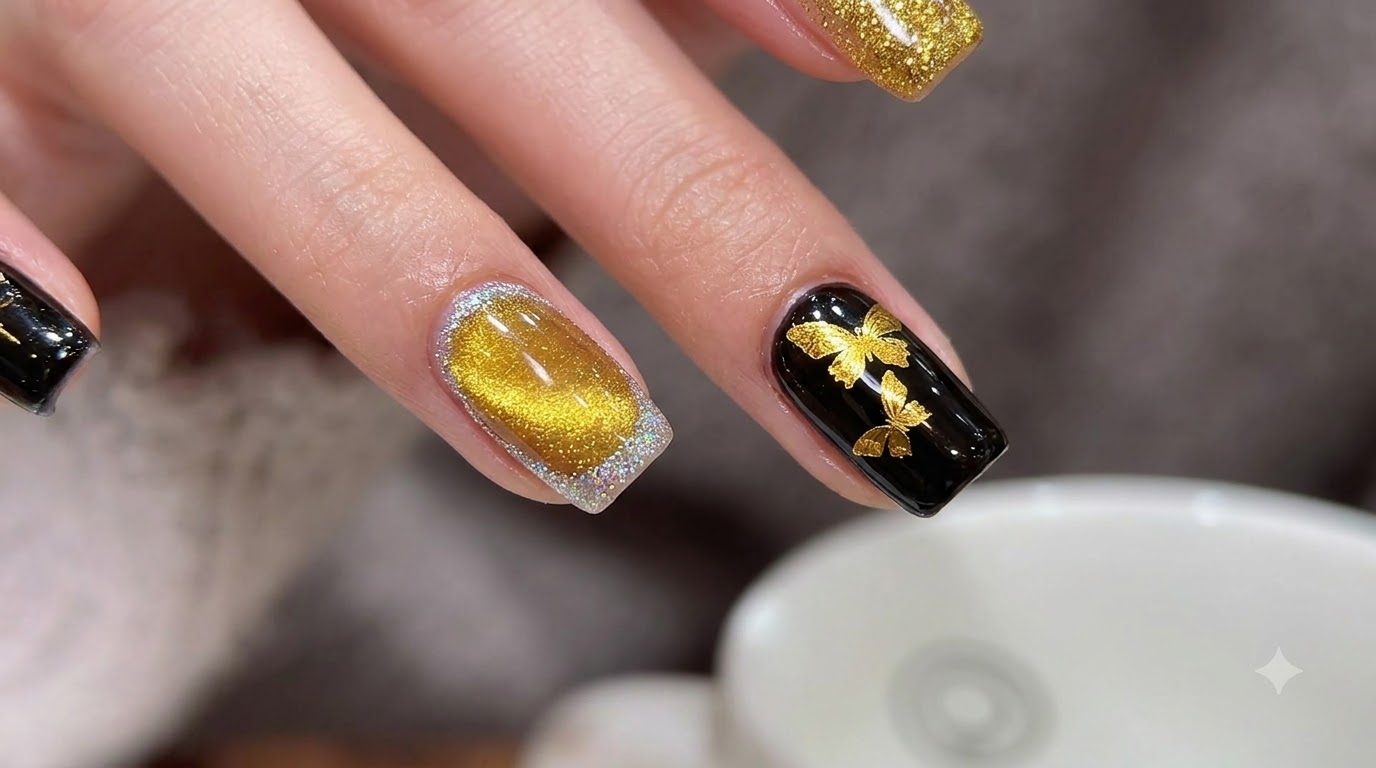
Create a stunning luxury manicure featuring shimmering gold magnetic cat-eye polish, bold black accents, and delicate gold butterfly stickers.
Combining the mesmerizing dimension of magnetic cat-eye gel with elegant black contrast and metallic butterfly accents, this nail look offers a sophisticated yet trendy style. Perfect for special occasions or whenever you want your manicure to make a bold statement.
Steps
- 1Apply gold glitter to nail tips
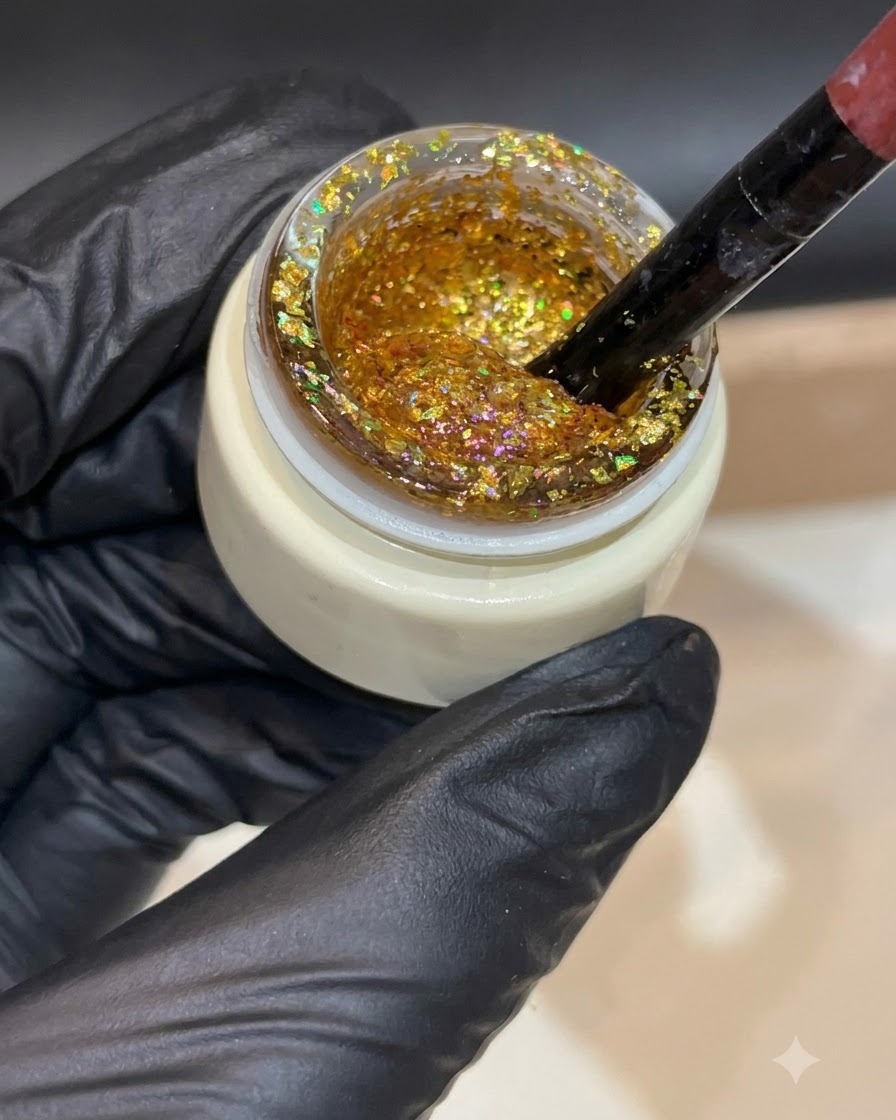
Dip your fine brush into the pot of thick gold glitter gel, picking up a generous amount of sparkle. Carefully dab and drag the product onto the tip of the nail, distributing the flakes evenly to set up a bold glitter gradient effect. Work gently to keep the edges clean and controlled.
Tip: Tap the brush lightly rather than dragging it heavily to ensure the glitter flakes disperse evenly across the tip without clumping. - 2Apply sheer nude base polish
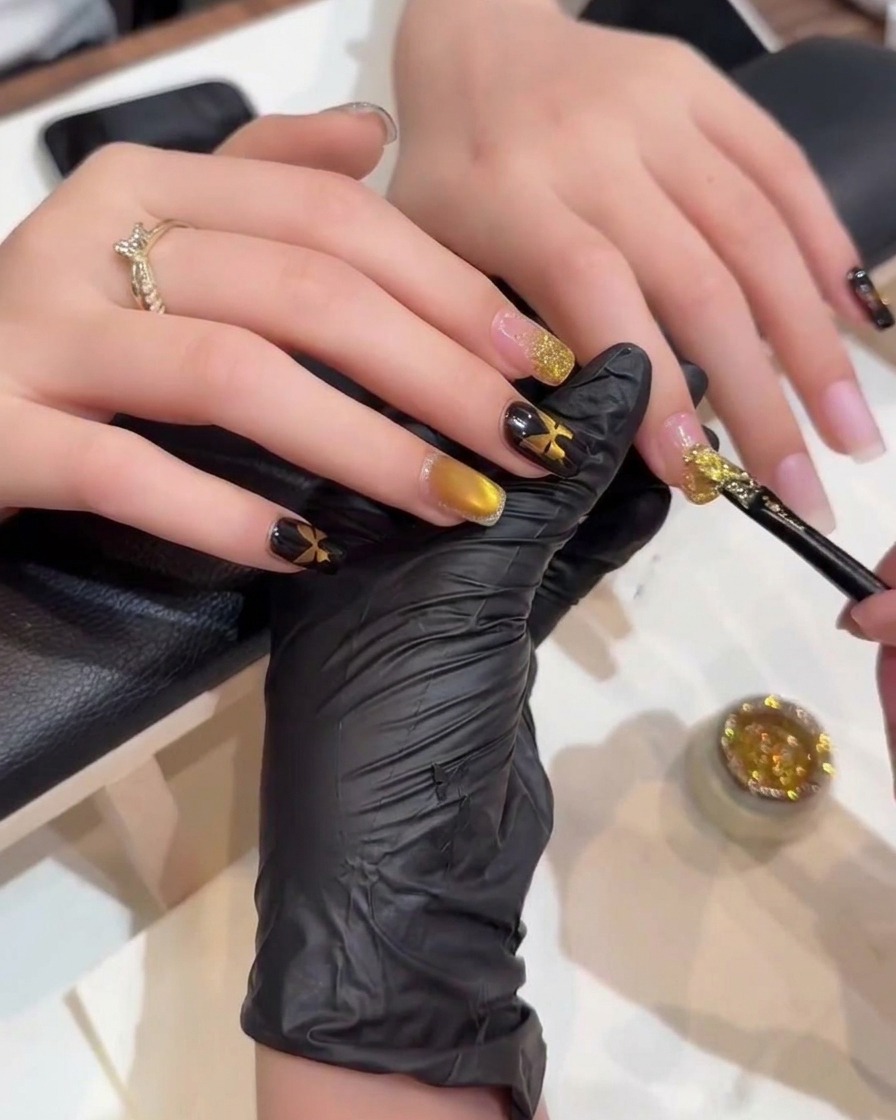
Take your sheer nude polish and apply an even, smooth layer across the entire nail plate. This creates a natural, translucent foundation that allows the underlying nail bed to peek through while softening the overall contrast for the upcoming nail art designs.
Tip: Keep the coat thin and uniform to prevent pooling near the cuticles and ensure a smooth surface for subsequent layers. - 3Apply Gold Glitter Gradient Tips
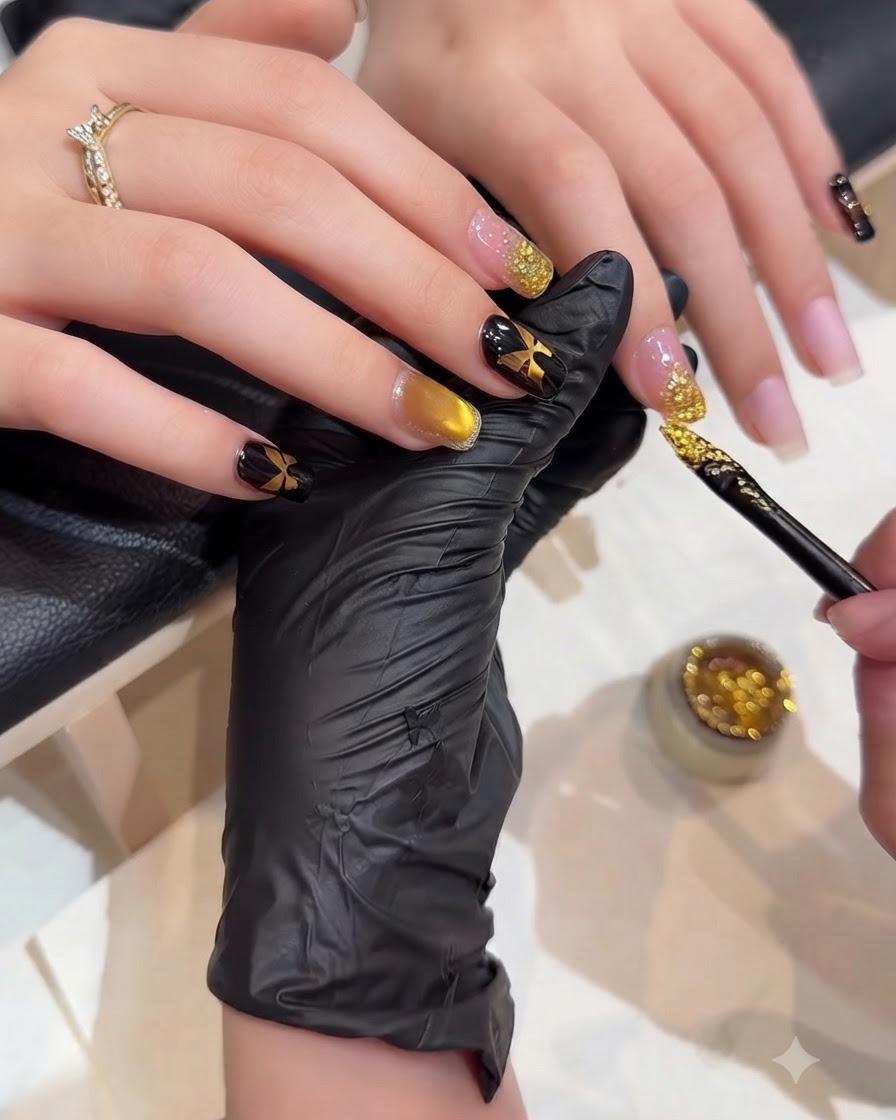
Using a fine nail art brush, carefully brush gold glitter gel over the tip of each nail to build up a rich gradient effect. Concentrate the glitter densely at the very edge of the free edge and fade it out toward the center of the nail plate. Flash cure under a UV or LED lamp as needed to set the glitter in place before proceeding.
Tip: Tap the brush lightly instead of dragging it to achieve an even scatter of glitter particles without clumping. - 4Apply gold magnetic cat-eye gel
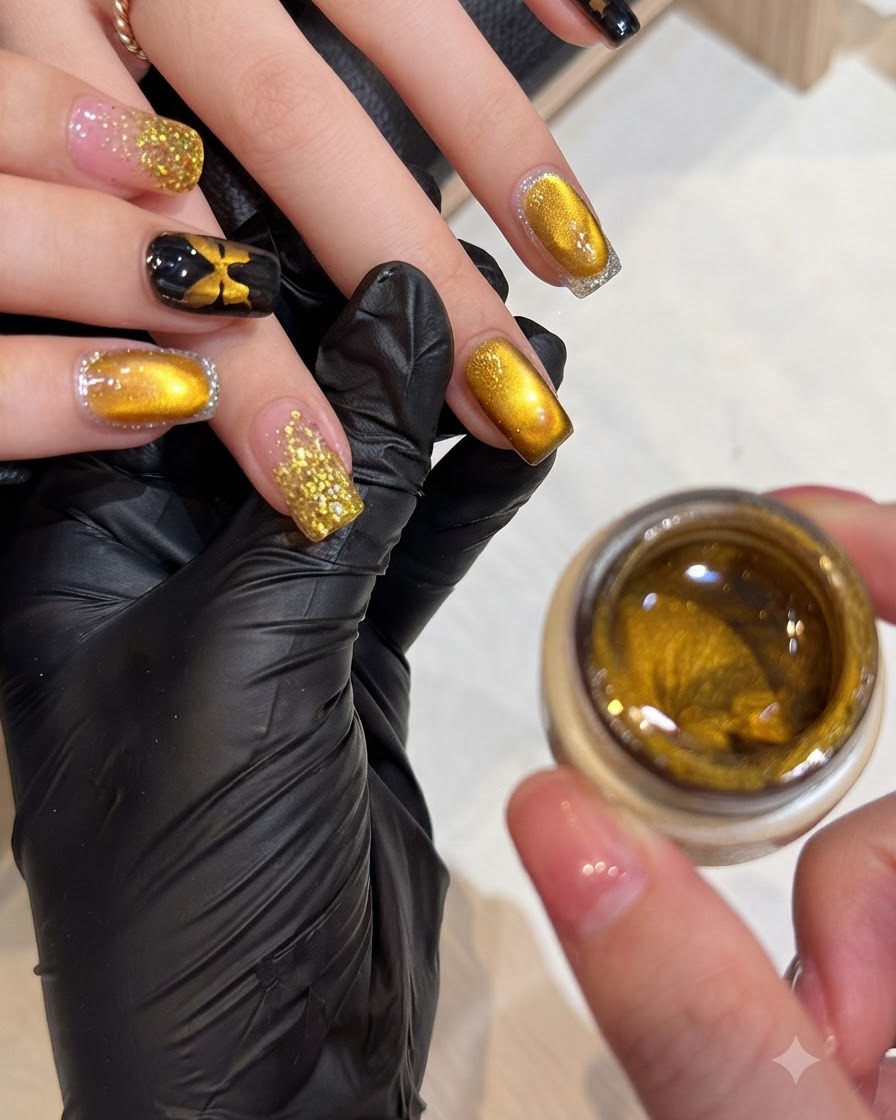
Apply an even, full coat of gold magnetic cat-eye gel polish across the entire surface of the designated nails. The metallic particles suspended within the formula will provide a rich base ready to be magnetized into sharp, reflective dimensions.
Tip: Ensure complete coverage from cuticle to free edge so the cat-eye effect looks uniform and vibrant once activated. - 5Activate the cat-eye effect with a magnet
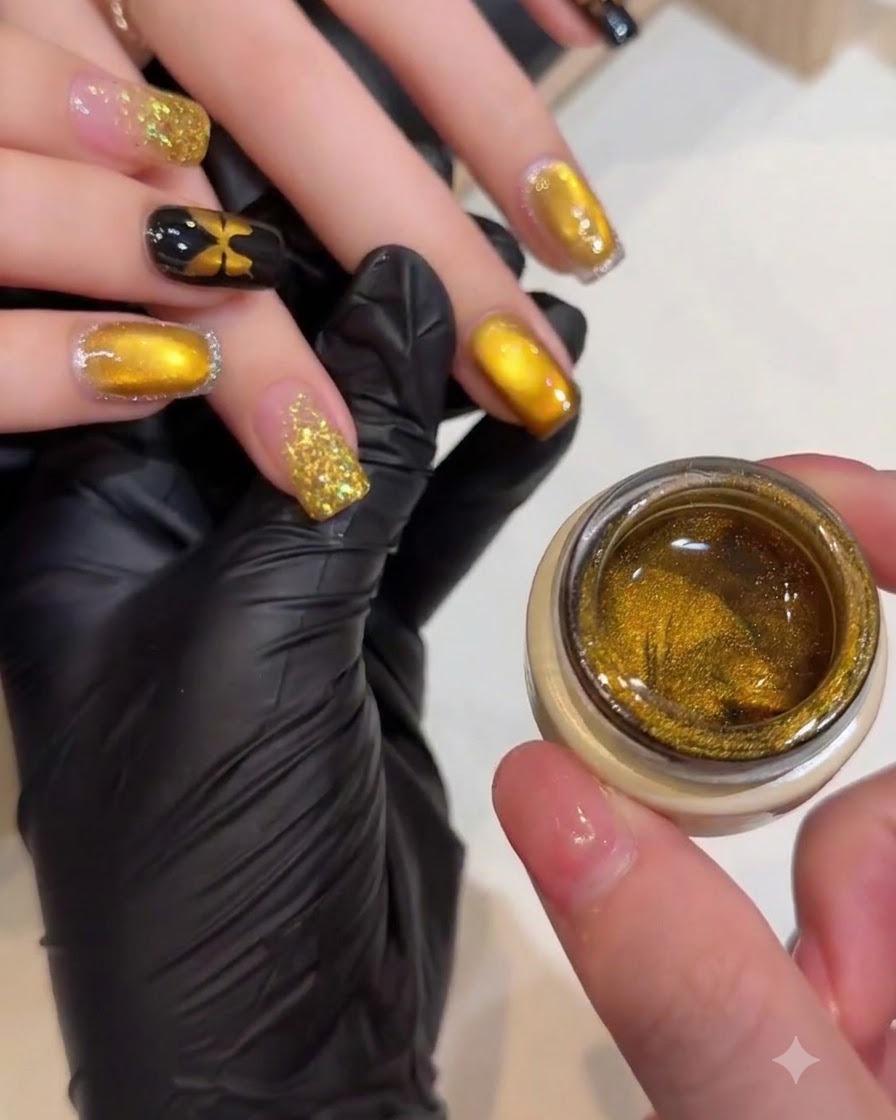
Hold a small magnet tool close to the uncured cat-eye gel without touching the surface. Hover and adjust the magnet to pull the metallic particles into a sharp, luminous reflective line or band down the center of the nail, creating a mesmerizing dimensional glow.
Tip: Hold the magnet steady for a few seconds to let the particles lock into place, and cure immediately afterward so the line doesnt disperse. - 6Paint fine black details with a liner brush
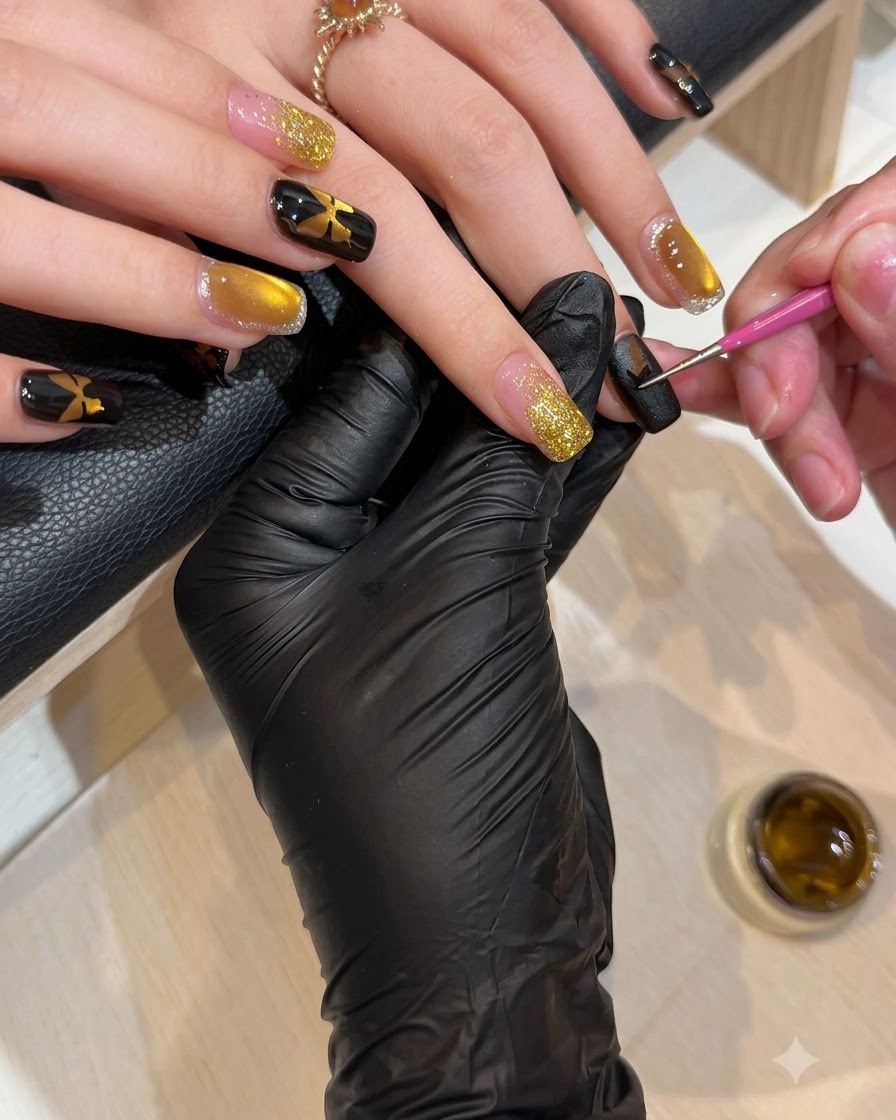
Dip a fine liner brush into black gel polish and carefully draw thin lines or block out specific areas on the designated nails. This precise step establishes a dark background contrast that will make subsequent metallic or decorative elements stand out dramatically.
Tip: Keep your hand anchored on the clients finger or rest station to maintain steady control when drawing fine lines. - 7Apply Gold Butterfly Stickers
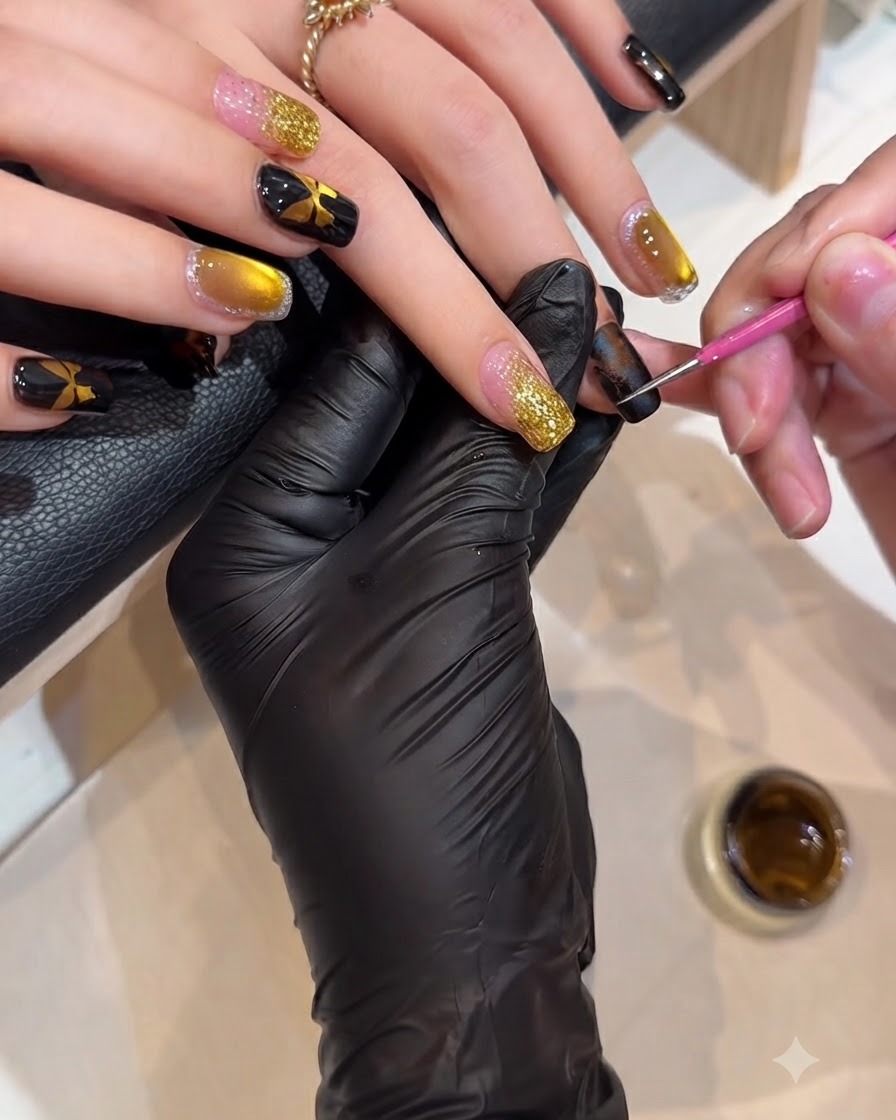
Using precision tweezers, carefully lift and place small gold butterfly sticker decals onto the cured black gel sections of the nails. Press down gently with a silicone tool or your finger to ensure the edges of the stickers adhere smoothly without any lifting or air bubbles. Position them thoughtfully to complement the overall layout.
Tip: Ensure the cured gel surface is free of tacky residue before placing stickers so they stick down securely and flatly. - 8Apply Final Clear Top Coat
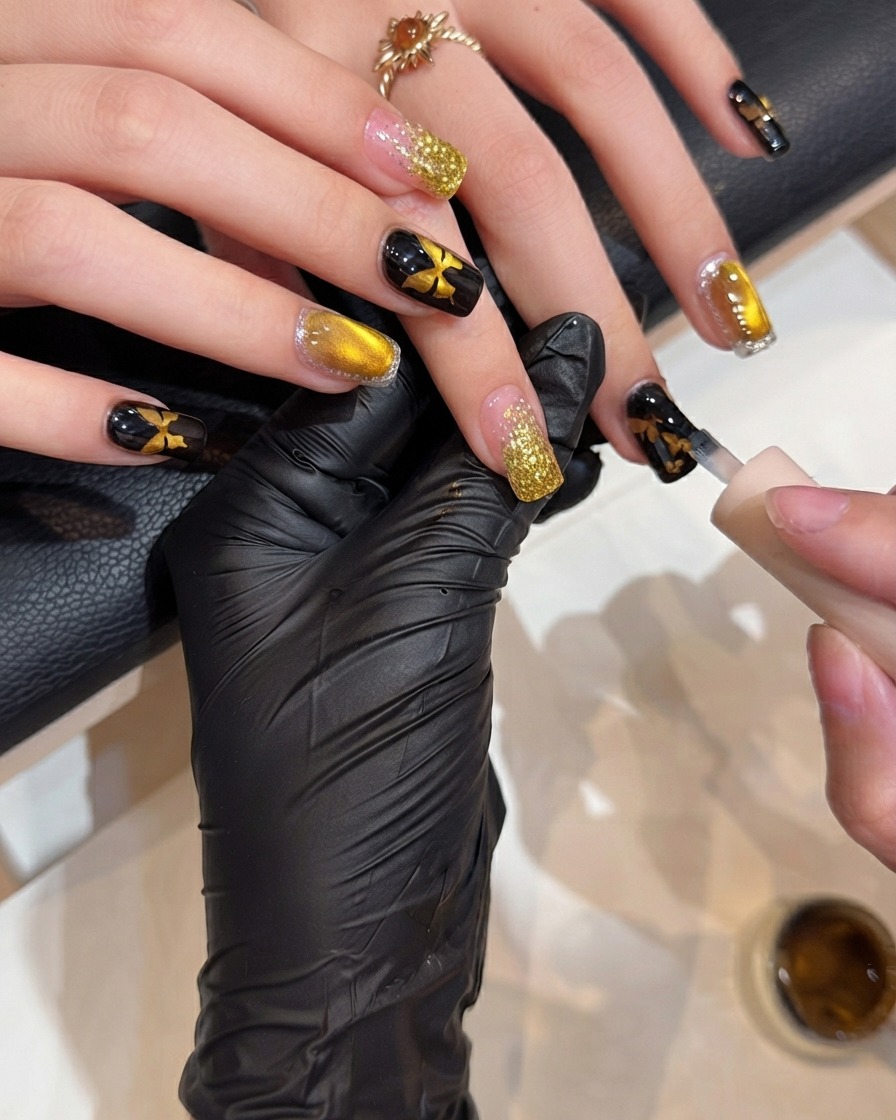
Brush a smooth, even layer of clear gel top coat over the entire nail surface, thoroughly sealing the butterfly stickers and glitter art. Make sure to cap the free edges securely to prevent peeling and ensure long-lasting wear. This layer protects the design and provides a brilliant, glossy finish.
Tip: Apply a slightly thicker top coat layer over sticker decals to completely level out any edges and prevent snagging. - 9Cure Final Top Coat
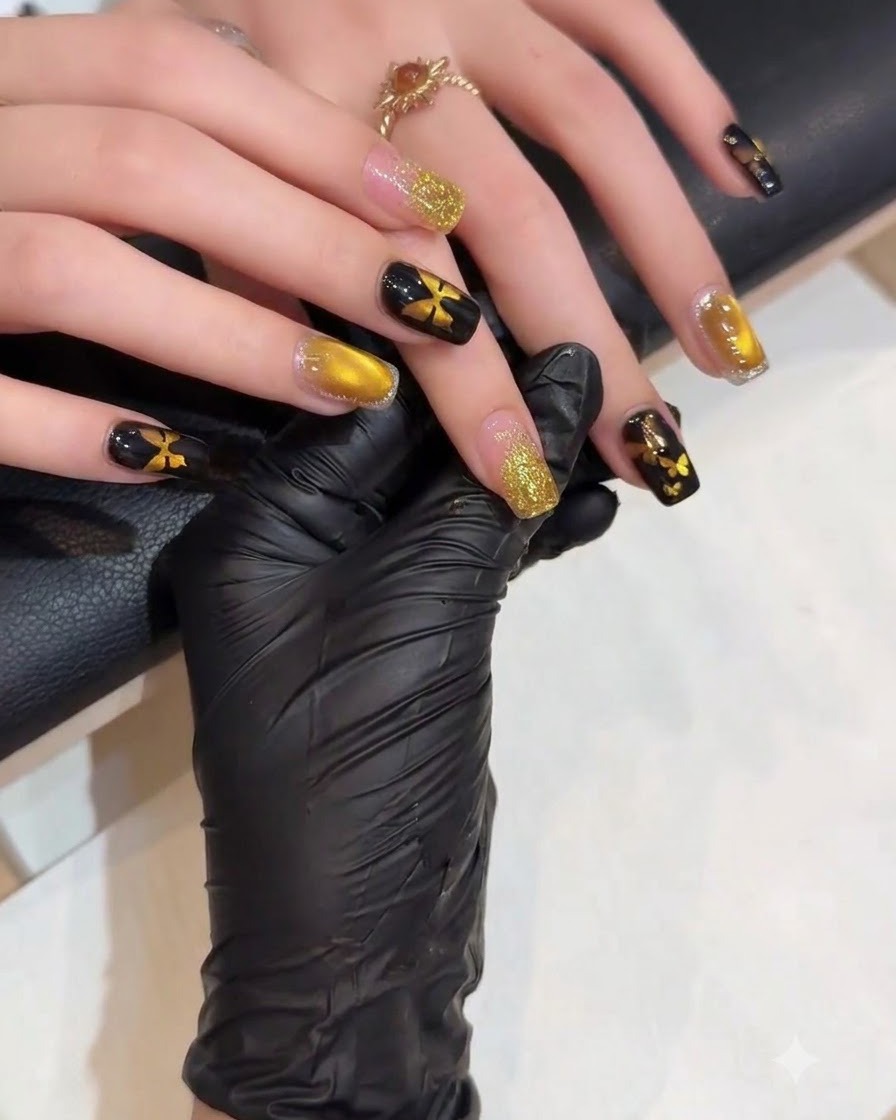
Place both hands under a professional UV or LED lamp to cure the final top coat layer completely. Follow your specific gel polish manufacturers recommended cure time to ensure a fully hardened, high-gloss, and durable finish. Avoid moving the hands during the cure to maintain surface gloss.
Tip: Ensure full hand placement inside the lamp so thumbs and outer fingers cure evenly under the light source.