Spring Bubble Gradient Star Glitter Nails — Step-by-Step Tutorial
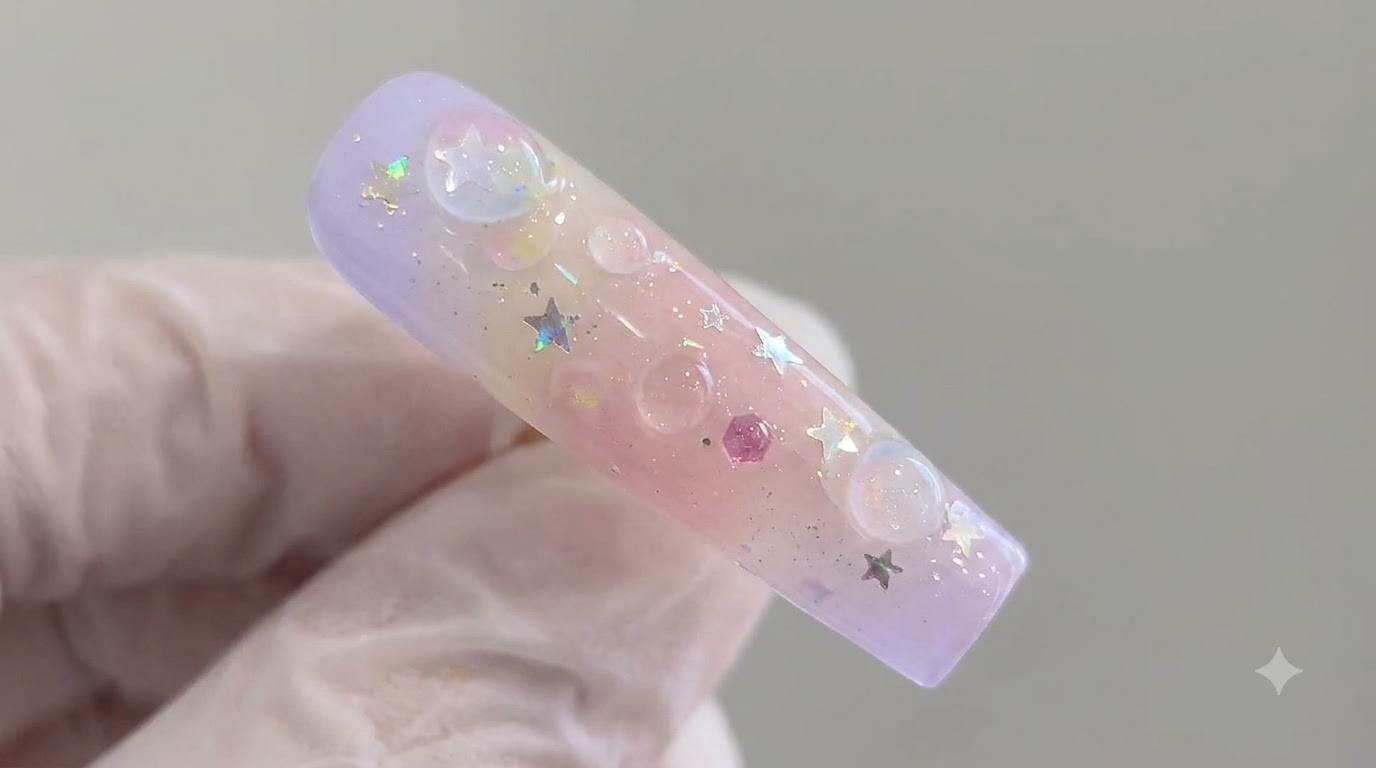
Create a magical spring-inspired manicure featuring a soft pastel gradient, encapsulated star sequins, and 3D luminous bubble art.
Spring is all about whimsical colors and playful textures that capture the fresh, lighthearted energy of the season. This tutorial guides you through crafting a stunning multi-dimensional nail look combining a delicate purple-to-pink gradient, holographic star sequins, and realistic 3D bubbles. By mastering layering and shading techniques with gel products, you can achieve a professional salon finish right at home.
Steps
- 1Apply and blend gradient color gels
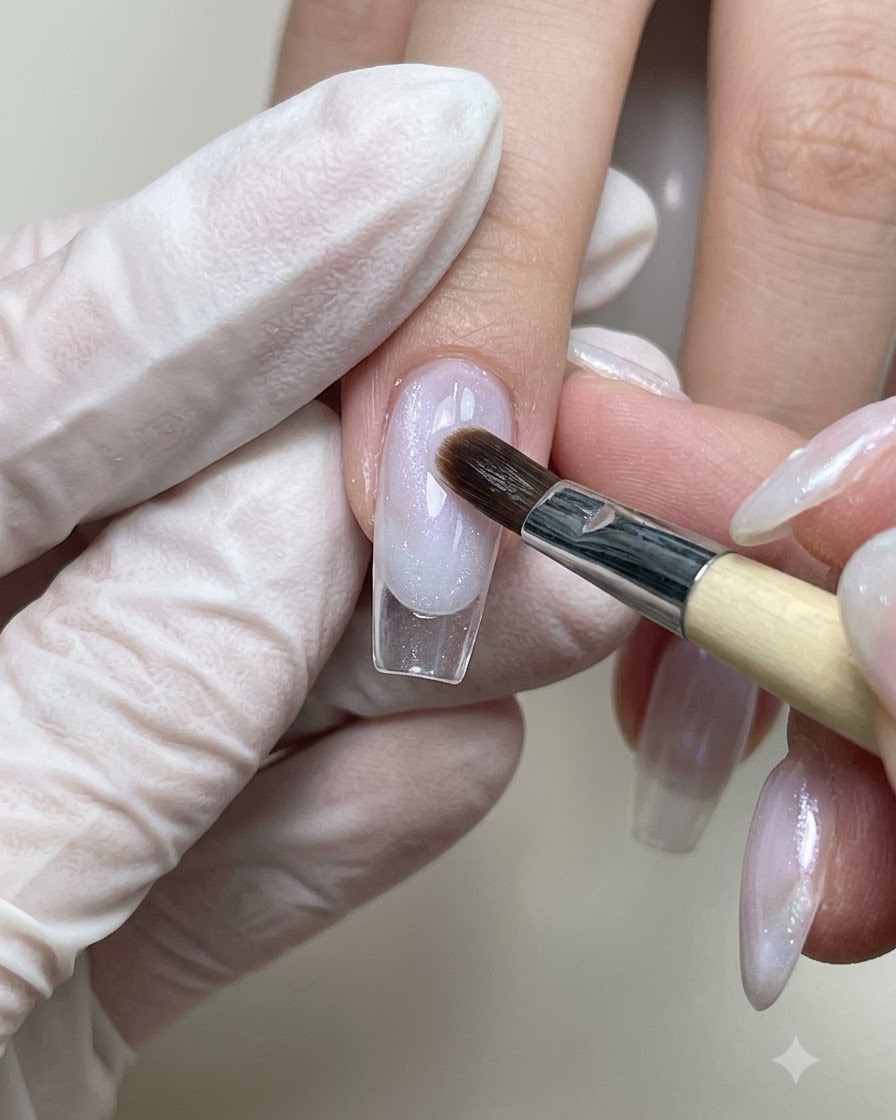
Apply South France Holiday color gels N08, N10, and N28 onto the nail plate. Use a dedicated nail art brush to carefully blend the colors together to create a smooth, spring-inspired gradient effect.
Tip: Work with thin layers when blending multiple color gels to prevent pooling and achieve a seamless transition between shades. - 2Cure the gradient color layer
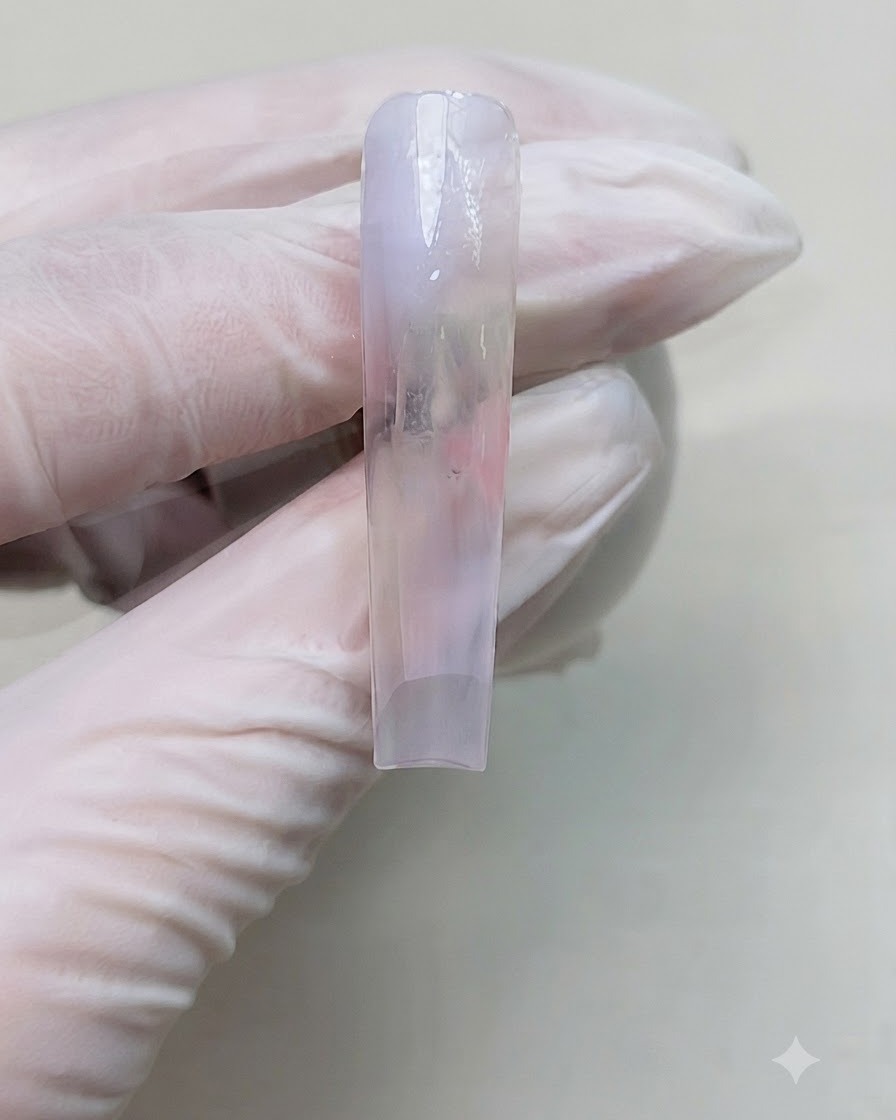
Place the hand under the Y1 portable nail lamp to cure the freshly blended gradient color layer. Ensure the light covers the entire nail plate so the gel sets properly before moving on to the next application.
Tip: Hold or position the Y1 portable nail lamp steadily over the nail to ensure uniform curing without shifting the gel. - 3Intensify the gradient shade
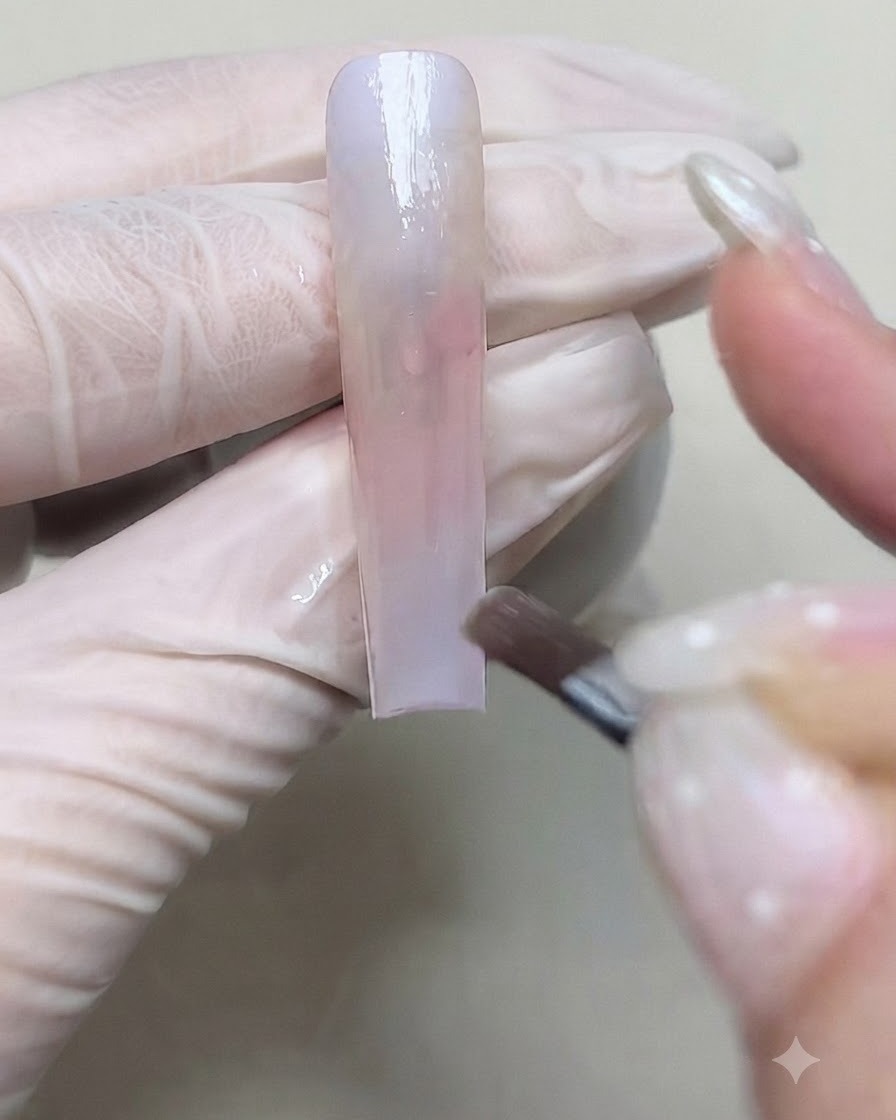
Apply an additional layer of color gel to deepen and enrich the color intensity of the gradient shade. Blend softly with a brush to maintain the smooth transition established in the previous steps.
Tip: Building color intensity through multiple thin layers provides a more vibrant and professional finish than one thick coat. - 4Place star glitter sequins
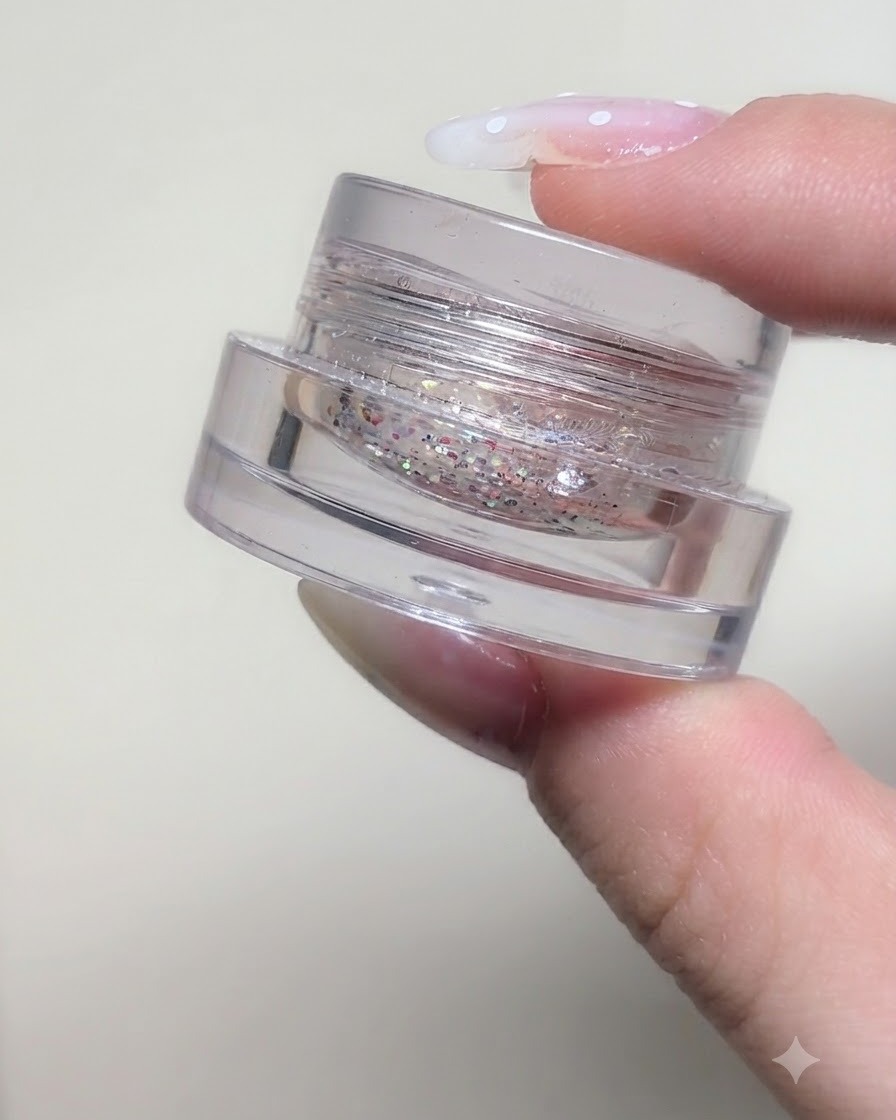
Select star glitter sequins from the Fairy Tale series L55 collection and carefully place them onto the nail surface. Arrange them creatively to add a magical, starry element to the spring-inspired design.
Tip: Use a wax picker tool or a fine dotting tool slightly moistened to easily pick up and position delicate sequins. - 5Encapsulate sequins with base gel
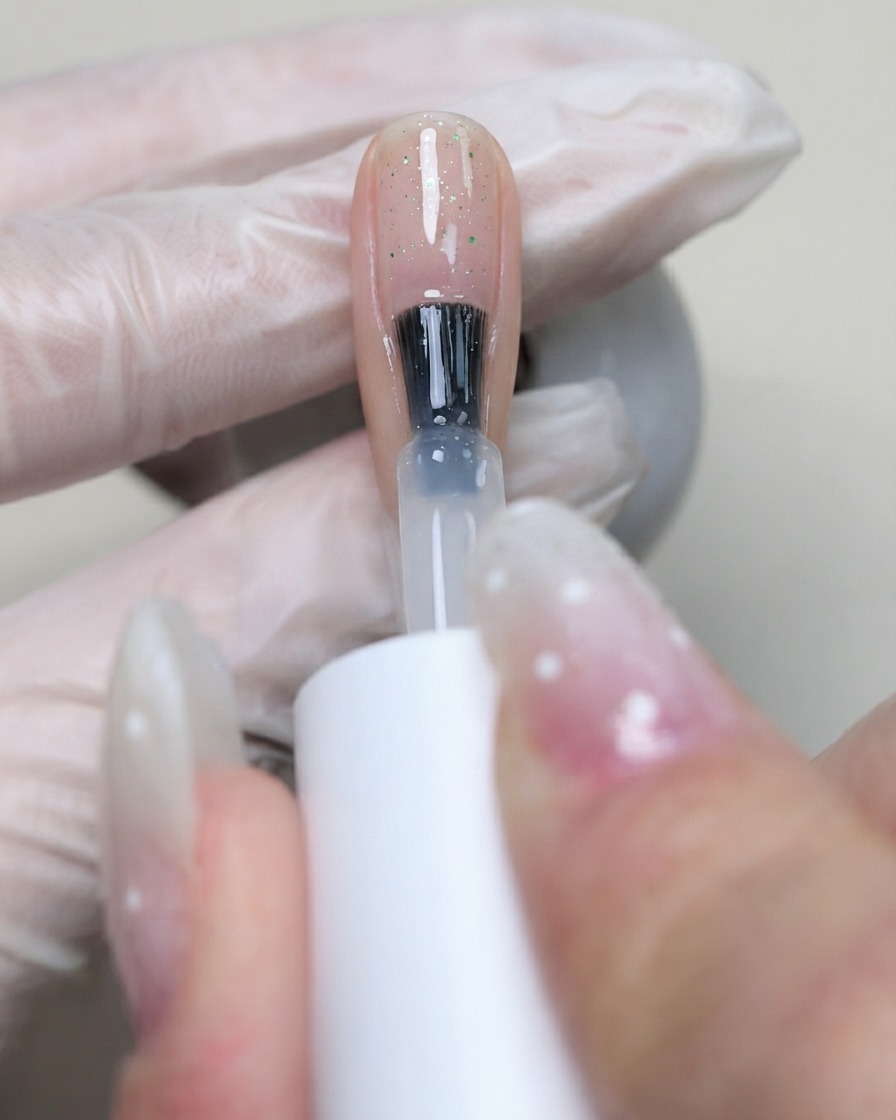
Apply a protective layer of C7 flexible base gel over the entire nail surface to securely encapsulate the star sequins. This locks the embellishments in place and provides a smooth foundation for subsequent nail art steps.
Tip: Ensure the C7 flexible base gel completely covers the edges of the sequins to prevent any sharp corners from catching or lifting later. - 6Draw base circles for bubble effect
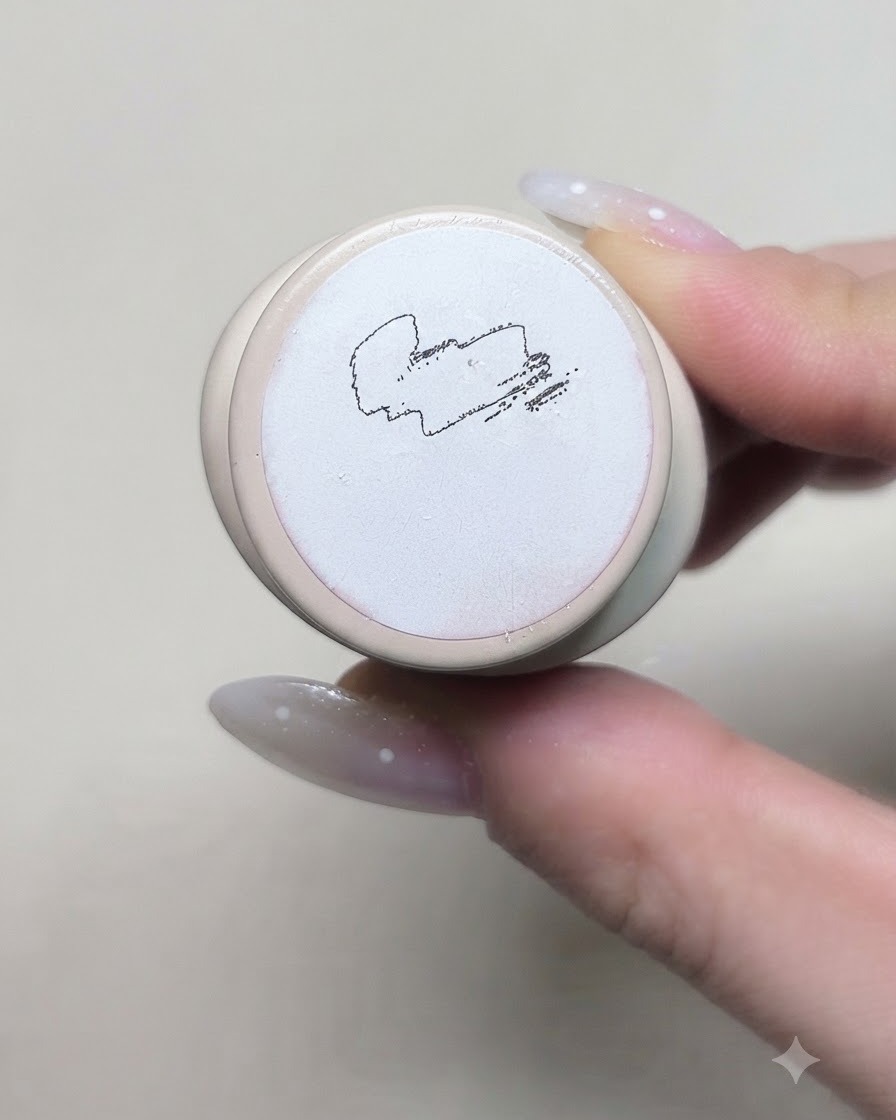
Using cream nail art gel number 24, draw small circles of varying sizes on the nail to establish the foundation for the bubble nail art effect. Carefully blend their inner edges to give them a hollow, transparent bubble appearance.
Tip: Keep the outer lines of the bubbles fine and delicate so they look realistic and dimensional. - 7Blend bubble inner edges
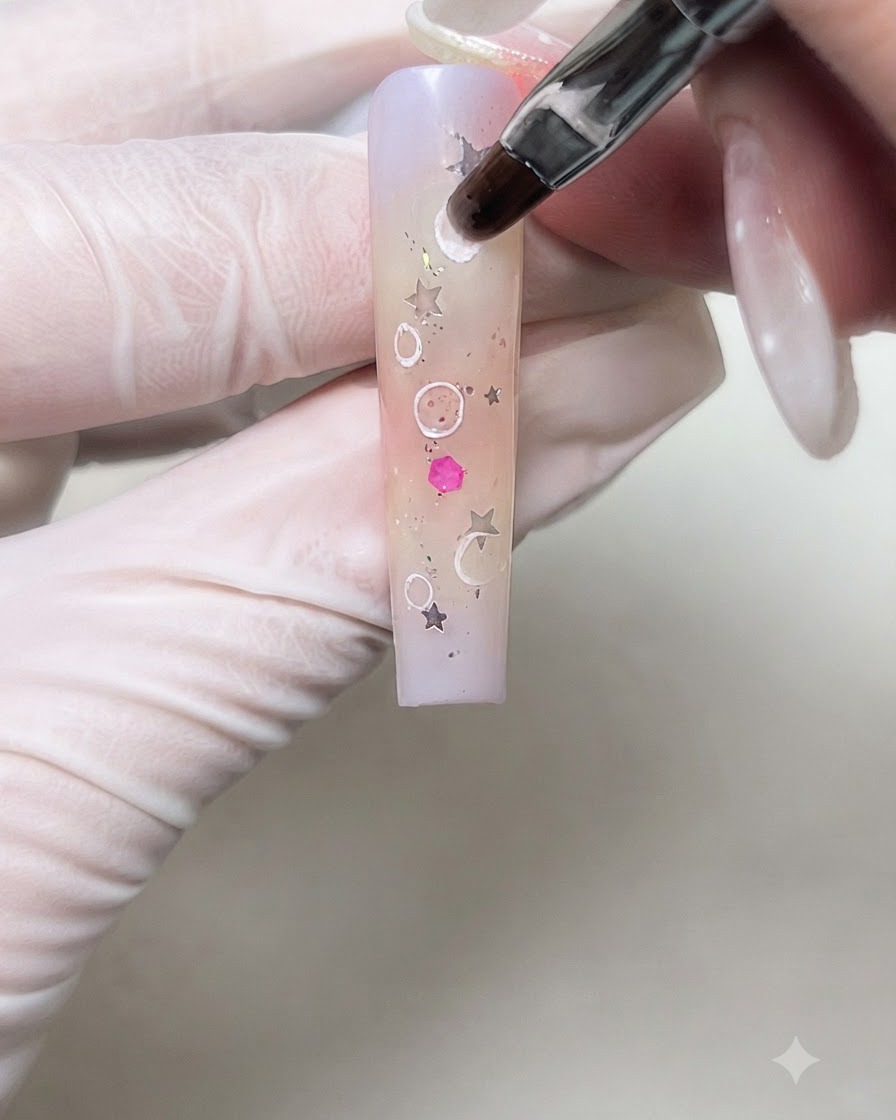
Using a fine nail art brush, gently blend the inner edges of the drawn circles to soften the lines and create realistic bubble shapes with a luminous dimension.
Tip: Keep your strokes light so you do not wipe away the cream gel lines entirely. - 8Outline bubbles with color
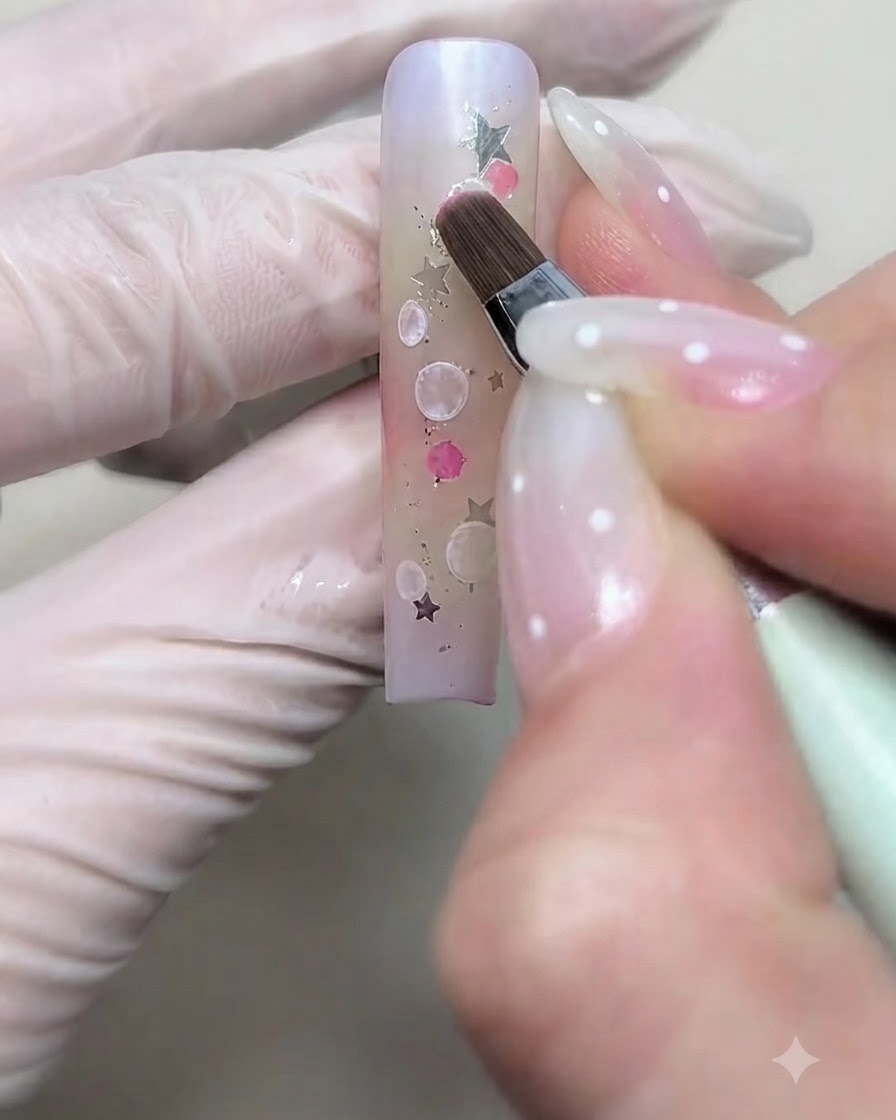
Apply South France Holiday color gels N15, N28, and N36 around the perimeter of the bubbles to introduce subtle shading and depth. This creates a realistic light refraction effect around the bubble outlines.
Tip: Use a minimal amount of color gel to keep the outlines delicate and transparent. - 9Apply encapsulation layer
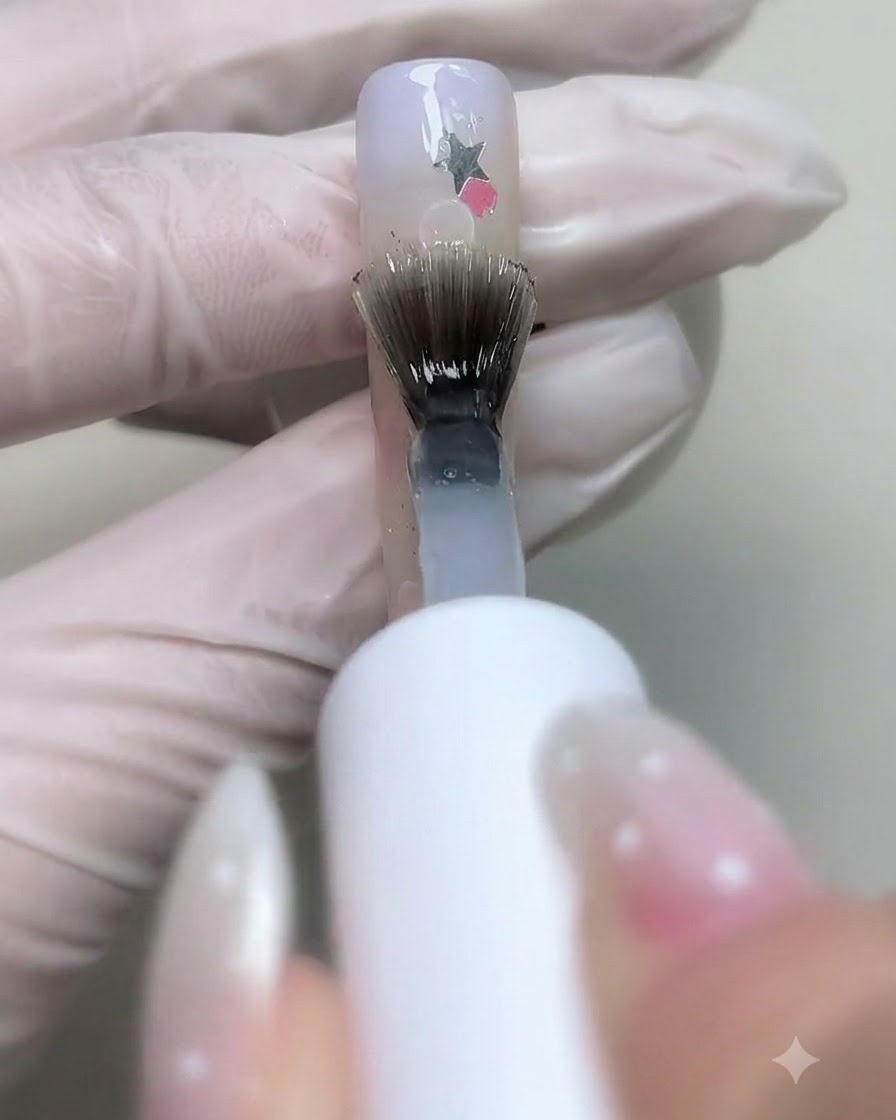
Apply a smooth layer of C7 flexible base gel over the entire nail design to fully encapsulate the underlying elements and bubbles. Cure under the Y1 portable nail lamp to lock everything in place.
Tip: Ensure complete coverage over all raised art pieces to create a smooth, even surface for the next step. - 10Draw larger bubbles
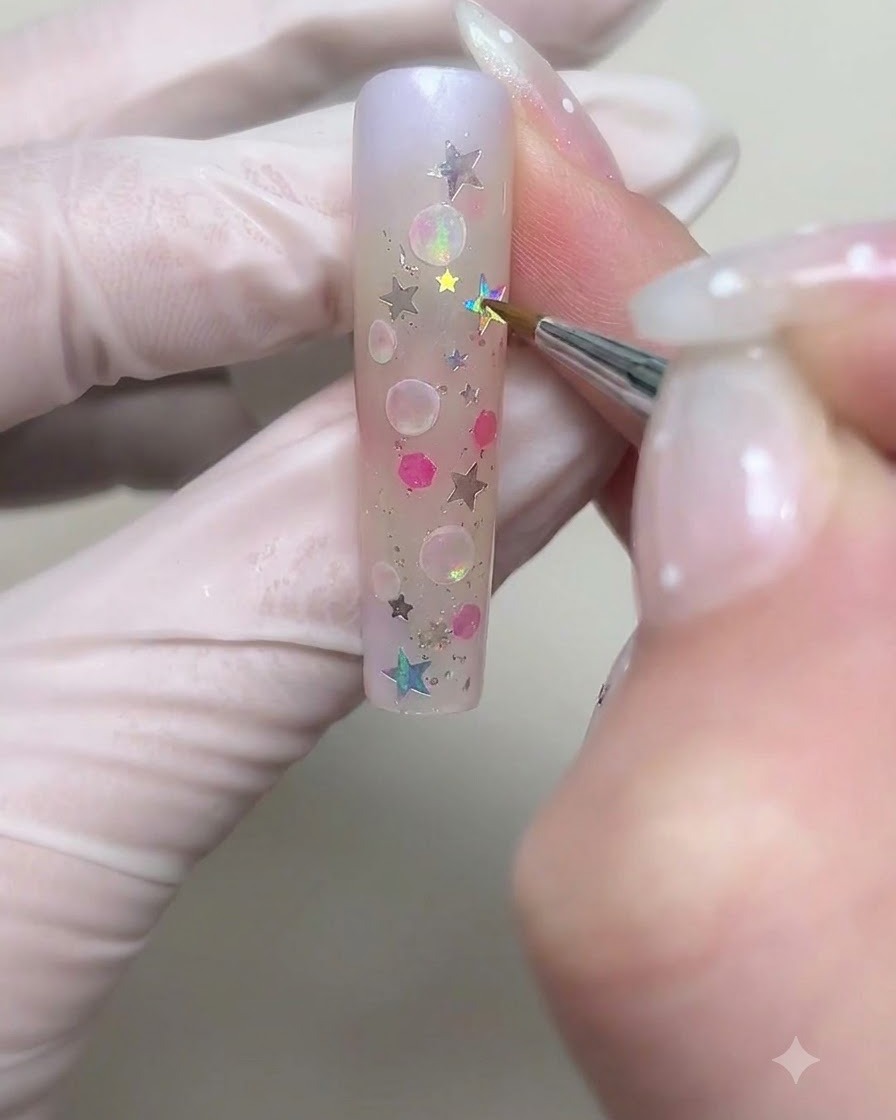
Using the cream nail art gel, draw a new series of larger bubbles across different sections of the nail surface. Varying the size and placement of the bubbles adds dynamic depth and visual interest to the design.
Tip: Space the larger bubbles so they overlap or sit alongside the smaller ones for a natural clustered look. - 11Apply Additional Star Sequins
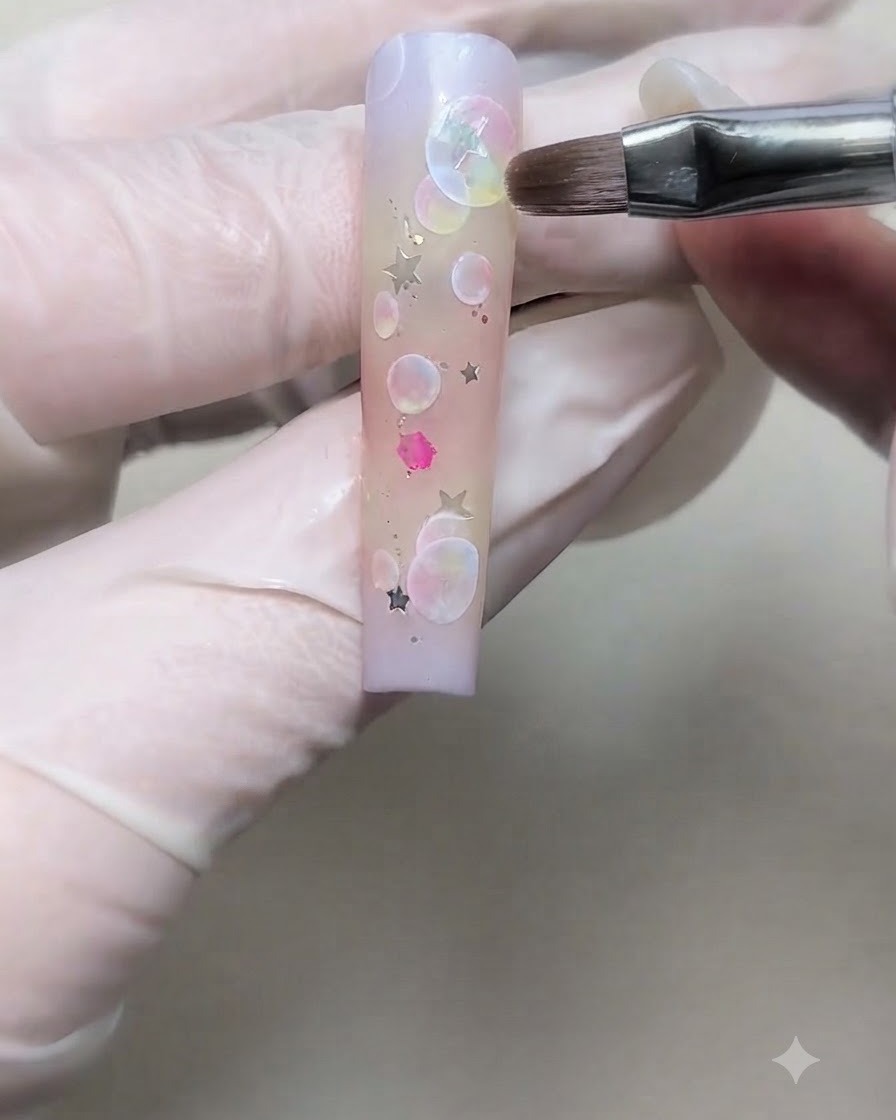
Carefully pick up and place additional star-shaped glitter sequins onto specific areas of the nail design to enhance the sparkling, magical theme. Press them securely into the uncured or tacky gel layer so they remain firmly in place before the final encapsulation step.
Tip: Use a wax picker pencil or fine tweezers for precise placement of small glitter sequins.