Orange Flame Nail Art
Silver Glitter Accents — Step-by-Step Tutorial
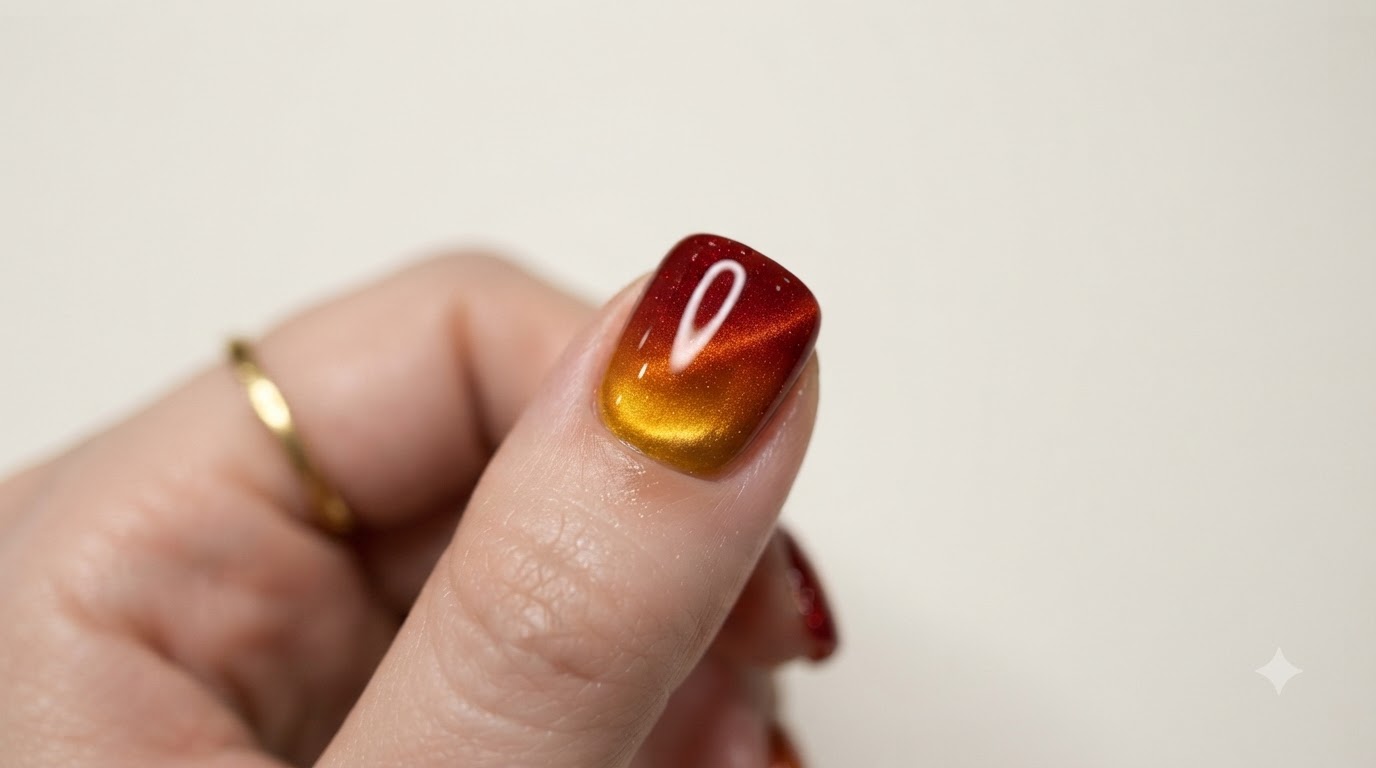
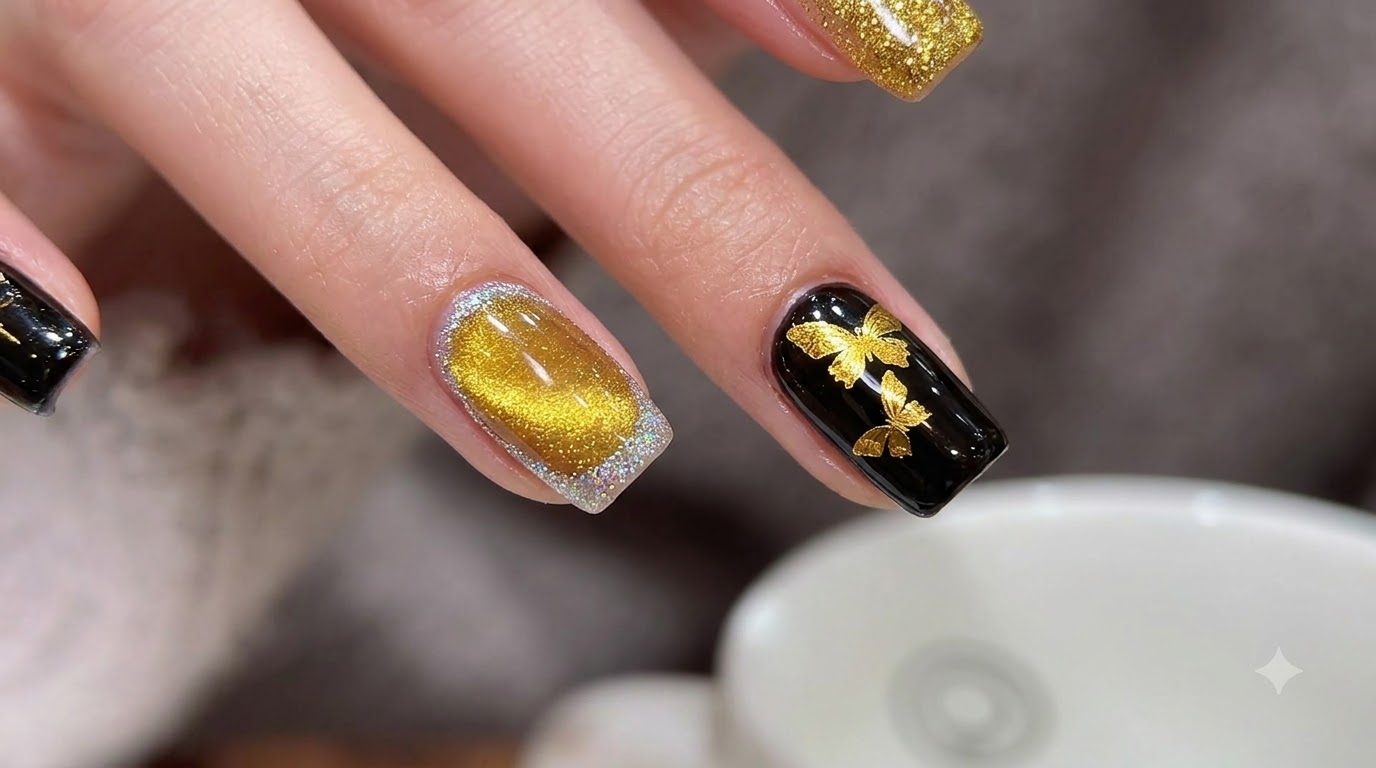
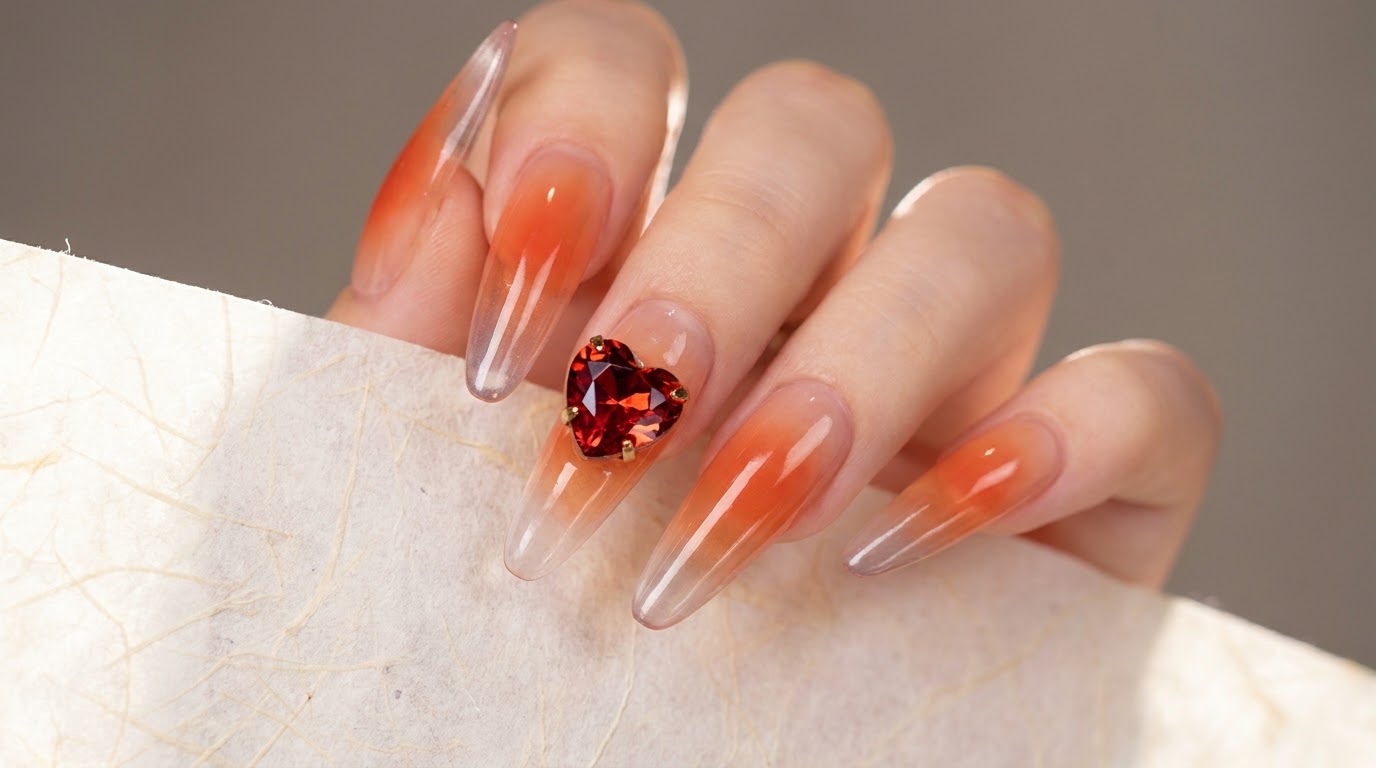
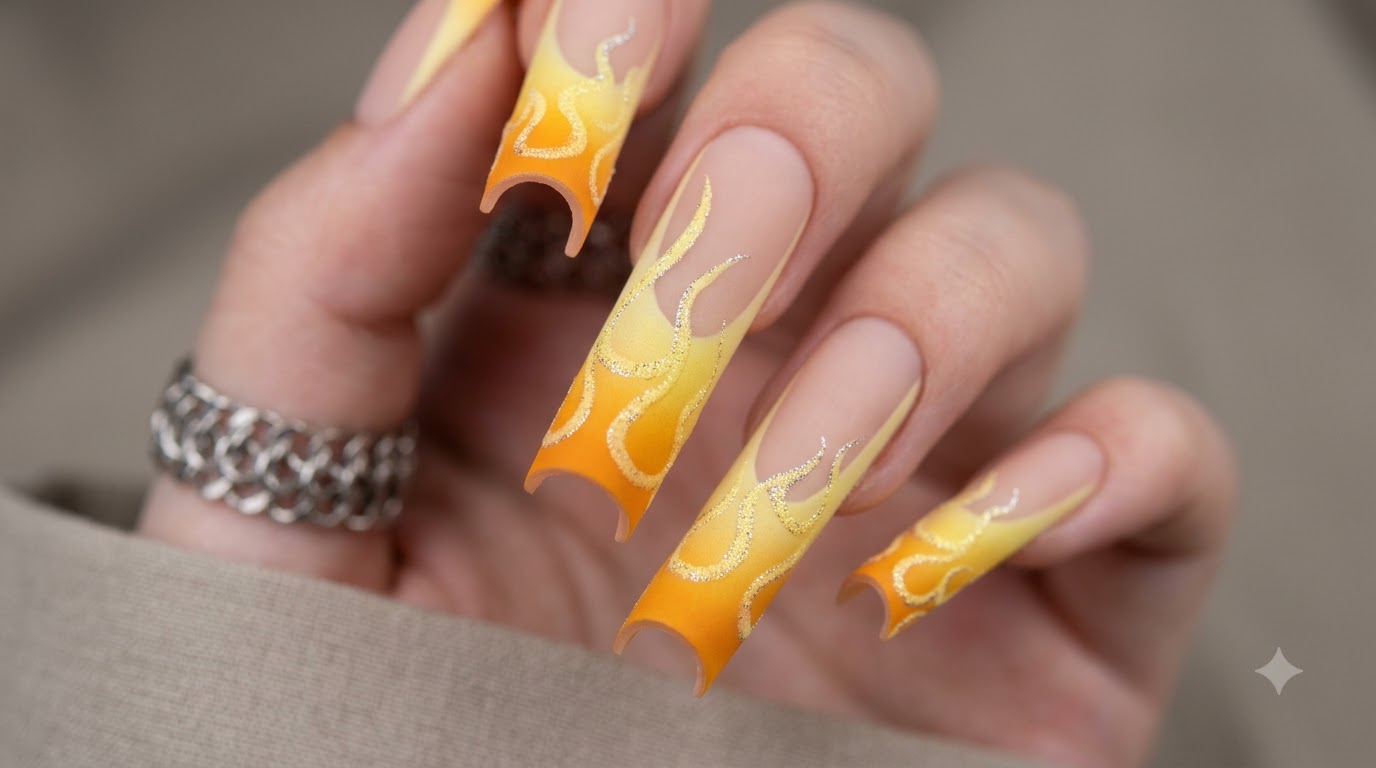
Master edgy hot girl orange flame nail art featuring vibrant gradient colors, sparkling silver glitter outlines, and a trendy matte finish.
Flame nail art combined with gradient orange and yellow tones has captured the spotlight as a go-to Western style statement. This edgy look brings together vibrant pigments and sparkling silver glitter details set against a chic nude matte base for high fashion impact.
Steps
- 1Display the nail tip
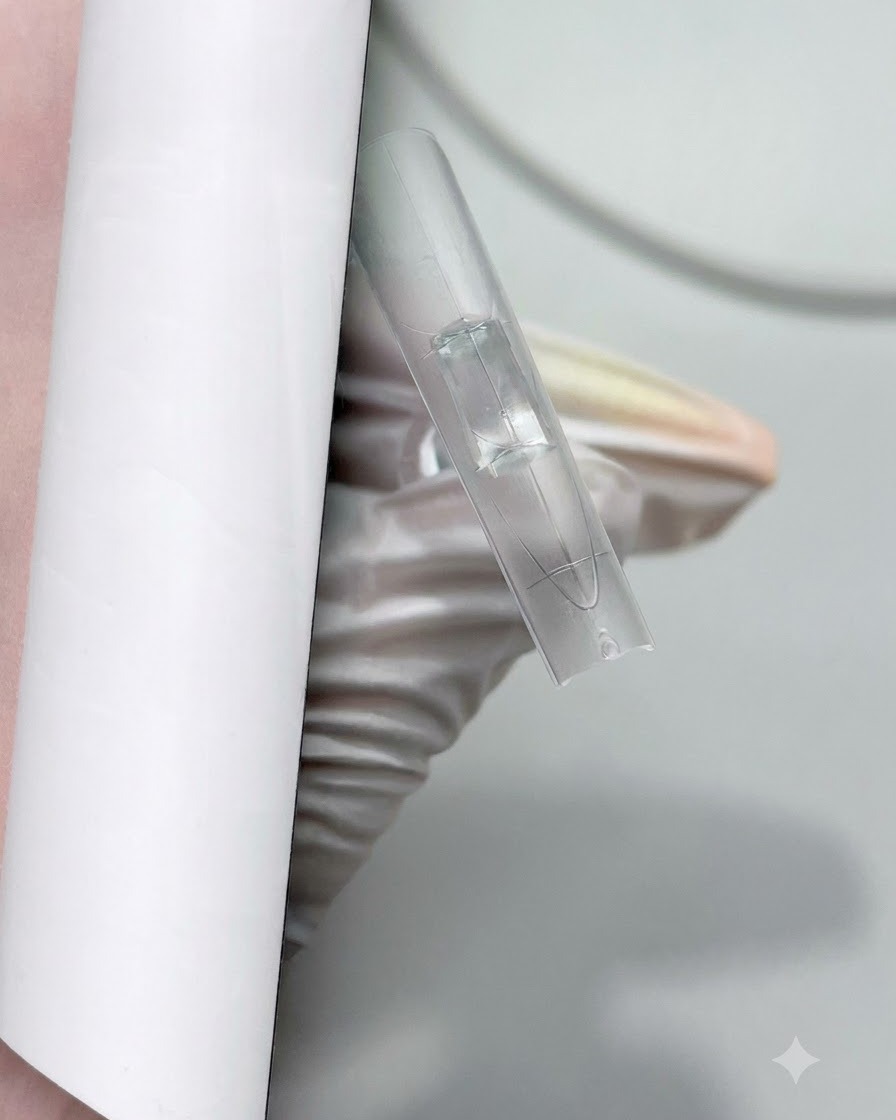
Secure a clear long square nail tip onto a dedicated practice stand. This setup allows you to comfortably hold and stabilize the nail while applying various gel colors, powders, and fine-line nail art designs without smudging.
Tip: Ensure the nail tip is firmly mounted on the stand so it does not wobble during detailed brushwork. - 2Apply nude base gel polish
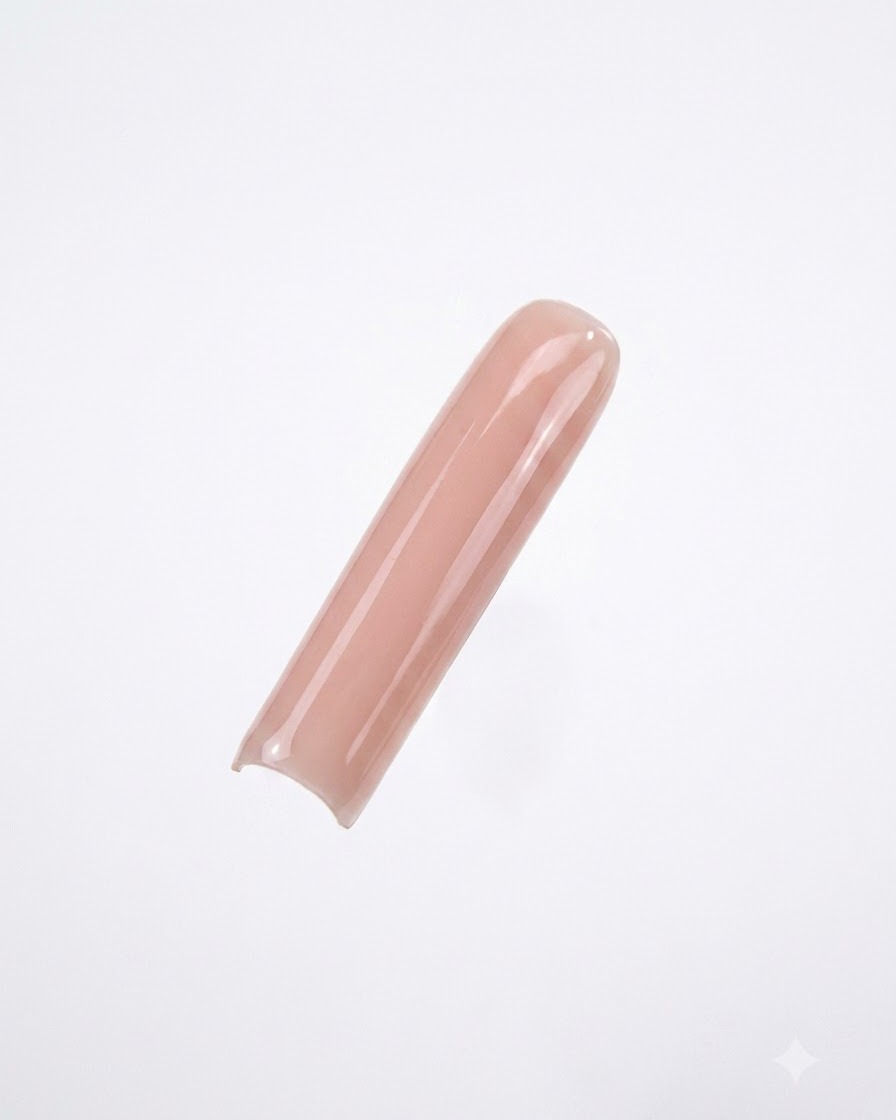
Apply an even coat of nude base gel polish over the entire surface of the clear nail tip. Ensure the color is smooth and covers evenly from the cuticle area to the free edge without pooling or streaking. Cure under your UV or LED lamp according to the product guidelines to set the foundation color.
Tip: Make sure your base layer is smooth and well-leveled, as any bumps or streaks will show through subsequent layers. - 3Apply yellow gel polish for French tip
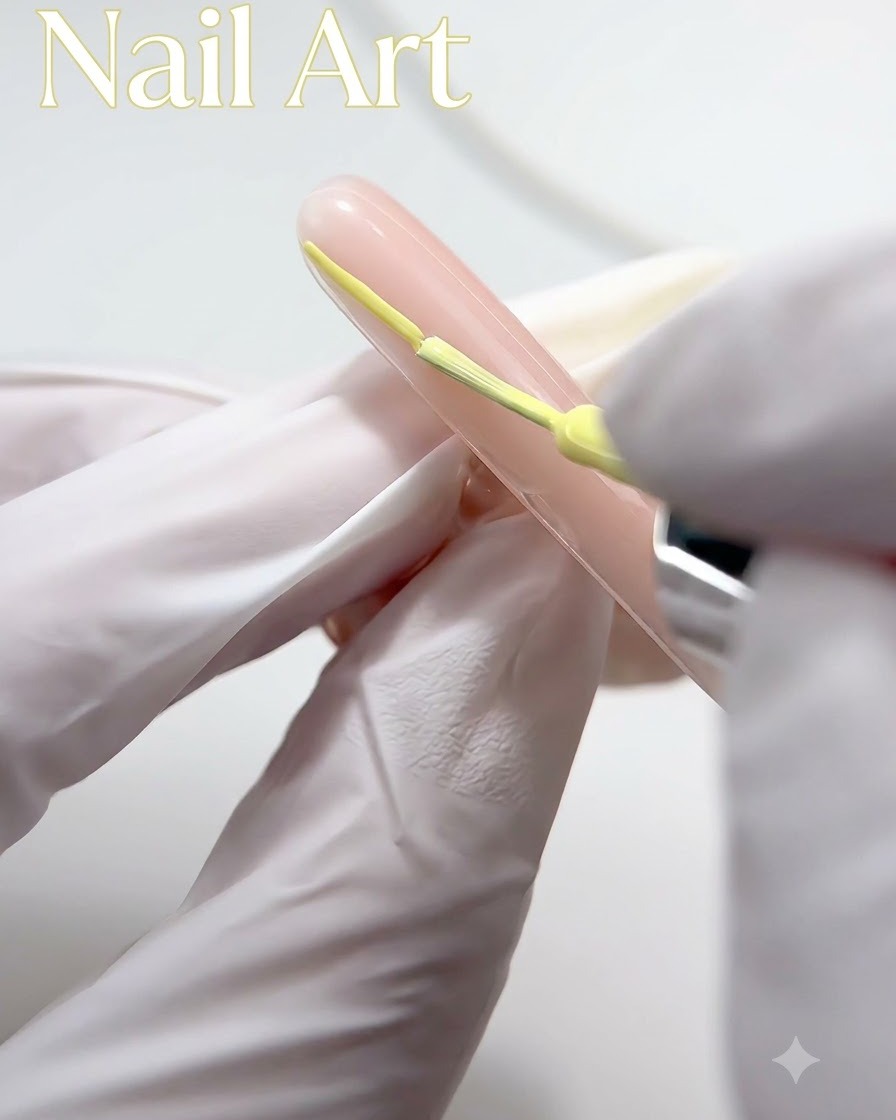
Using a fine nail art brush and yellow gel polish, carefully draw a French tip line across the upper edge of the nail. Fill in the lower part as indicated by the tutorial design, creating the initial placement for the flame or gradient structure. Keep your lines clean and precise before curing.
Tip: Rest your hand on a stable surface while drawing the French tip line to keep your hand steady and prevent shaky strokes. - 4Blend orange pigment powder
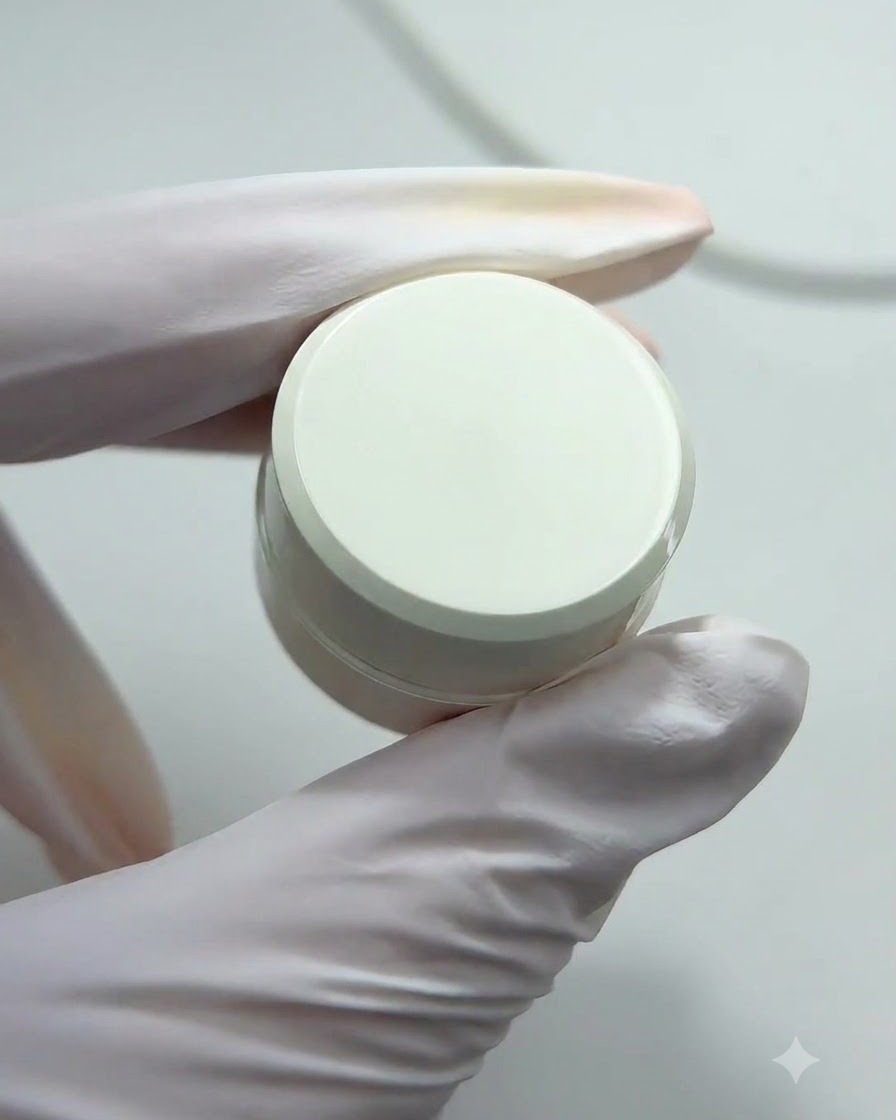
Take a sponge block and pick up orange pigment powder. Gently dab and blend it over the yellow base tip to create a smooth, vibrant gradient effect from top to edge.
Tip: Tap off excess powder from the sponge before applying to avoid harsh patches and ensure an even fade. - 5Intensify the edge gradient
Take a darker orange pigment powder using the sponge block and apply it specifically at the very edge of the nail tip. This adds depth and intensifies the gradient contrast for an edgy look.
Tip: Concentrate the darker pigment purely on the tips edge to maintain a clean transition into the lighter shade. - 6Apply velvet matte top coat
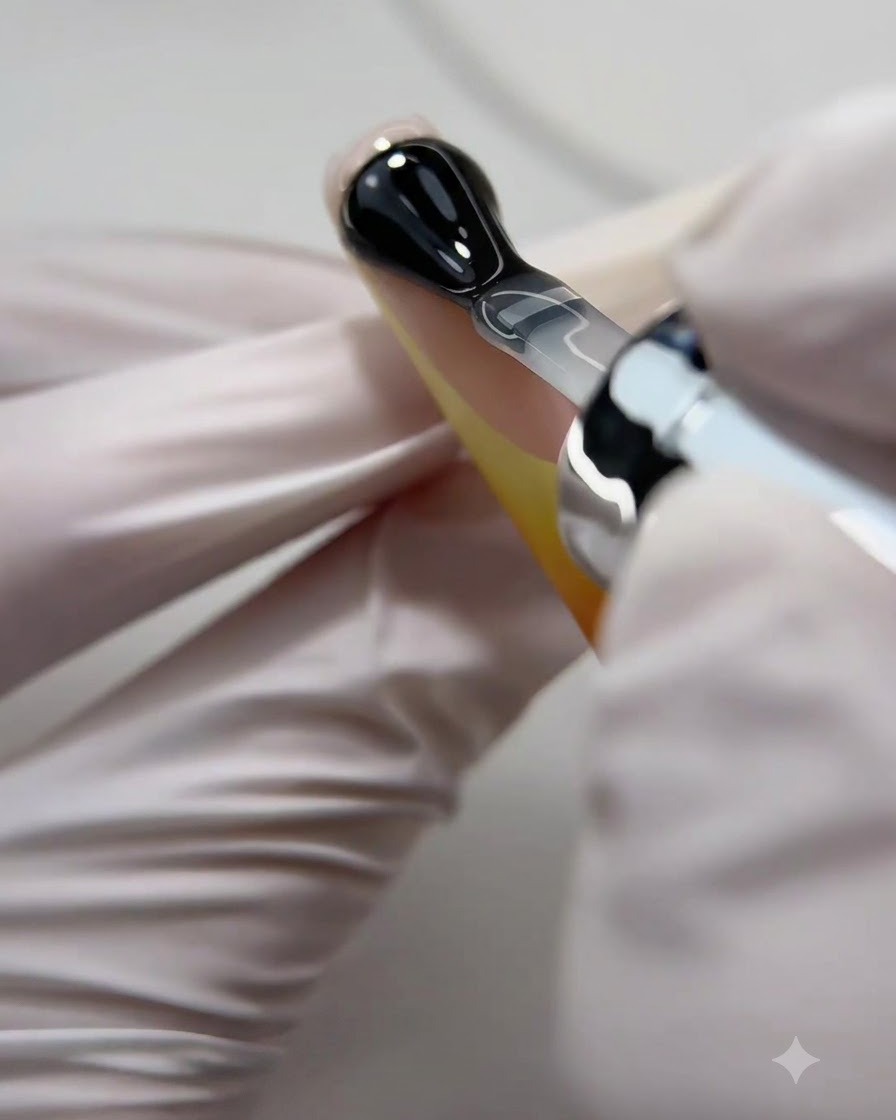
Apply an even layer of velvet matte top coat over the entire nail surface, ensuring complete coverage. Seal the free edge carefully to protect the nail art design underneath. Cure thoroughly under a UV or LED lamp as specified by the product guidelines to achieve a smooth, non-reflective finish.
Tip: Make sure the matte top coat is applied smoothly without pooling around the cuticles to maintain a clean look. - 7Draw flame outlines
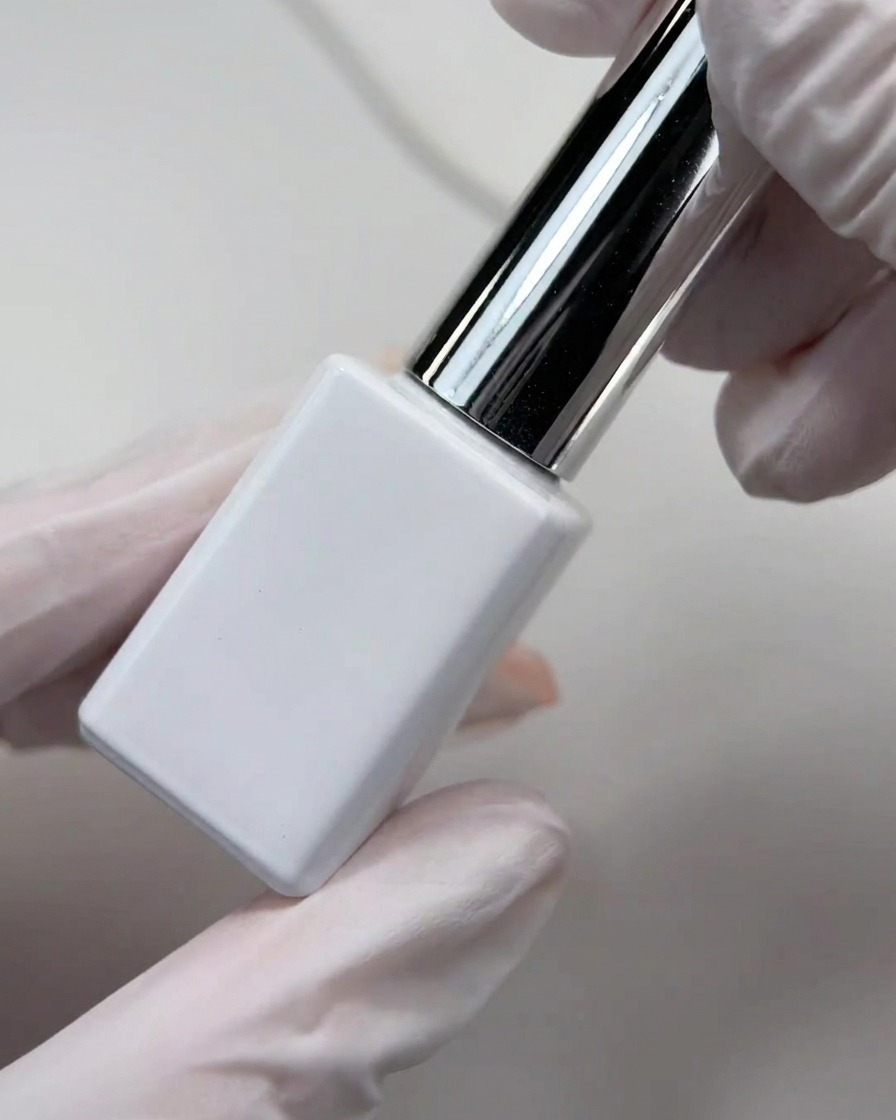
Using a fine liner brush dipped in yellow gel polish, carefully paint curved, edgy flame outlines along the sides and surface of the matte nail. Keep your strokes fluid to mimic dynamic fire shapes.
Tip: Wipe excess gel from your liner brush to maintain a sharp, thin tip for clean lines. - 8Apply sparkling glitter powder
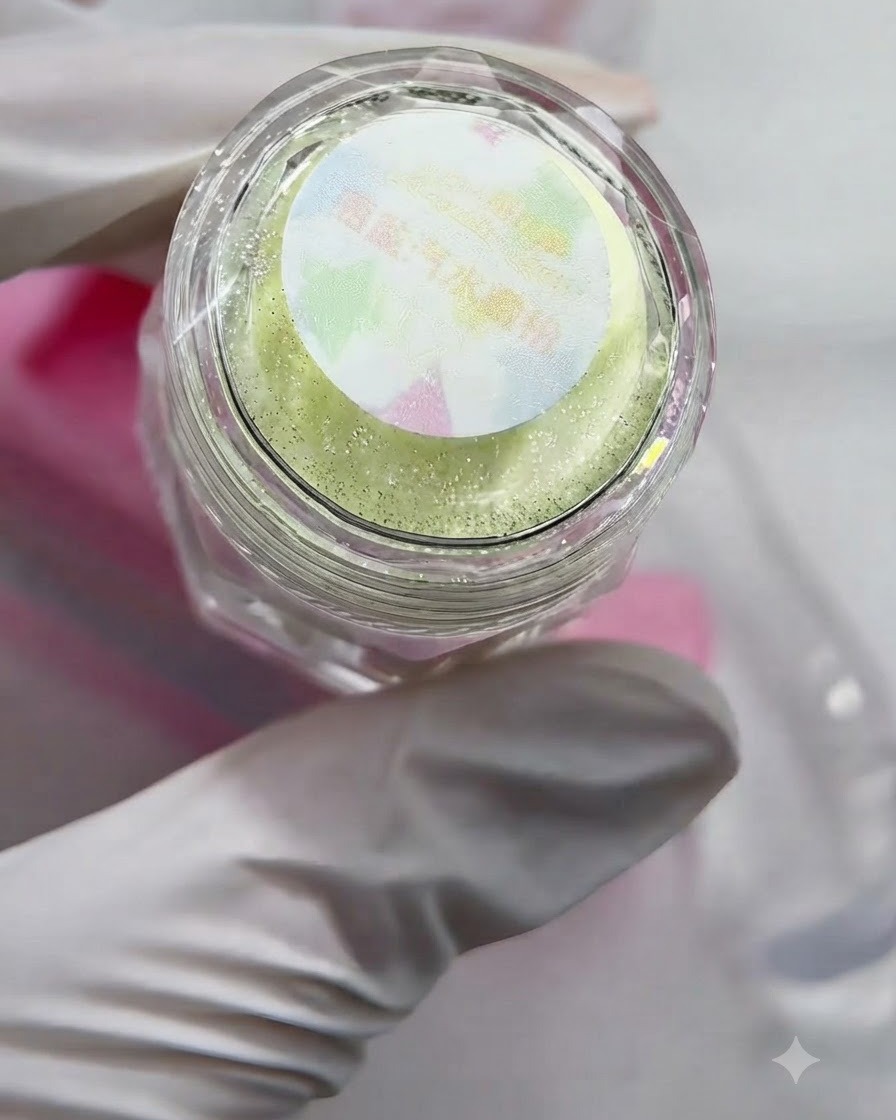
Using a small tool or brush, gently dust or press sparkling yellow glitter powder directly over the wet yellow gel flame lines you just drew. The powder will adhere to the uncured gel to give the flames a textured, shimmering finish.
Tip: Tap away loose glitter gently after curing to reveal crisp, sparkling flame details. - 9Brush away excess glitter powder
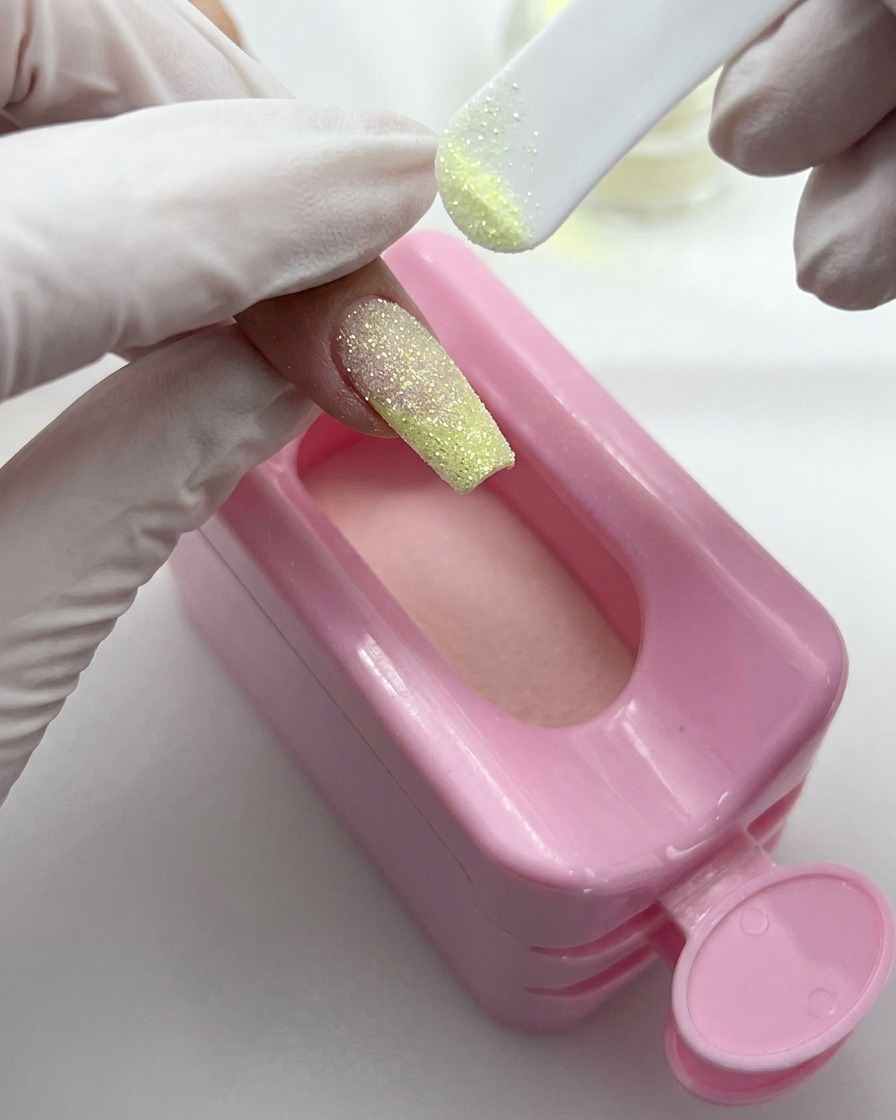
Using a small, soft dust brush, gently sweep away any loose or excess glitter powder from the nail surface and surrounding skin. This ensures a clean base and prevents stray particles from interfering with subsequent top coat application.
Tip: Use light strokes so you do not disturb the embedded glitter layout on the nail.