Orange and Yellow Cat Eye Gradient Nail Art — Step-by-Step Tutorial
Create a mesmerizing sunset gradient effect combining metallic yellow cat-eye shimmer and vibrant red polish for a stunning dimensional manicure.
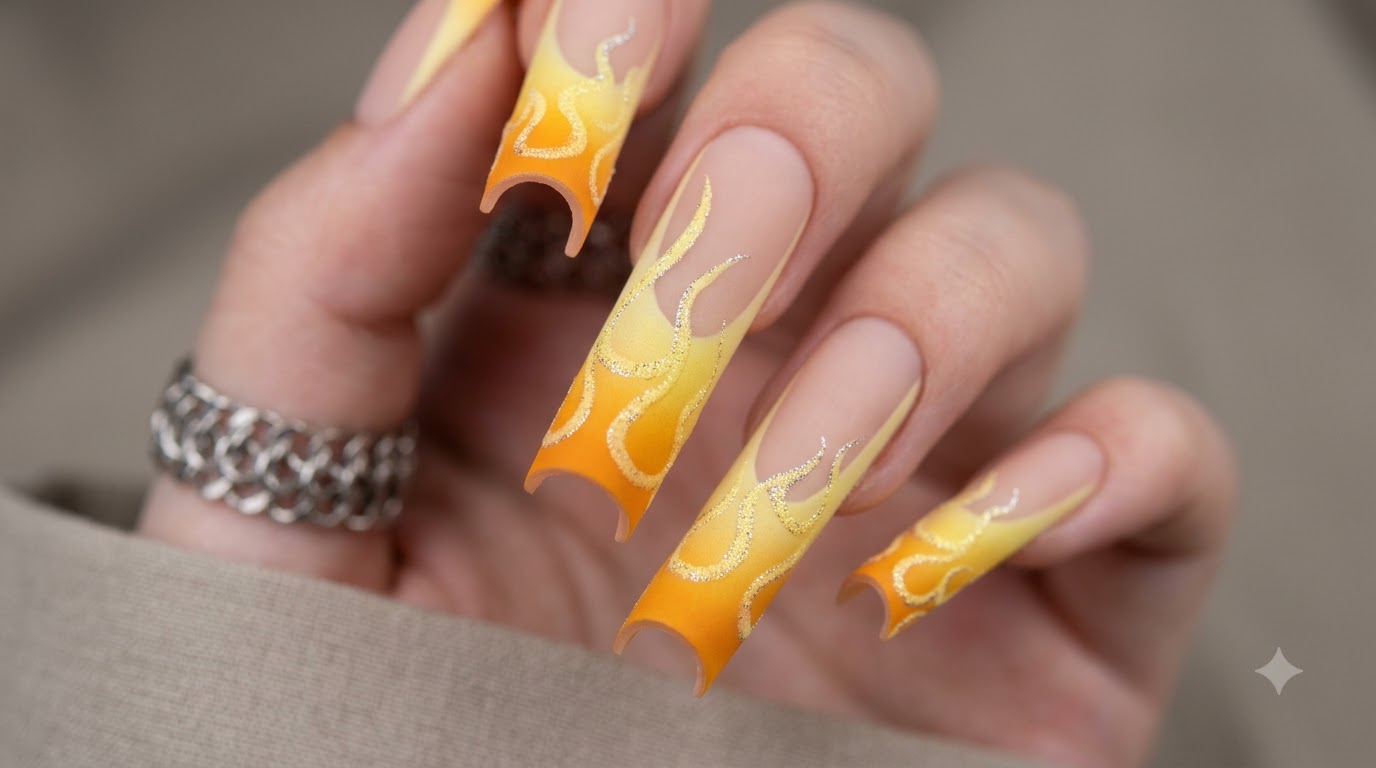
Cat-eye nail designs bring an incredible sense of depth and movement to your manicure, shifting as the light hits the magnetic particles. By layering a rich sunset red gradient over a bright metallic yellow cat-eye base, this look captures a fiery, radiant aesthetic that stands out in any season.
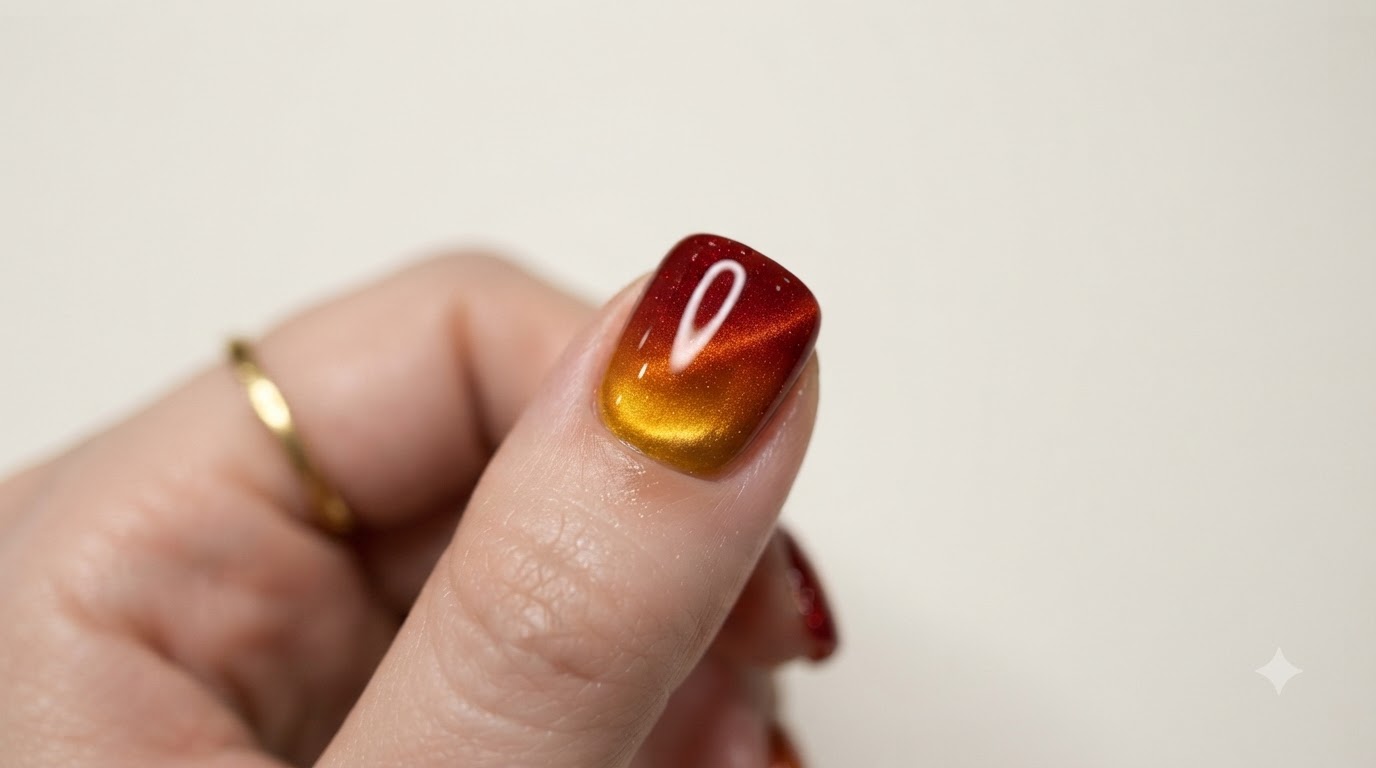
Steps
- 1Activate the magnetic cat-eye shimmer
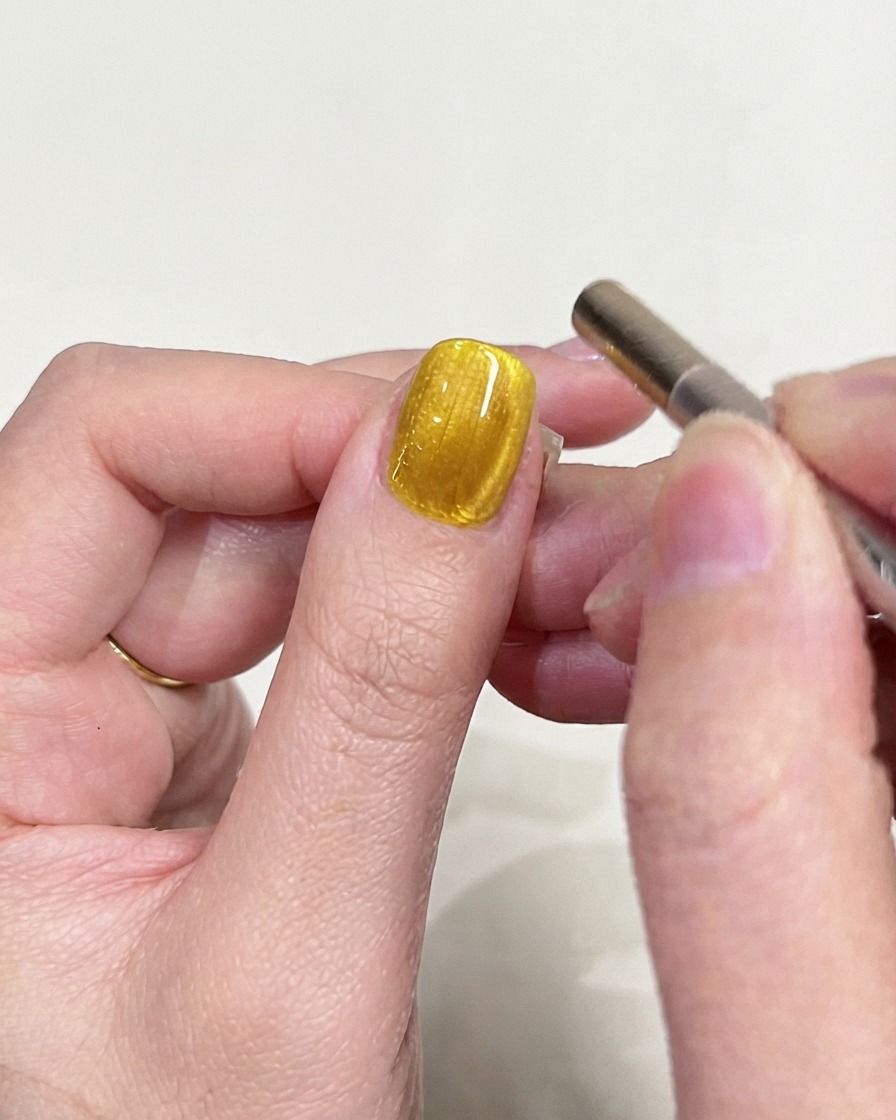
Hold a magnetic tool close to the uncured yellow cat-eye gel base on your thumb to draw out and align the shimmering particles into a concentrated line. Keep the magnet steady for a few seconds to achieve a sharp, defined light reflection before curing under the lamp.
Tip: Do not touch the wet gel surface with the magnet; hold it just a millimeter or two away for optimal precision. - 2Check cat-eye alignment
Inspect the nail under good lighting to ensure the magnetic shimmer is evenly centered and forms a crisp, bright stripe. If the line is uneven or diffused, gently brush over the gel to reset it and reapply the magnet before curing.
Tip: Viewing the nail from different angles helps confirm that the magnetic particle effect has proper depth and dimension. - 3Fine-tune magnetic lines with a pen tool
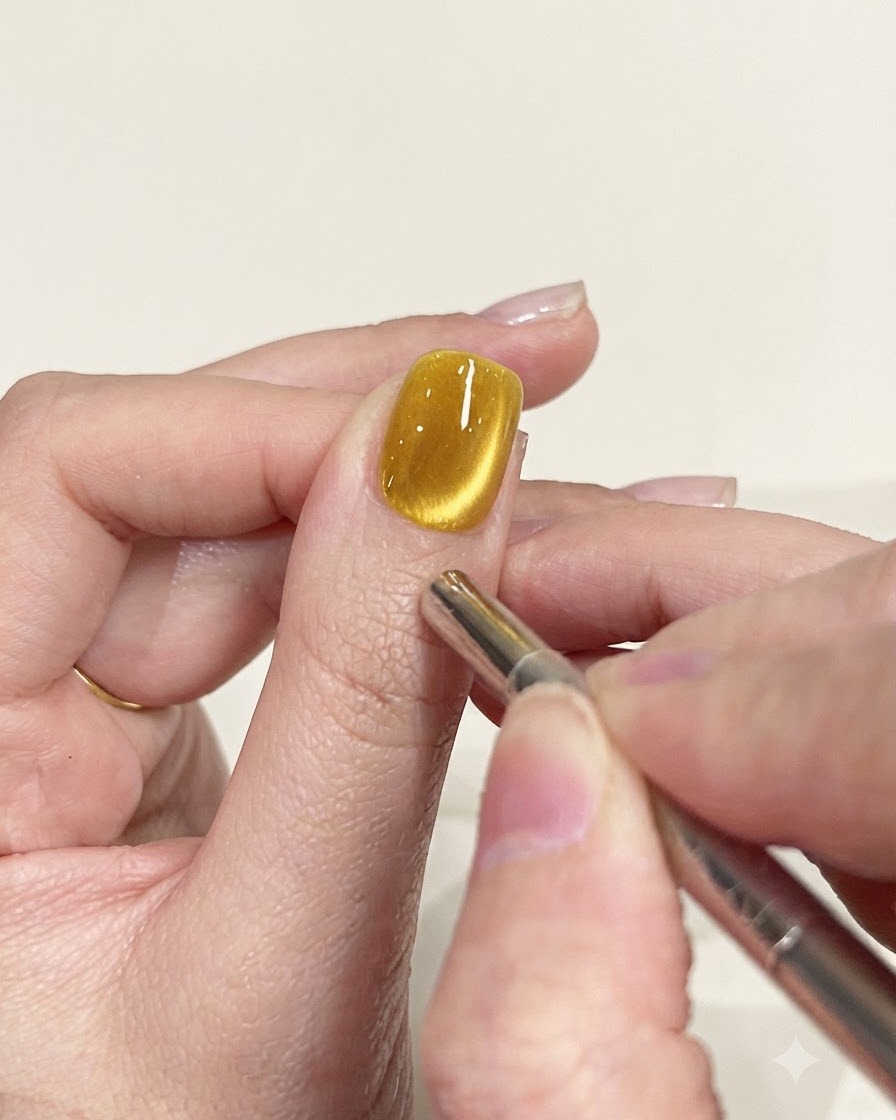
Use a precision magnet pen tool to adjust specific sections of the cat-eye shimmer line, pushing or pulling the particles for a custom look. This allows you to correct any wavy or misaligned areas prior to final curing.
Tip: A smaller magnet pen provides much better control for detail work around the cuticles and sidewalls. - 4Display cured cat-eye base
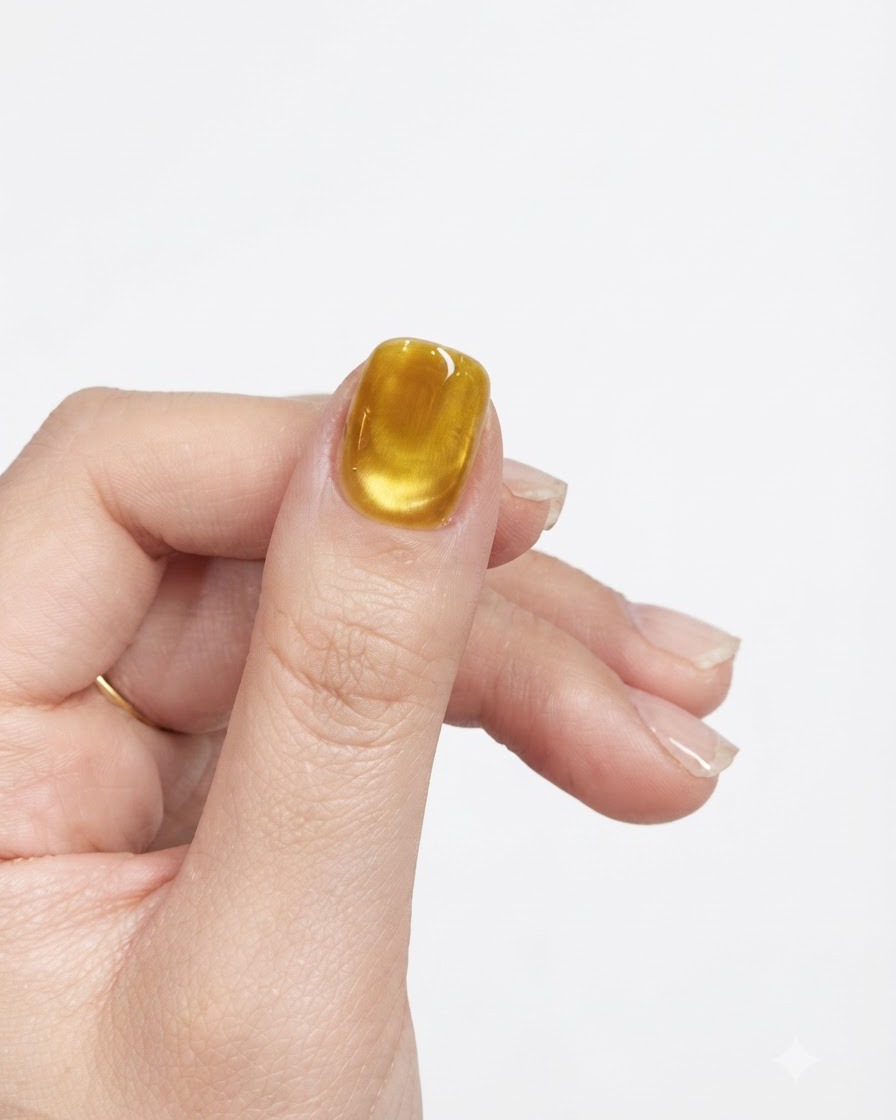
Cure the perfected yellow cat-eye layer fully under your UV or LED lamp to lock the shimmer particles in place. Once cured, the surface will be set and ready for subsequent gradient color applications without disturbing the design underneath.
Tip: Always ensure a complete cure to prevent the underlying magnetic layer from shifting when applying top layers. - 5Apply red gel for gradient transition
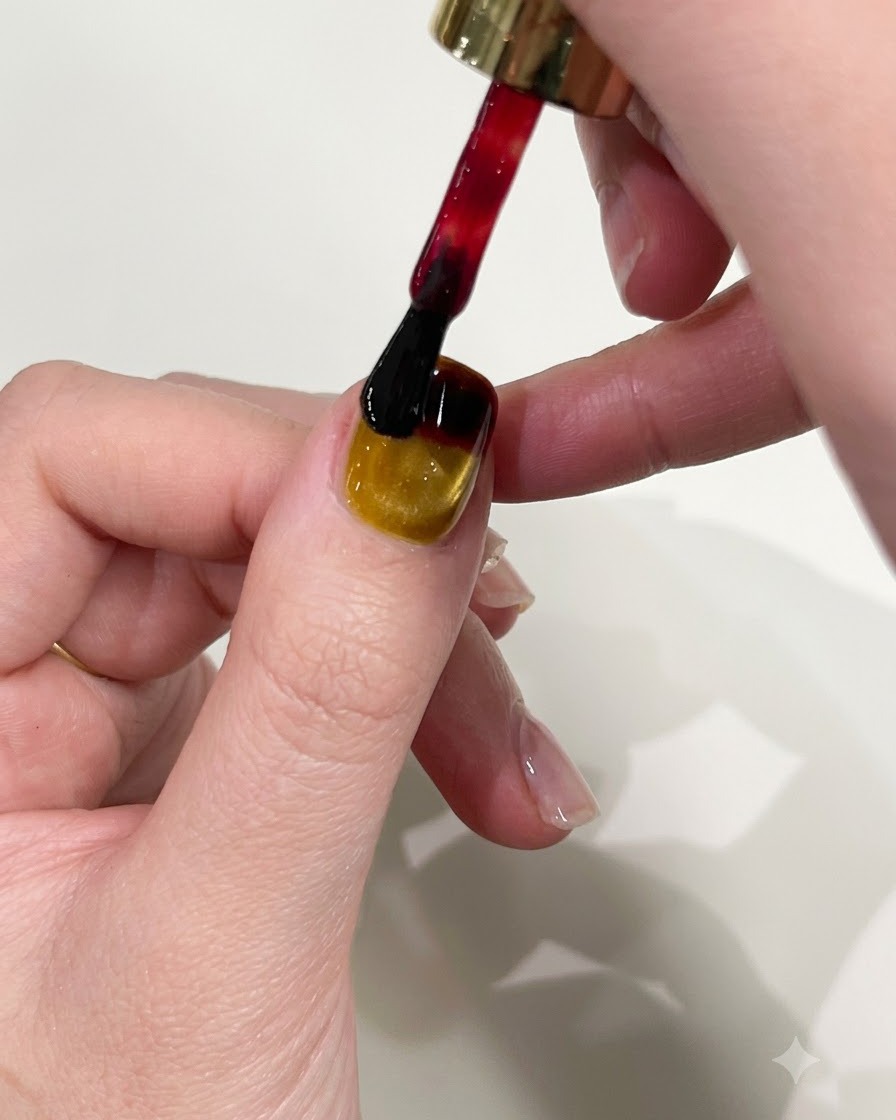
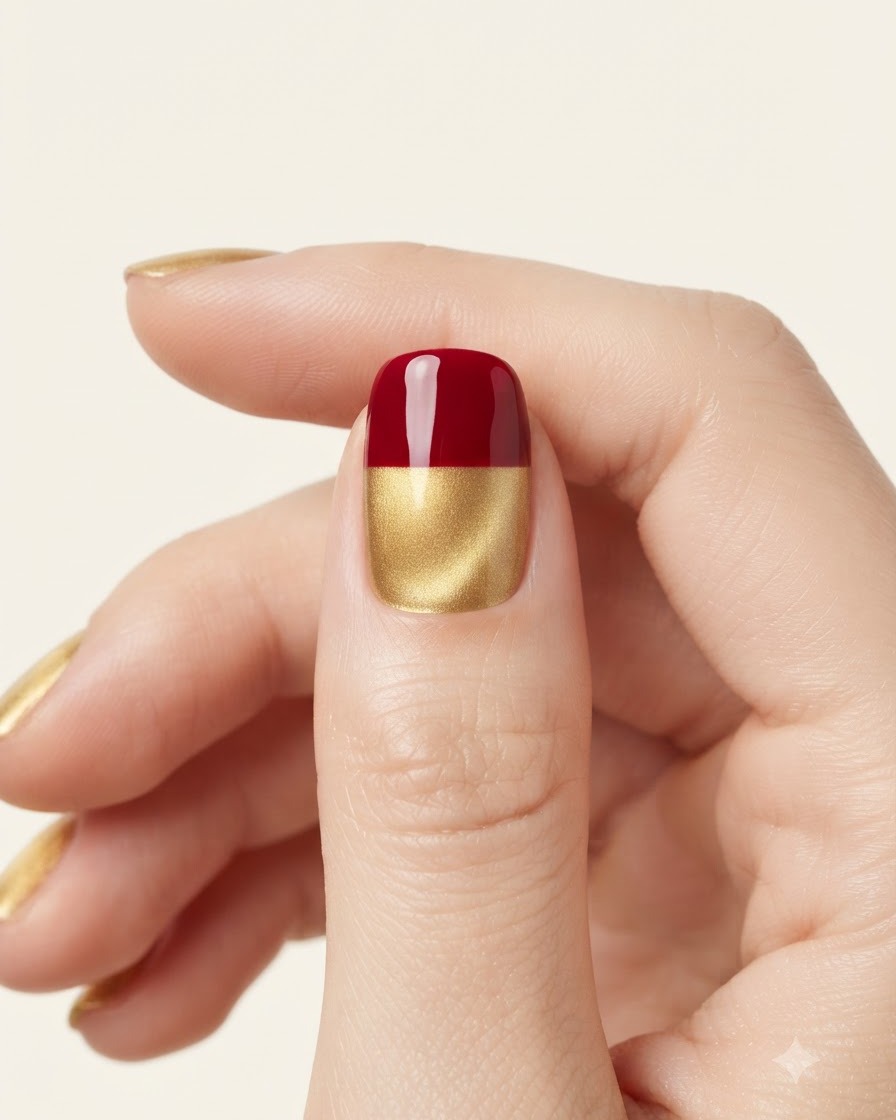
Apply a small amount of vibrant red gel polish to the top edge or upper portion of the cured yellow nail. This serves as the starting point for creating a seamless sunset or ombre gradient effect over the cat-eye base.
Tip: Keep the initial application neat near the cuticle area to maintain a clean transition boundary. - 6Blend colors for smooth gradient
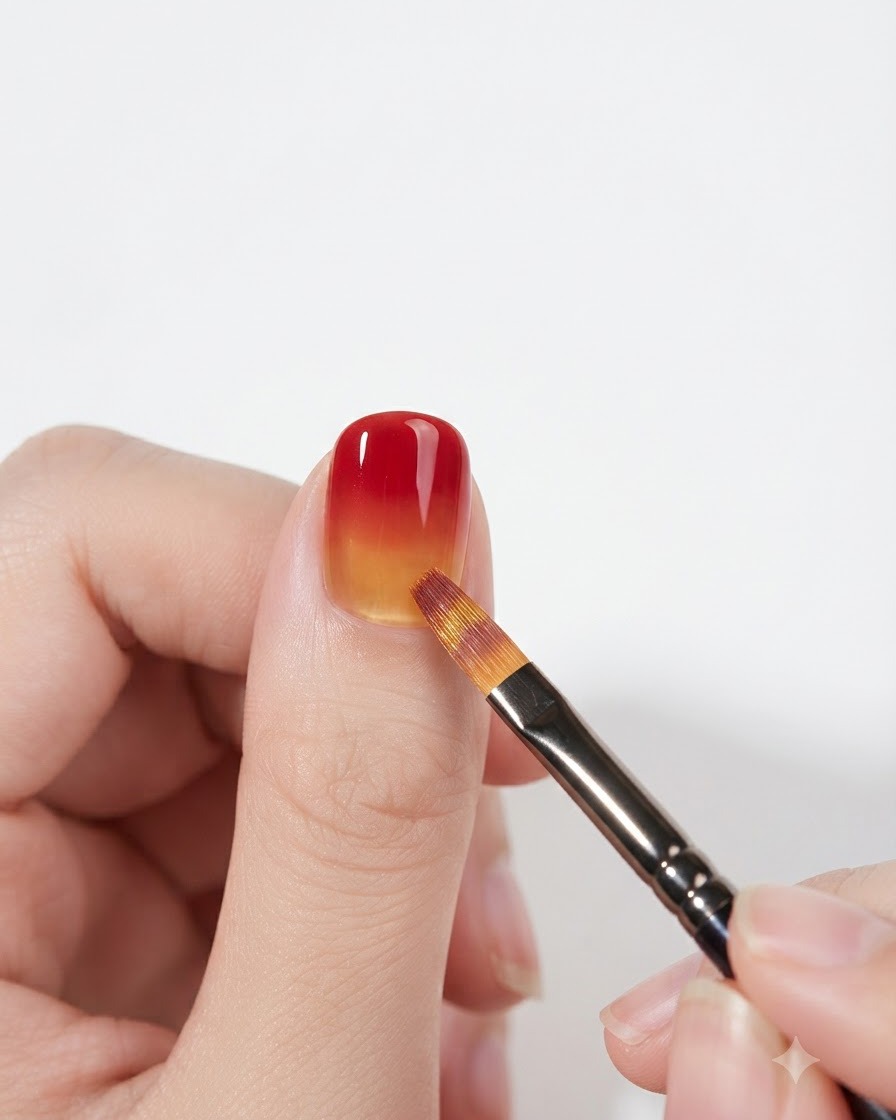
Take a clean flat gel brush and lightly feather the meeting point between the red gel and the yellow cat-eye base. Dab and sweep softly across the middle section until the two colors melt together into a gradual, seamless transition.
Tip: Wipe your brush frequently on a lint-free wipe during blending to avoid muddying the colors. - 7Cure gradient color layer
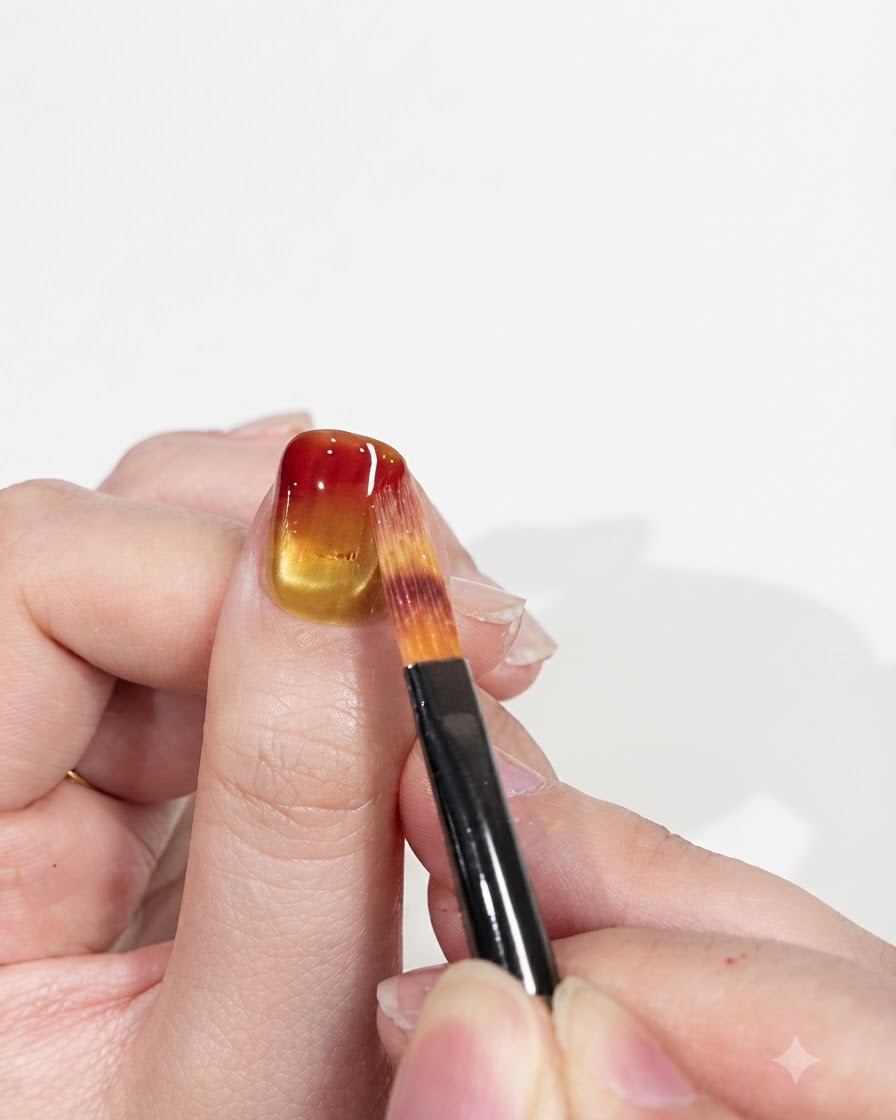
Cure the freshly blended gradient color layer under a mini UV or LED nail lamp held directly over the nail to set the pigments and prep for the next application phase.
Tip: Hold the portable lamp steady and close to the finger to ensure an even cure across the entire gradient surface without shifting the uncured gel. - 8Apply second red gel layer
Apply a second layer of red gel polish concentrated at the tip of the nail to intensify the rich gradient color and enhance depth before the blending process.
Tip: Apply a slightly thinner coat on the second layer to maintain a smooth transition and prevent the polish from pooling at the free edge. - 9Blend second red gel layer
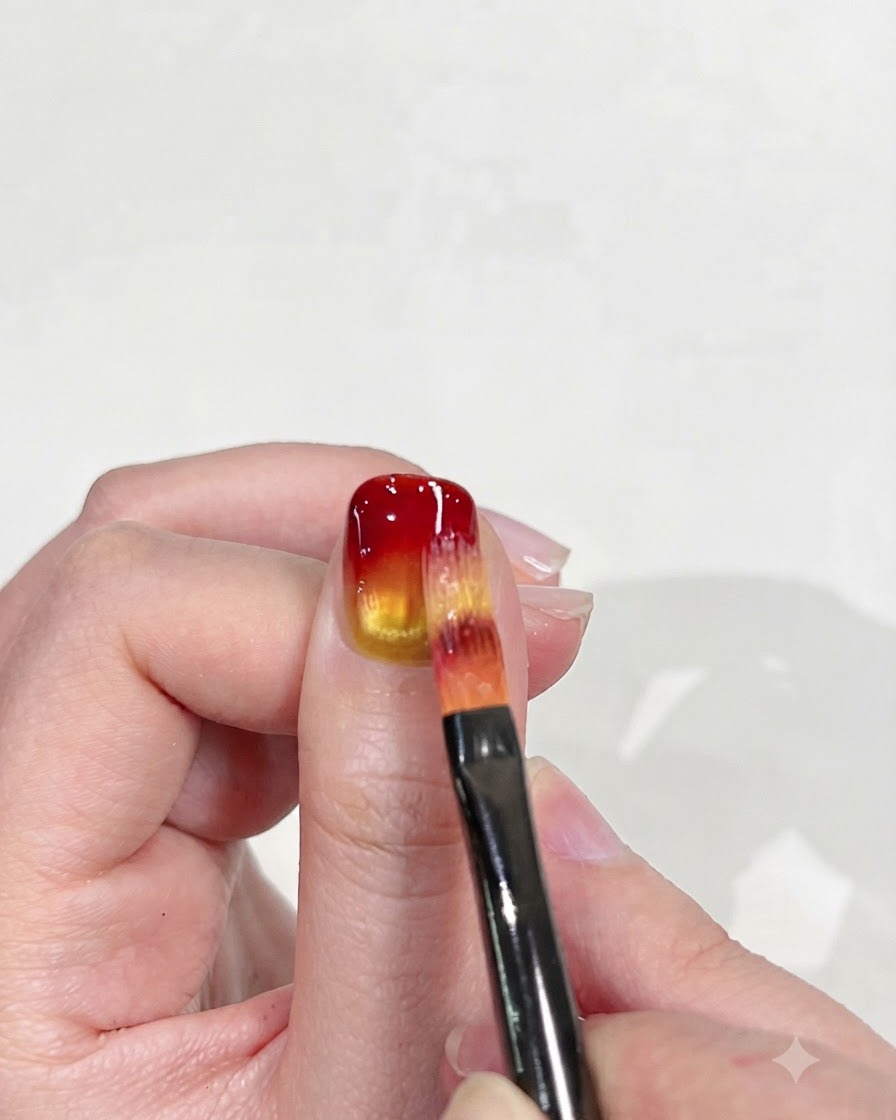
Using a flat blending brush, gently stroke downward to blend the second red gel layer smoothly into the yellow base, creating a seamless ombre transition.
Tip: Keep the brush strokes light and feathery to avoid disturbing the underlying yellow layer while diffusing the red pigment. - 10Cure second color layer
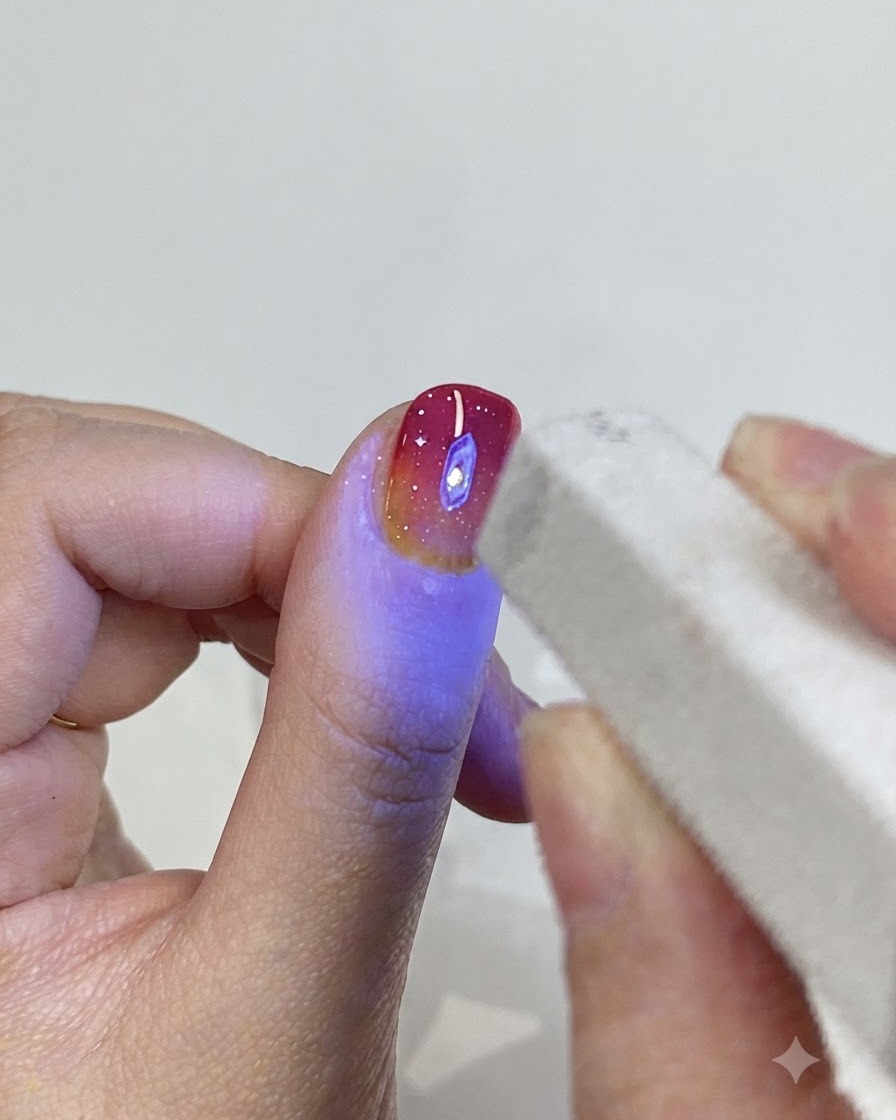
Place the nail under the mini UV/LED curing lamp to fully set the second blended color layer and lock in the vibrant gradient pigments.
Tip: Ensure proper curing time for pigmented red and yellow gel formulas to avoid wrinkles or uncured spots underneath. - 11Inspect gradient texture
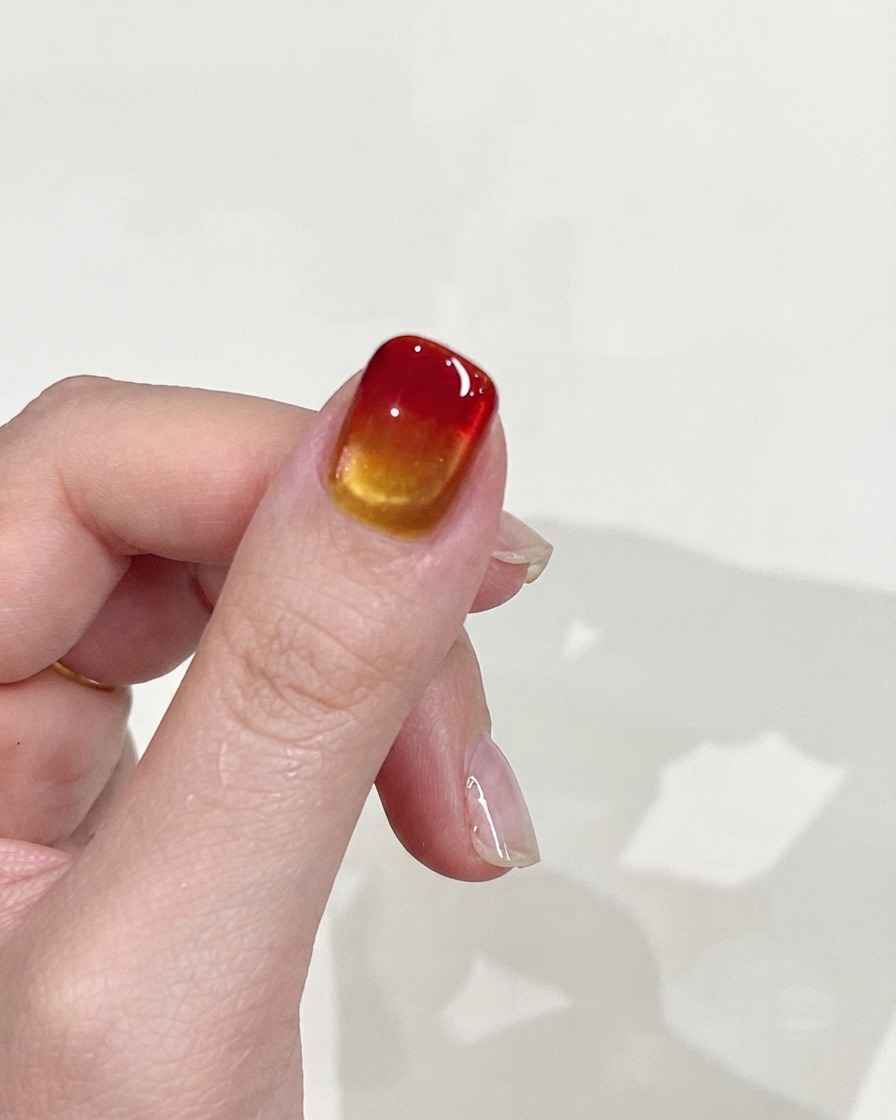
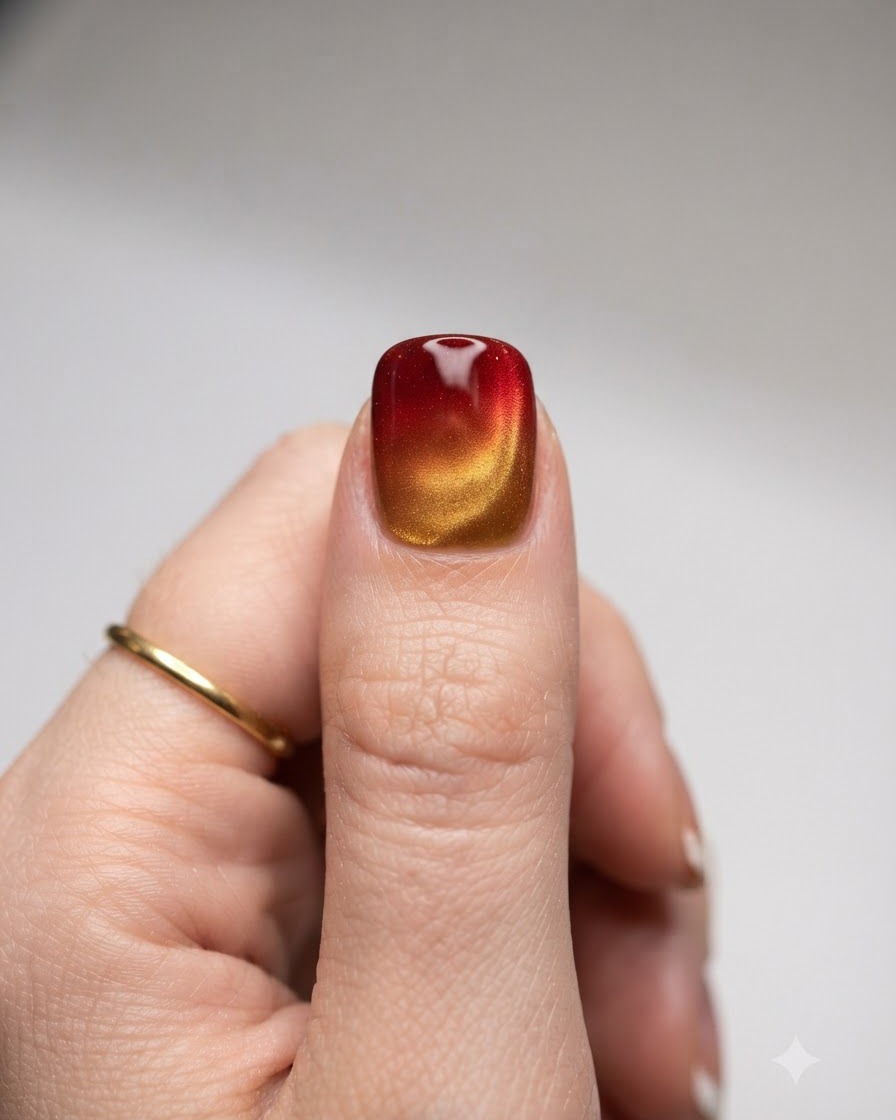
Inspect the finished gradient texture and glossy surface on the back of the hand to ensure smooth color blending, even coverage, and a polished look.
Tip: Check the nail under bright light from different angles to verify that the ombre transition is smooth and completely free of streaks.