Falling Star Crushed Gold Butterfly Cat-Eye Nails — Step-by-Step Tutorial
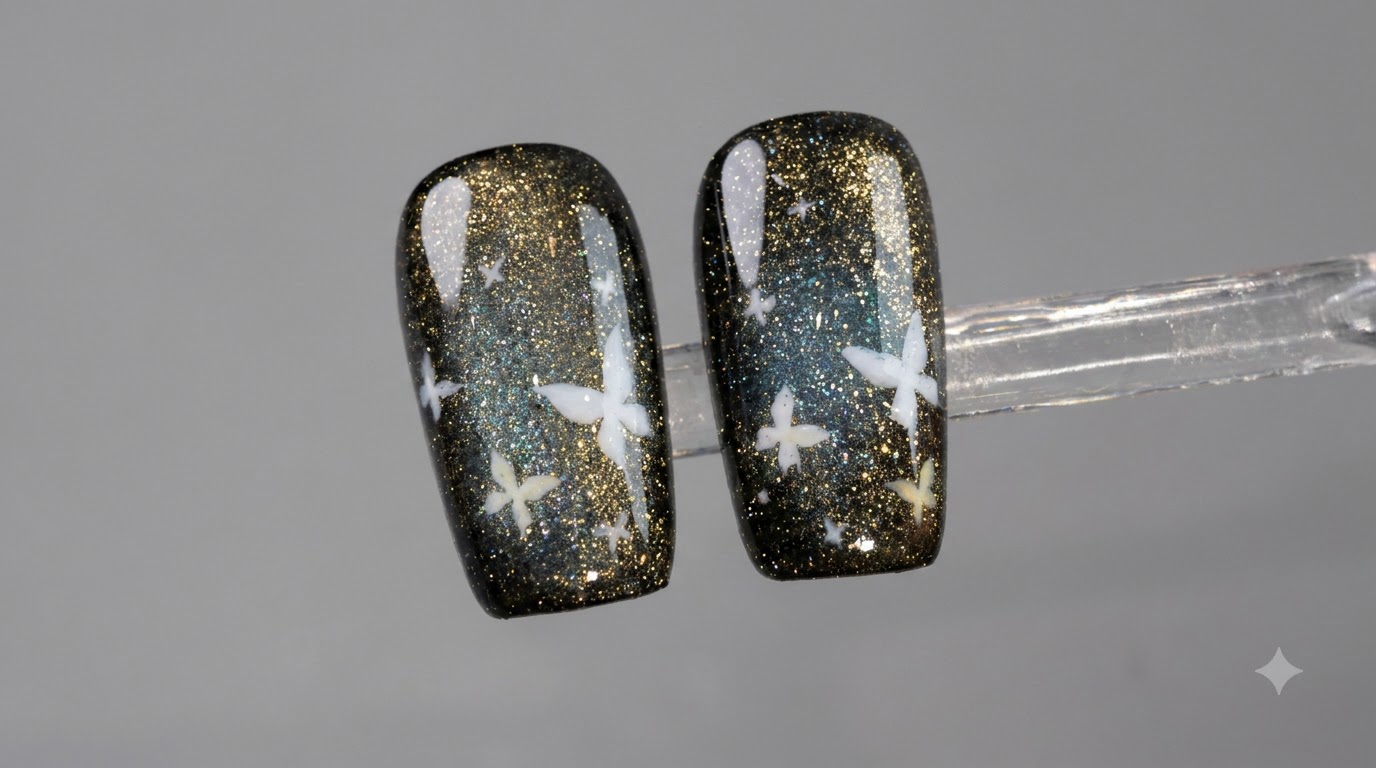
Create a mesmerizing starry night manicure featuring dark magnetic cat-eye gel, crushed gold glitter, and hand-painted white butterflies with glowing starburst details.
Celestial nail art meets high-shine magnetic magic in this stunning starry butterfly design. By combining deep cat-eye effects with delicate hand-painted accents, this look captures the wonder of a starry night sky right at your fingertips.
Steps
- 1Apply transfer stamping gel base
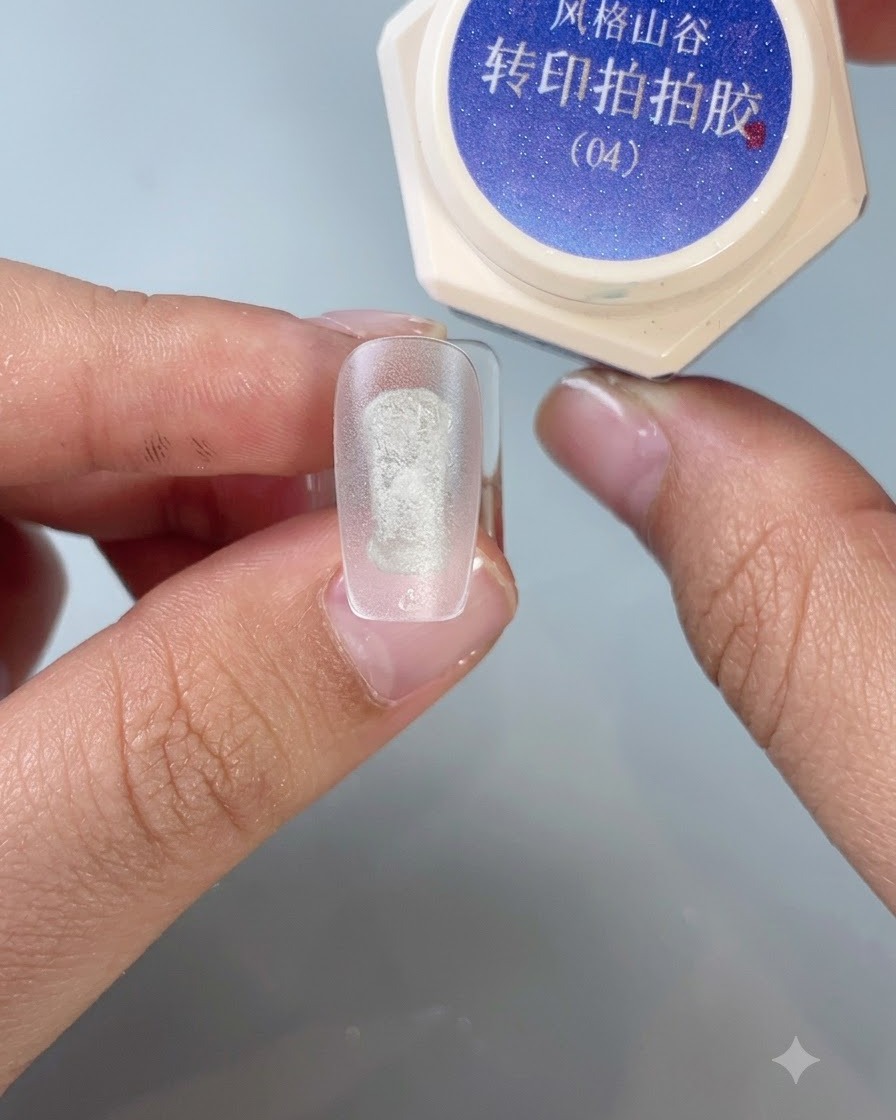
Apply transfer stamping gel No. 4 evenly across the entire surface of the nail plate to create the foundational background color for the crushed gold butterfly design. Ensure the coverage is smooth and consistent from edge to edge before moving on to the next color application step.
Tip: Apply a thin, even coat to prevent pooling near the cuticles and ensure proper curing under the lamp. - 2Apply black stamping gel edge gradient
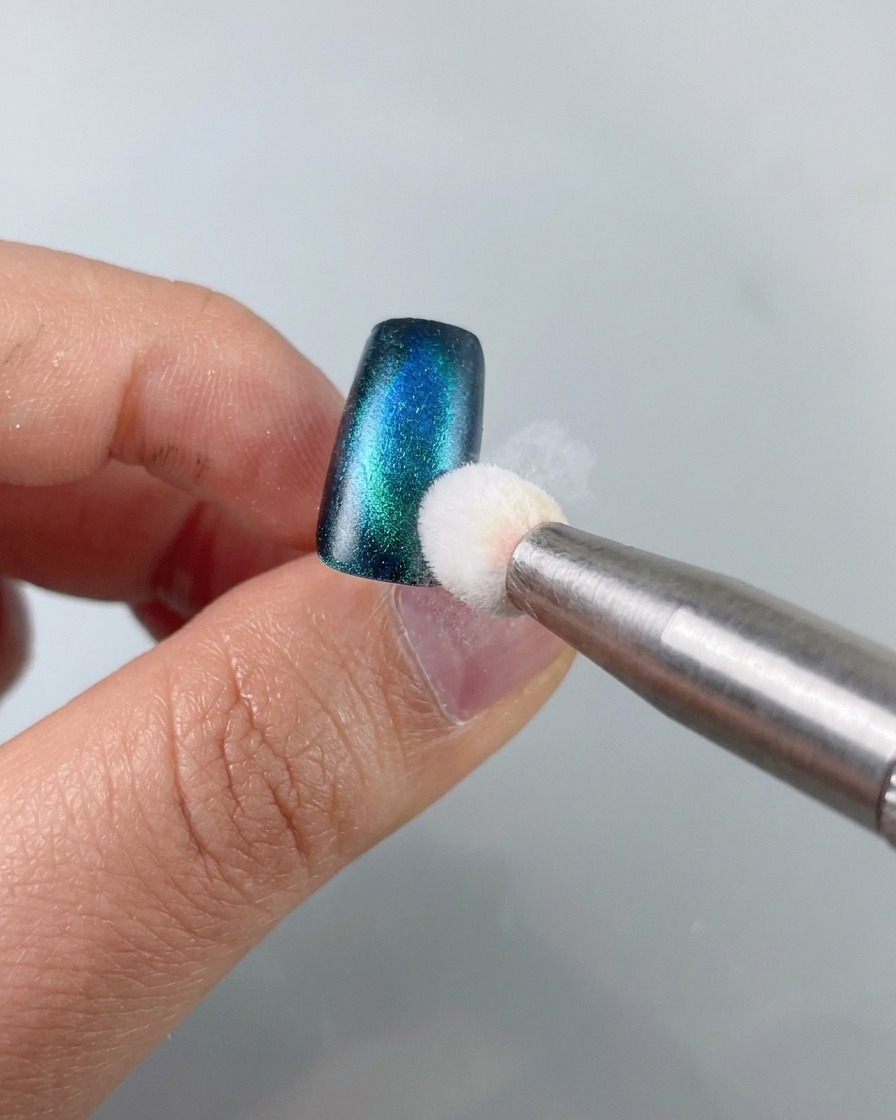
Using a sponge tool, gently dab black stamping gel along the outer edges of the nail to create a smoky gradient effect. Tap lightly to build up the depth gradually, ensuring the transition from the center color to the dark border looks soft, blended, and completely natural.
Tip: Dab off excess gel on a palette before pressing onto the nail to avoid harsh lines and heavy patches. - 3Apply flowing light gold gel
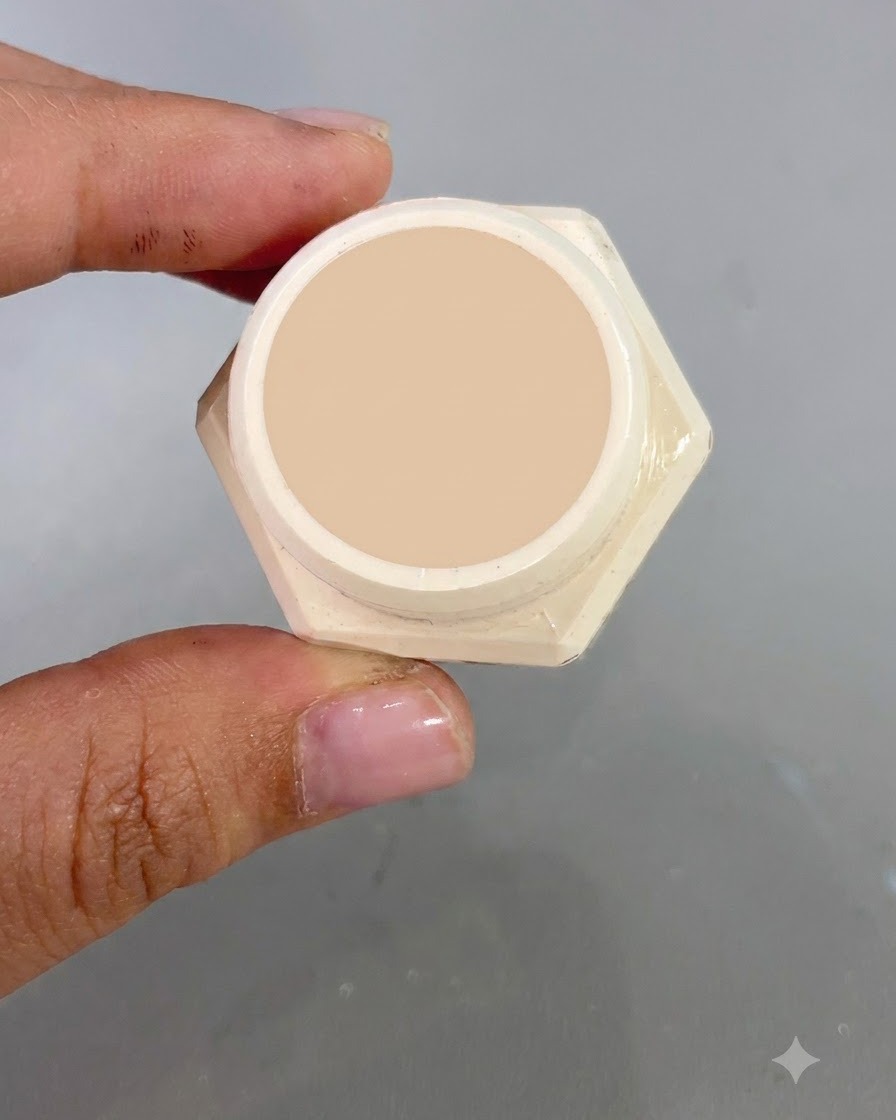
Take flowing light gold gel No. 2 and brush it evenly across the entire nail surface using a flat nail brush. This layer introduces the shimmering metallic base that will interact with the magnetic particles and create a luminous crushed gold effect underneath the nail art.
Tip: Keep strokes smooth and uniform to provide an ideal canvas for the cat-eye magnetic activation. - 4Push cat-eye particles with magnet
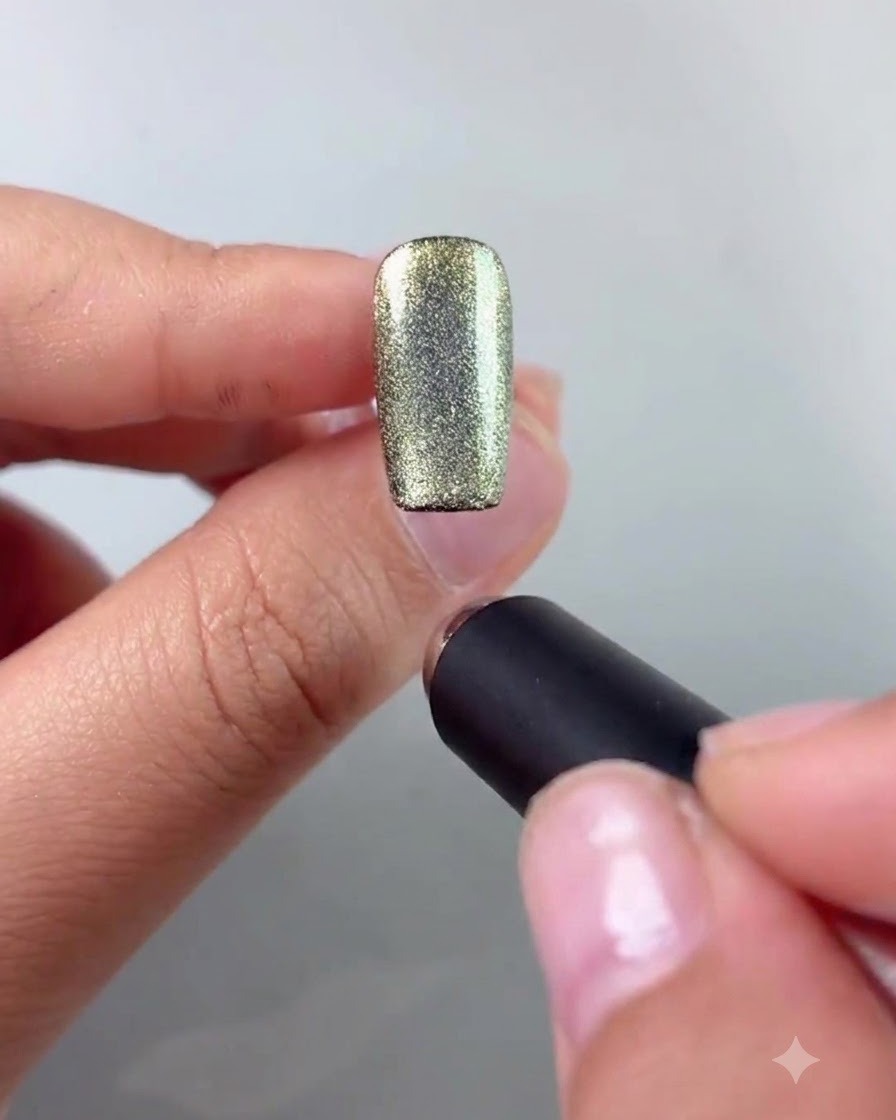
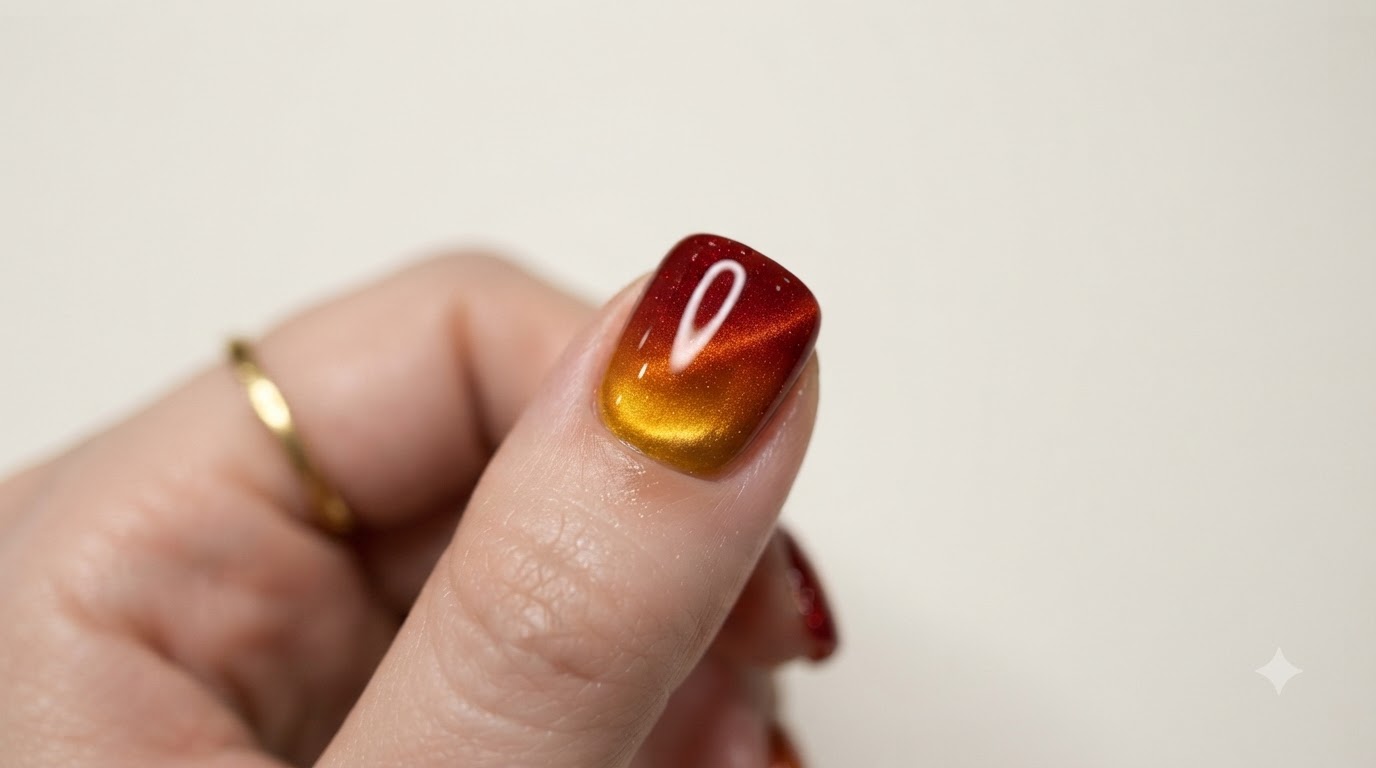
Hold a professional magnetic wand close to the side of the nail to push the metallic cat-eye particles inward toward the center line. Watch closely as the magnetic shimmer shifts and concentrates into a vibrant central stripe, creating depth and a dynamic lighting effect across the nail surface.
Tip: Keep the magnet steady and close to the nail without touching the wet gel surface to maintain a sharp concentration of particles. - 5Draw loose golden liner details
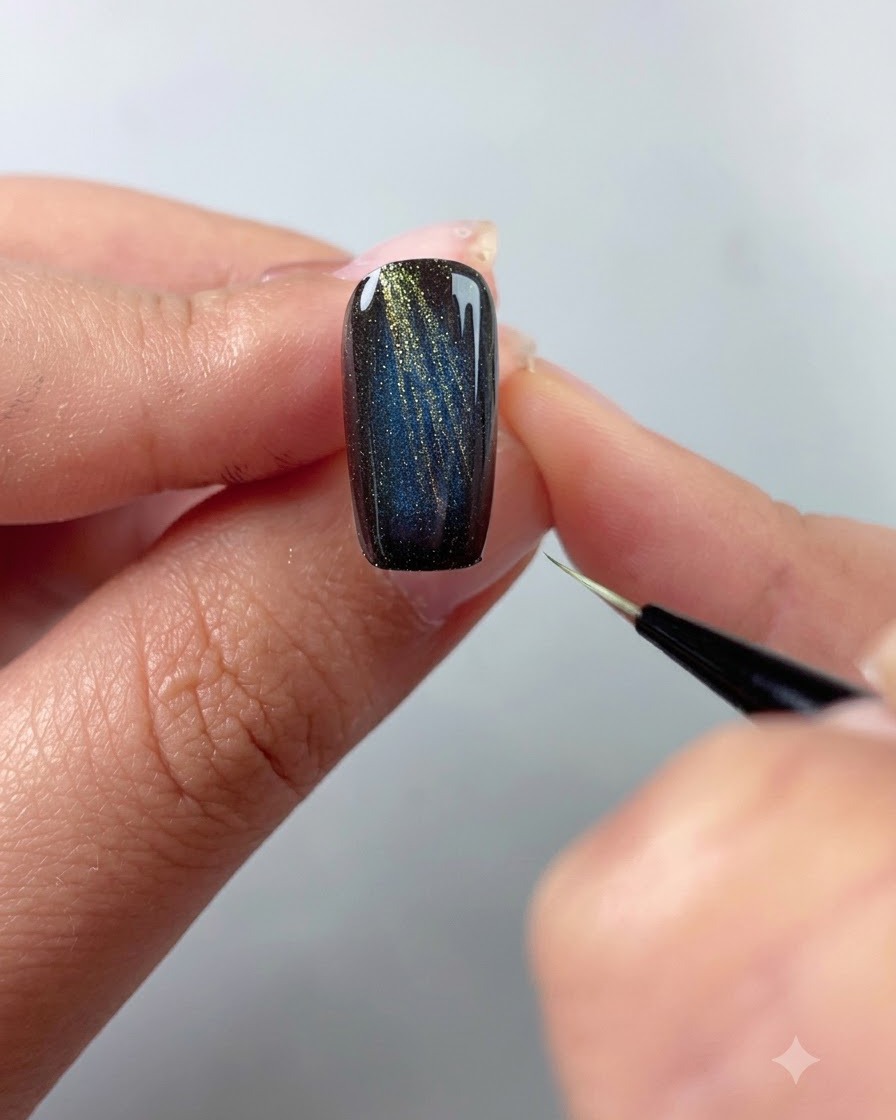
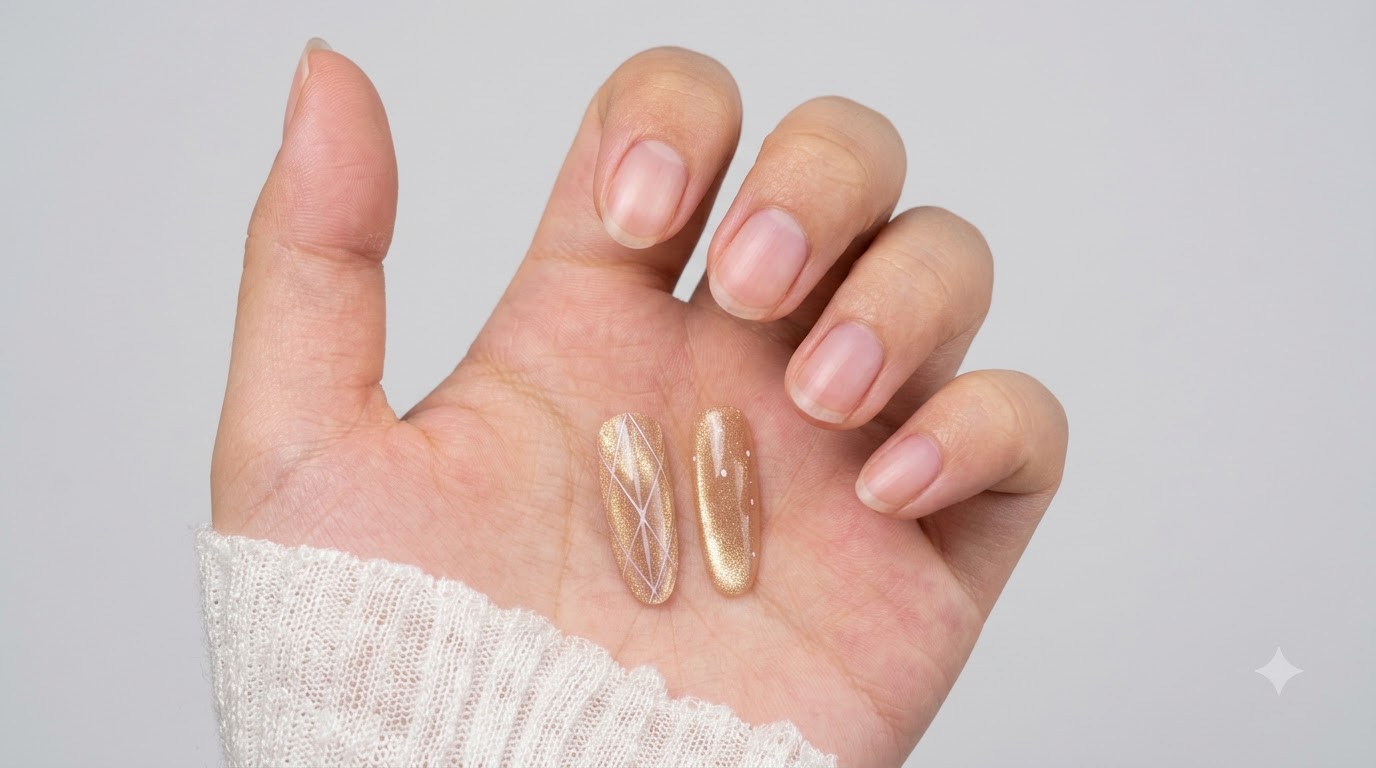
Dip a fine liner brush into gold detailing product and draw delicate, loose lines starting from the rear edge of the nail outward. Keep the strokes random and flowing to mimic organic veins or crushed gold accents radiating across the dark magnetic background.
Tip: Use a light touch with the tip of the brush to create thin, elegant lines with natural variation. - 6Create glass bead cat-eye effect
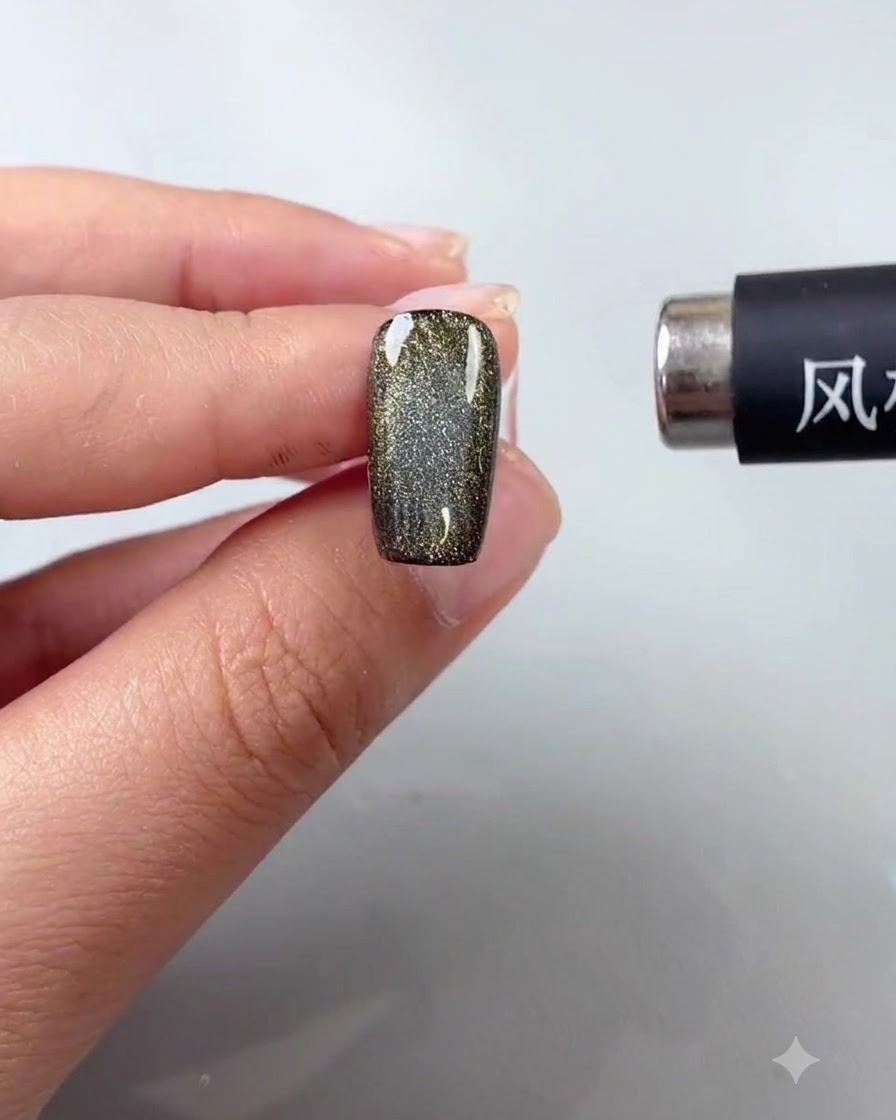
Move the magnetic wand in a gentle swirling motion around the nail to gather and focus the cat-eye particles into a bright, reflective glass bead look. This technique draws the light inward, creating a three-dimensional gemstone appearance that looks exceptionally luminous and gorgeous.
Tip: Rotate the magnet slowly and observe the reflection to achieve the most intense and brilliant center highlight. - 7Paint delicate white butterflies and starbursts
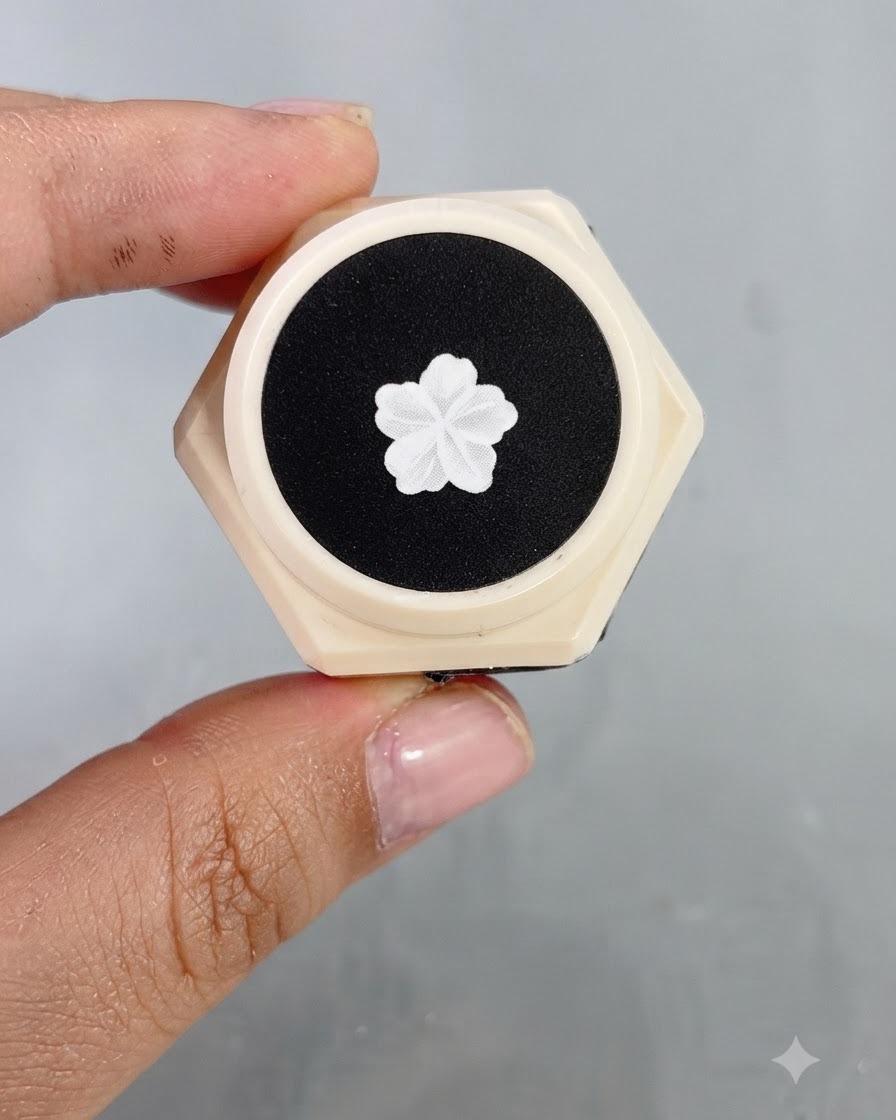
Dip a fine liner brush into white painting gel and carefully draw intricate small butterflies and delicate starburst accents onto the nail surfacecite: 1. Take your time to vary the placement and angles of the butterflies to create a natural, whimsical composition across the nail platecite: 1. Ensure the lines remain crisp and clean before curing under your UV or LED lamp to set the painted details securely.
Tip: Keep a small brush moistened with cleansing alcohol nearby to quickly wipe away any mistakes before curing. - 8Apply glass gel No. 9
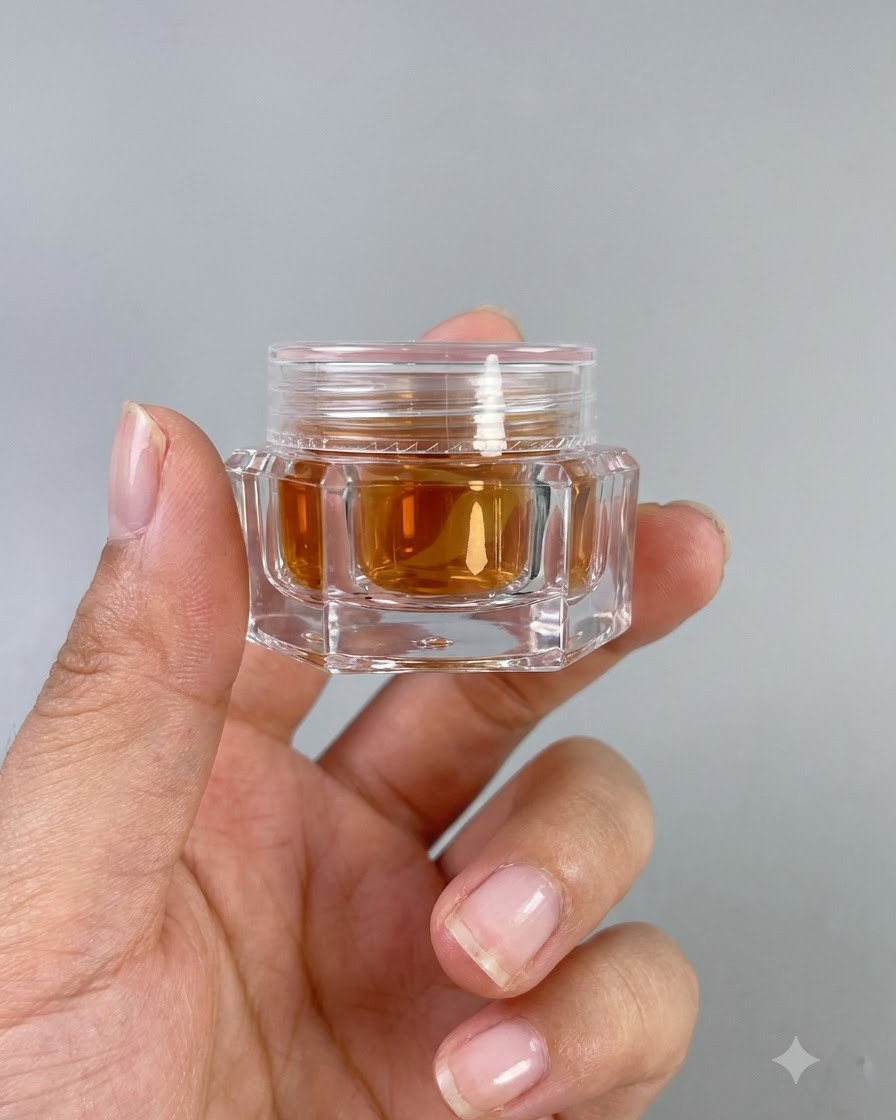
Take high-transparency glass gel No. 9 and gently pat it over the magnetic cat-eye base to infuse a rich, translucent jelly tone into the background.
Tip: Patting the gel gently ensures an even distribution of color without disturbing the underlying cat-eye effect. - 9Apply reinforcement gel
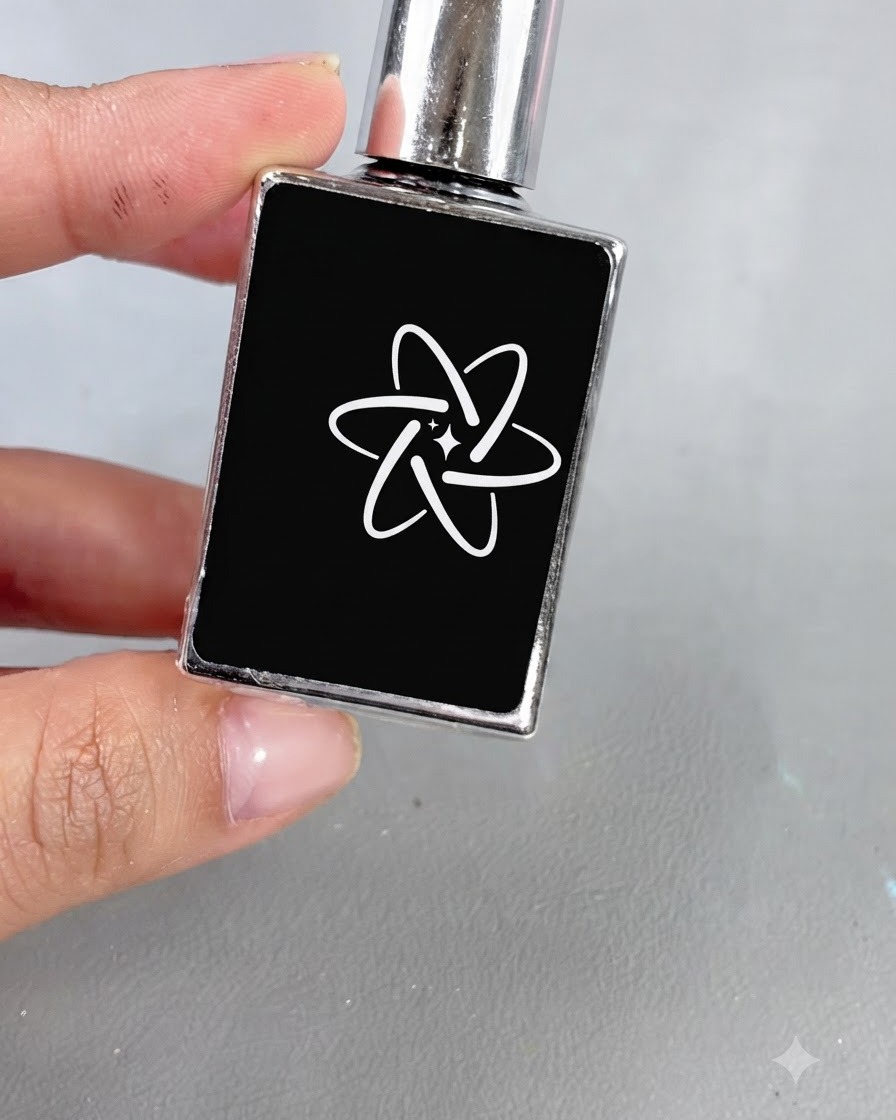
Apply soft reinforcement gel evenly over the entire nail surface using a brush to add structural strength, smooth out any unevenness, and protect the nail art layer underneath.
Tip: Apply an even, moderate layer of reinforcement gel to prevent bulkiness while ensuring solid protection for the design. - 10Draw an additional detailed white butterfly
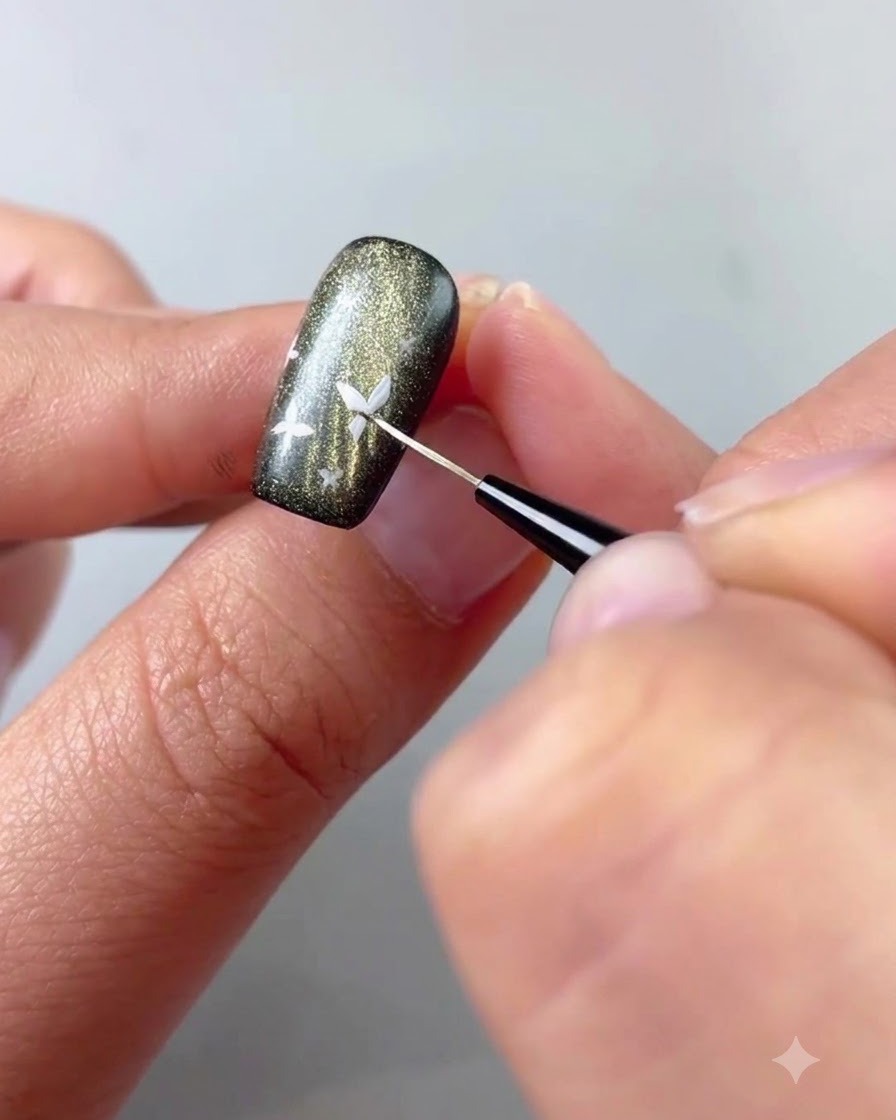
Using white painting gel on a fine liner brush, carefully draw another detailed white butterfly over the cured layer to add depth and dimension to your nail design. Take your time to refine the wings and body lines for a delicate and precise look.
Tip: Keep your brush strokes light and steady to achieve clean, crisp lines without clumping the gel. - 11Apply smooth top coat gel
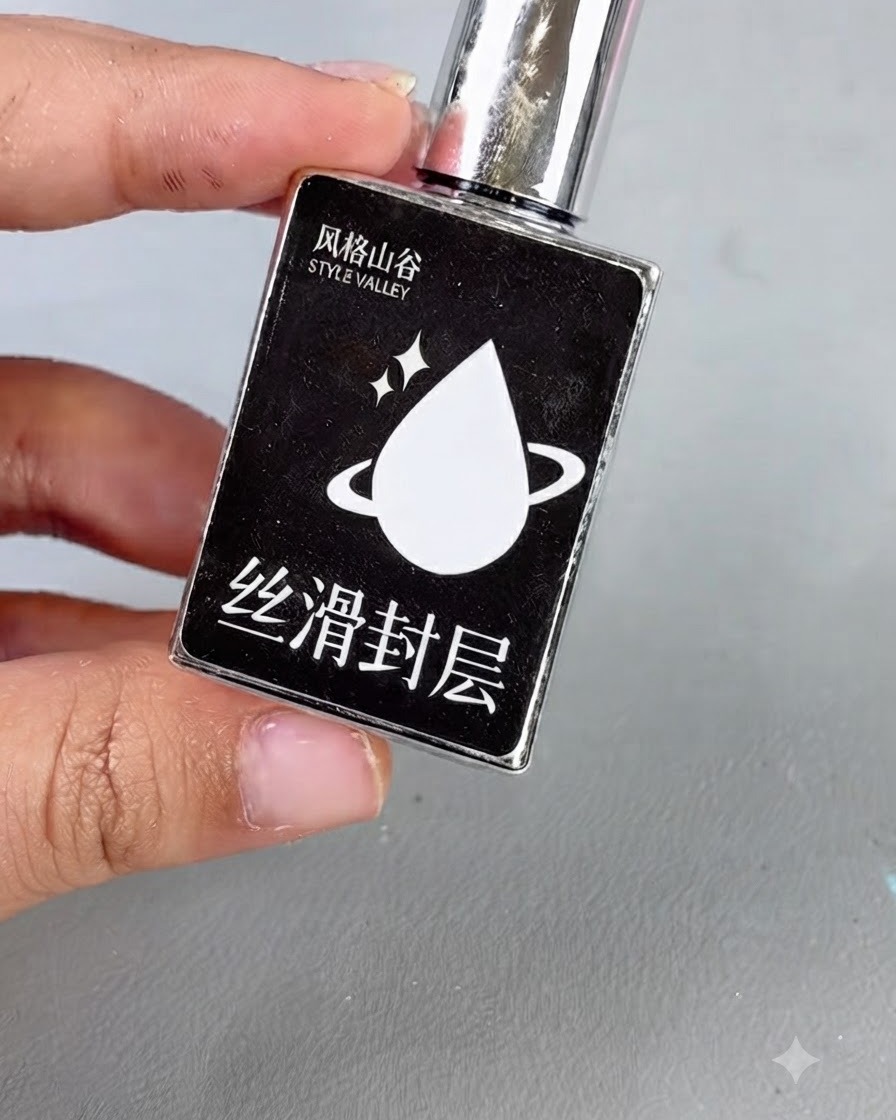
Apply a smooth top coat gel over the entire nail to seal the completed design, protect against chipping, and provide a high-gloss finish.
Tip: Cap the free edge carefully with the top coat to prevent premature lifting and seal in all layers.