Explosive Flash Diamond Lattice Nail Art — Step-by-Step Tutorial
Create a stunning explosive flash diamond lattice nail look featuring super-bright gold cat-eye gel, delicate white dots, and a precise geometric lattice pattern.
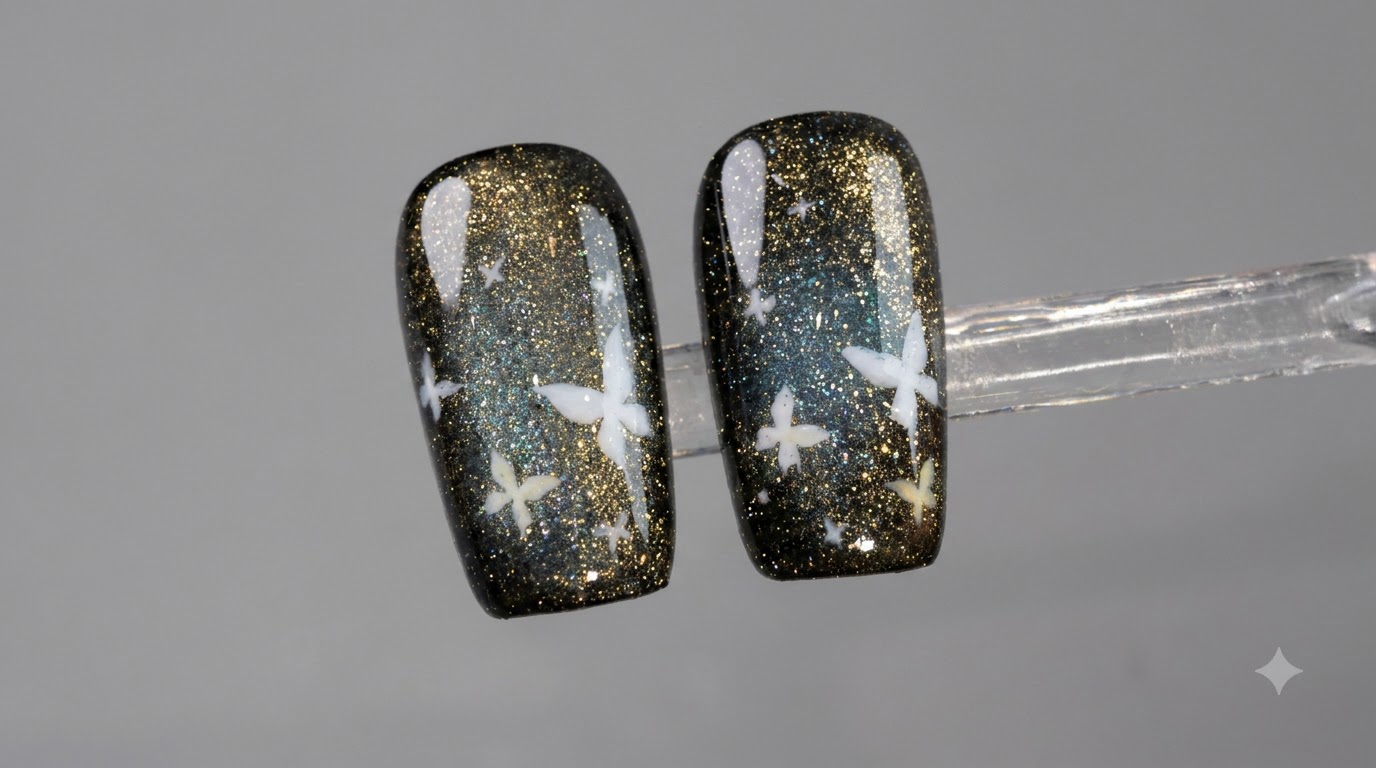
Cat-eye nail polish continues to dominate nail art trends with its mesmerizing, shifting shimmer. This tutorial combines radiant gold cat-eye effects with crisp geometric white lattice lines and delicate dot accents to create a showstopping multidimensional design.
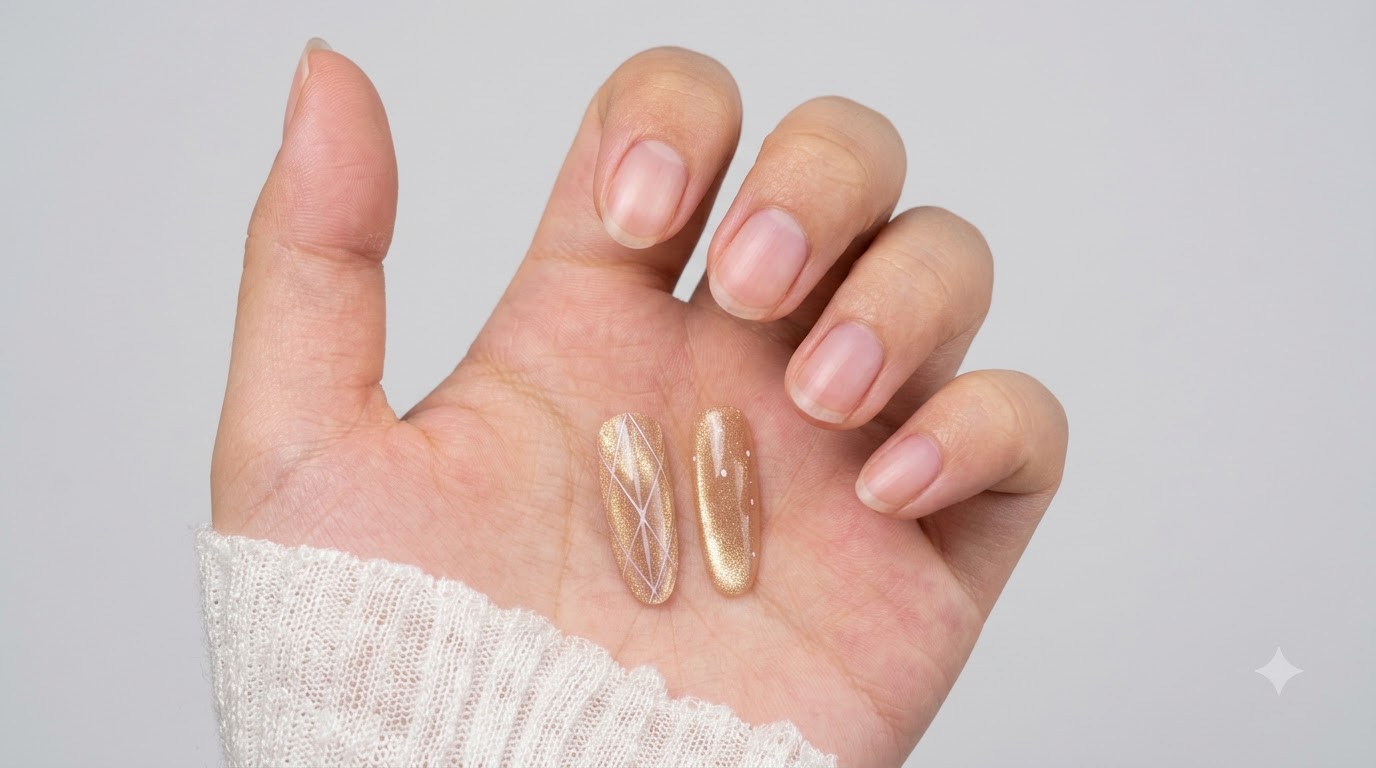
Steps
- 1Apply light pink base coat
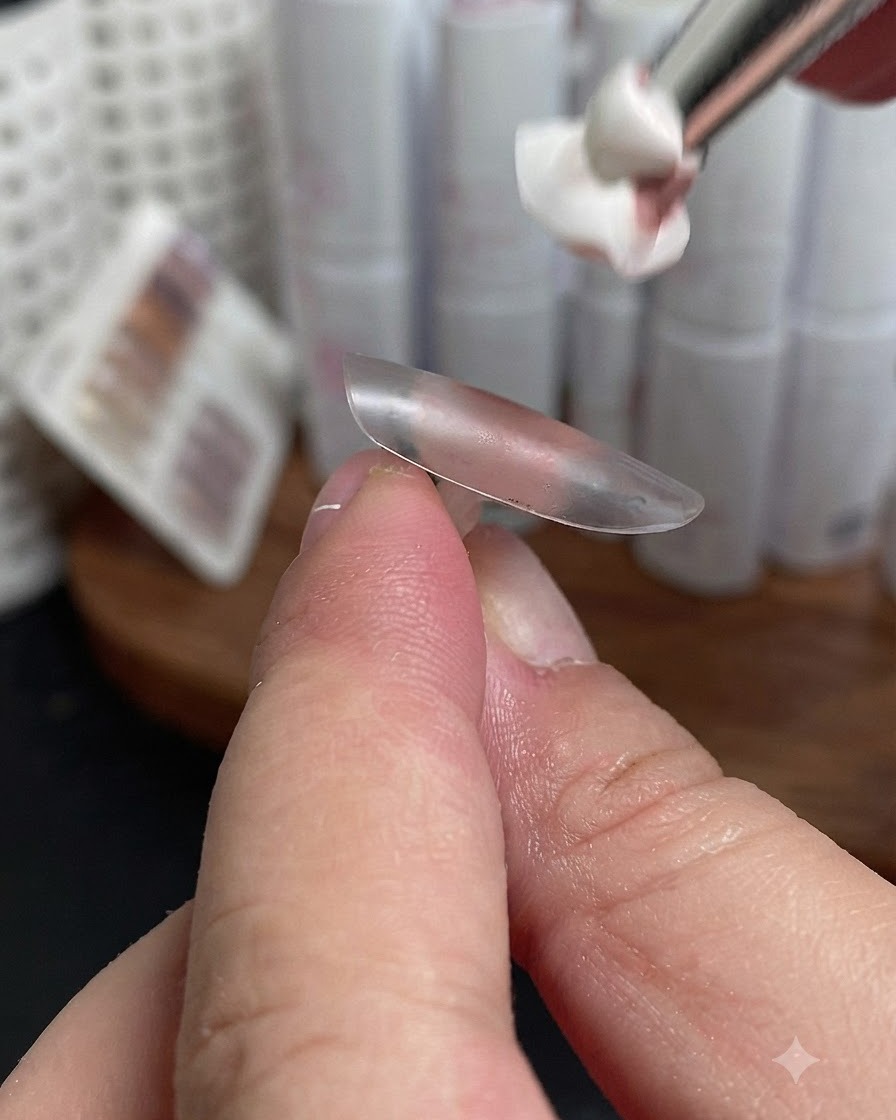
Take your brush and gently apply a light pink base coat onto the ring and index finger nail tips. Make sure to coat the surface evenly for a smooth foundation.
Tip: Keep the layer thin to prevent pooling around the edges. - 2Cure the base coat
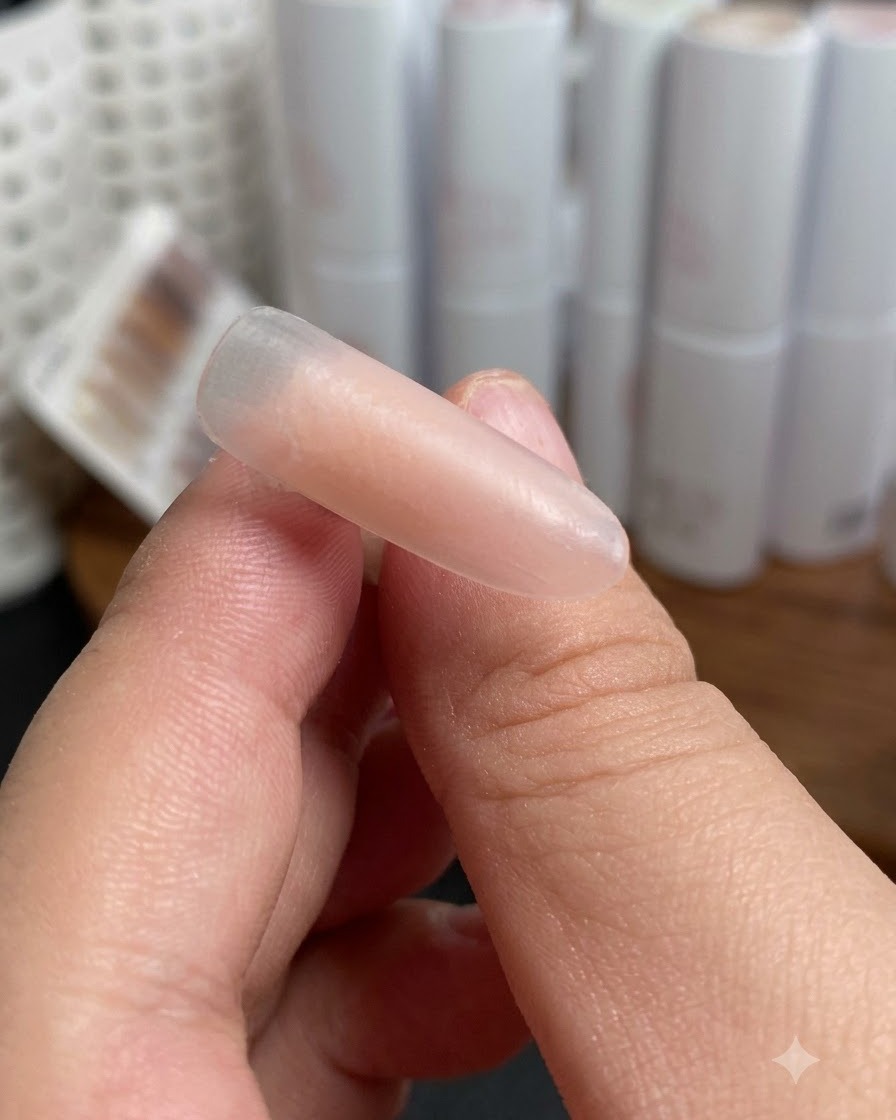
Place the painted nail tip under a UV/LED lamp to cure the base coat properly. Ensure it is fully set before moving on to the next step.
Tip: Follow your lamps recommended curing time for gel products. - 3Apply gold cat-eye polish
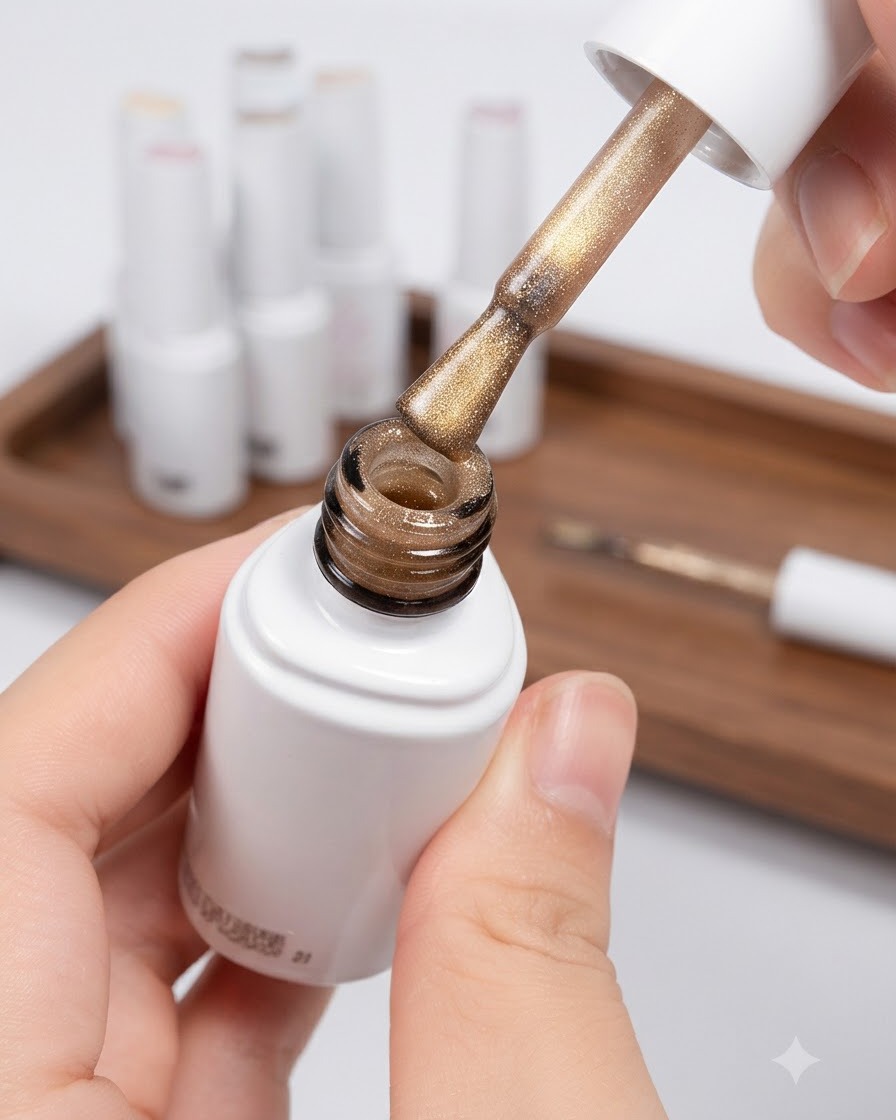
Take the bottle of super-bright gold cat-eye polish and apply a smooth coat onto the index finger nail tip.
Tip: Ensure an even distribution of the magnetic particles before using the magnet. - 4Pull shimmer with magnet
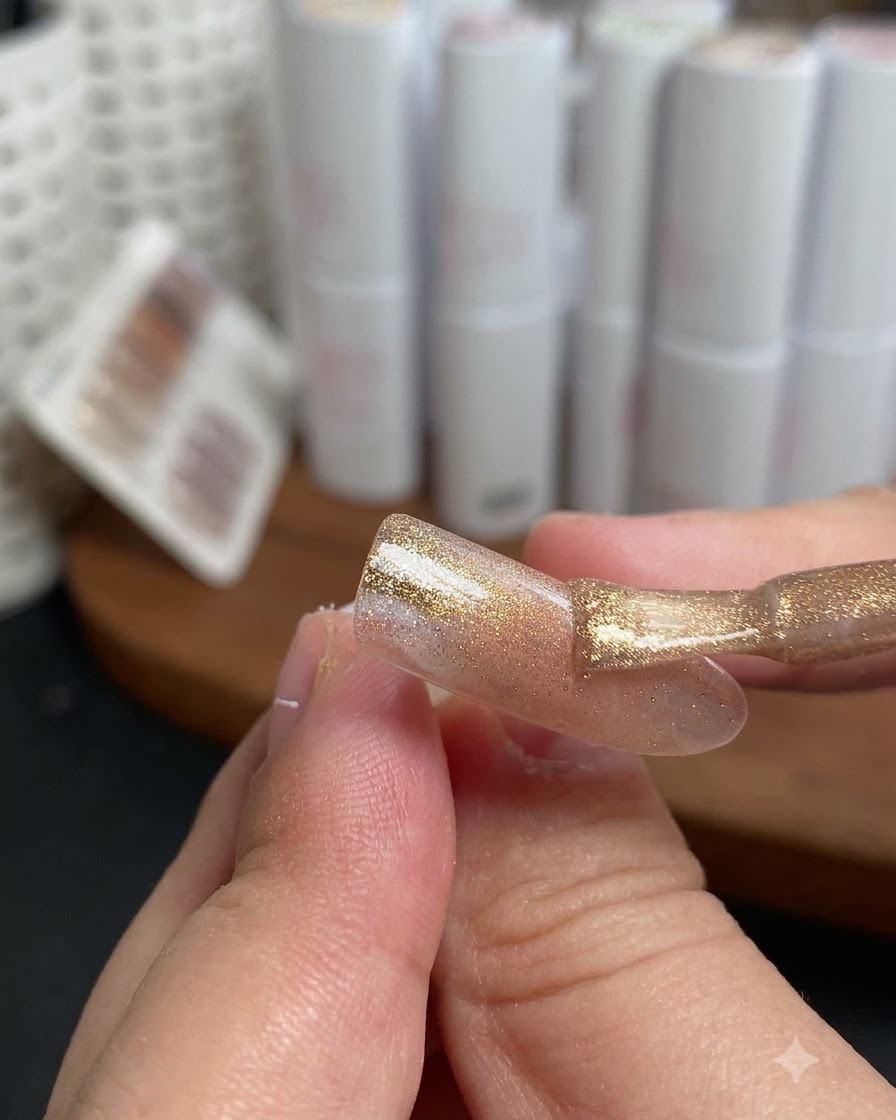
Hold a magnet close to the uncured gold cat-eye polish on the index finger to draw the shimmer particles to one specific side, creating a dimensional effect.
Tip: Keep the magnet steady and close to the nail without touching the wet polish surface. - 5Cure the gold cat-eye polish
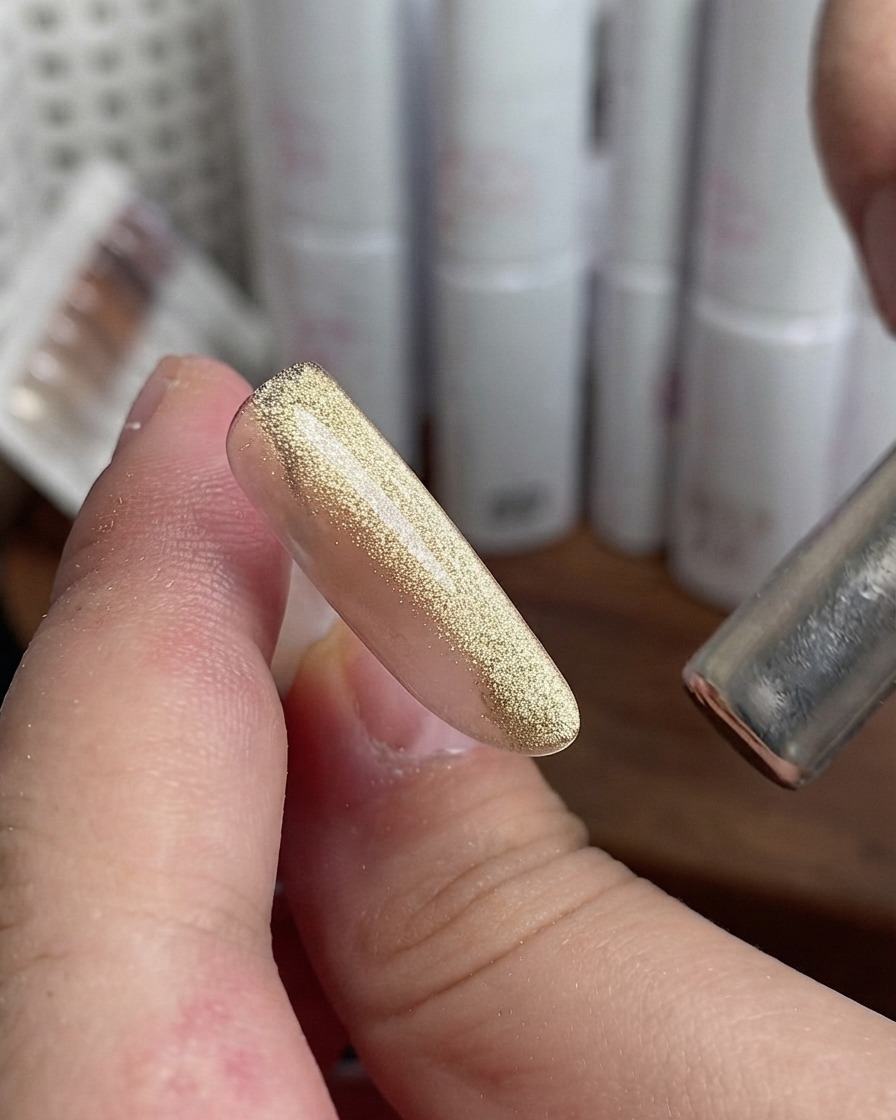
Place the index finger under the UV/LED lamp to cure the gold cat-eye polish and lock the magnetic shimmer effect in place.
Tip: Cure immediately after magnet placement so the particles dont disperse. - 6Apply center white dot
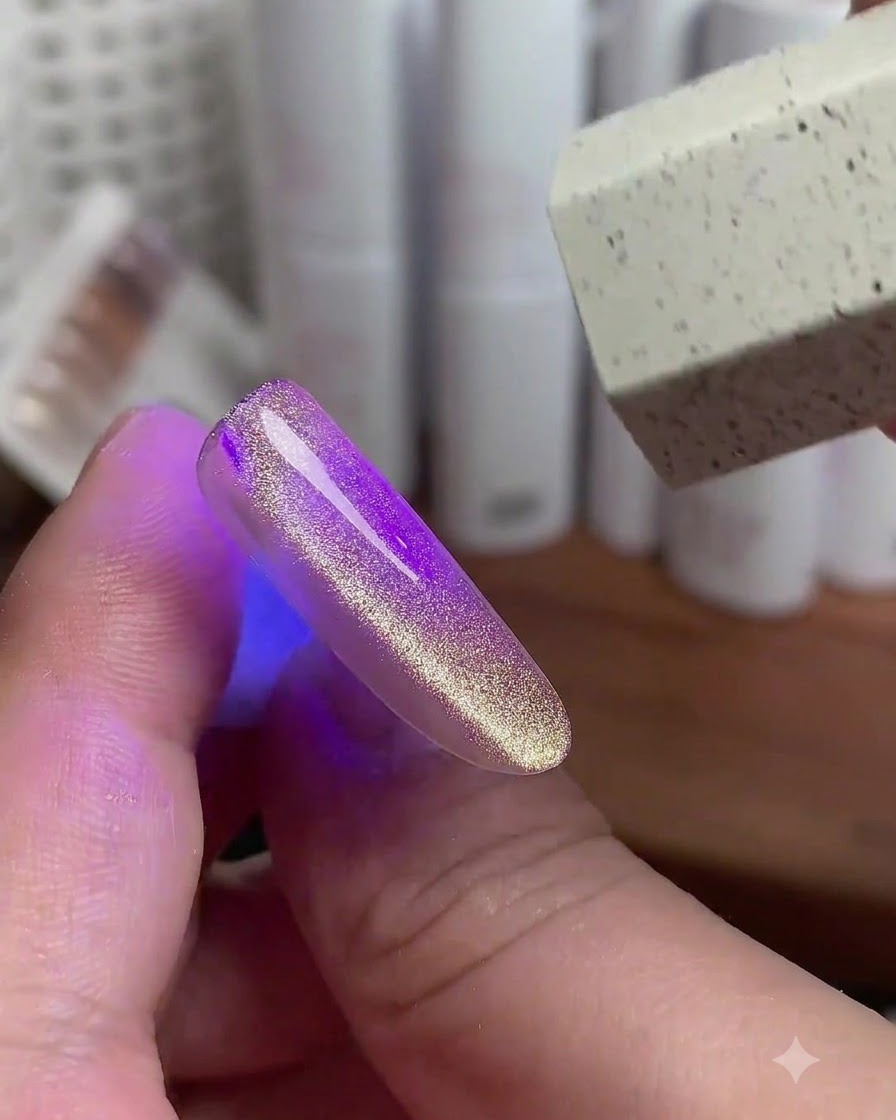
Using a dotting tool dipped in white gel, place a larger white dot right in the middle of the gold cat-eye polish on the index finger.
Tip: Clean your dotting tool between applications for crisp edges. - 7Add smaller white dots
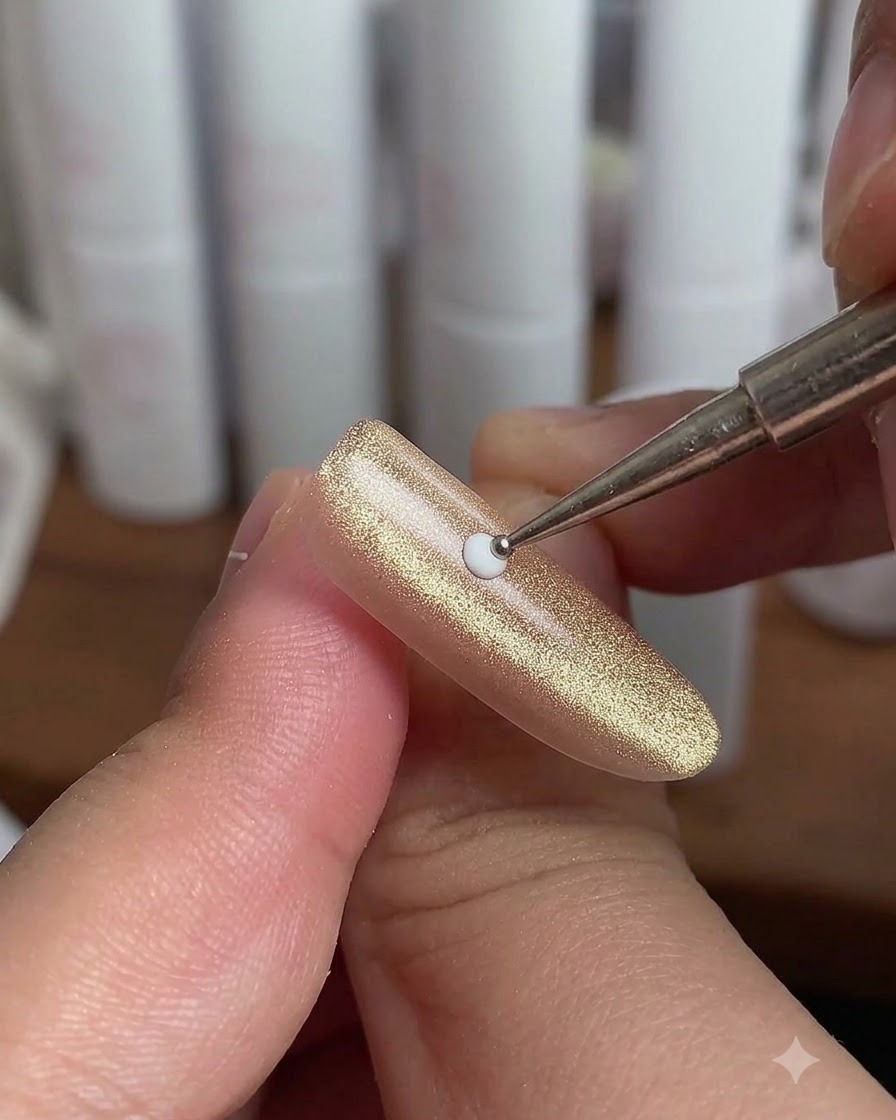
Using a dotting tool, carefully place smaller white dots around the central dot on the index finger to create a delicate and balanced accent design.
Tip: Keep the pressure light to maintain consistent, small-sized dots around the center. - 8Cure the white dot design
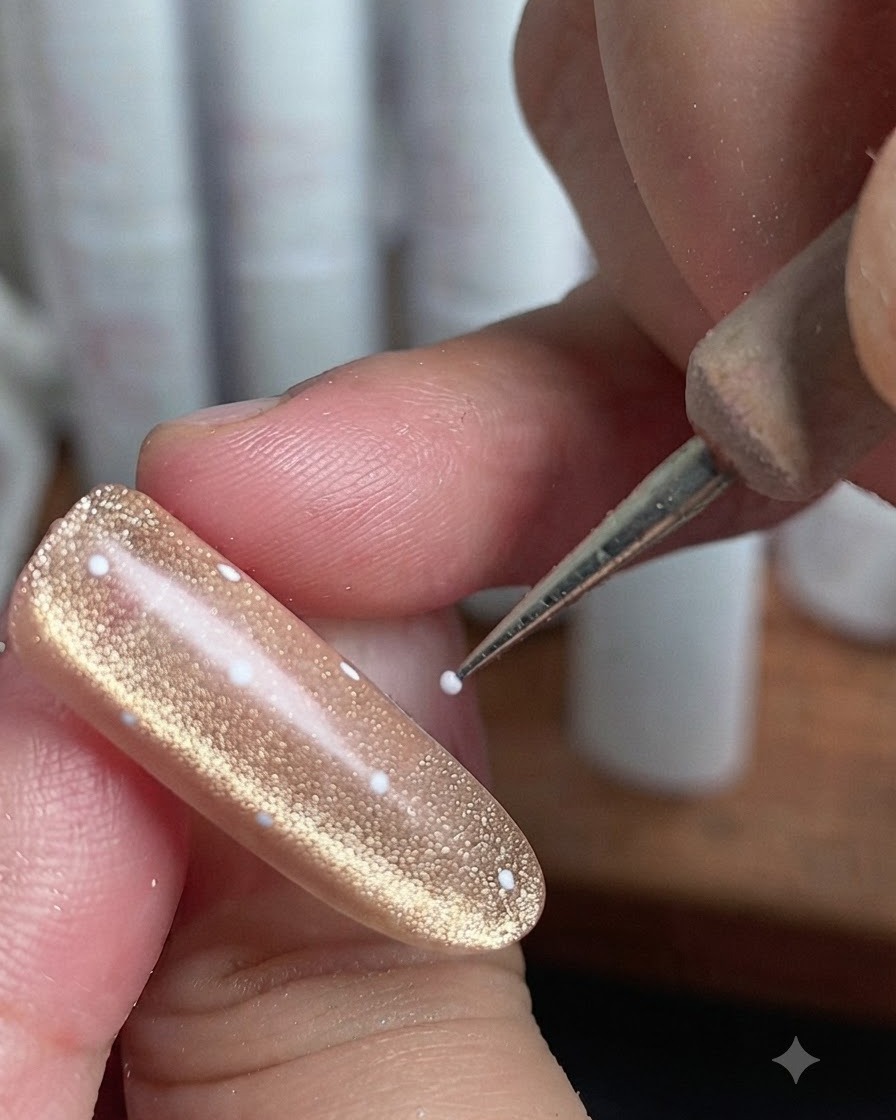
Place the index finger under a UV or LED lamp to cure the white dot design, ensuring the pattern sets securely before moving on to the next step.
Tip: Make sure the hand is positioned correctly under the lamp light for an even cure. - 9Draw the first diagonal line
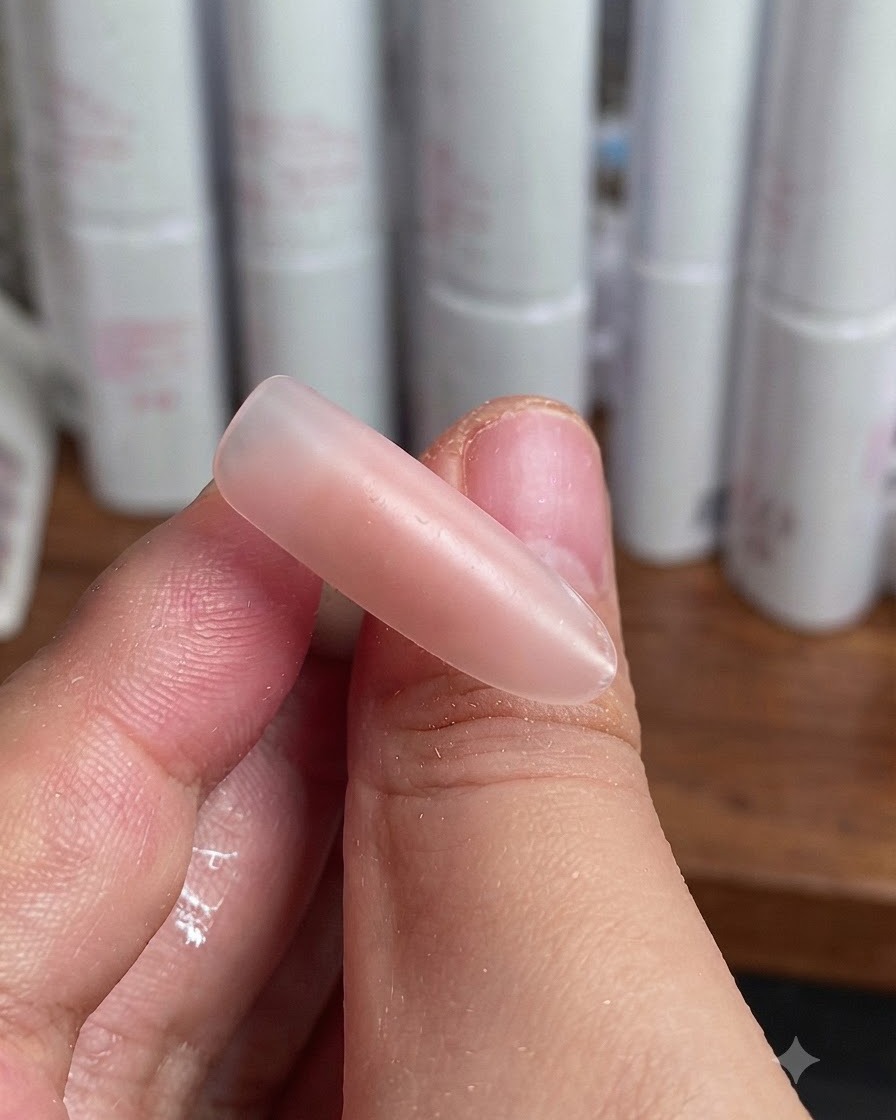
Take a thin liner brush with white gel and draw the first diagonal line across the ring finger from the center to establish the base of the lattice pattern.
Tip: Keep your hand steady and use light pressure to draw a clean, straight line. - 10Draw parallel white lines
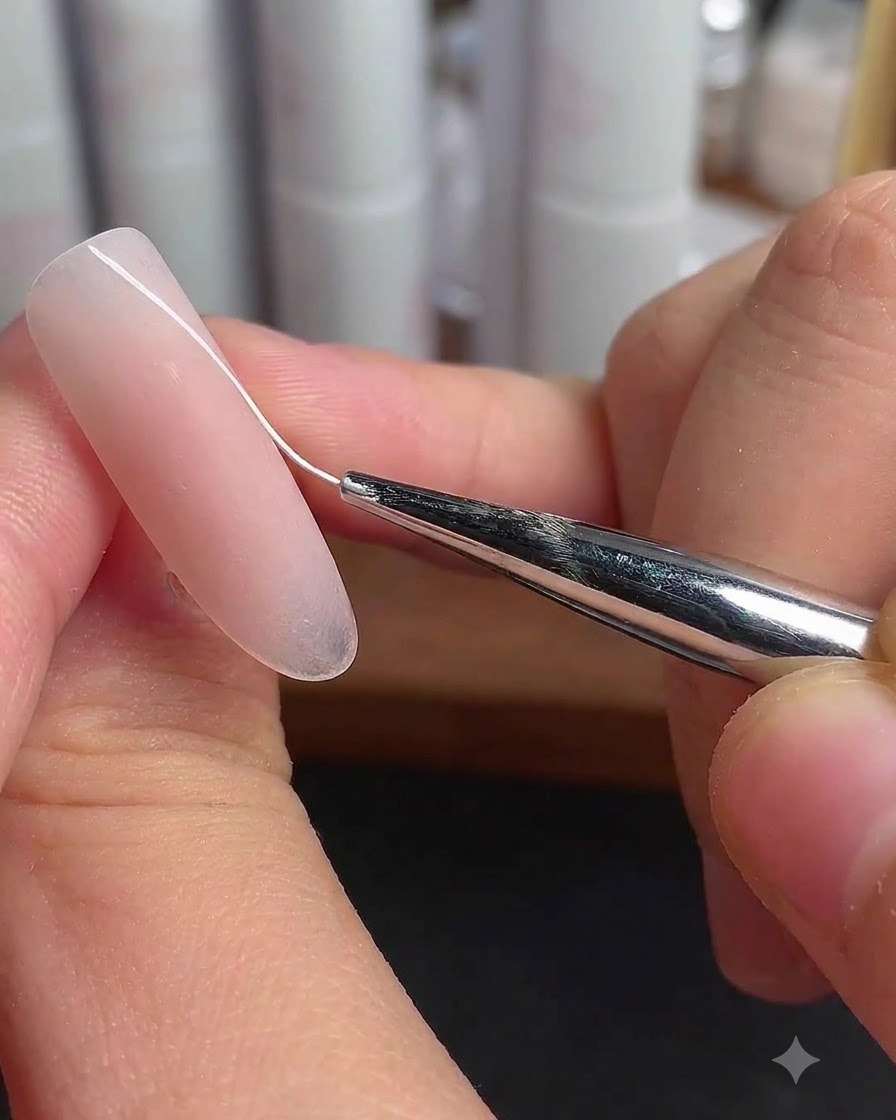
Using the thin liner brush, draw additional parallel white lines across the ring finger to continue building the geometric lattice structure.
Tip: Maintain equal spacing between each parallel line for a neat, professional look. - 11Cure the white lattice lines
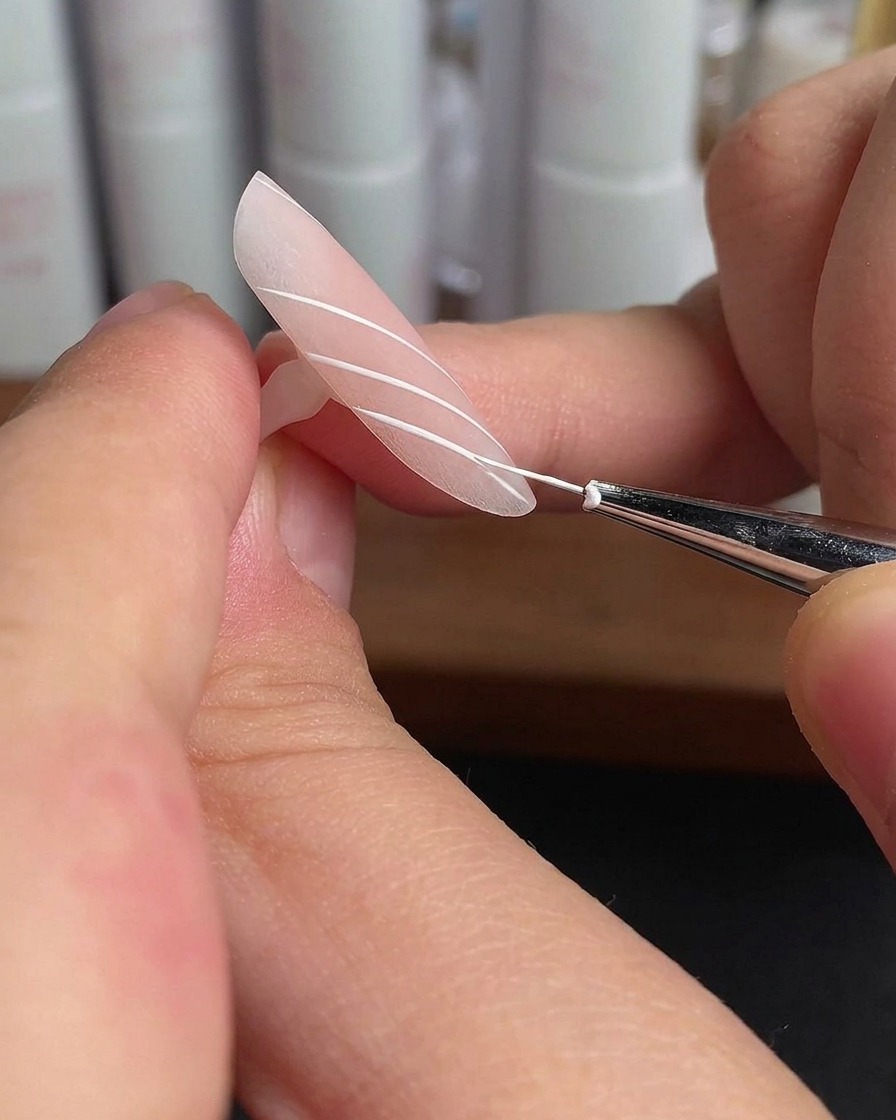
Place the ring finger under a UV or LED lamp to cure the newly drawn white lattice lines, preventing any smudging before the intersecting lines are added.
Tip: Cure fully according to your gel product instructions. - 12Complete the lattice pattern
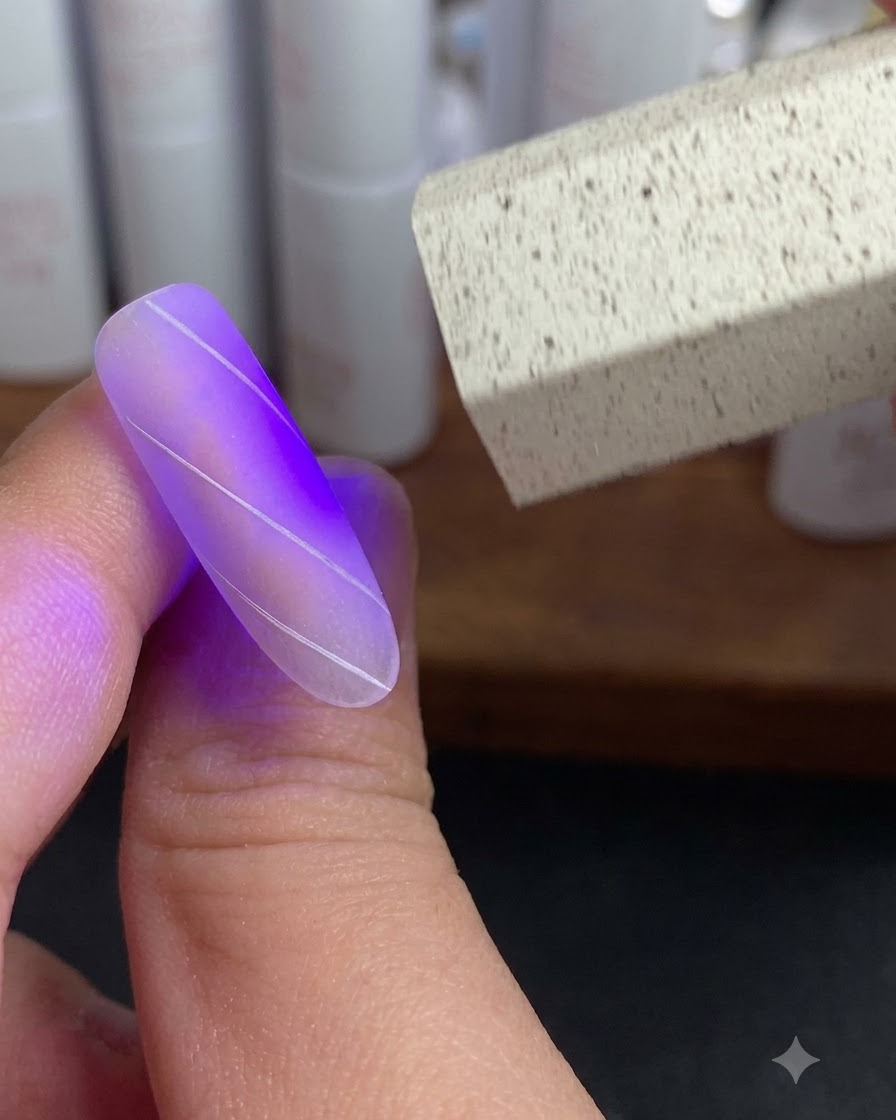
Draw intersecting diagonal white lines across the existing lines on the ring finger to fully complete the intricate lattice pattern design.
Tip: Ensure the intersections cross cleanly to form sharp diamond shapes. - 13Cure the lattice lines
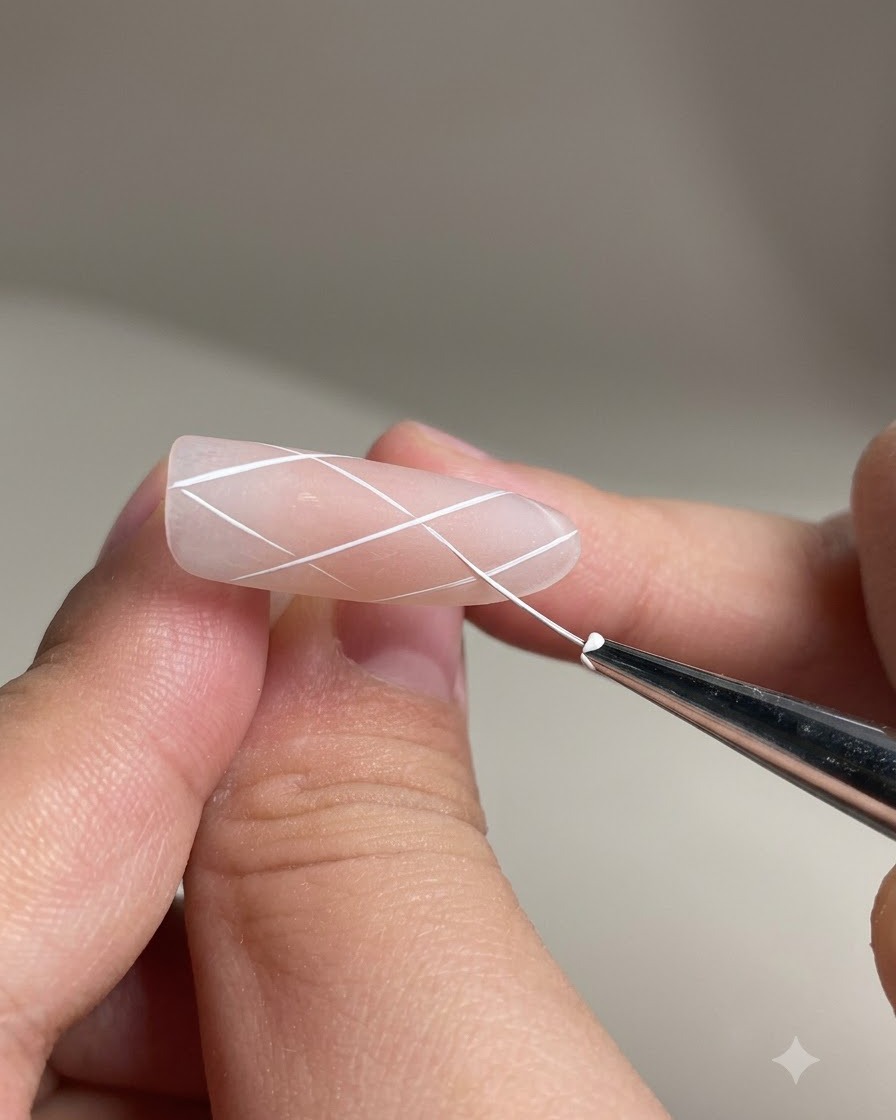
Place the ring finger under your UV or LED lamp to cure the white lattice lines securely onto the base.
Tip: Ensure the lines are fully cured so they do not smudge when applying the upcoming color sections. - 14Fill diamond sections with gold cat-eye polish
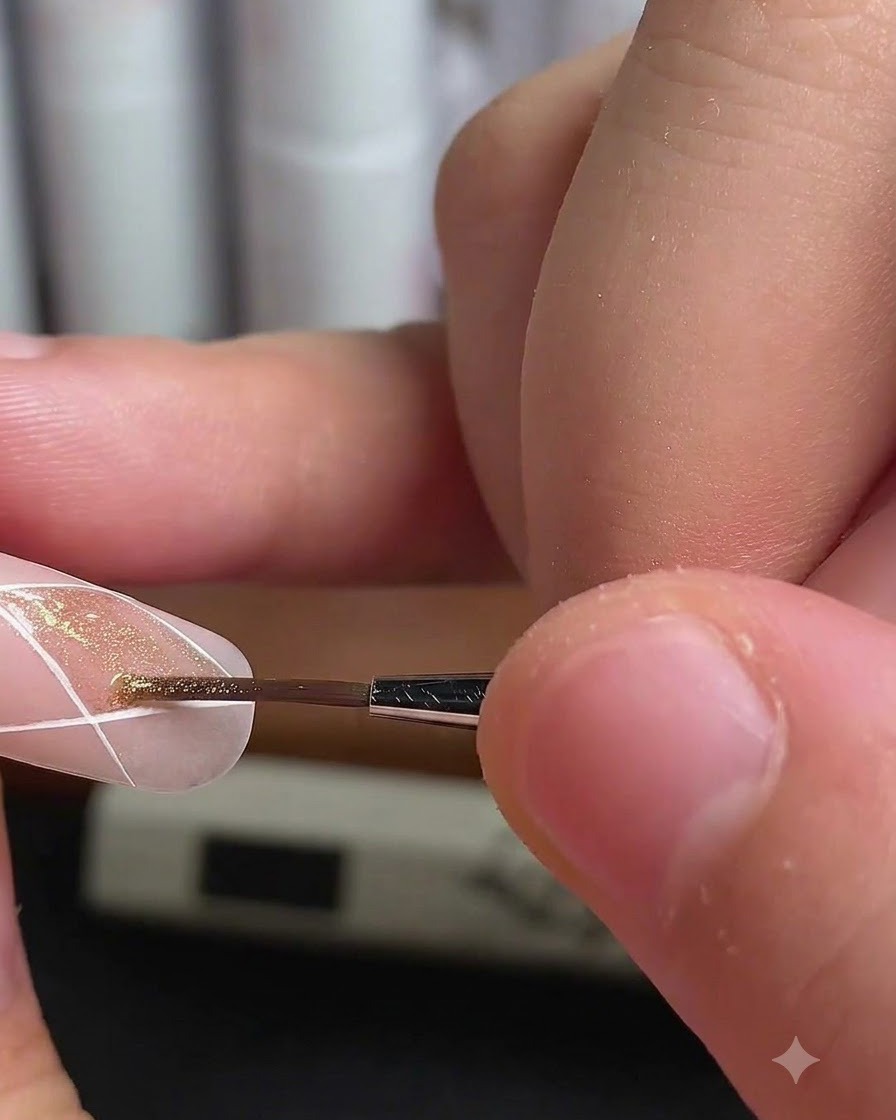
Use a fine liner brush to carefully apply the super-bright gold cat-eye polish inside each individual diamond shape created by the lattice lines on the ring finger.
Tip: Take your time staying inside the lines to keep the geometric pattern clean and distinct. - 15Cure the gold sections
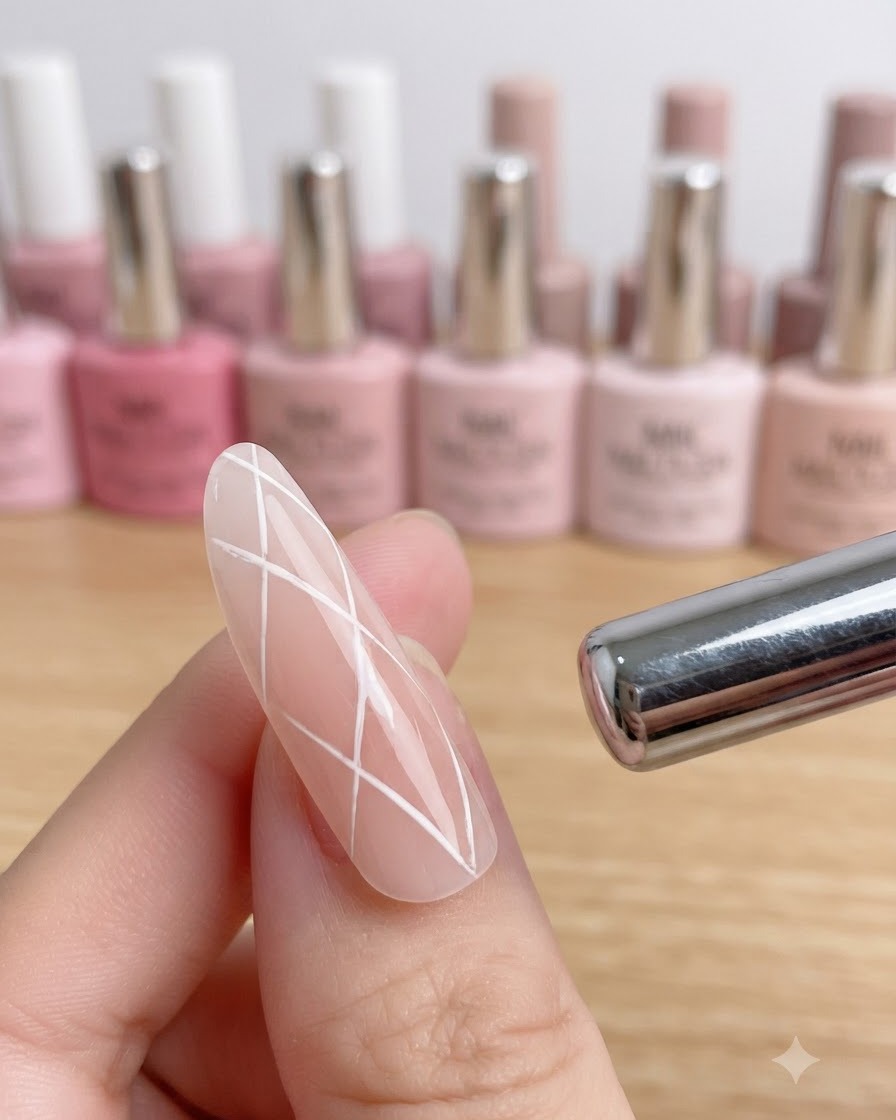
Cure the newly applied gold cat-eye polish sections on the ring finger under the lamp before moving on to the next step.
Tip: Always cure each layer thoroughly to prevent shifting or bubbling. - 16Apply dimensional top coat to sections
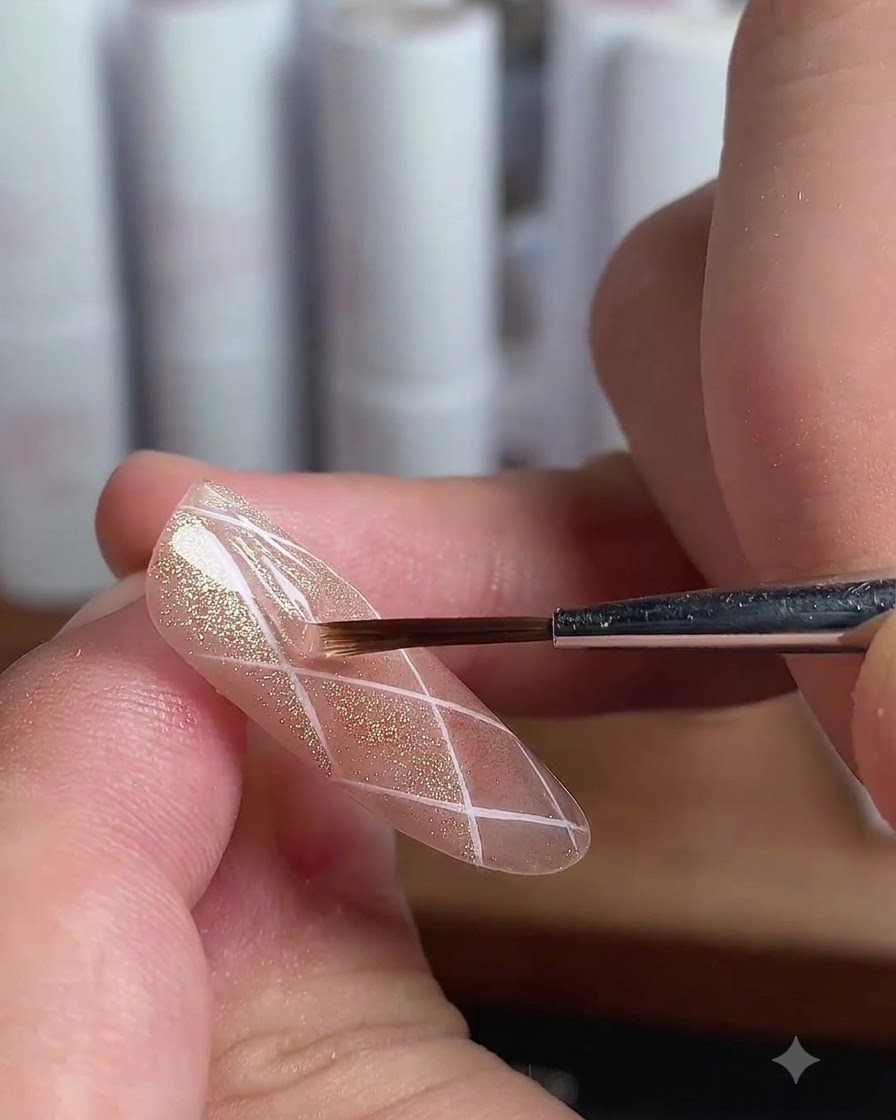
Apply a top coat layer directly to each individual diamond section on the ring finger to build up texture and create a dimensional, raised effect.
Tip: Work section by section if necessary to maintain clean separation between the diamonds. - 17Cure dimensional top coat
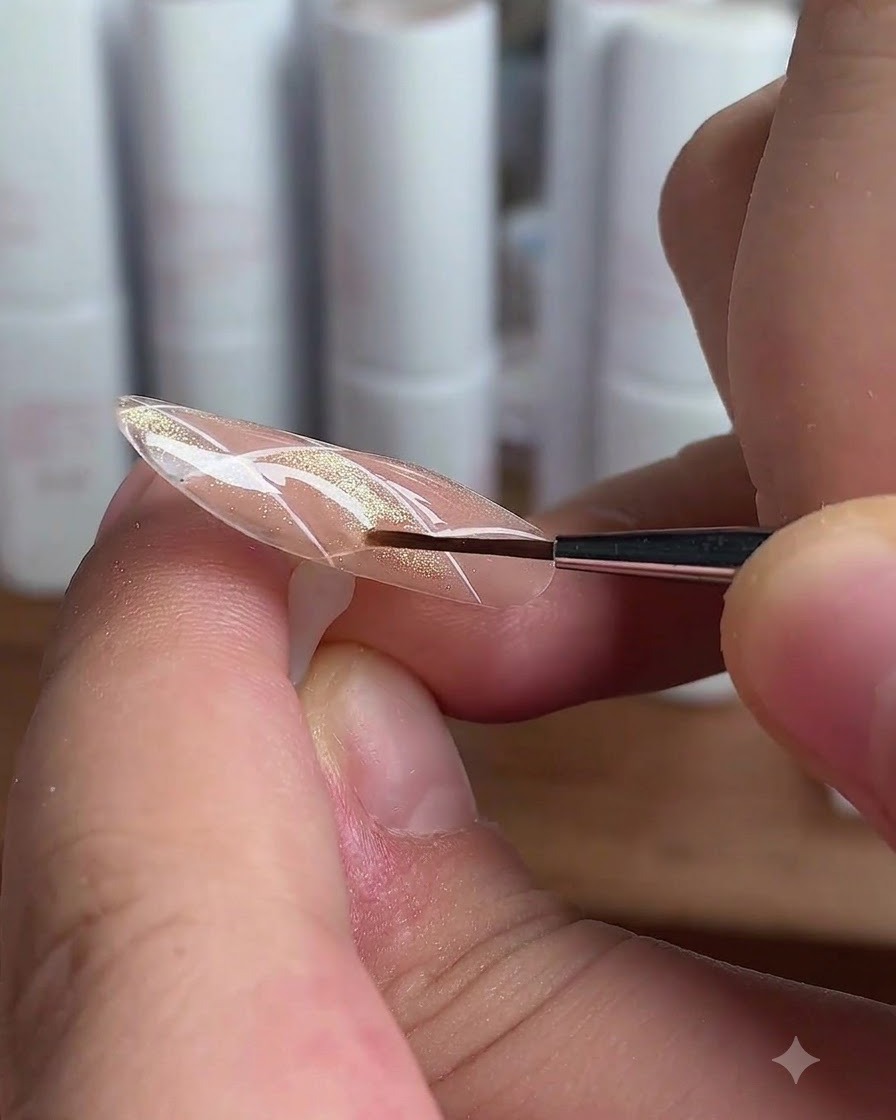
Cure the dimensional top coat on the ring finger under the lamp to set the raised texture for each diamond section.
Tip: Cure fully to ensure the high-gloss dimensional effect remains hard and durable.