Purple Watercolor Marble
Cat Eye Crystal Nails — Step-by-Step Tutorial
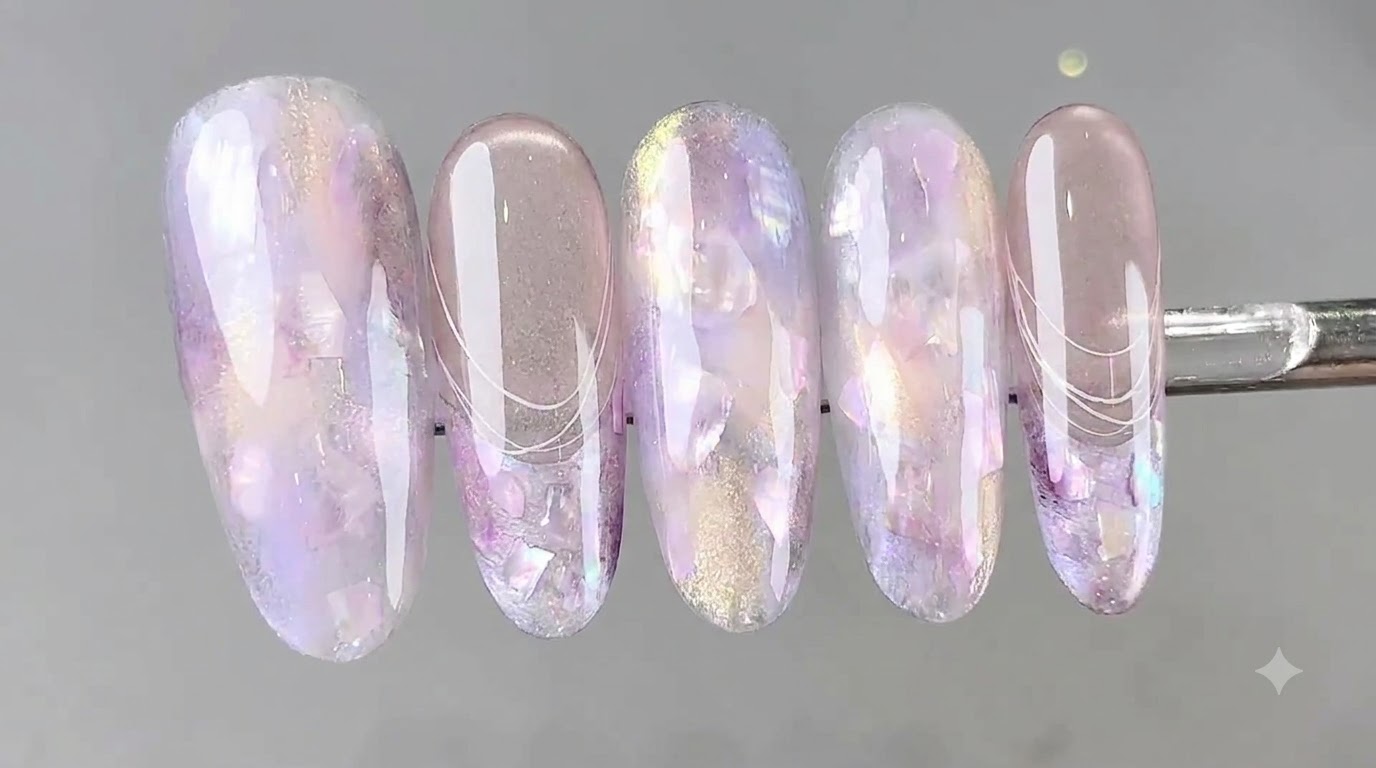
Discover a stunning purple watercolor marble and crystal nail tutorial featuring shimmering pearlescent gels, embedded shell pieces, and luminous cat eye effects.
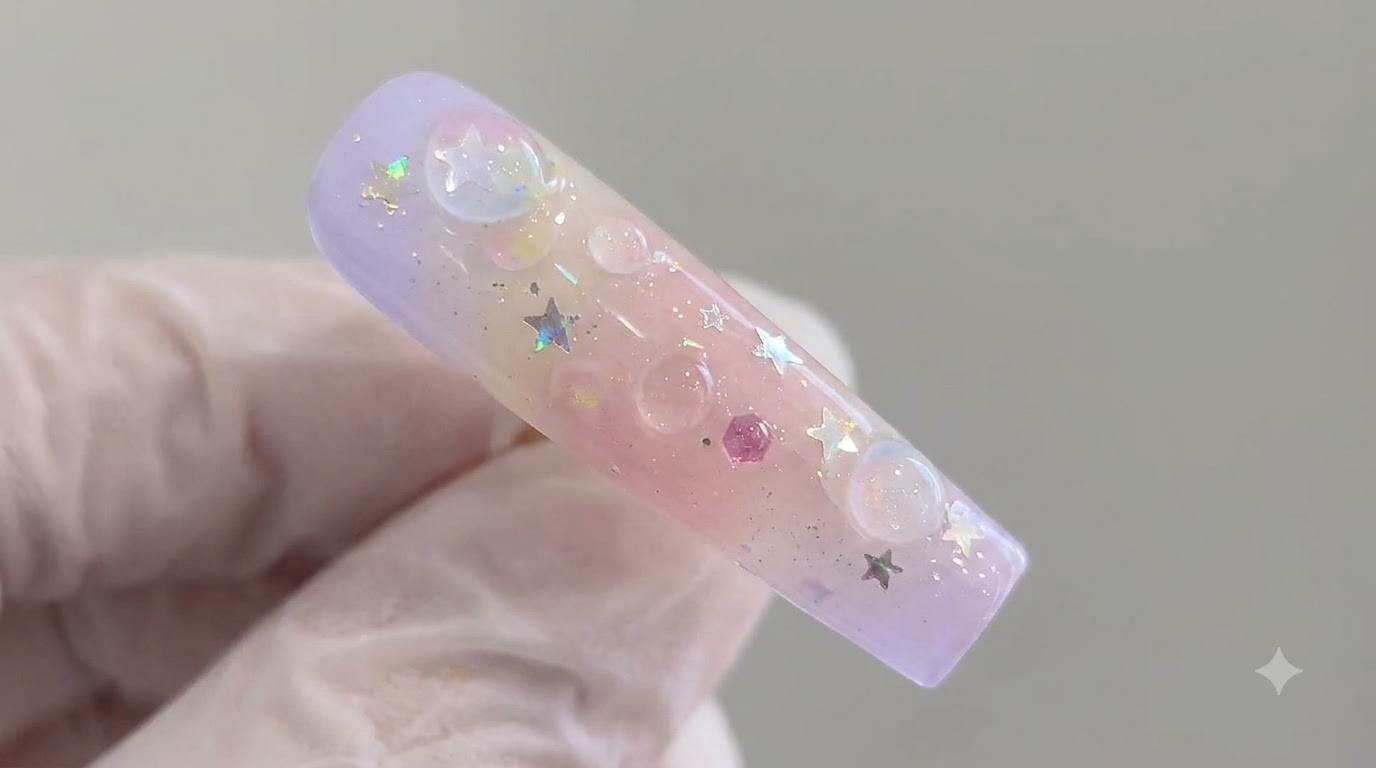
Ethereal crystal nails combining watercolor marble effects with multidimensional cat eye polishes have taken modern nail art to the next level. This sophisticated look pairs delicate pearlescent shades with iridescent shell pieces and fine French lines for a truly magical finish.
Steps
- 1Display Pearlescent Gel Number 4
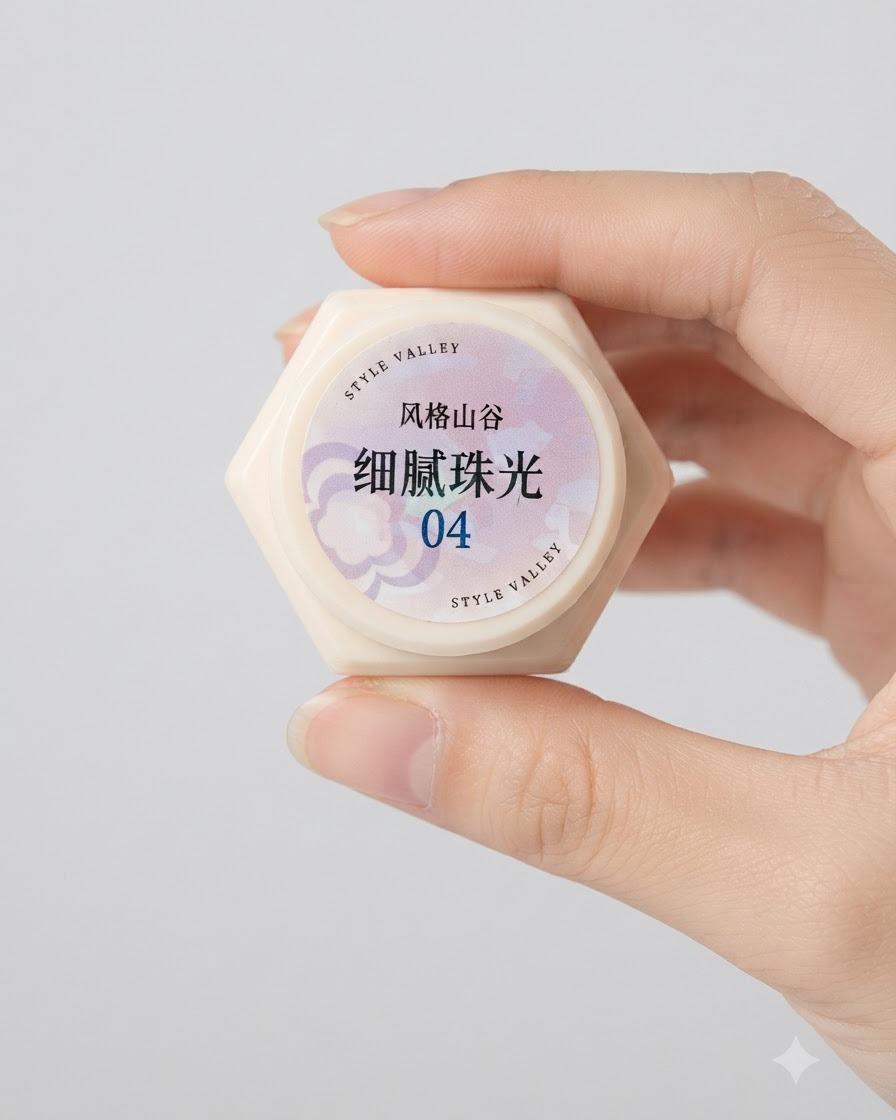
Show the container of delicate pearlescent gel number 4 clearly to prepare for the color block application on the nail surface.
Tip: Keep the product label visible to ensure the correct shade is used. - 2Apply Pearlescent Gel Number 4
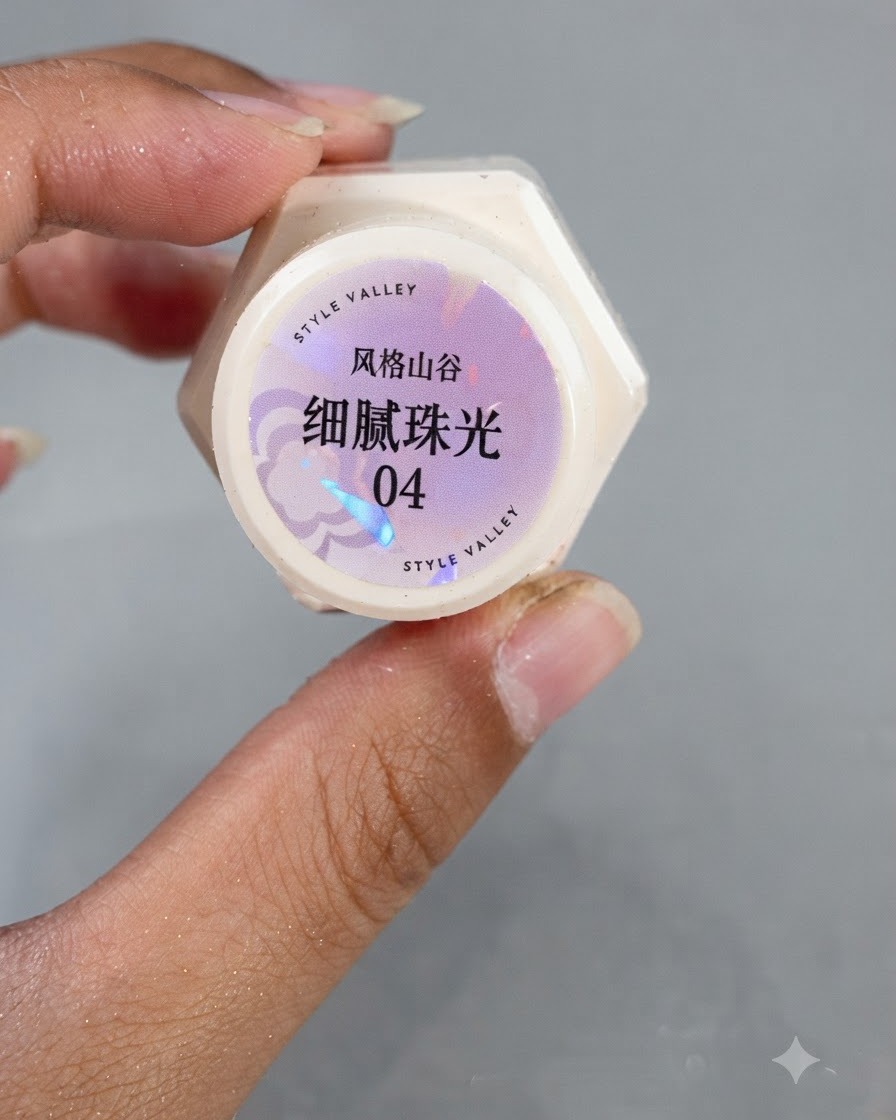
Brush delicate pearlescent gel number 4 onto the nail surface as distinct color blocks to form the foundation of the watercolor effect.
Tip: Apply in thin patches to allow smooth layering with subsequent shades. - 3Display Pearlescent Gel Number 3
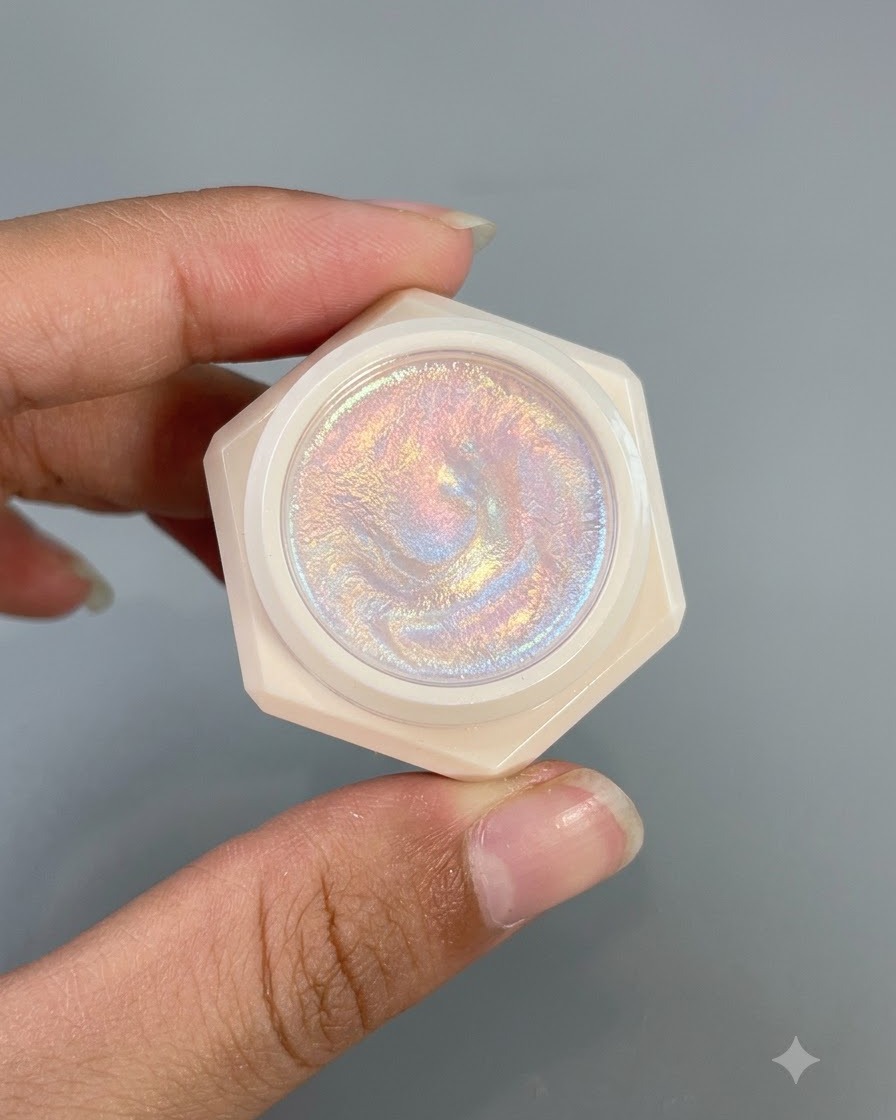
Show the pot of delicate pearlescent gel number 3, which will be used next to overlap and fill the gaps on the nail.
Tip: Ensure the product is properly mixed if any settling has occurred. - 4Overlap with Pearlescent Gel Number 3
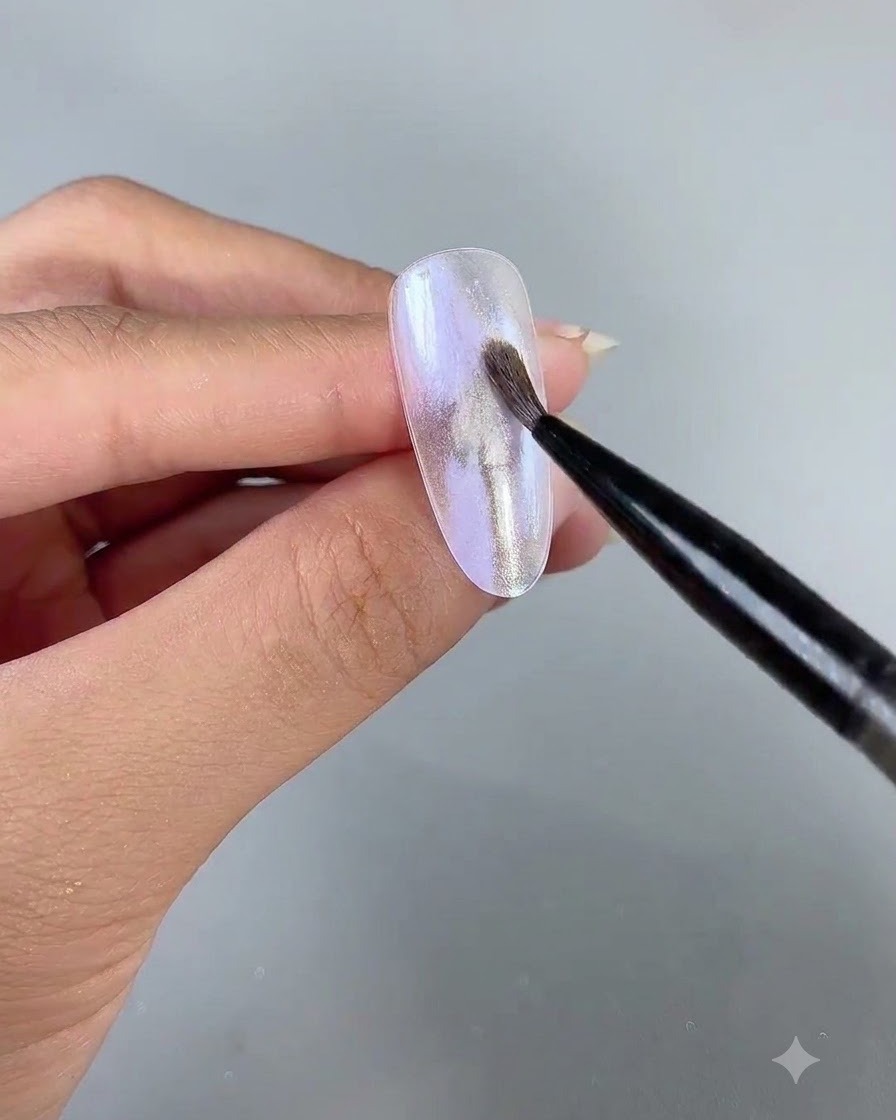
Use delicate pearlescent gel number 3 to overlap and fill in the gaps left by the previous shade, adding depth and dimension to the design.
Tip: Blend the edges softly where the two gels meet for a seamless watercolor transition. - 5Apply Soft Builder Gel
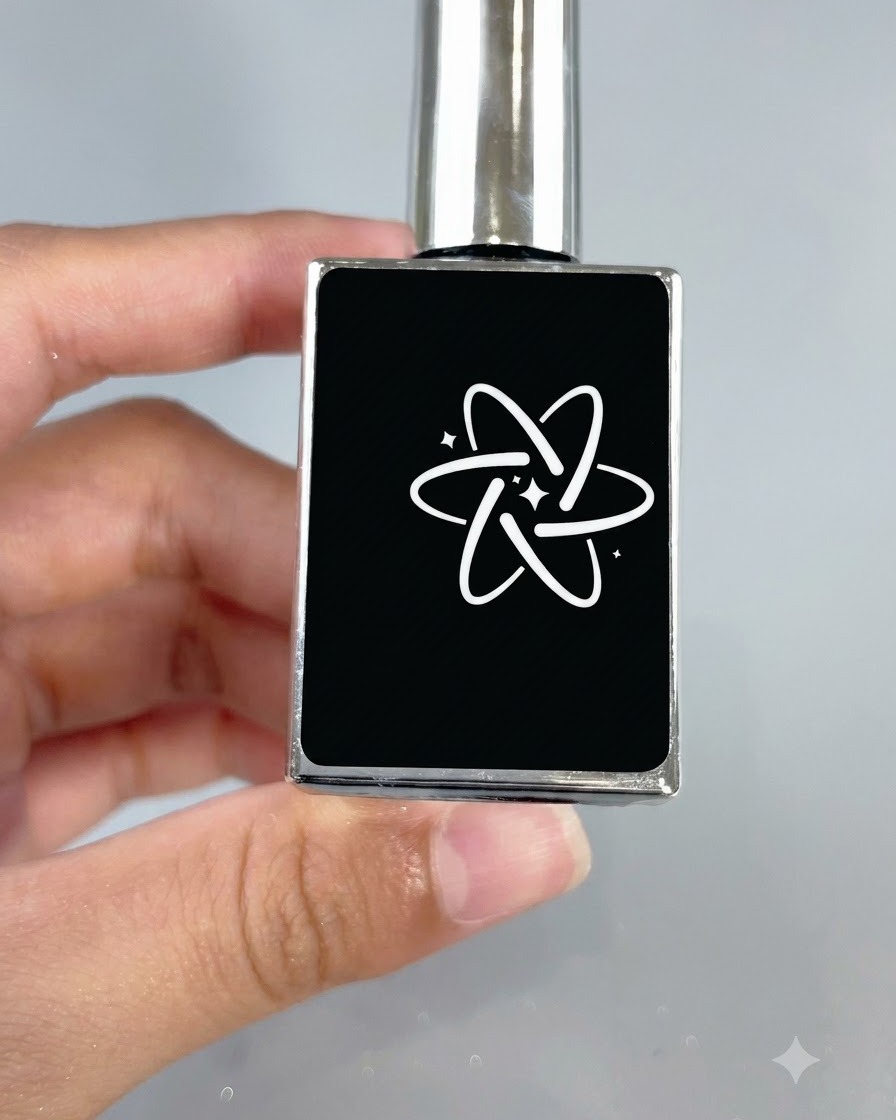
Brush a layer of soft builder gel onto the nail to create a smooth base layer for embedding shell pieces.
Tip: Do not cure this layer yet, as it will act as an adhesive for the shell pieces. - 6Select Shell Pieces
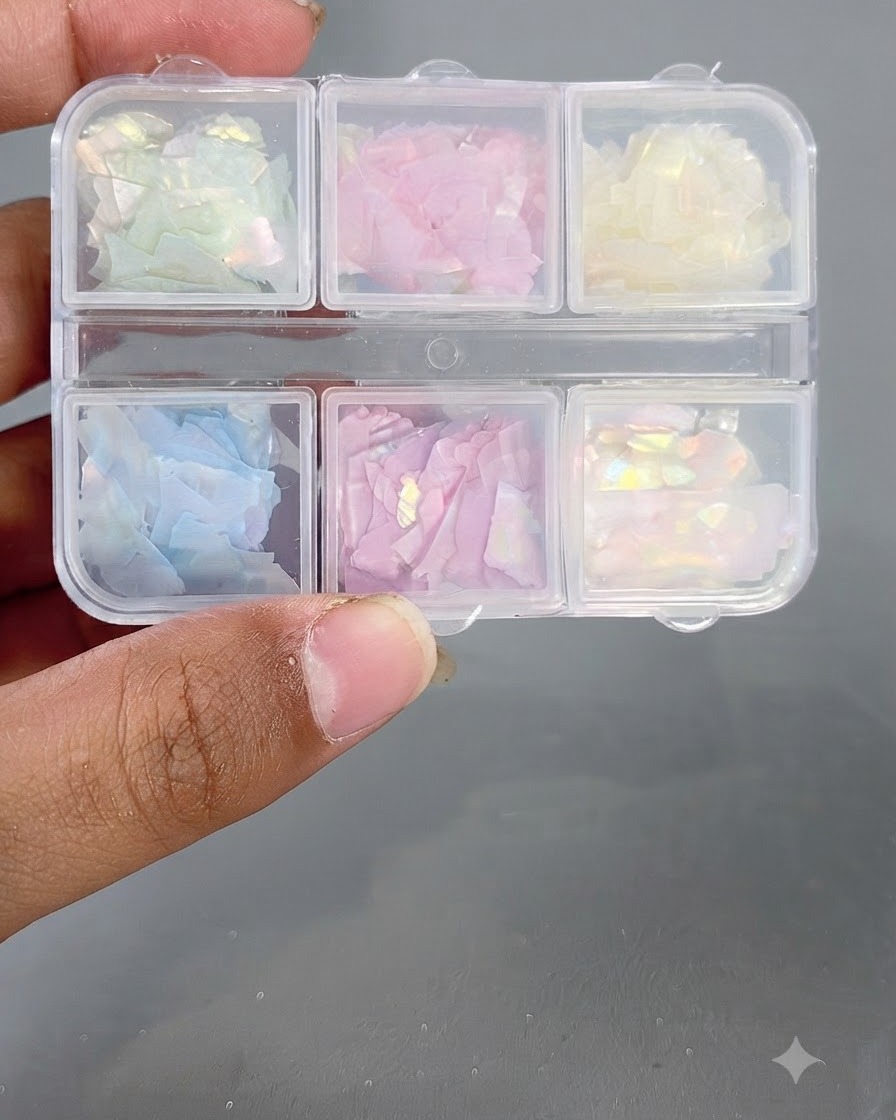
Pick up suitable shell pieces from the Style Valley shell set using a brush or tool to prepare for placement on the uncured builder gel.
Tip: Choose shell pieces that complement the purple and pearlescent color palette. - 7Place shell pieces
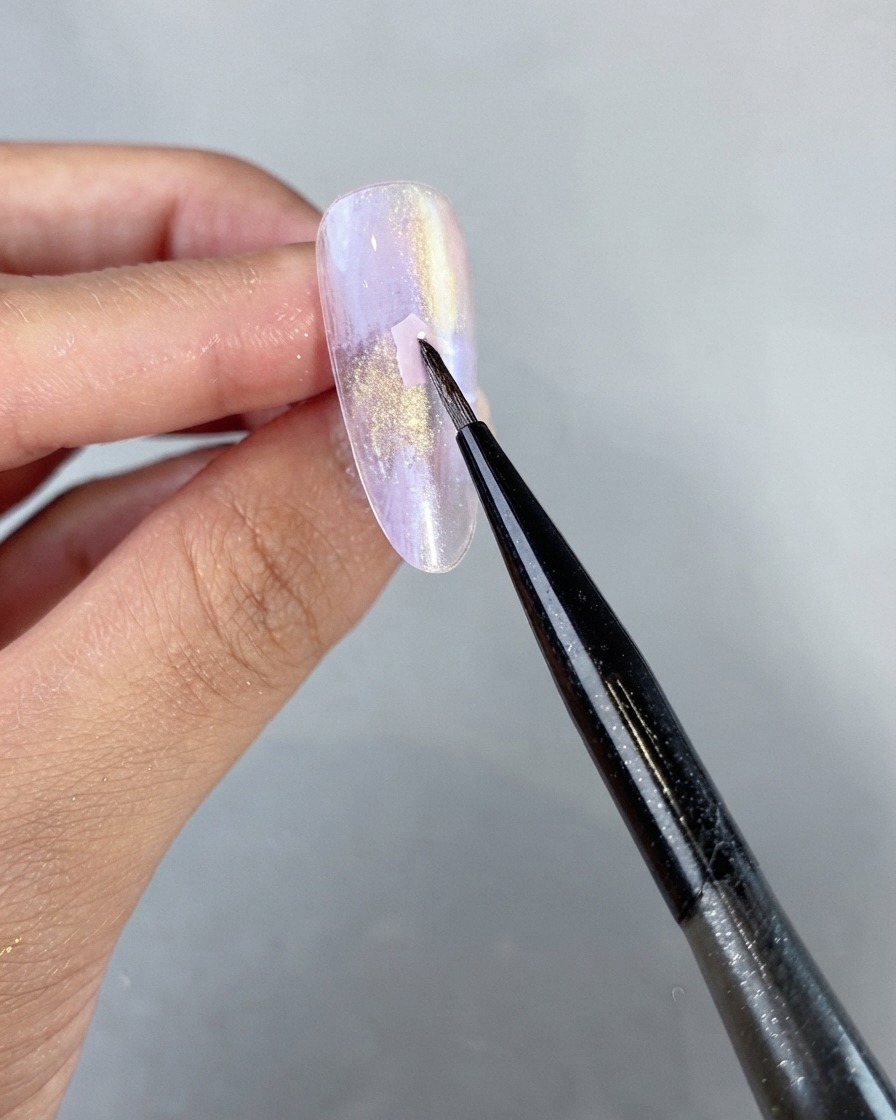
Using a fine art liner brush or dotting tool, carefully pick up and place individual shell pieces from the Style Valley shell piece set onto the uncured soft builder gel surface. Arrange them artistically across the nail to complement the underlying watercolor and pearlescent design without curing yet.
Tip: Do not cure the gel before placing the shell pieces; the tacky surface holds them securely in place while you arrange them. - 8Cure shell pieces and gel
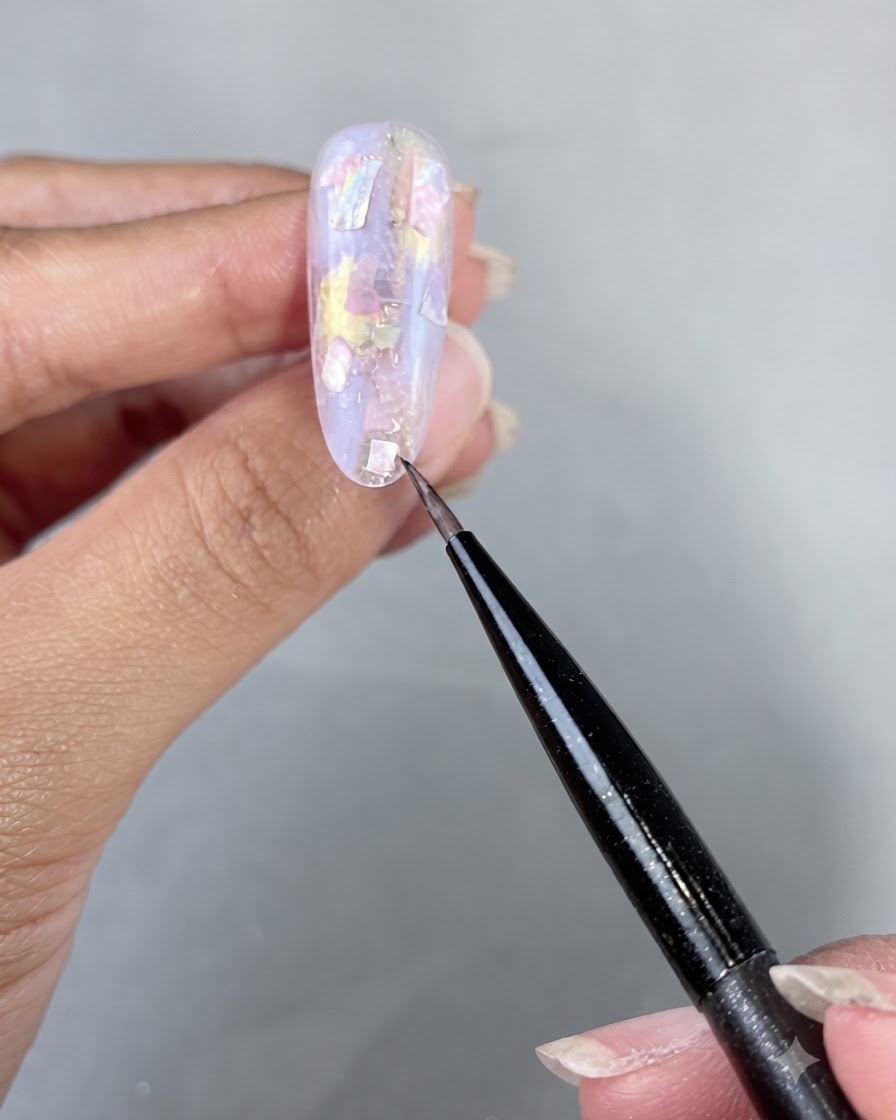
Place your hand under the UV or LED lamp to fully cure the layer of soft builder gel and lock the arranged shell pieces securely into position. Ensure the entire nail surface receives proper exposure time as recommended by your gel manufacturer.
Tip: Make sure the hand is flat under the lamp to prevent the gel from shifting while curing. - 9Encapsulate shell pieces
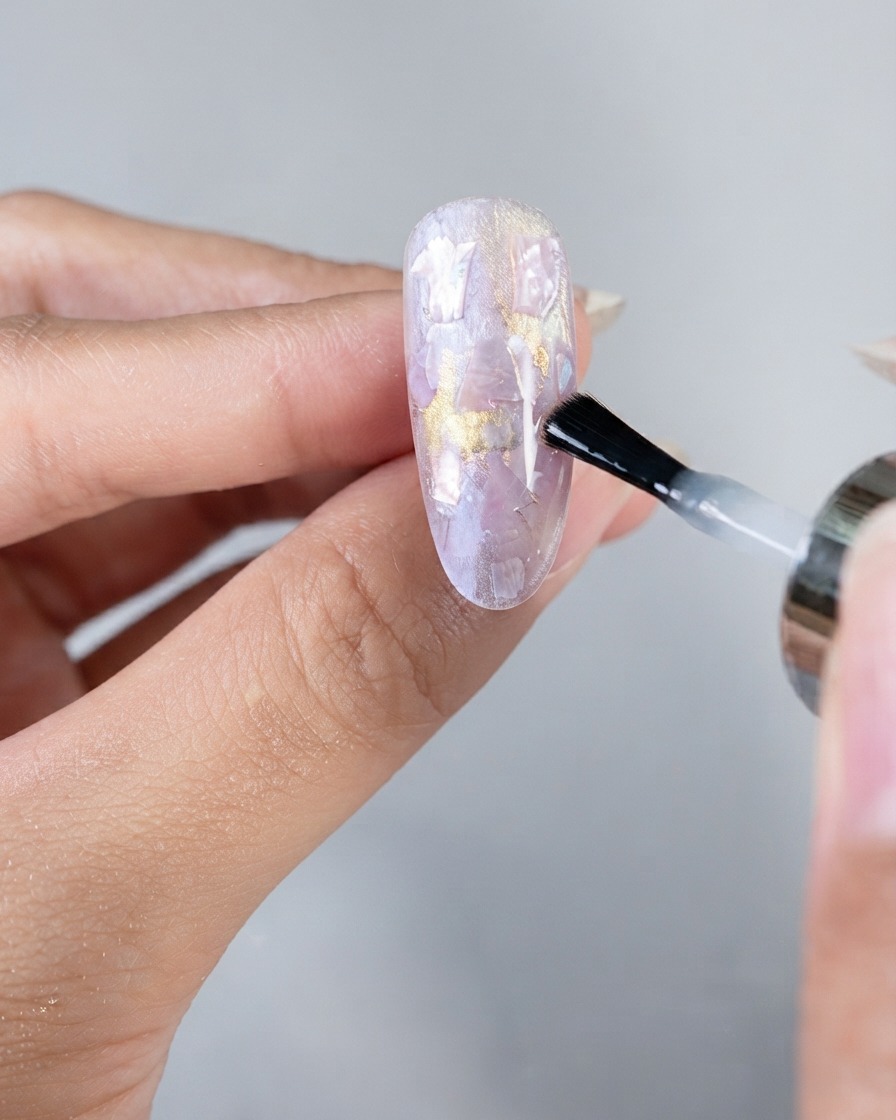
Brush another even layer of soft builder gel over the entire nail surface, completely covering and encapsulating the embedded shell pieces. This creates a smooth protective barrier over the textured embellishments and adds depth to the design.
Tip: Ensure the builder gel covers the edges of the shell pieces completely so they do not catch or lift later. - 10Cure the encapsulated layer
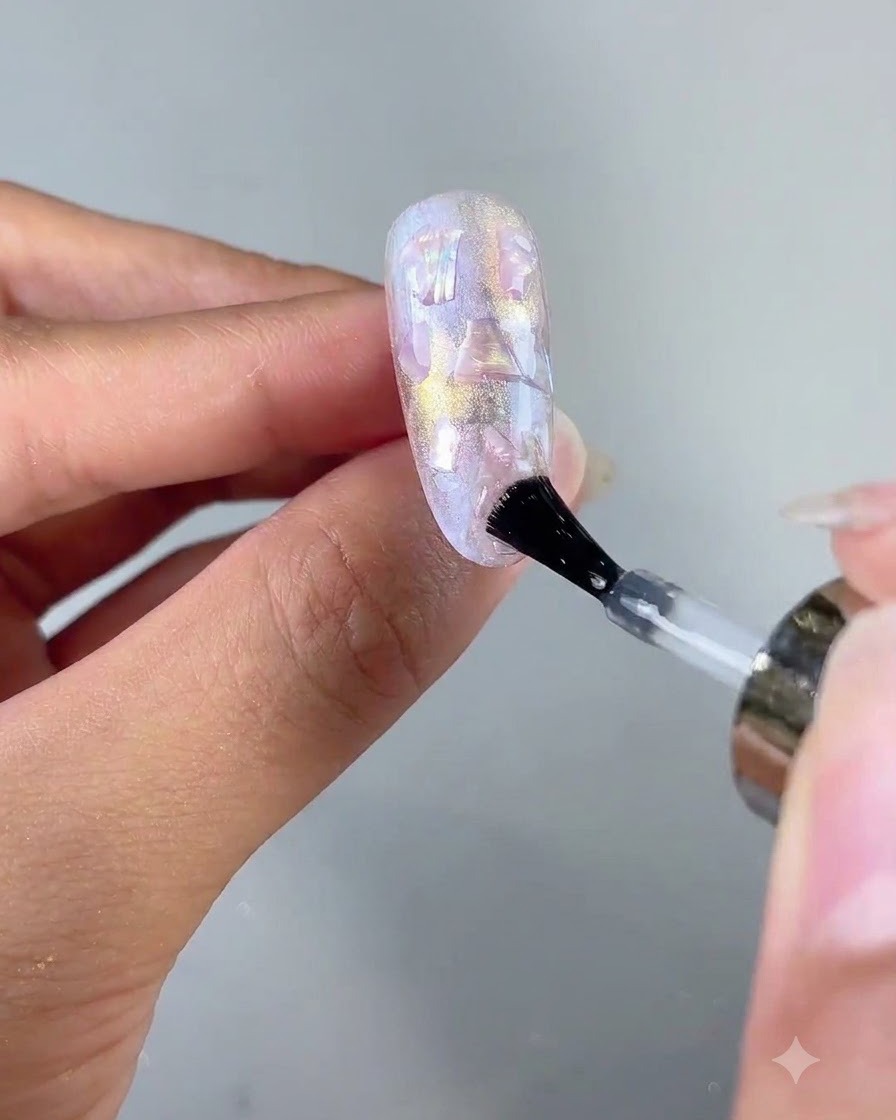
Place the hand back under the UV/LED lamp to cure the encapsulation layer of soft builder gel. This hardens the protective coating over the shell pieces and prepares the nail for filing and smoothing.
Tip: Cure thoroughly to ensure the builder gel hardens completely before filing. - 11Smooth the nail surface
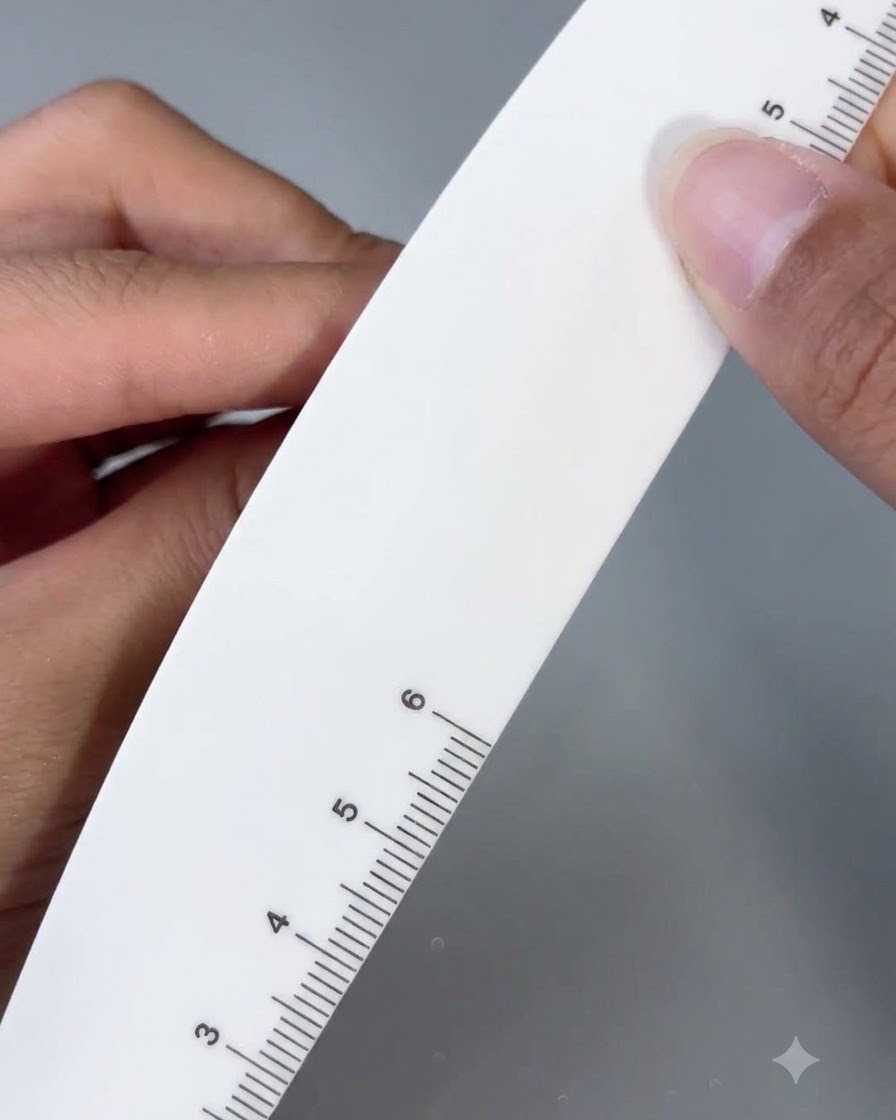
Use a nail file buffer to gently file and smooth out any uneven bumps or thickness on the nail surface caused by the encapsulated shell pieces. Buff evenly across the nail to create a uniform, flat foundation for the subsequent steps.
Tip: Use light, even pressure with the buffer to avoid filing through the protective builder gel layer into the shell pieces. - 12Clean away nail dust
Gently brush and wipe away all accumulated nail dust from the filed surface using a clean dusting brush or a lint-free wipe. Ensure the nail is completely clean and free of debris before moving on to the next color application step.
Tip: A soft dusting brush effectively removes fine dust particles without scratching the buffed gel surface. - 13Apply Milky White Self-Leveling Gel
Apply milky white self-leveling gel onto the nail surface to create a watercolor bloom effect.
Tip: Allow the gel to self-level smoothly for an even distribution. - 14Display cat eye gel pot
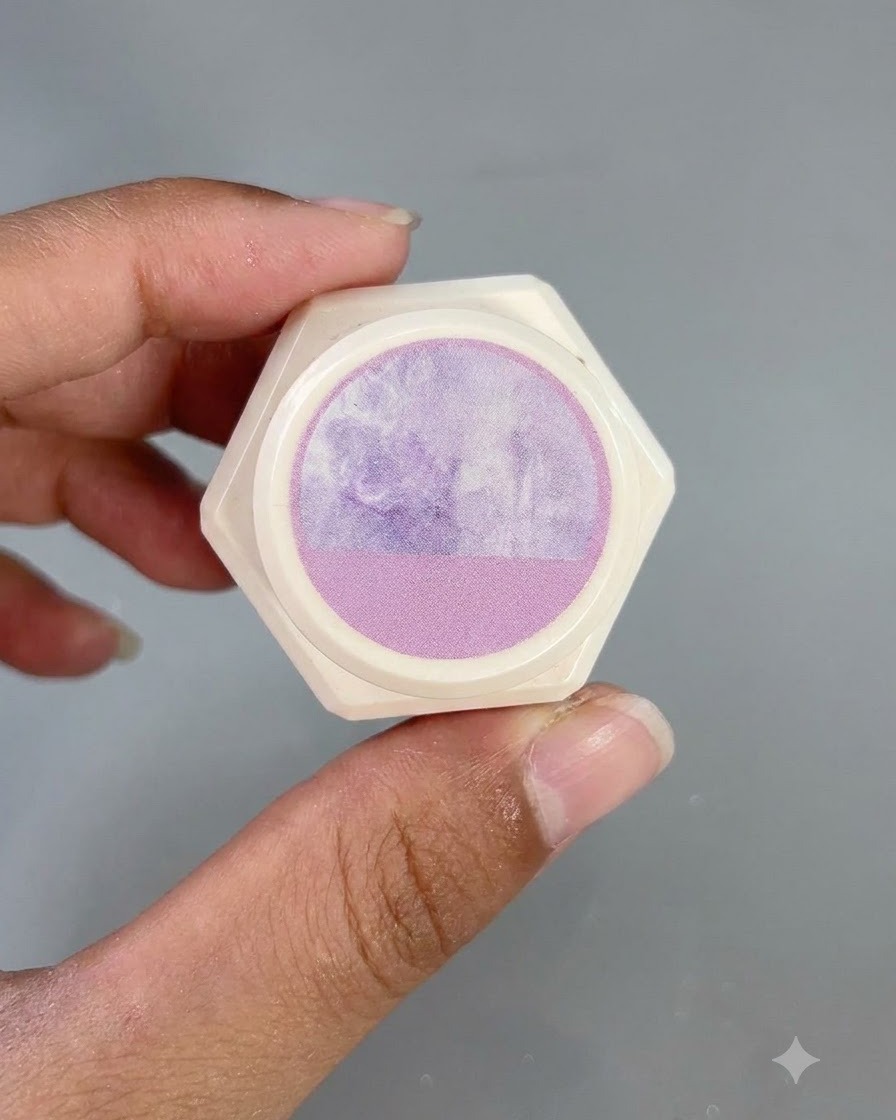
Display the pot of magical sea cat eye gel number 3, which features a shimmering purple and white patterned label on the lidcite: 1. This specialized gel will be used to add vibrant, independent color blocks and luminous depth to areas that need extra brightnesscite: 1.
Tip: Ensure the product container is clean and tightly sealed when not in use to preserve the gel consistency. - 15Brush cat eye gel for brightness
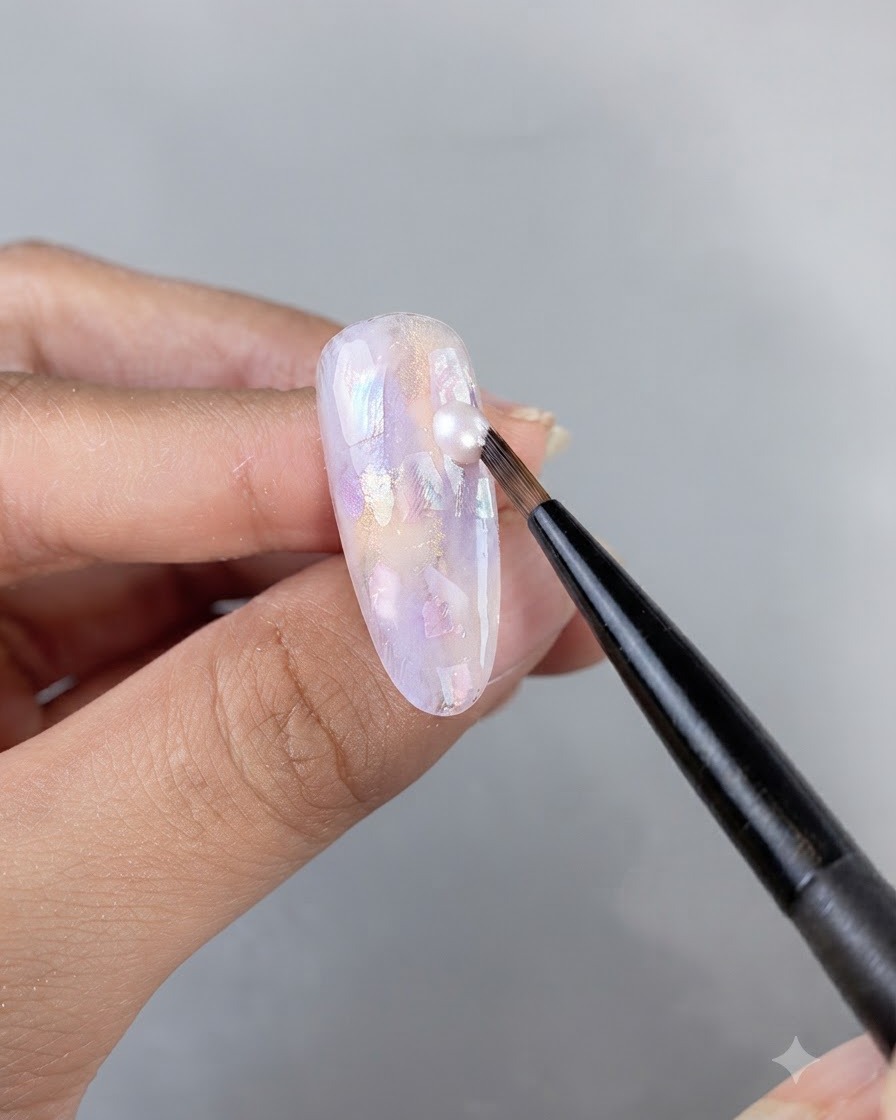
Using a fine liner brush, carefully apply magical sea cat eye gel onto the specific areas of the nail that require more brightness and dimensioncite: 1. Target placement allows you to highlight individual sections so that each cat eye effect looks distinct and beautifulcite: 1.
Tip: Apply in thin strokes to maintain precise control over where the luminous shimmer is concentrated. - 16Cure cat eye gel section
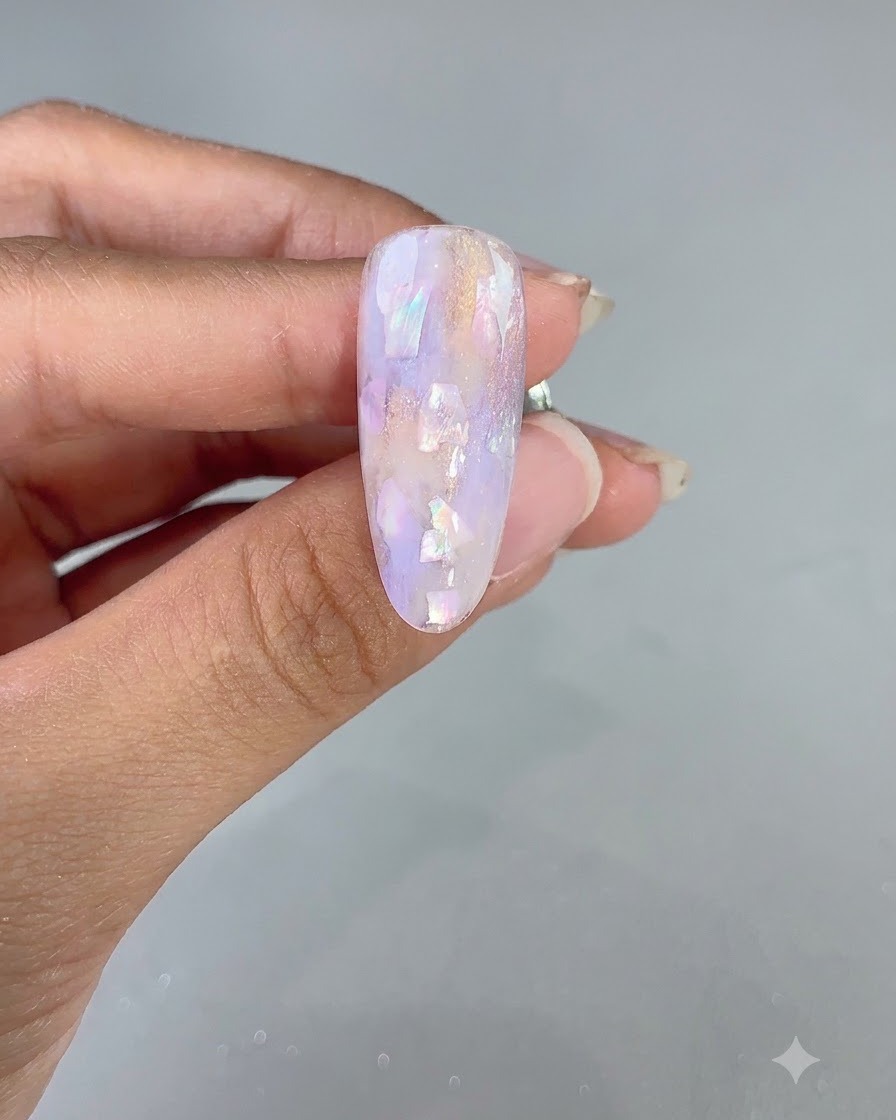
Place the nail under the UV or LED lamp to cure the freshly applied cat eye gel sectioncite: 1. Curing each color block individually ensures that the magnetic shimmer particles remain locked in place and look completely independent and vibrantcite: 1.
Tip: Flash cure each block as you go to prevent the wet gel from shifting before it sets. - 17Seal with slip top coat
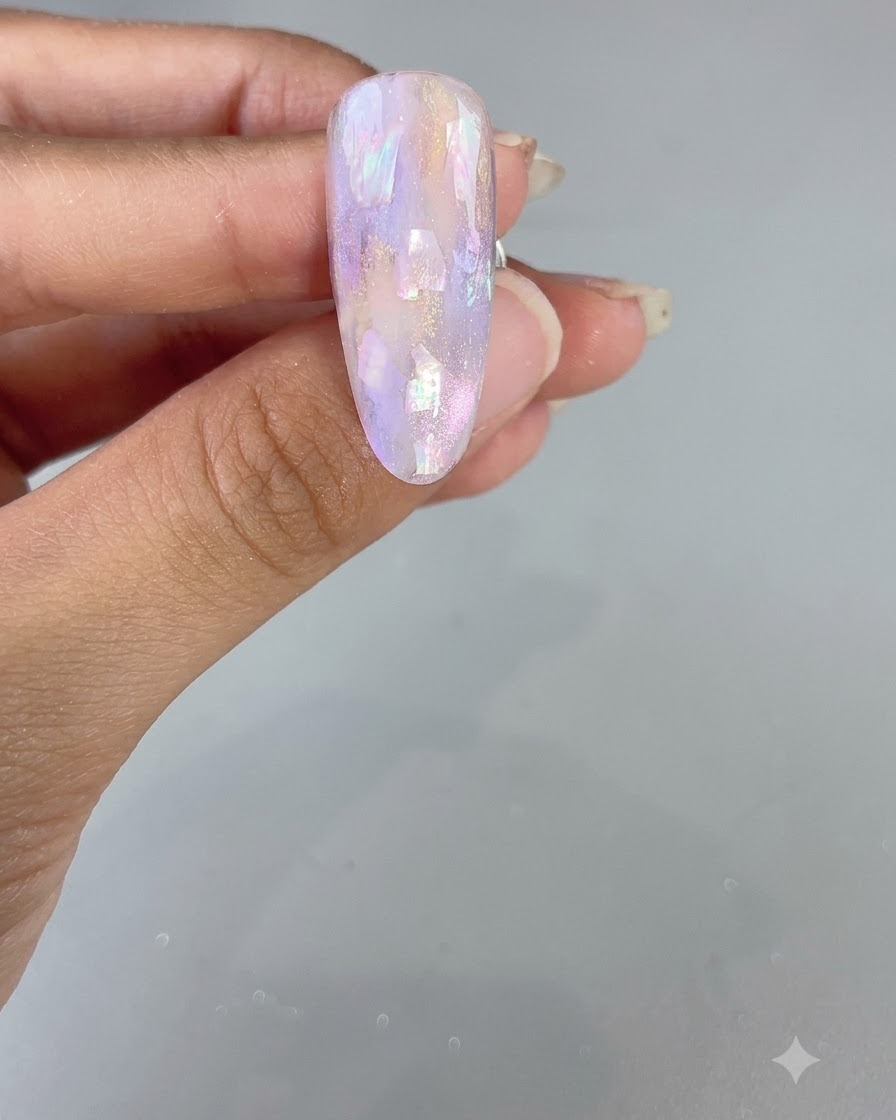
Apply a final layer of slip top coat over the entire nail surface to seal and protect the completed designcite: 1. This locks in all embedded elements, smooths out minor texture inconsistencies, and provides a long-lasting, high-gloss finish.
Tip: Cap the free edge thoroughly with top coat to prevent chipping and peeling along the tip. - 18Apply aqua clear cat eye gel
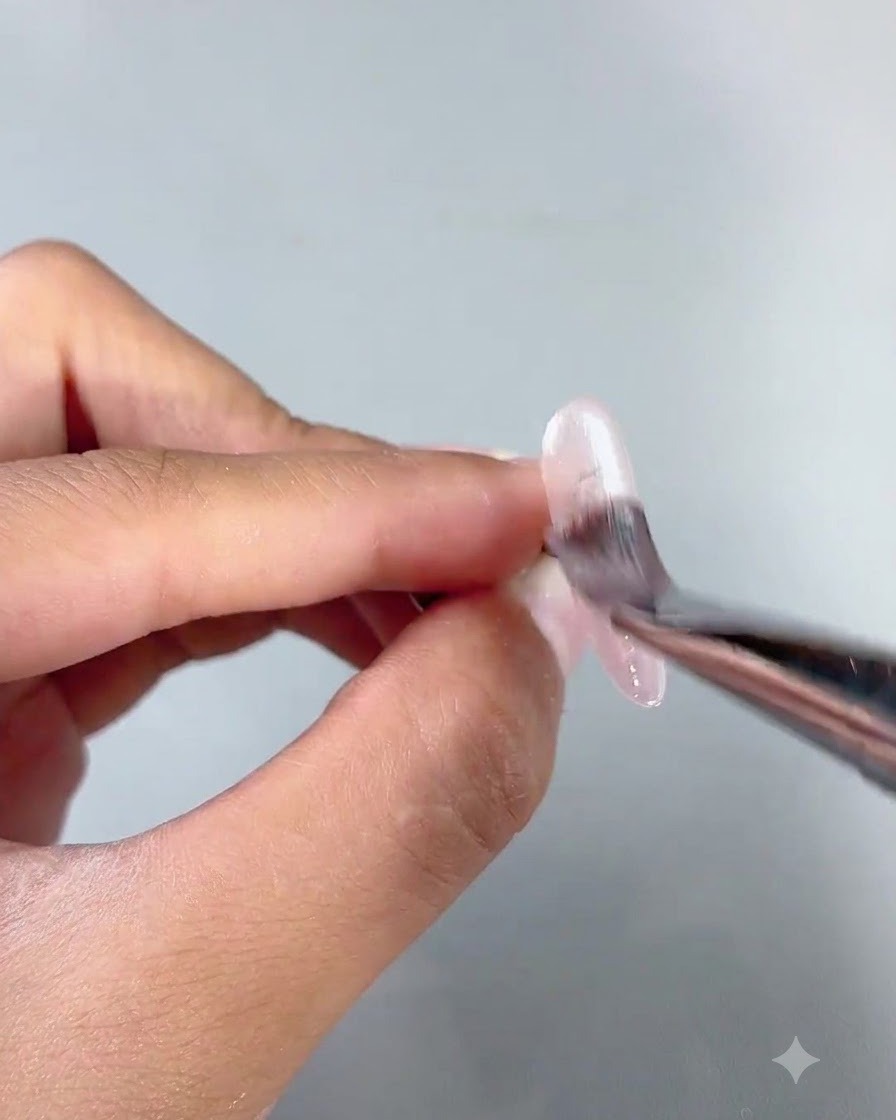
Directly brush a smooth layer of aqua clear cat eye gel number 2 onto the second nail designcite: 1. This transparent formula serves as the vibrant foundation for creating a luminous, crystal-clear glass ball effect using a magnetic wandcite: 1.
Tip: Apply an even coat across the nail bed to ensure the magnetic particles react uniformly when the wand is applied. - 19Magnetize glass ball effect
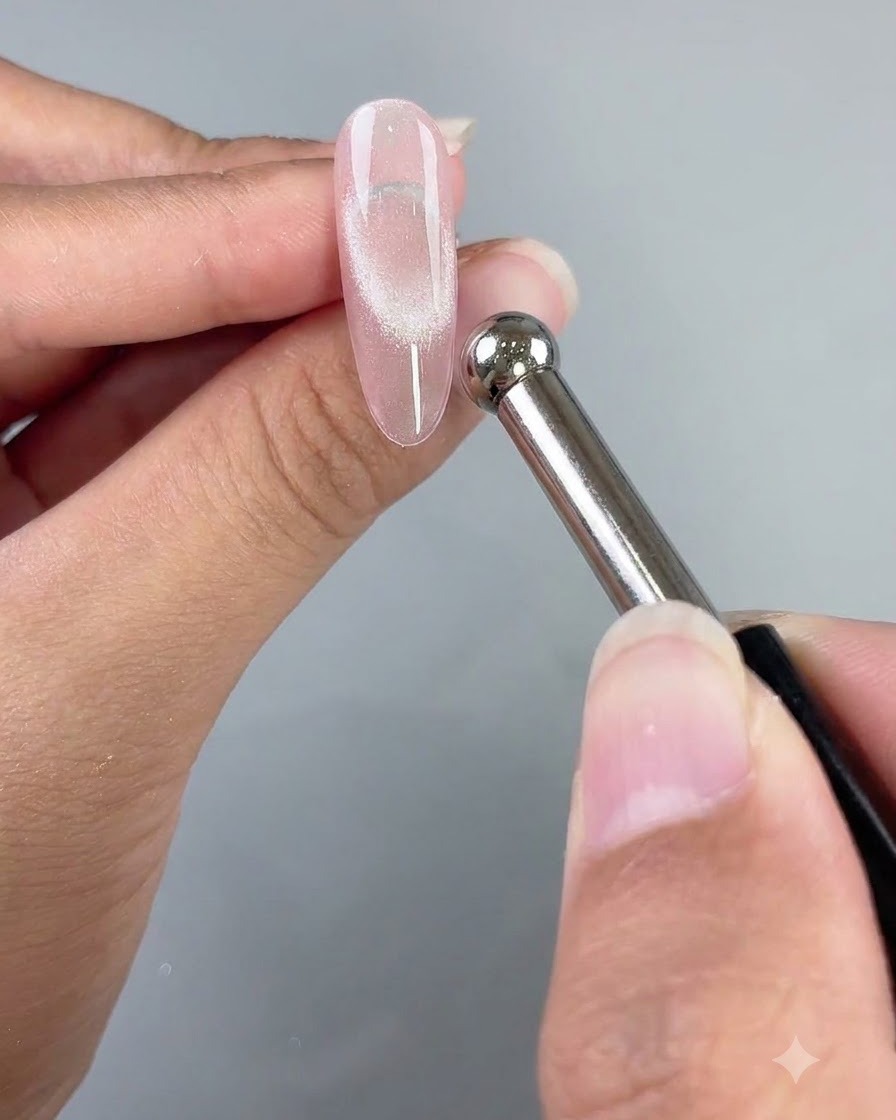
Hold a magnetic wand close to the aqua clear cat eye polish on the nail to draw the magnetic particles together, forming a concentrated glowing glass ball effect. Cure immediately under the lamp to lock the shape in place.
Tip: Keep your hand steady while using the magnet to prevent the particles from dispersing before curing. - 20Cure cat eye gel
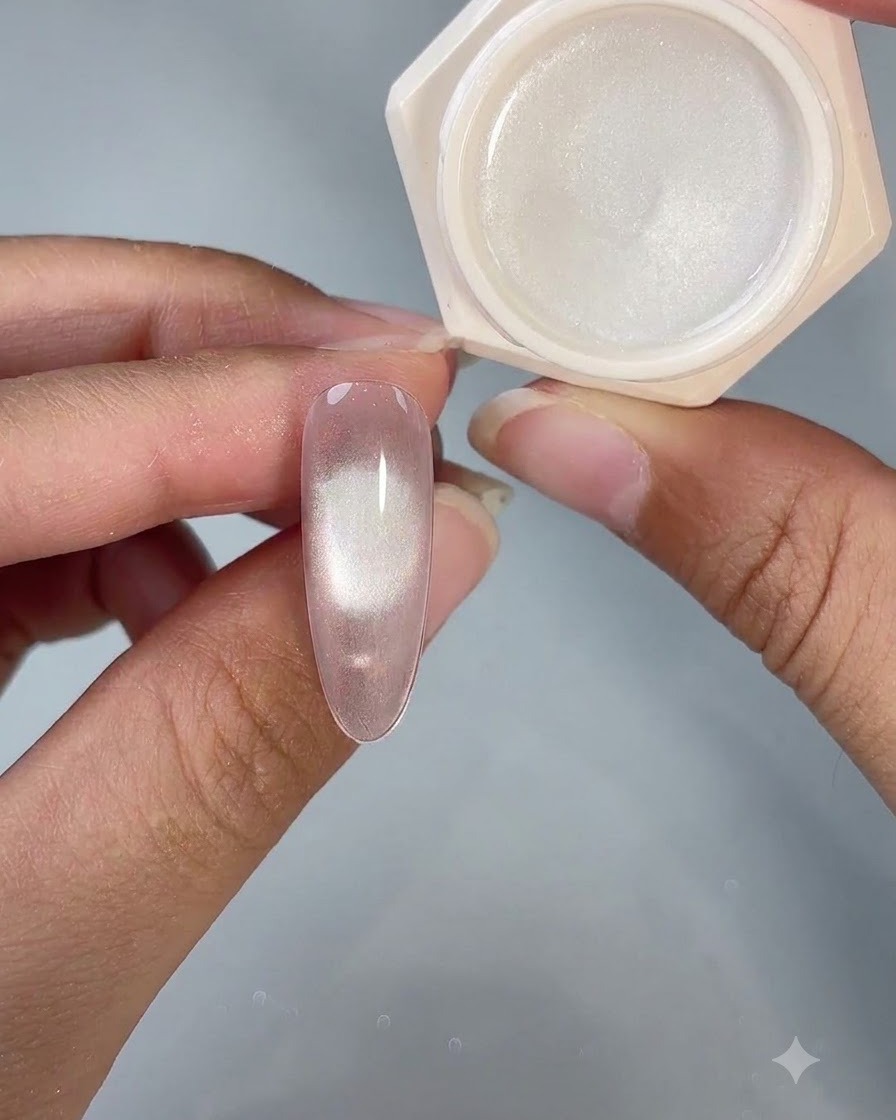
Place the nail under the UV or LED lamp to cure the cat eye gel and lock in the clear crystal appearance.
Tip: Ensure proper curing time so the magnetic particles do not shift before the gel hardens. - 21Load pearlescent gel onto liner brush
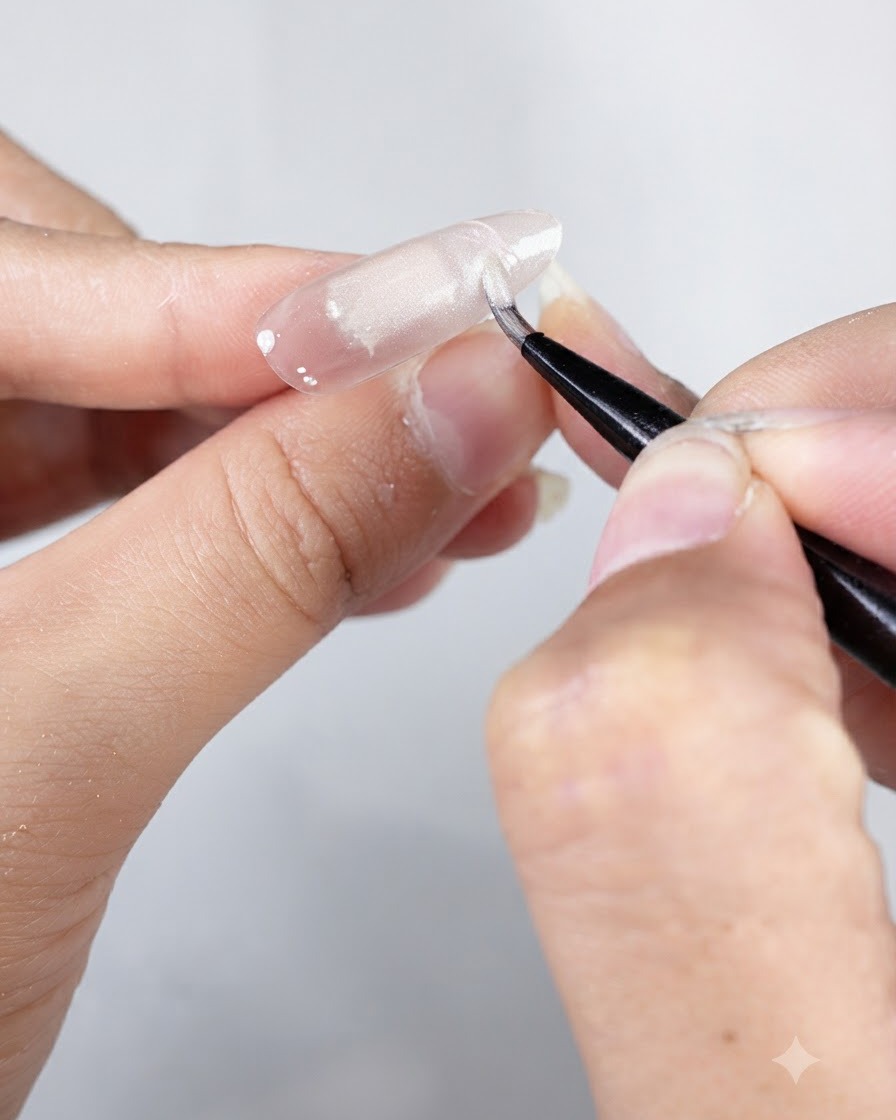
Dip a large art liner brush into delicate pearlescent gel number 3 to prepare for drawing detailed line work.
Tip: Load an even amount of gel onto the tip of the brush to ensure smooth, continuous lines. - 22Draw textured French lines
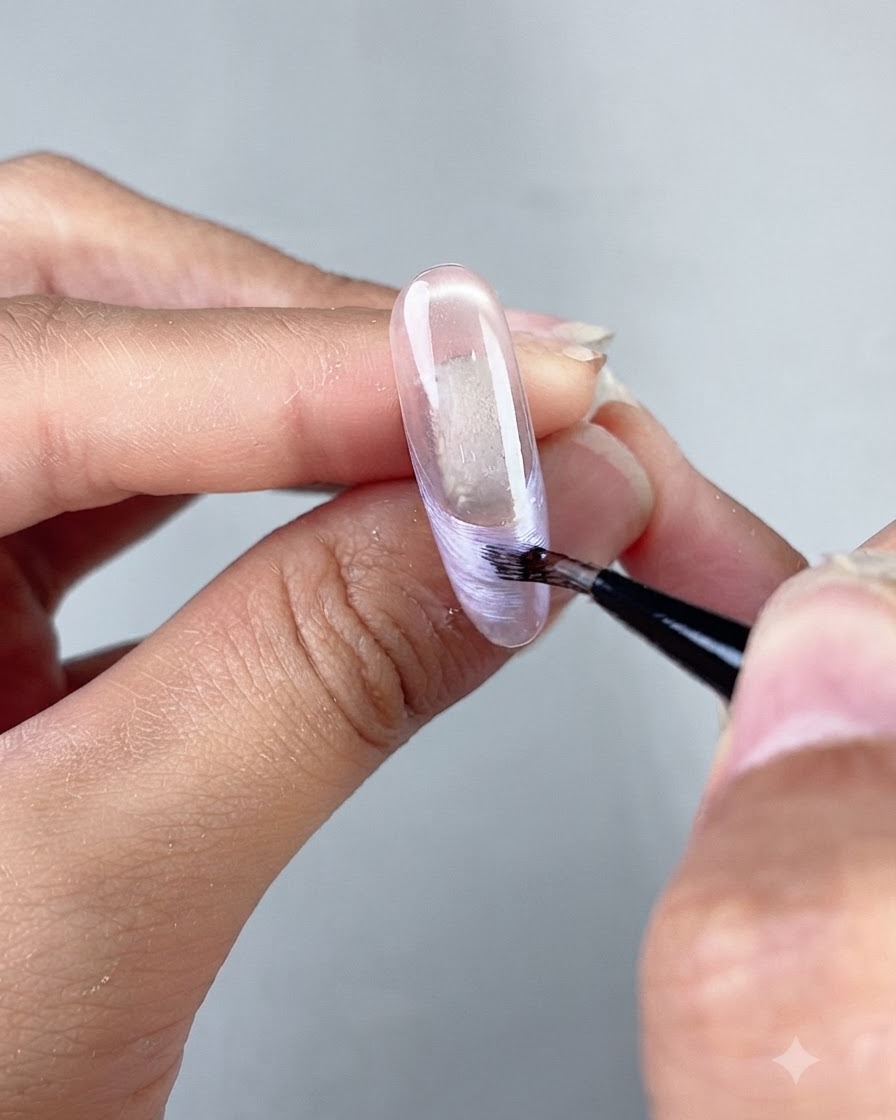
Dip a large art liner brush into delicate pearlescent gel number 3 and carefully paint textured French tip lines along the edge of the nail. Take your time to ensure the lines follow the natural curve of the nail tip cleanly.
Tip: Use light, sweeping motions with the tip of the brush to create smooth and even French lines. - 23Apply shell pieces to French tips
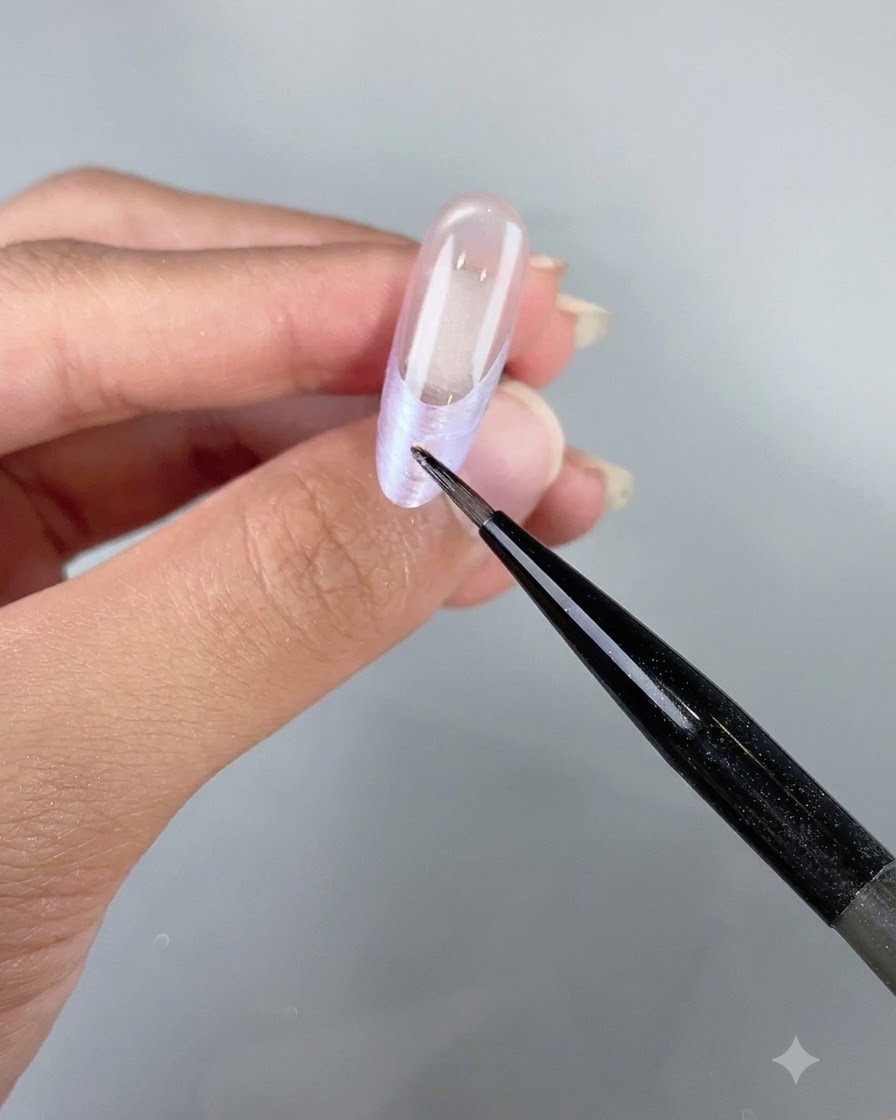
Carefully place additional shell pieces along the French tip area to add extra shimmer and dimension.
Tip: Use a detail tool or wax picker to accurately position each shell piece before curing. - 24Encapsulate with builder gel
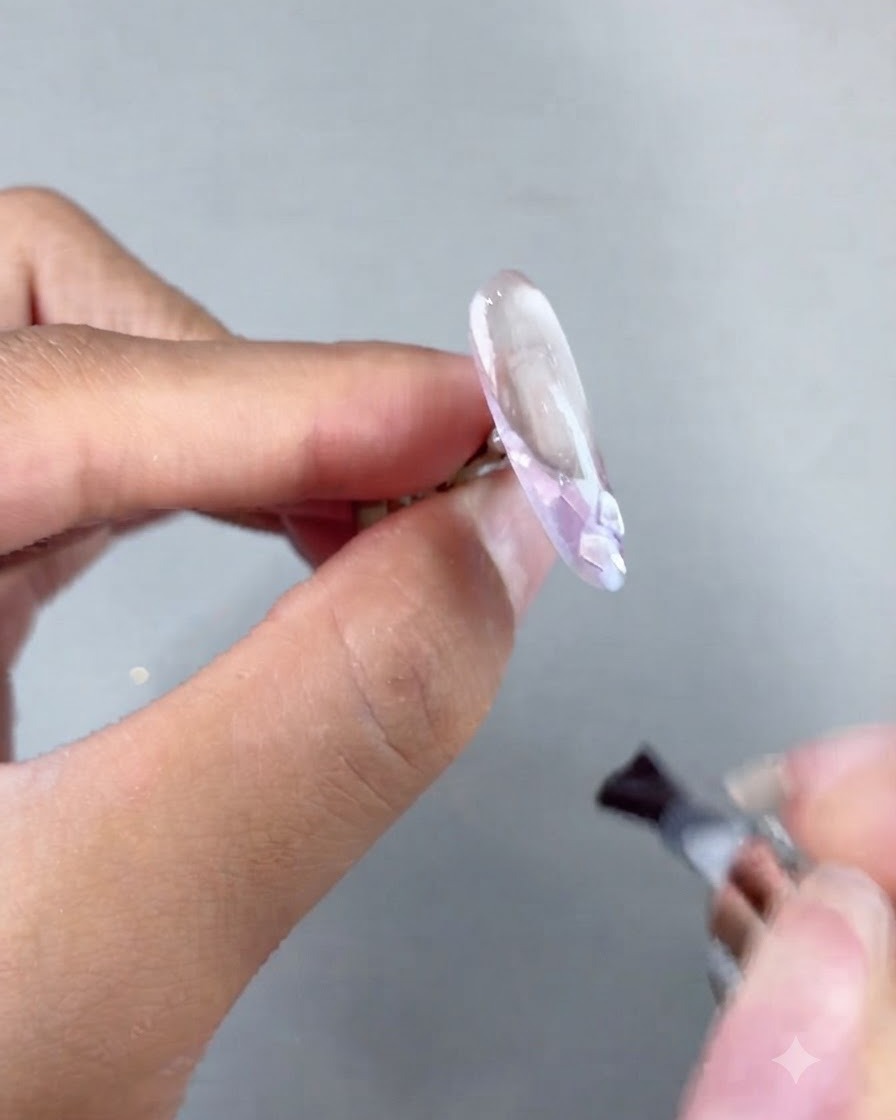
Brush a layer of soft builder gel over the entire nail surface to completely seal and encapsulate the shell pieces and design details. Cure the nail under the UV or LED lamp to harden the protective layer.
Tip: Ensure the builder gel covers all embedded elements smoothly to prevent any sharp edges from poking through. - 25File and smooth the nail surface
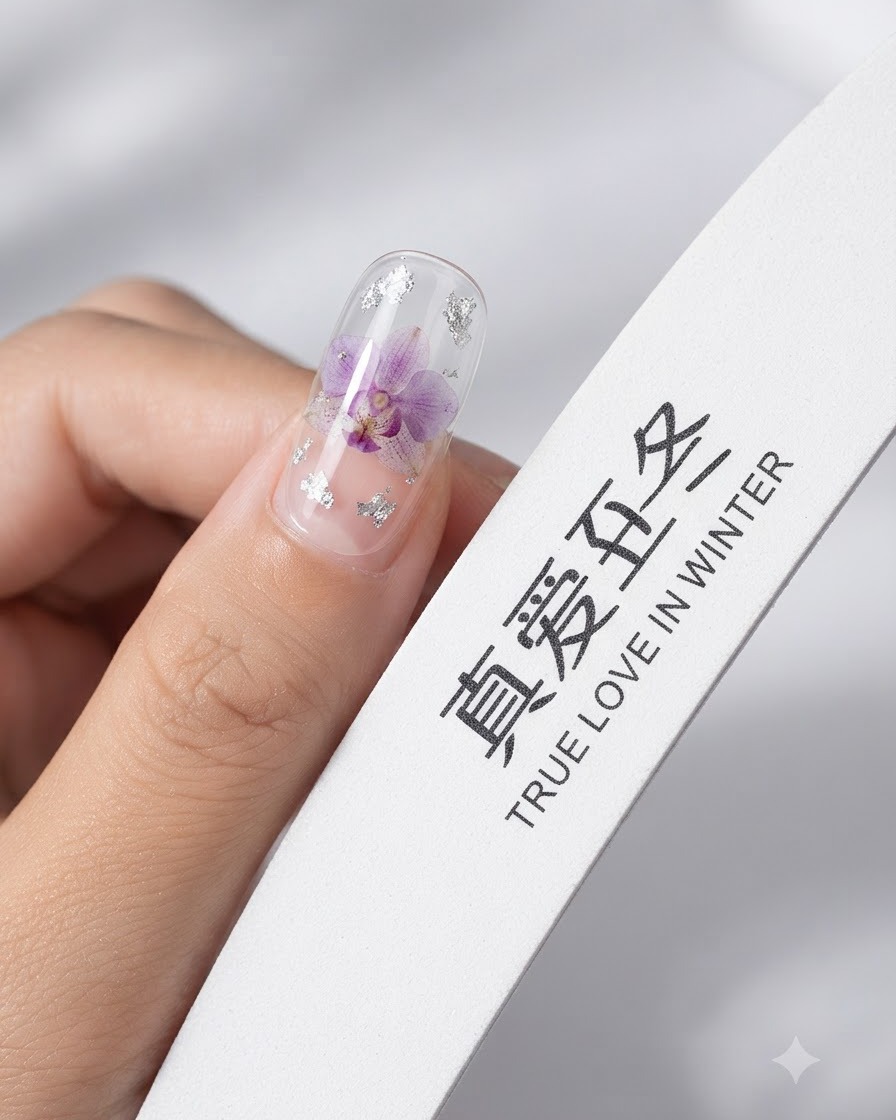
Use a nail file buffer to carefully smooth out any bumps or uneven areas on the encapsulated nail surface. After filing, thoroughly brush or wipe away all dust to ensure a clean base for the next steps.
Tip: Keep the file flat against the surface to avoid creating new dips or thinning the encapsulation layer. - 26Apply sea cat eye gel for brightness
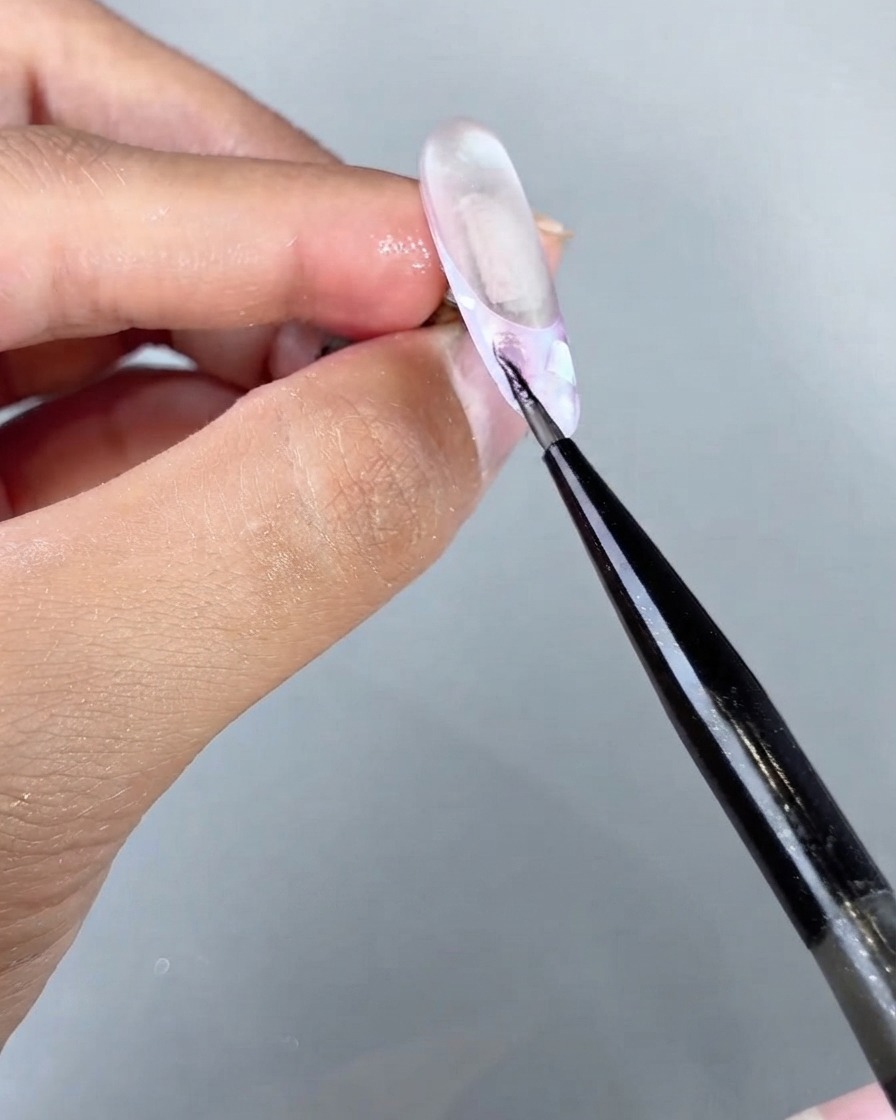
Examine the nail for any areas that do not look bright enough, then use magical sea cat eye gel number 3 to brush small color blocks onto those spots. Cure each block individually as you go so that every cat eye detail remains independent and vibrant.
Tip: Curing each block right after application prevents the cat eye pigment from bleeding into surrounding areas. - 27Cure cat eye application
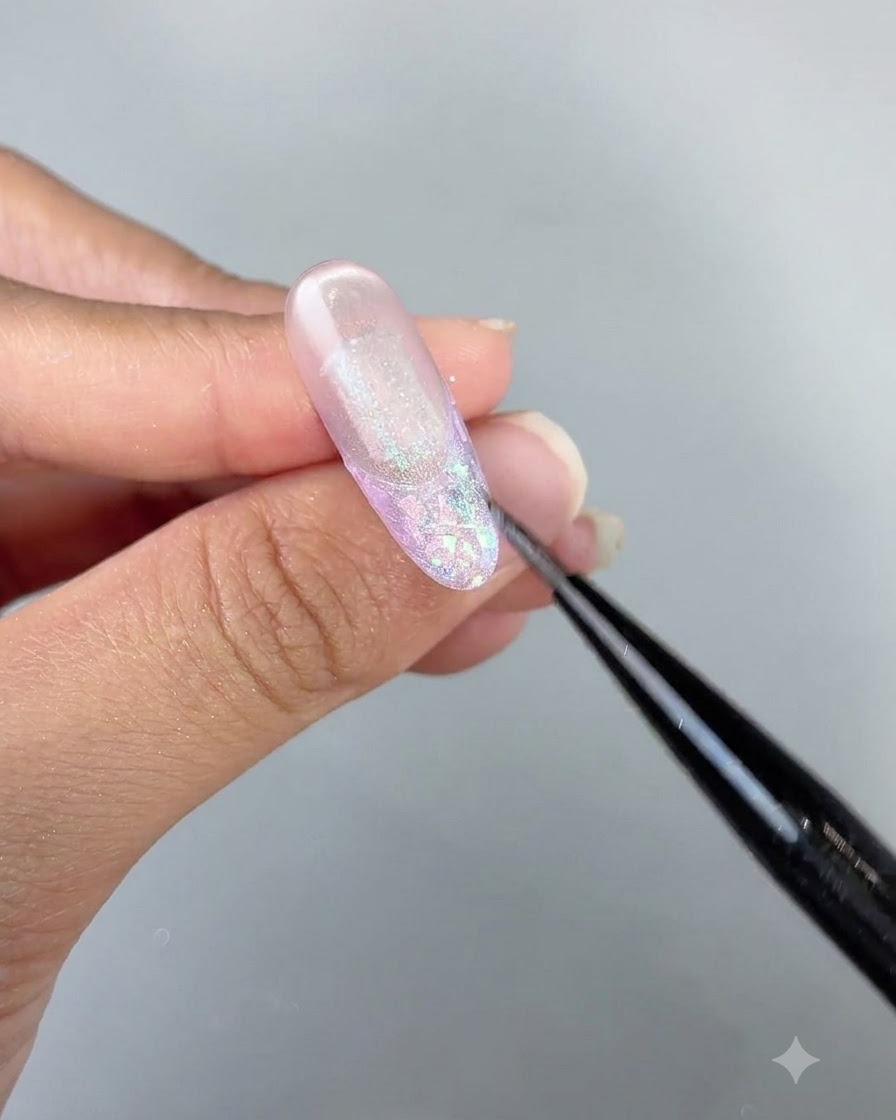
Place the nail under the UV or LED lamp to cure the freshly applied cat eye color blocks. Ensure each color block is fully cured so that the dimensional cat eye effect stays sharp, independent, and vibrant.
Tip: Curing each block individually prevents the magnetic pigments from shifting or bleeding together. - 28Draw Fine French Lines with Stretch White Gel
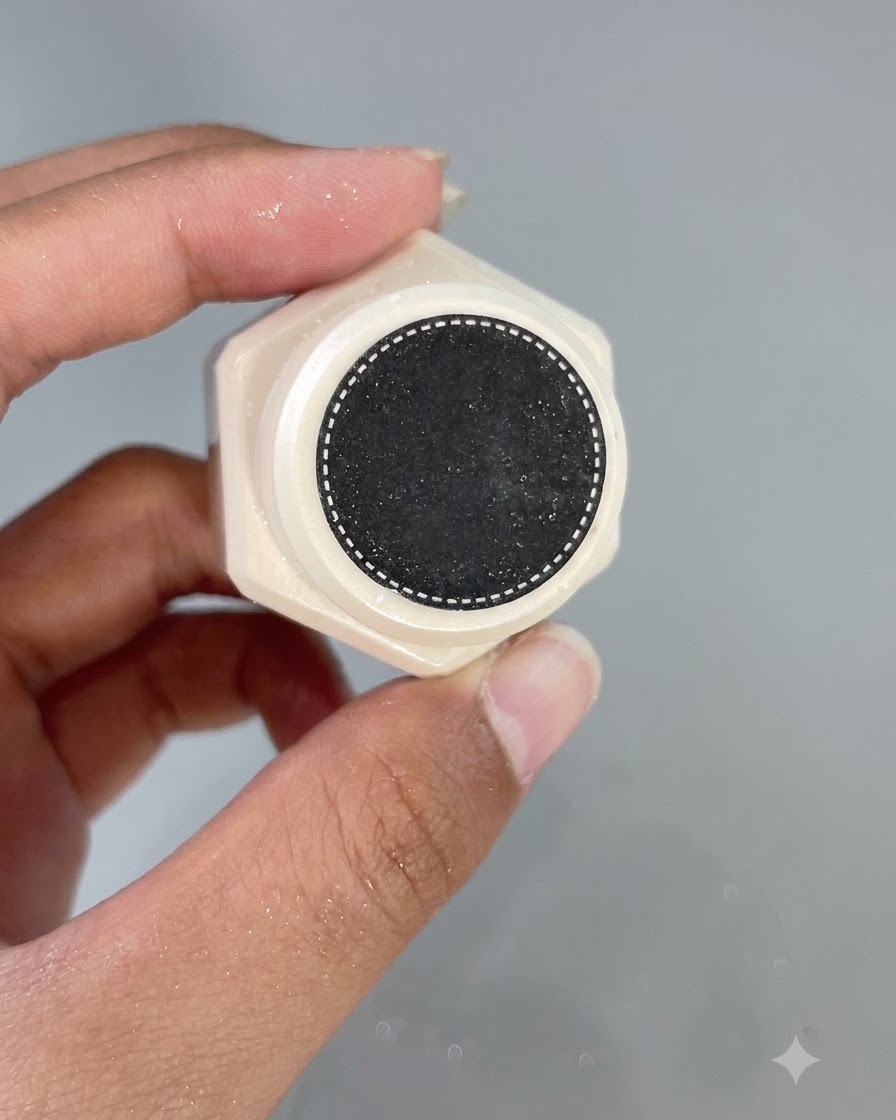
Use stretch white gel to pull out fine French line details.
Tip: Keep a steady hand when pulling the stretch gel to maintain thin, crisp lines. - 29Apply slip top coat
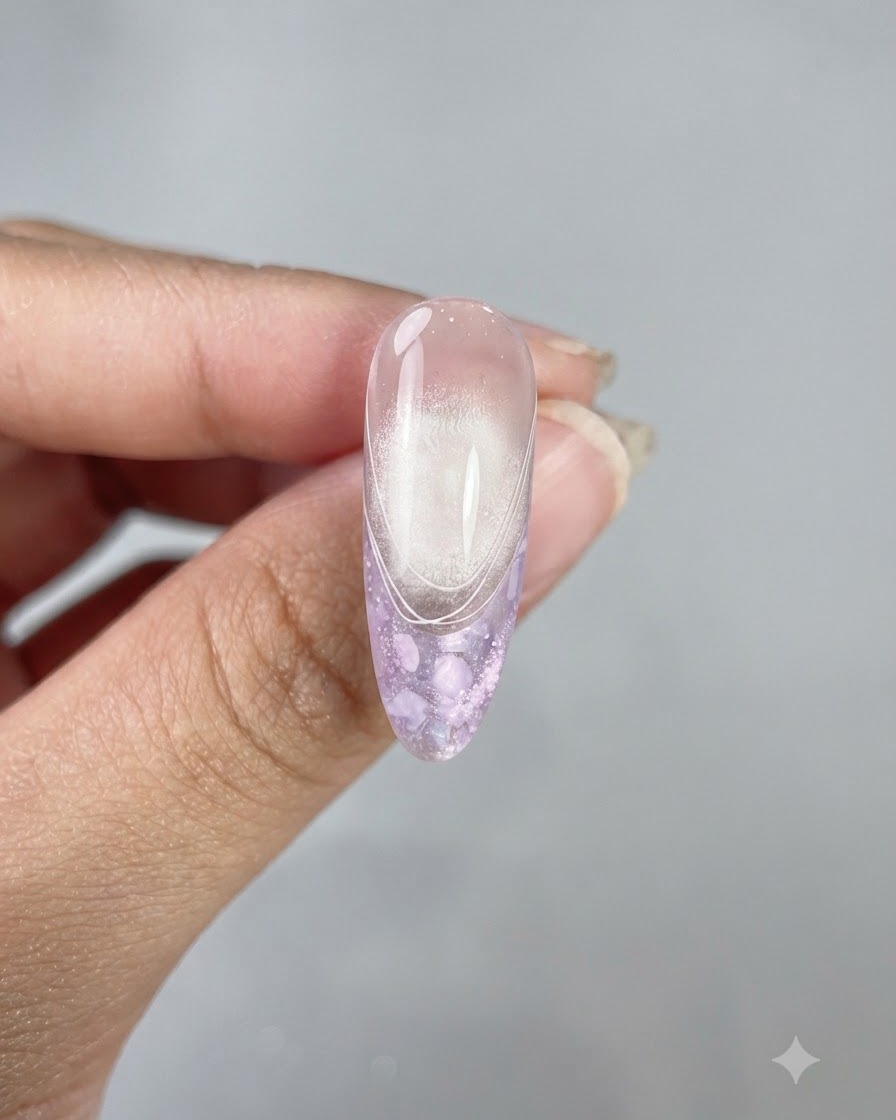
Seal the entire nail design by applying an even layer of slip top coat over the surface, covering all elements and edges. Cure under the lamp to lock in the shine and protect the nail art.
Tip: Cap the free edge with top coat to prevent chipping and ensure long-lasting wear.