Pink and Blue Gradient Cat Eye Nails — Beginner Step-by-Step Tutorial
Master the ethereal pink and blue gradient cat-eye manicure with our easy step-by-step tutorial featuring soft sponge blending and magnetic shimmer effects.
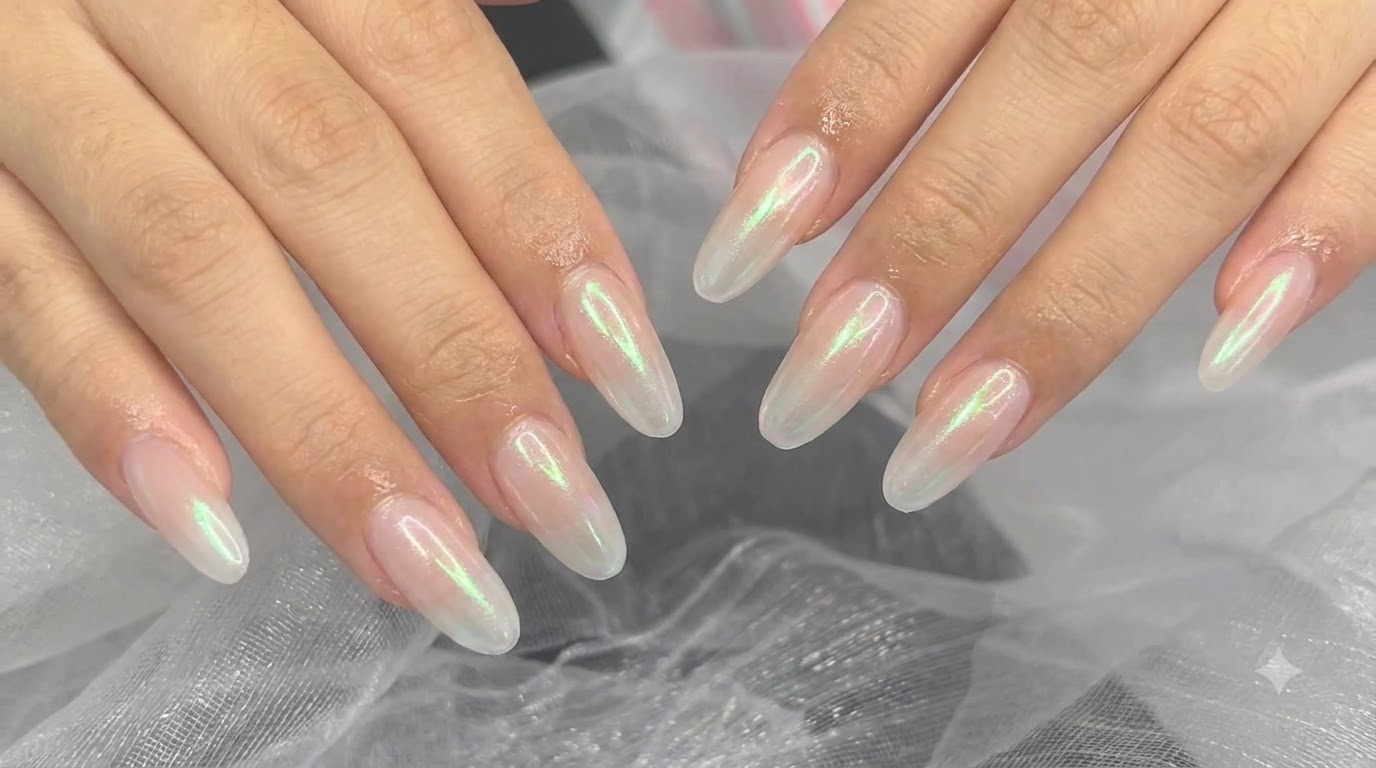
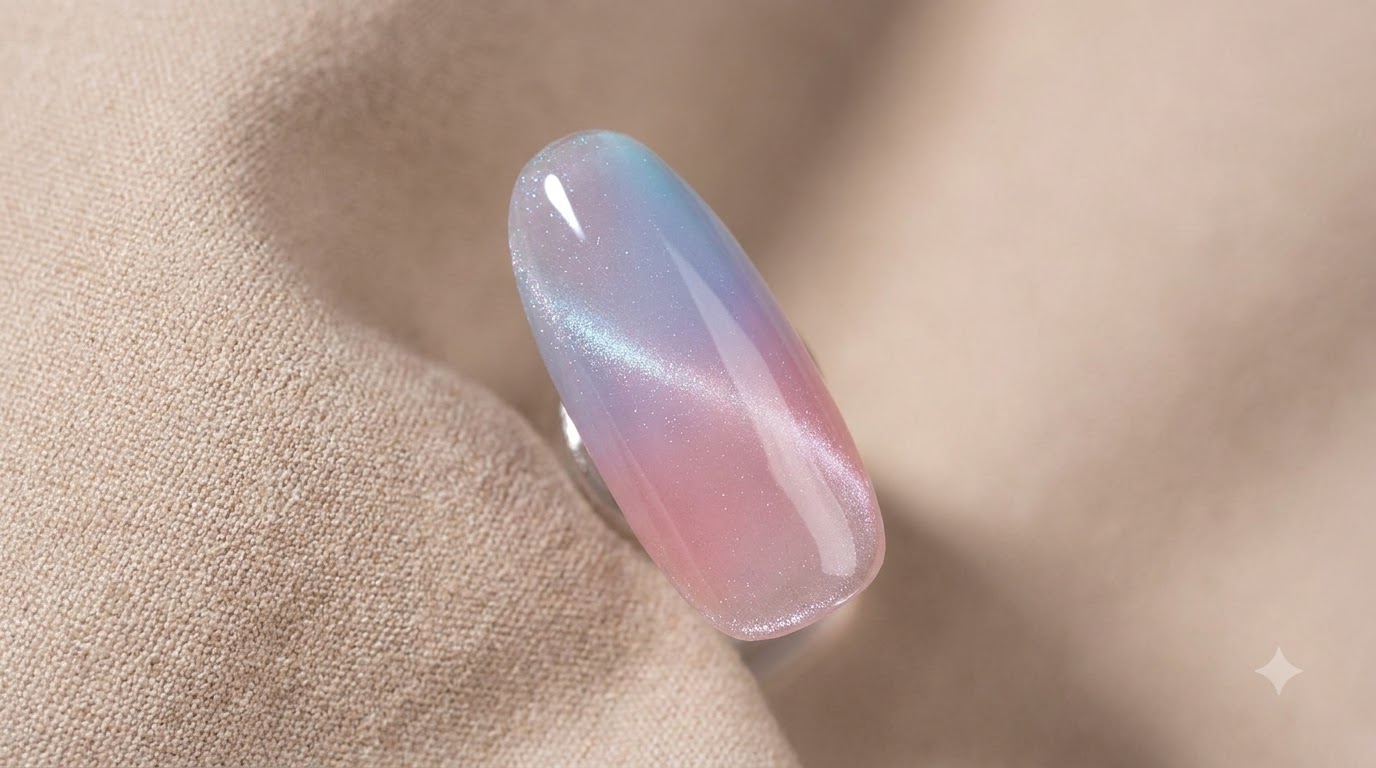
Combining a dreamy pink and blue color transition with a mesmerizing magnetic cat-eye shimmer, this manicure creates a truly magical multidimensional finish. Whether you are trying this style for the first time or looking to refine your gradient technique, this beginner-friendly tutorial walks you through every layer to achieve a salon-quality result at home.
Steps
- 1Cure the base coat
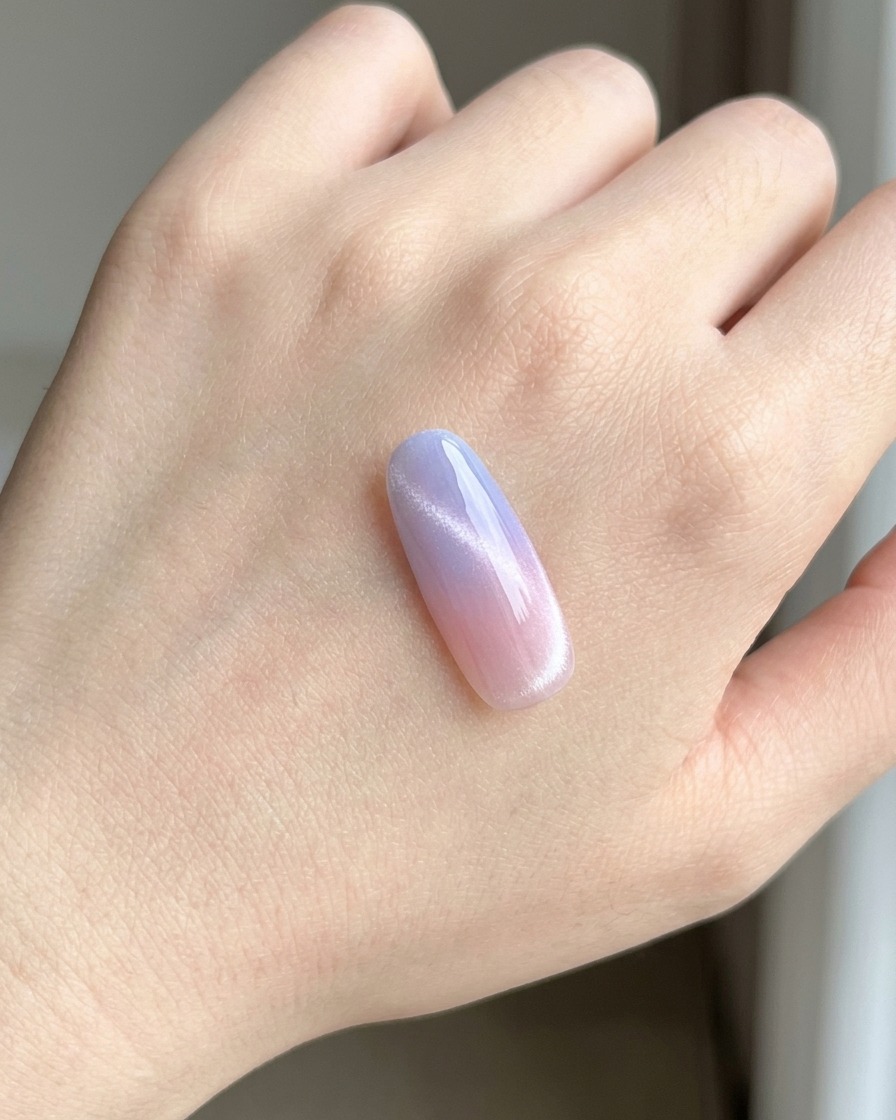
Place the nail tip under the UV/LED lamp to cure the base coat layer securely. Make sure to cure for the recommended time specified by the gel manufacturer so the surface is properly set for the next layers.
Tip: Ensure your hand or nail stand is positioned directly under the lamps light source for an even cure. - 2Apply matte top coat
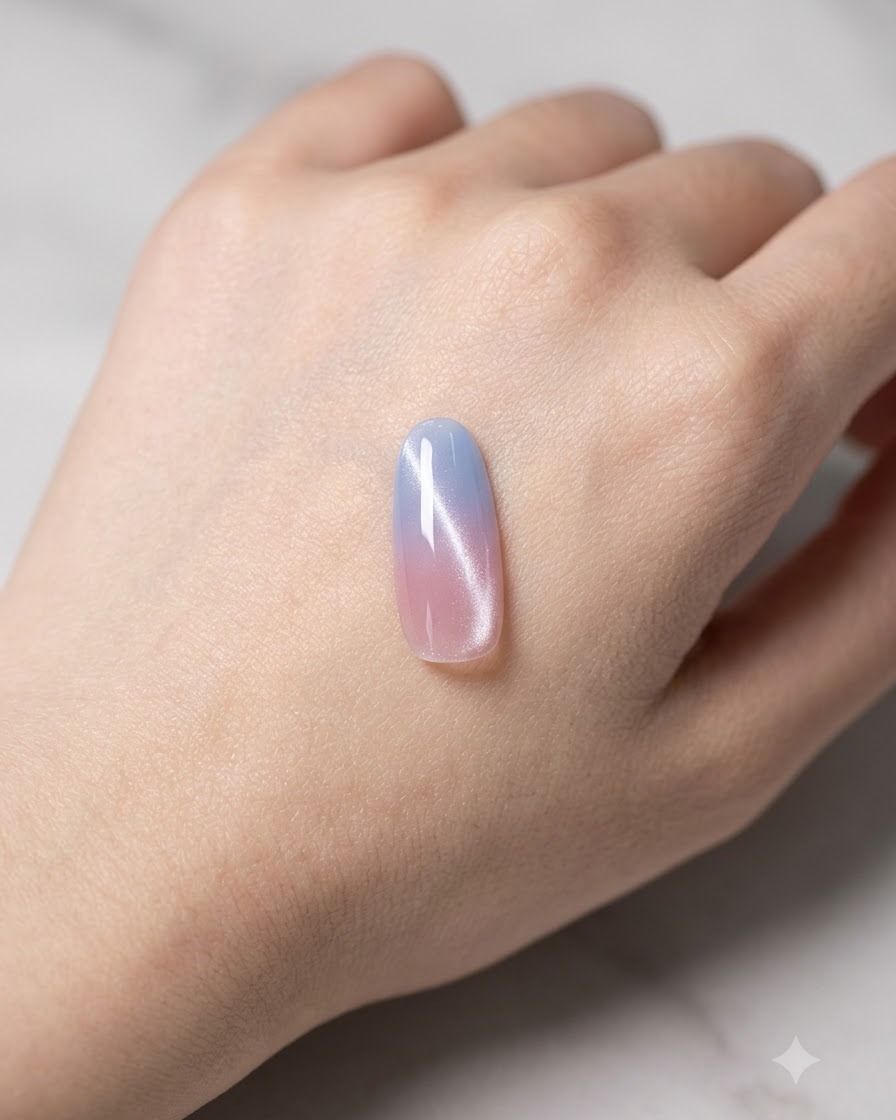
Brush a layer of matte top coat evenly over the cured base coat on the nail tip. This creates a textured, velvety surface that helps grip the subsequent stamping gel layers for a smooth gradient effect.
Tip: Apply an even, thin layer of matte top coat to ensure the surface texture is uniform across the entire nail. - 3Cure the matte top coat
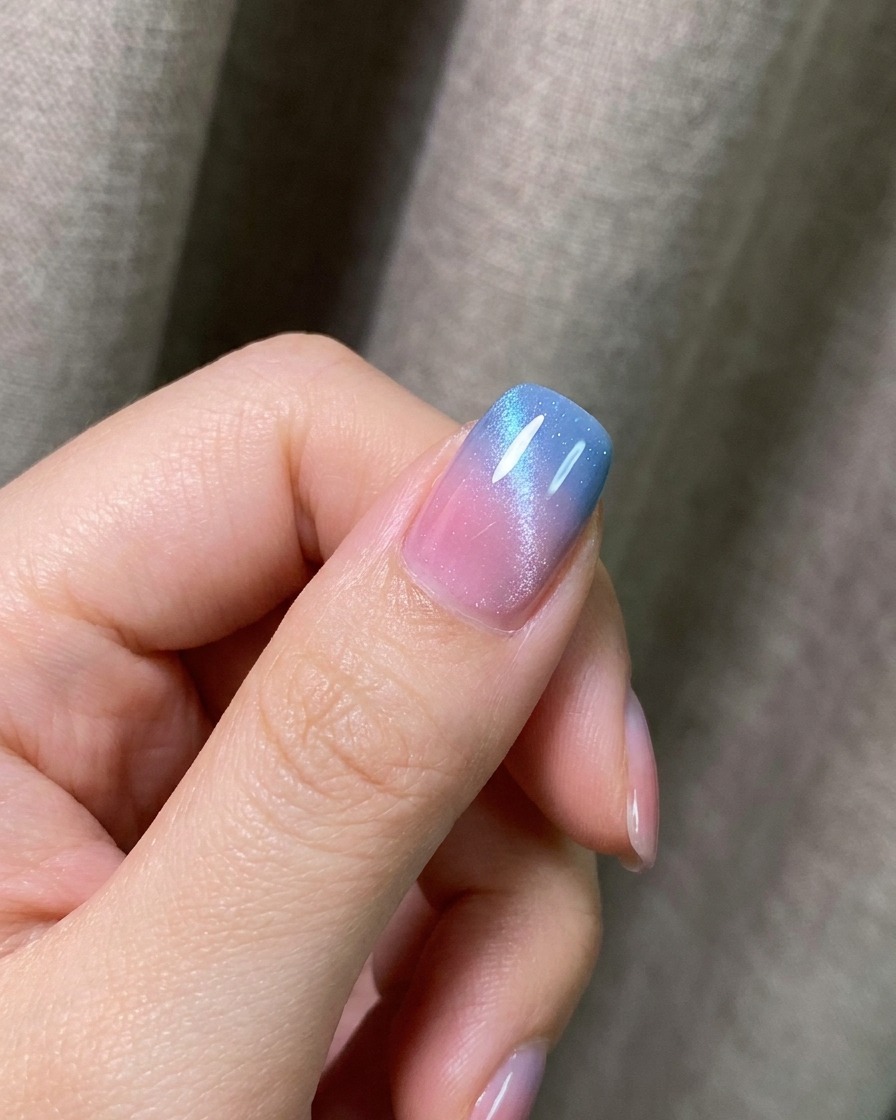
Place the nail tip back under the UV/LED lamp to fully cure the matte top coat layer. Ensure it is completely dry and cured before moving on to the color application steps.
Tip: Fully curing the matte layer is essential to create the proper friction and texture needed for blending stamping gel. - 4Cure the pink blush gradient
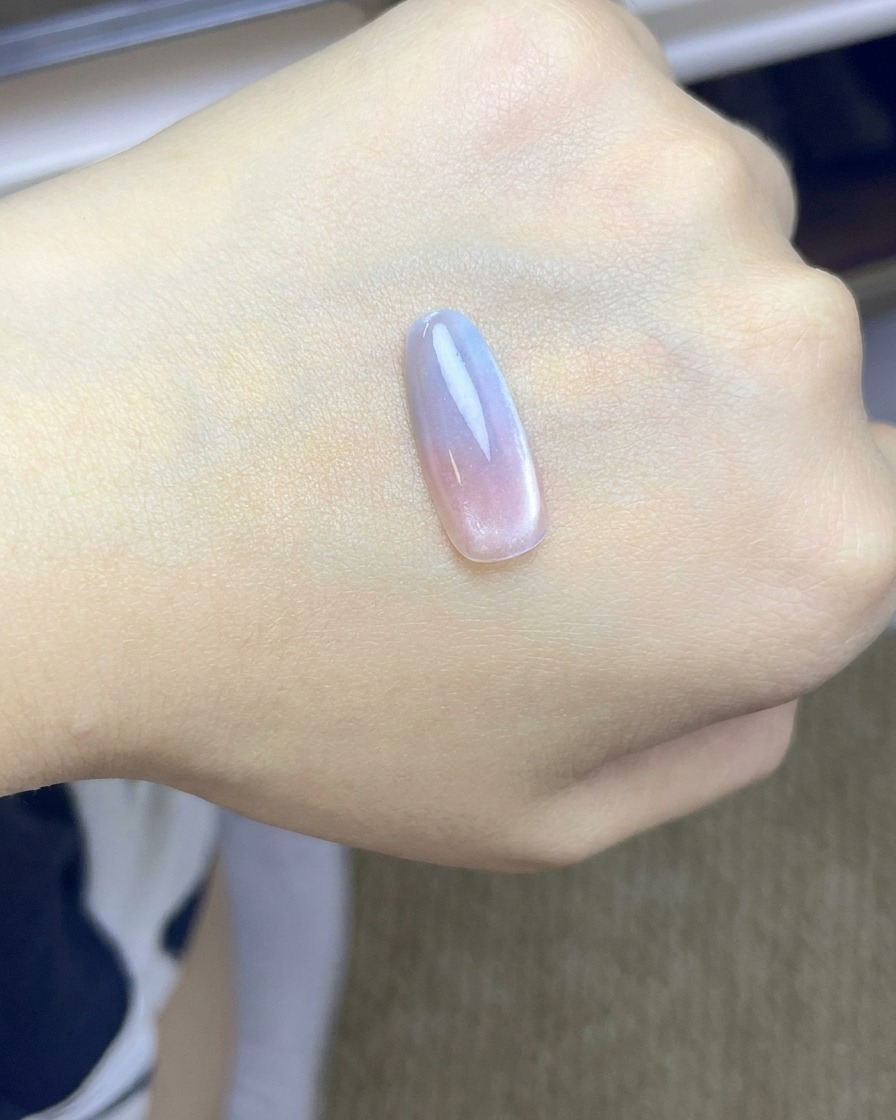
Place the nail tip under the UV/LED lamp to cure the initial pink blush gradient layer. Ensure the color is properly set before layering additional colors on top.
Tip: Cure each gradient layer promptly to lock in the placement and prevent the colors from bleeding together. - 5Apply blue stamping gel gradient
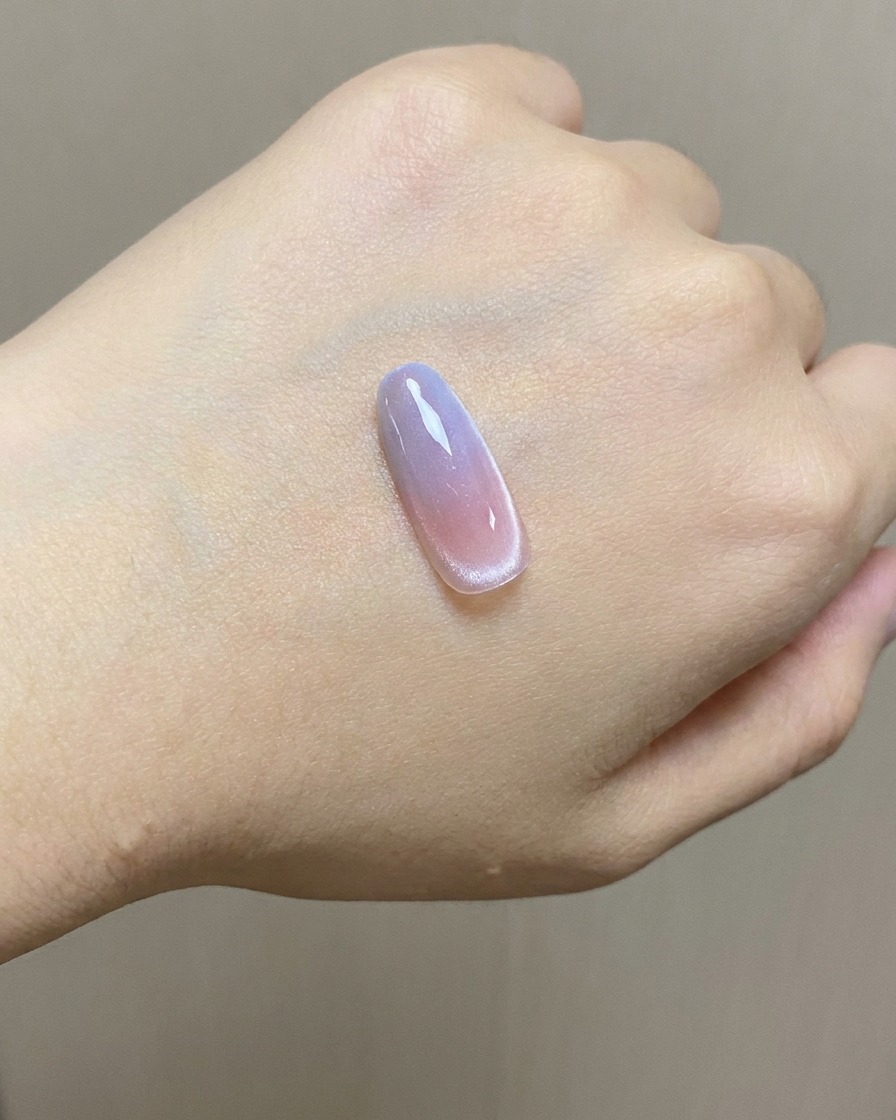
Take the blue stamping gel onto a sponge and gently pat it onto the upper portion of the nail tip, slightly overlapping the pink blush layer to create a seamless gradient transition.
Tip: Use a light tapping motion with the sponge to build a soft, diffused gradient without harsh lines. - 6Cure the initial blue gradient
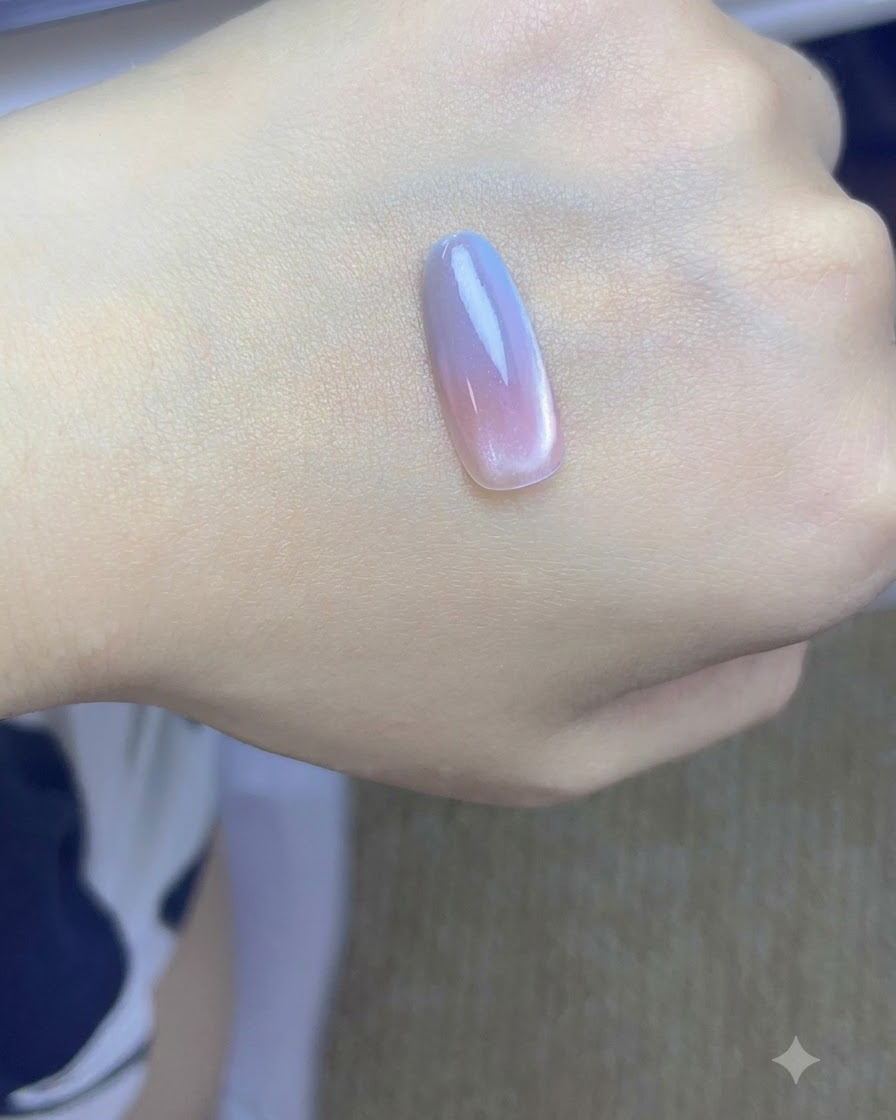
Place the nail tip under the UV/LED lamp to cure the initial blue gradient layer. This locks in the first pass of blue color before deepening the shade.
Tip: A quick initial cure keeps the color in place while allowing you to build intensity in the next step. - 7Apply second blue gradient layer
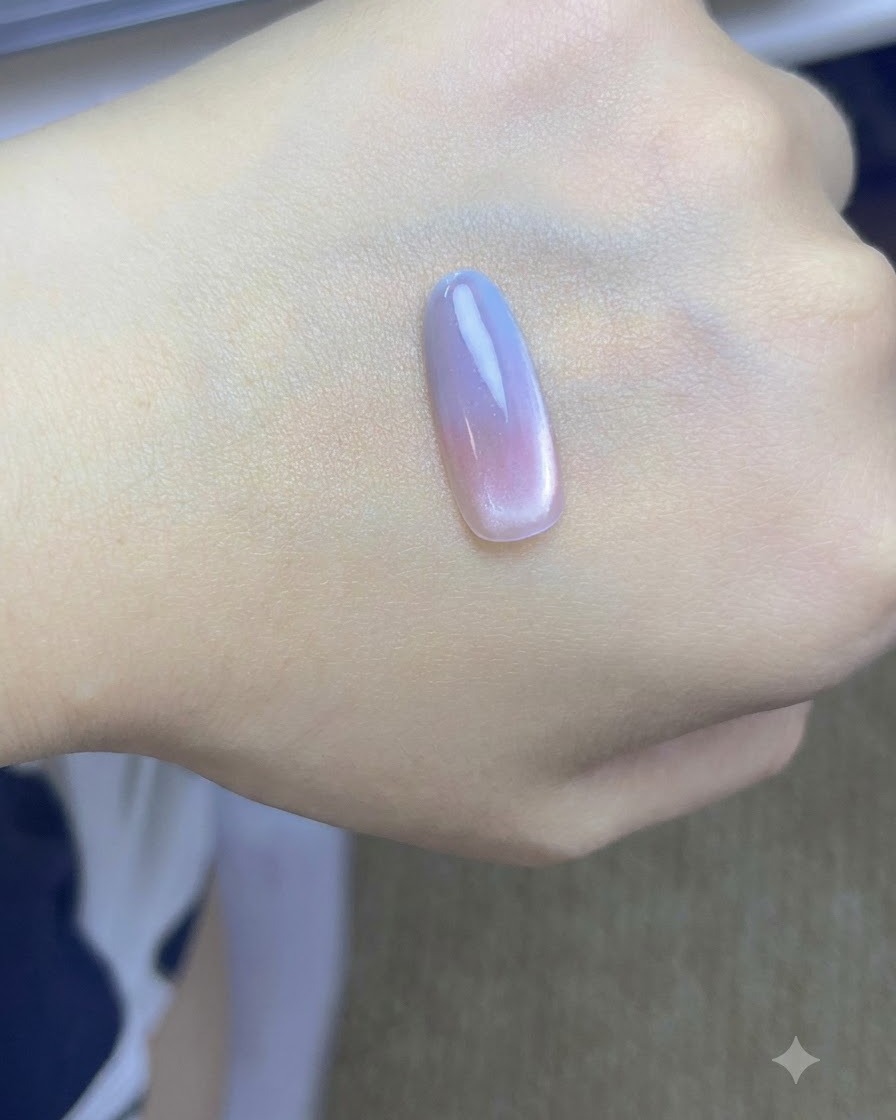
Apply a second layer of blue gel onto the nail tip, patting it gently to deepen and intensify the color of the gradient. Cure the layer under the lamp to set the pigment.
Tip: Building the color in thin, layered steps prevents pooling and creates a smoother transition. - 8Cure second blue gradient layer
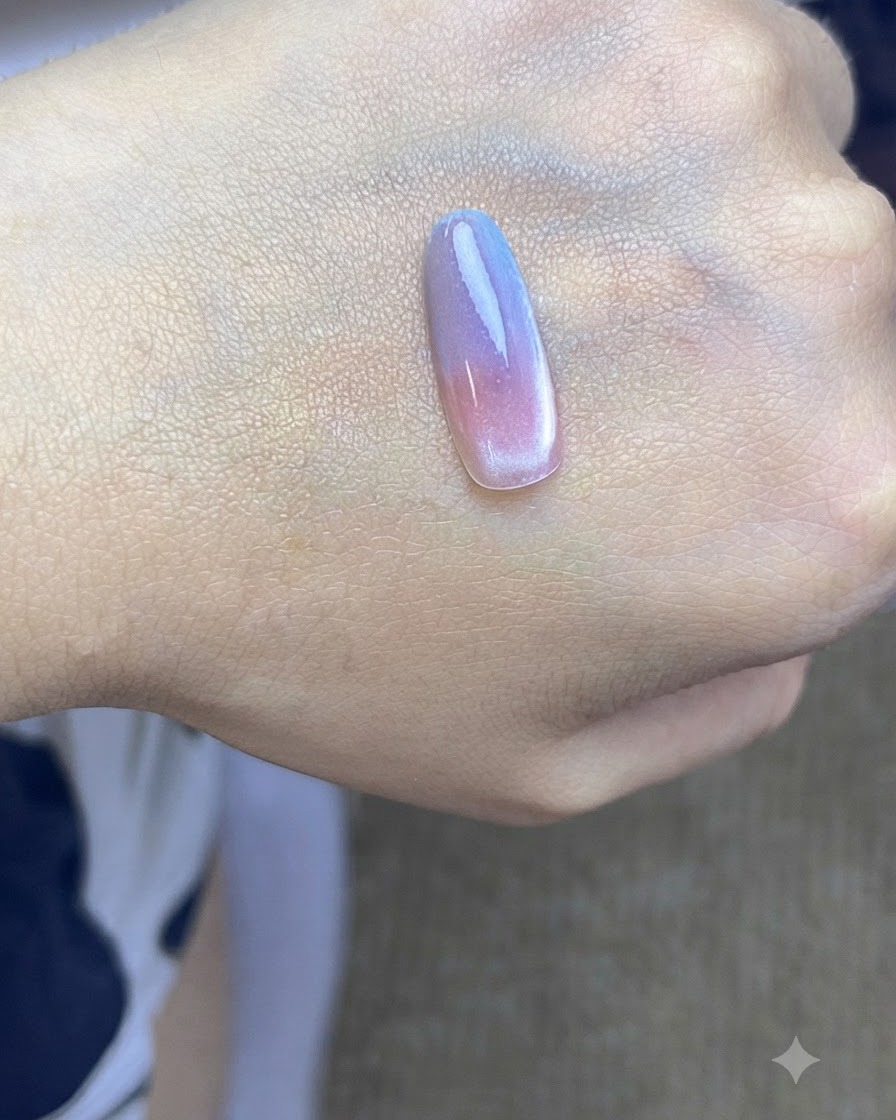
Place the nail under the UV or LED lamp to cure the second layer of blue gradient, ensuring the color is fully set before moving on to the next step.
Tip: Ensure proper hand placement inside the lamp for an even cure. - 9Apply sheer nude cat-eye polish
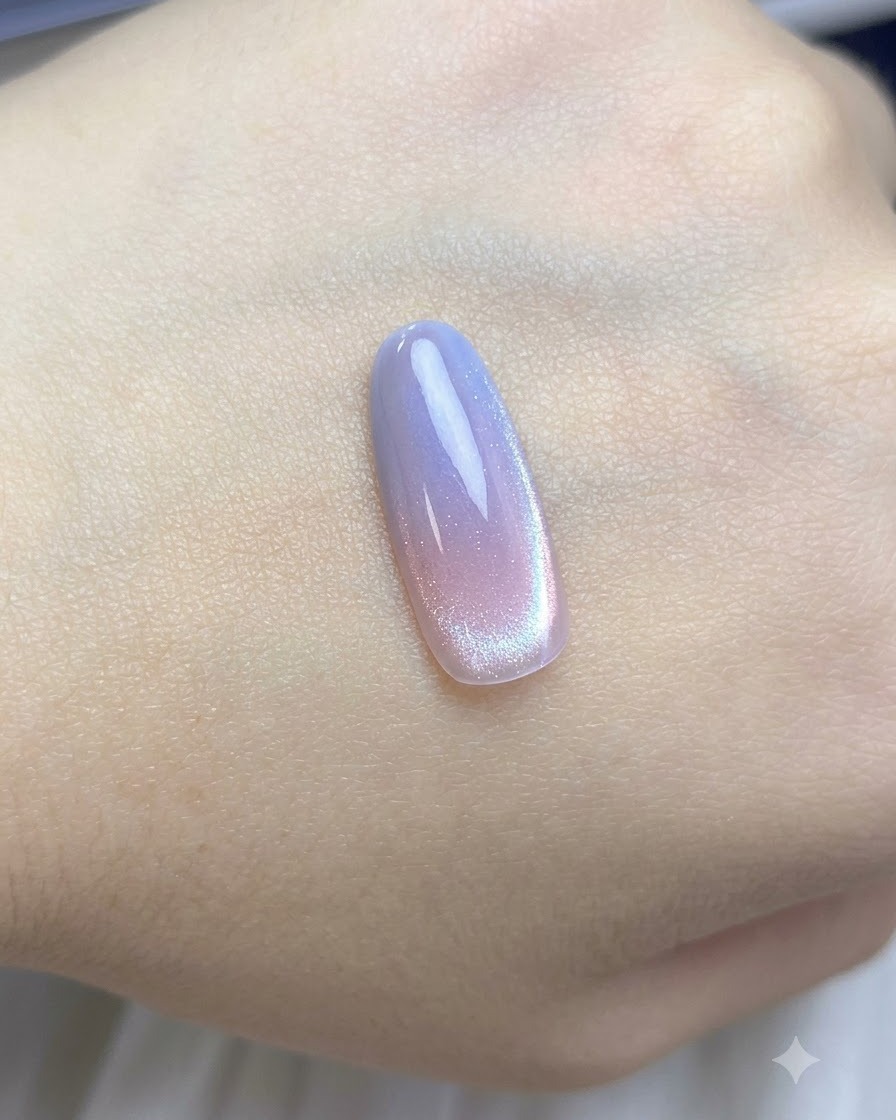
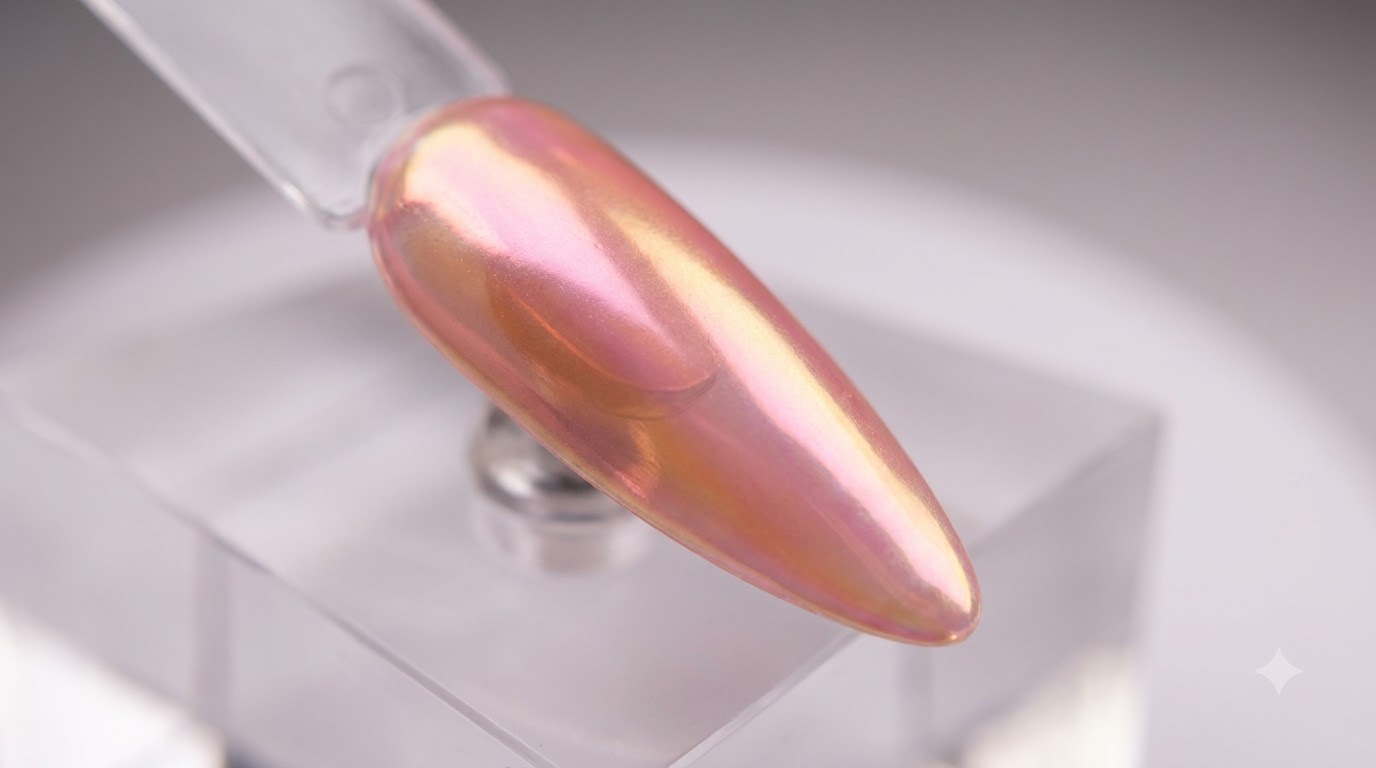
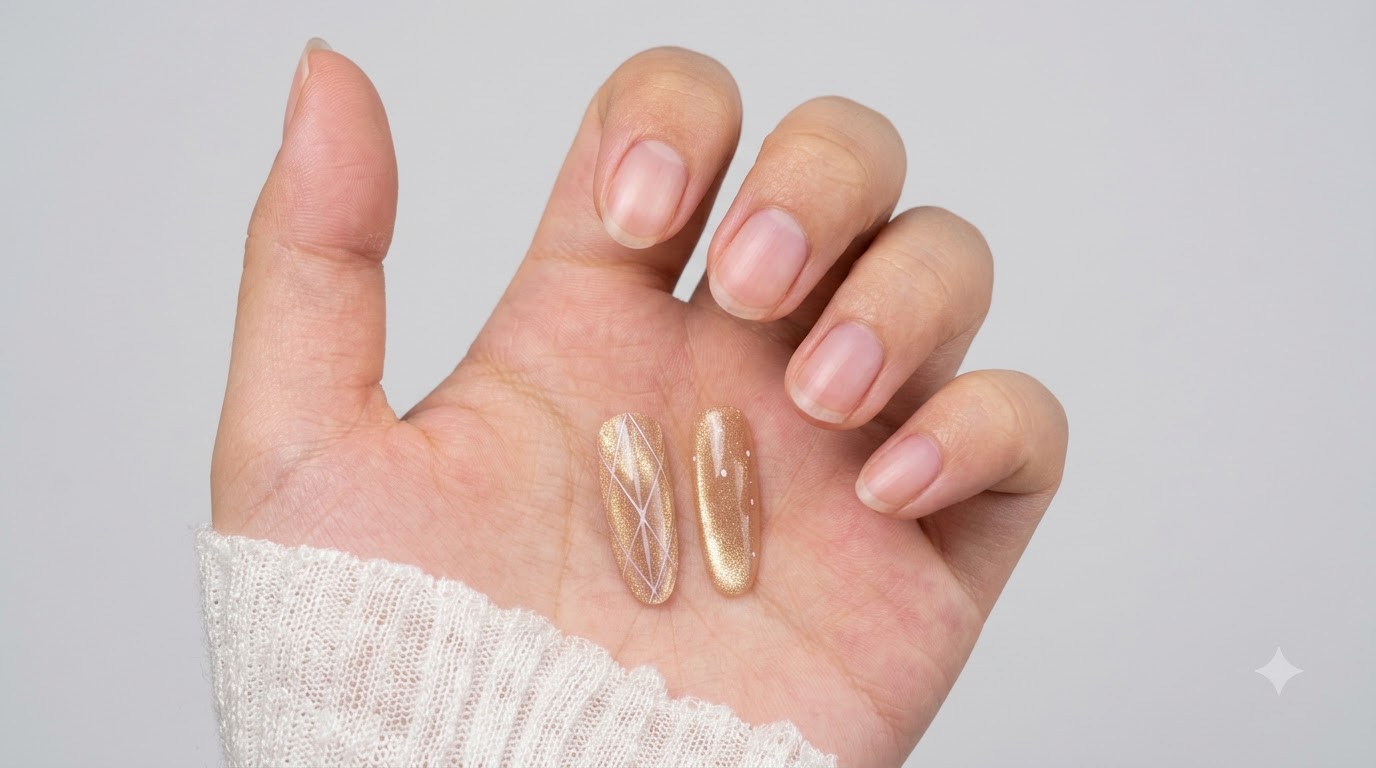
Apply a coat of sheer nude cat-eye polish evenly over the entire pink and blue gradient base. This gives the manicure its signature luminous, shimmering depth.
Tip: Apply an even coat to ensure the magnetic particles disperse smoothly across the surface. - 10Create cat-eye glow effect
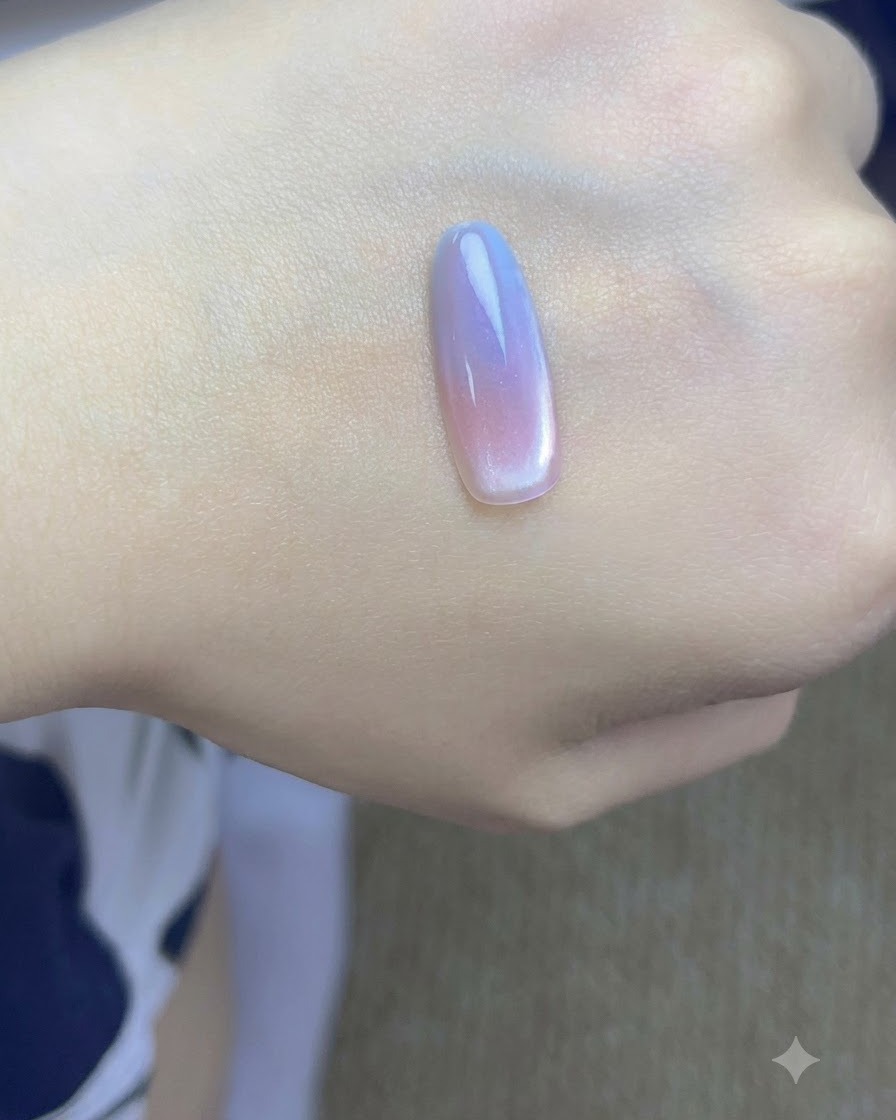
Hold a magnet close to the side of the nail without touching the wet polish to attract the magnetic particles. This shifts the shimmer to create a glowing, multidimensional effect.
Tip: Keep the magnet steady for a few seconds until you achieve the desired sharp line or glowing gradient shift. - 11Cure cat-eye polish layer
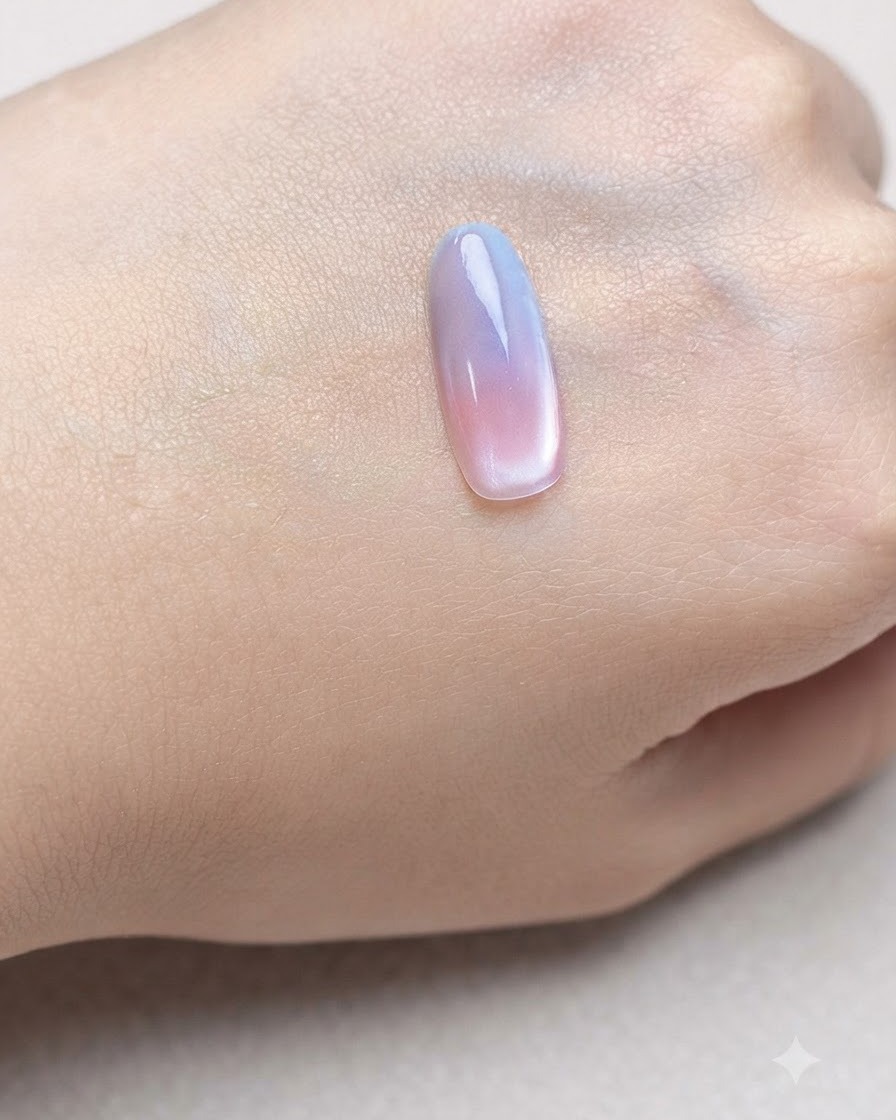
Immediately cure the cat-eye polish layer under the UV or LED lamp to lock the magnetic particle effect in place before it can disperse.
Tip: Cure immediately after magnetizing so the particles do not shift back. - 12Apply final glossy top coat
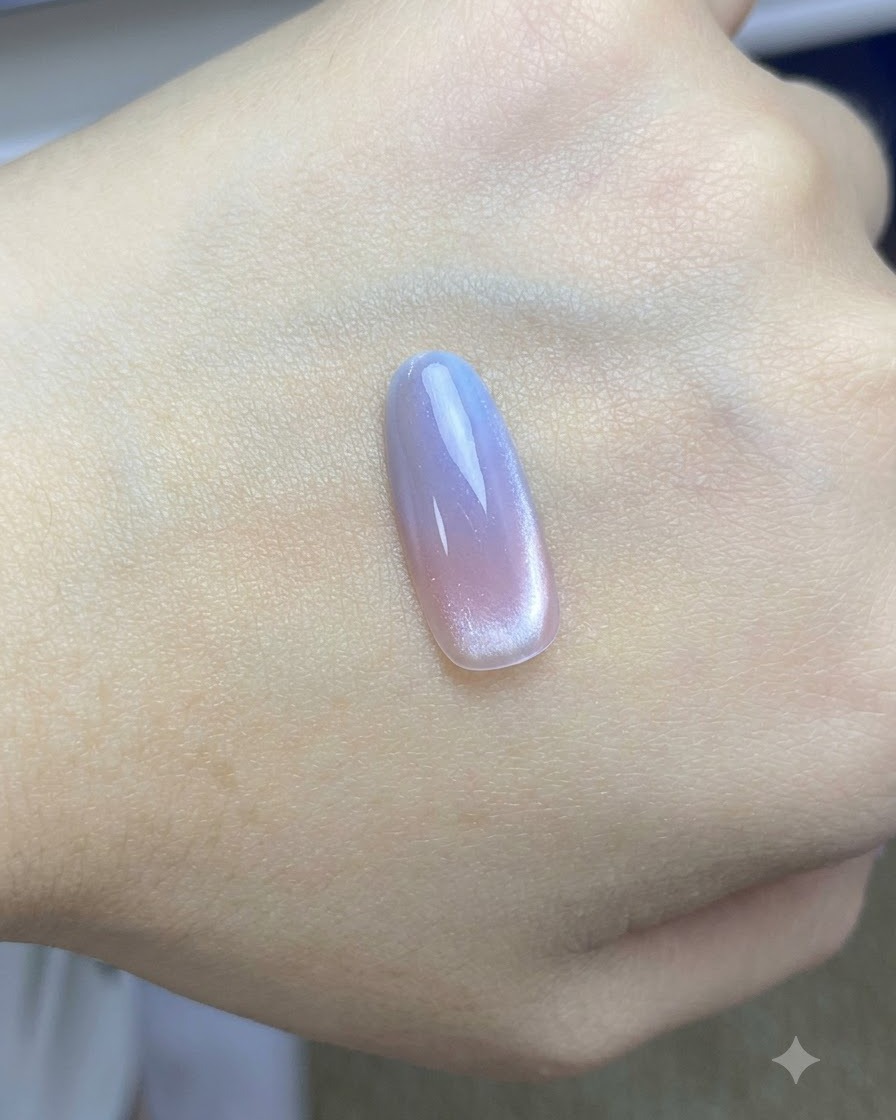
Apply a final layer of glossy top coat over the entire nail design to seal the art and provide long-lasting shine and protection. Cure under the lamp to finish.
Tip: Cap the free edge with top coat to prevent chipping and extend the wear of your manicure. - 13Cure the final top coat
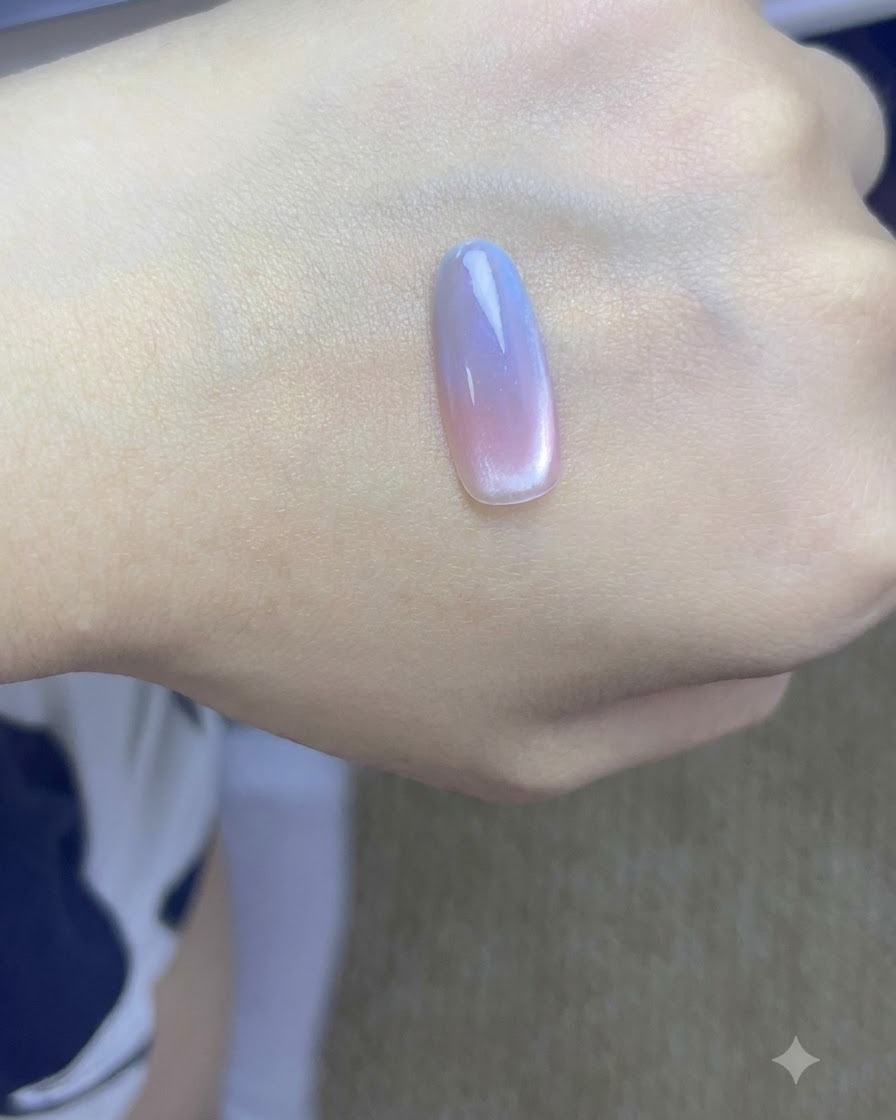
Place your hand under the UV or LED lamp to fully cure the final top coat layer. This ensures the gloss finish hardens completely, locks in the cat eye gradient design, and protects against chipping.
Tip: Make sure your hand is positioned directly under the light source for an even and complete cure across the entire nail surface.