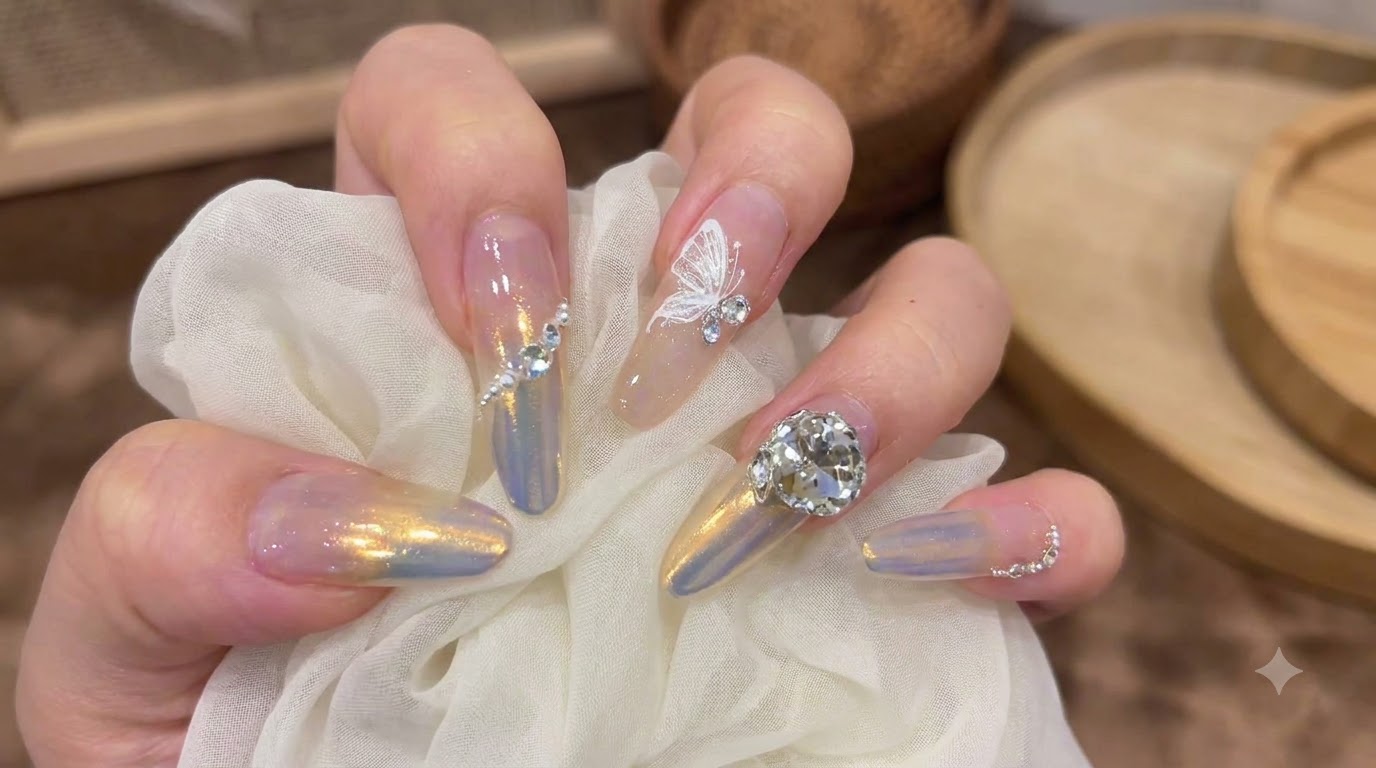
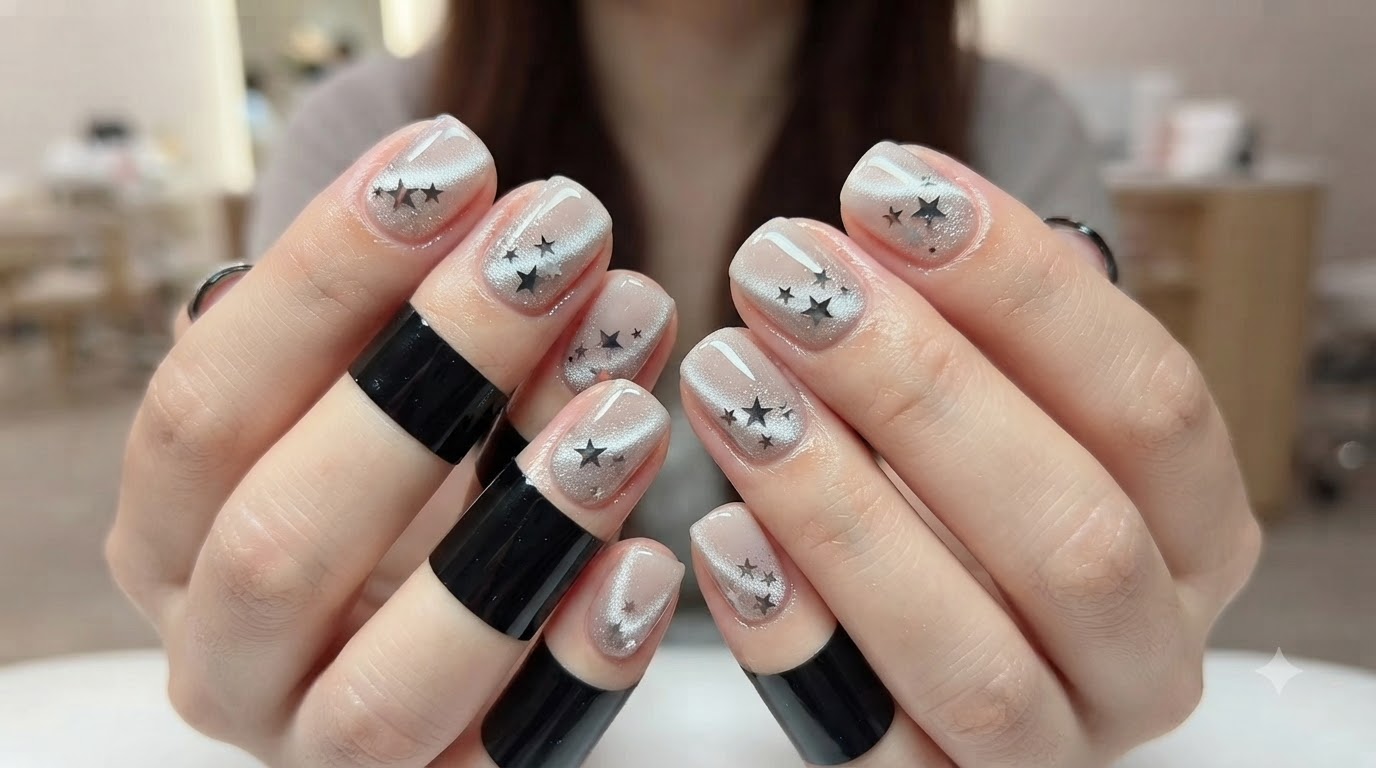
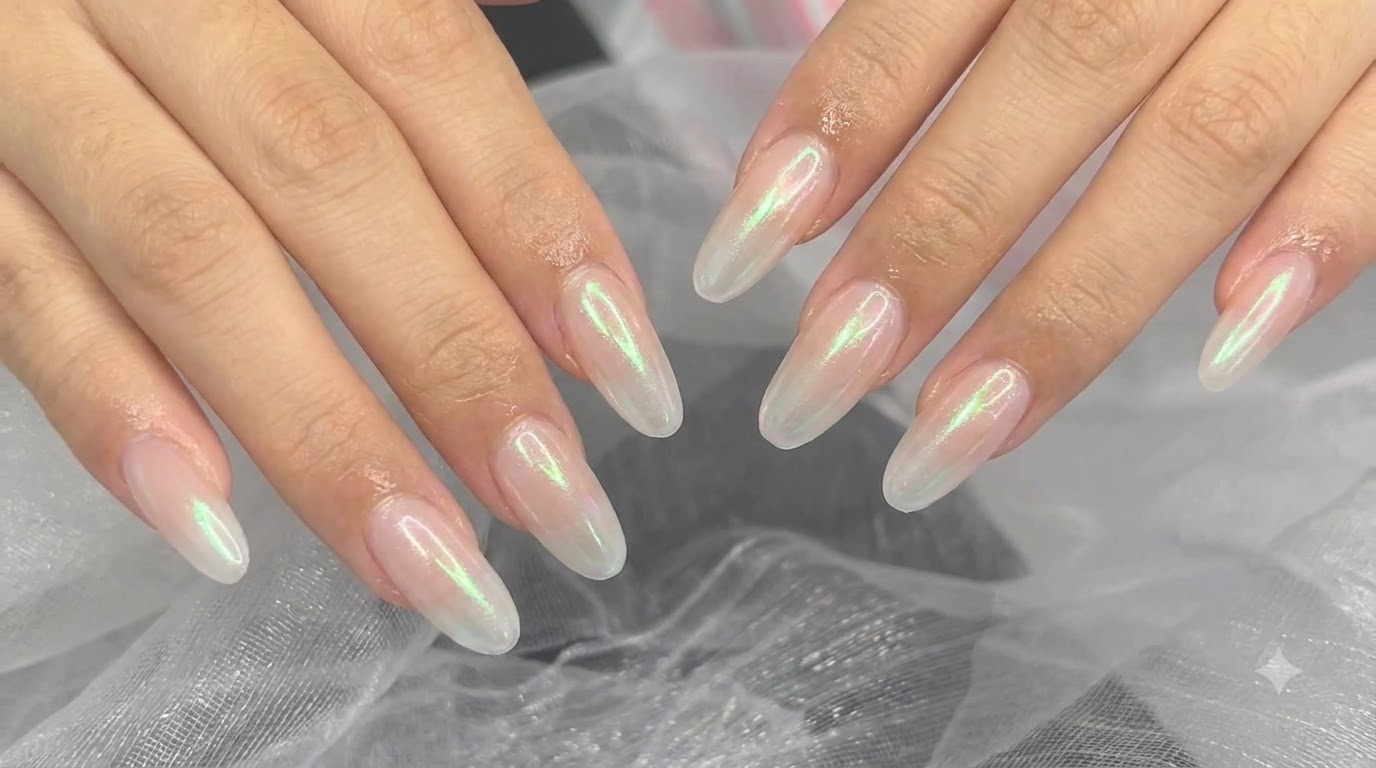
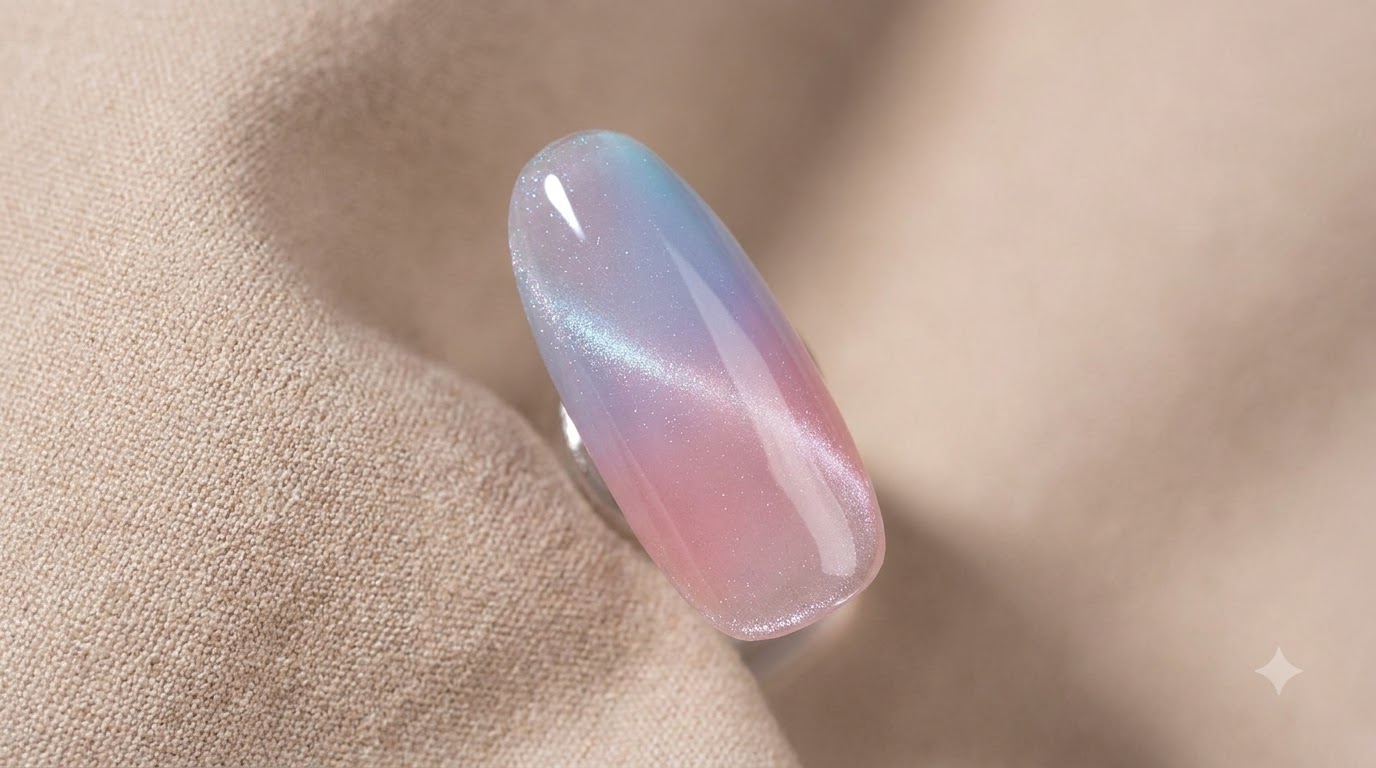
Sunset Afterglow Aurora
Cat-Eye Gel Nail Art Tutorial
Master the stunning sunset afterglow look combining pearlescent aurora chrome powder and shimmering cat-eye gel for a glowing finish.
The sunset afterglow nail trend captures the warm, shifting hues of twilight using layered blush pigments, high-shine aurora chrome powders, and multi-dimensional cat-eye effects. This comprehensive guide walks you through every precise application stage to achieve a professional salon-quality gradient finish at home.
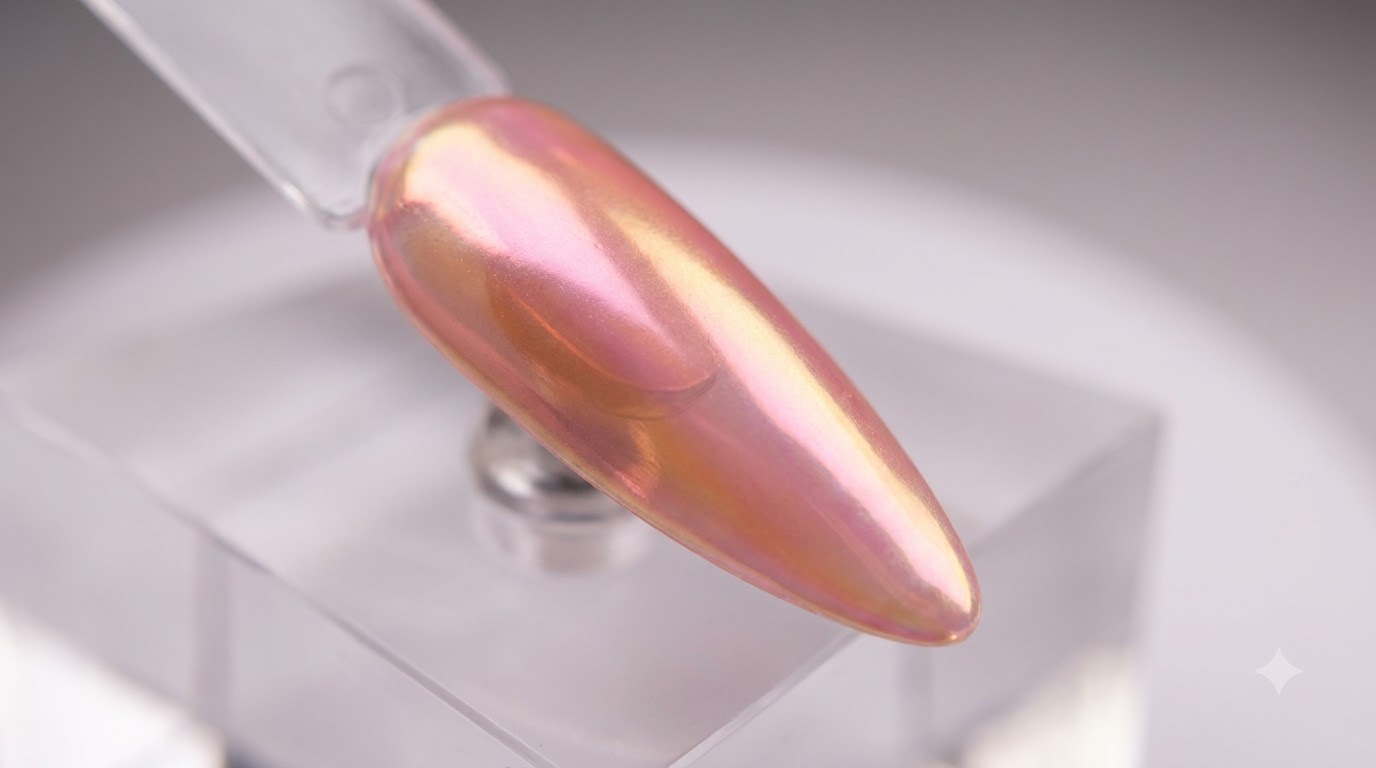
Steps
- 1Apply nude base color
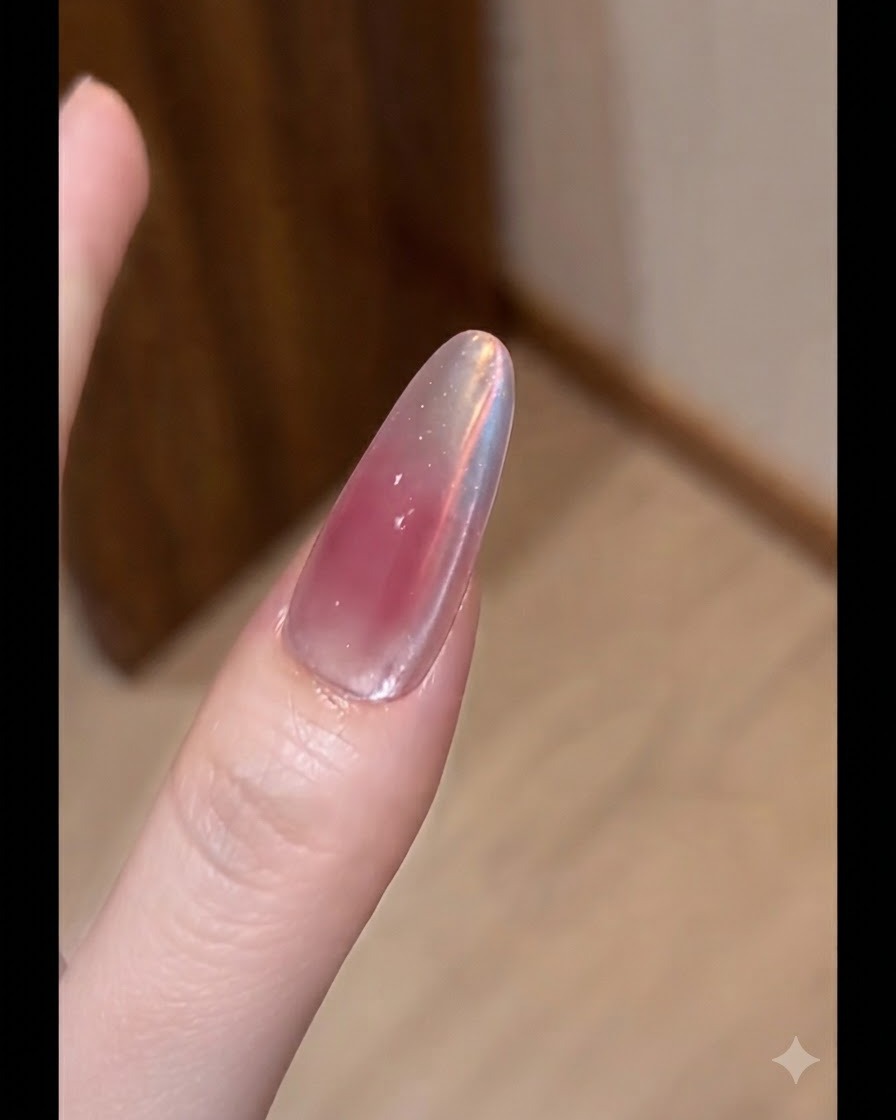
Apply a thin layer of nude color gel base evenly across the nail extension using a flat brush. Make sure to coat the surface smoothly to provide an even foundation for the subsequent blush and chrome effects. Avoid making the layer too thick to ensure proper curing.
Tip: Applying thin and even coats prevents wrinkling and ensures the gel cures completely underneath. - 2Cure the base coat
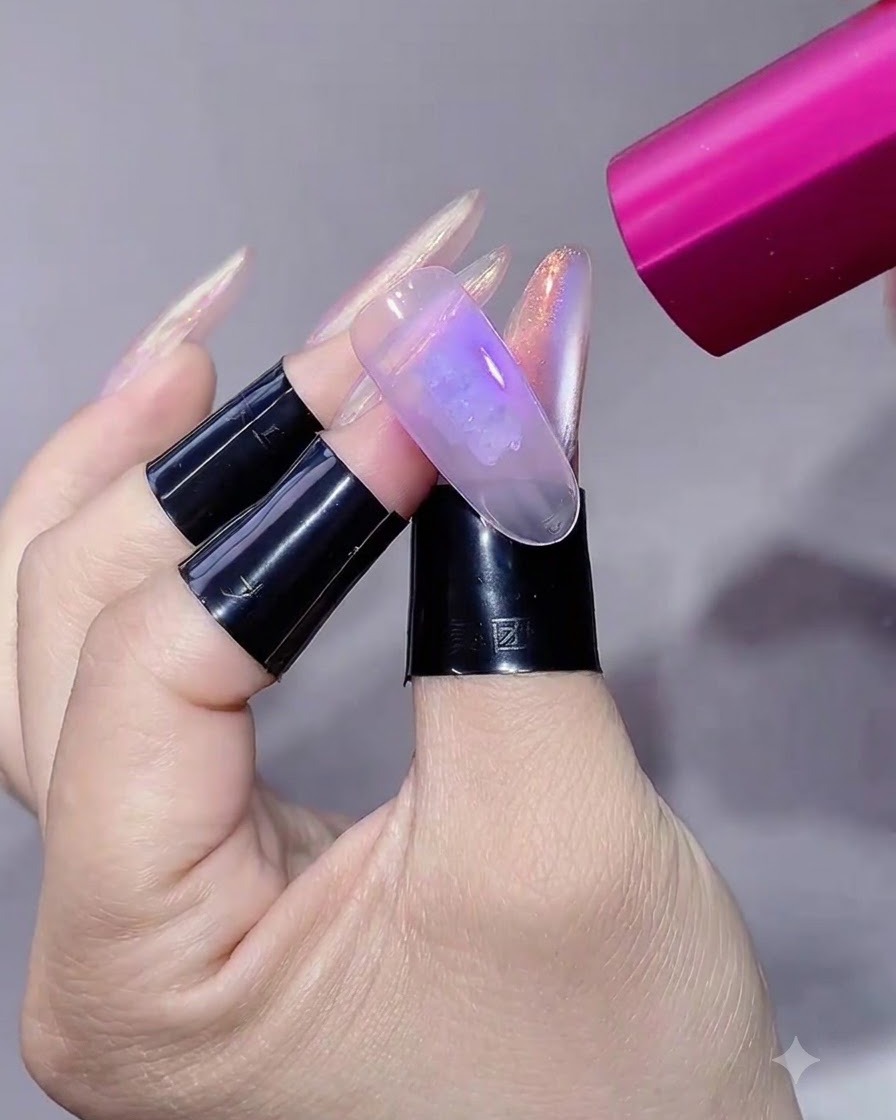
Place the nail under a pink handheld UV/LED lamp to cure the nude base coat. Hold the lamp closely to set the gel securely without shifting the product. Ensure the entire surface receives adequate light exposure.
Tip: Handheld flash cure lamps are great for quick setting, but follow up with a full cure if required by your gel viscosity. - 3Wipe away the inhibition layer
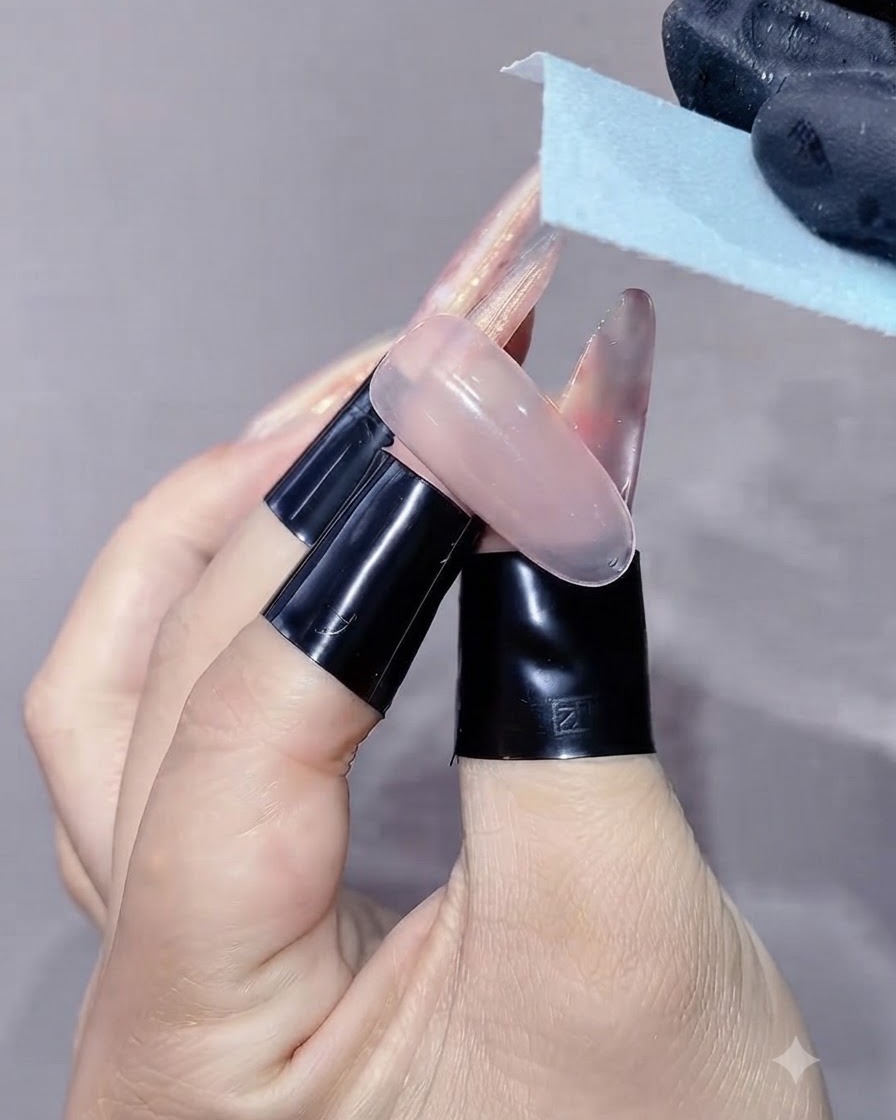
Take an alcohol wipe and gently clean the surface of the cured nail to remove the sticky inhibition layer left behind by the gel. This ensures a clean, dry surface ready for the next application step and prevents any interference with subsequent layers.
Tip: Ensure the alcohol wipe is lint-free so no fibers get stuck on the tacky surface before it is fully cleaned. - 4Dab the first layer of orange-red blush pigment
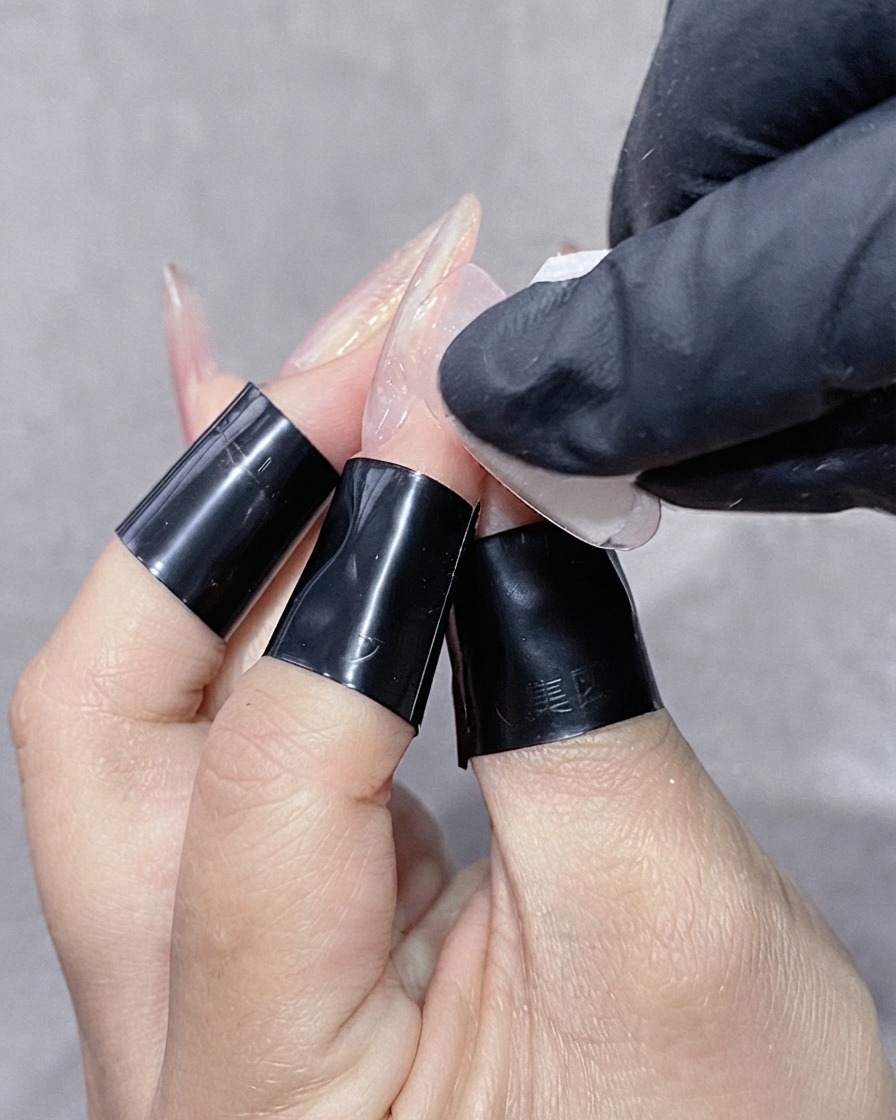
Using a sponge applicator, dab a first layer of orange-red blush pigment onto the center of the nail to create a soft, diffused gradient effect.
Tip: Tap gently with the sponge to avoid harsh lines and ensure a smooth, even pigment distribution. - 5Apply second layer of orange-red blush pigment
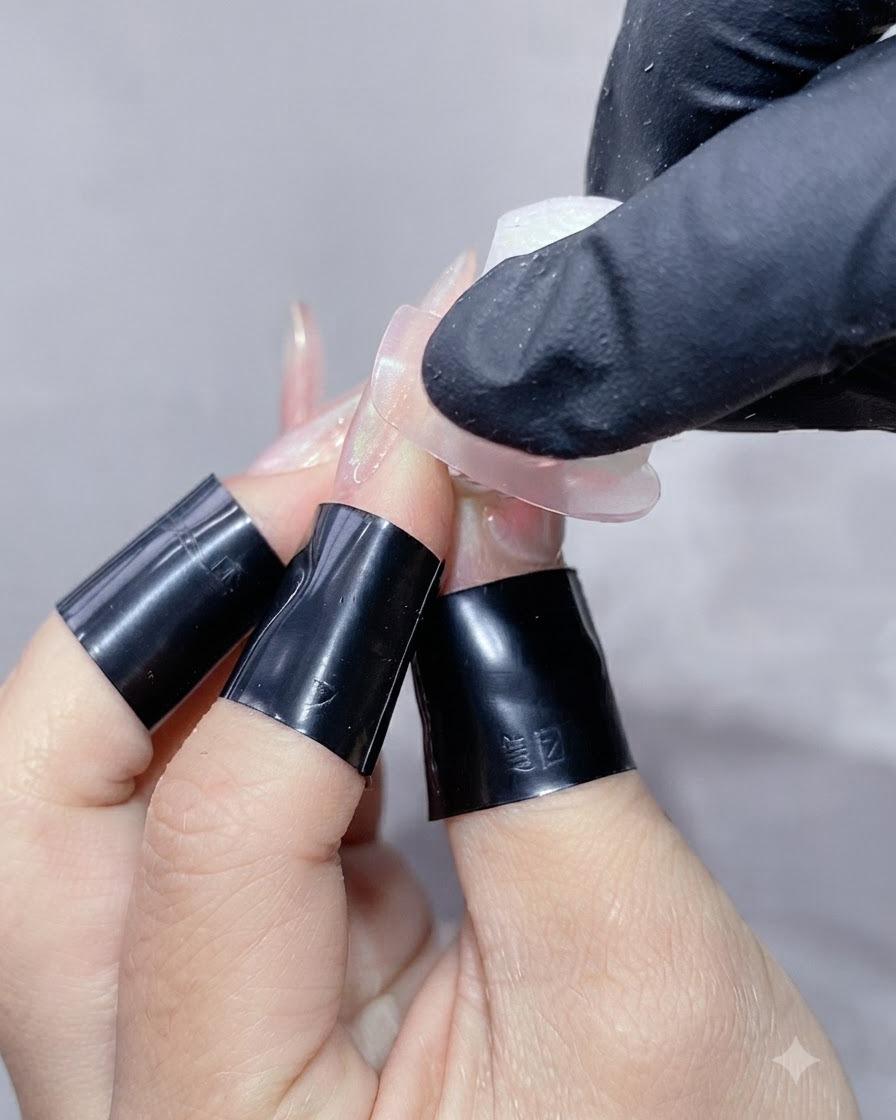
Apply a second layer of orange-red blush pigment directly over the center of the previous layer, concentrating it over a smaller area. This deepens the color intensity in the middle and enhances the dimensional gradient effect.
Tip: Keep the second layer more centralized than the first to build a natural-looking dimension. - 6Cure the blush pigment layer
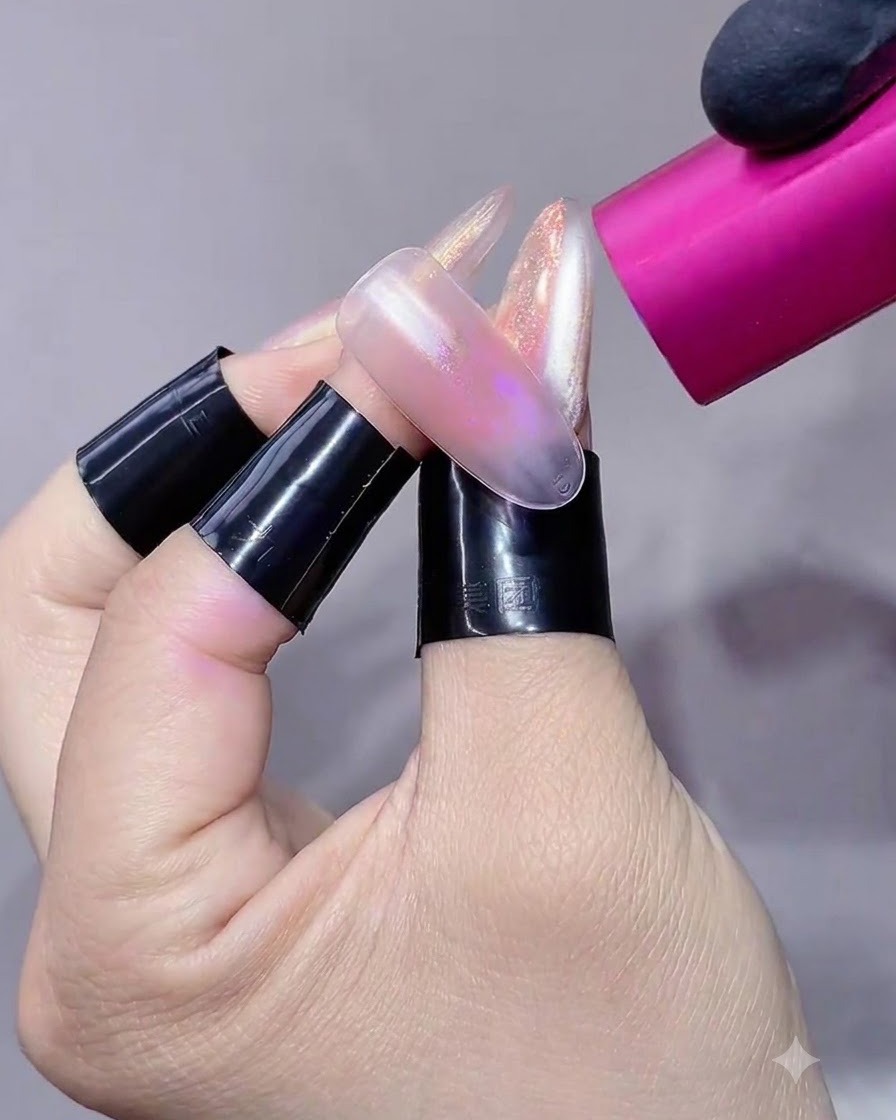
Place the nail under the pink handheld UV/LED lamp to cure the freshly dabbed blush pigment layers. This sets the pigment securely onto the nail surface before applying any top coats or specialty powders.
Tip: Cure thoroughly to ensure the pigment is locked in place and will not smudge during the next application steps. - 7Brush specialized chrome powder top coat
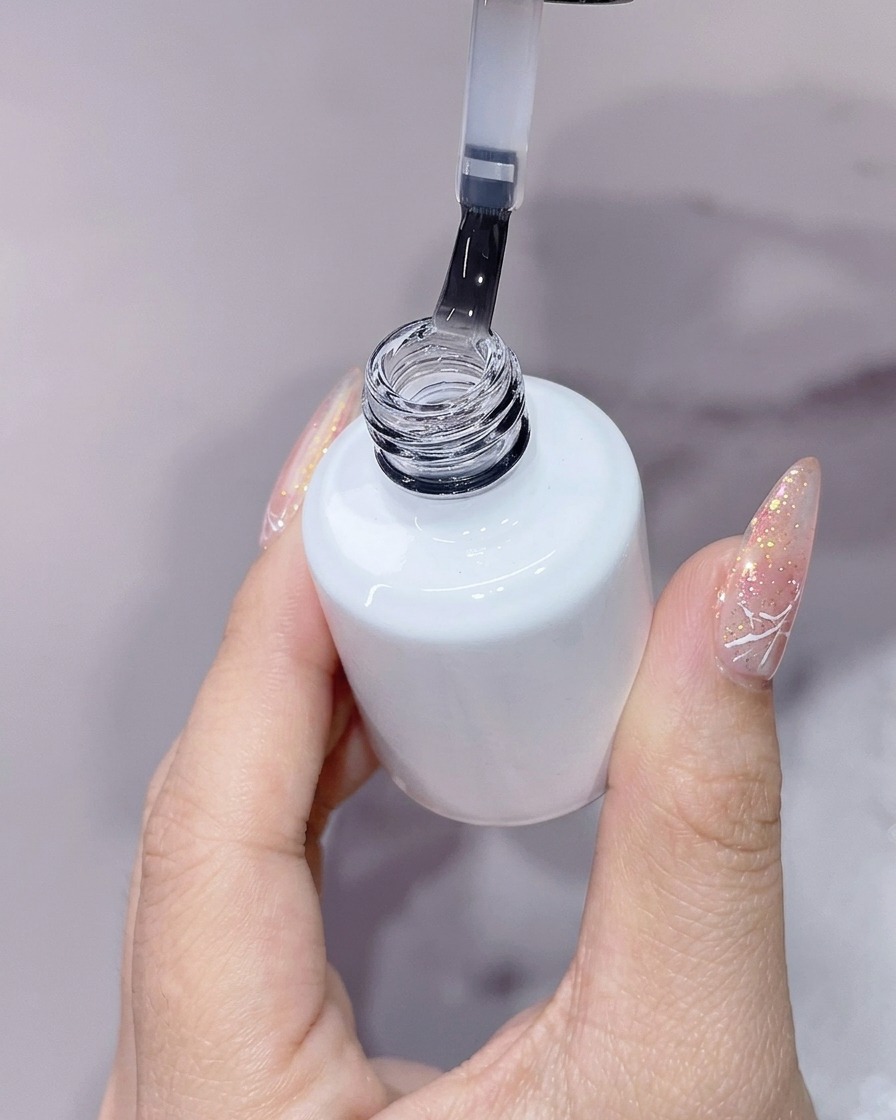
Apply an even layer of specialized chrome powder top coat over the nail plate to prepare the surface for the aurora powder application.
Tip: Ensure the top coat covers the entire nail smoothly without pooling at the edges before curing. - 8Cure the specialized top coat
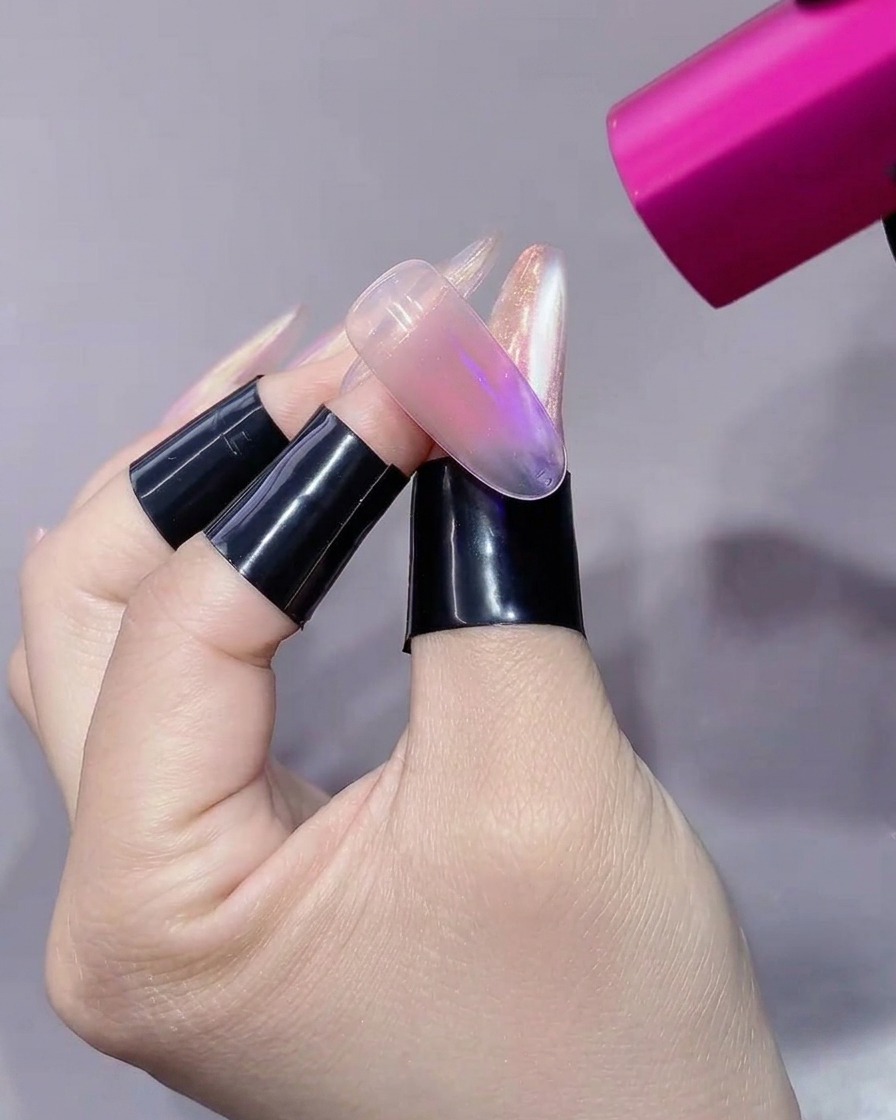
Position the pink handheld UV/LED lamp over the nail to cure the specialized top coat and set it for the next design phase.
Tip: Keep the handheld lamp steady and at the correct distance to ensure complete curing across the entire nail surface. - 9Rub sunset afterglow aurora chrome powder
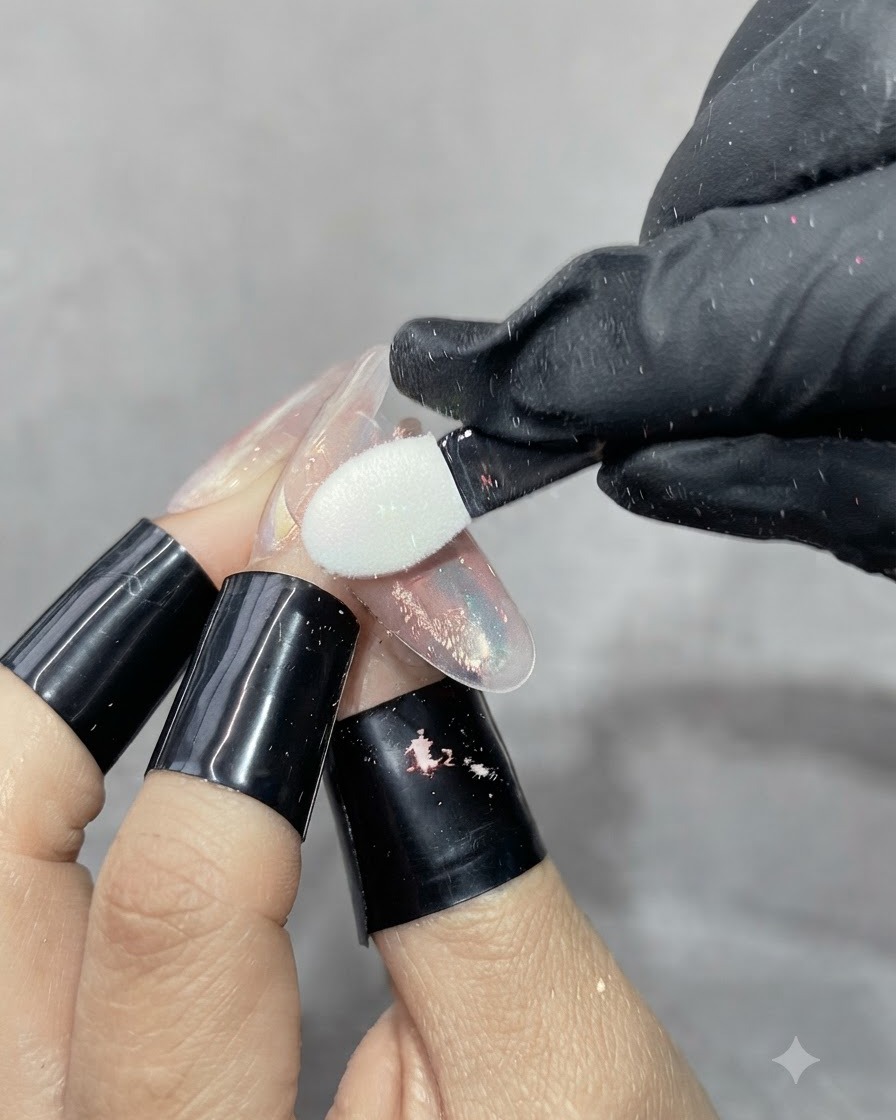
Take the sunset afterglow aurora powder and gently rub it onto the cured top coat using a sponge eyeshadow stick to achieve a bright, shimmering effect.
Tip: Buff the powder gently into the tacky surface for an even, high-shine aurora finish. - 10Remove excess powder
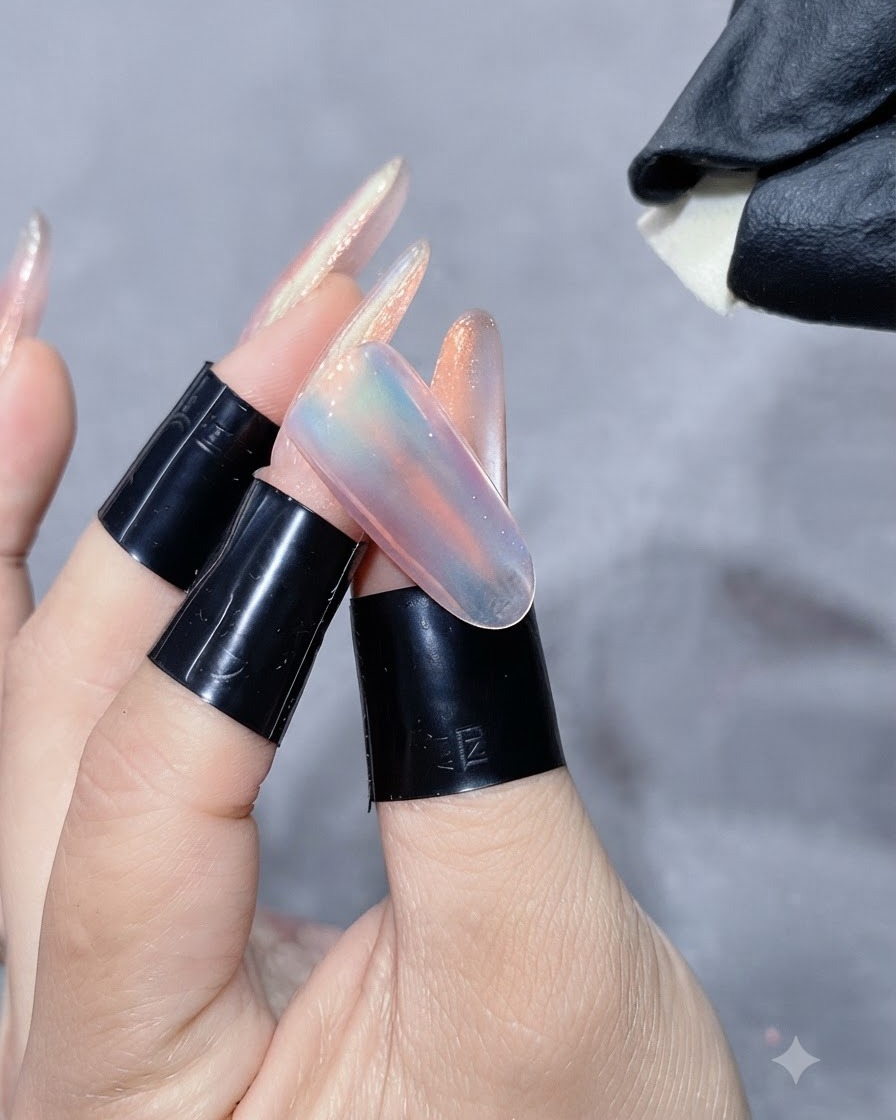
Take a clean sponge pad and gently wipe away any excess loose aurora powder from the nail surface. This cleans up the edges and reveals the bright, reflective sunset finish underneath. Ensure all stray particles are cleared before sealing.
Tip: Use a soft touch when dusting off excess powder so you do not dull the polished chrome shine. - 11Apply strengthening gel
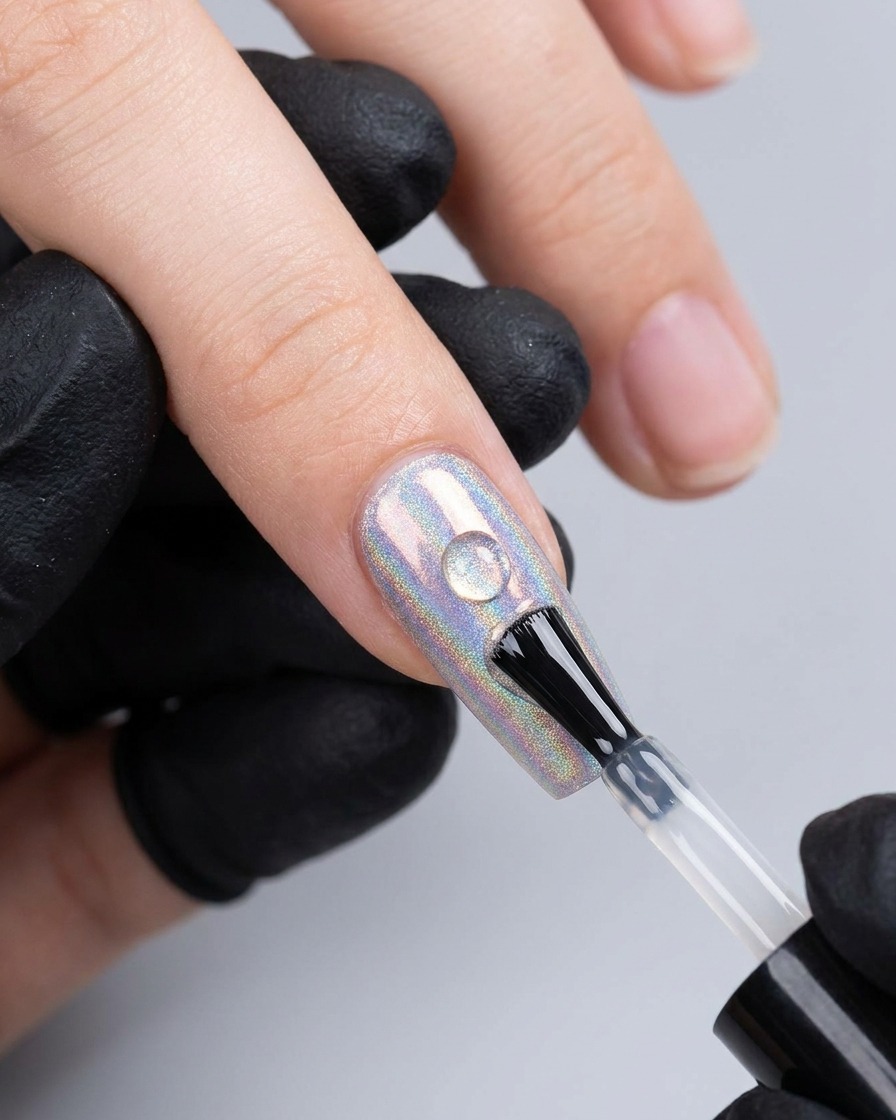
Apply a layer of strengthening gel over the surface and wrap carefully around the edges to encapsulate the design. This builds structure, prevents chipping, and protects the underlying aurora powder layer. Ensure smooth coverage across the entire nail.
Tip: Capping the free edge with strengthening gel is essential for long-lasting wear and preventing premature lifting. - 12Cure strengthening gel
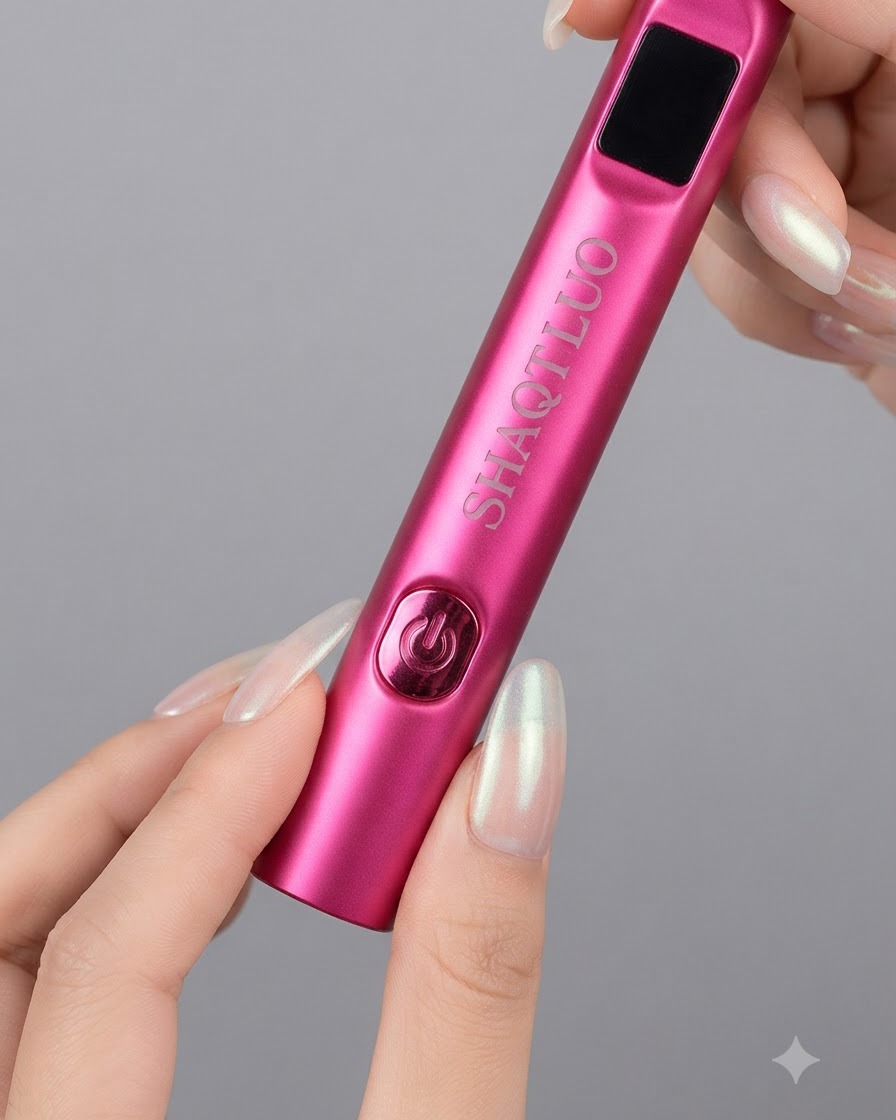
Cure the strengthening gel layer using the specialized bar-shaped converging light lamp. The targeted light shines directly onto the nail cap while avoiding cuticles and surrounding skin. This prevents skin darkening and cures the gel efficiently in just a few seconds.
Tip: Targeted converging lamps protect your skin from UV exposure while curing structural gels rapidly. - 13Apply cat-eye gel
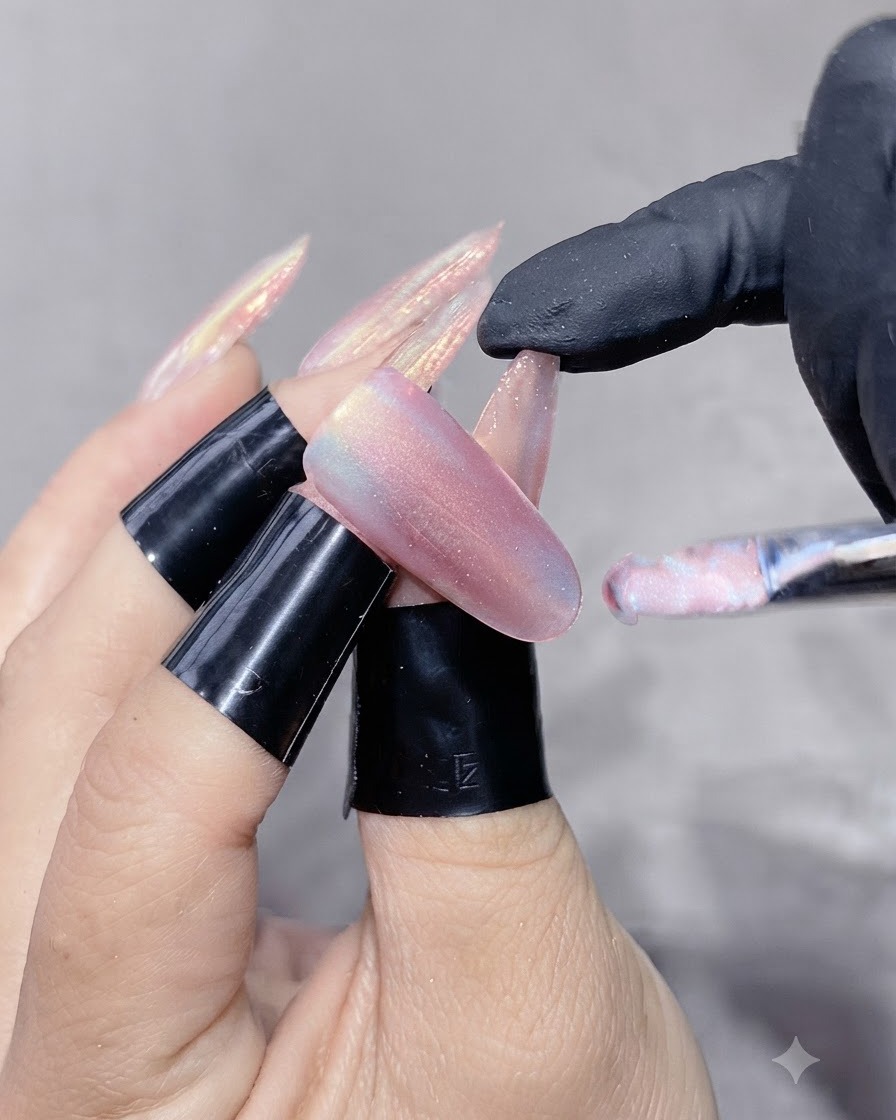
Apply a thin layer of number 5 cat-eye gel evenly over the nail surface. First, attract a wide light band using your magnet tool, then keep swiping along the sides to pull and define the side light glow. Once satisfied with the effect, prepare for final curing.
Tip: Working with thin layers of cat-eye gel gives you better control over the magnetic particle movement and reflection. - 14Draw out the wide cat-eye band
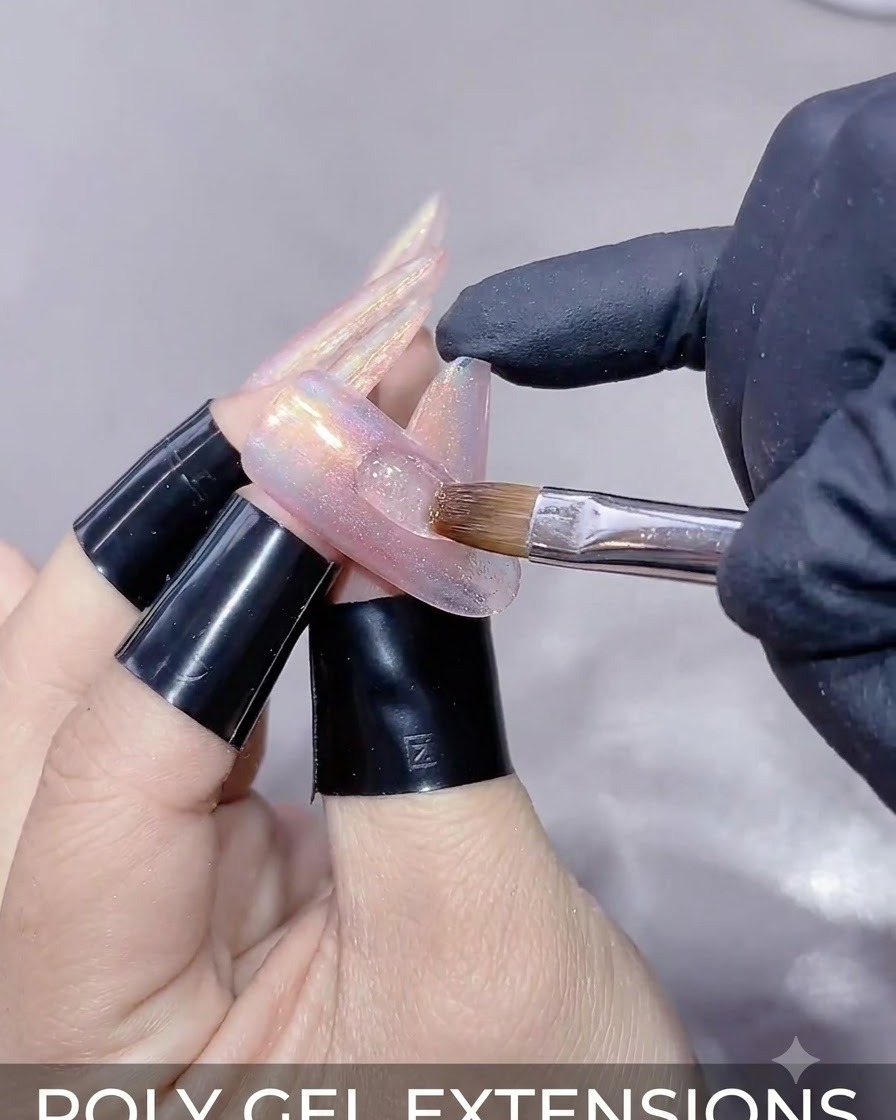
Position a magnet closely over the uncured cat-eye gel layer without touching the surface. Hold it steady to attract the magnetic particles, drawing out the wide light band across the nail. Keep the magnet in place until you achieve the desired glowing cat-eye effect.
Tip: Keep your hand completely steady while holding the magnet to ensure the light band remains sharp and centered.