Sunset Aurora Moonlight Powder Gradient Butterfly Nail Art Tutorial
Create breathtaking sunset aurora gradient nails featuring sparkling rhinestone diamond balls and delicate pearl butterfly charms with this step-by-step tutorial.
Aurora moonlight powders combined with dimensional charms create an enchanting multi-dimensional look that captures every angle of light. This detailed guide walks you through building the smooth gradient effect and securing intricate stone placements for a professional salon finish right at home.
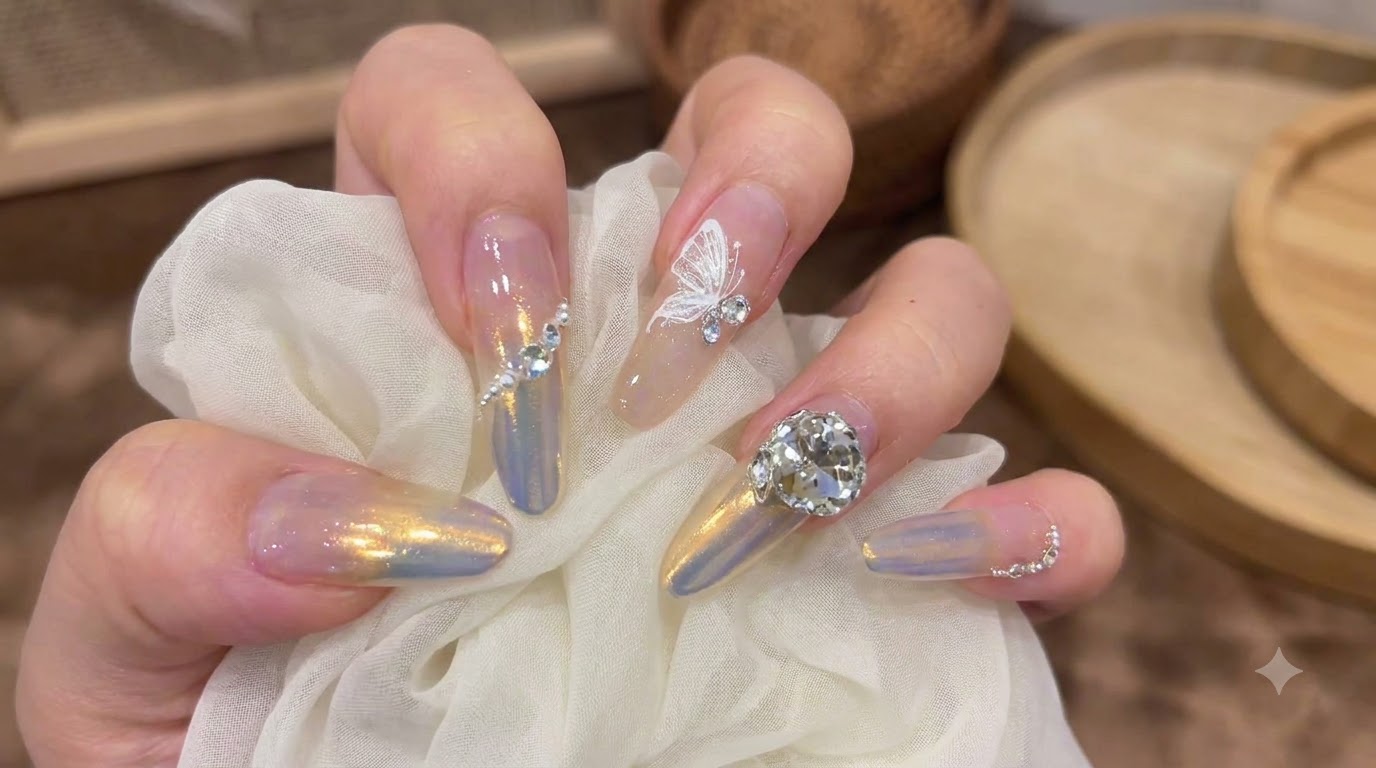
Steps
- 1Apply base gel to long nude extensions
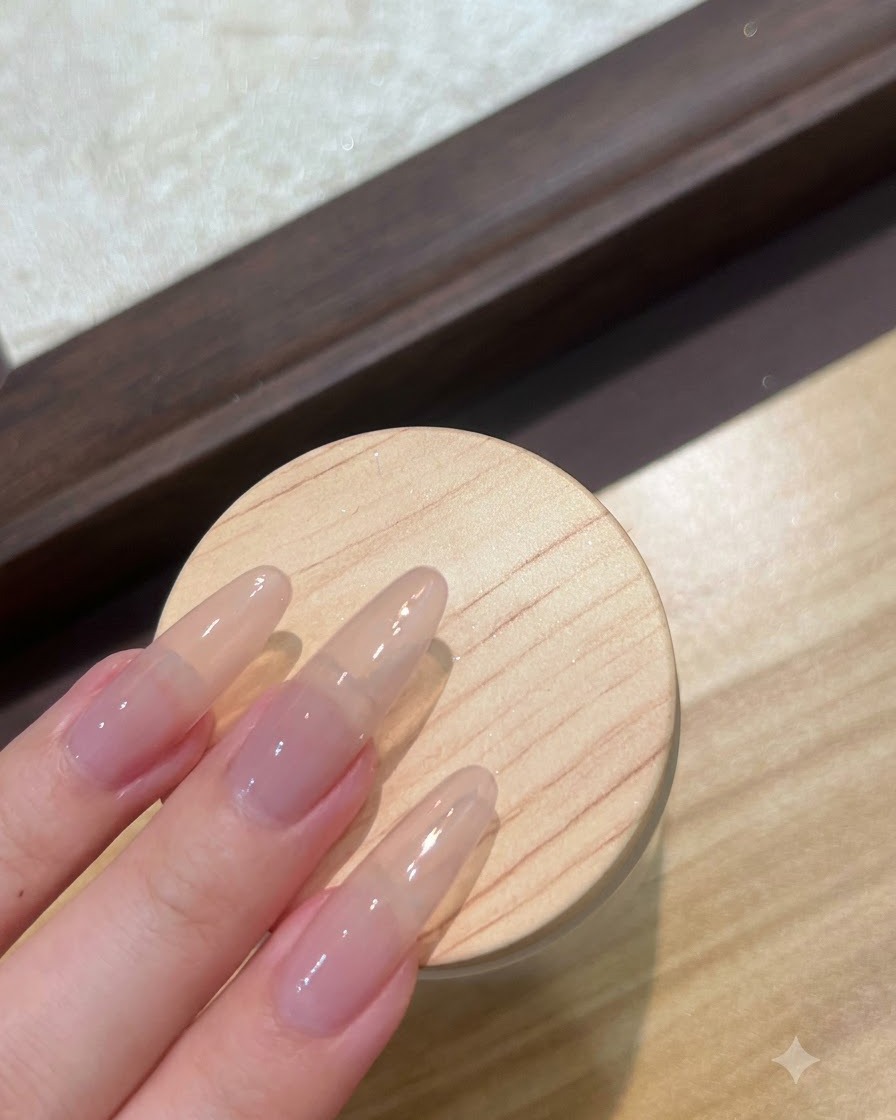
Apply a base gel evenly onto the long nude extension nail plates, ensuring complete coverage from cuticle to free edge. This prepares the surface for subsequent powder and design layers while improving overall product adhesion.
Tip: Apply a thin, uniform coat to prevent pooling near the cuticles. - 2Apply non-wipe top coat to index and ring fingers
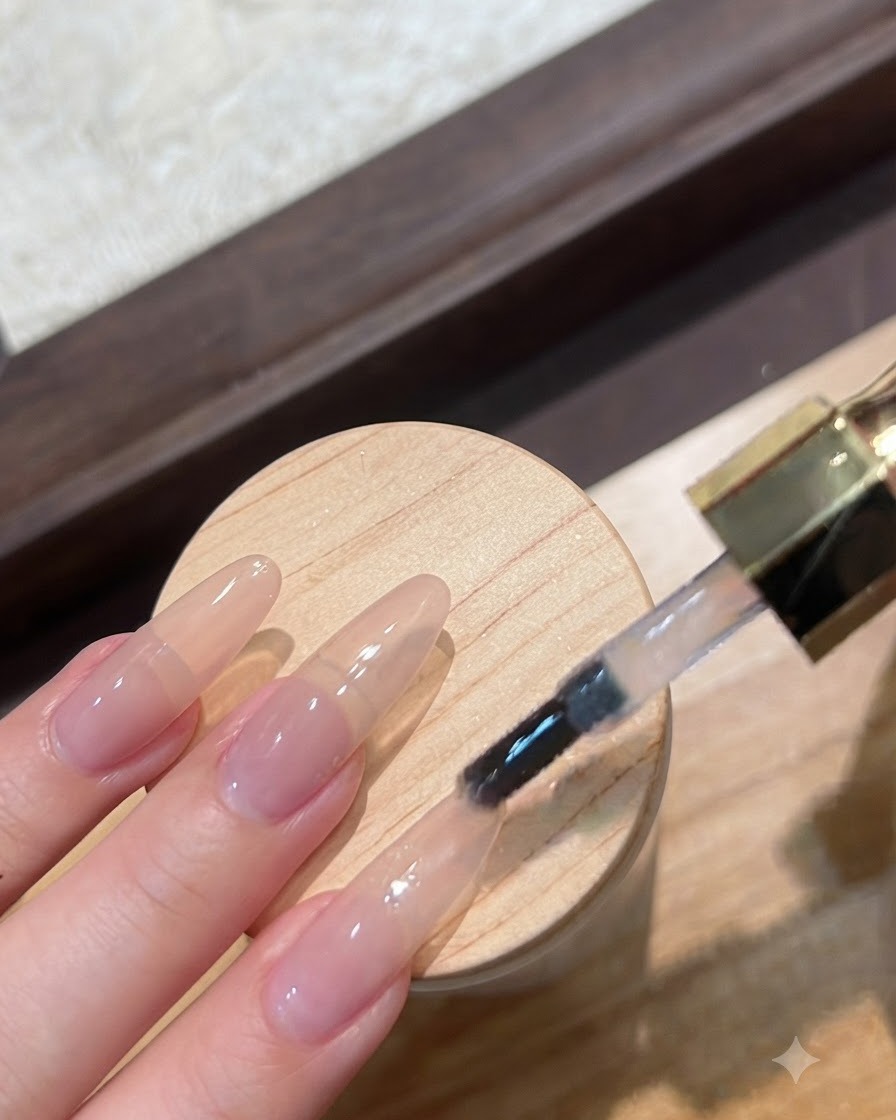
Using a brush, apply a smooth layer of non-wipe top coat specifically onto the index and ring fingers. This sticky-free surface is essential for catching and holding the moonlight powder effectively during the gradient creation step.
Tip: Make sure to cover the entire nail surface evenly without leaving dry spots. - 3Pick up fine moonlight powder with applicator sponge
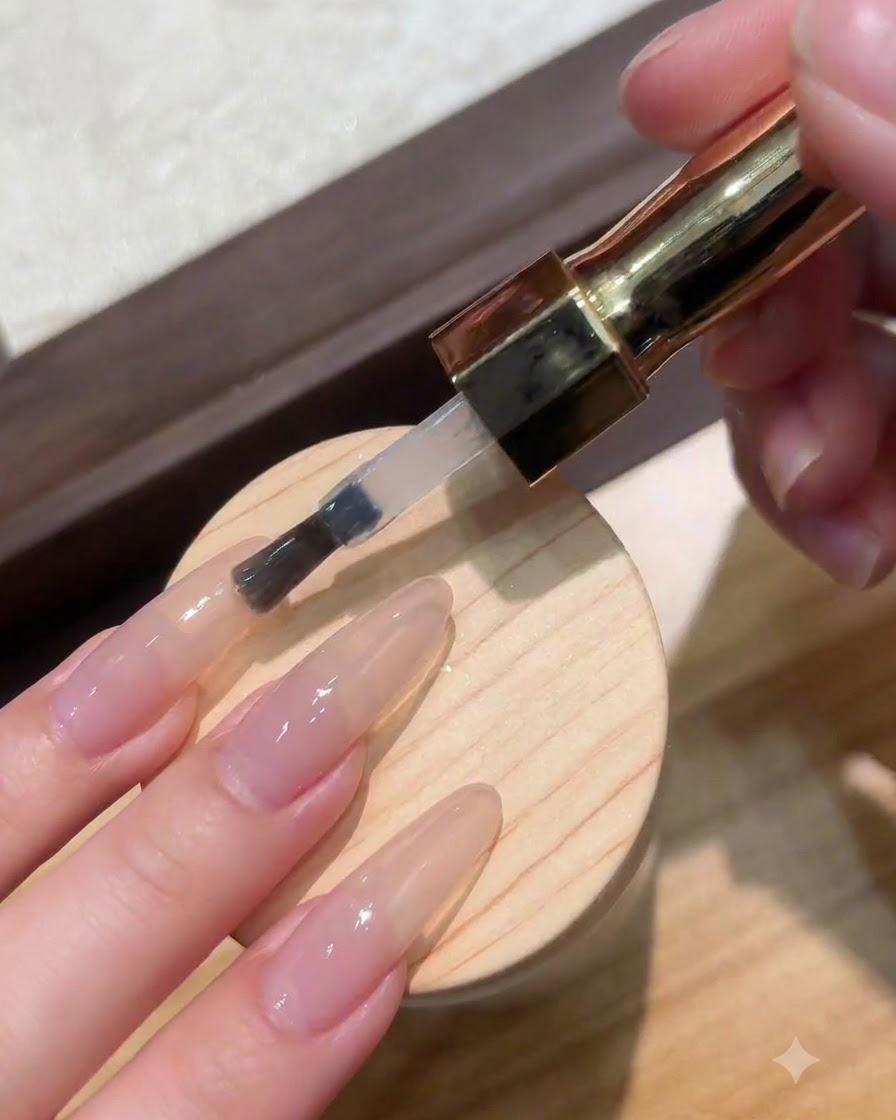
Dip a small applicator sponge into the container of fine moonlight powder number 1. Ensure the sponge tip picks up an even, moderate amount of powder for smooth distribution onto the designated nails.
Tip: Tap off any excess powder from the sponge before applying to avoid clumping. - 4Rub moonlight powder for gradient aurora effect
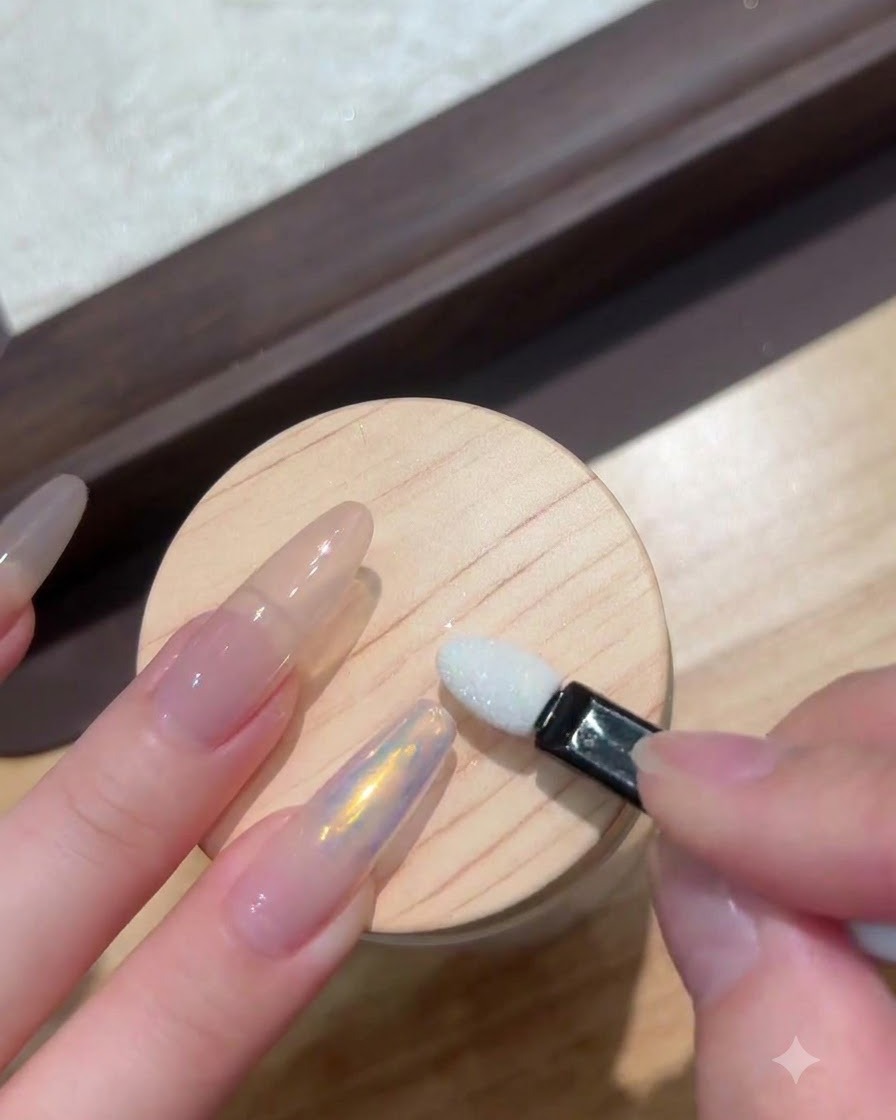
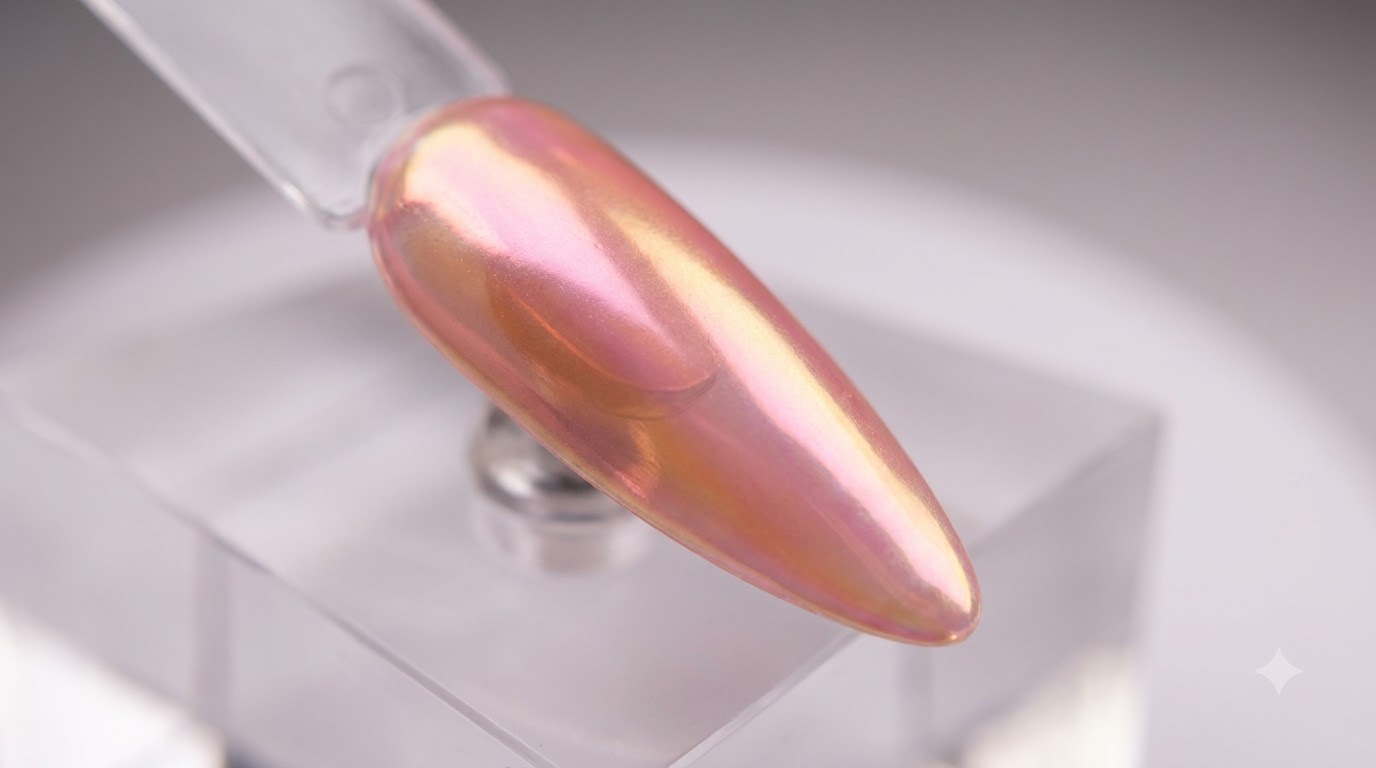
Gently rub the moonlight powder onto the prepared nails using the sponge applicator to achieve a smooth gradient aurora effect. Build up the intensity gradually until the desired shimmering multi-tone finish appears.
Tip: Buff lightly in circular motions for a seamless, streak-free gradient transition. - 5Apply reinforcing gel over powder
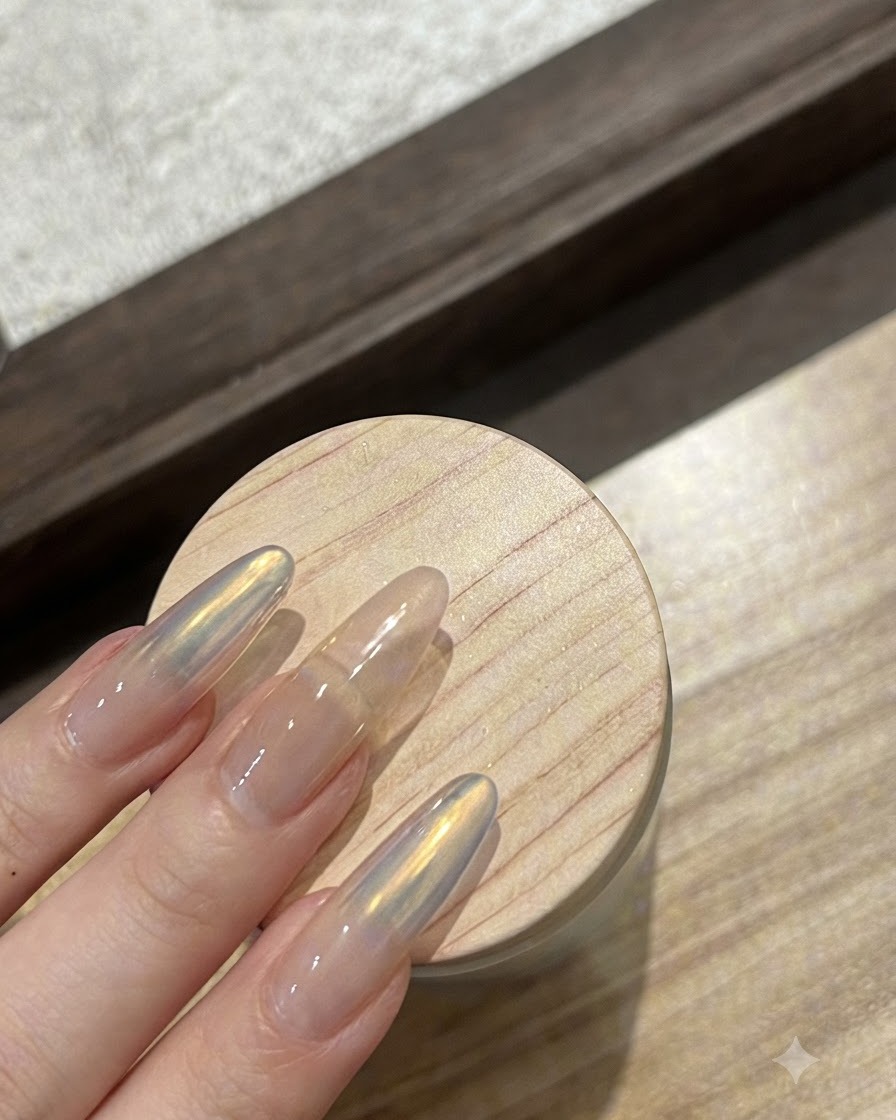
Apply a layer of reinforcing gel over the powdered nail surface to add structural thickness and protect the aurora pigment from chipping or peeling. Ensure the edges are completely sealed.
Tip: Cap the free edge carefully with the reinforcing gel to lock in the design. - 6Cure reinforcing gel under LED lamp
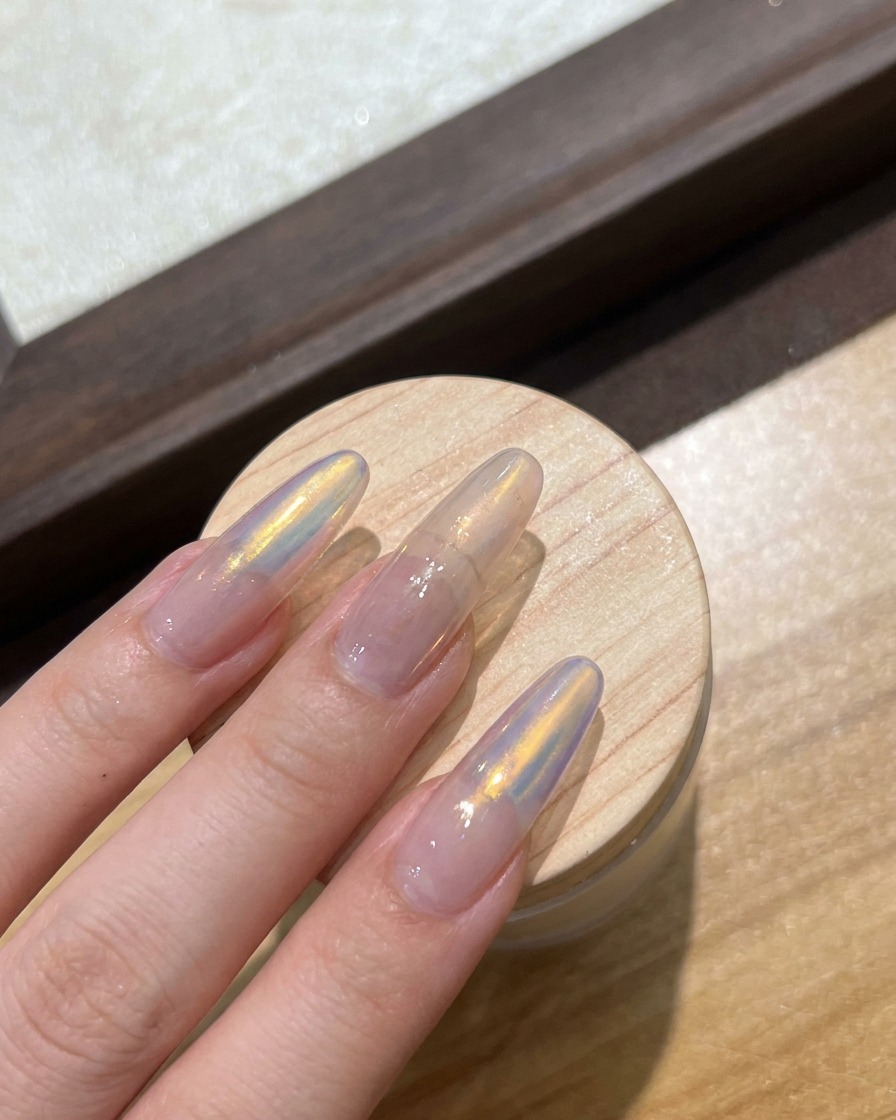
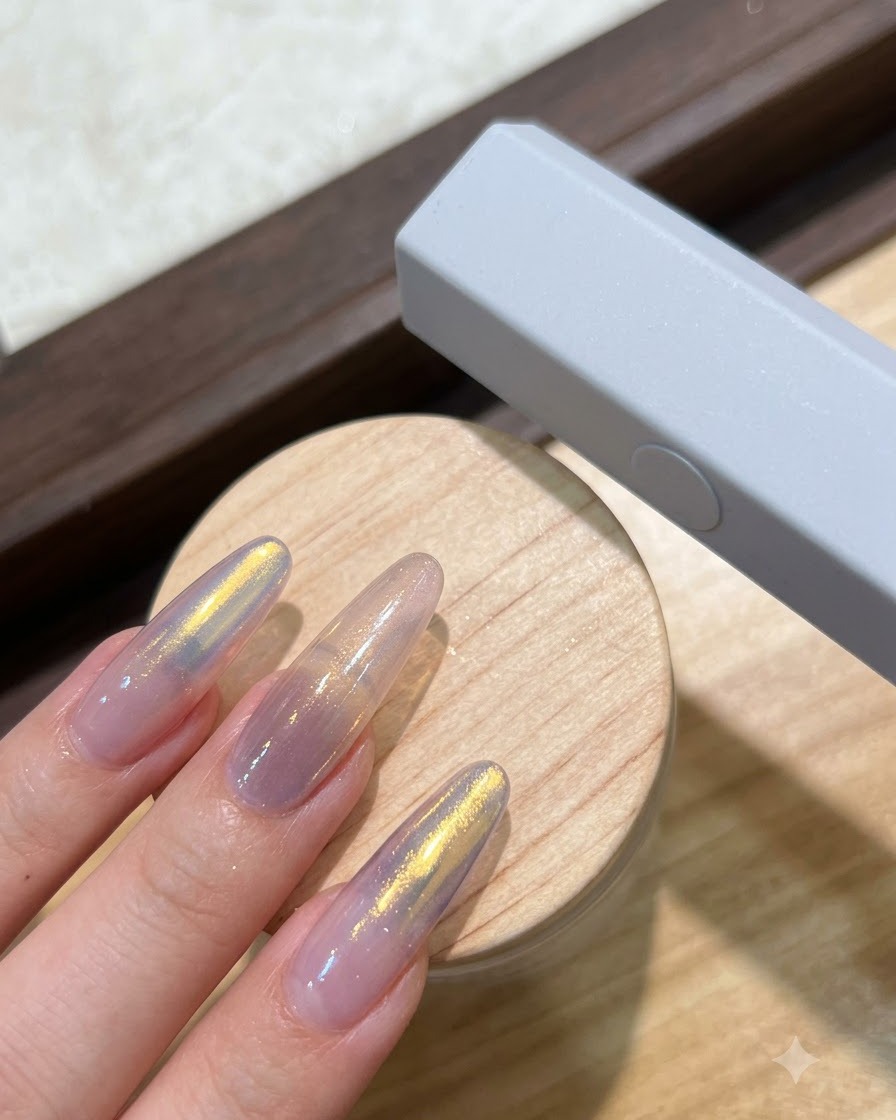
Place the hand under the LED lamp and cure the reinforcing gel thoroughly. This sets the protective structure and locks the underlying powder design in place before proceeding to rhinestone and charm placement.
Tip: Follow standard curing times to ensure the reinforcing layer hardens completely. - 7Pick up rhinestones and pearls
Using precision tweezers, carefully pick up a white pointed bottom rhinestone number 1, a flat-bottomed small knot stone number 1, and pearls from your storage tray. Ensure each piece is held securely so you can position them accurately onto the nail without slipping.
Tip: Keep your tweezers clean of any uncured gel to prevent stones from sticking to the tool instead of the nail. - 8Create diamond ball cluster on ring finger
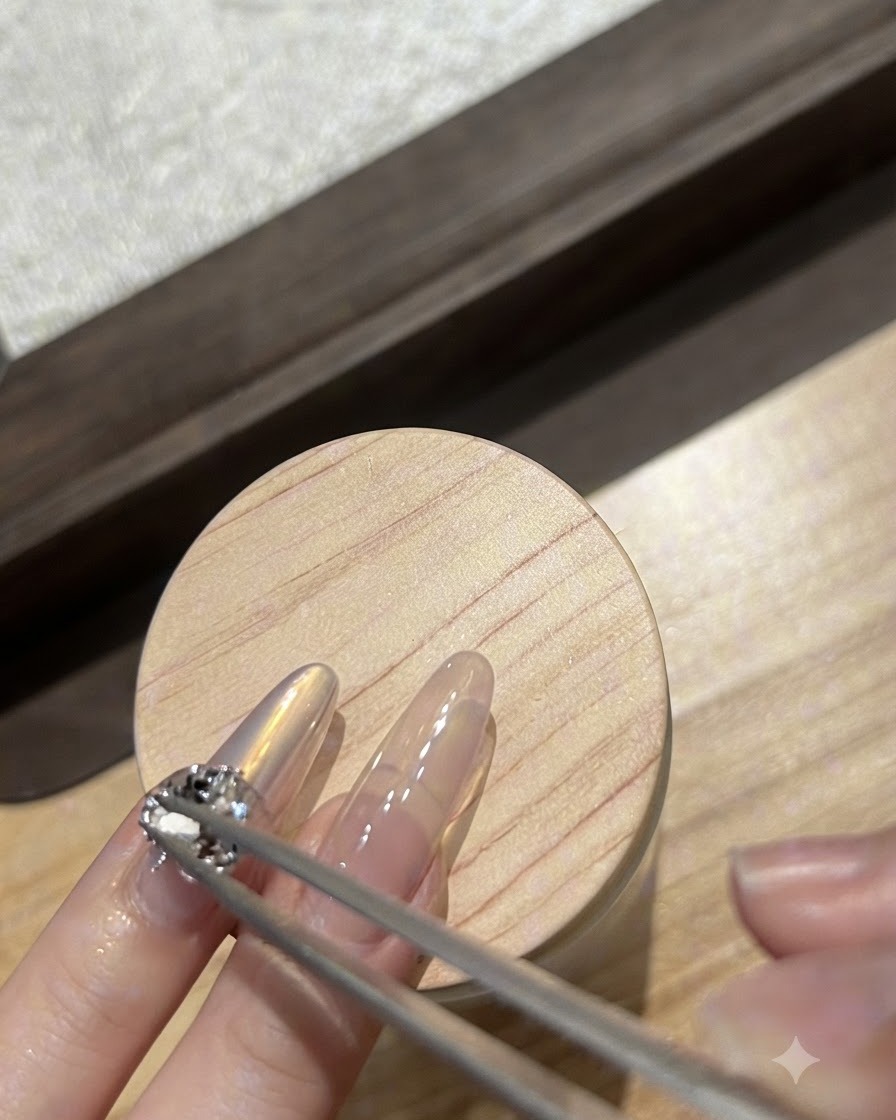
Using a dotting pen or wax pencil, place and arrange the picked-up stones and pearls into a structured diamond ball cluster on the ring finger. Press them gently into the uncured reinforcement gel or rhinestone glue so they embed securely.
Tip: Work quickly before the gel shifts, and check the alignment from multiple angles to ensure balanced symmetry. - 9Arrange rhinestones on index finger
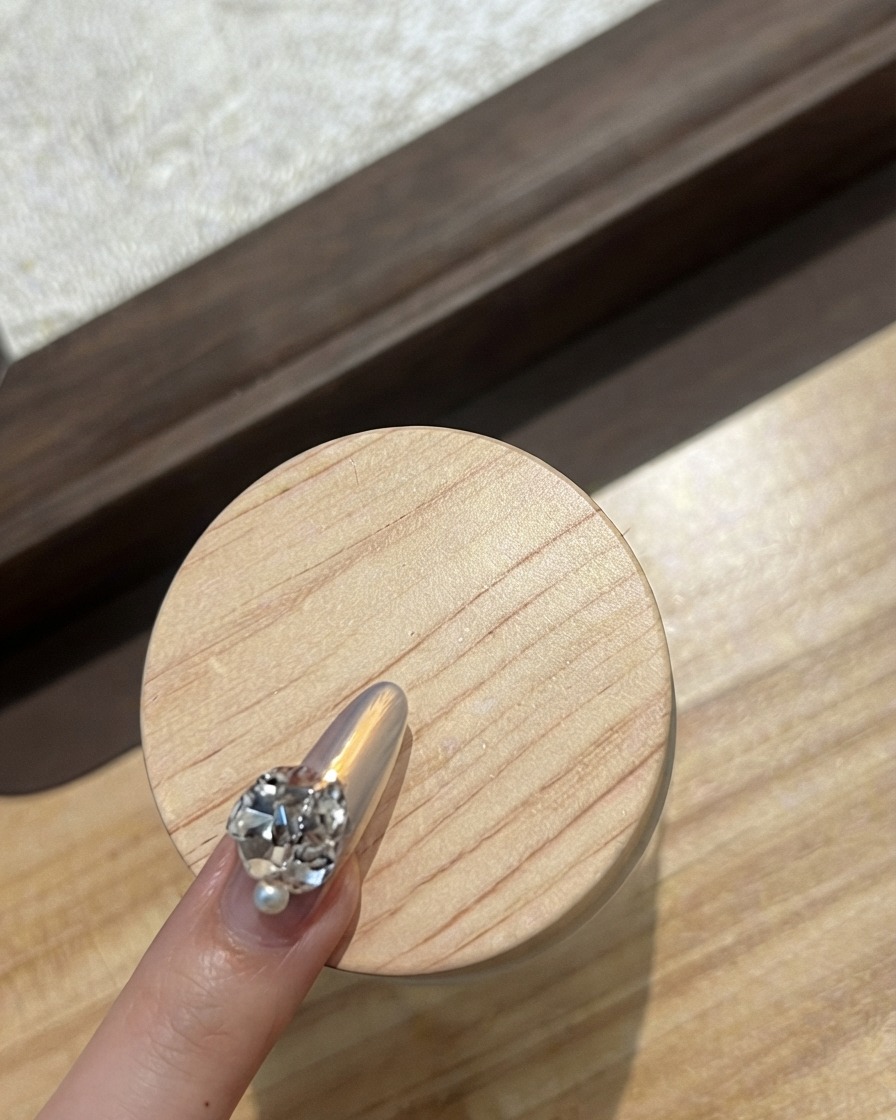
Apply small rhinestones in a delicate, arched curved line formation along the desired area of the index finger. Follow the natural curve of the cuticle or nail bed for an elegant, flowing design.
Tip: Use a tiny drop of base gel beneath each individual stone to anchor them along the curved path before curing. - 10Cure the nail decorations
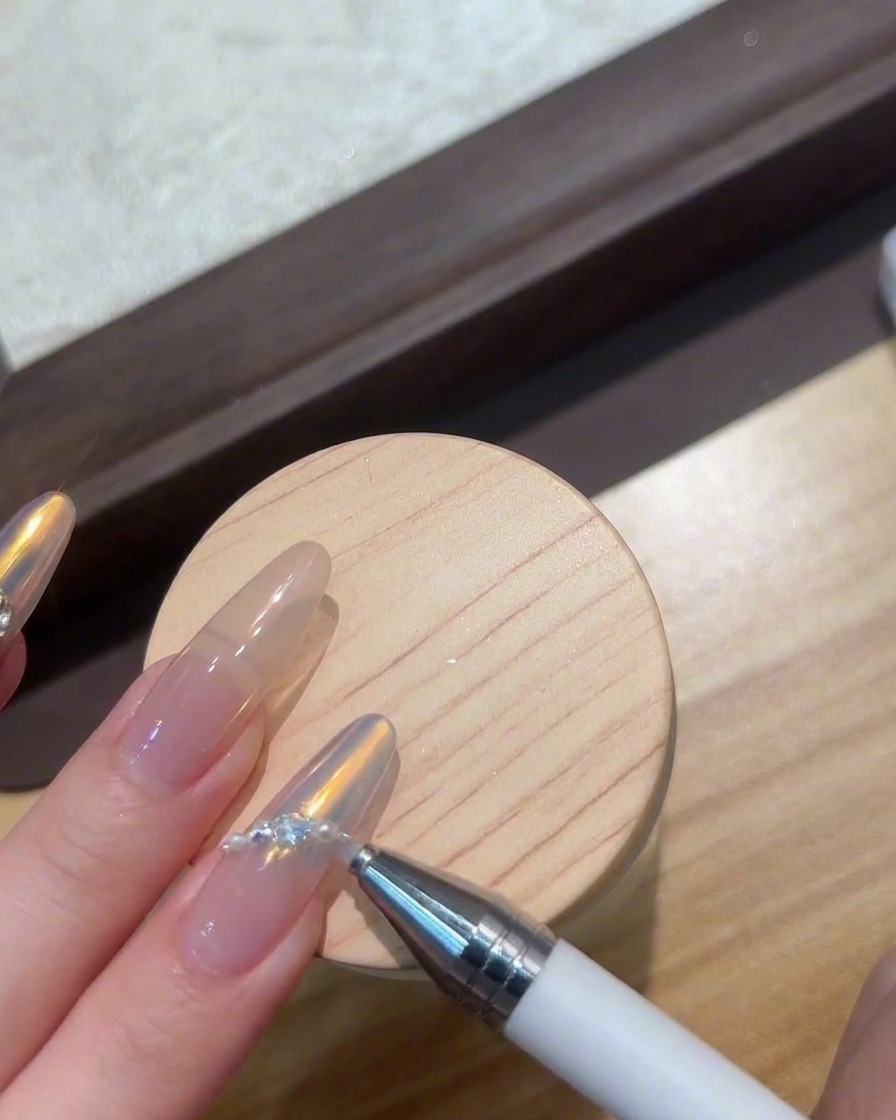
Place the hand under your UV or LED lamp to cure the gel and lock all the rhinestones and pearl clusters securely in place. Ensure the light covers all decorated fingers evenly.
Tip: Cure slightly longer than usual for heavy stone clusters to make sure the thick underlying gel sets completely underneath. - 11Apply frosted pearl butterfly charm
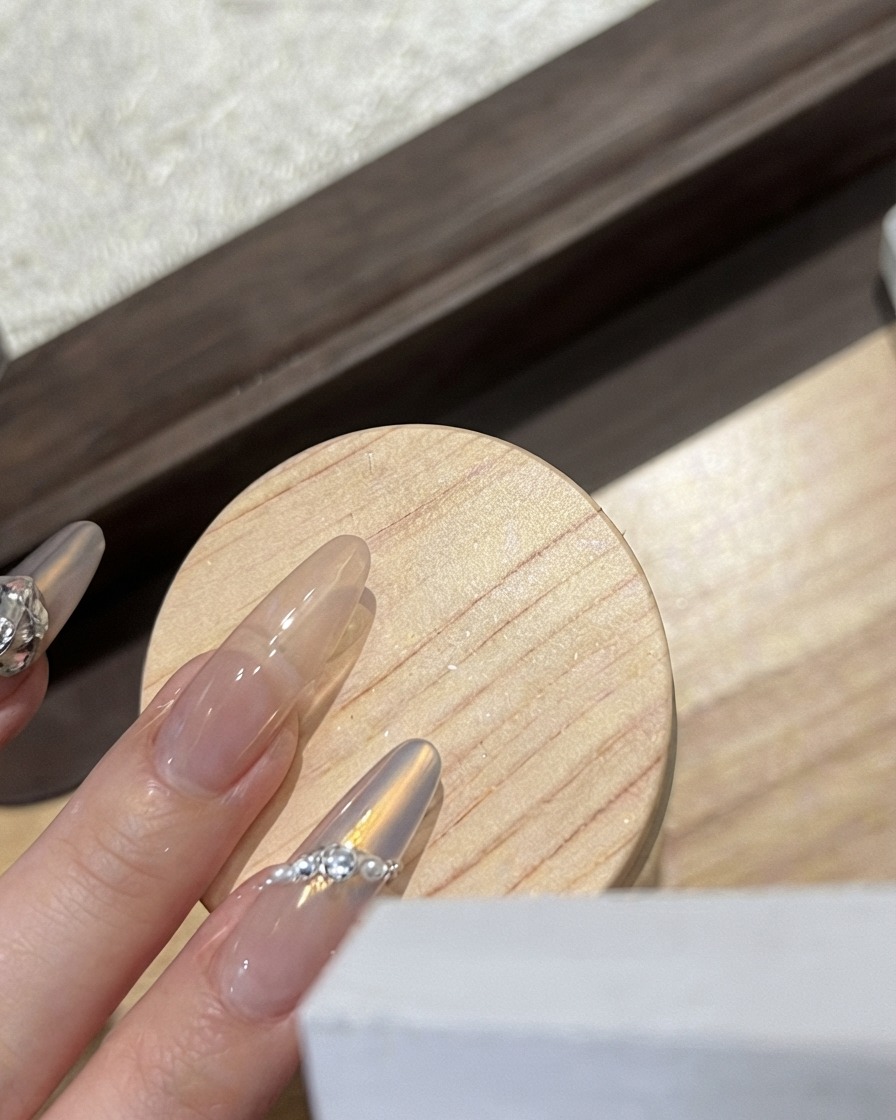
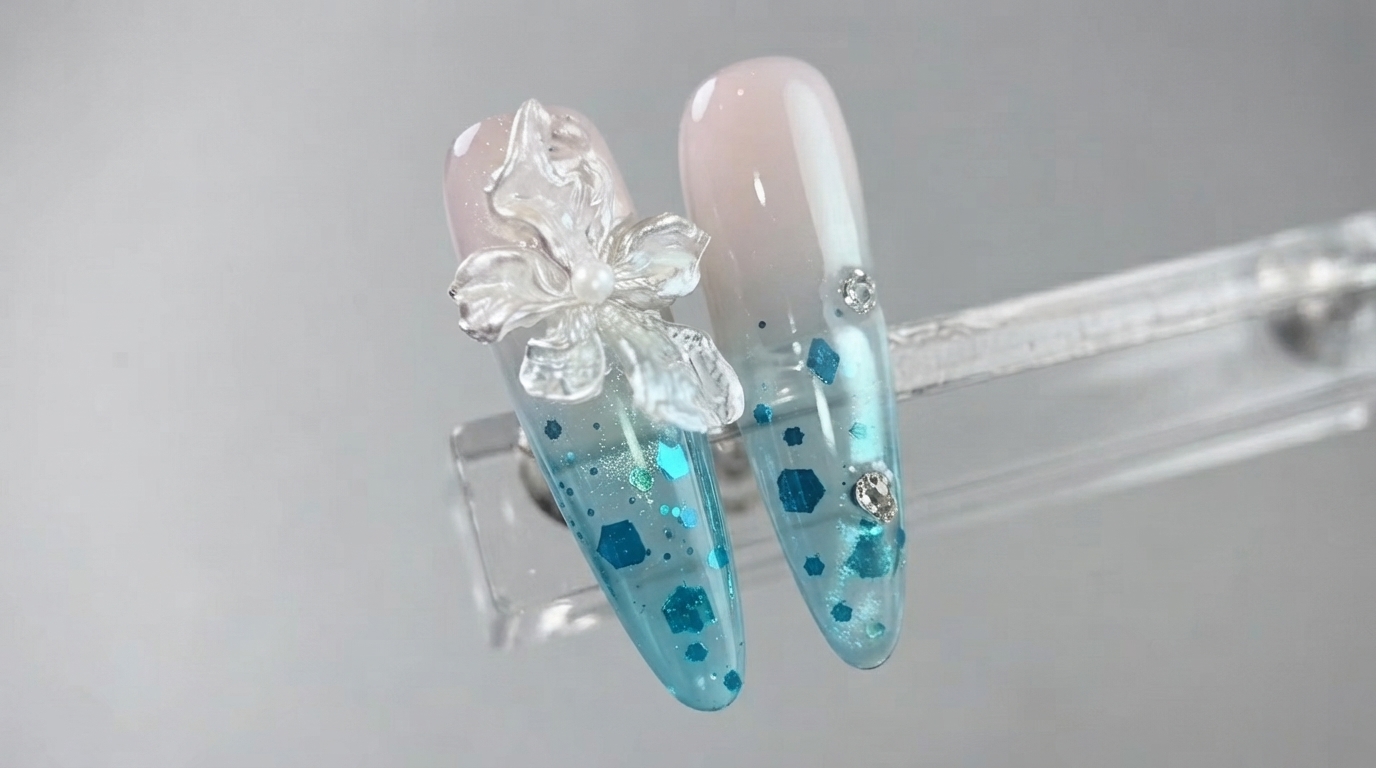
Wipe away any sticky inhibition layer as needed, then apply a small bead of placement gel to the middle finger. Carefully place the frosted pearl butterfly number 1 charm into the gel bed.
Tip: Press down gently on the center of the butterfly charm to ensure its base makes full contact with the gel adhesive. - 12Add accent rhinestone to butterfly charm
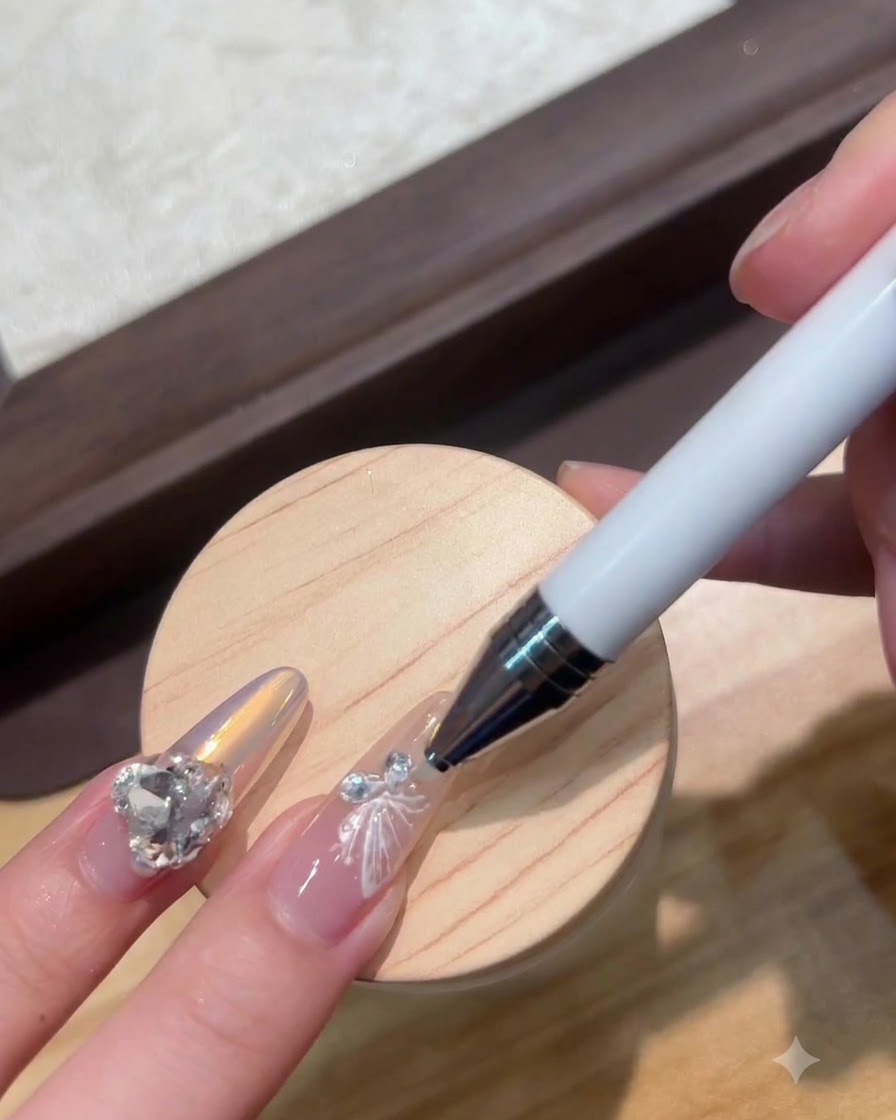
Place a flat-bottomed small rhinestone number 1 right next to the frosted pearl butterfly charm on the middle finger to complete the composition. Press it gently to secure it into the surrounding gel.
Tip: Use a fine-tipped dotting tool dipped slightly in top coat or primer to easily pick up and maneuver tiny flat-bottom stones.