Gradient Blue Crystal Flower Nail Art — Step-by-Step Tutorial
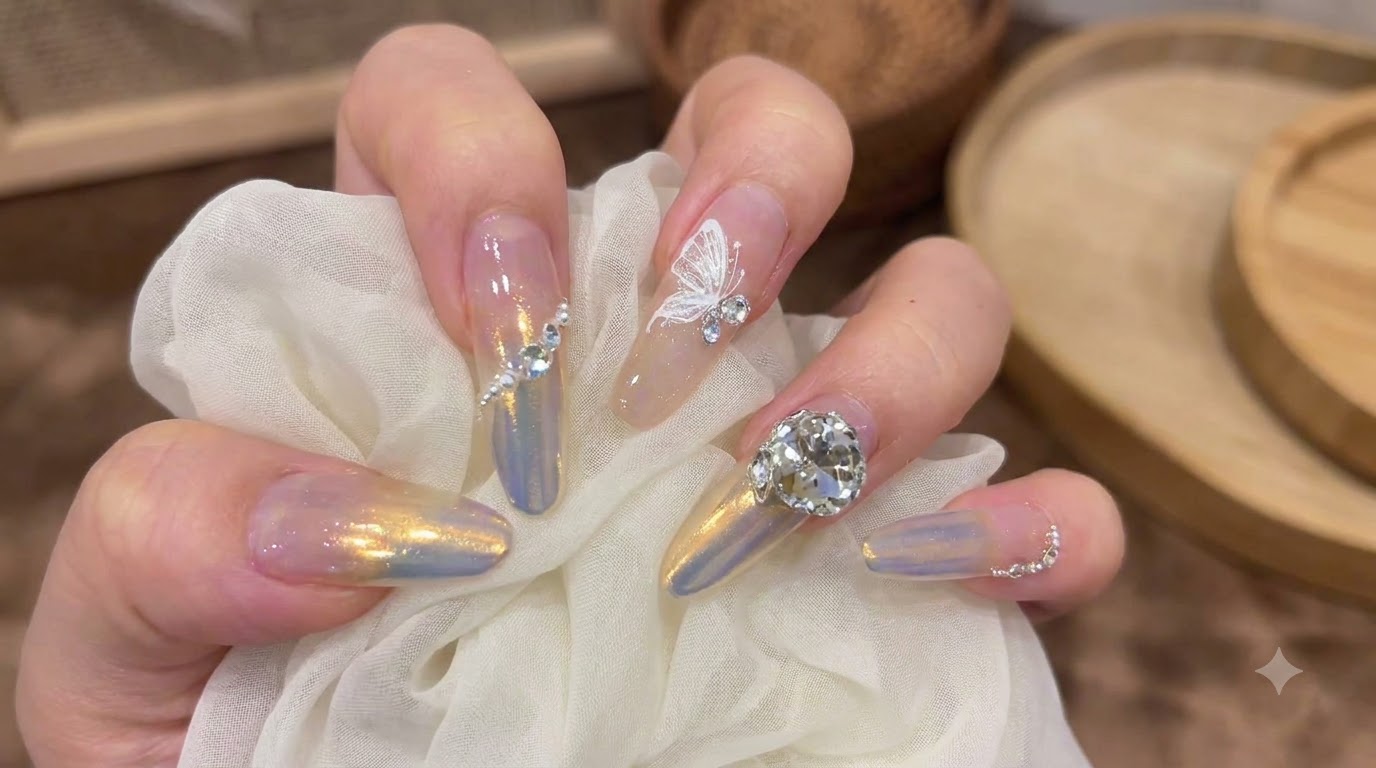
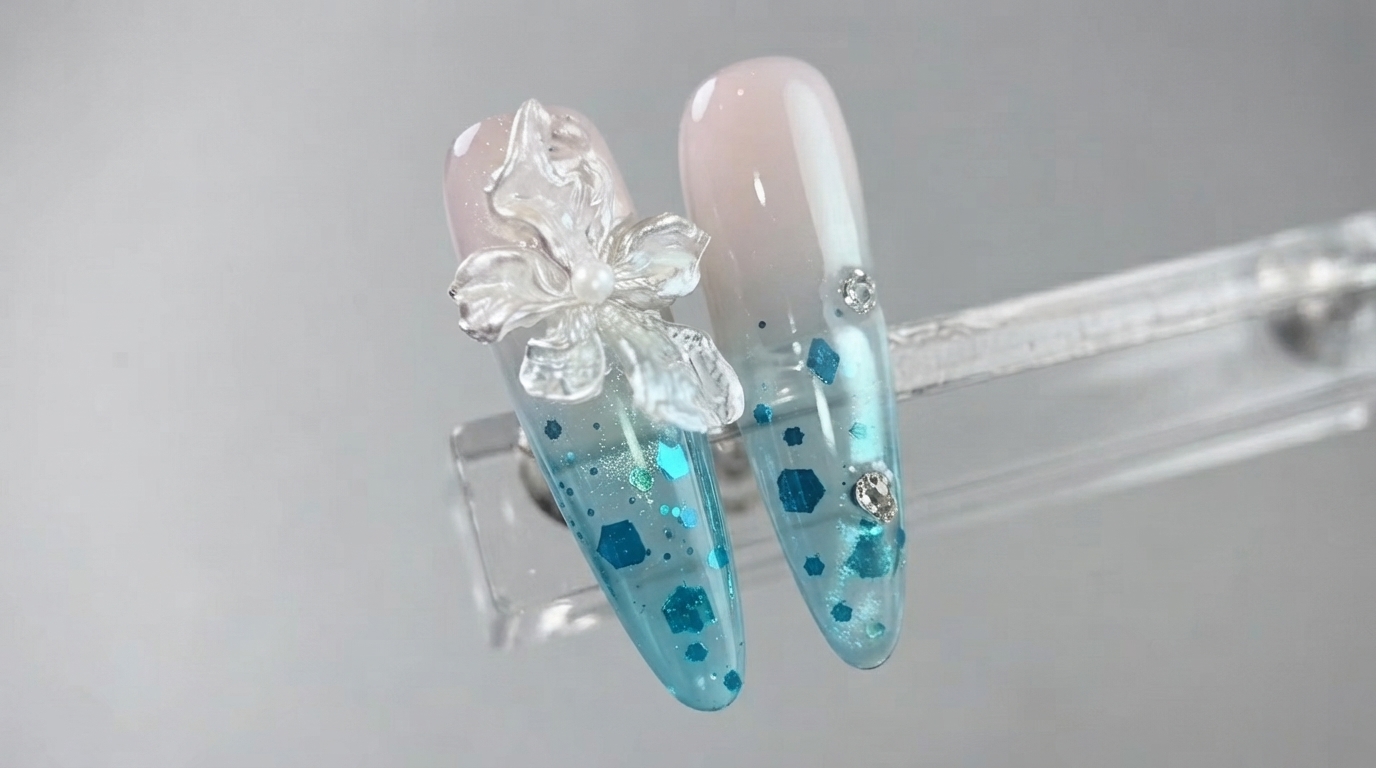
Create an exquisite gradient blue crystal flower nail design featuring 3D sculpted petals, holographic sequins, and a stunning glass bead cat-eye effect.
Dimensional floral nail art combined with ethereal blue gradients creates a breathtaking look reminiscent of frozen winter crystals. This tutorial walks you through mastering 3D gel sculpting, cat-eye magnetic placement, and encapsulation techniques to achieve a professional salon finish at home.
Steps
- 1Blend color with a sweeping brush
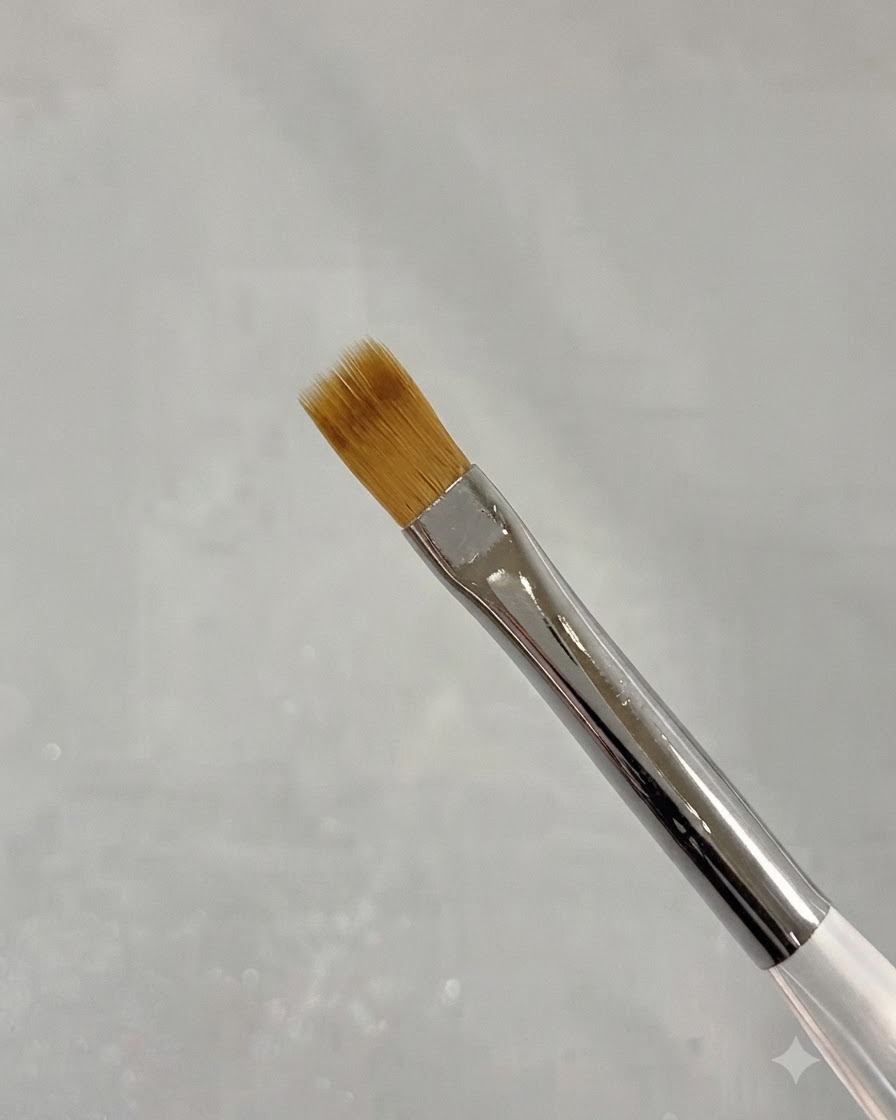
Take a very thin sweeping brush, angle it at 45 degrees, and gently brush the upper half part to make the color transition naturally and exquisitely.
Tip: Keep the brush angle consistent at 45 degrees for a smooth, seamless gradient transition. - 2Apply soft reinforcing gel
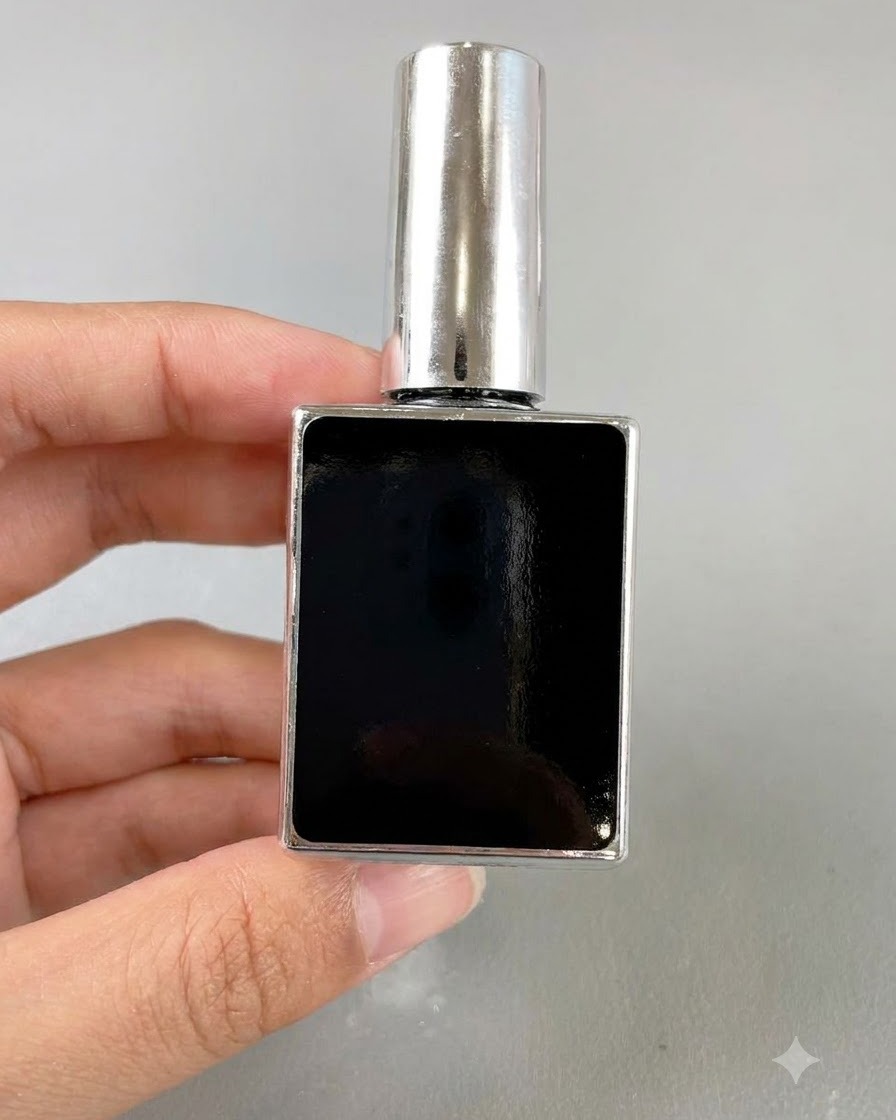
Apply a layer of soft reinforcing gel directly onto the nail surface without curing it immediately. This wet layer acts as a base adhesive layer to securely hold decorative elements like sequins or charms placed on top.
Tip: Do not cure this layer yet so that the sequins can easily embed and stay in place. - 3Apply Style Valley F25 sequins
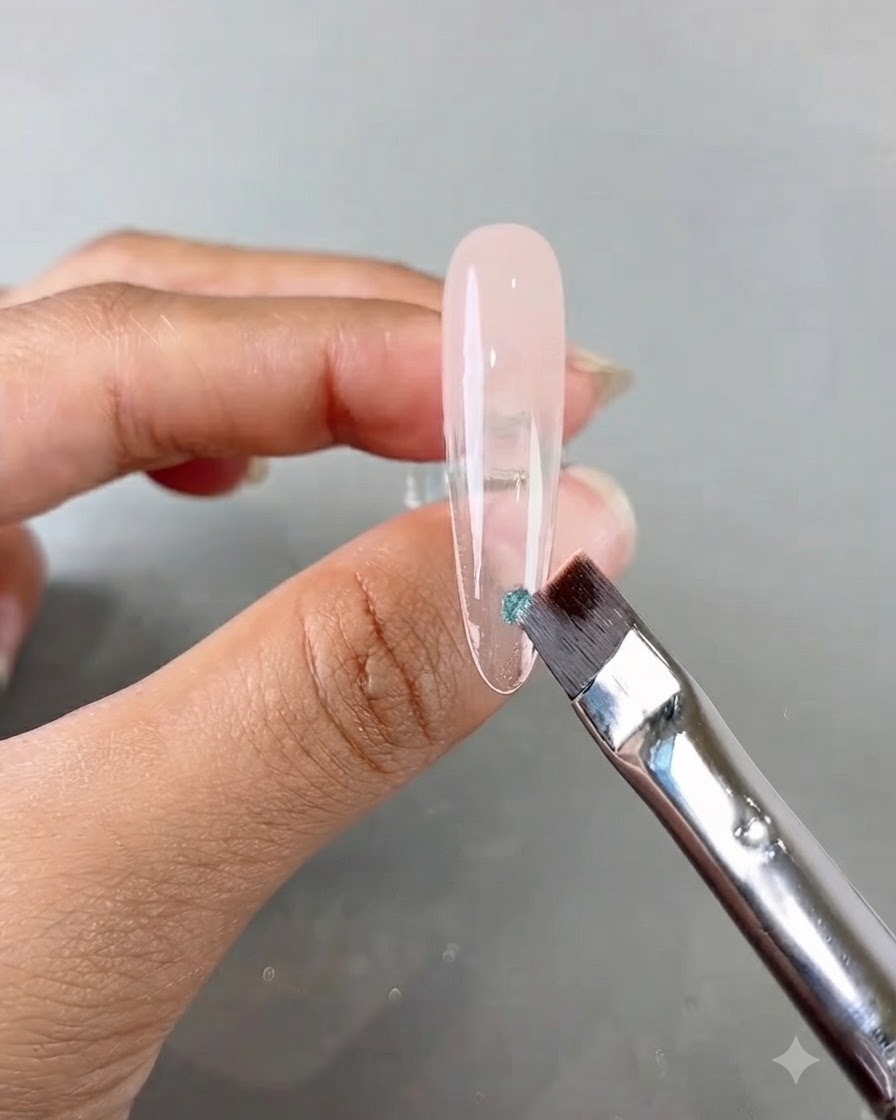
Using a brush or applicator tool, pick up Style Valley F25 sequins and place them onto the uncured soft reinforcing gel layer on the nail. Arrange them neatly across the nail bed to create a sparkling, textured design element.
Tip: Press the sequins lightly into the wet gel layer to ensure they adhere securely before curing. - 4Cure sequins and gel under lamp
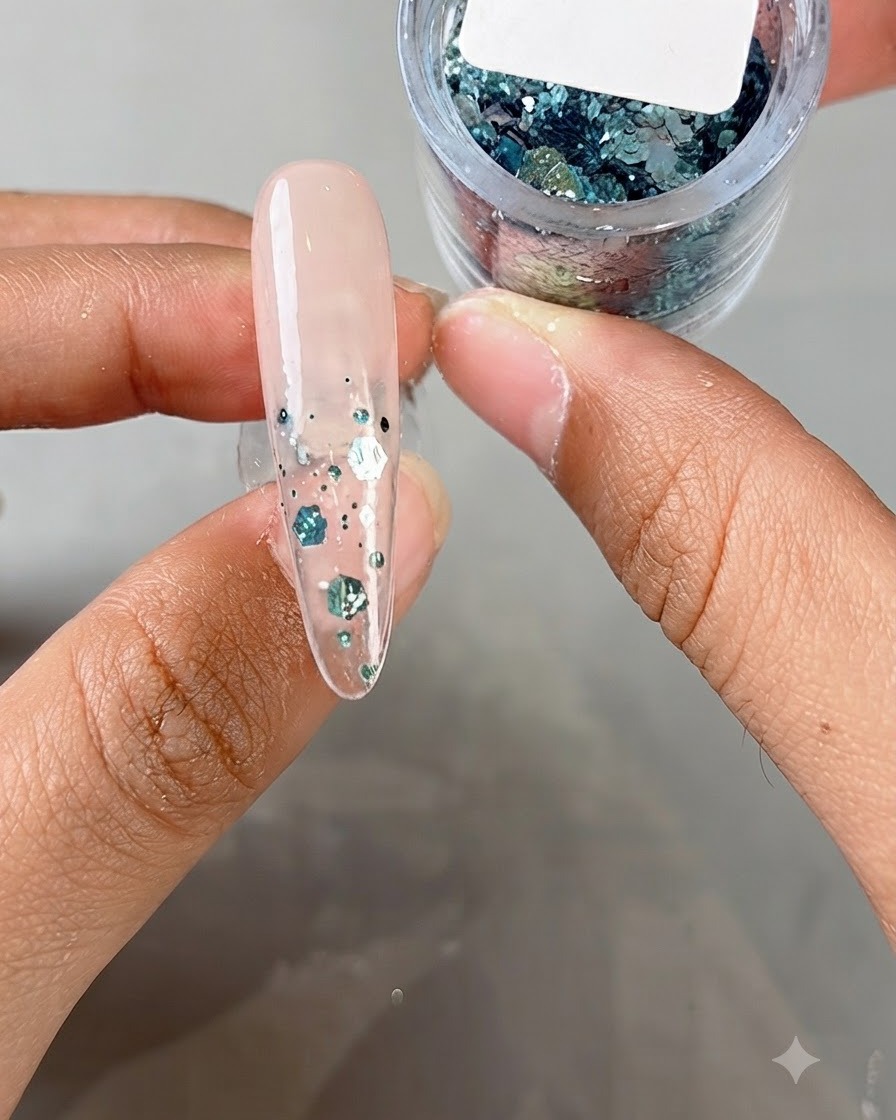
Place the nail under a UV or LED lamp to fully cure the soft reinforcing gel and lock the Style Valley F25 sequins into place. Curing ensures that all decorative elements are permanently fixed and ready for encapsulation.
Tip: Ensure the hand is positioned correctly under the lamp to cure the entire nail surface evenly. - 5Encapsulate glitter with reinforcing gel
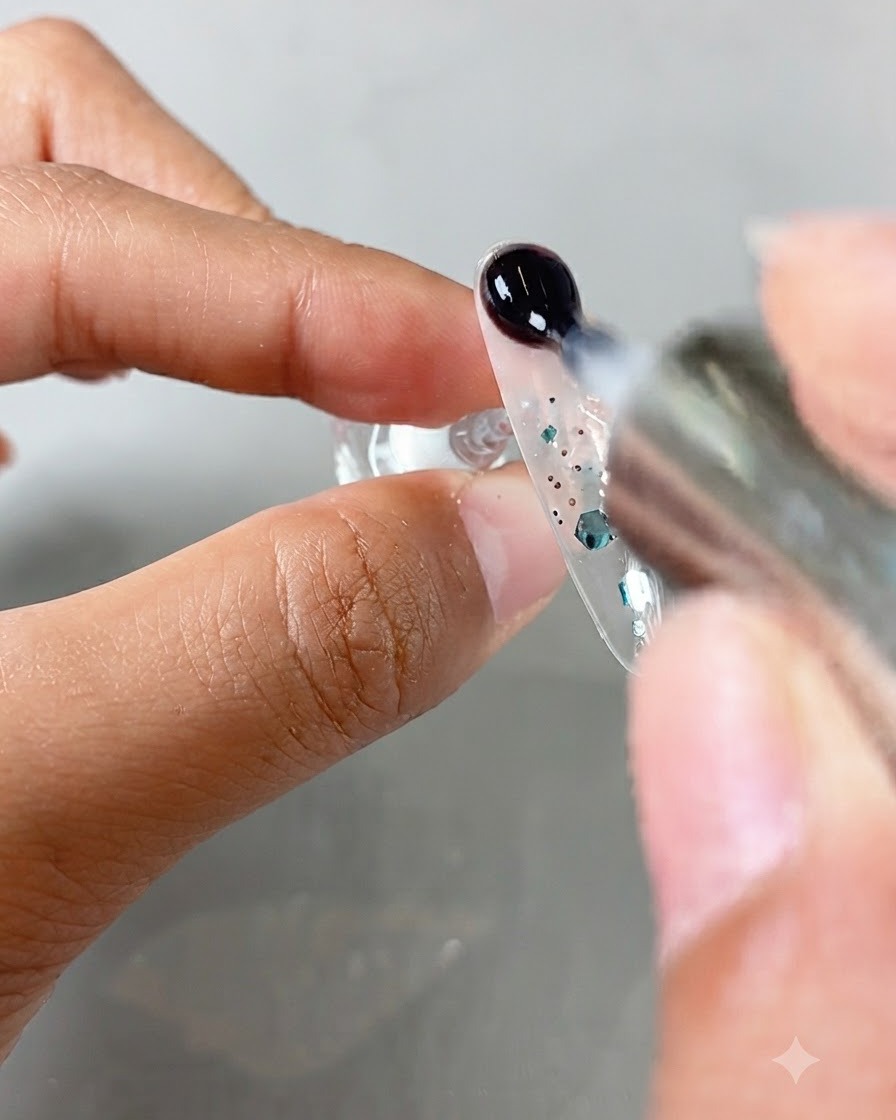
Apply another layer of soft reinforcing gel over the entire nail to encapsulate the embedded sequins. This smooths out any uneven texture caused by the glitter and adds structural strength to the nail.
Tip: Cover the sequins completely to ensure a smooth surface for subsequent filing and shaping. - 6Wipe the sticky layer
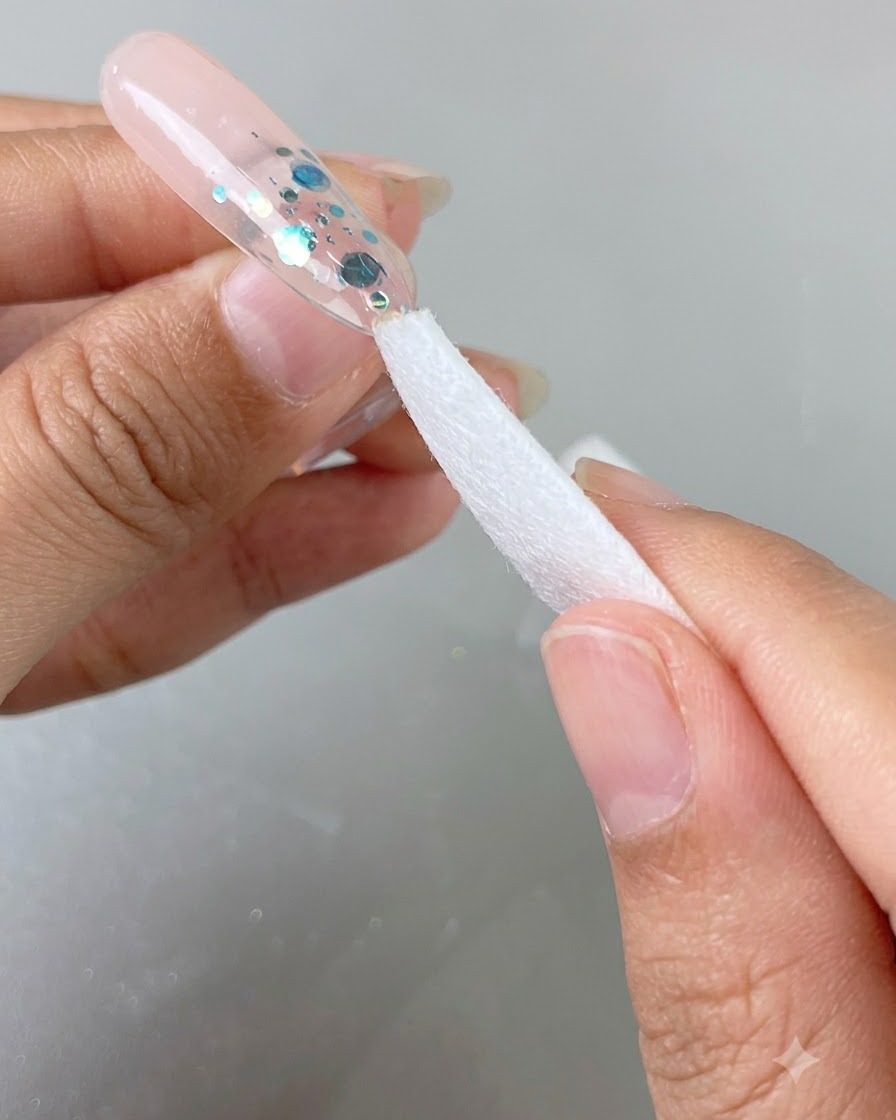
After curing the reinforcing gel wrap under the lamp, take a lint-free cleanser wipe to thoroughly remove the sticky inhibition layer from the nail surface.
Tip: Ensure the sticky layer is completely removed so the surface is clean and ready for filing. - 7Smooth raised areas with a file
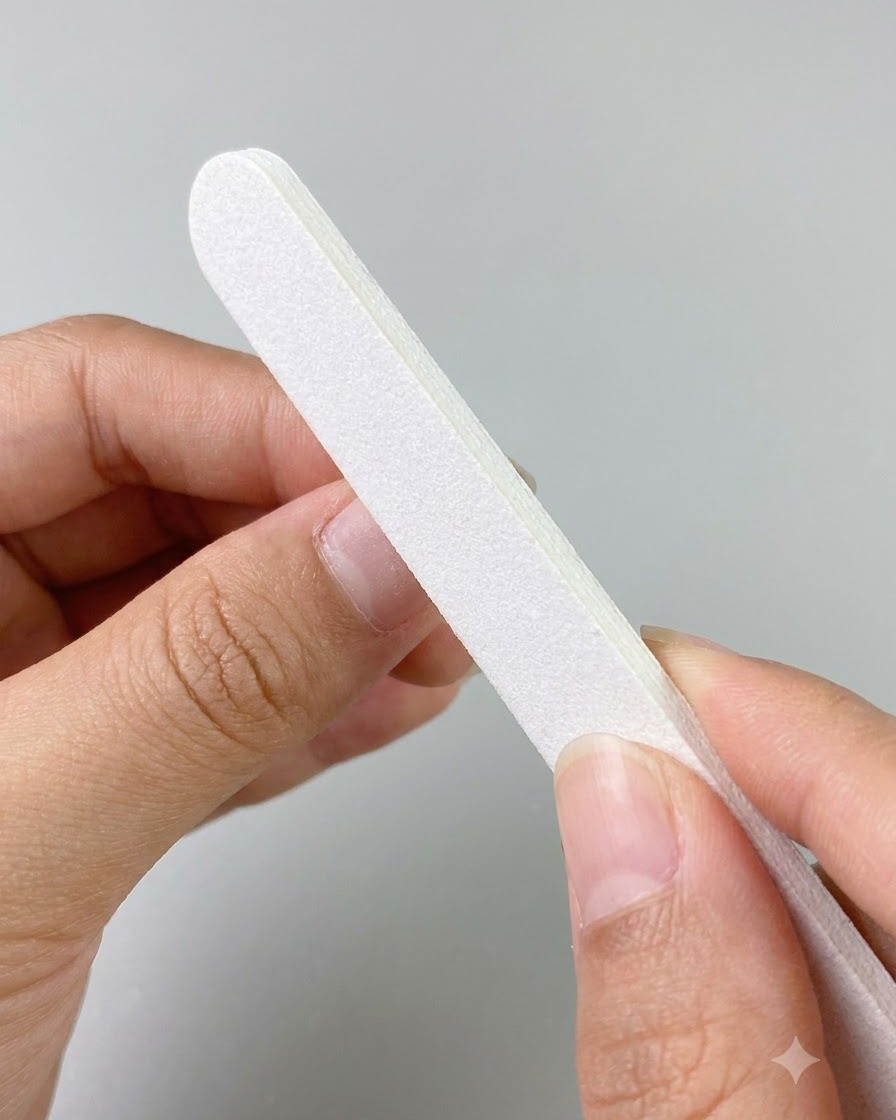
Use a sand file to gently smooth out any raised places on the nail surface, grinding them flat and even.
Tip: File with gentle, even pressure to avoid thinning out the gel layer underneath. - 8Apply clear white water cat eye gel
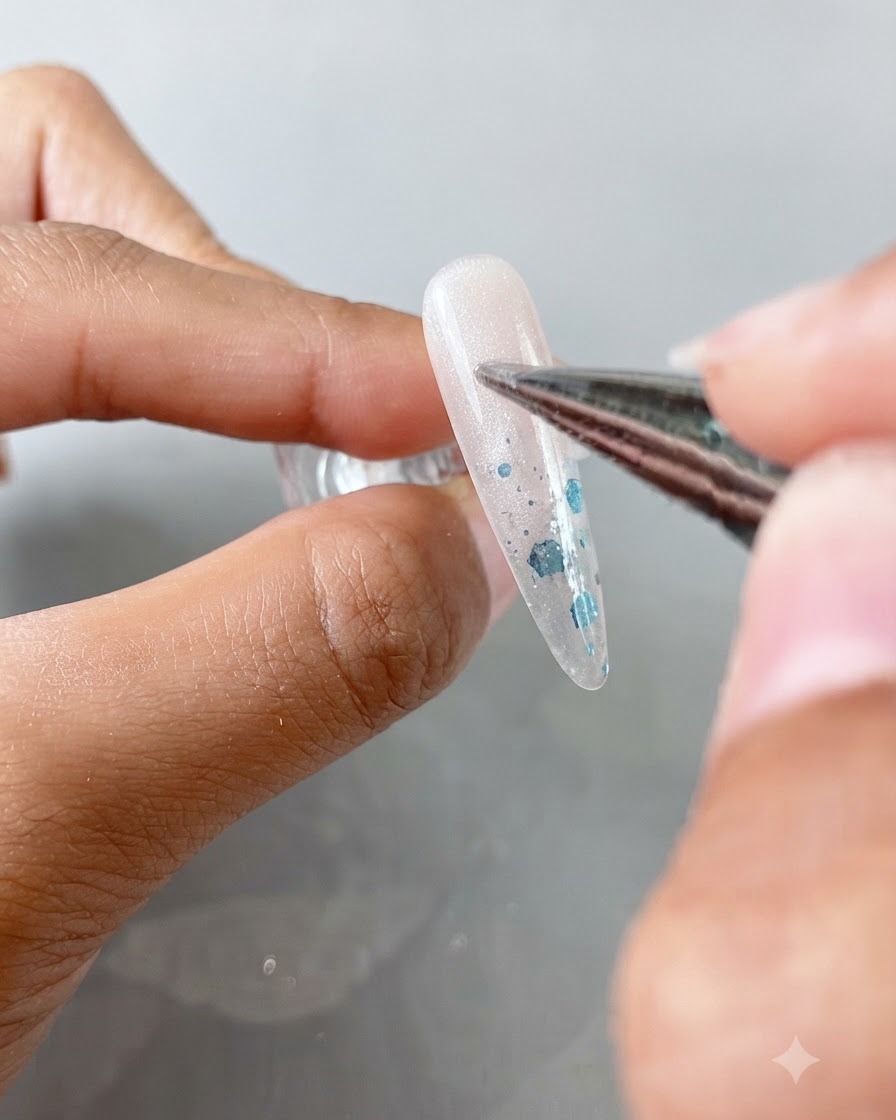
Apply a layer of clear white water no. 2 cat eye gel evenly across the nail surface before using a magnet to create the desired effect.
Tip: Apply an even coat to ensure the magnetic pigment distributes uniformly. - 9Create the glass bead cat-eye effect
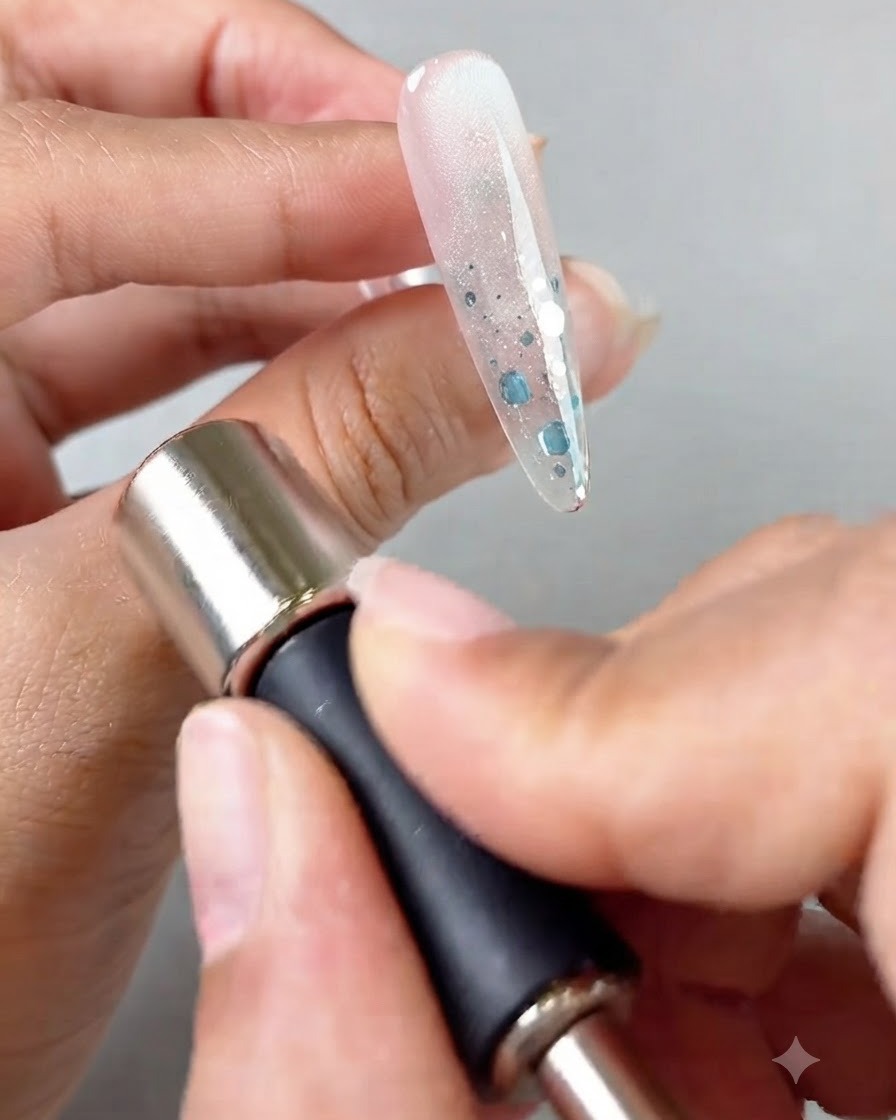
Take the magnetic wand and hold it around the nail to draw out the magnetic particles into a stunning glass bead effect, making it look bright and beautiful.
Tip: Hold the magnet steady close to the surface until the desired cat-eye beam forms sharply. - 10Apply high-transparent crystal gel to the front edge
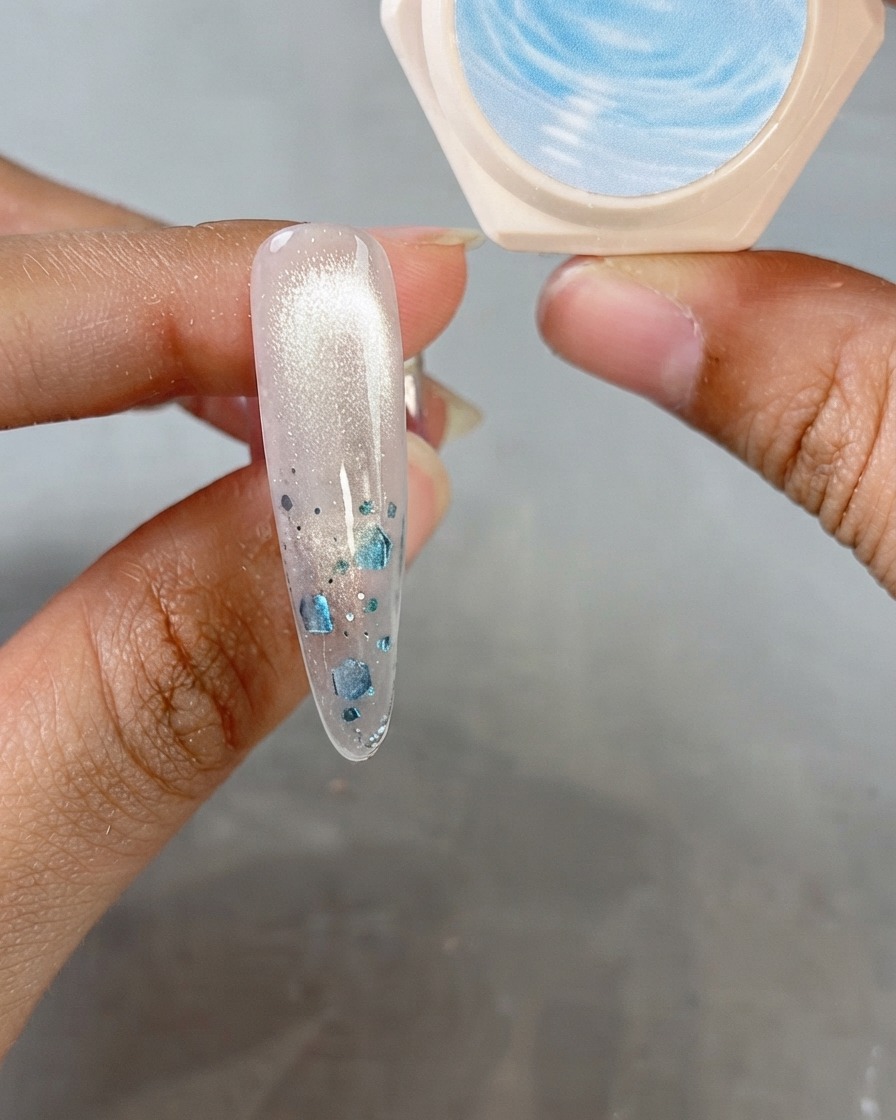
The front edge uses high-transparent crystal no. 1 to color, then continue to use the sweeping brush to make a gradient effect, creating a very natural and elegant finish.
Tip: Keep the application thin near the tip transition to maintain a natural gradient look. - 11Blend blue color for gradient effect
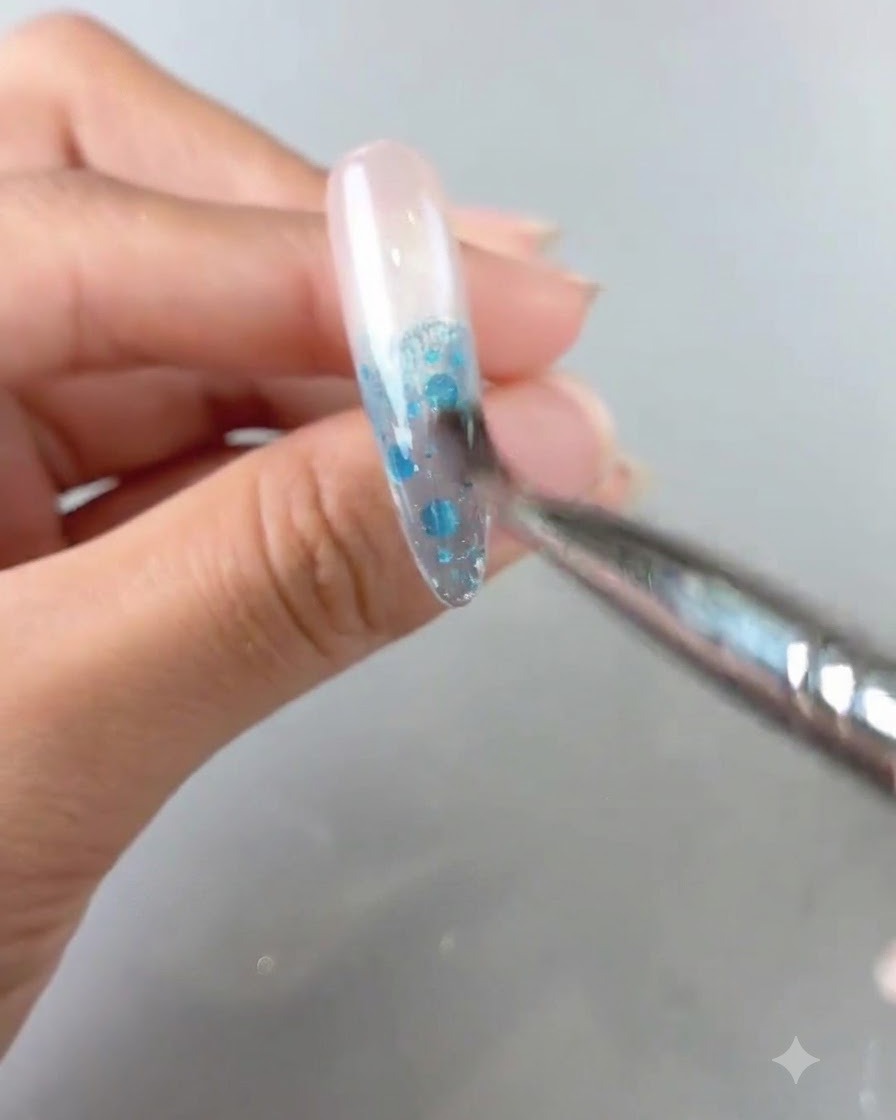
Take a fine sweeping brush to gently blend the blue pigment or glitter along the upper half of the nail, creating a soft, natural, and seamless gradient effect.
Tip: Keep your brush strokes light and feathery to avoid harsh lines in the color transition. - 12Prepare transparent carving flower gel
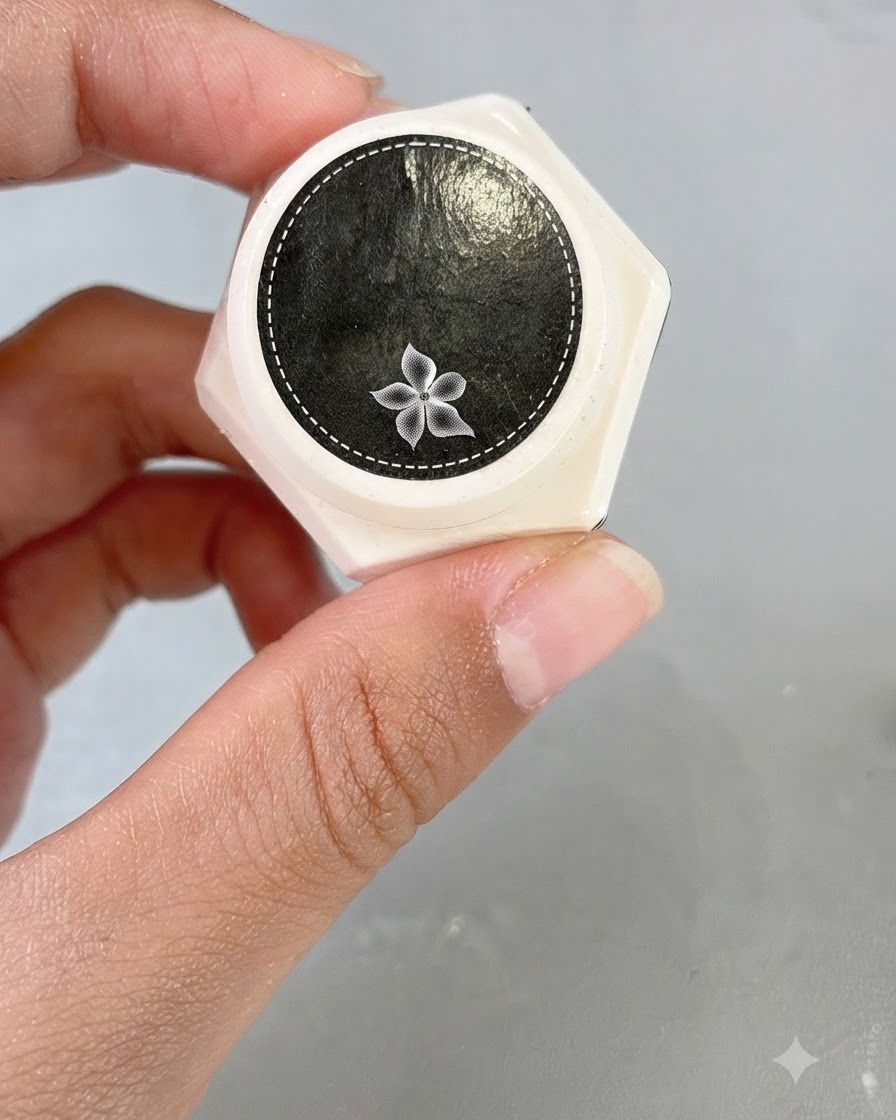
Scoop a small lump of transparent carving flower gel onto your hand tool or palm, then press and flatten it back and forth to shape it into petal or leaf forms.
Tip: Vary the size of your pressed petals so the final floral arrangement looks organic and exquisite. - 13Apply and shape 3D petals on the nail
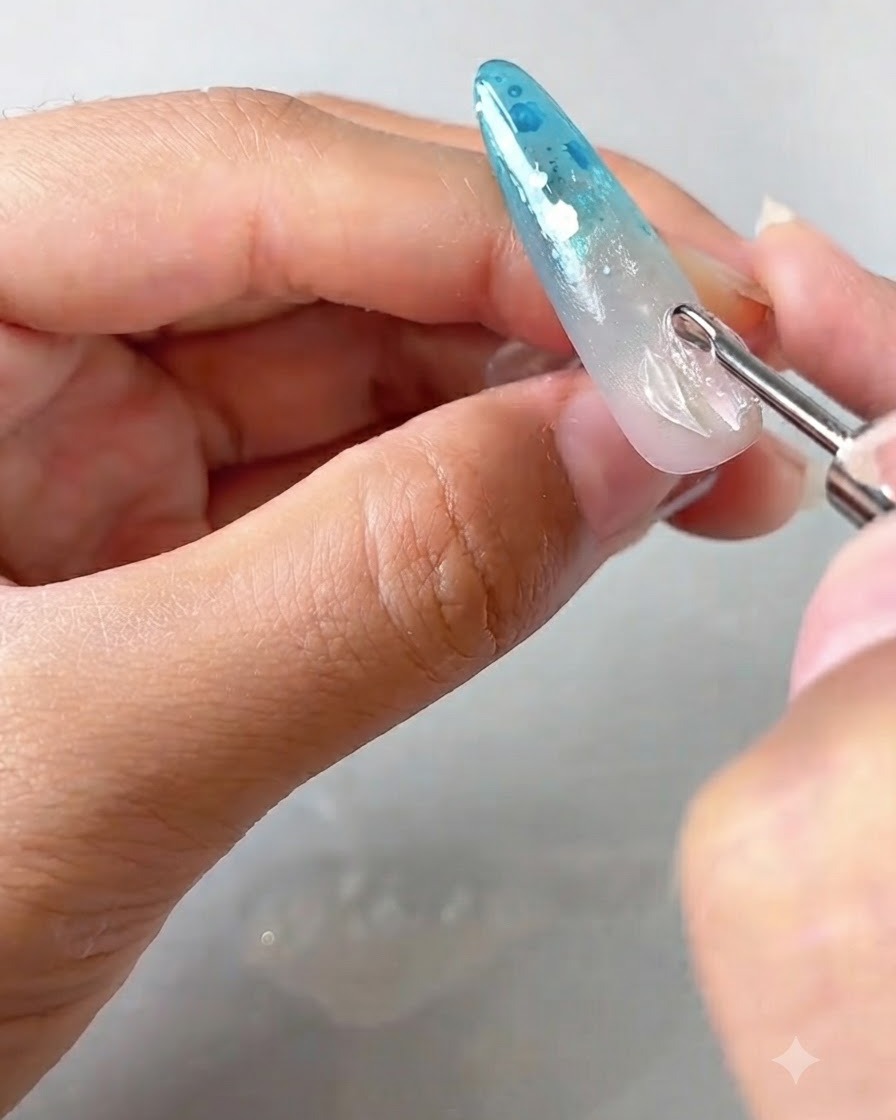
Transfer the pressed petal shape onto the nail surface, and use a specialized tool to push the edges upward, creating a distinctive three-dimensional sculpted effect.
Tip: Gently lift the outer edges while keeping the base anchored to the nail to maintain structural stability. - 14Carve crushed ice texture on petals
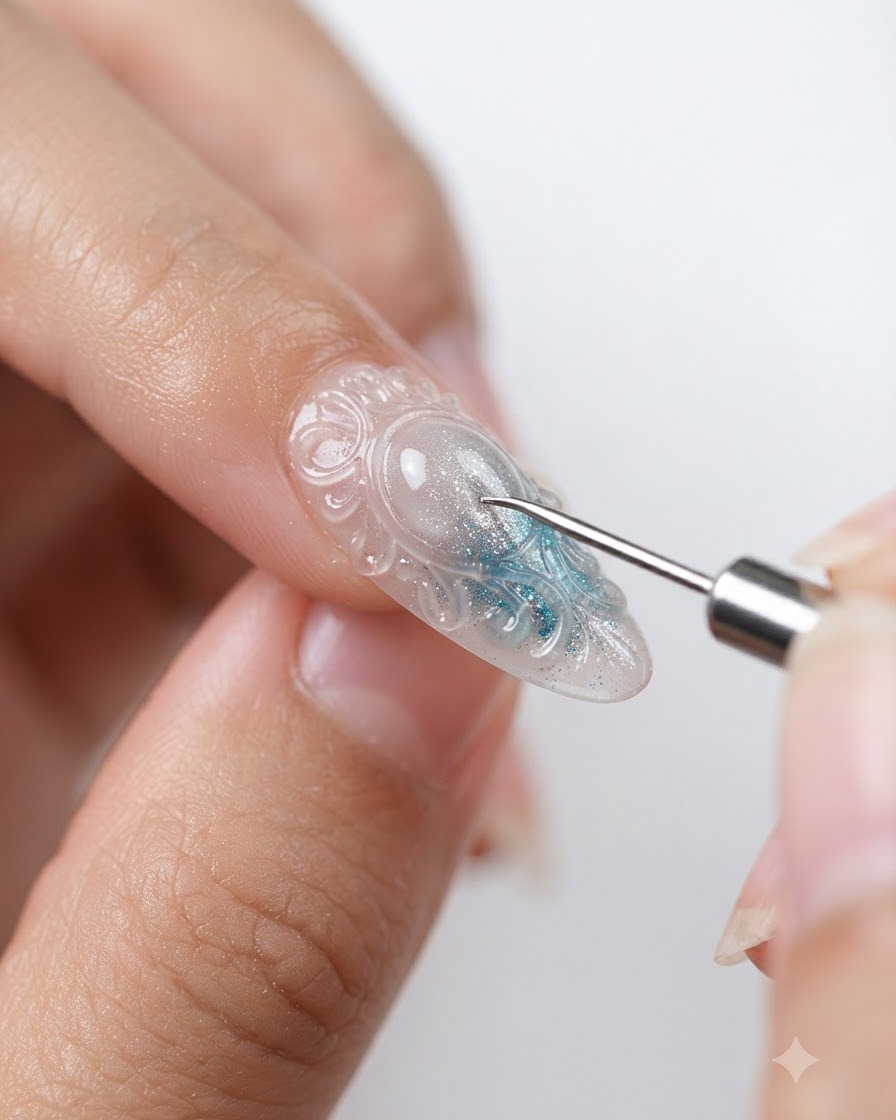
Switch to a silicone tool stick to poke and texture the sculpted petals, giving them a sparkling, shattered-ice appearance that adds depth and intricate detail.
Tip: Work quickly while the gel is pliable to imprint crisp, faceted lines into the 3D flower. - 15Build additional flower petals
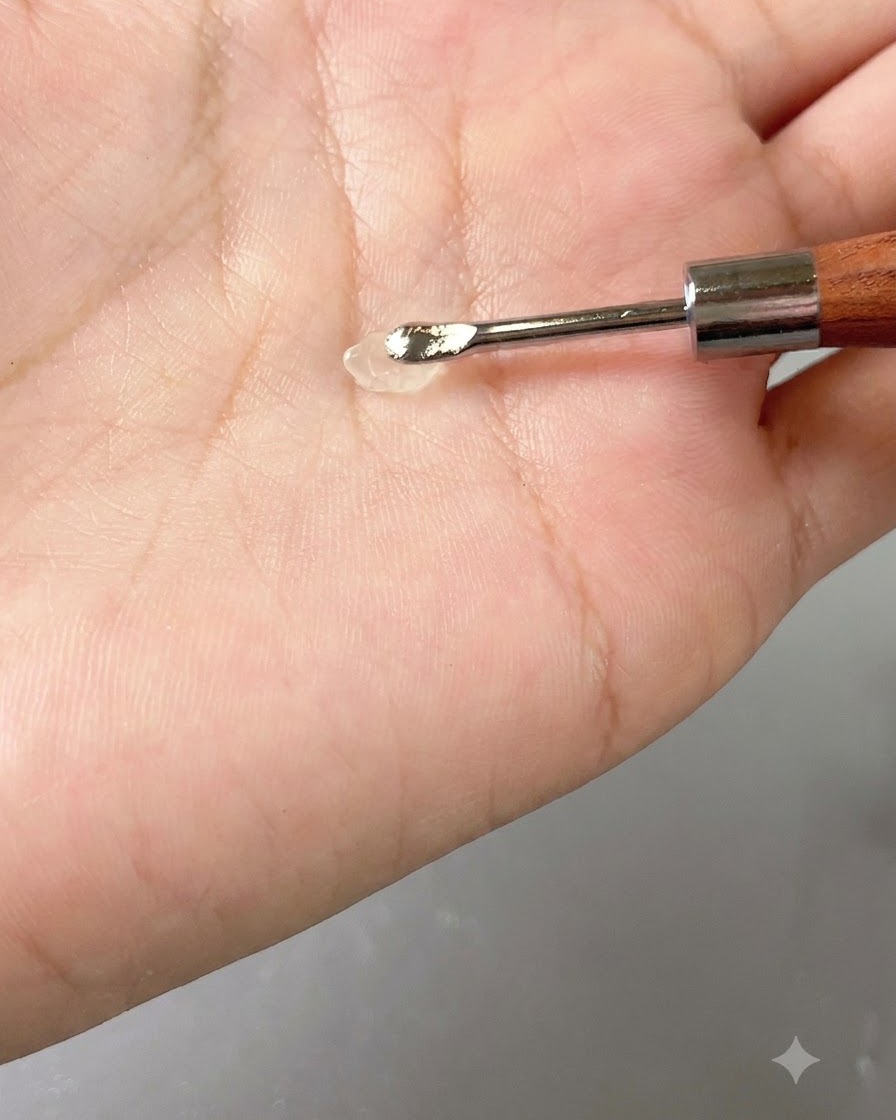
Gather another small amount of transparent carving gel on your tool from the palm surface to form more petals, ensuring they vary in size for a lively, realistic floral cluster.
Tip: Varying petal sizes avoids a rigid, uniform look and enhances the overall elegance of the nail art. - 16Apply blooming liquid for frost crystal effect
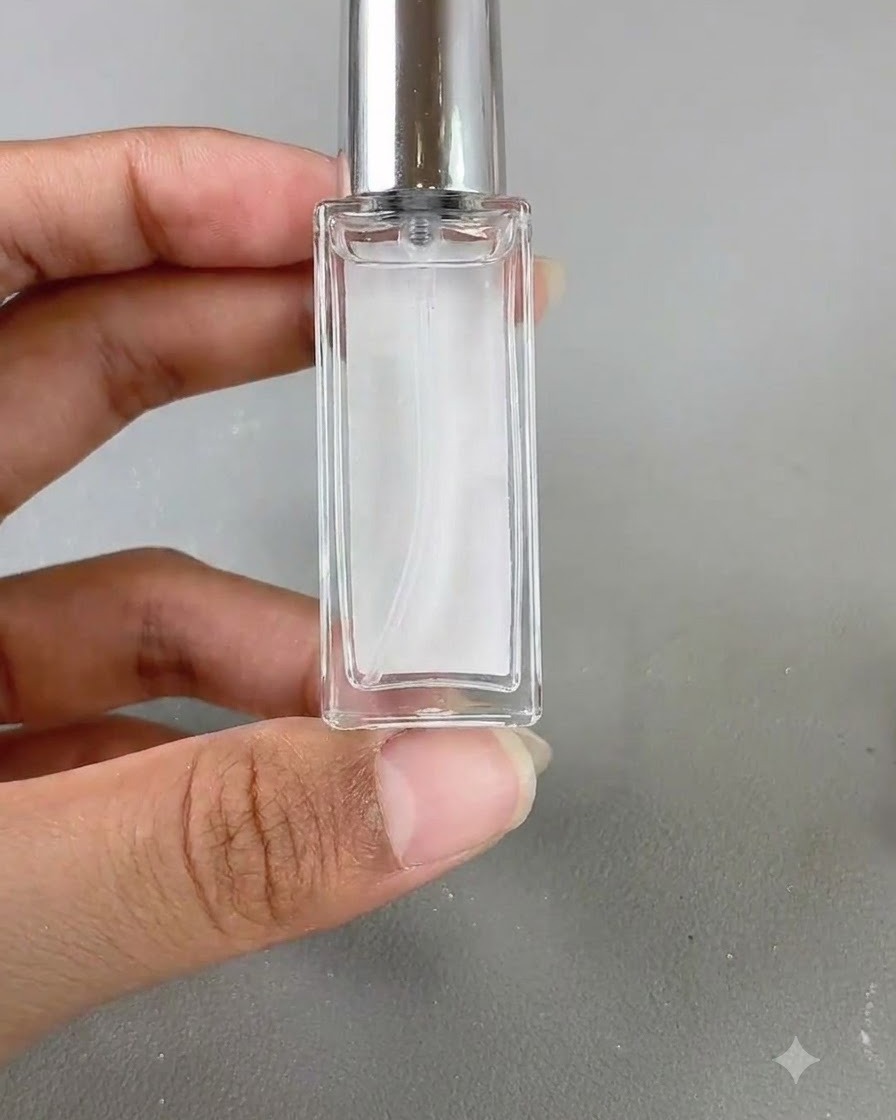
Brush Style Valley blooming liquid no. 3 across the sculpted flower petals, allowing it to bloom and impart a shimmering frost crystal texture over the 3D design.
Tip: Apply an even coat so the blooming liquid settles into the carved crevices for maximum crystal dimension. - 17Attach the pearl pistil
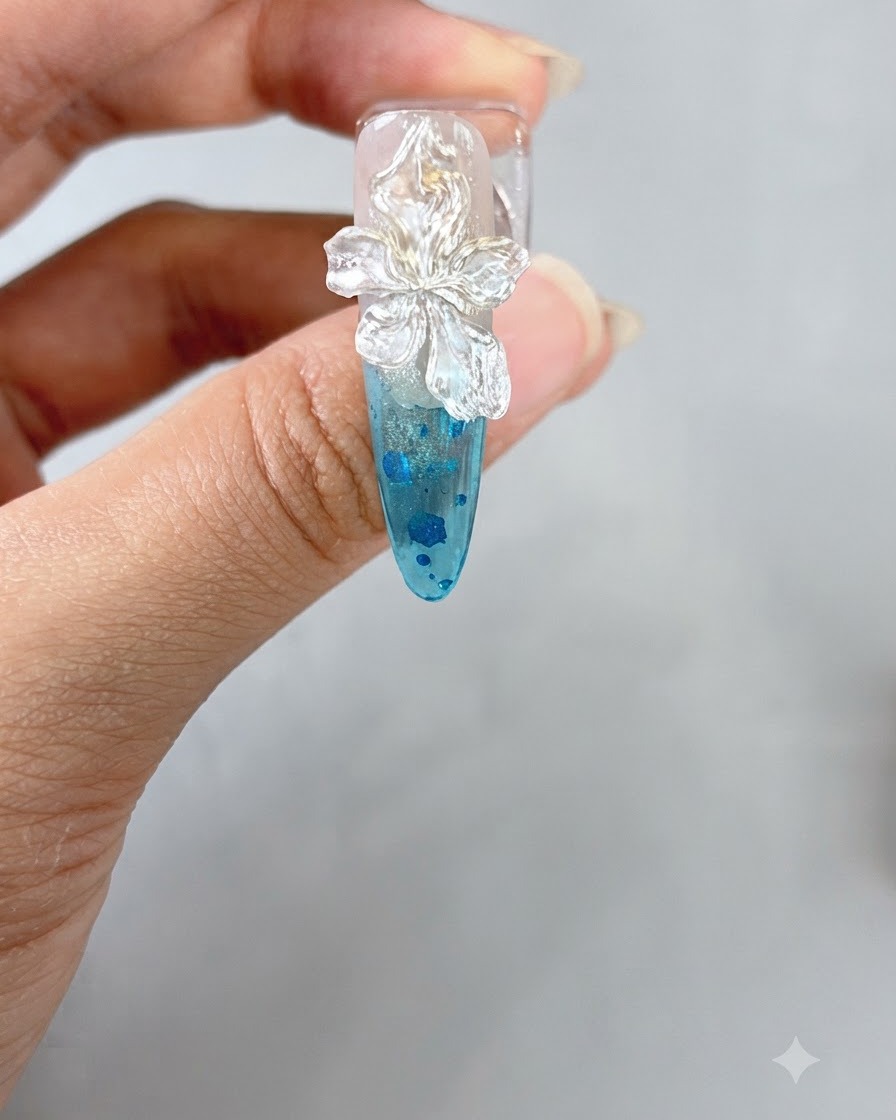
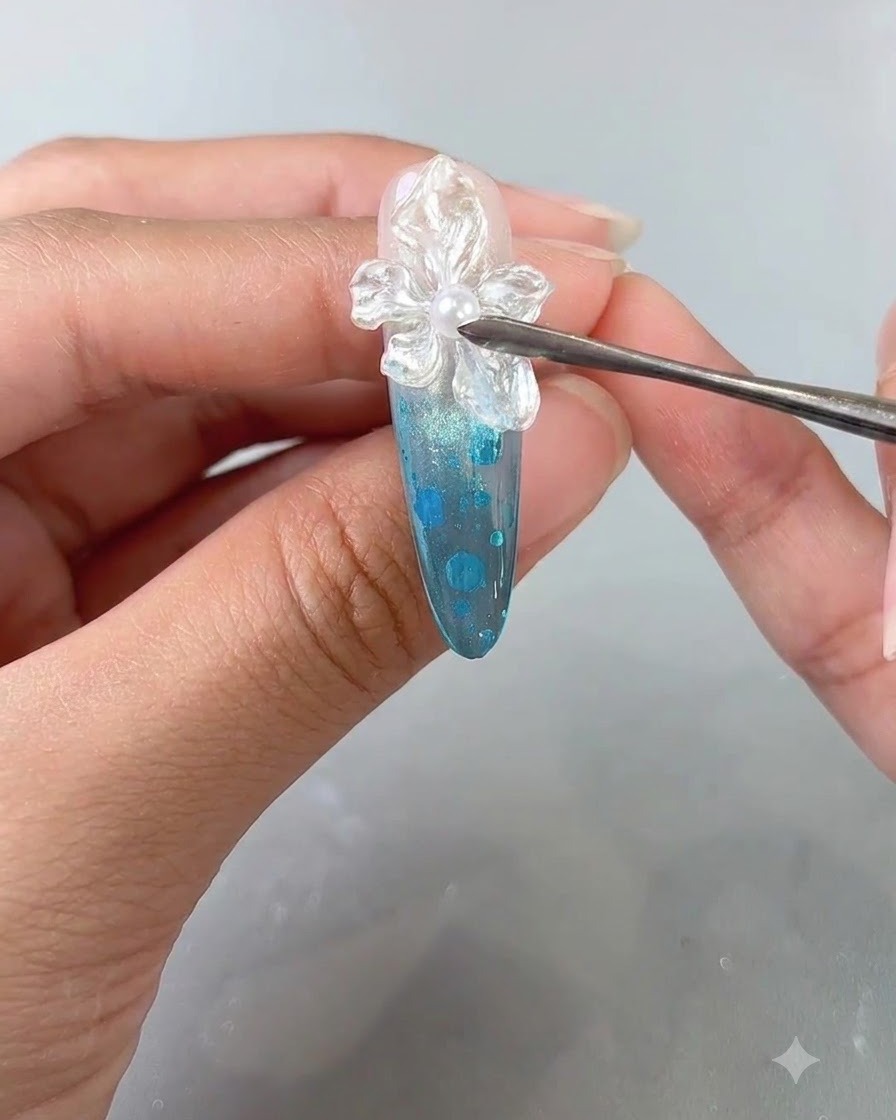
Using a pair of precision tweezers, pick up a small pearl and carefully place it right onto the center of the sculpted flower to serve as the pistil. Press it gently into the uncured or tacky gel surface to ensure it stays securely in place before curing.
Tip: Use fine-tipped tweezers for better placement control so the pearl lands precisely in the center of the flower. - 18Apply Top Coat
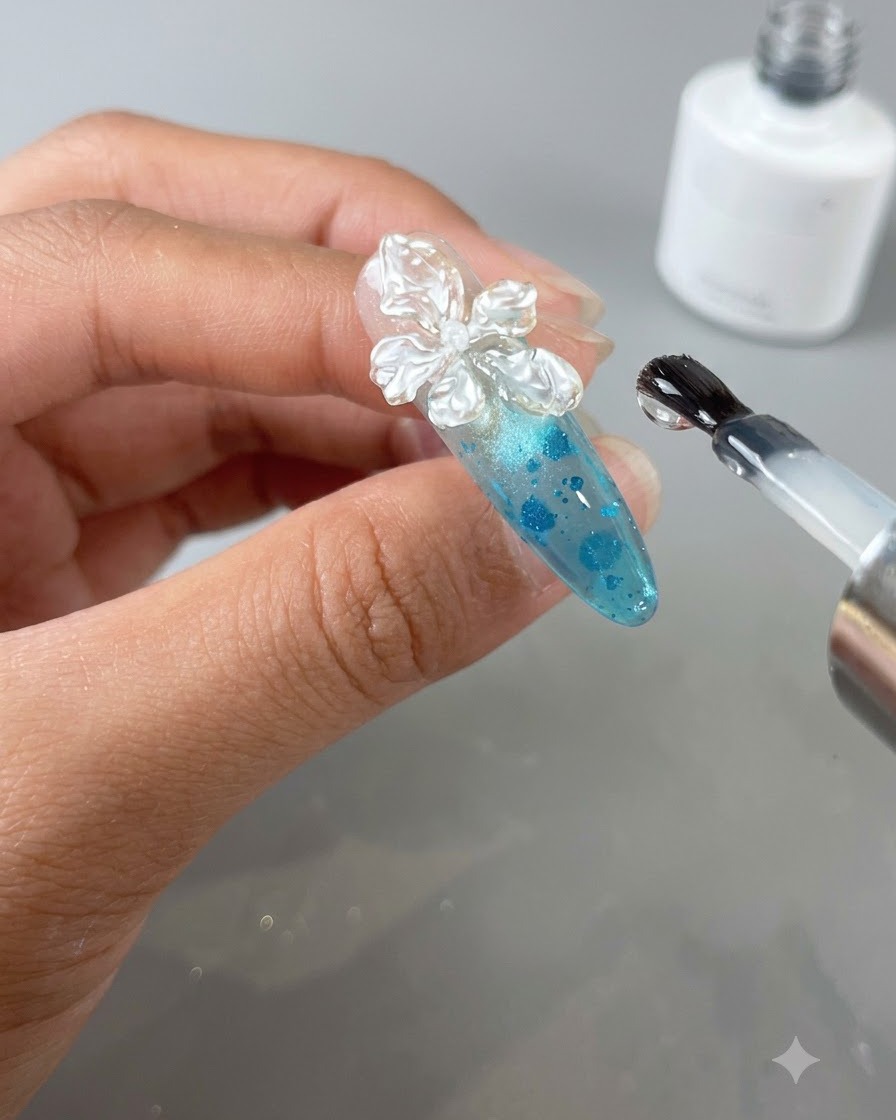
Apply a smooth layer of top coat over the entire decorated nail to seal the nail art, pearls, and stones securely. Make sure to cap the free edge completely to prevent lifting or catching on clothing, then cure under the lamp to finish.
Tip: Ensure the top coat thoroughly encapsulates around the base of the pearl and stones so they do not fall off easily. - 19Cure under the lamp
Place the completed nail under your UV or LED lamp and cure for the full recommended time to harden the top coat. This locks in the high-gloss shine and protects the entire nail art design.
Tip: Make sure your hand is positioned correctly inside the lamp so light reaches every angle of the curved nail surface.