Autumn Aesthetic Golden Sand Jade Nails — Step-by-Step Tutorial
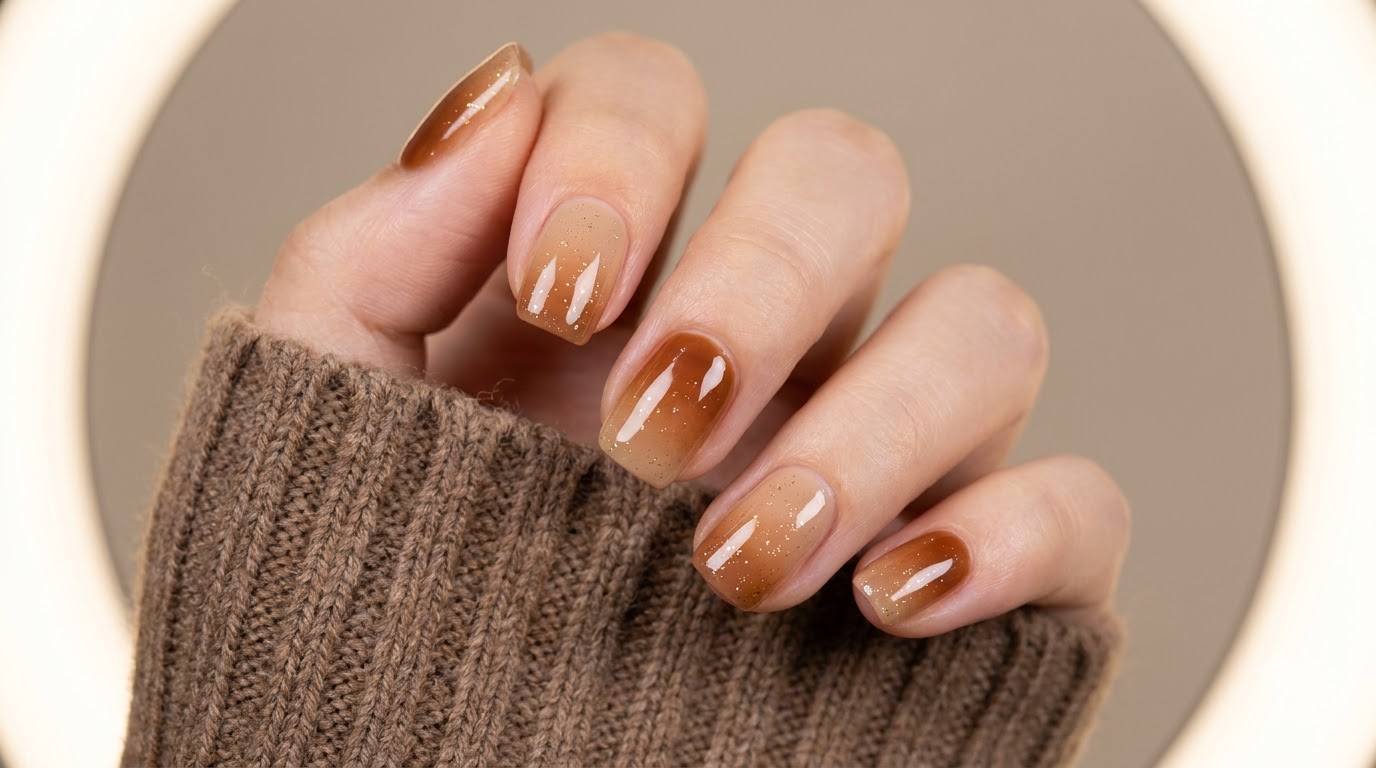
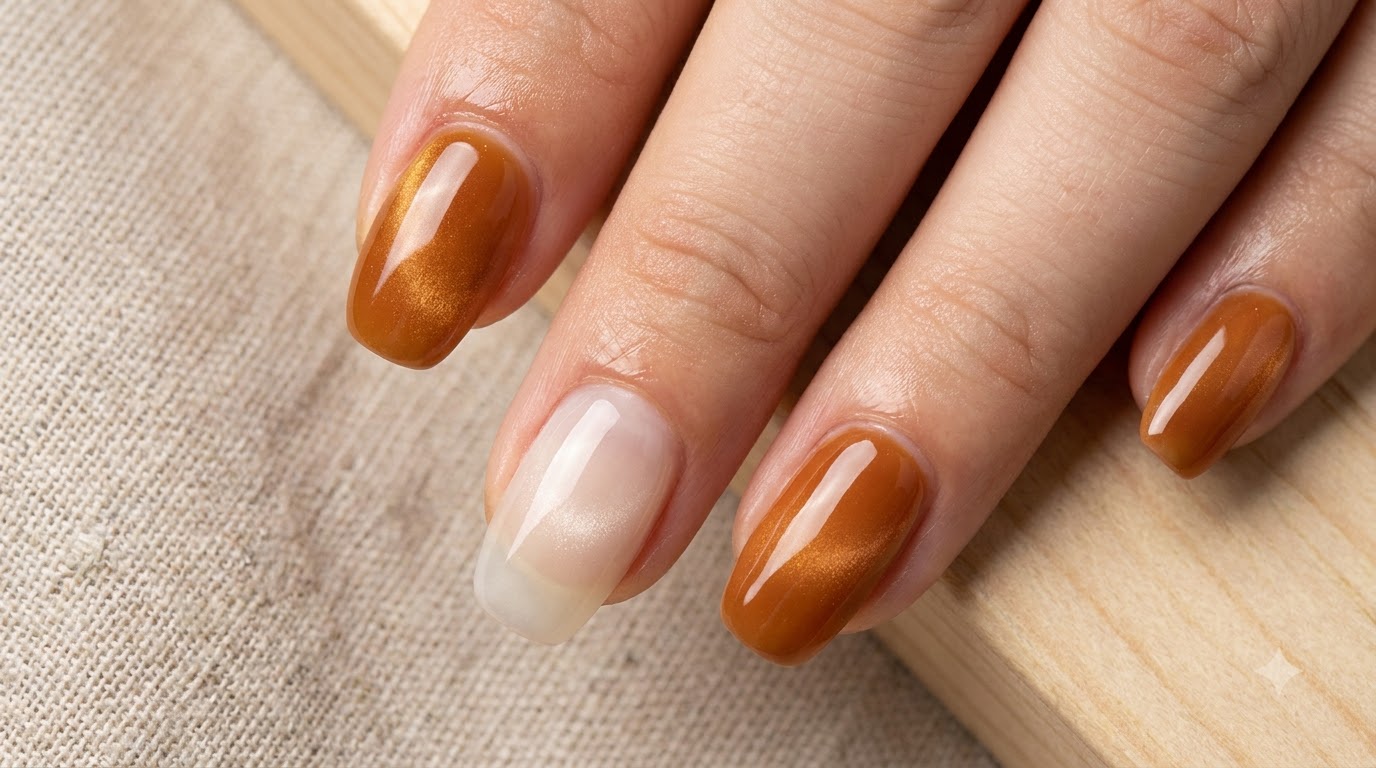
Discover how to create dreamy golden sand jade autumn nails featuring milky white bases, amber watercolor marbling, and shimmering gold foil details.
Embrace the warmth of autumn with this stunning golden sand jade nail look. Combining translucent milky bases, rich caramel watercolor swirls, and delicate wispy white textures, this design captures the serene yet luxurious feel of shifting desert dunes touched by molten gold.
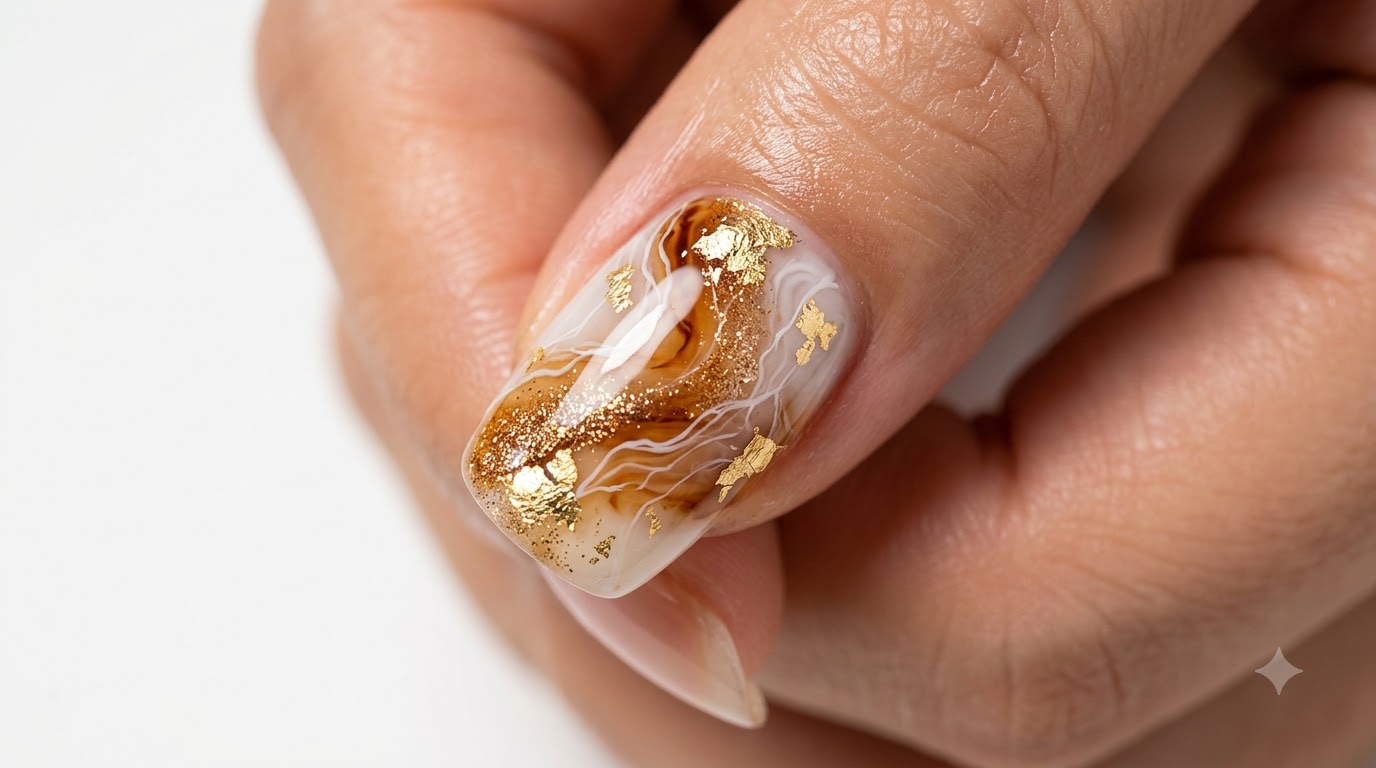
Steps
- 1Apply milky white base coat
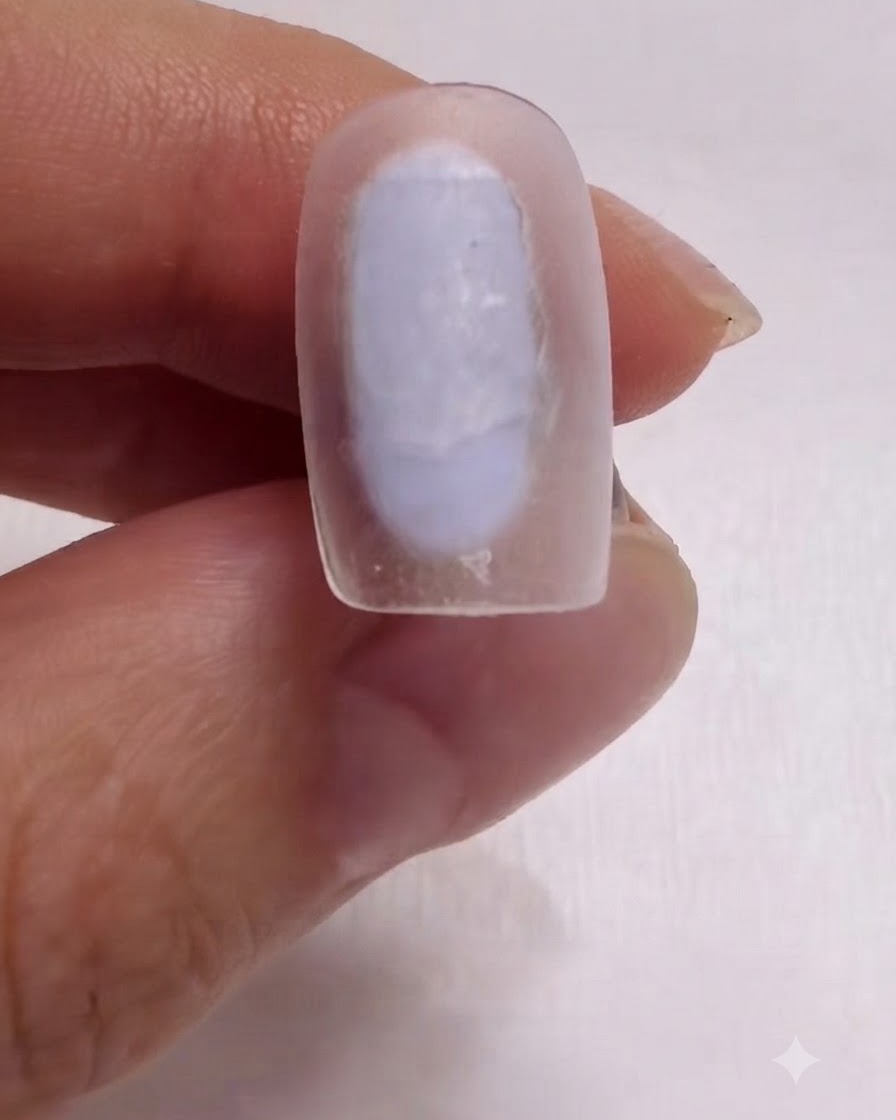
Take your brush and apply a smooth, even coat of milky white base coat directly onto the nail plate. Ensure the coverage is uniform from the cuticle down to the free edge, creating a solid foundational canvas for the upcoming autumn design.
Tip: Keep the brush strokes light and even to avoid any pooling or uneven thickness around the edges. - 2Smooth and level the milky white base coat
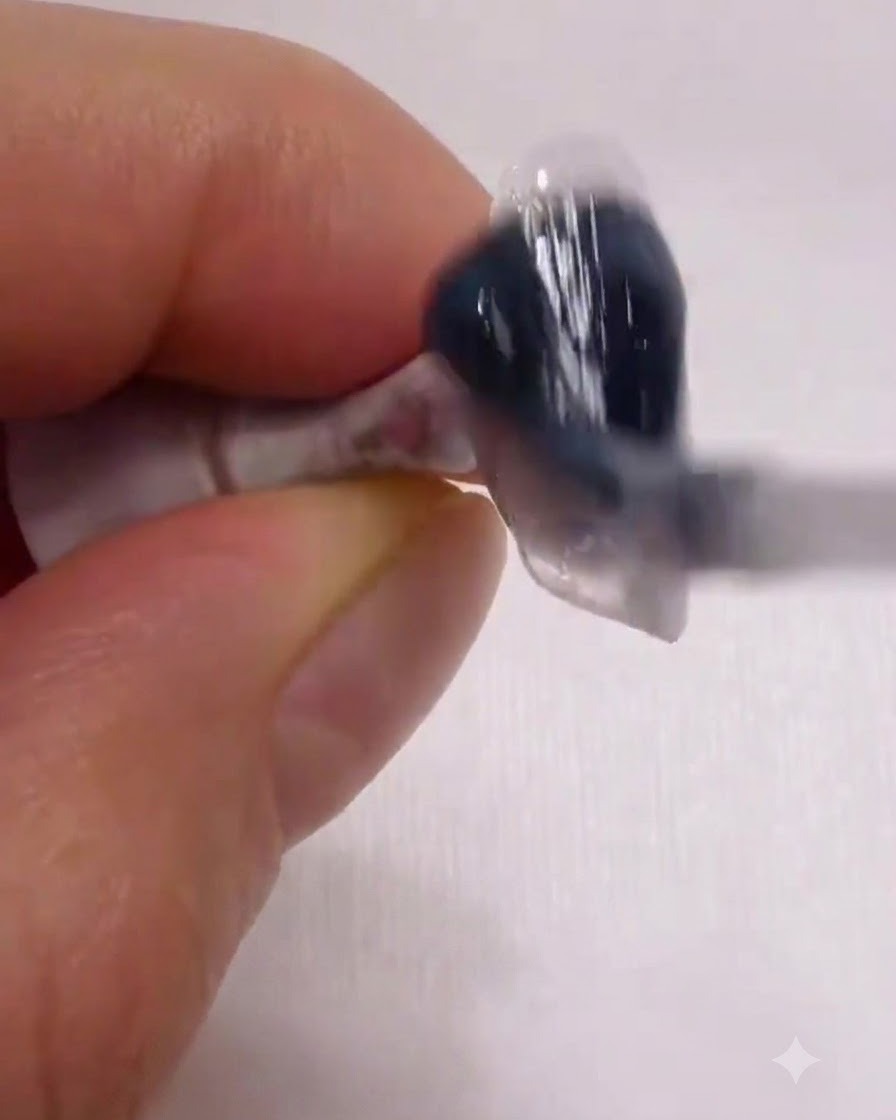
Using your brush, gently smooth and level the milky white base coat across the entire nail surface to ensure an even and streak-free foundation. Take care to seal the edges and maintain a uniform thickness before curing under your UV or LED lamp.
Tip: Lightly floating the brush over the gel prevents streaks and helps self-level the surface smoothly. - 3Showcase cured milky white base coat
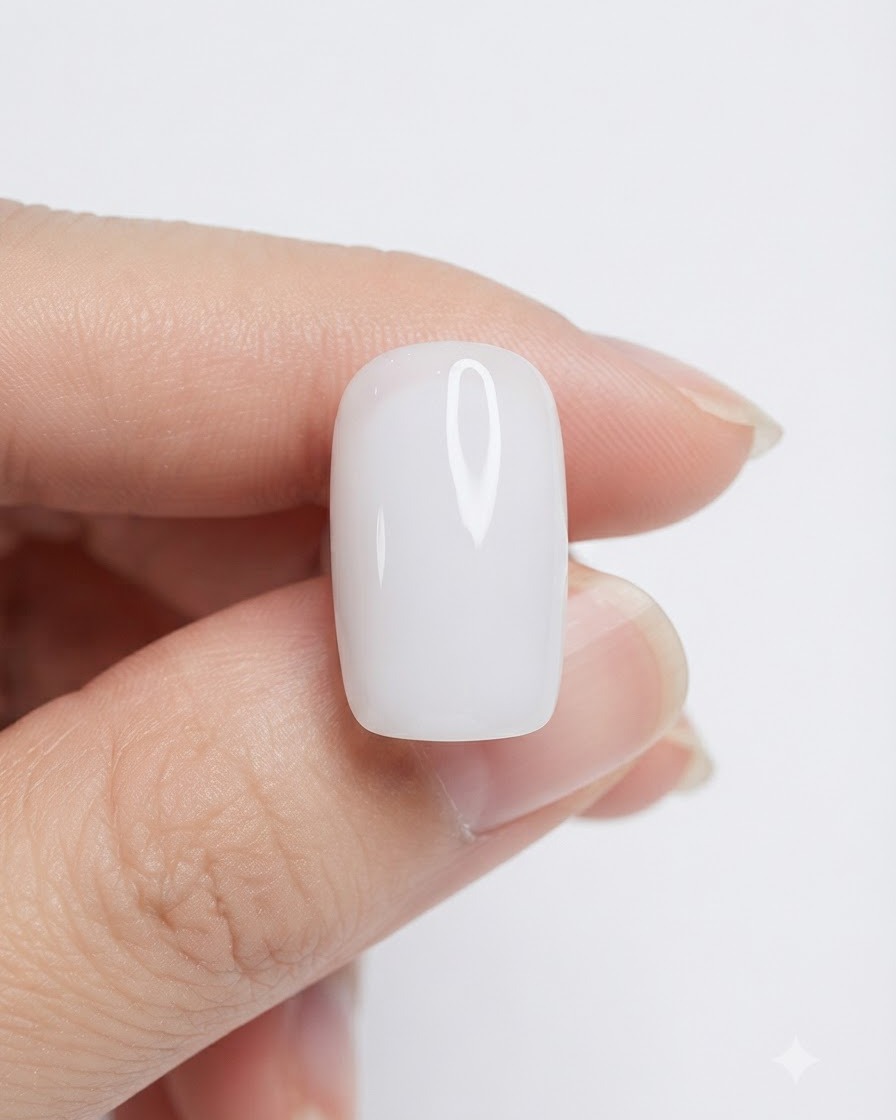
Display the fully cured and completely smooth milky white base coat surface. The layer is even, glossy, and provides a pristine milky foundation ready for the next decorative elements of the golden sand jade style.
Tip: Ensure the base is fully cured under the lamp before moving on to prevent any smudging or wrinkling. - 4Blend golden glitter on upper corner
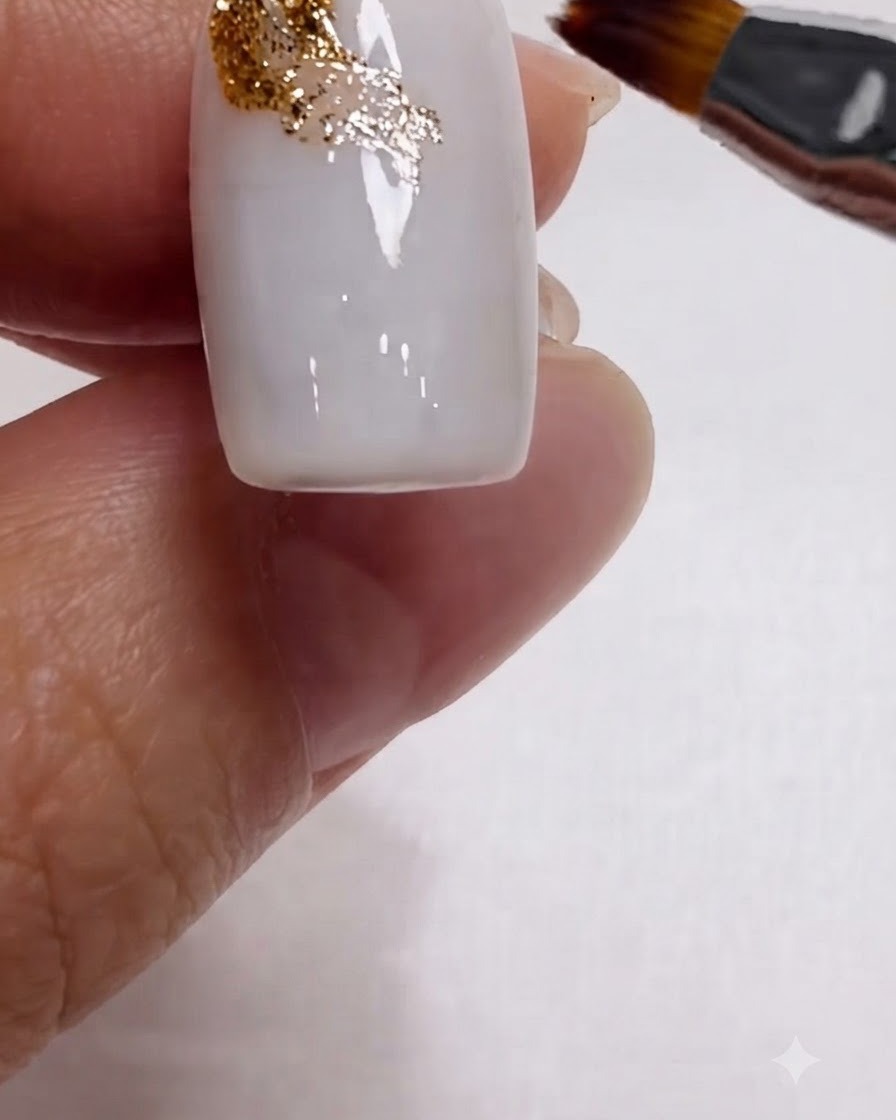
Apply and diagonally blend golden glitter powder onto the upper corner of the nail. This technique creates a radiant falling autumn molten gold effect that sets the diagonal flow of the entire design.
Tip: Fade out the glitter edges softly so it transitions naturally into the milky white background. - 5Refine molten gold glitter section
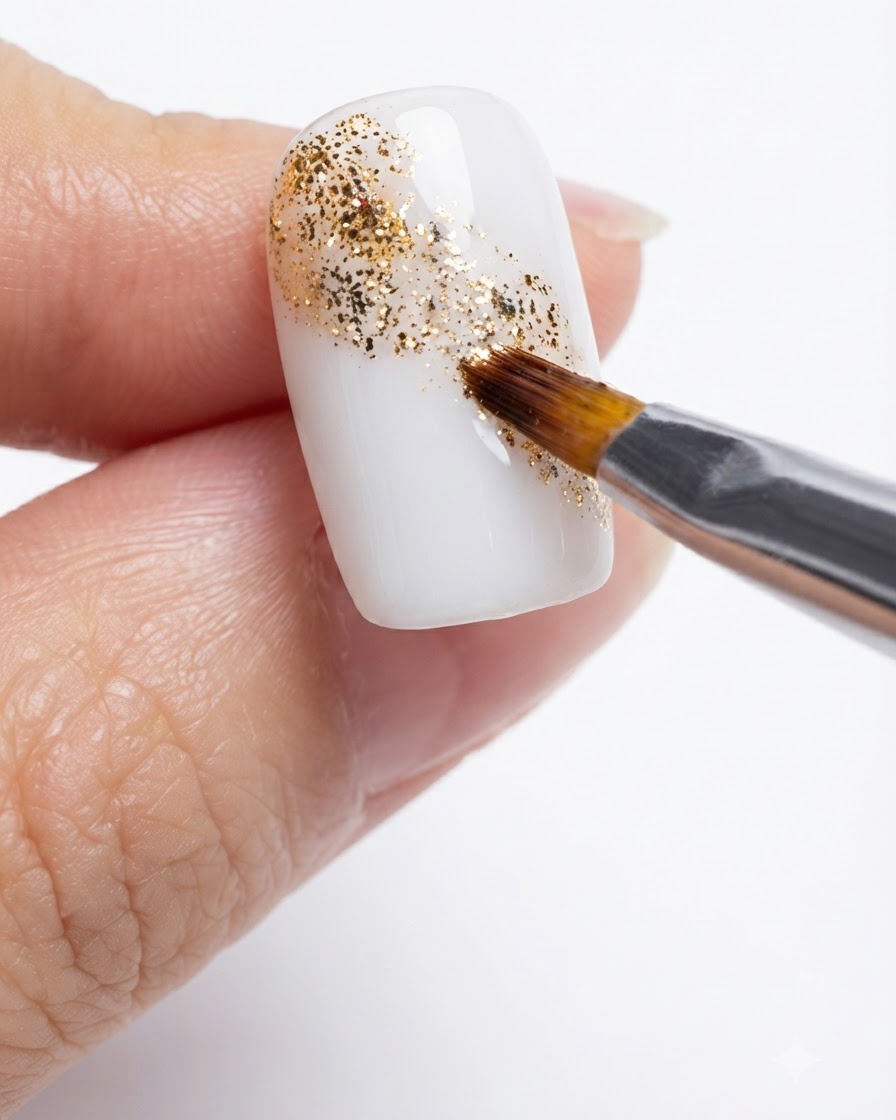
Carefully refine and spread the molten gold glitter effect further across the diagonal section of the nail. Build up the density near the corner while feathering the sparkles outward to achieve a sparkling sand dune transition.
Tip: Use a fine detail brush or a sponge tool to adjust the sparkle distribution evenly. - 6Overlay amber watercolor blending
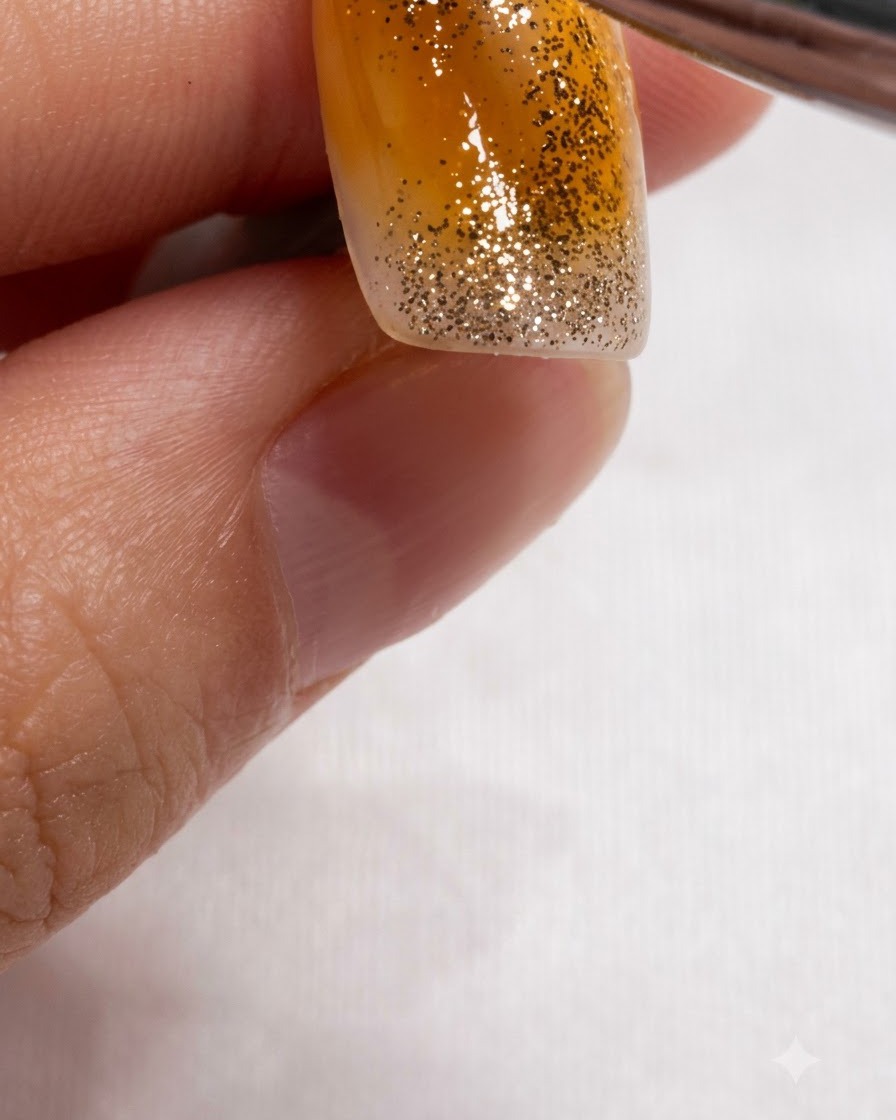
Overlay rich amber brown watercolor blending directly over the glitter area. This adds a warm caramel macchiato depth that transforms the flat glitter into a translucent, jade-like autumn dimension.
Tip: Blend the amber tones gently so the gold glitter still shines brightly underneath the warm color wash. - 7Blend caramel amber tones
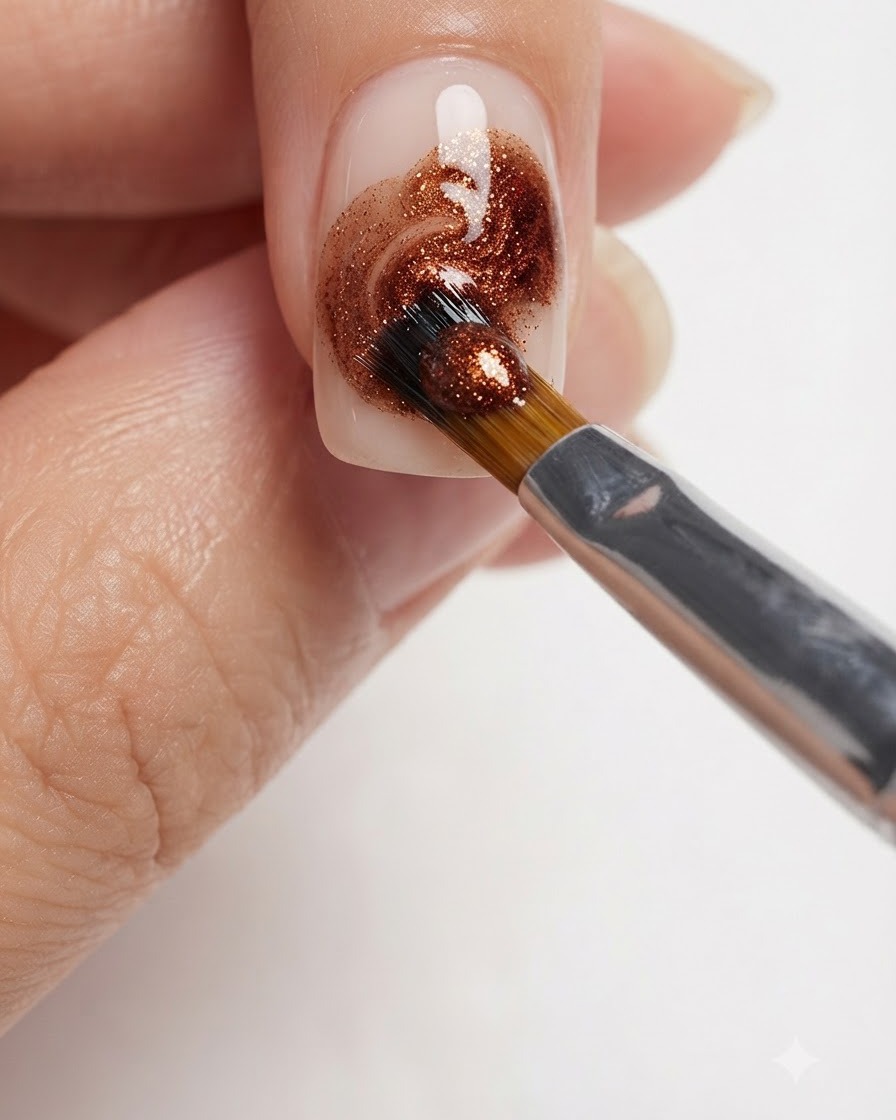
Using a fine brush, delicately blend and swirl the rich caramel amber tones directly onto the nail surface to build a warm, coffee-like marbled texture with a soft gradient feel.
Tip: Keep your hand steady and use light brush strokes to prevent muddying the colors. - 8Extend and soften amber pigment
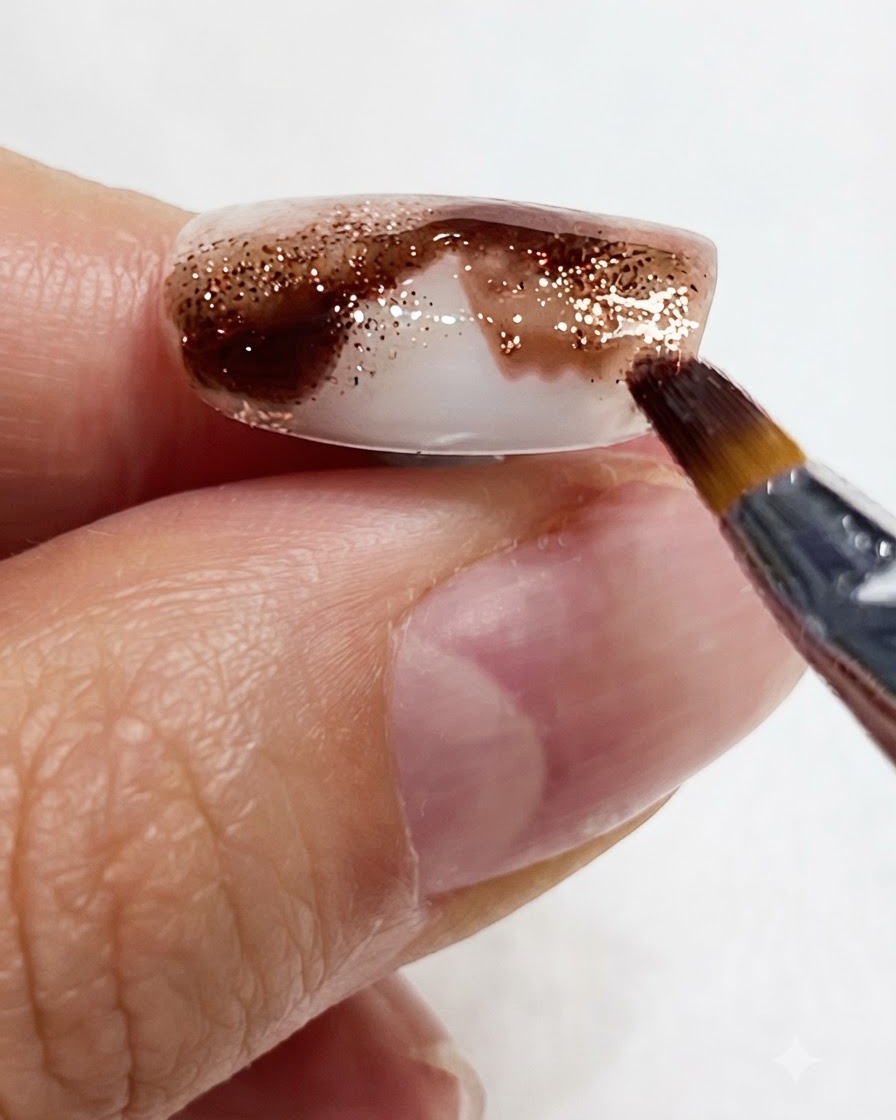
Gently sweep and pull the amber watercolor pigment toward the lower edge of the nail to create a seamless fade and soft diffusion effect.
Tip: Wipe excess product off your brush if you need to soften harsh boundary lines. - 9Carve organic veining lines
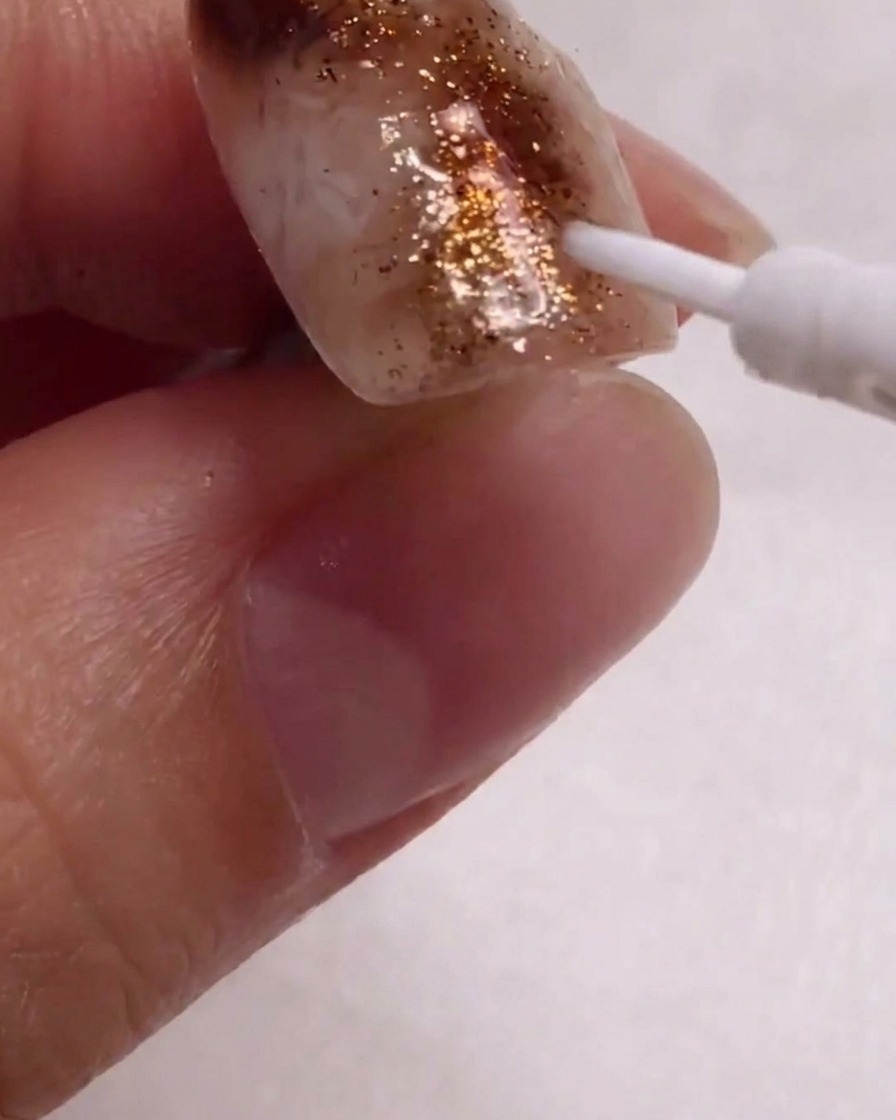
Dip a fine liner brush into white blending liquid and carefully draw thin, organic veining lines across the marbled background to mimic natural stone or sand textures.
Tip: Vary the pressure on your brush to make the lines taper naturally at the ends. - 10Diffuse white lines with alcohol
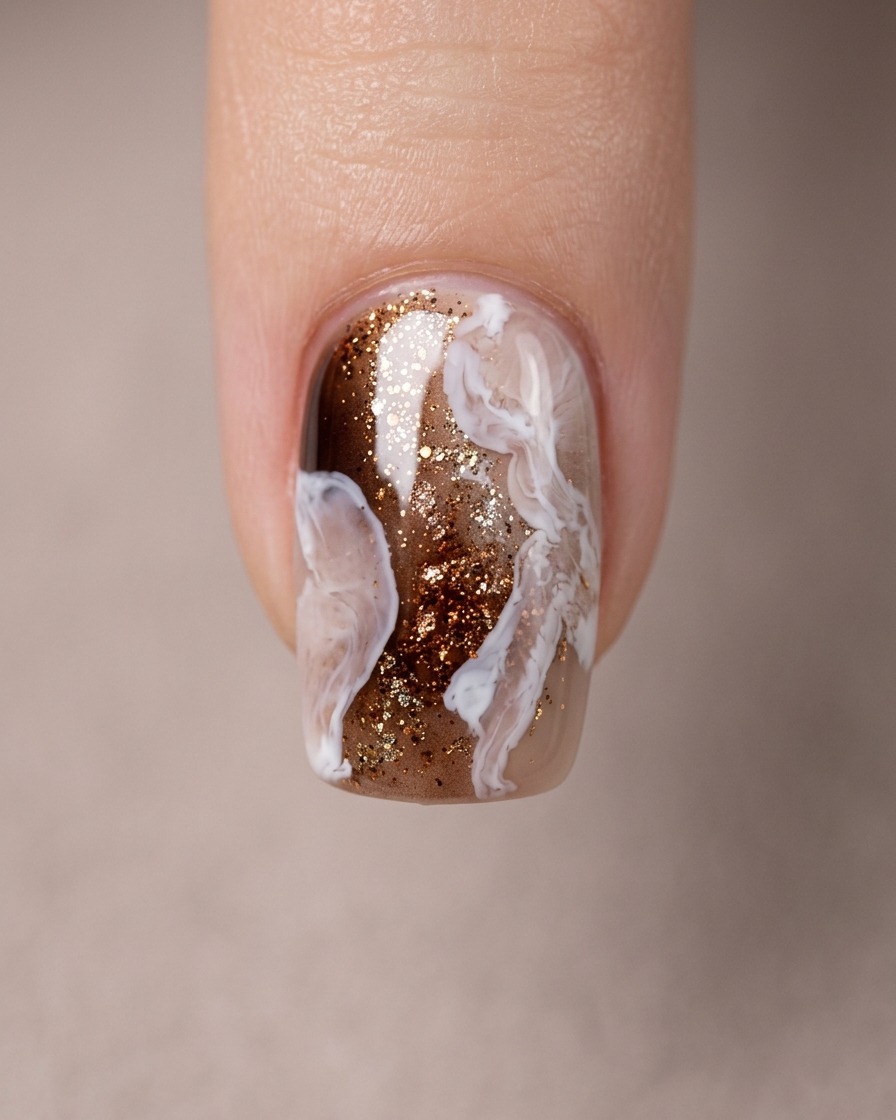
Lightly tap and blur the freshly drawn white lines using a clean brush dampened with rubbing alcohol, causing the pigment to bloom and create a misty, atmospheric sand dune effect.
Tip: Use minimal alcohol on your brush to avoid washing away the entire line. - 11Refine wispy texture details
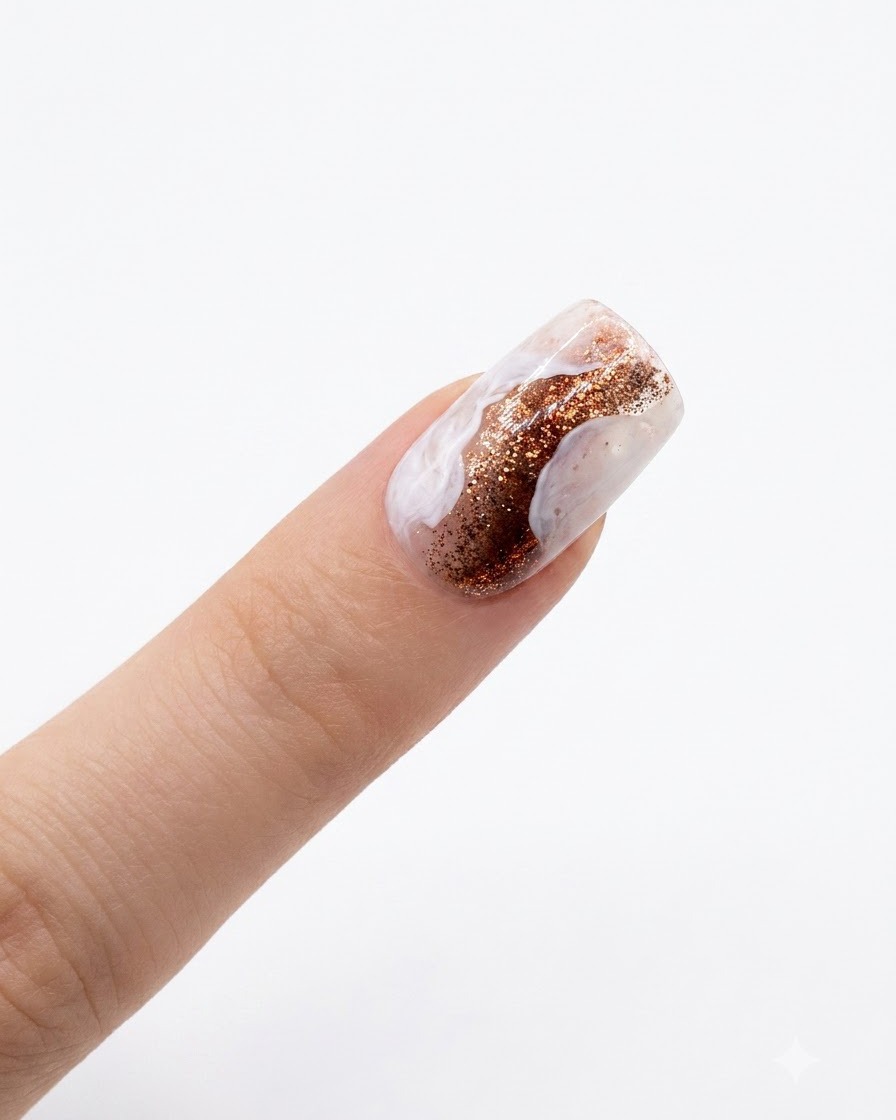
Examine the marbled layout and add a few extra wispy white texture details over the design to enhance depth, dimension, and overall balance.
Tip: Work quickly before the blending liquid dries to achieve a seamless, natural feathering. - 12Blend marble and mist layers
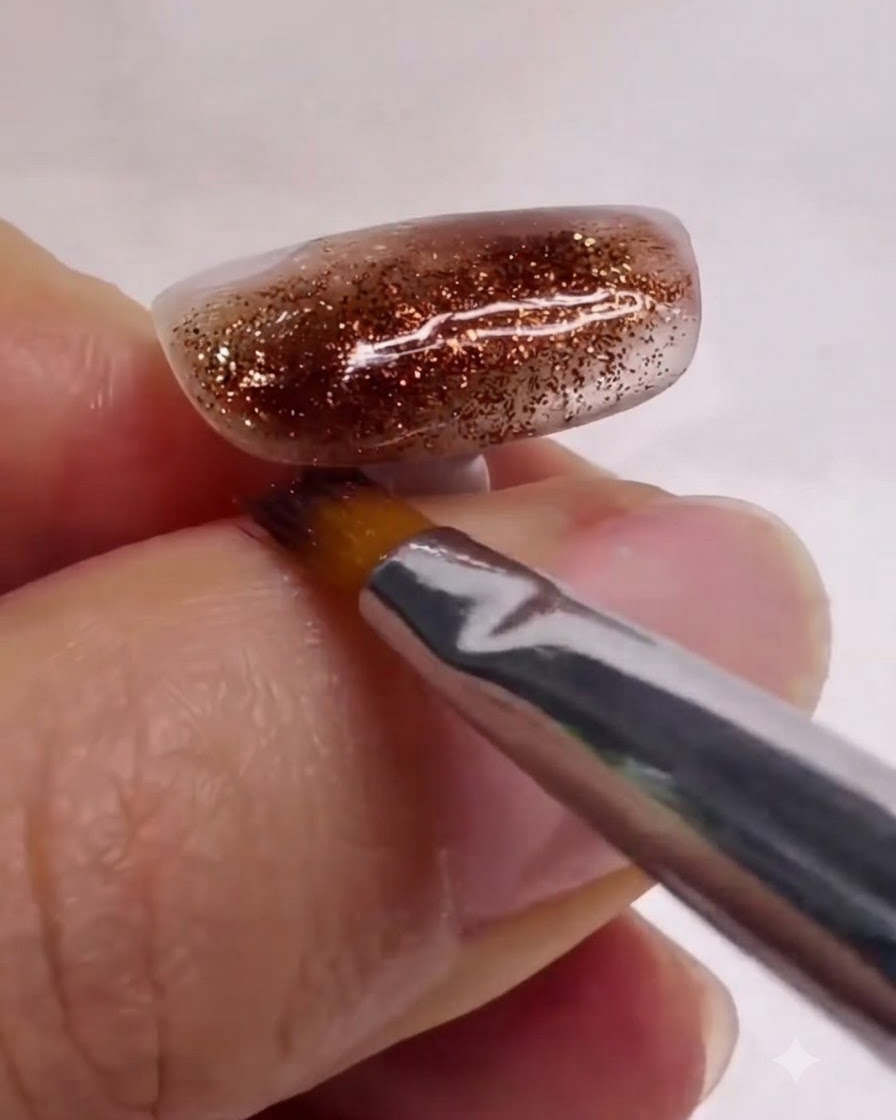
Take a clean brush and gently smooth and blend the overall marble and mist layers together to achieve a seamless, soft-focus gradient effect. Ensure the transitions are soft and natural without any harsh lines.
Tip: Keep your brush clean and lightly dampened with alcohol if needed, using very light pressure so you dont wipe away the design underneath. - 13Place gold foil flakes
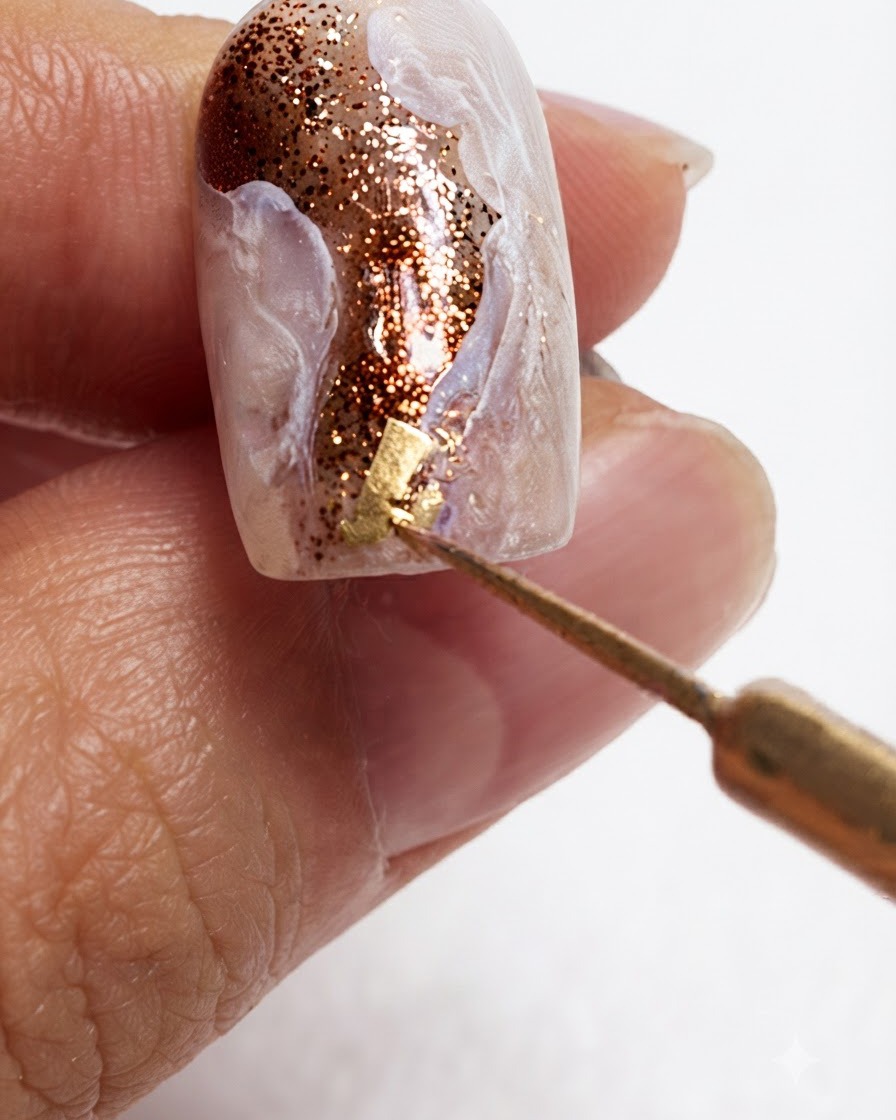
Using a fine detailing tool or wax pencil, pick up small pieces of gold foil flakes and carefully place them onto designated areas of the design. Gently press them down so they adhere flatly to the tacky layer, maximizing the crushed gold texture effect.
Tip: Tap the foil lightly into the uncured or sticky layer to ensure the edges dont lift up before applying the top coat.