Caramel Amber Sunset Gradient Manicure — Step-by-Step Gel Tutorial
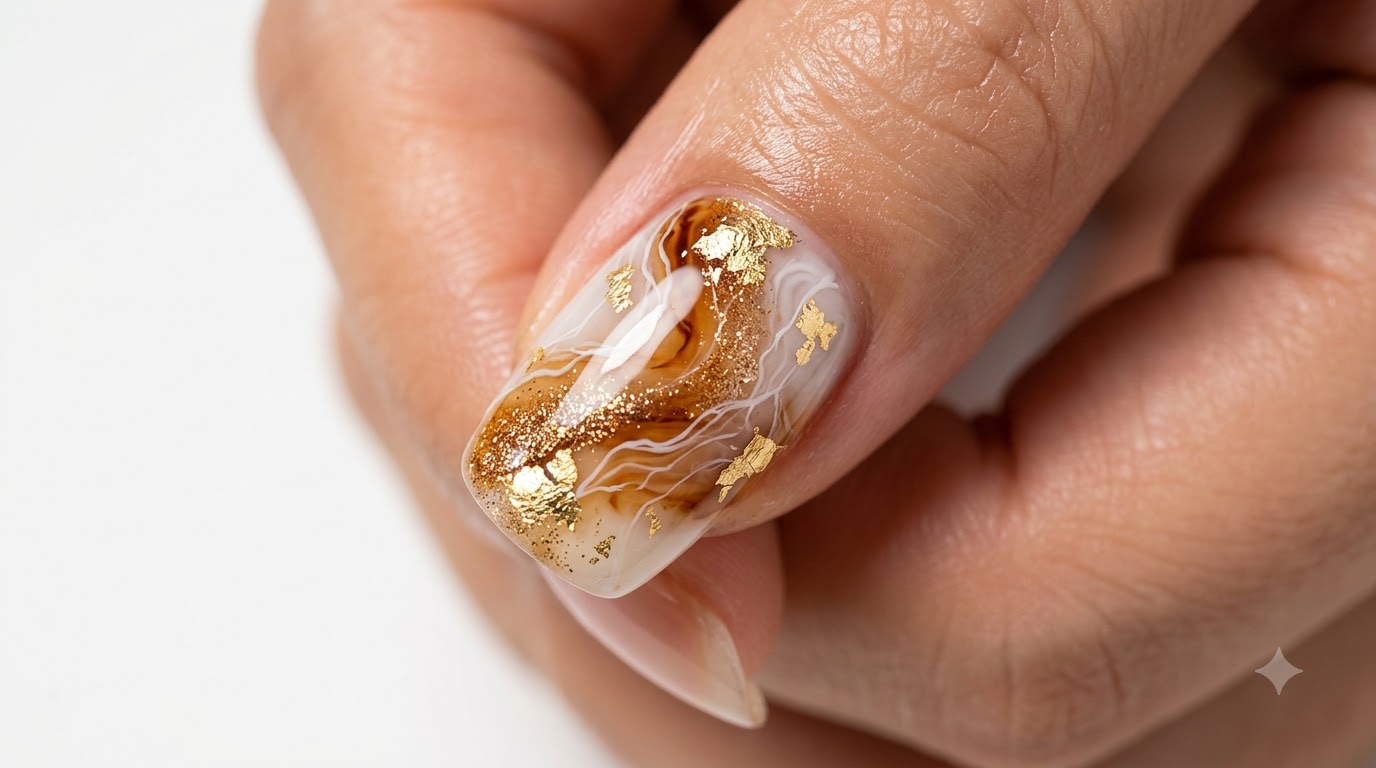
Create a stunning caramel amber and nude gradient manicure featuring delicate gold sparkle accents and a high-gloss finish.
Caramel and amber tones bring a warm, sophisticated depth to gradient nail art, offering a high-end look that is both versatile and chic. This step-by-step tutorial walks you through achieving a seamless ombre effect paired with delicate gold flakes for an elevated daily style.
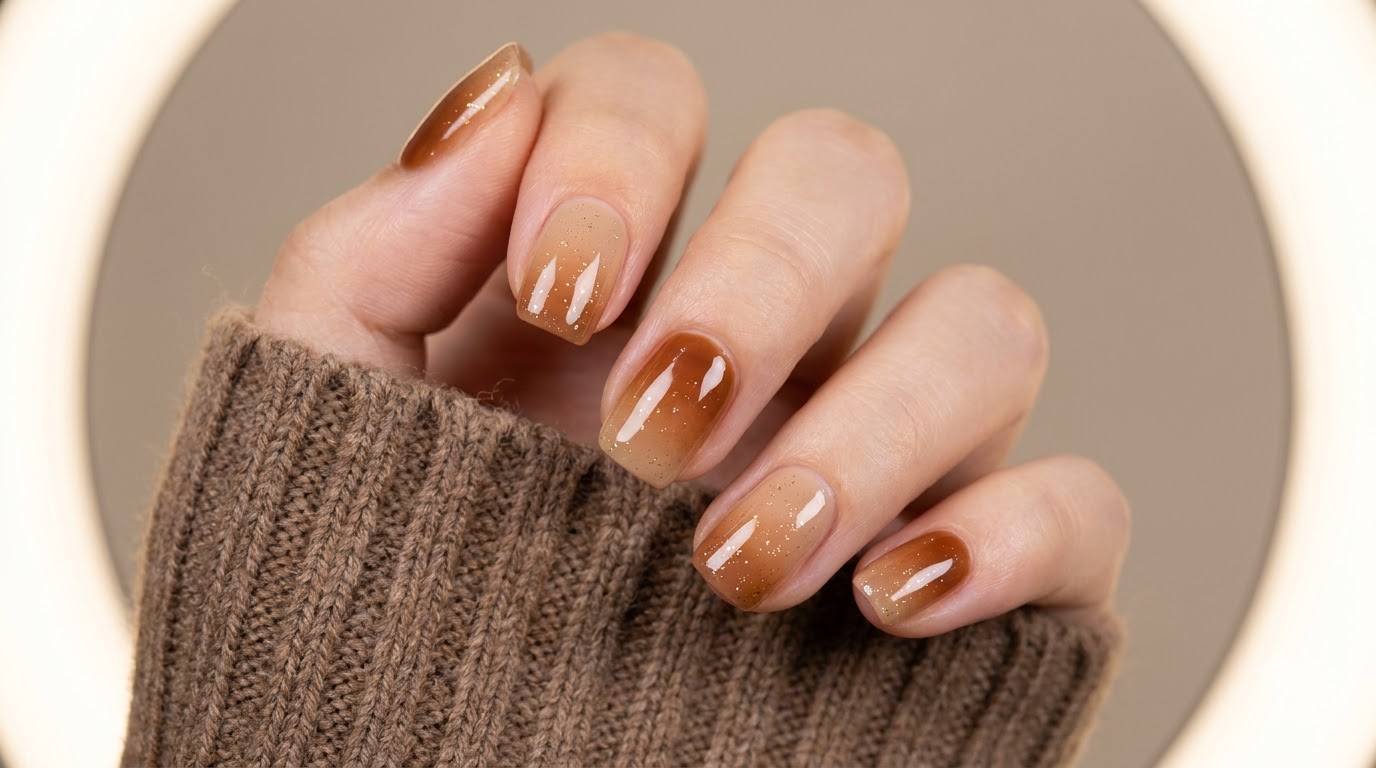
Steps
- 1Apply nude base coat
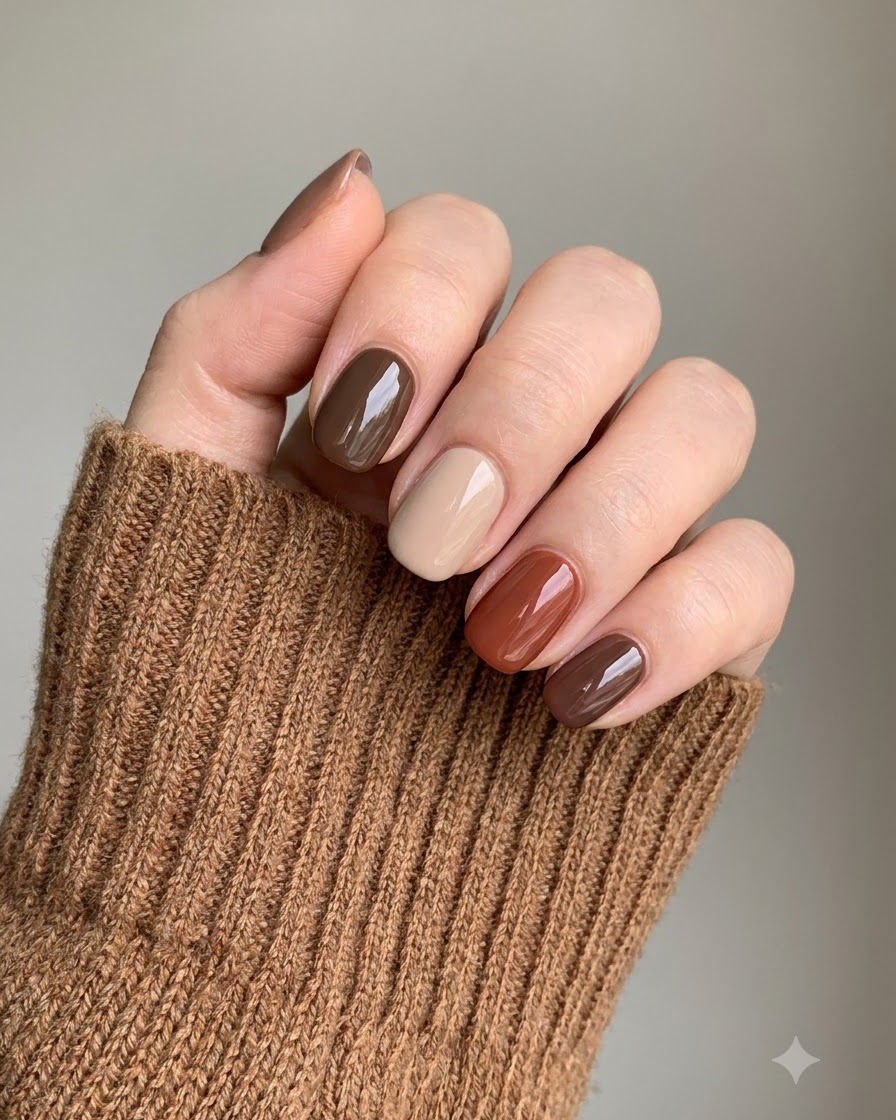
Apply a smooth layer of nude base coat onto the nail plate of the index finger, ensuring even coverage from the cuticle to the free edge. Cap the edge to seal the product and cure under an LED lamp according to standard curing times.
Tip: Keep the layer thin to prevent pooling around the cuticles and ensure a proper cure. - 2Cure base coat
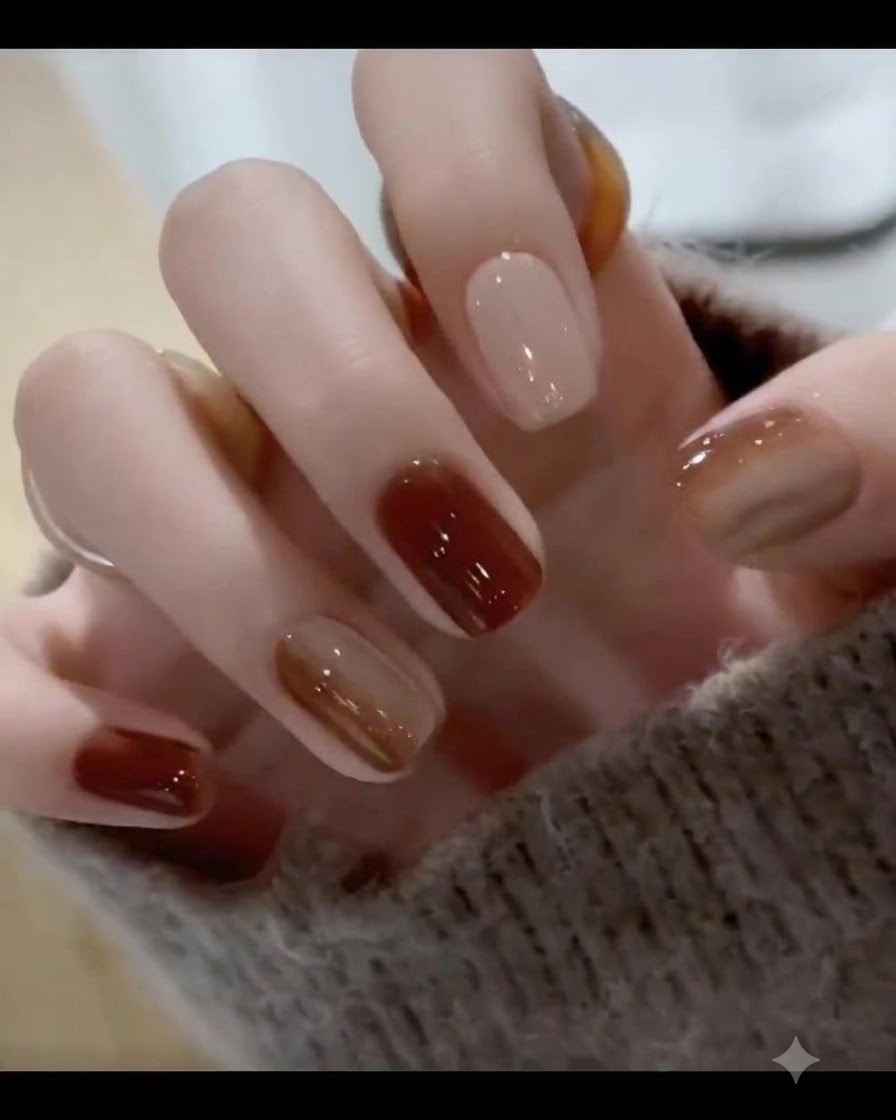
Place the hand under the LED lamp to cure the newly applied base coat layer. Ensure all fingers receive direct light exposure for the full duration specified by the gel manufacturer.
Tip: Do not rush the curing process, as an under-cured base layer can cause lifting of subsequent gel coats. - 3Apply translucent nude gel color
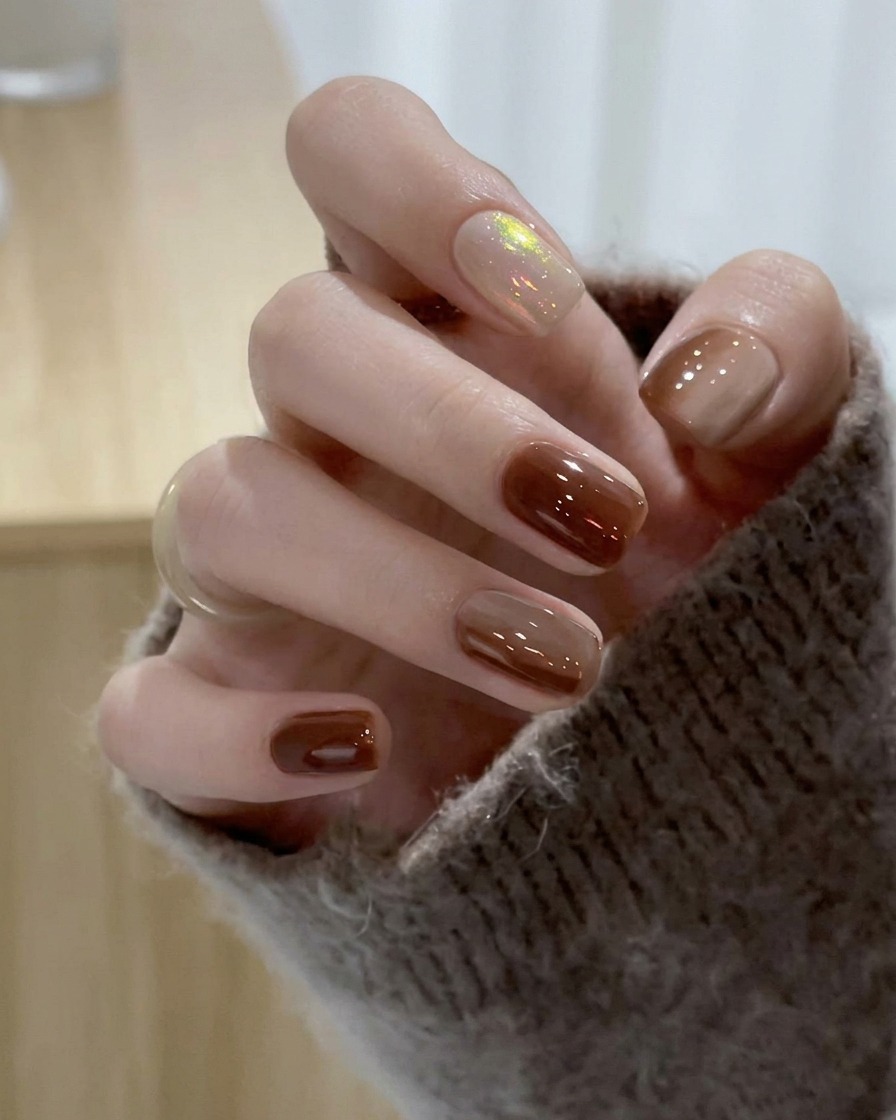
Select the middle finger and apply a first coat of translucent nude gel color evenly across the nail plate. This creates a natural, semi-sheer foundation for the gradient or overlay design.
Tip: Apply with light, sweeping strokes to avoid streaks in the translucent finish. - 4Apply caramel brown gel to tips
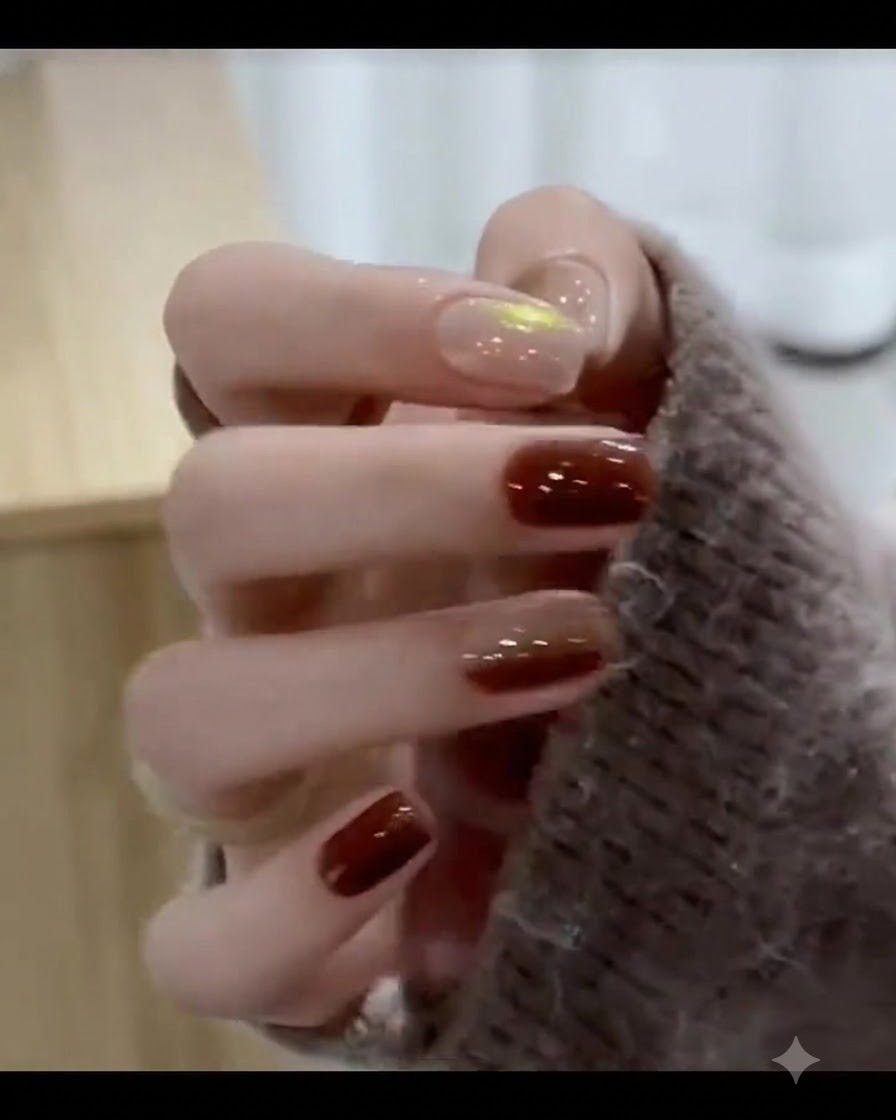
Using a fine detailing brush or sponge technique, apply caramel brown gel specifically to the tip area of the nail. This initiates the custom gradient effect by depositing rich color where the ombre transition begins.
Tip: Concentrate the product heavily on the very edge and feather it slightly upward toward the center. - 5Blend ombre transition
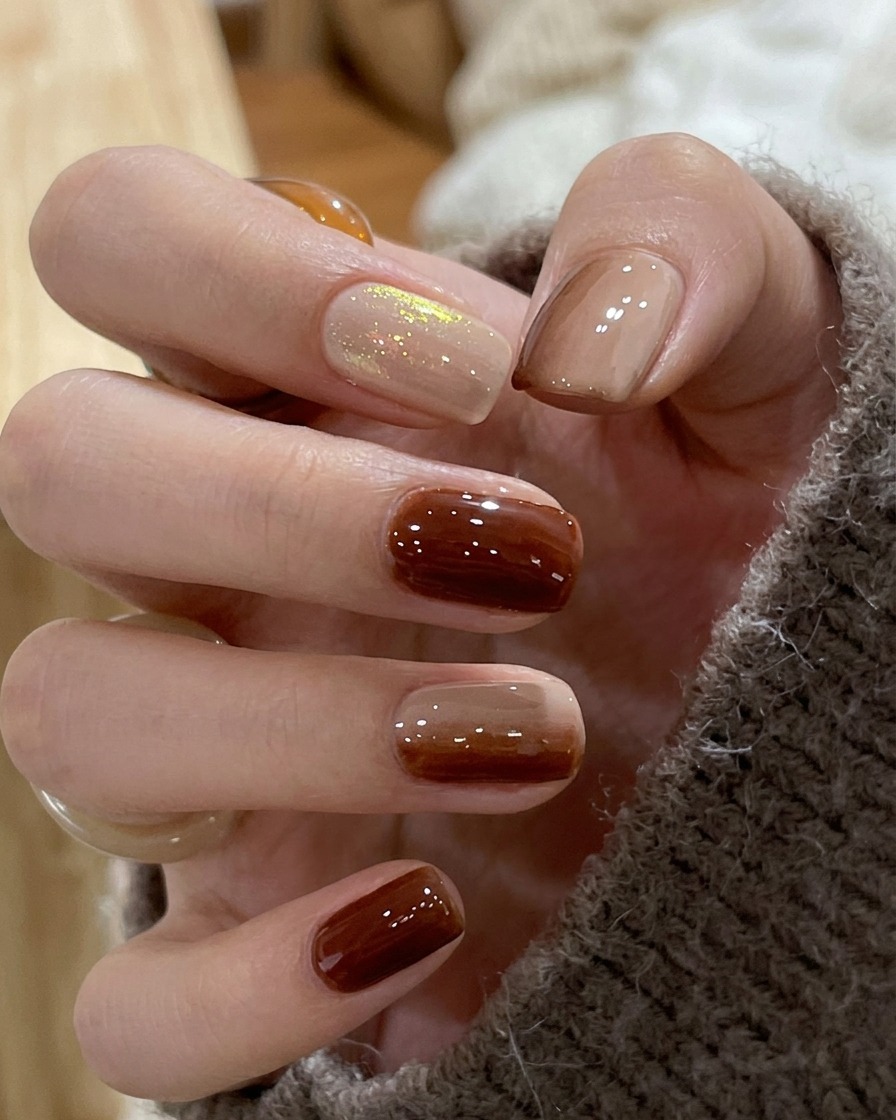
Gently blend the boundary between the caramel brown tip and the nude base tone using a soft blending brush or tool. Work carefully back and forth to achieve a seamless, natural ombre transition without harsh lines.
Tip: Clean your blending brush frequently on a lint-free wipe to maintain control over the gradient spread. - 6Add gold glitter flake accent
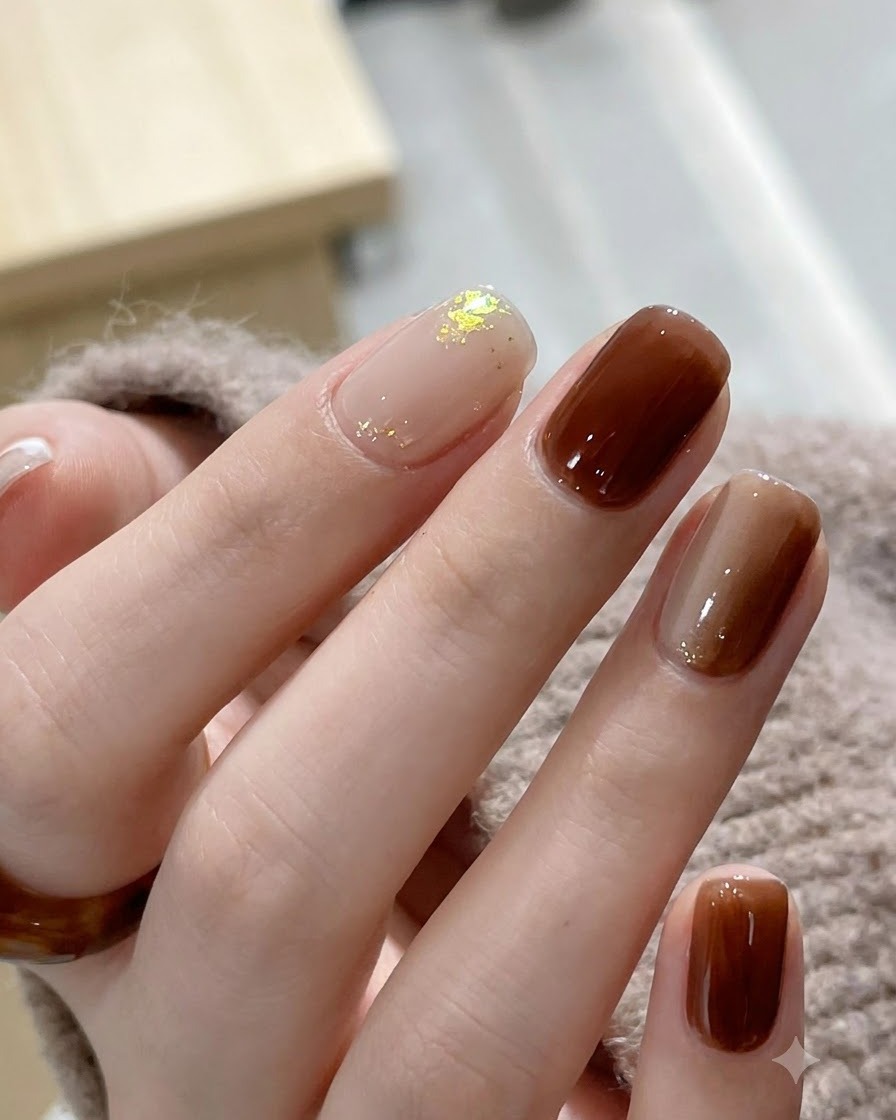
Carefully place delicate gold glitter flakes onto the cured nude nail base using a fine dotting tool or brush. Distribute the flakes sparingly near the cuticle or side wall to add a subtle, high-end shimmer accent.
Tip: Pick up flakes individually to position them precisely where you want the sparkle to catch the light. - 7Apply Glossy Top Coat
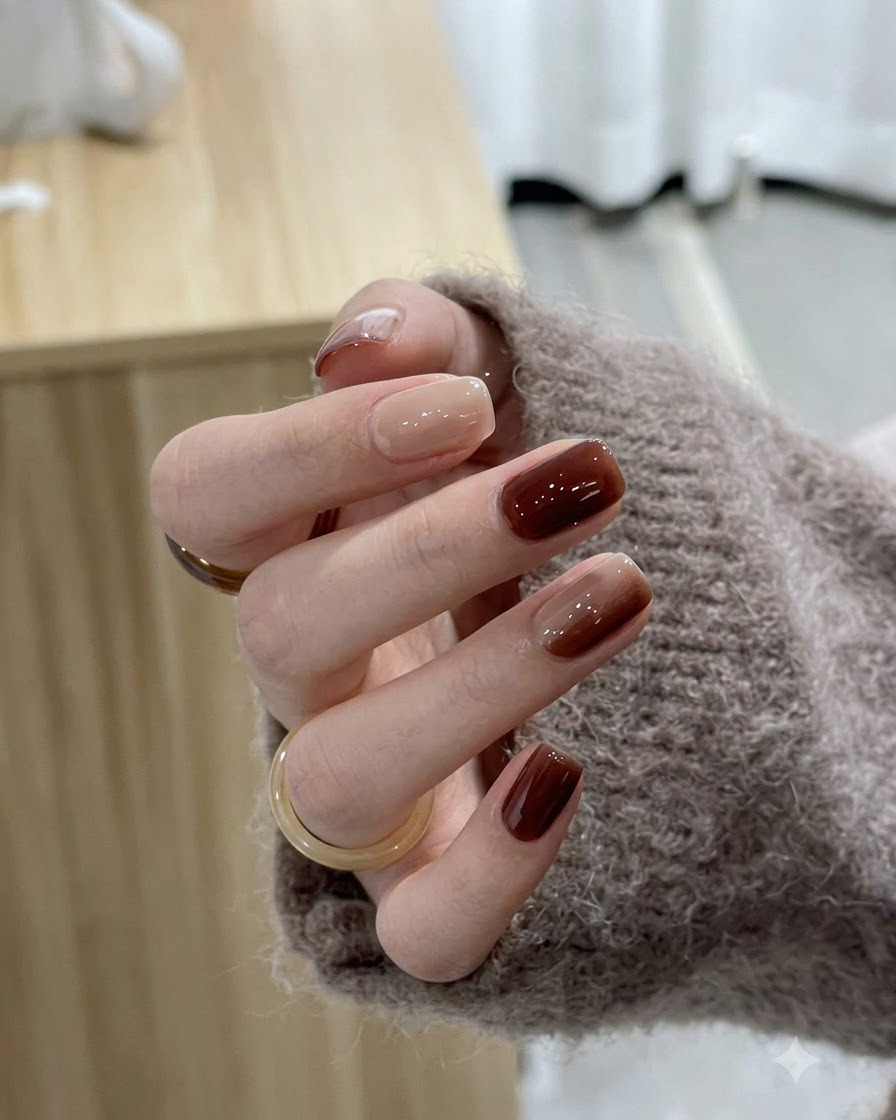
Apply a smooth, even layer of glossy top coat over all fingers, carefully capping the free edge to completely seal the caramel amber sunset gradient design and provide long-lasting protection.
Tip: Ensure every part of the gradient design is covered by the top coat to prevent chipping and maintain high shine. - 8Final Cure and Wipe
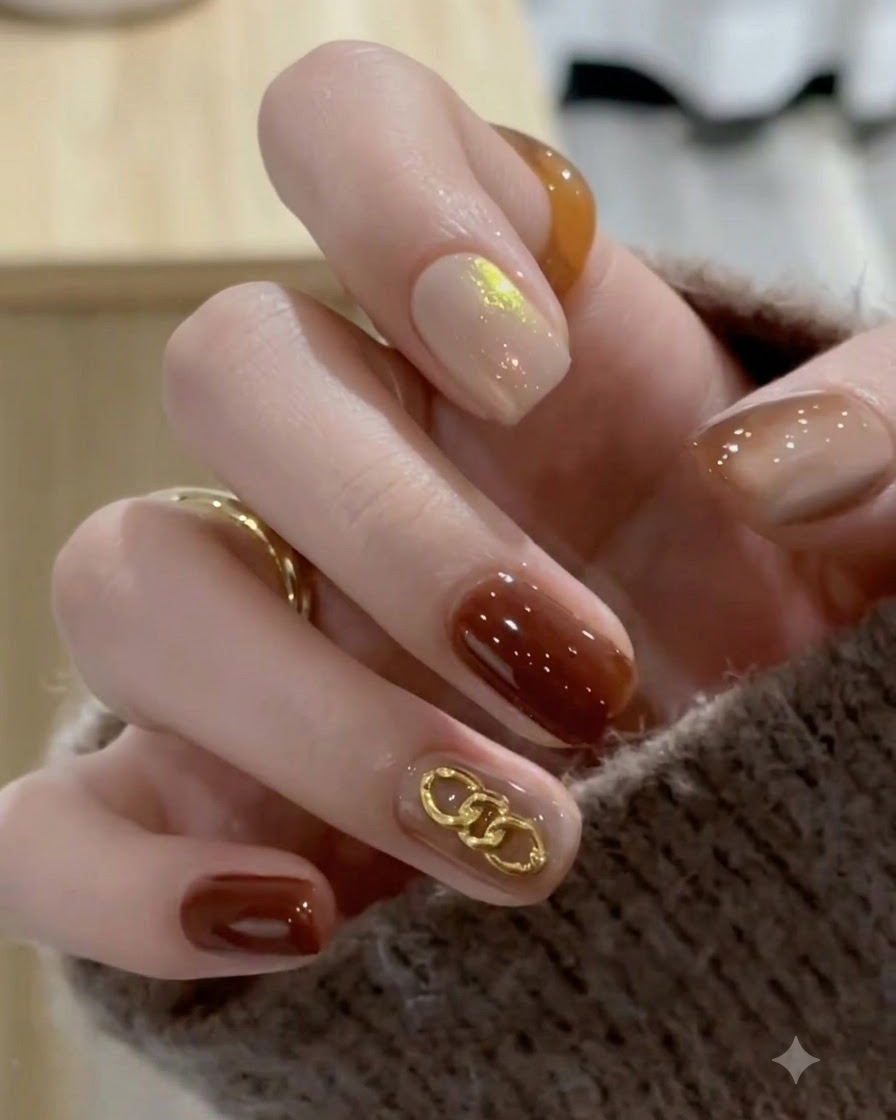
Place the hand under the UV or LED lamp to cure the final top coat layer completely. Once cured, wipe away any residual sticky inhibition layer using a lint-free wipe dampened with cleanser for a high-gloss finish.
Tip: Do not touch the nails immediately after curing; let them cool down for a few seconds before wiping the sticky layer to ensure maximum shine.