Gradient Aurora Cat Eye Nails — Trendy Step-by-Step Tutorial
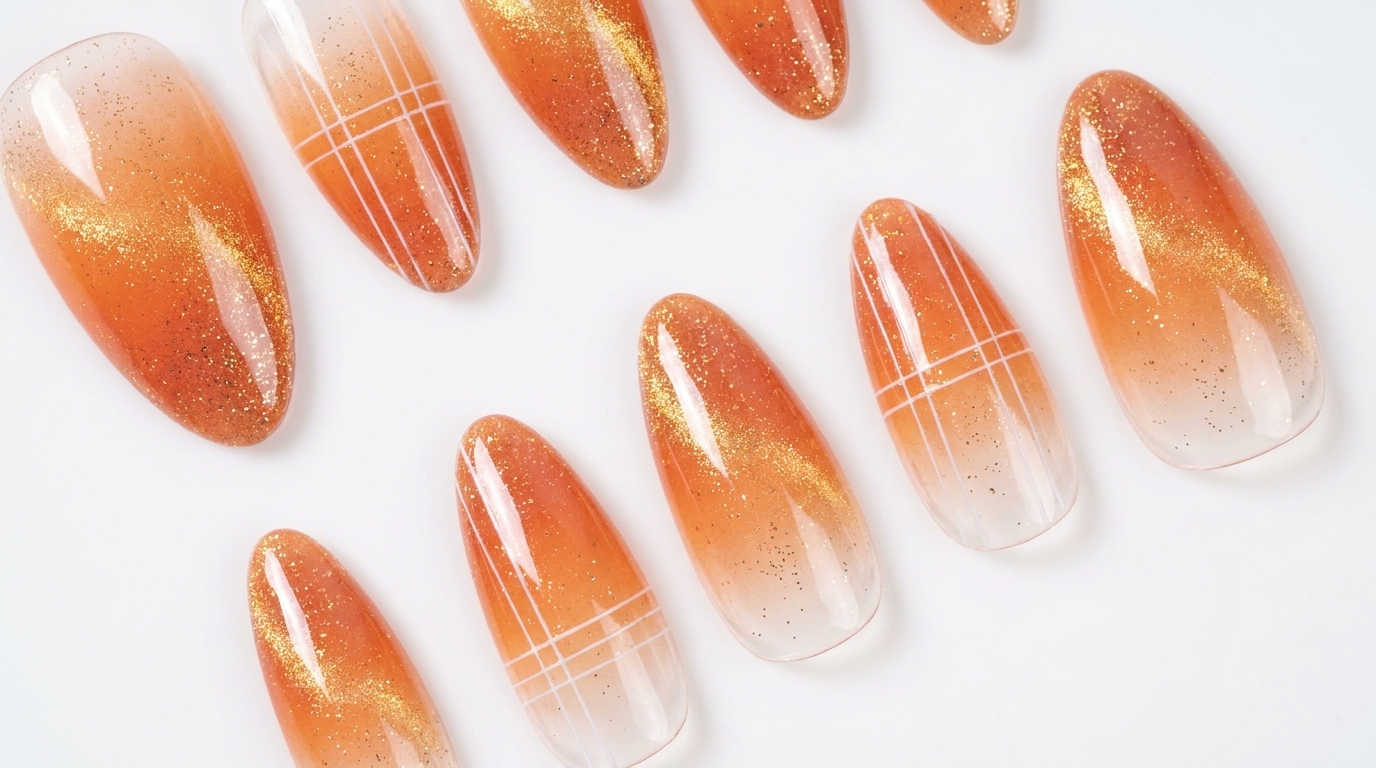
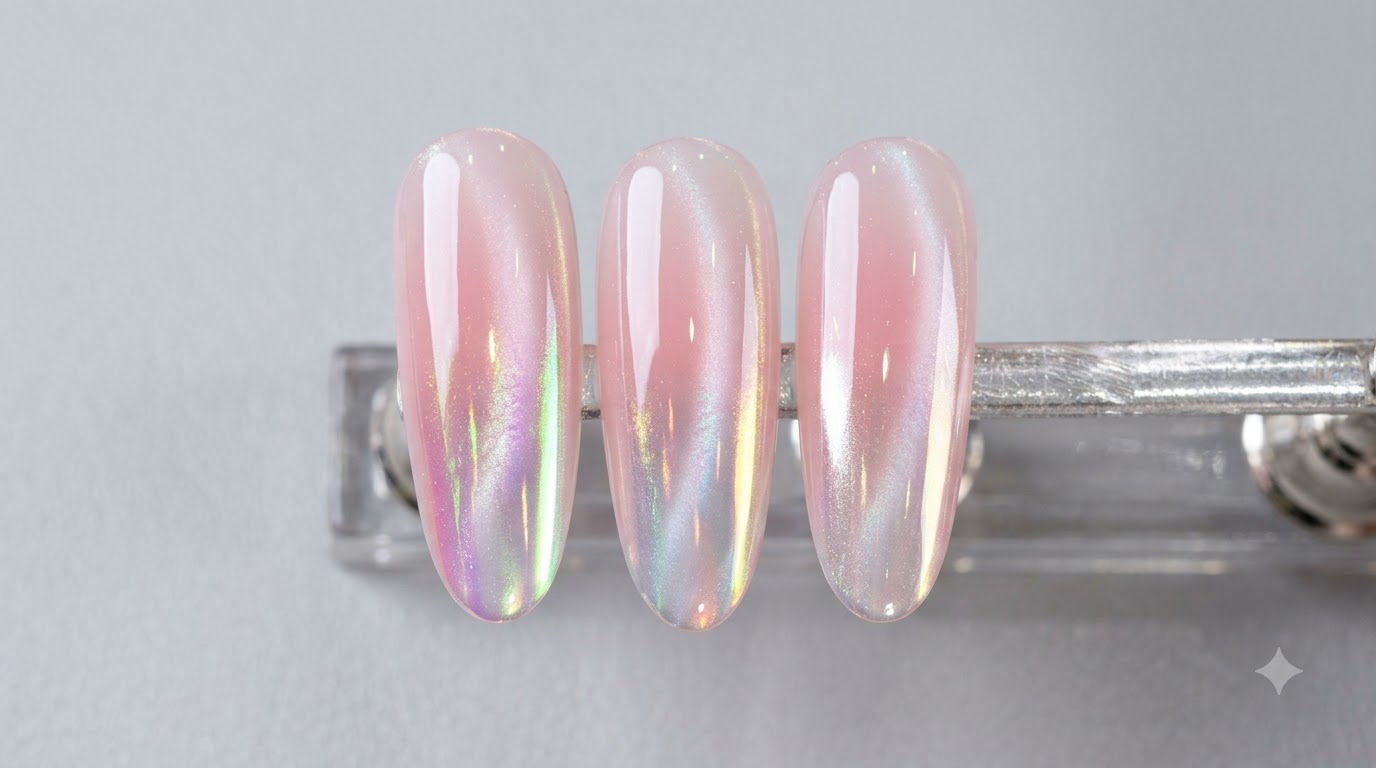
Create trendy gradient aurora cat-eye nails combining soft blush effects, magnetic cat-eye dimension, and shimmering magic mirror powder tips.
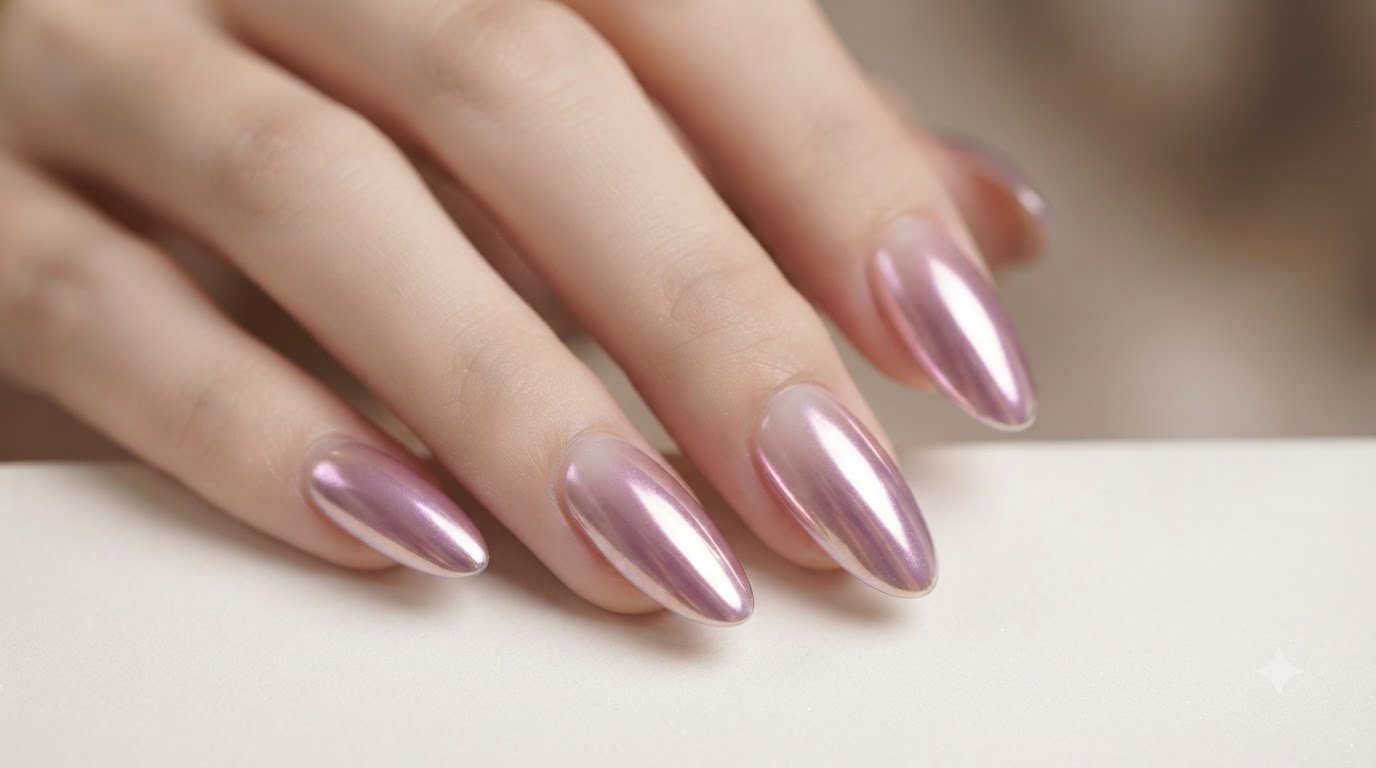
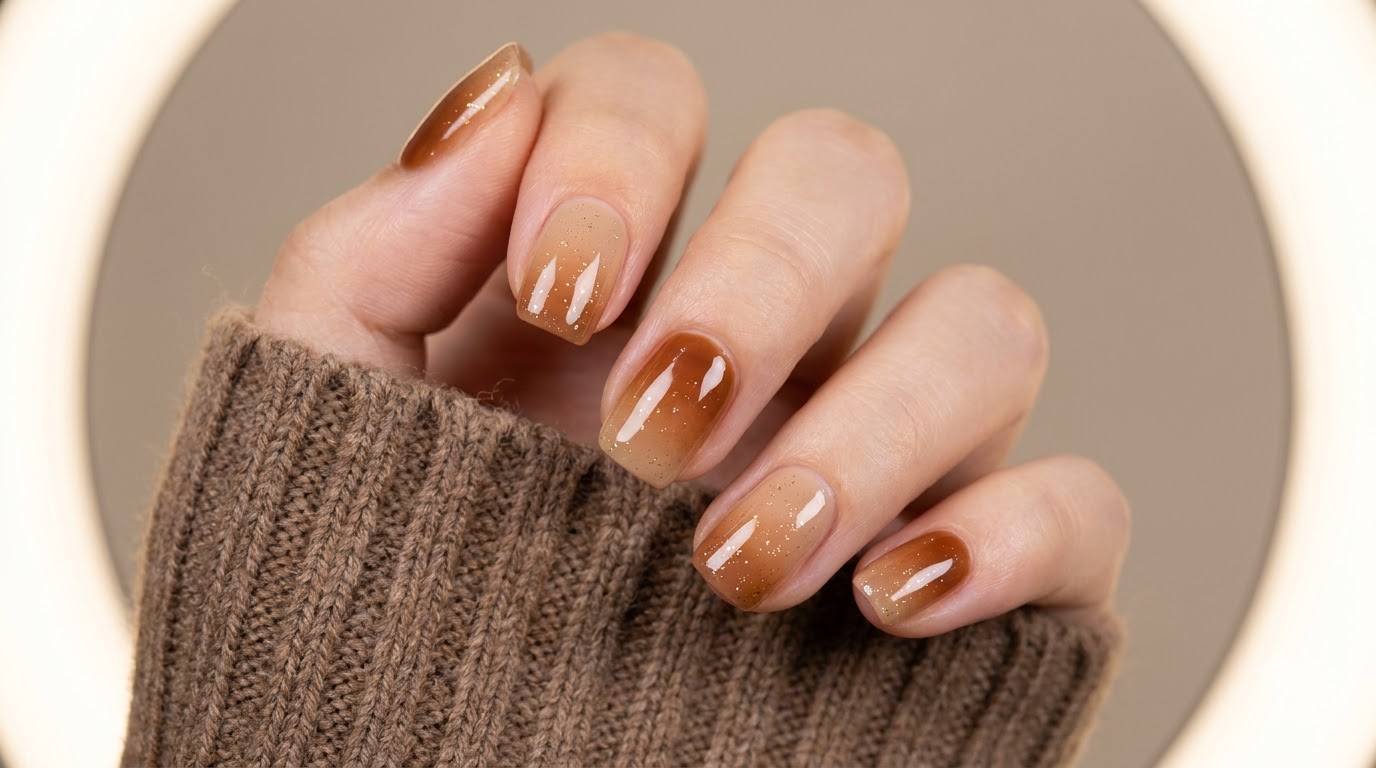
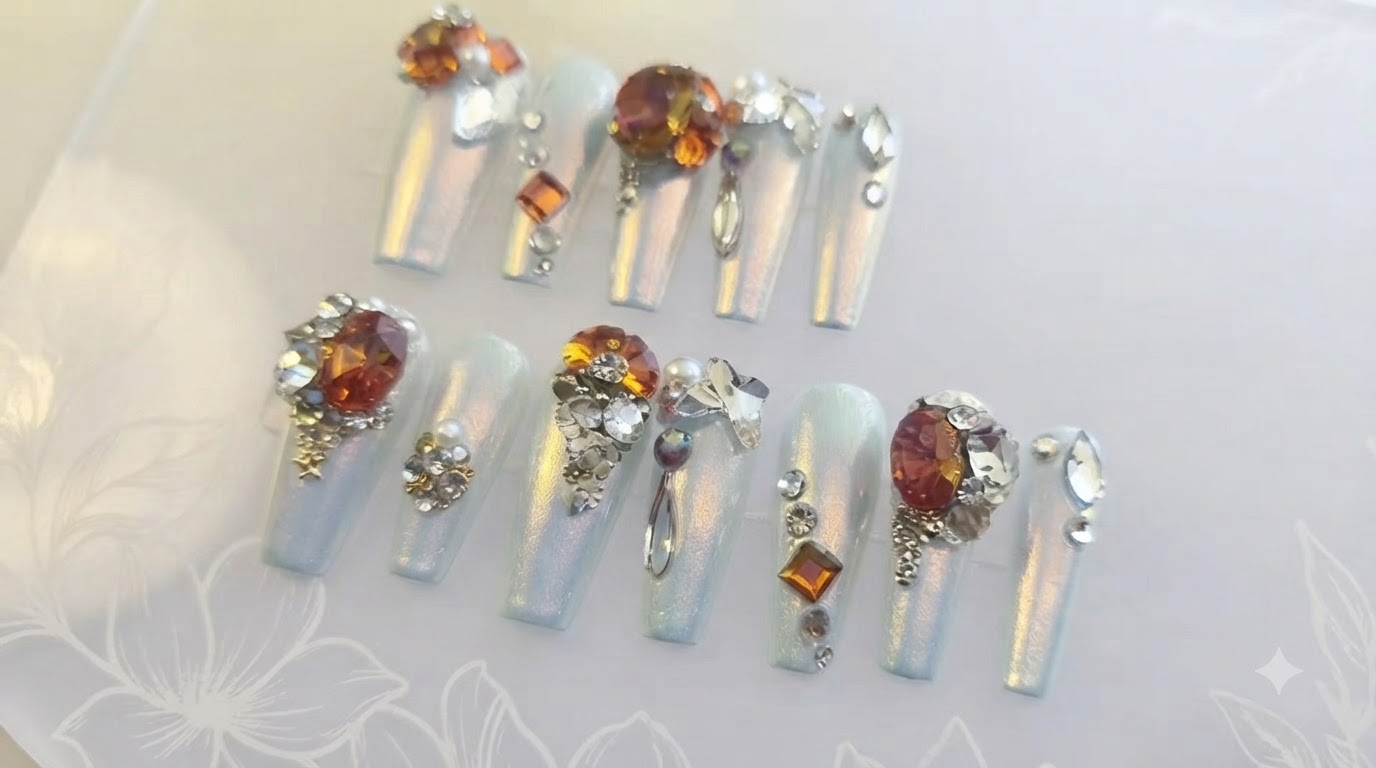
Aurora cat-eye nails are taking the nail art world by storm, offering an ethereal, shifting glow that catches the light from every angle. By pairing a soft blush base with a dimensional cat-eye stripe and a contrasting mirror powder tip, this tutorial shows you how to achieve a multi-textured salon look right at home. Whether you choose a classic aurora finish, a warm sunset vibe, or a clean ice island look, this technique elevates your manicure with sophisticated depth and shine.
Steps
- 1Apply blush nail effect
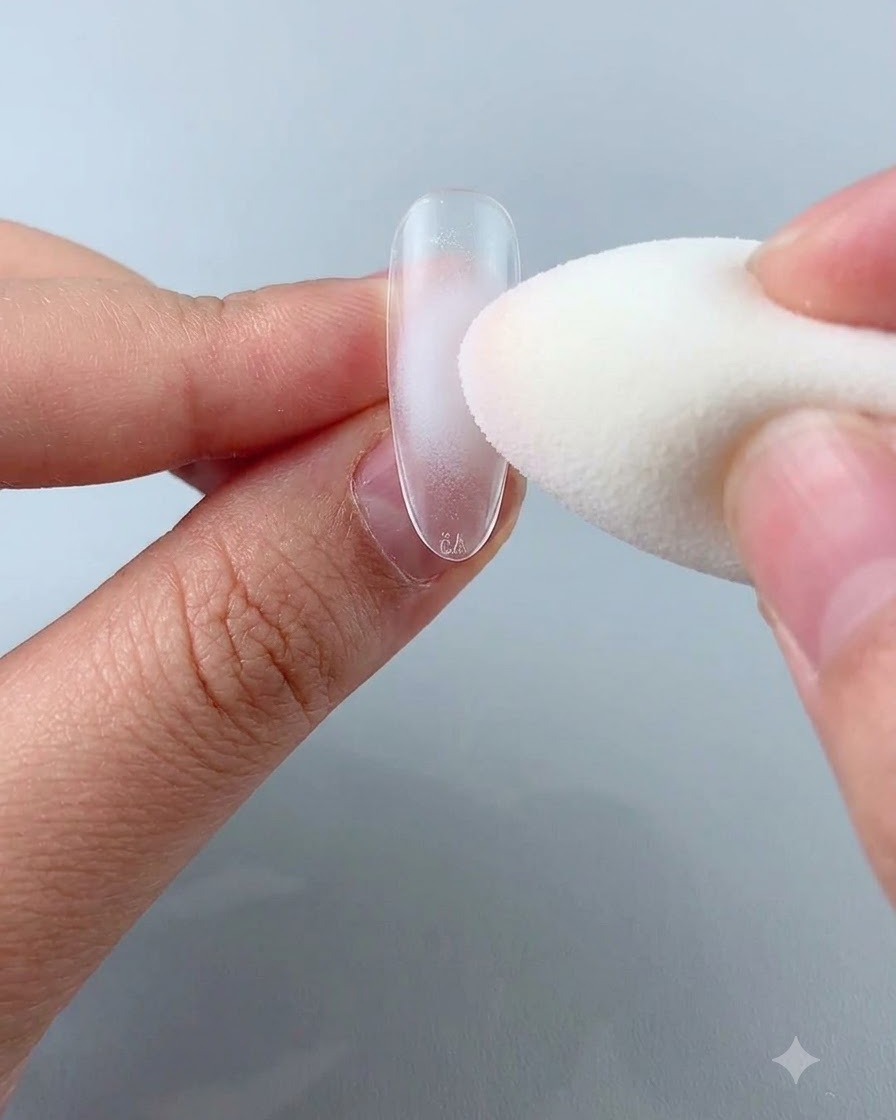
Take a small amount of blush color #6 and gently dab it onto the center of the nail using a sponge or brush to create a soft, diffused Korean-style blush look. Build up the color lightly until you achieve a smooth, glowing center.
Tip: Keep the sponge strokes light and concentrated in the middle so the edges fade out naturally into the clear nail base. - 2Apply jade D05 base gel
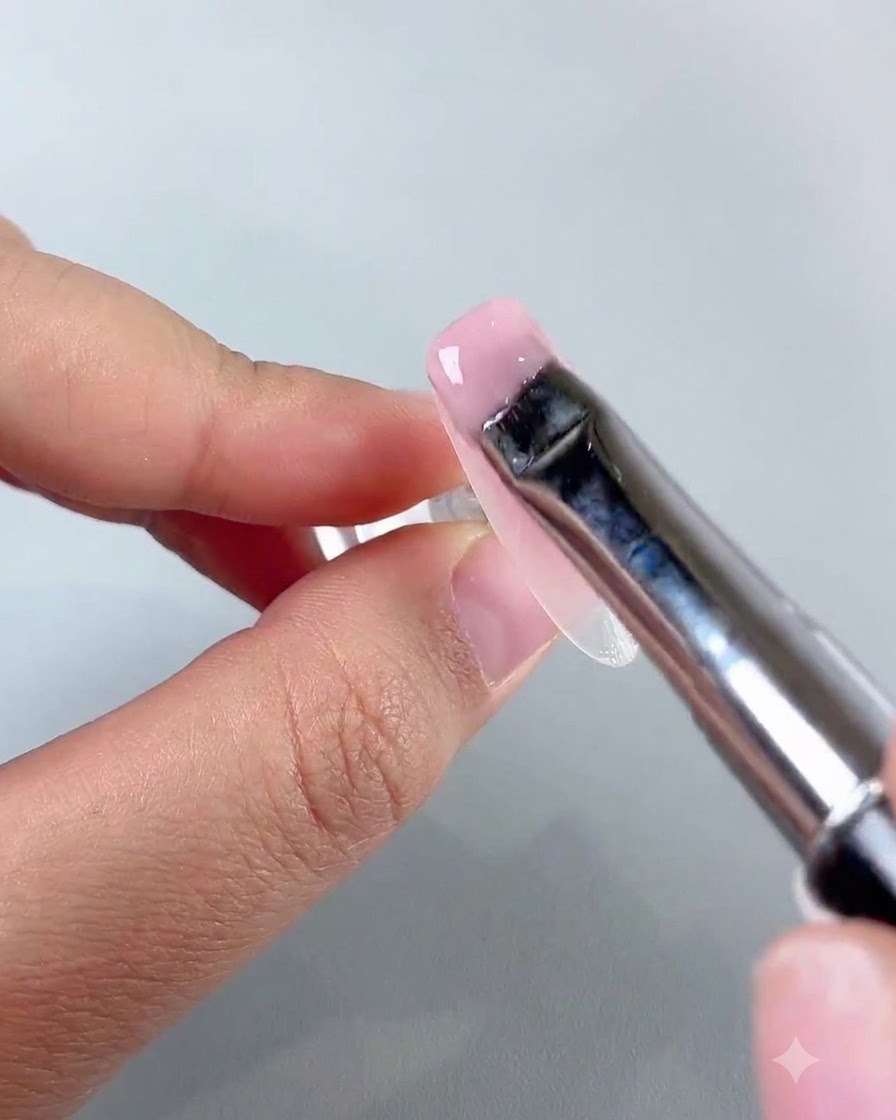
Apply a thin, even layer of jade D05 base gel across the entire surface of the nail, making sure to cover from the cuticle down to the free edge without pooling.
Tip: Applying a thin layer ensures smooth self-leveling and prevents wrinkling during the curing process. - 3Cure the base gel
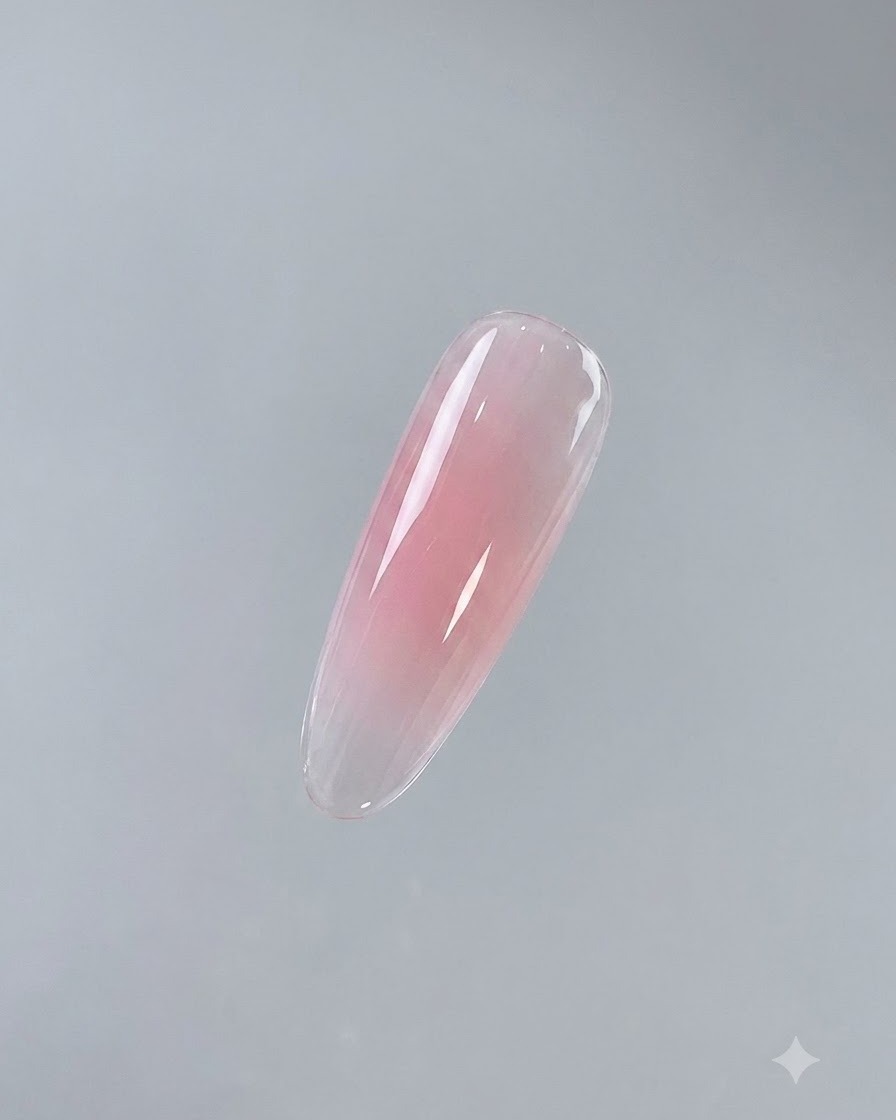
Place the nail under a UV or LED lamp and cure for the recommended time until the base gel is completely set and hardened.
Tip: Ensure your hand is placed evenly under the light source to cure all edges and corners uniformly. - 4Apply clear cat-eye gel
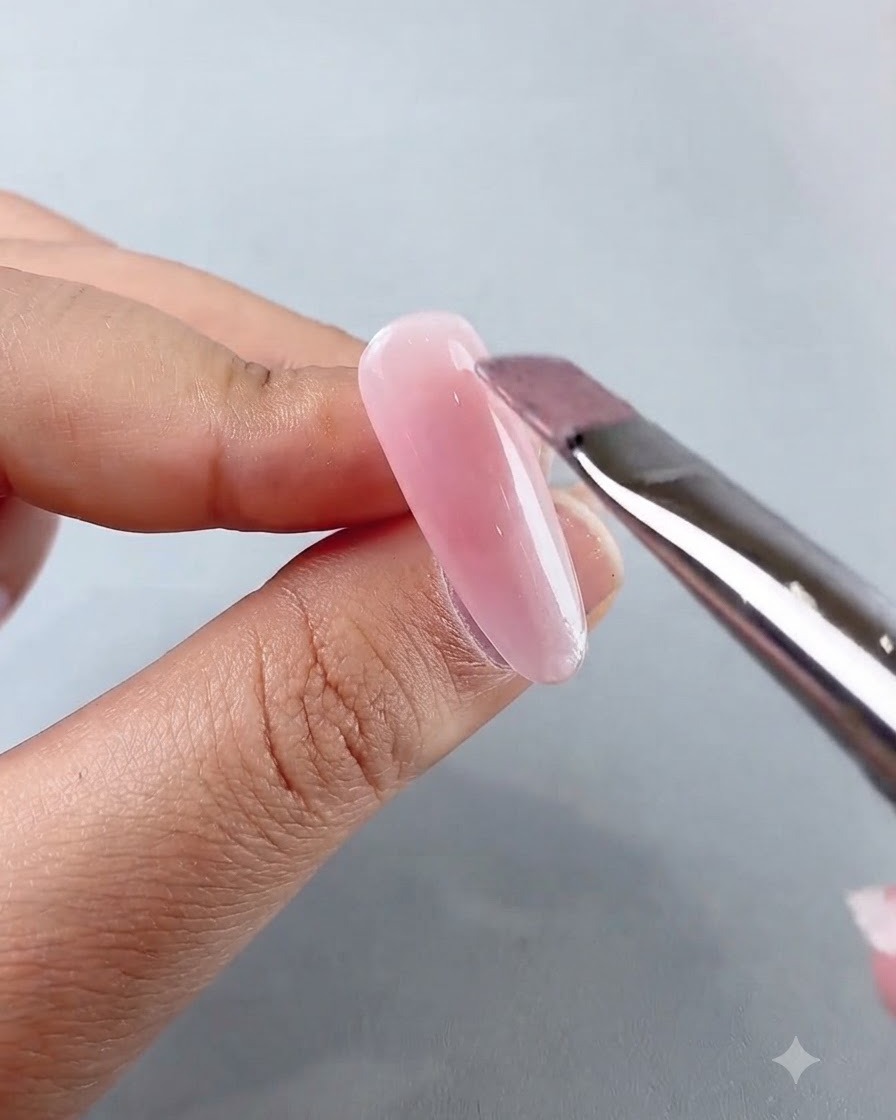
Apply a thin layer of light-transmitting #2 cat-eye gel evenly over the cured base layer, preparing the surface for magnetic particle manipulation.
Tip: Do not cure this layer yet, as you need the gel to be wet so the magnetic particles can move freely. - 5Create side cat-eye effect
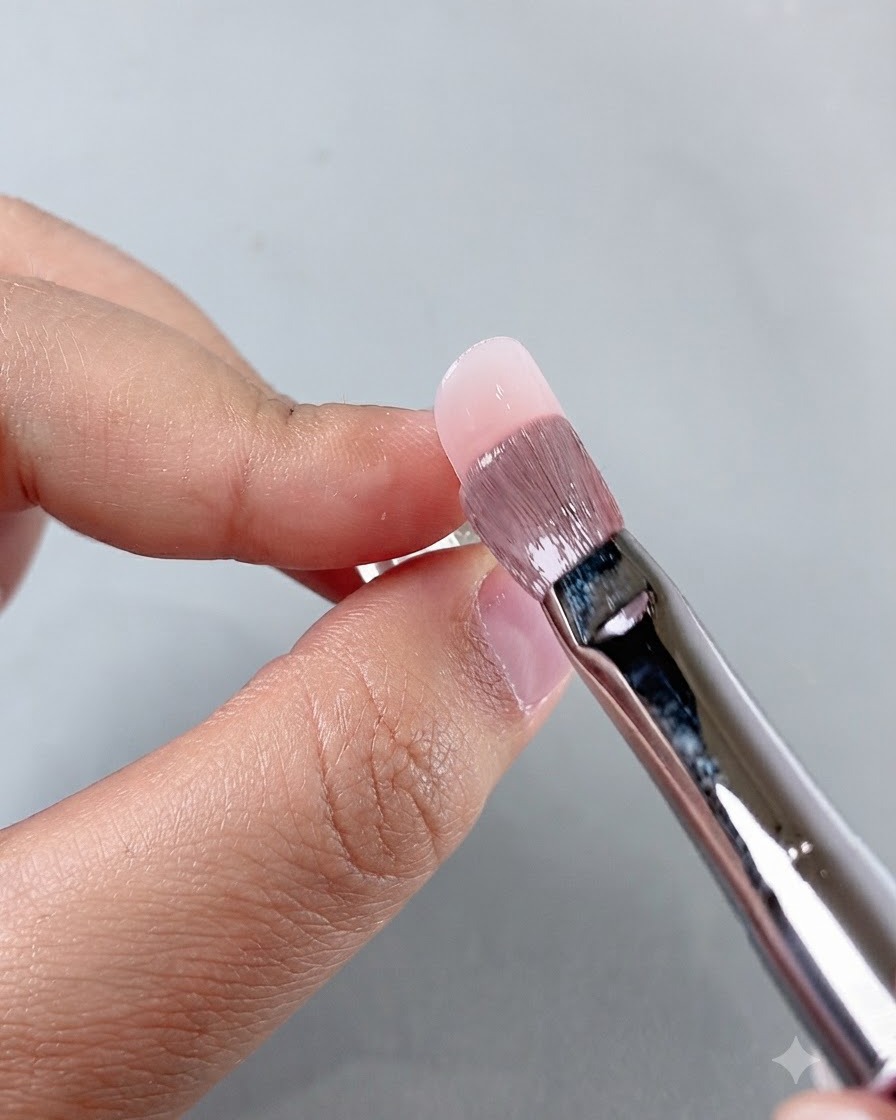
Hold a strong nail magnet close to the side of the nail to pull the reflective magnetic particles toward the edge, creating a dimensional aurora gradient stream.
Tip: Keep the magnet steady for a few seconds until the desired reflection line is sharply defined before curing. - 6Seal with non-wipe top coat
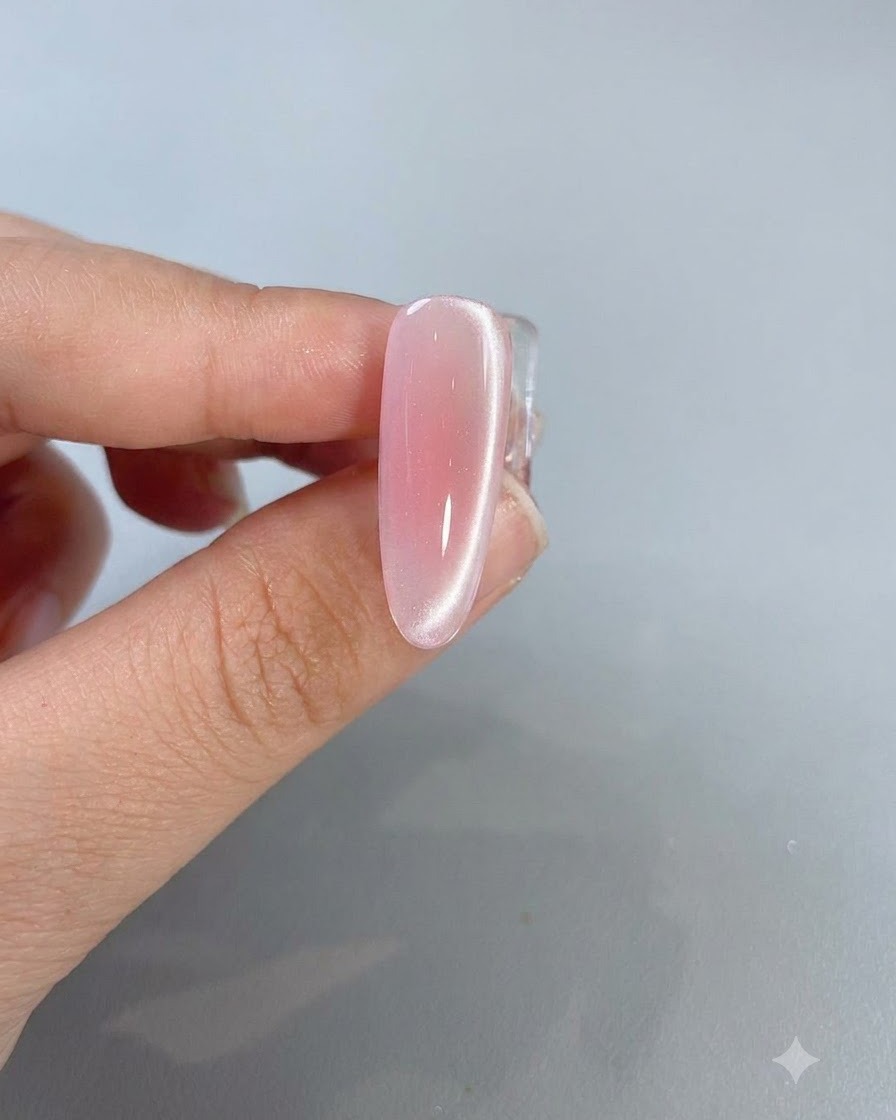
Apply a layer of non-wipe top coat over the finished cat-eye design to seal it, then cure under the lamp for about 45 seconds.
Tip: Curing a non-wipe top coat thoroughly ensures a high-gloss finish that is ready for magic mirror powder application. - 7Cure the top coat
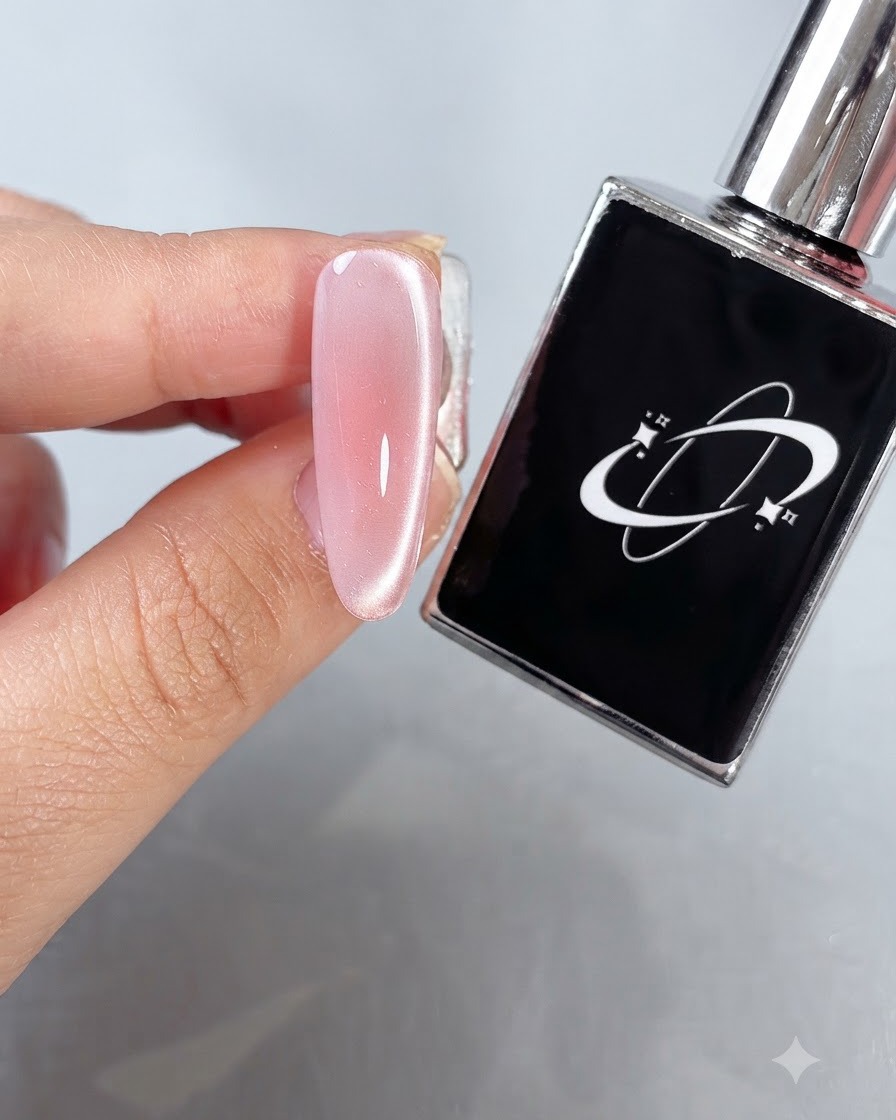
Place the nail under the UV or LED lamp and cure for approximately 45 seconds to fully harden the top coat, lock in the cat-eye and powder effects, and secure the high-gloss shine.
Tip: Ensure your hand is positioned directly under the light source to achieve an even and complete cure across the entire nail surface. - 8Apply aurora powder to the tip
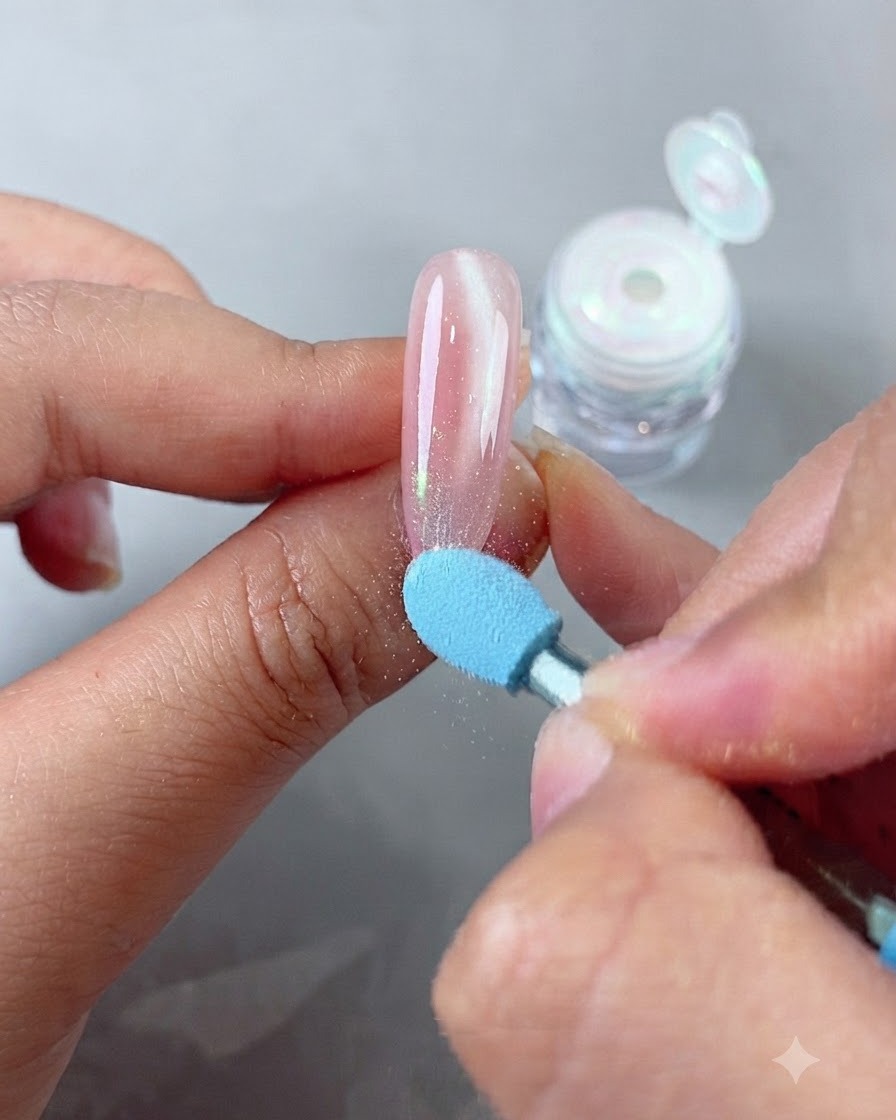
Take a small sponge applicator dipped in Lover magic mirror powder and gently rub it exclusively onto the tip of the nail. This creates a striking gradient effect that complements the cat-eye base underneath.
Tip: Use a light tapping and rubbing motion to deposit just enough powder for a luminous, shimmering shift without overwhelming the base color. - 9Buff magic mirror powder for gradient effect
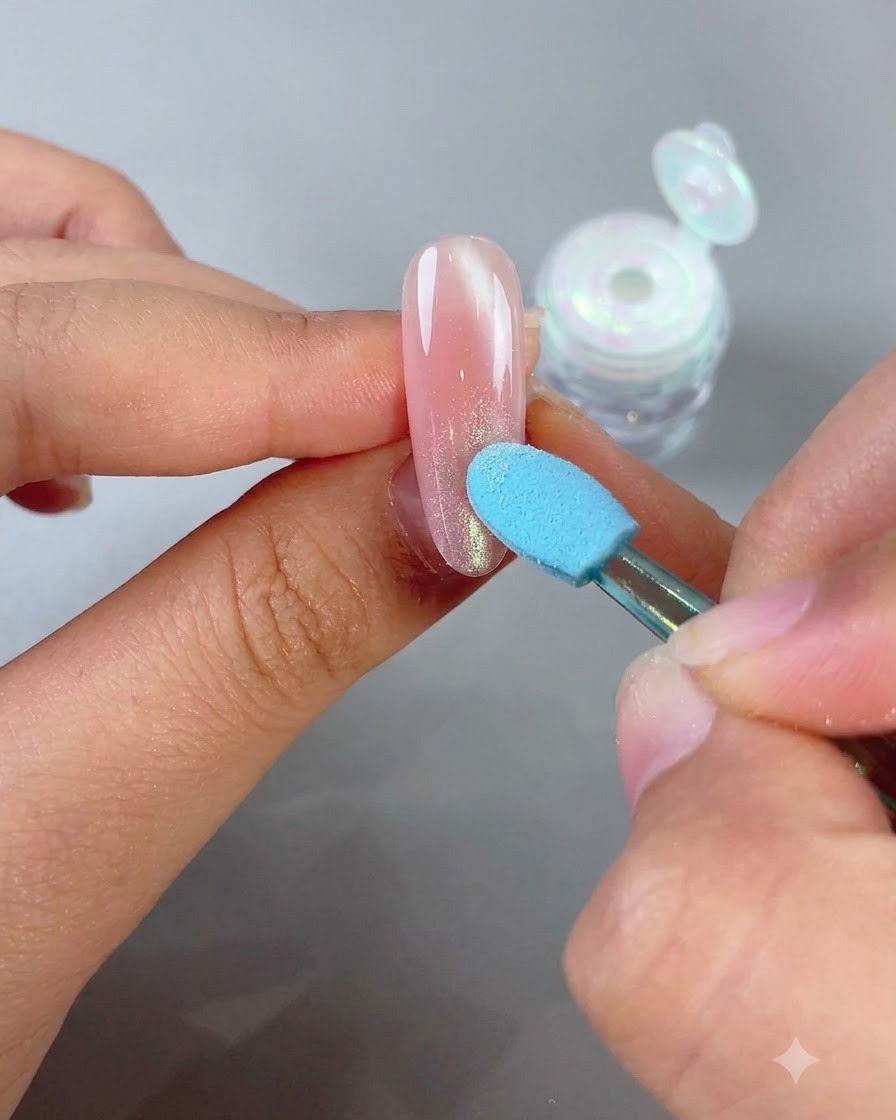
Using a sponge applicator, gently buff the Lover magic mirror powder onto the tip of the nail in a circular motion to create a smooth gradient effect. Be sure to focus the application primarily on the tip area, tapering it off toward the middle of the nail to achieve a delicate transition.
Tip: Apply light, gentle pressure when buffing the powder to ensure an even distribution without disturbing the cured top coat underneath. - 10Brush off excess powder
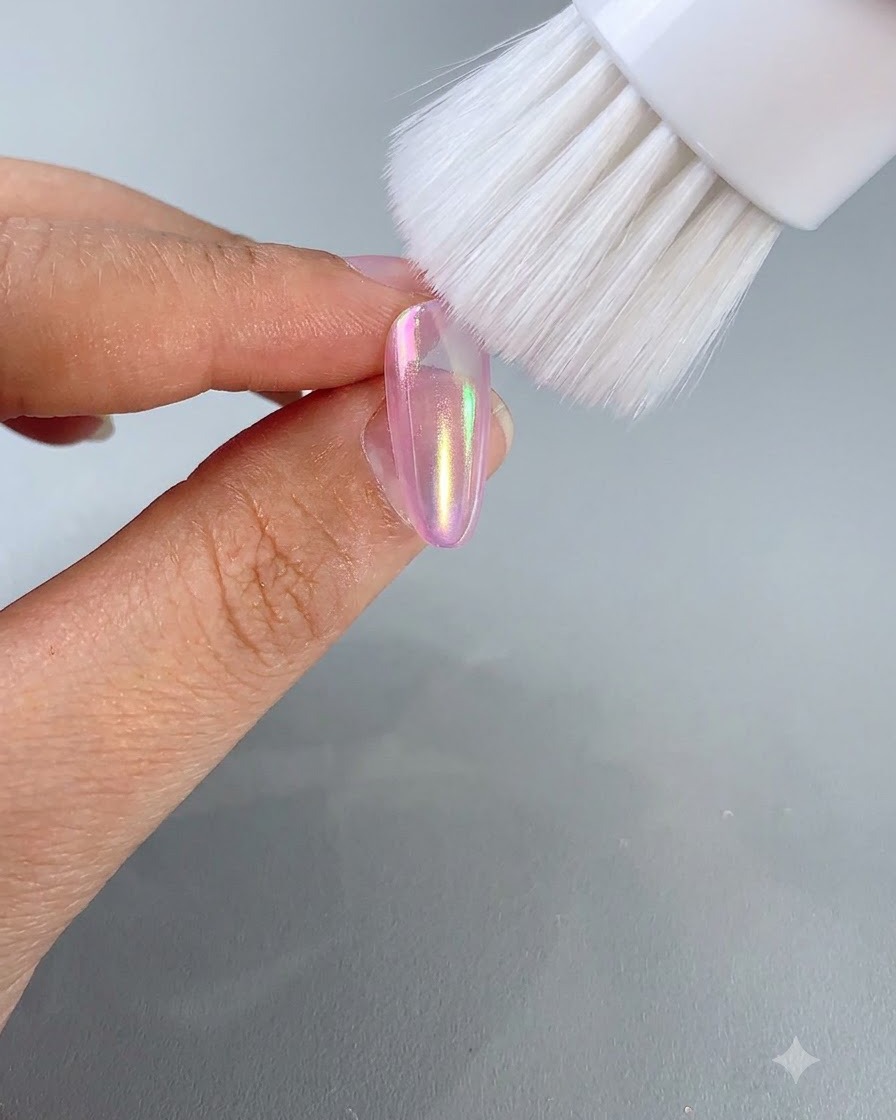
Take a soft-bristled dusting brush and gently sweep away any loose, leftover powder lingering on the nail surface or surrounding skin.
Tip: A clean, dry brush ensures that no stray glitter particles interfere with the clarity of the final top coat application. - 11Apply final shiny top coat
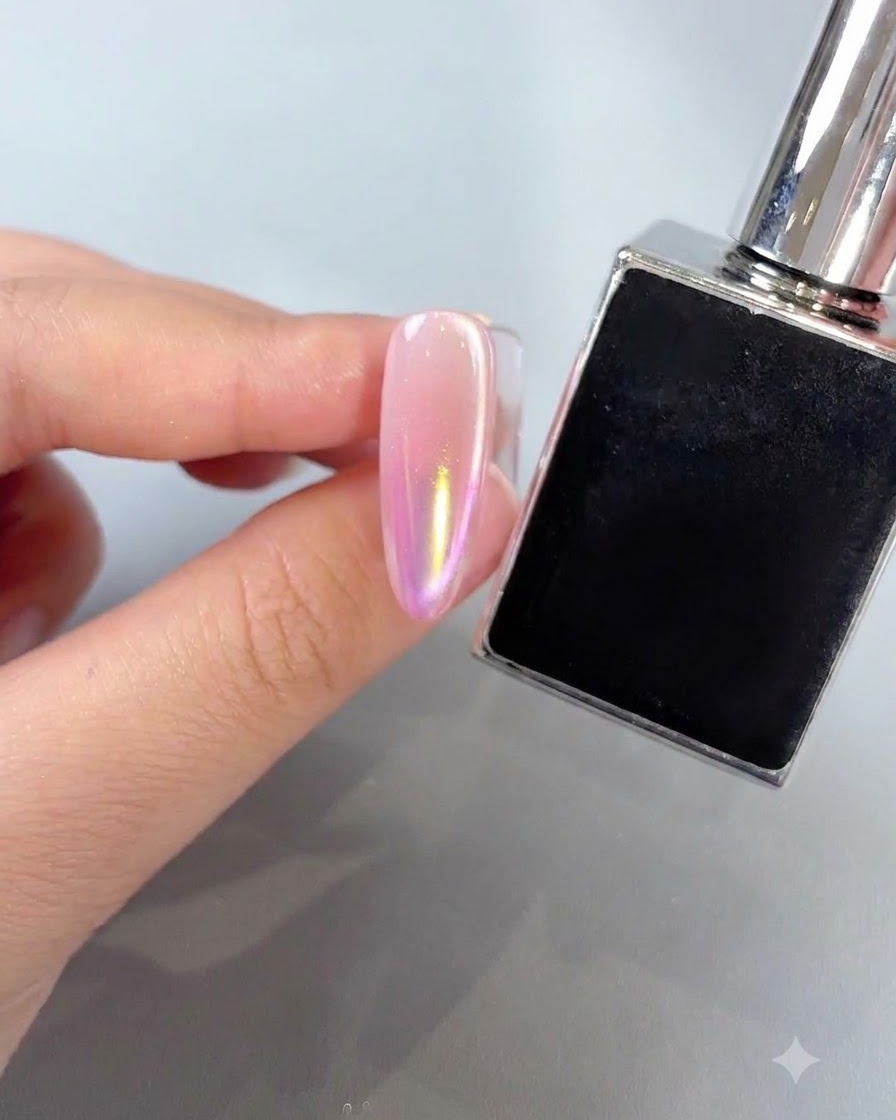
Apply a smooth layer of silky, shiny top coat over the entire nail. This seals in the aurora magic mirror powder, protects the gradient design from chipping, and delivers an ultra-glossy finish.
Tip: Cap the free edge carefully with the top coat to lock in the powder design and prevent premature peeling. - 12Apply sunset powder alternative
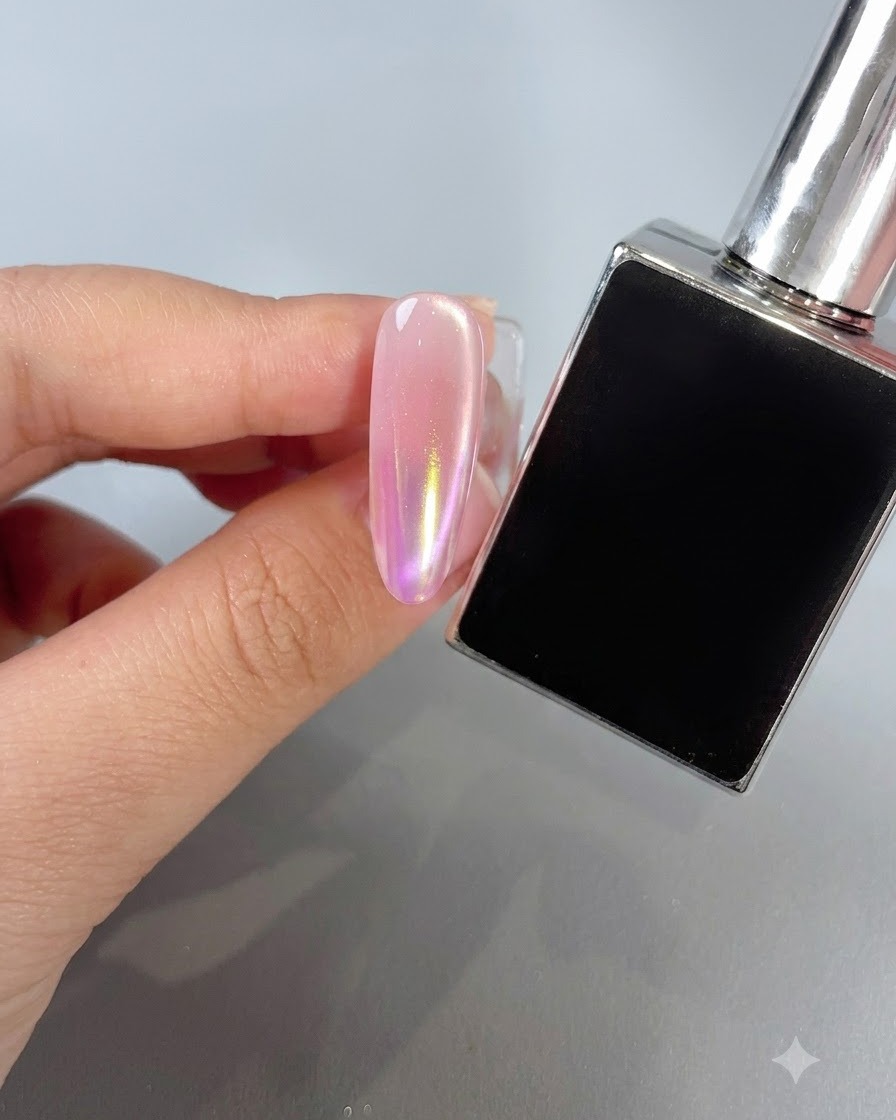
To switch up the look, take a different powder type such as the sunset powder on a sponge applicator and apply it to the tip of a new nail. This creates a warm sunset atmosphere variation using the same technique.
Tip: You can interchange powders like ice island powder or sunset powder to easily customize the final color shift to your preference. - 13Apply ice island powder to a new nail
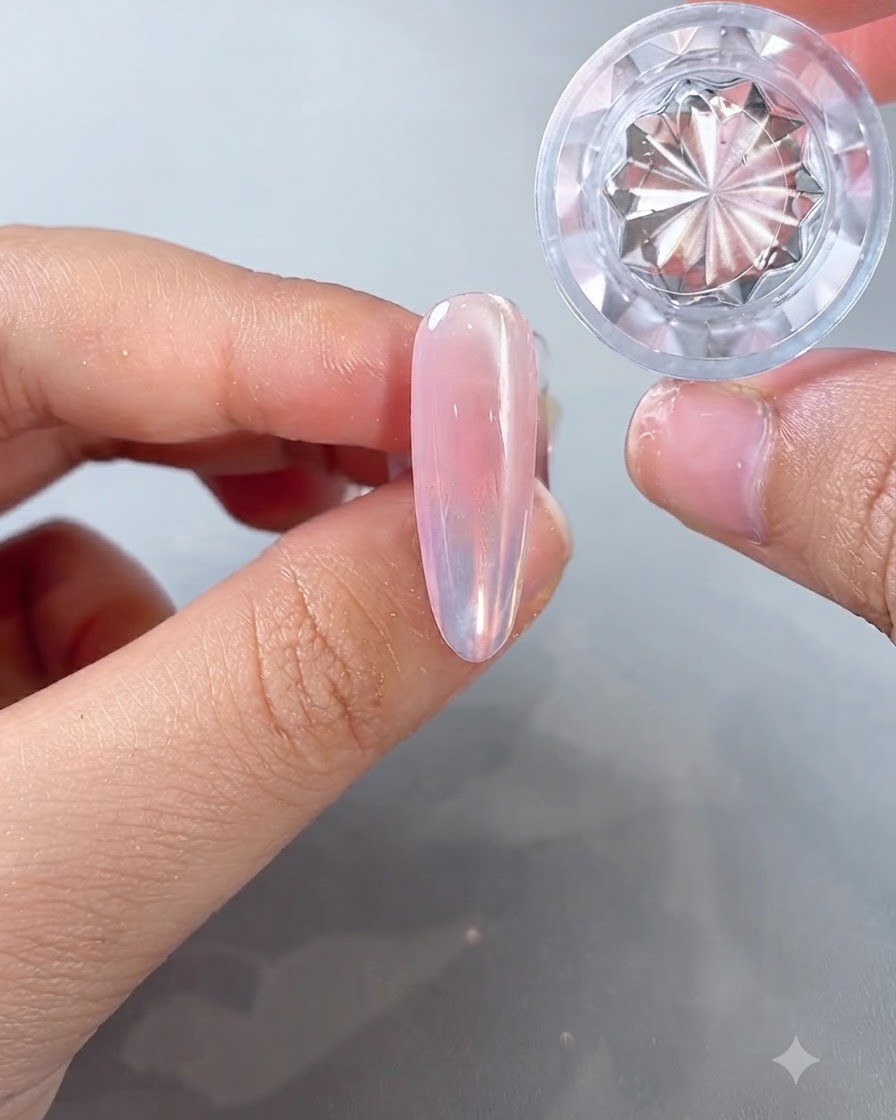
Take a new prepped nail and apply a third type of aurora powder, specifically the ice island color, to the tip. This variation offers an alternative styling choice to customize the final look with a clean and advanced appearance.
Tip: You can interchange different powders such as sunset powder or ice island powder depending on the desired atmosphere and finish.