Taro Purple Milky Glass Chrome Aurora Nails — Step-by-Step Tutorial
Achieve a stunning metallic pink and purple chrome aurora finish over a translucent taro purple base with this luxurious step-by-step gel nail tutorial.
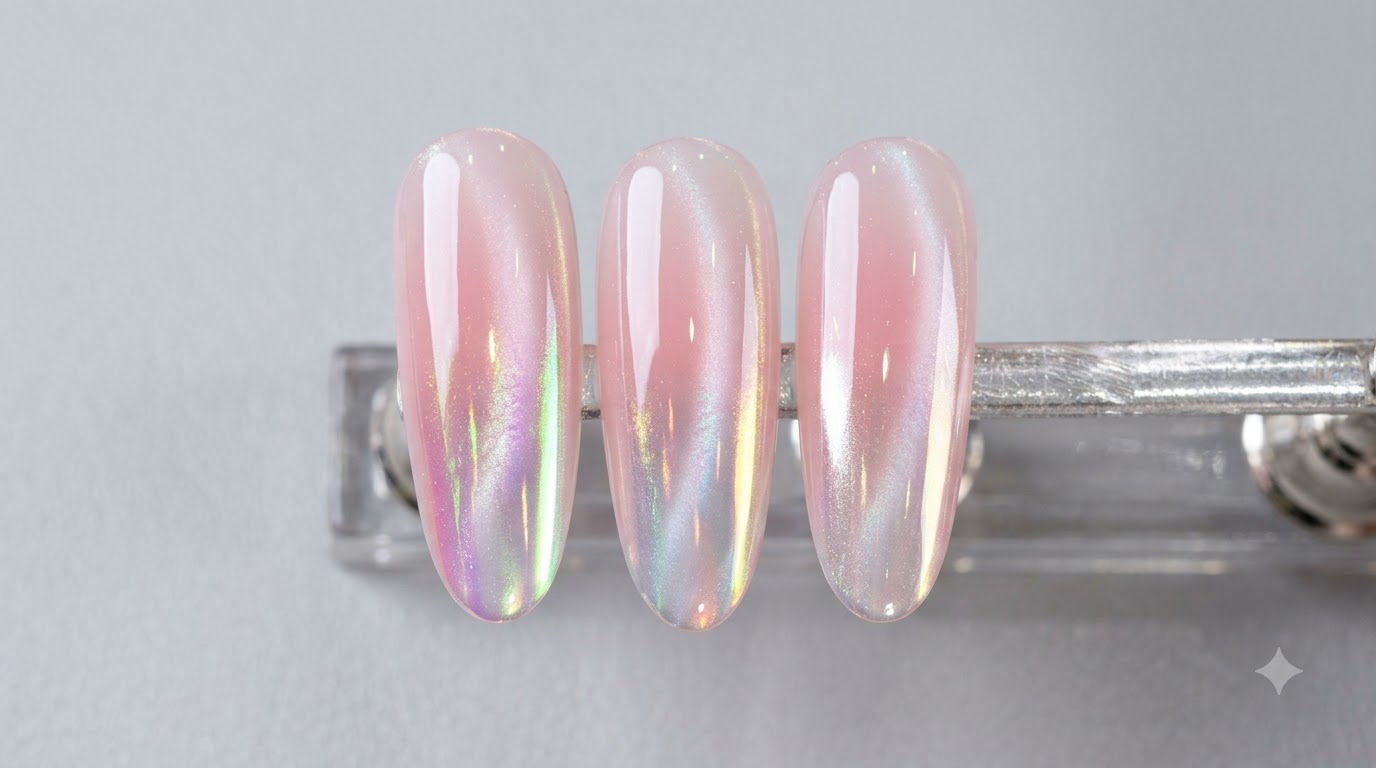
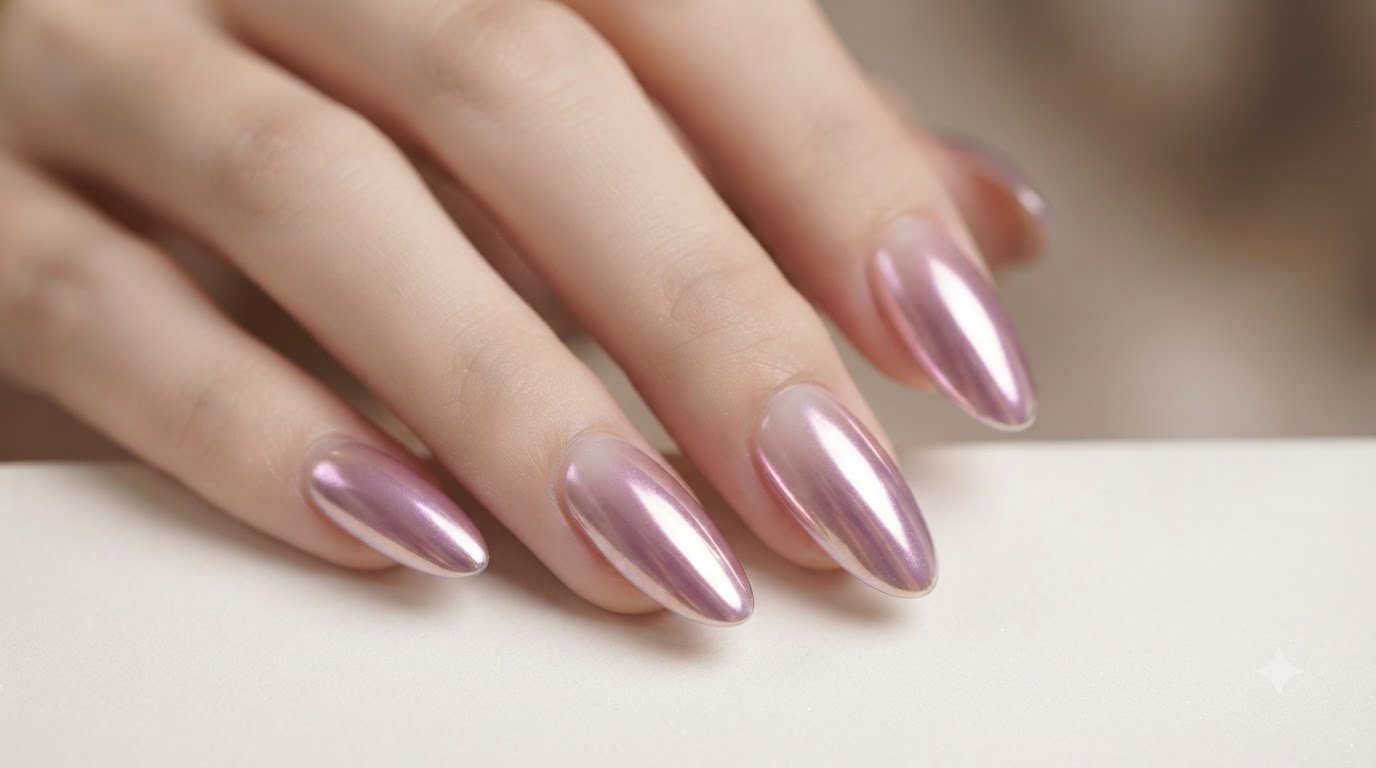
Embrace a gentle yet luxurious aesthetic with taro purple milky glass chrome aurora nails. This sophisticated style pairs a translucent purple foundation with reflective mirror chrome powder to create a high-shine, multidimensional look that catches the light from every angle.
Steps
- 1Apply milky glass purple base coat
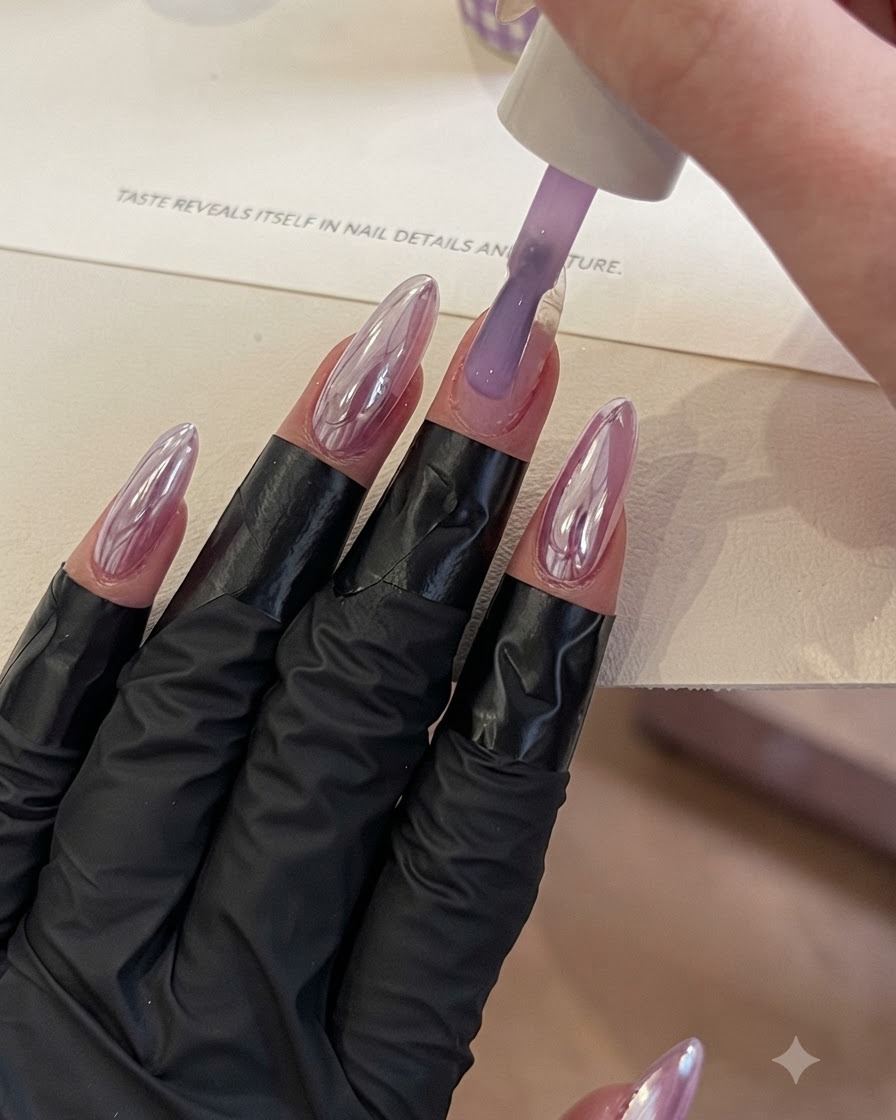
Using the brush applicator, apply a thin and even layer of milky glass purple gel onto the prepared nail plate. Ensure smooth coverage across the surface while keeping the layer thin to prep for the gradient effect.
Tip: Keep the base layer thin and controlled to prevent pooling near the cuticles. - 2Place building gel in the center
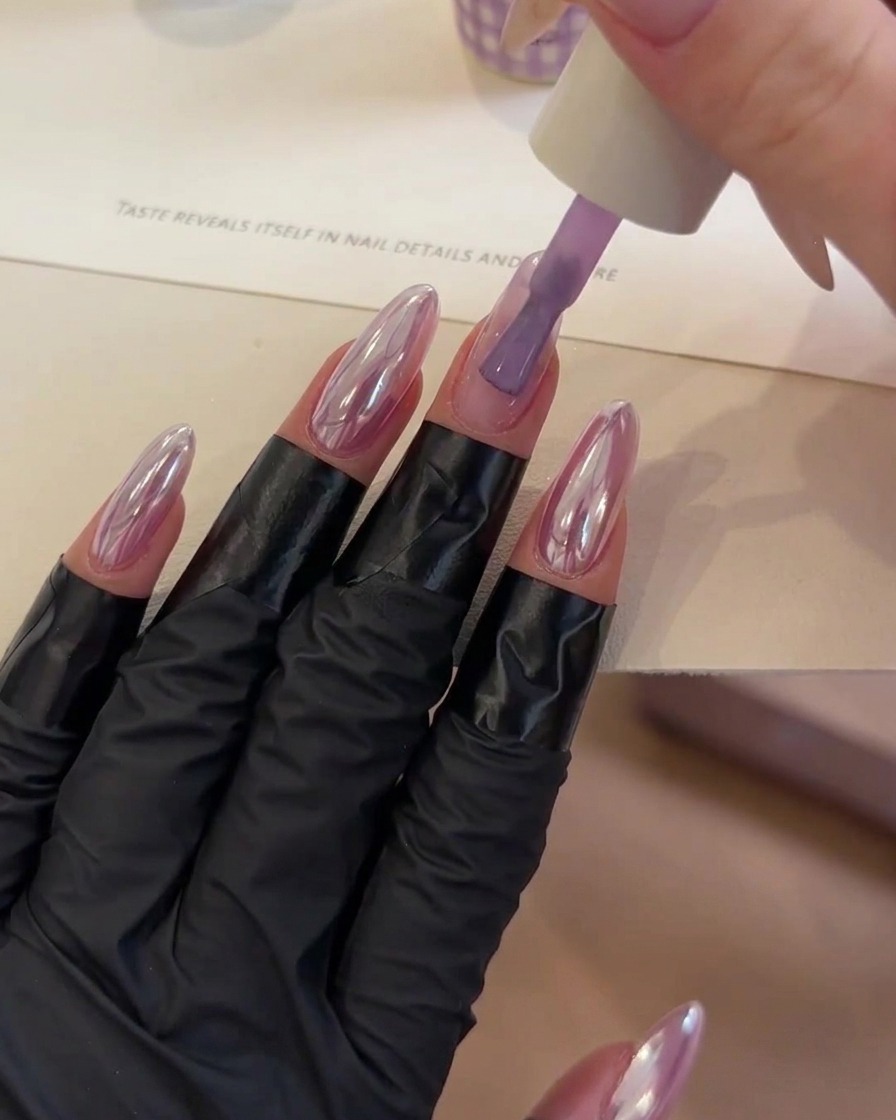
Pick up a small dollop of building or clear gel with your brush and place it directly onto the middle portion of the nail plate. This serves as the foundation for building the desired volume and gradient effect.
Tip: Position the product carefully in the center to maintain balance before blending outward. - 3Blend and smooth gel for gradient
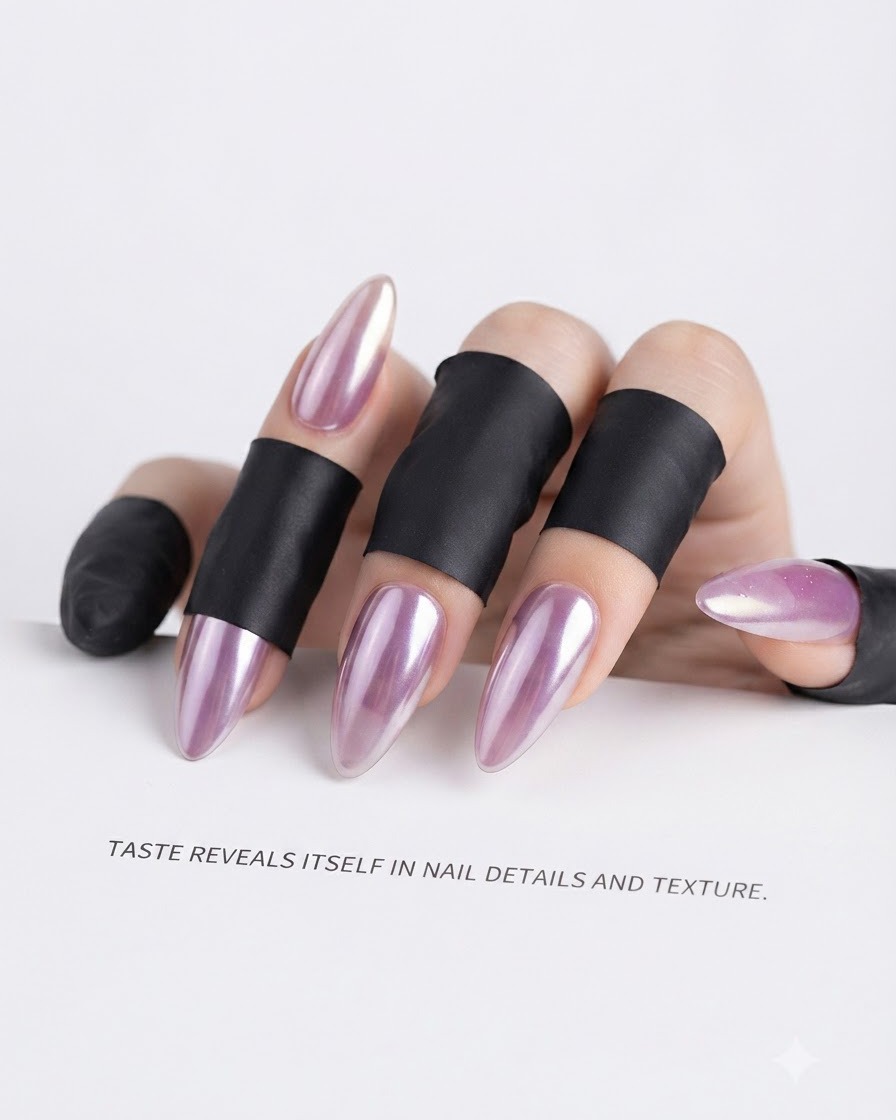
Using a fine liner brush and building gel techniques, gently smooth and blend the product outward across the nail plate. This movement creates a seamless gradient effect with a soft, luxurious finish.
Tip: Light, sweeping strokes help distribute the gel evenly without creating harsh lines. - 4Cure the gel layer
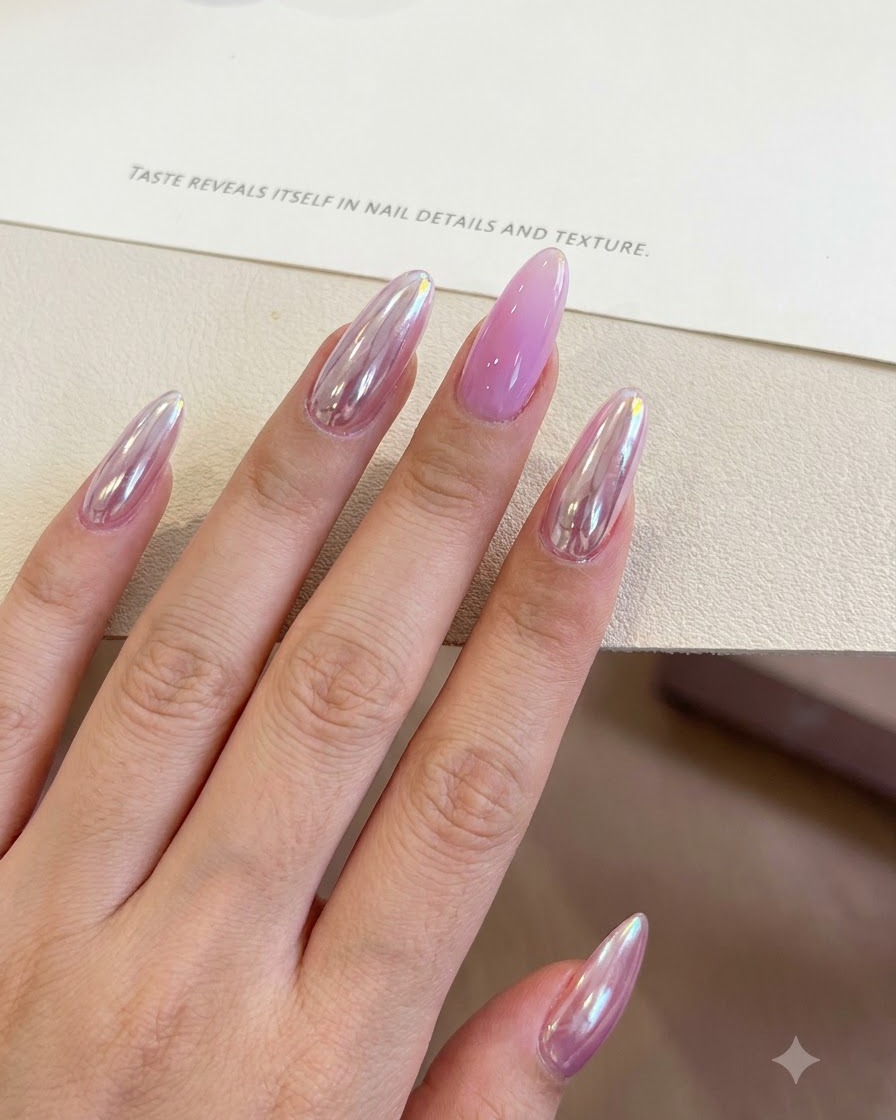
Position the hand under a portable UV/LED mini lamp to thoroughly cure the applied gel layer. Follow standard curing times to ensure the product hardens completely and securely.
Tip: Ensure the hand is placed evenly under the light source to cure all fingers uniformly. - 5Apply top coat
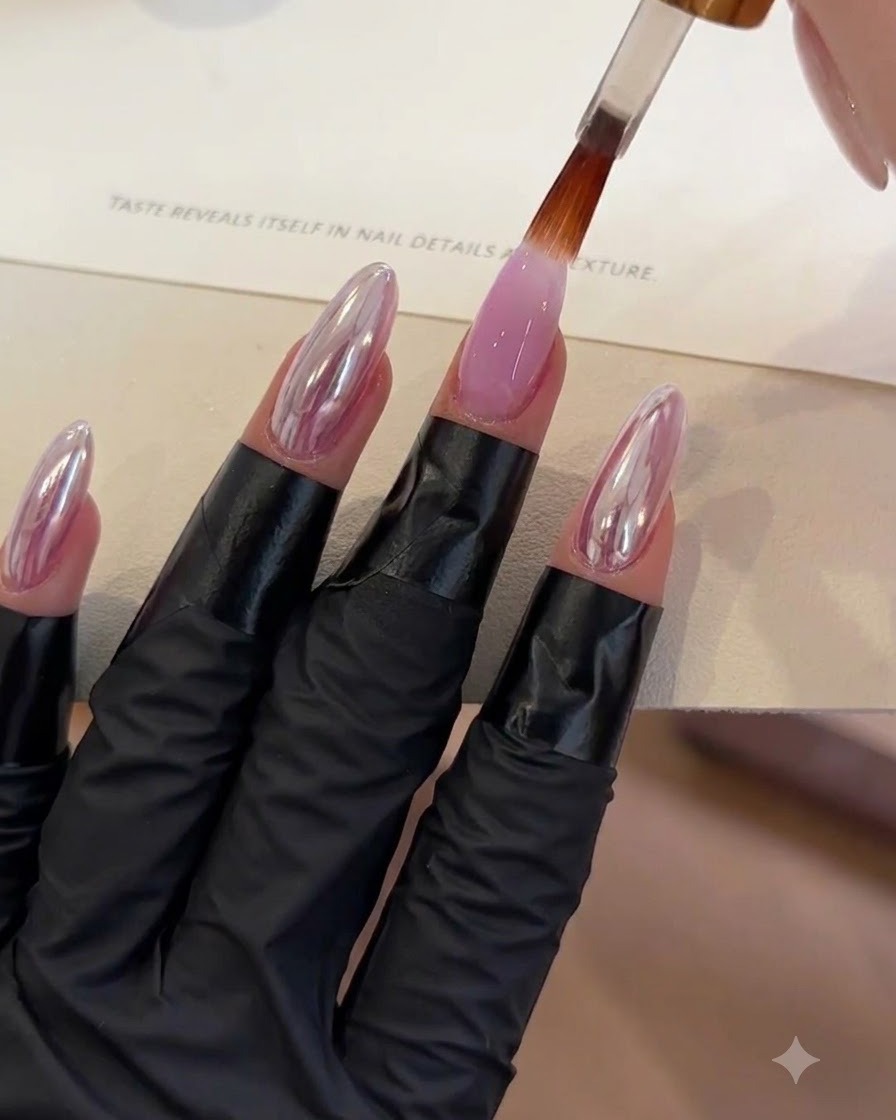
Apply an even layer of top coat over the cured nail using the brush applicator. This seals in the underlying layers and prepares the surface for subsequent chrome or powder effects.
Tip: Cap the free edge with top coat to prevent chipping and ensure long-lasting wear. - 6Cure the top coat
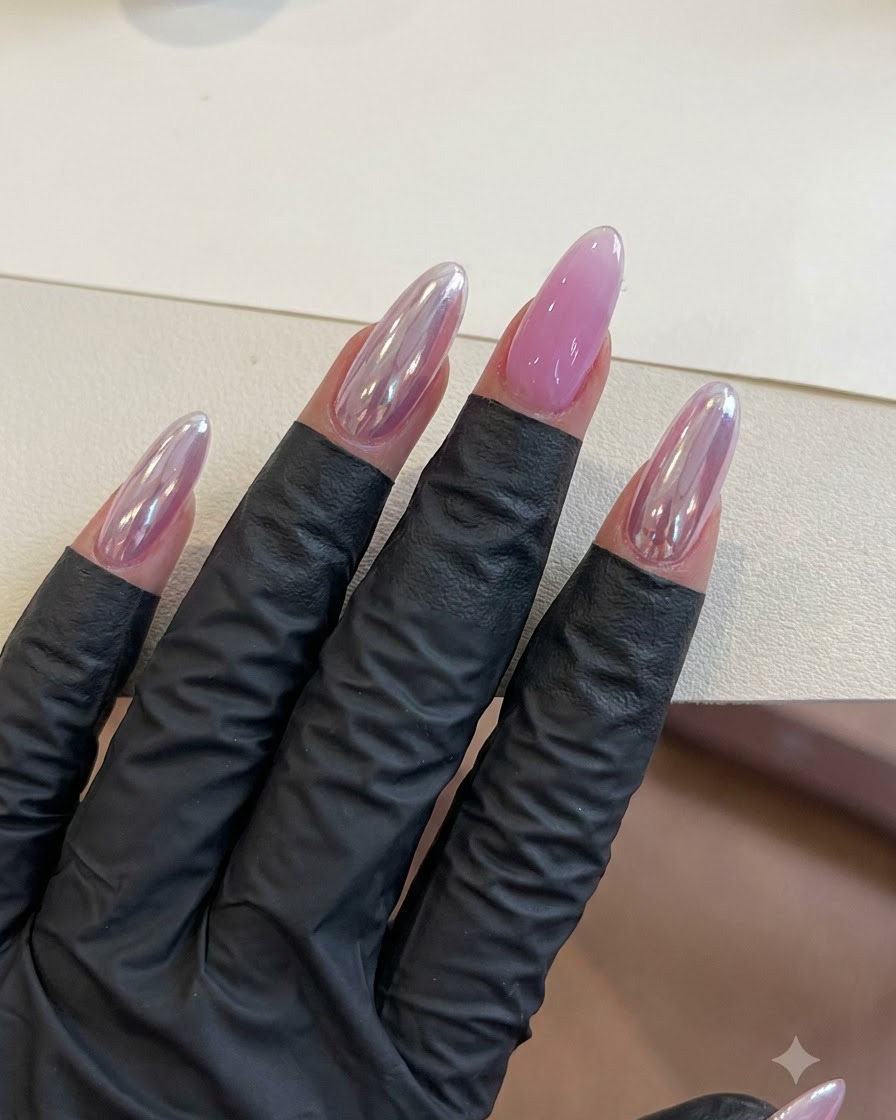
Place the hand under the UV/LED lamp to cure the top coat layer. This locks in the protection and prepares the surface for the next mirror powder application step.
Tip: Ensure complete curing of the top coat so the surface is tacky-free or properly prepared for powder adherence depending on product specifications. - 7Apply sky mirror powder
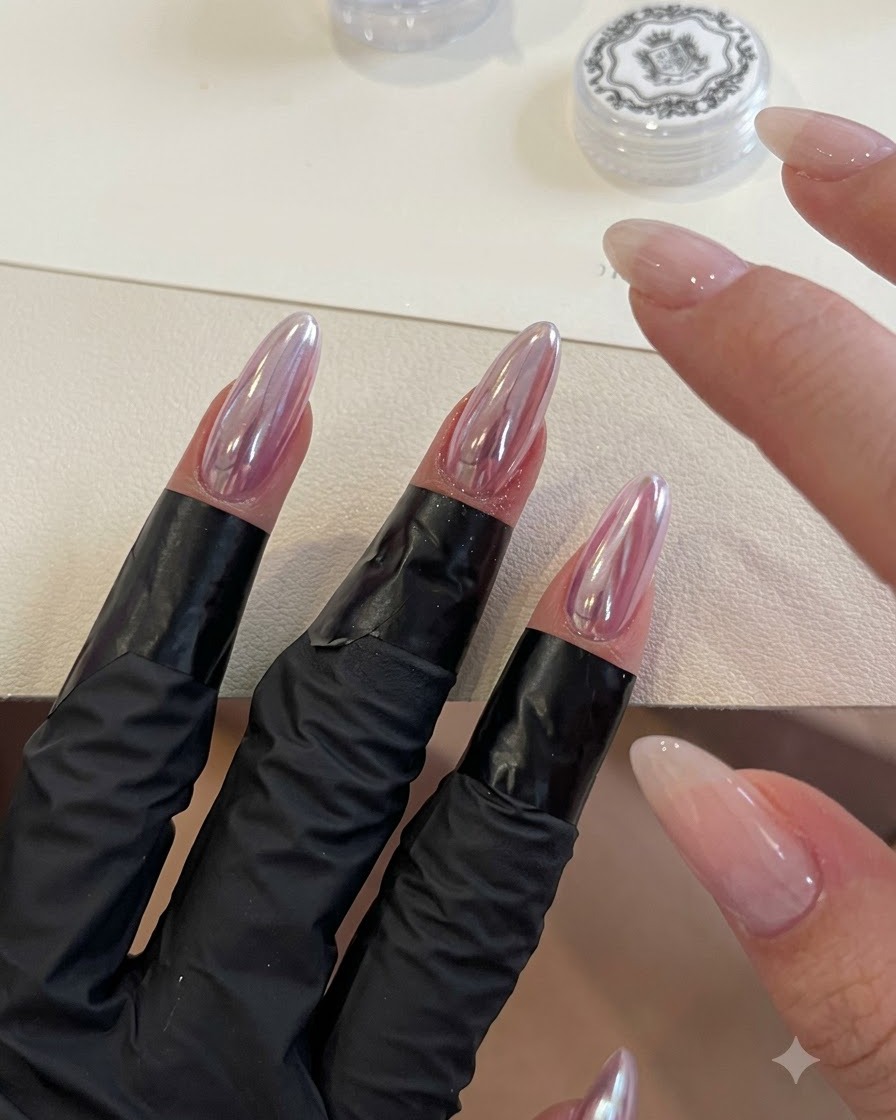
Using a sponge applicator, gently rub sky mirror powder over the cured top coat surface until a brilliant, reflective chrome finish appears. Dust off any excess powder before sealing.
Tip: Apply the powder while the surface still has a slight warmth or tacky residue from the cure if required by the specific powder type, ensuring an ultra-smooth shine. - 8Apply final sealing top coat
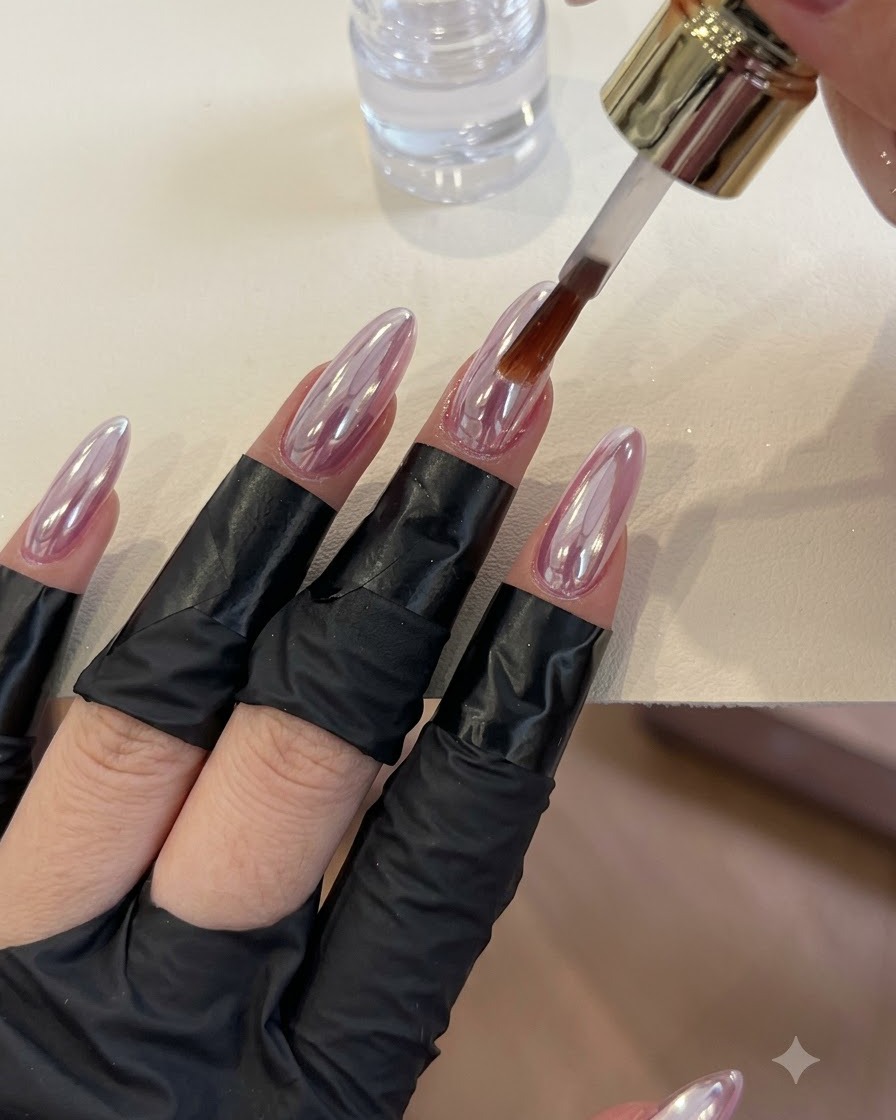
Apply a generous yet even layer of sealing top coat over the polished chrome surface, carefully capping the free edge to protect the powder from chipping. Cure completely under the UV or LED lamp.
Tip: Capping the free edge is essential with chrome finishes to prevent the powder and top coat from peeling at the tips.