Sunset Orange Cat Eye
Gradient Long Almond Nails Tutorial
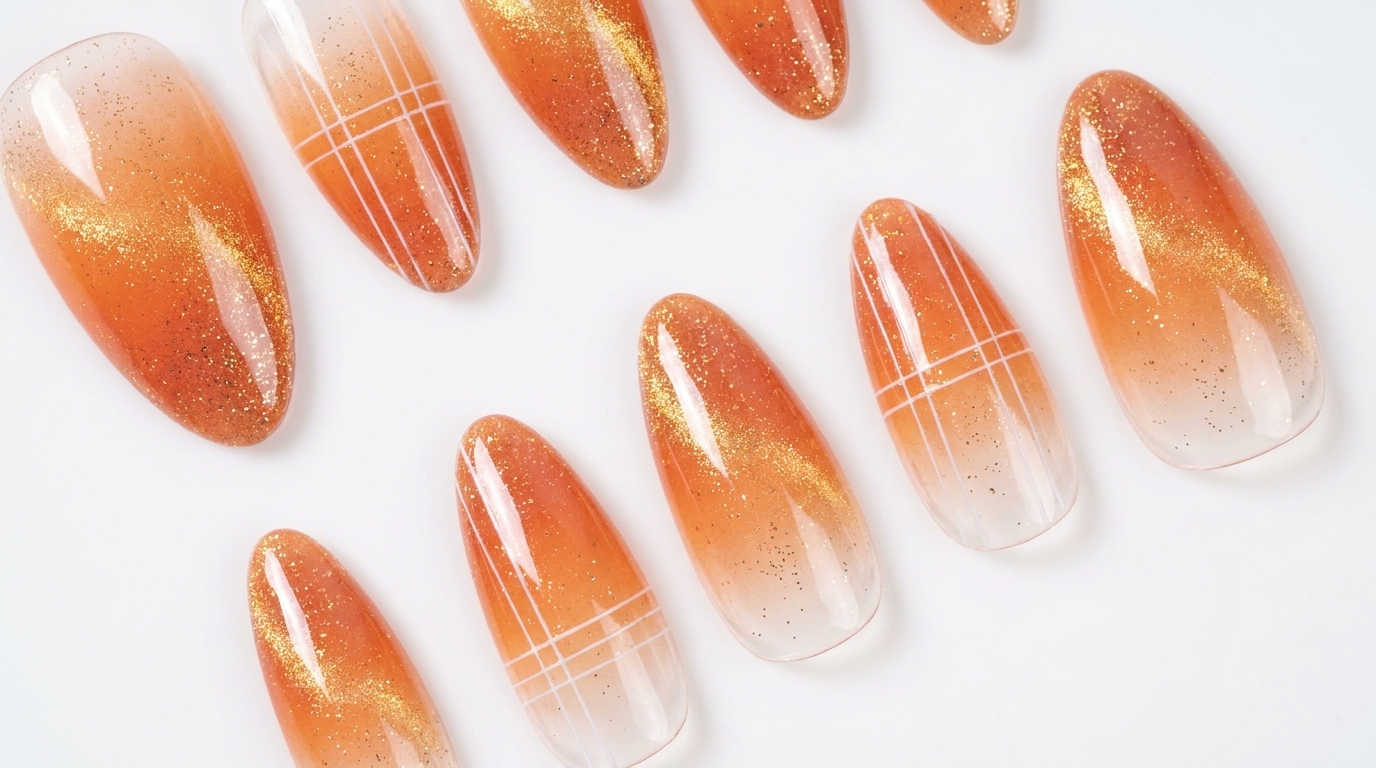
Create a stunning sunset orange gradient with a glass bead cat eye effect and custom glitter accents on long almond nails using easy beginner techniques.
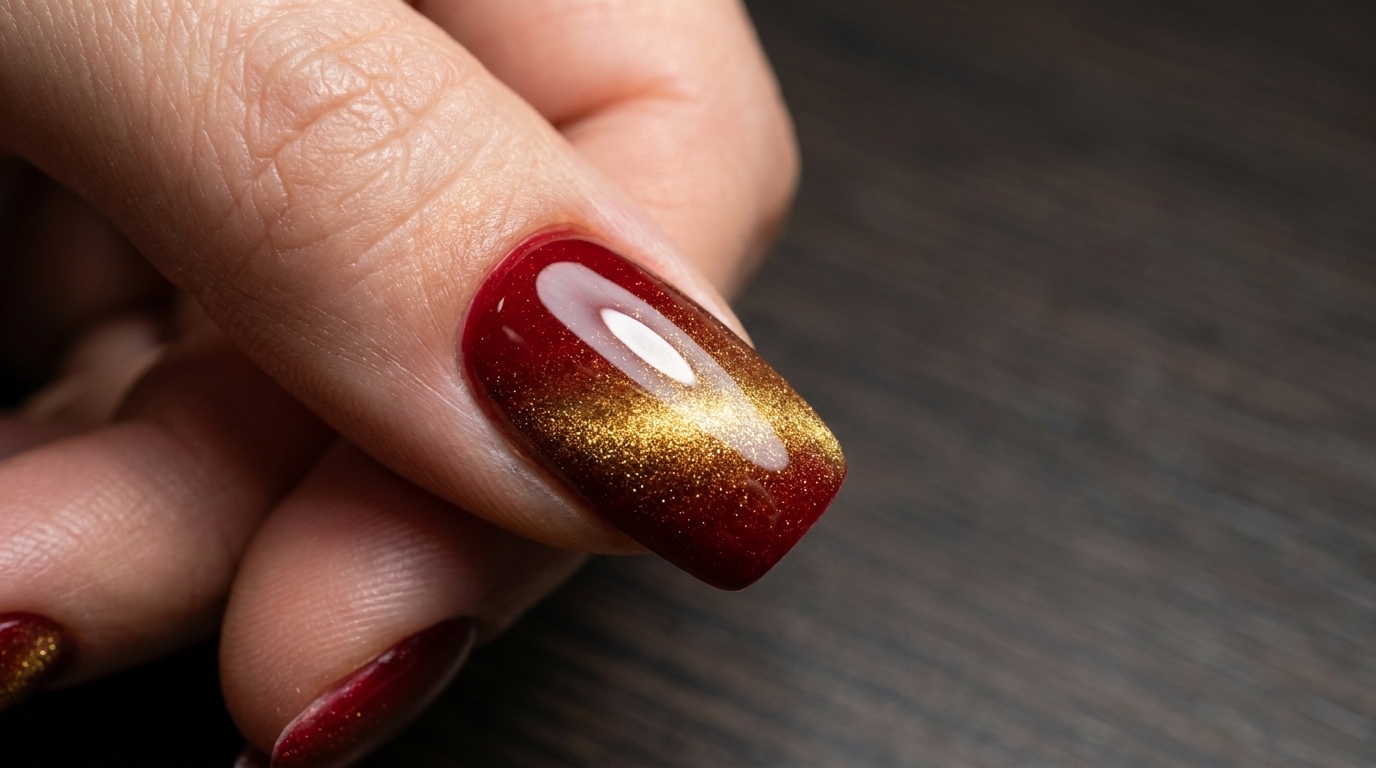
Sunset orange nails combine warmth and vibrant dimension, making them a standout choice for any season. By pairing a translucent milky base with a dynamic cat-eye glass bead reflection and custom glitter linework, this look achieves salon-quality depth right at home.
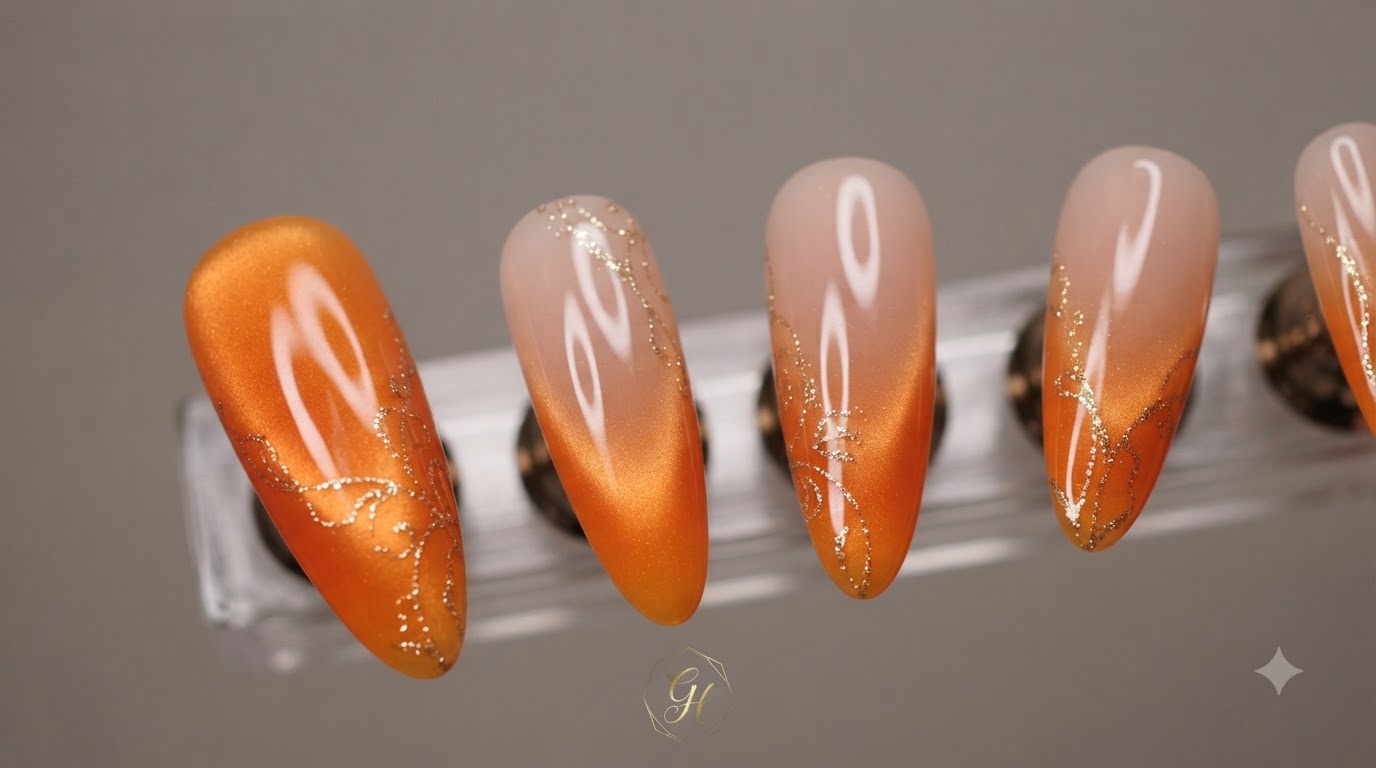
Steps
- 1Apply clear nail tip
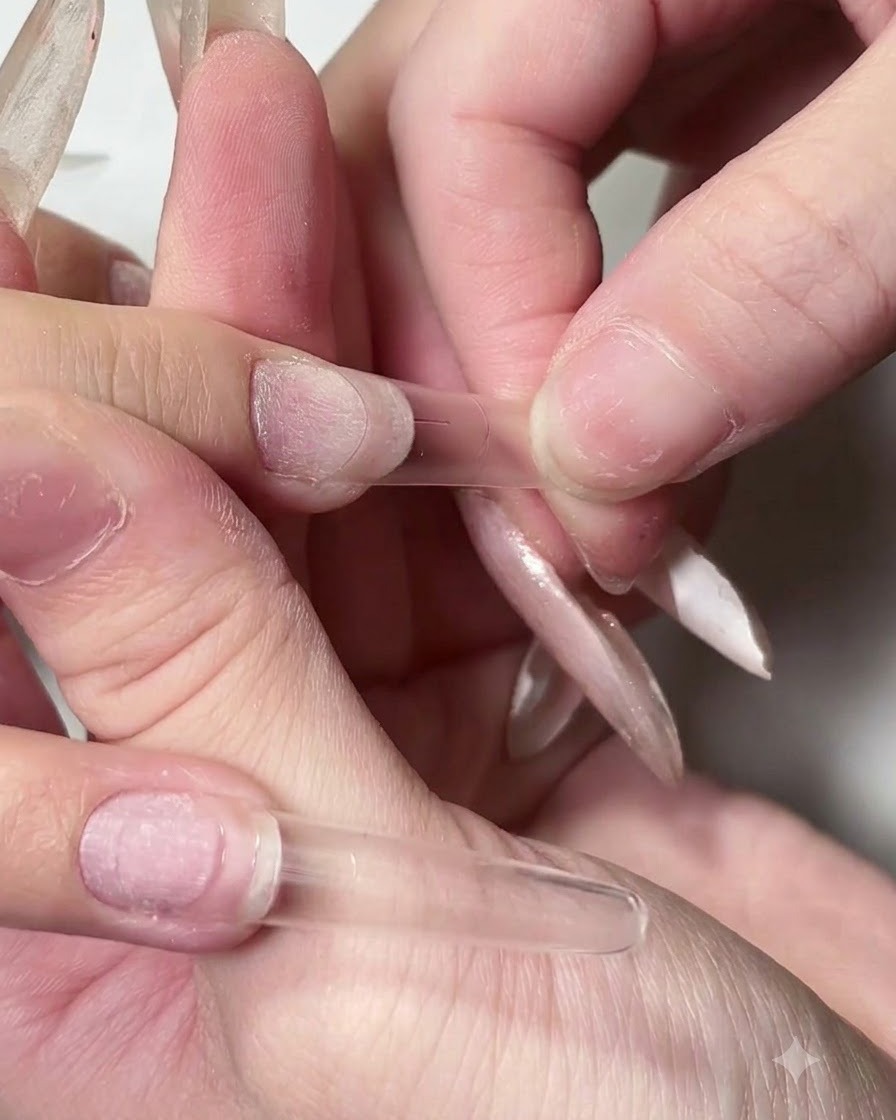
Position the clear nail tip onto the prepared natural nail plate, aligning it properly at the cuticle area to ensure a seamless fit. Press down gently to eliminate any air bubbles before curing.
Tip: Ensure the nail plate is completely dehydrated and free of oils before application for maximum adhesion. - 2Open 4-in-1 nail glue adhesive
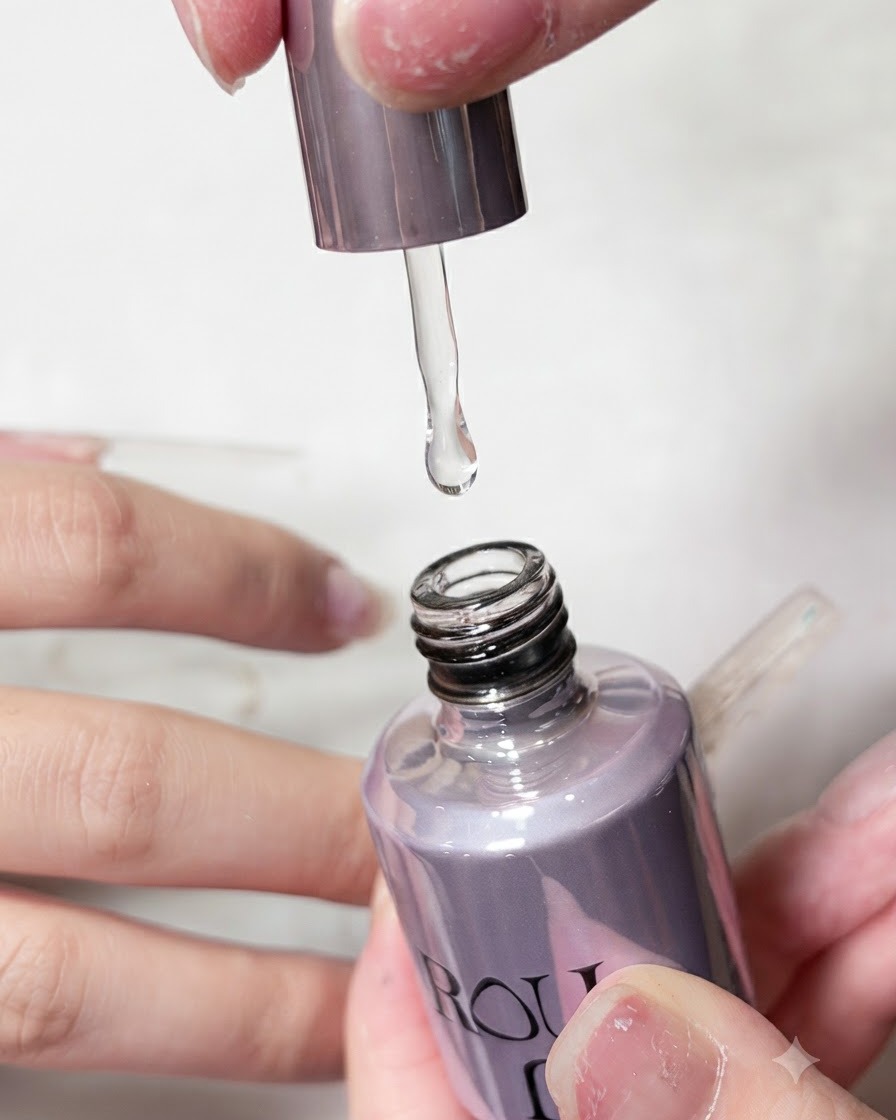
Unscrew the bottle of the 4-in-1 nail glue adhesive, which features a medium-slow fluid consistency ideal for precise control. This versatile product allows for easy handling and strong encapsulation.
Tip: A medium-slow fluidity adhesive gives beginners plenty of time to adjust the tip placement before curing. - 3Press down on points A and B
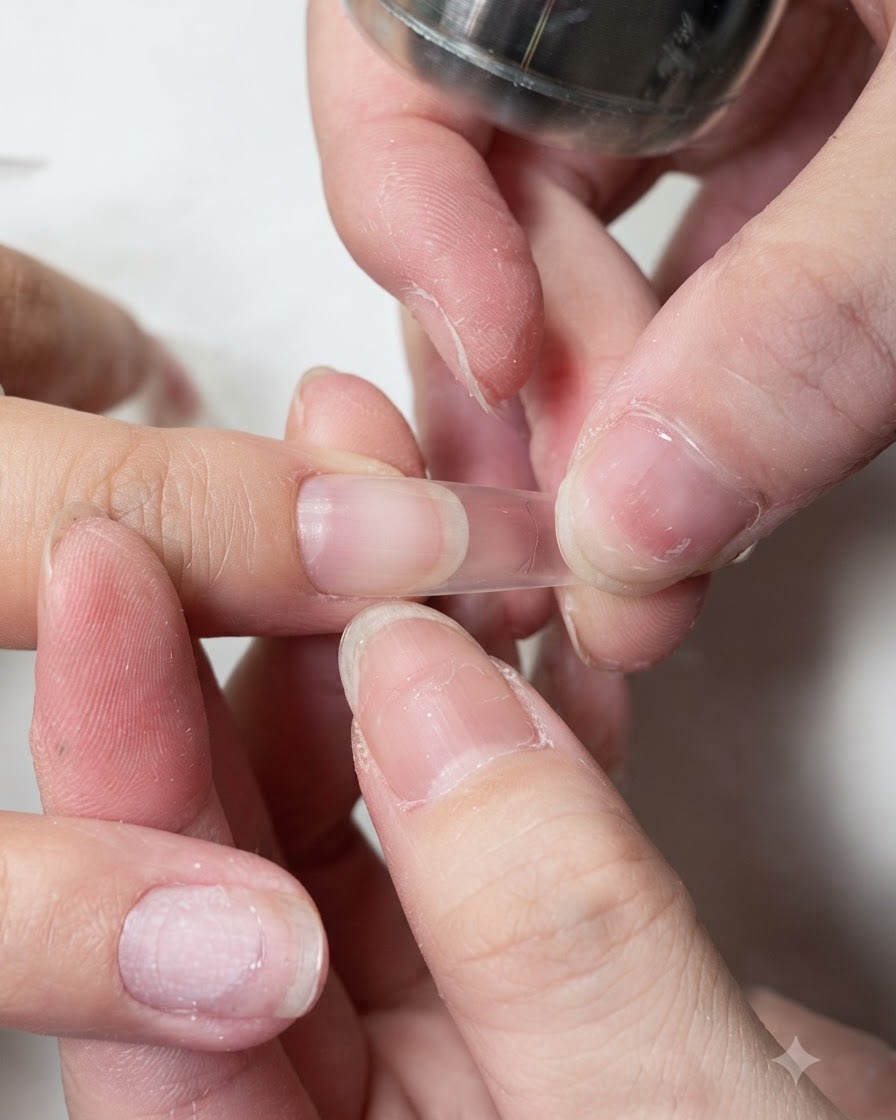
Firmly press down on points A and B on the sides of the nail tip to secure it snugly onto the nail bed. This technique ensures a tight fit and prevents lifting or air gaps.
Tip: Pressing specific stress points helps the extension conform perfectly to the natural curvature of the nail. - 4Cure nail tip adhesive
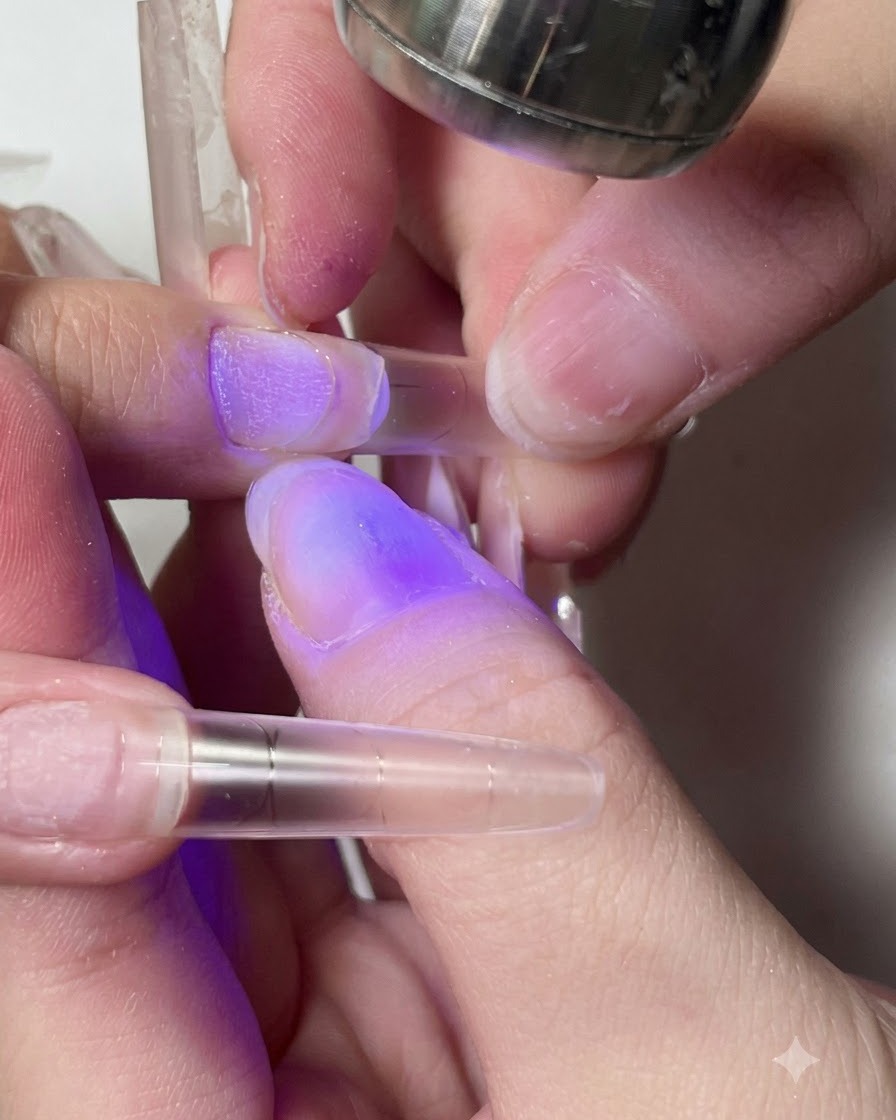
Hold a portable purple UV/LED lamp over the applied nail tip to flash-cure the adhesive. Keep your finger steady to maintain proper placement while the gel sets.
Tip: Flash-cure for a few seconds to lock the tip in place before doing a full cure later. - 5Pinch and shape the nail
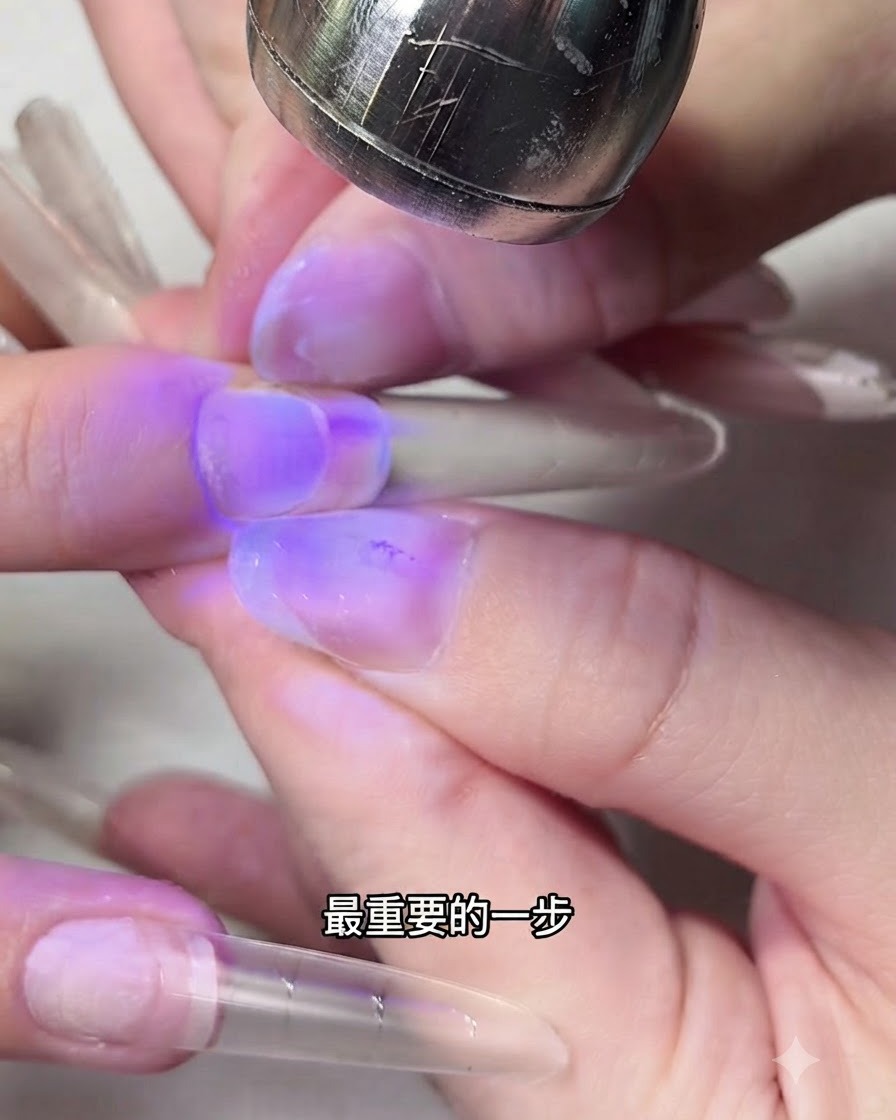
While curing under the UV/LED lamp, pinch points A and B inwards from head to tail to create a super slim, elegant profile. This important shaping step guarantees a refined look.
Tip: Pinching while the gel is partially curing helps achieve a narrower, professional C-curve. - 6Demonstrate adhesive texture
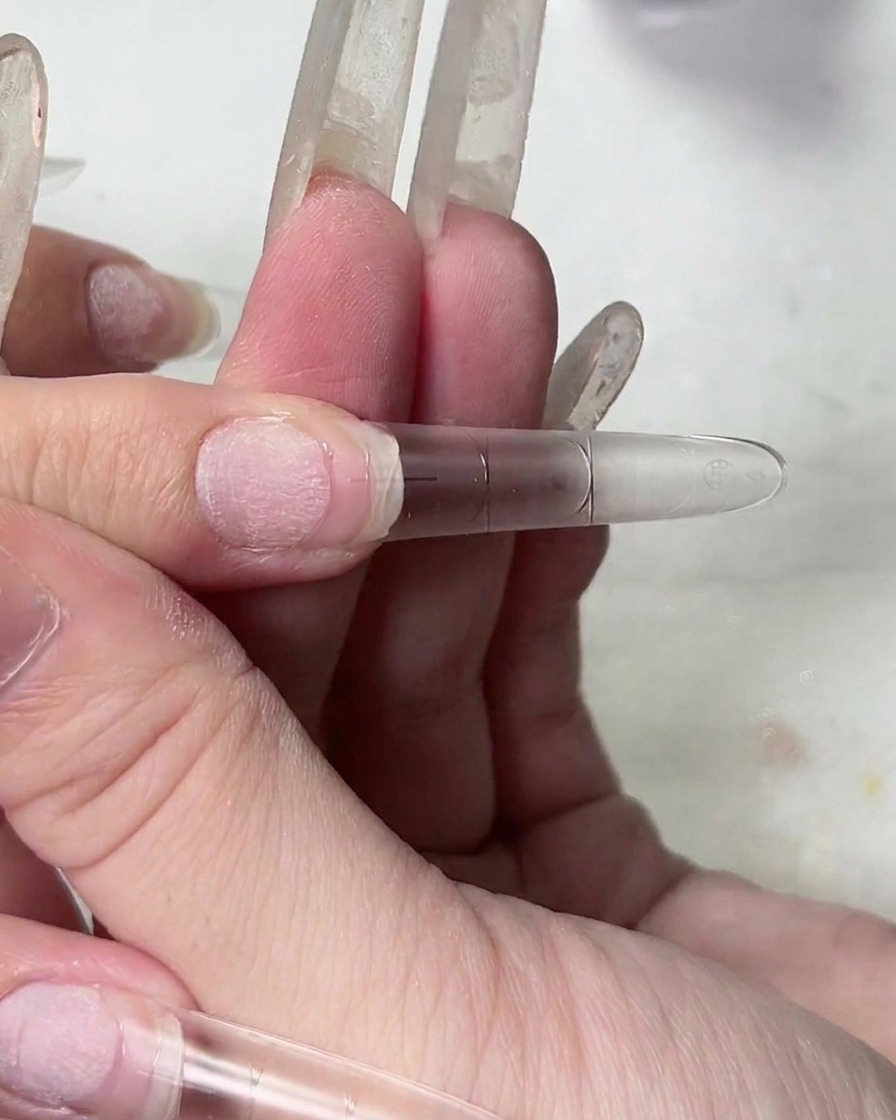
Showcase the strong and stringy consistency of the adhesive by lifting a removed nail tip. This unique texture ensures secure placement and allows the product to double as a reliable base gel.
Tip: A stringy adhesive formula provides better control and encapsulation when pressing down nail tips. - 7Apply base color for natural gradient
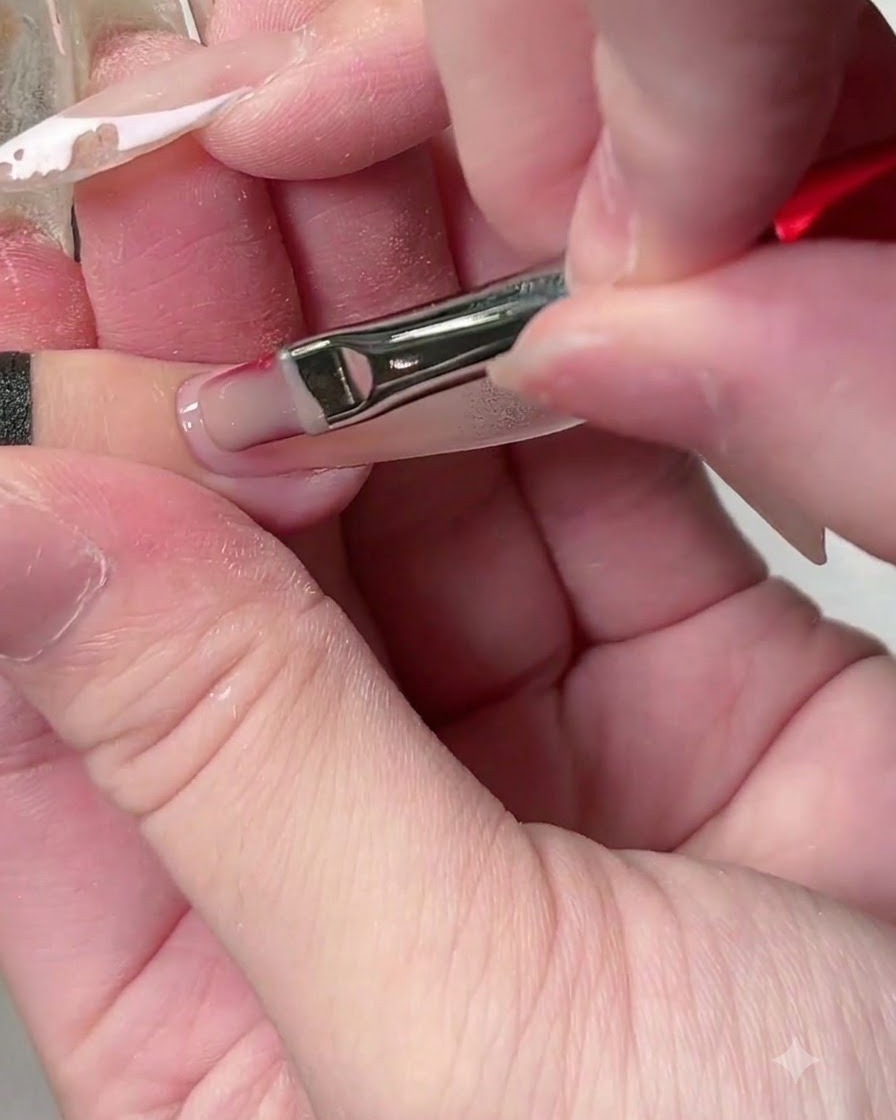
Apply a thin layer of base color specifically on the rear edge of the nail bed to establish an immediate gradient effect without needing to paint all the way to the bottom, ensuring a more translucent appearance.
Tip: Focusing the color only on the back edge keeps the base translucent and prevents the gradient from looking heavy. - 8Apply crystal cat-eye gel
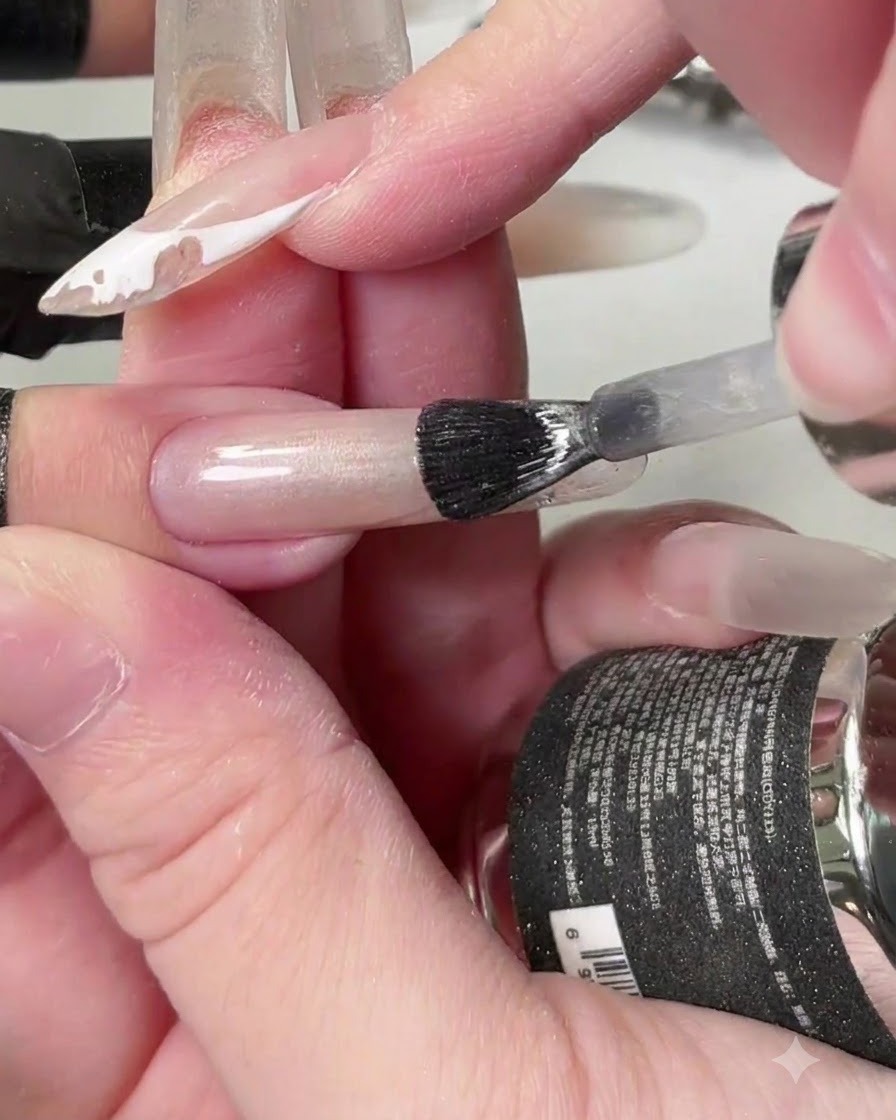
Directly apply a non-greying clear crystal cat-eye gel evenly over the entire nail surface. This layer serves as the base for creating a luminous glass bead effect.
Tip: Ensure an even coat of cat-eye gel to allow the magnetic pigment to move smoothly and freely. - 9Create glass bead effect with magnet
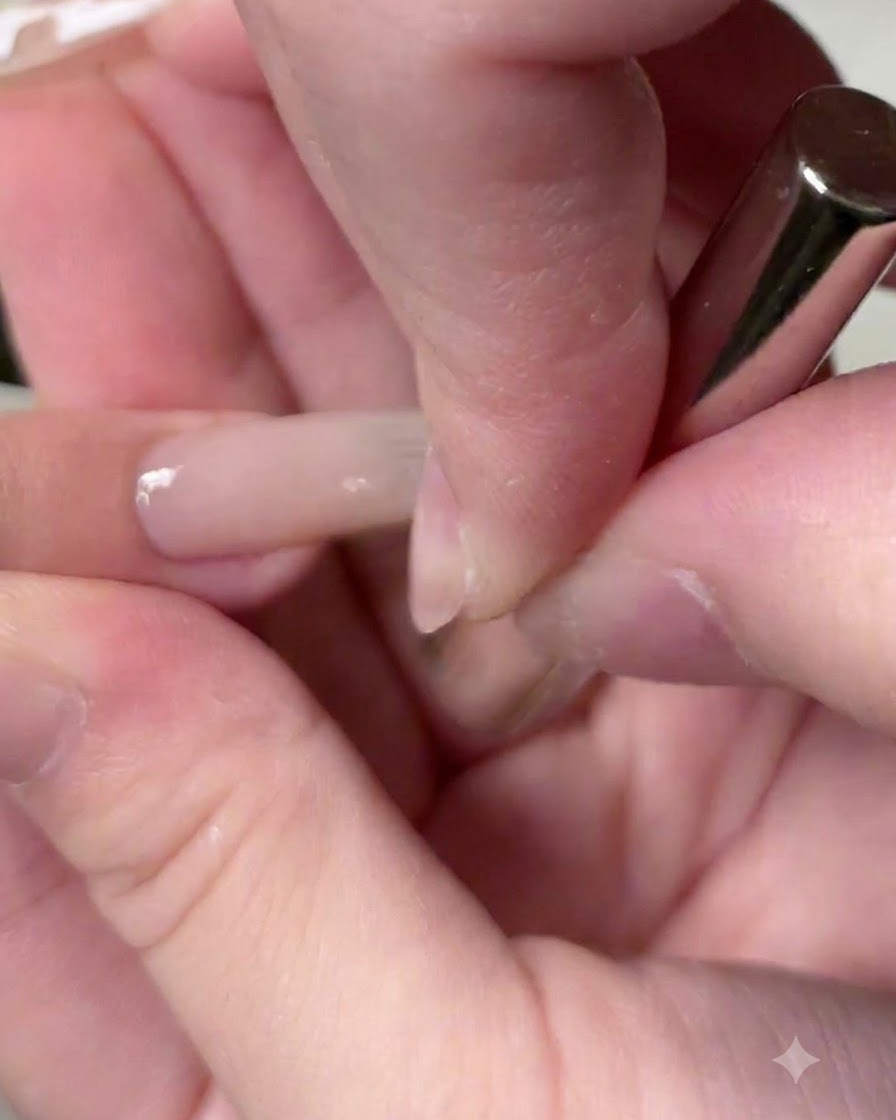
Use a magnetic tool to push and pull the cat-eye pigment backward toward the edge of the nail. This concentrates the light reflection into a bright glass bead effect without blocking the underlying gradient.
Tip: Keep the magnet steady and close to the gel surface without touching it to shape the pigment cleanly. - 10Dab orange and yellow gradient color onto the nail tip
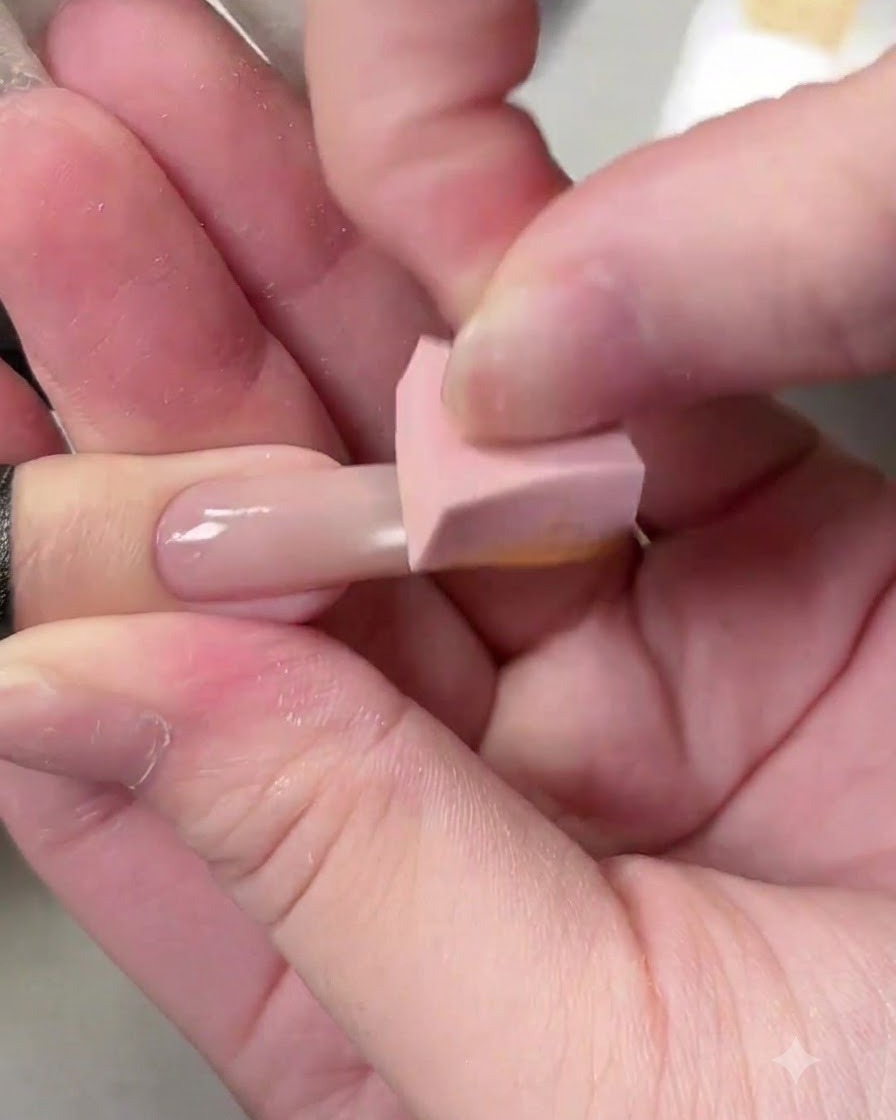
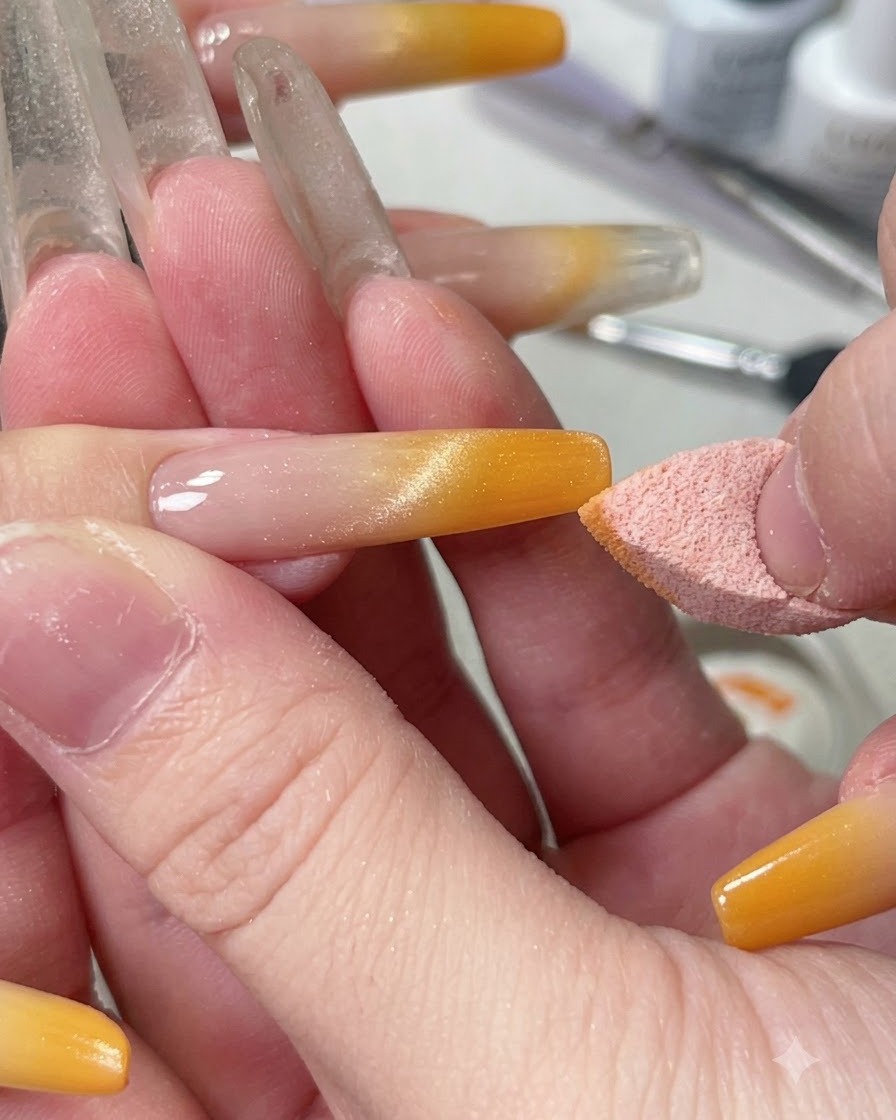
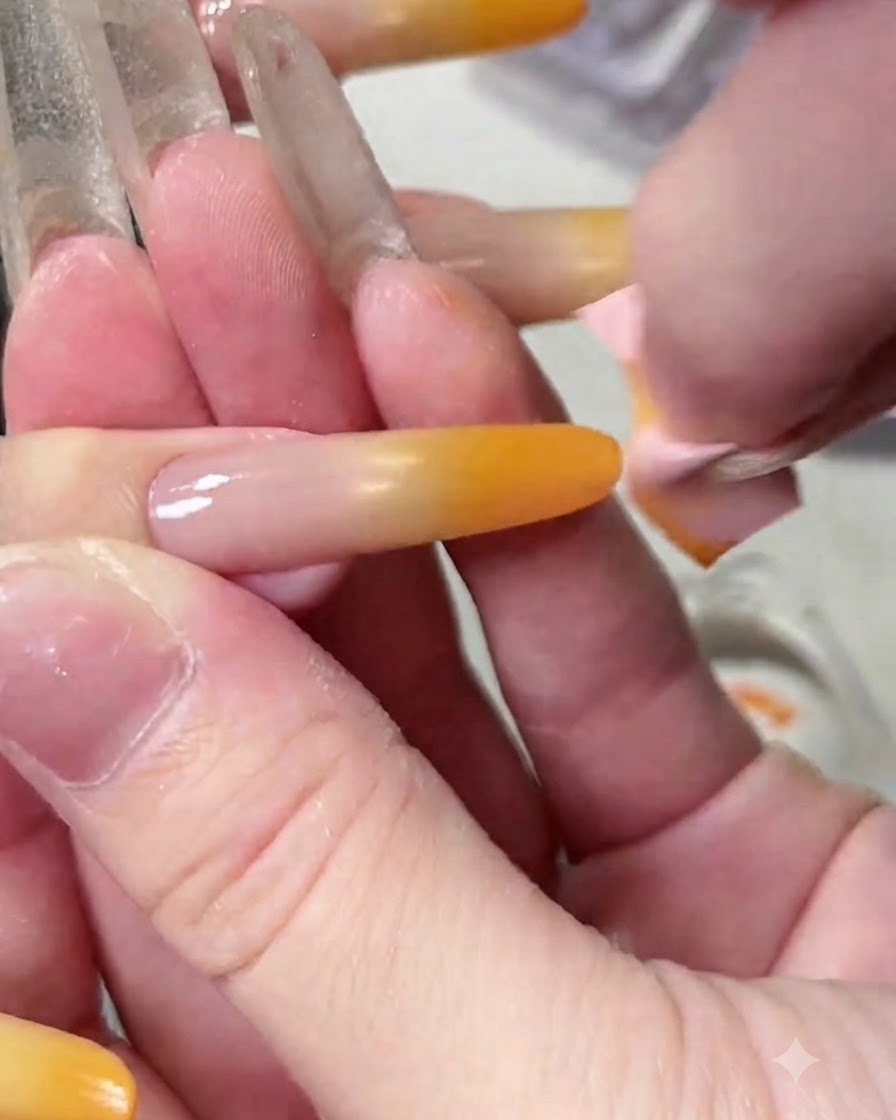
Using a pink sponge applicator, gently dab the blended orange and yellow color onto the nail tip to build the gradient effect. Lightly pat over the area to ensure the color transitions smoothly without harsh lines. Multiple layers are required to achieve a rich, vibrant gradient.
Tip: Lightly pat the sponge rather than pressing too hard to keep the color application soft and evenly distributed. - 11Paint fine detail lines
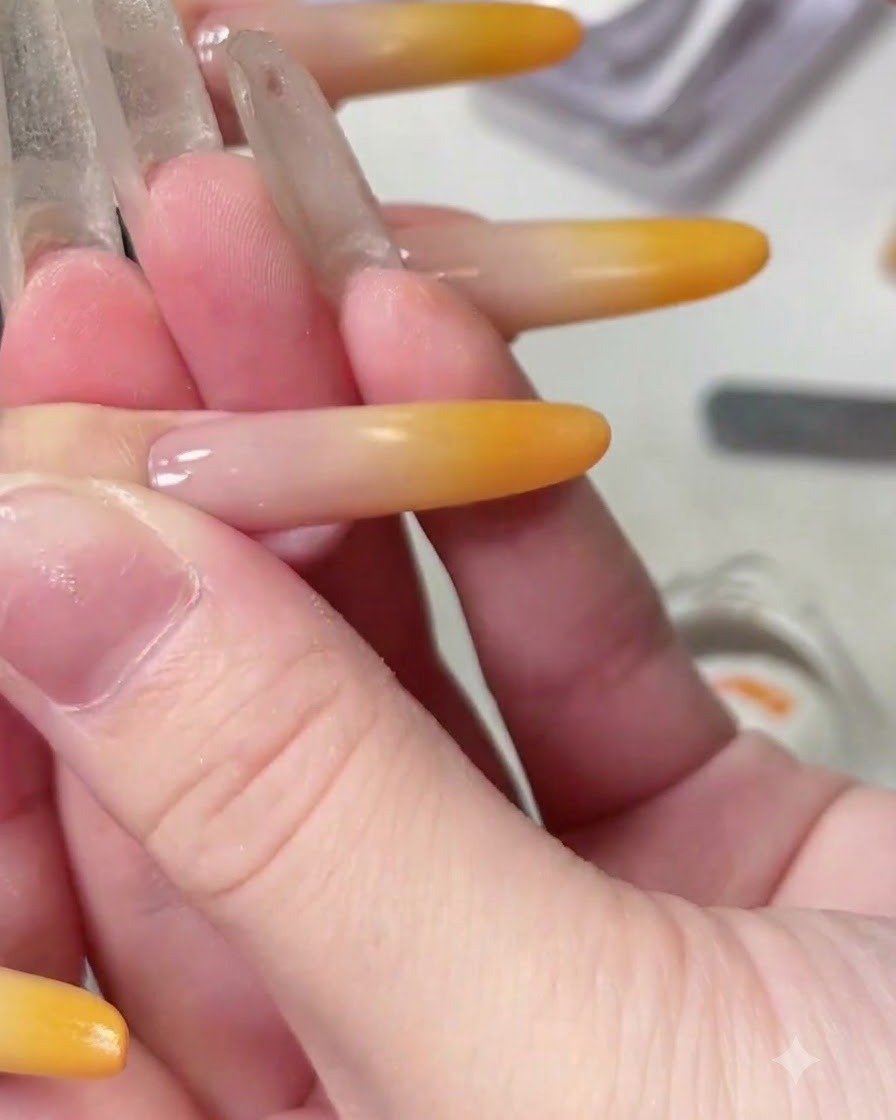
Using a custom-mixed fine liner gel, carefully paint delicate details or accents across the nail. This step adds intricate definition to complete the sun-kissed look.
Tip: If fine liner gel runs out, mix thick rhinestone glue with platinum gel and a touch of light fine glitter as an alternative. - 12Create custom liner gel using glue, platinum gel, and glitter
When a fine-glitter liner gel runs out mid-process, you can create your own custom mixture on a palette. Mix thick rhinestone glue with platinum gel, then blend in a little light fine glitter to achieve the exact consistency and effect needed for fine details.
Tip: Mix small amounts at a time on your palette until you match the desired glitter density and viscosity of a standard liner gel. - 13Open the upgraded bottle of shiny top coat gel
Open the upgraded bottle of your trusty top coat gel, featuring an improved brush applicator designed for smooth application. This super glossy top coat is essential for preserving the vibrancy and long-lasting gloss of bright, colorful nail art sets.
Tip: Ensure the brush is clean and free of dried product before applying to maintain a smooth, streak-free high-gloss finish.