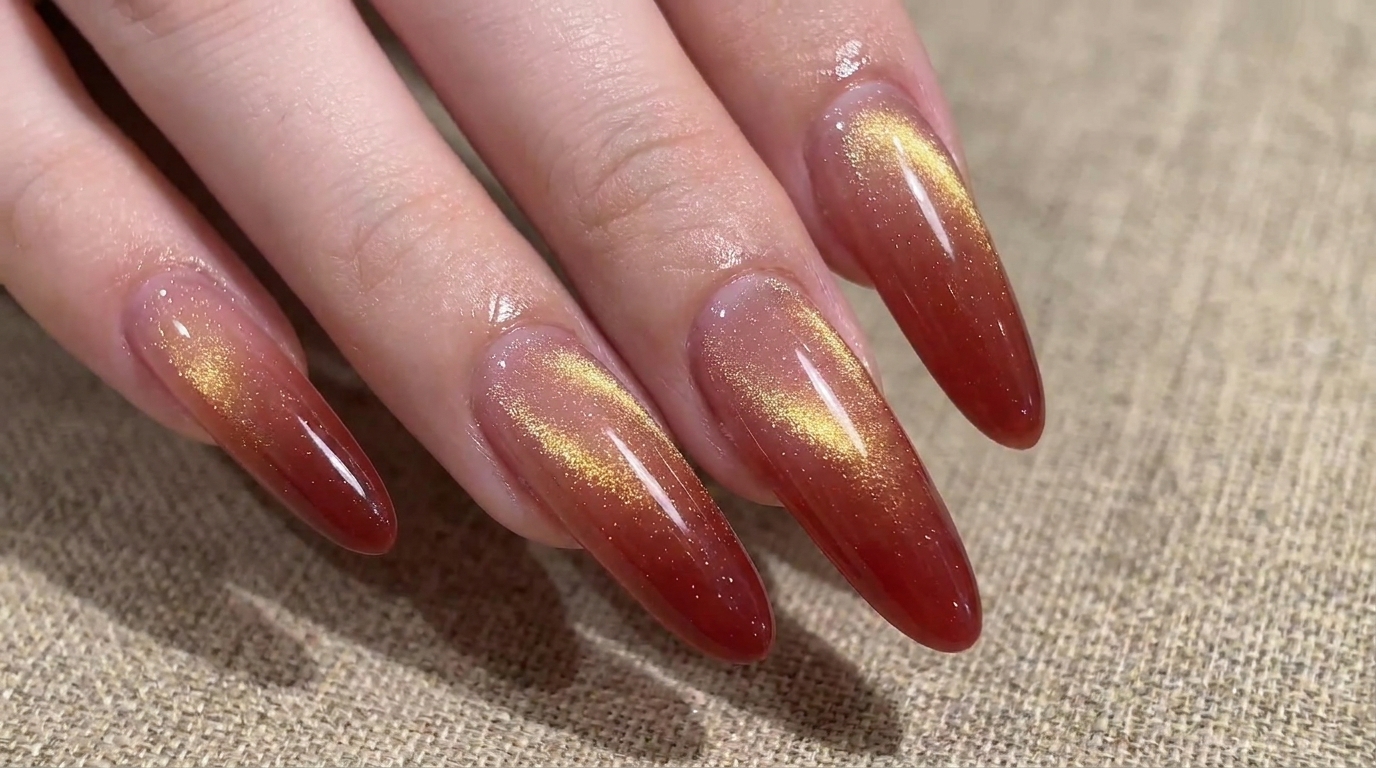
New Year Red Ombre Cat Eye Nails — Festive Step-by-Step Tutorial
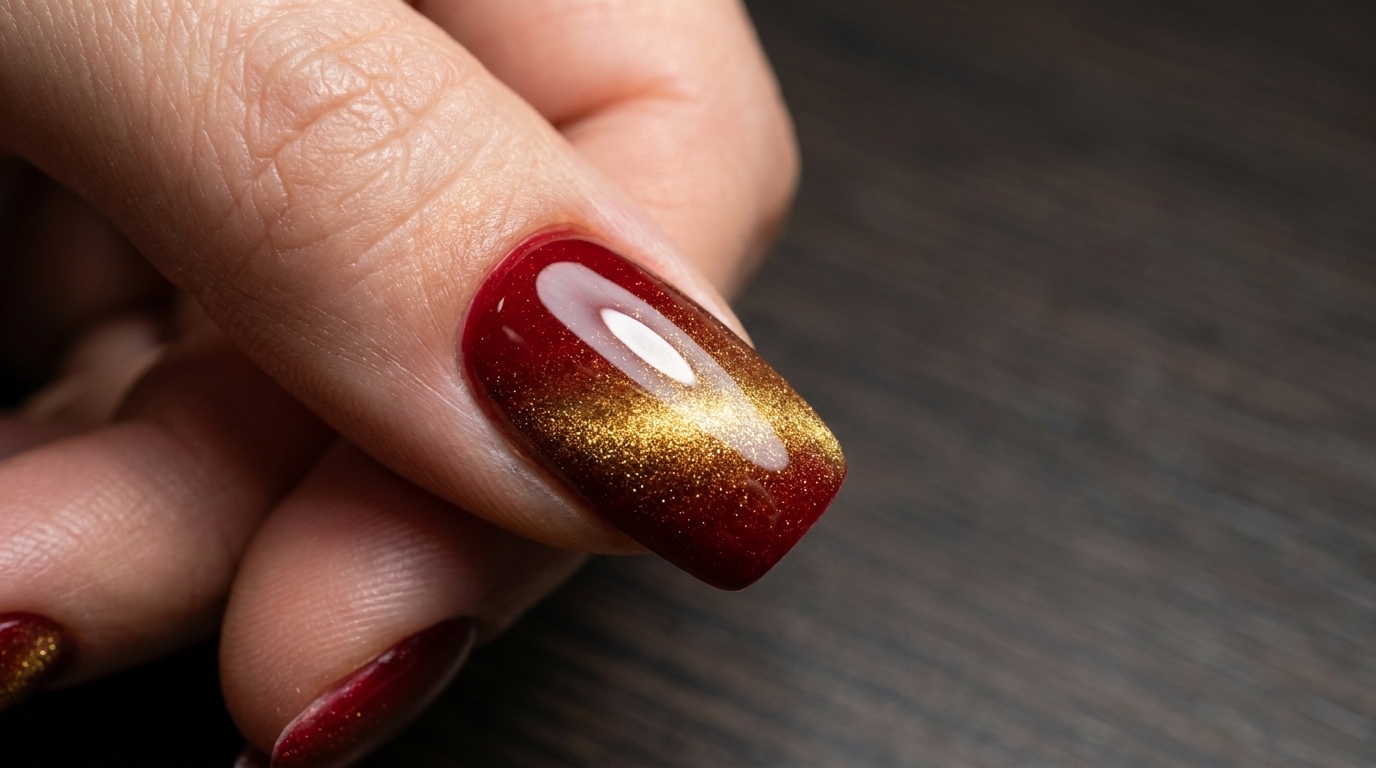
Ring in the holidays with a stunning red and gold cat eye ombre manicure, combining rich ruby shades with a mesmerizing magnetic shimmer.
Festive red and gold manicures are a holiday season staple, but adding a magnetic cat eye effect takes the traditional look to the next level. This tutorial walks you through creating a seamless red ombre gradient infused with sparkling gold shimmer particles. Perfect for celebrations, this design offers a luxurious finish that catches the light from every angle.
Steps
- 1Apply red gel polish for the ombre tip
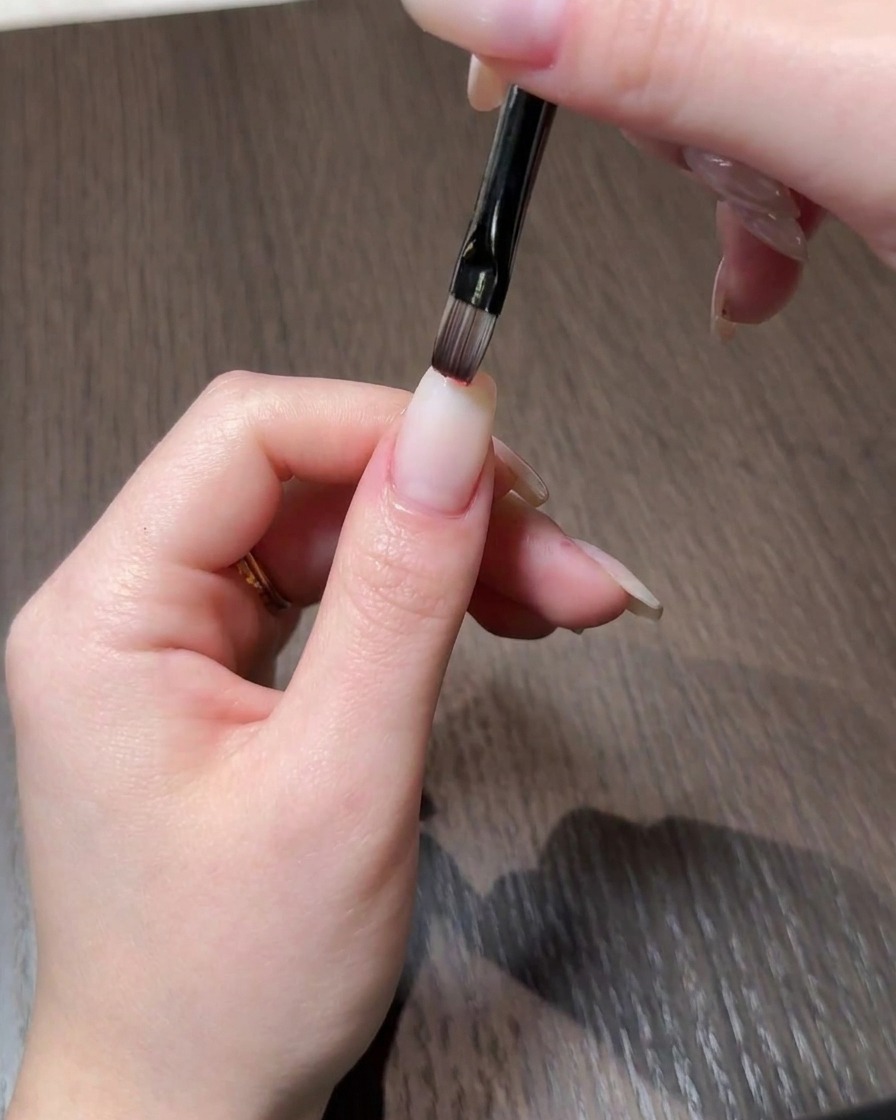
Using a fine detail brush, apply red gel polish to the top portion of the nail plate. Carefully map out the color zone near the tip to establish the foundation for the red ombre effect before blending.
Tip: Keep the initial application thin and focused primarily on the free edge and upper third of the nail. - 2Blend the Red Ombre Gradient
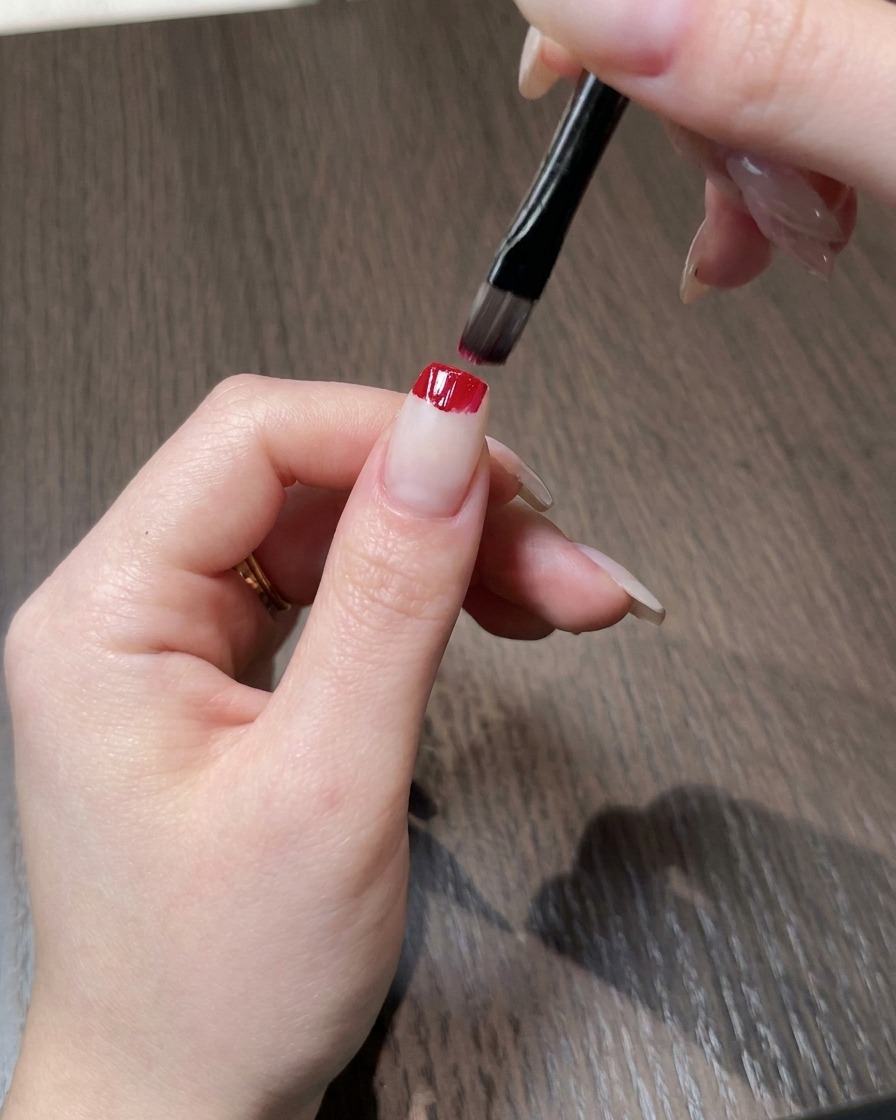
Take a clean brush lightly dampened with cleanser and gently wipe and blend the applied red gel downward toward the cuticle area, creating a smooth and seamless gradient effect across the nail.
Tip: Keep your brush clean and lightly dampened to prevent smudging or lifting too much pigment. - 3Cure the Red Ombre Layer
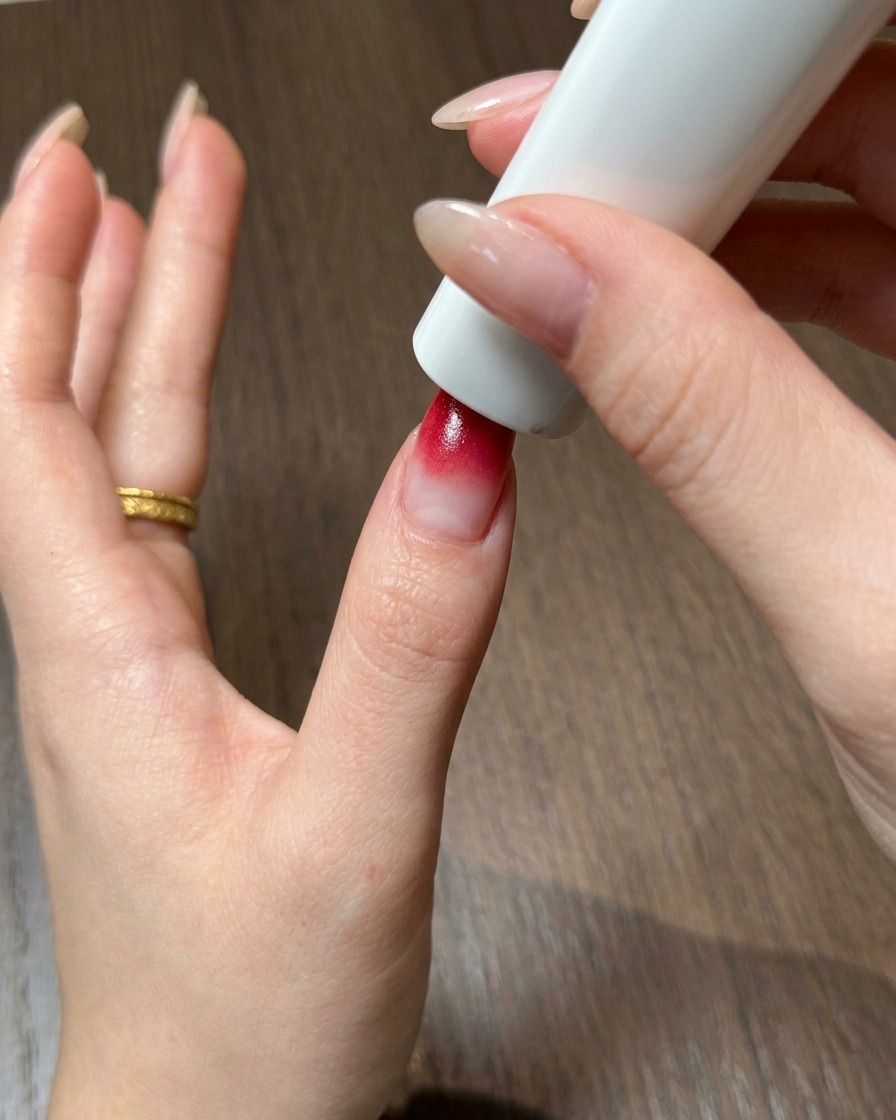
Position your thumb under the portable UV or LED lamp to cure the freshly applied red ombre gel layer. Ensure proper placement so the entire gradient surface hardens evenly under the light.
Tip: Hold your thumb steady directly beneath the light source to prevent the gel from shifting during initial cure. - 4Apply Gold Cat Eye Gel
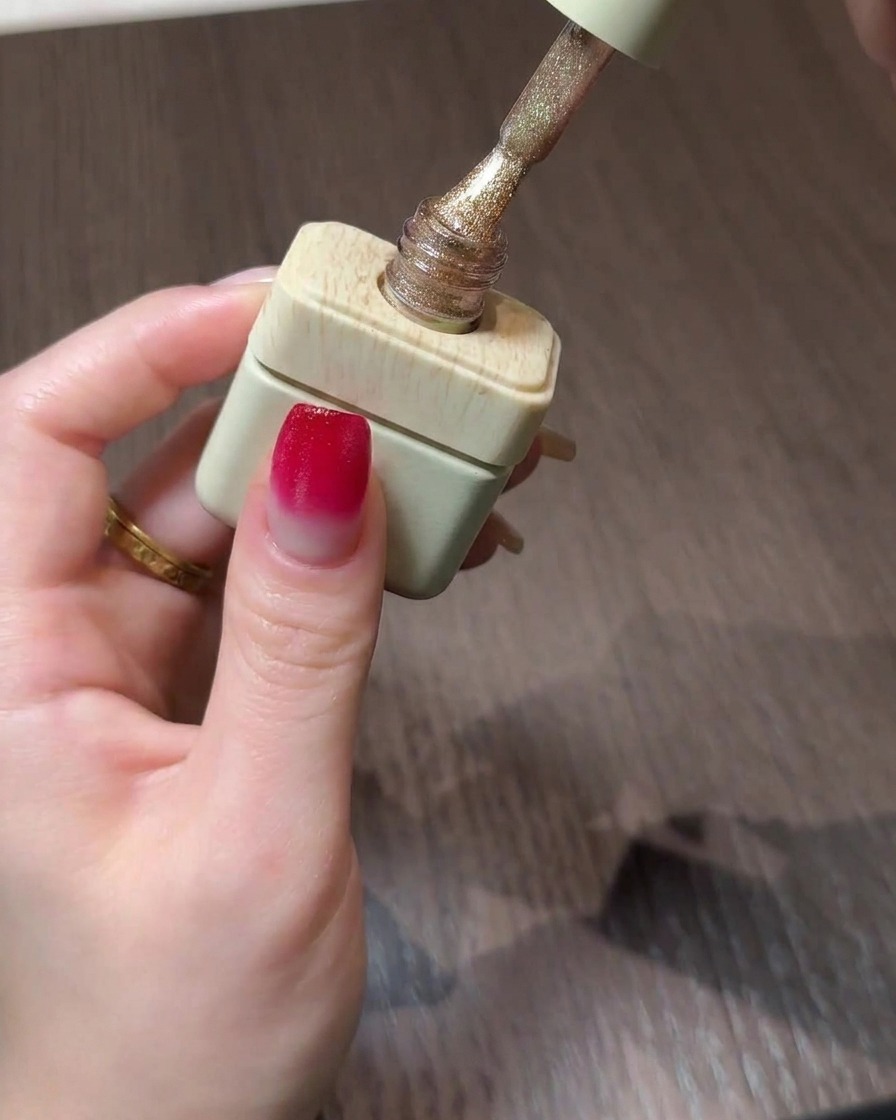
Apply number 008 gold cat eye gel polish directly over the cured red ombre base without wiping the inhibition layer, providing the magnetic base for the next step.
Tip: Apply an even coat to ensure the magnetic particles have enough medium to move smoothly. - 5Concentrate Cat Eye Particles
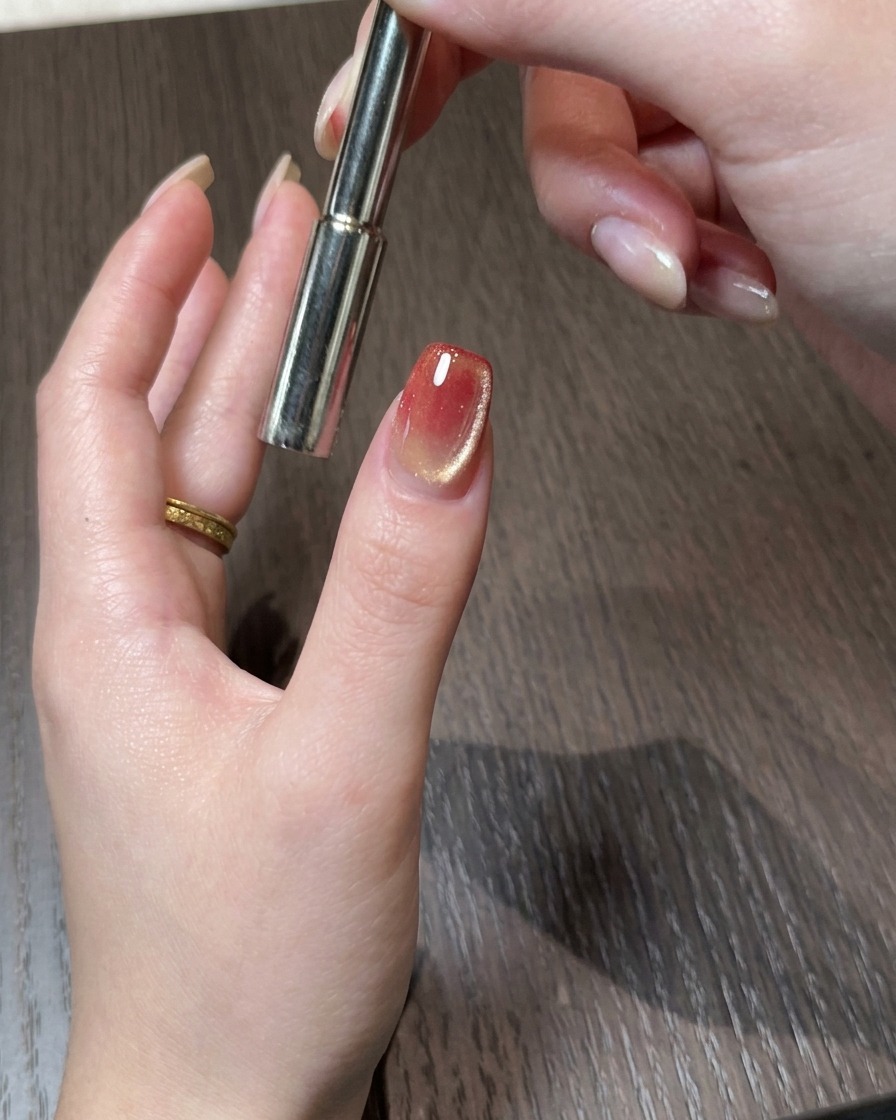
Hold a magnetic stick on both lateral sides of the nail simultaneously to pull and concentrate the magnetic glitter particles into the desired formation.
Tip: Keep the magnets steady and equidistant from the sides for a balanced particle distribution. - 6Position Shimmer Toward the Edge
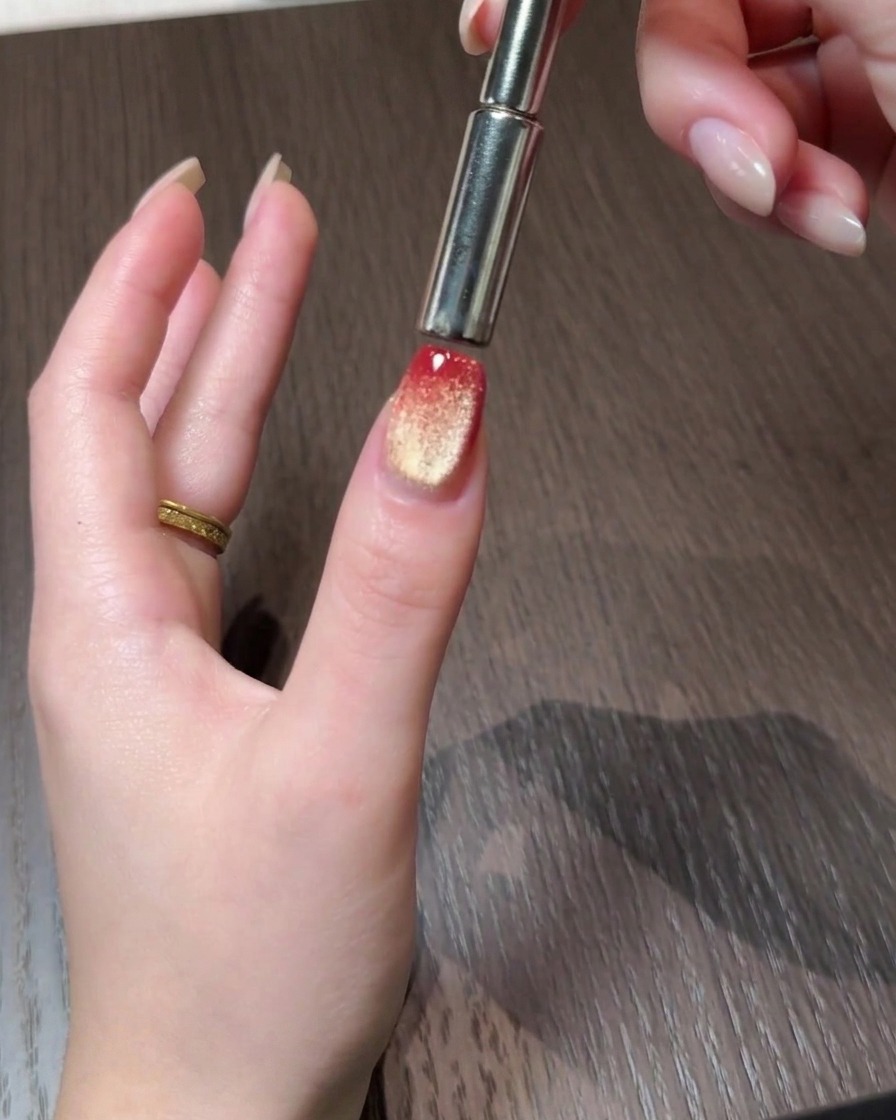
Slowly push the concentrated magnetic cat eye particles back toward the posterior edge of the nail to finalize the desired cat eye shimmer placement before curing.
Tip: Move the magnet slowly to prevent the magnetic particles from scattering out of place. - 7Cure the Final Gold Cat Eye Layer
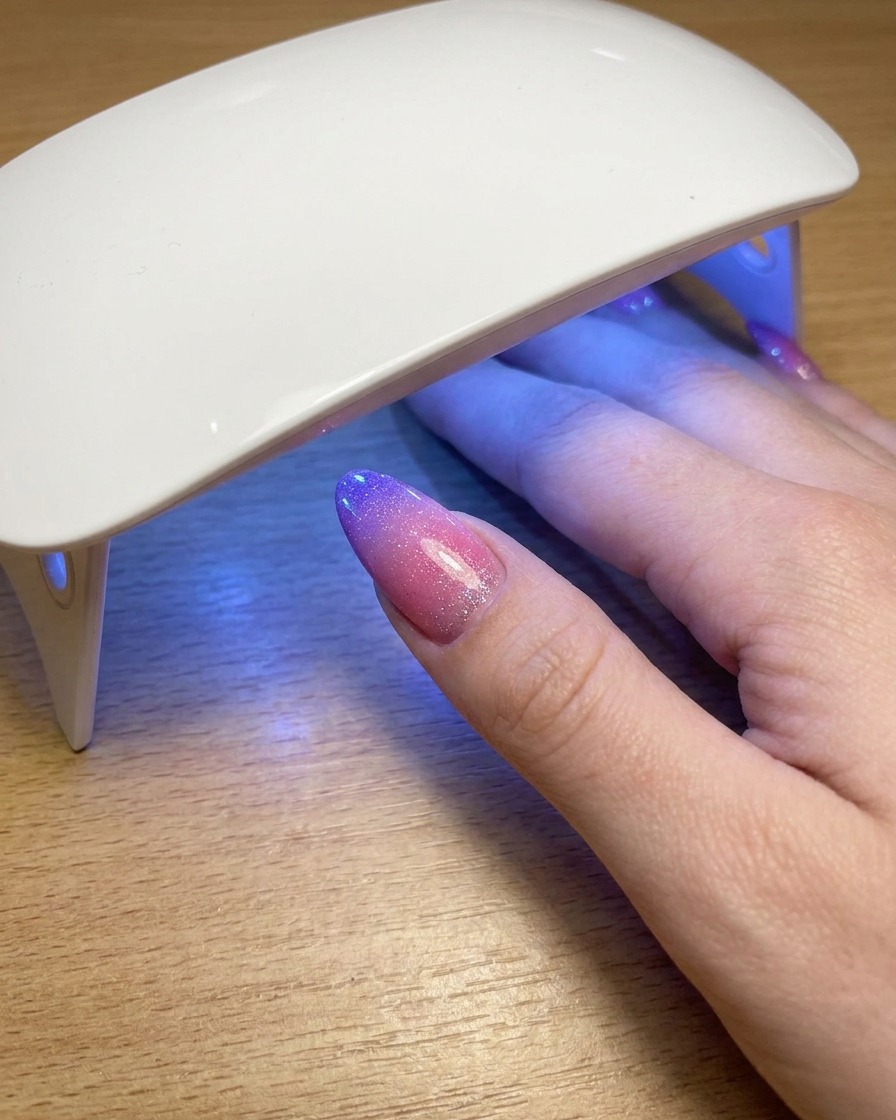
Place the thumb back under the portable UV or LED lamp to fully cure the final gold cat eye layer and lock in the magnetic particles. Ensure complete curing time to maintain high gloss and durability.
Tip: Do not skip full curing after using cat eye polish to prevent the magnetic shimmer from dispersing or wrinkling.