Icy Translucent Gradient Nails
Glass Paper Accents
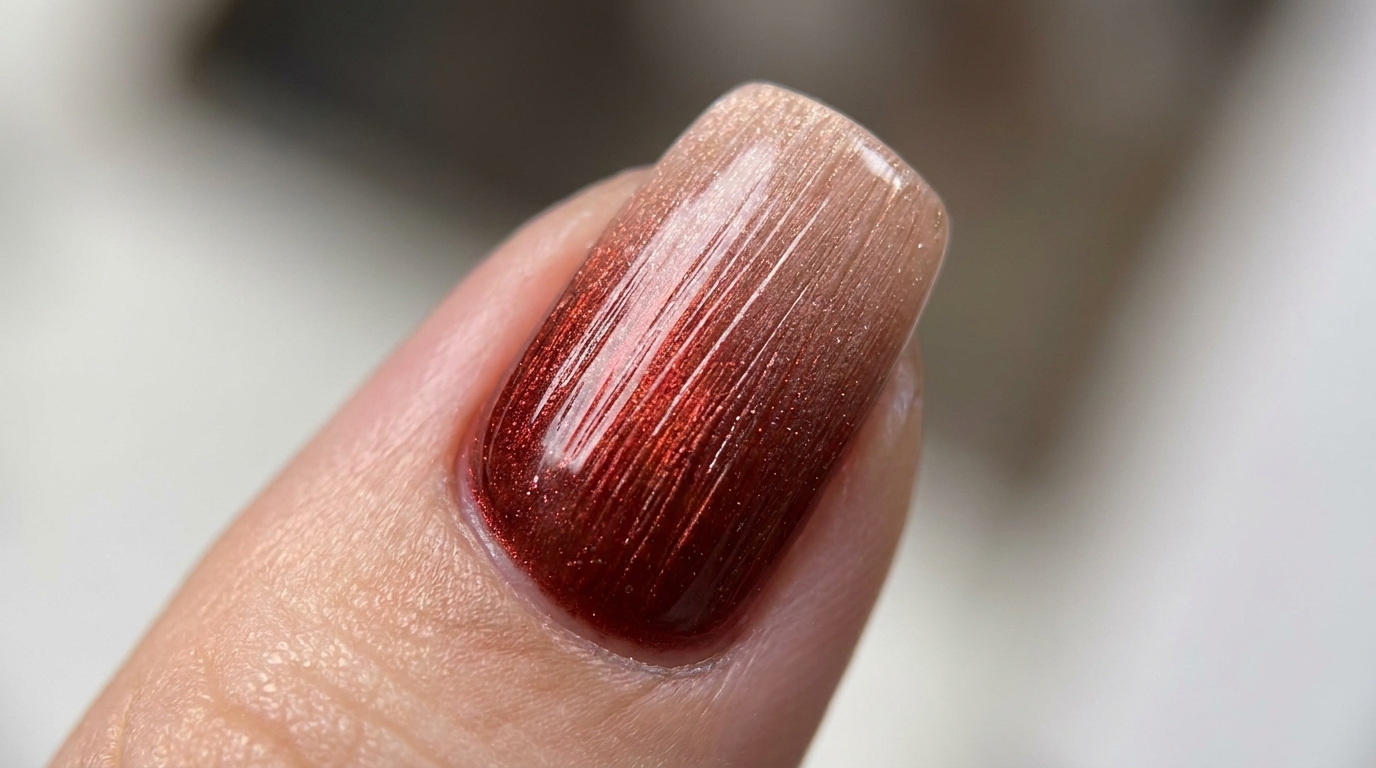
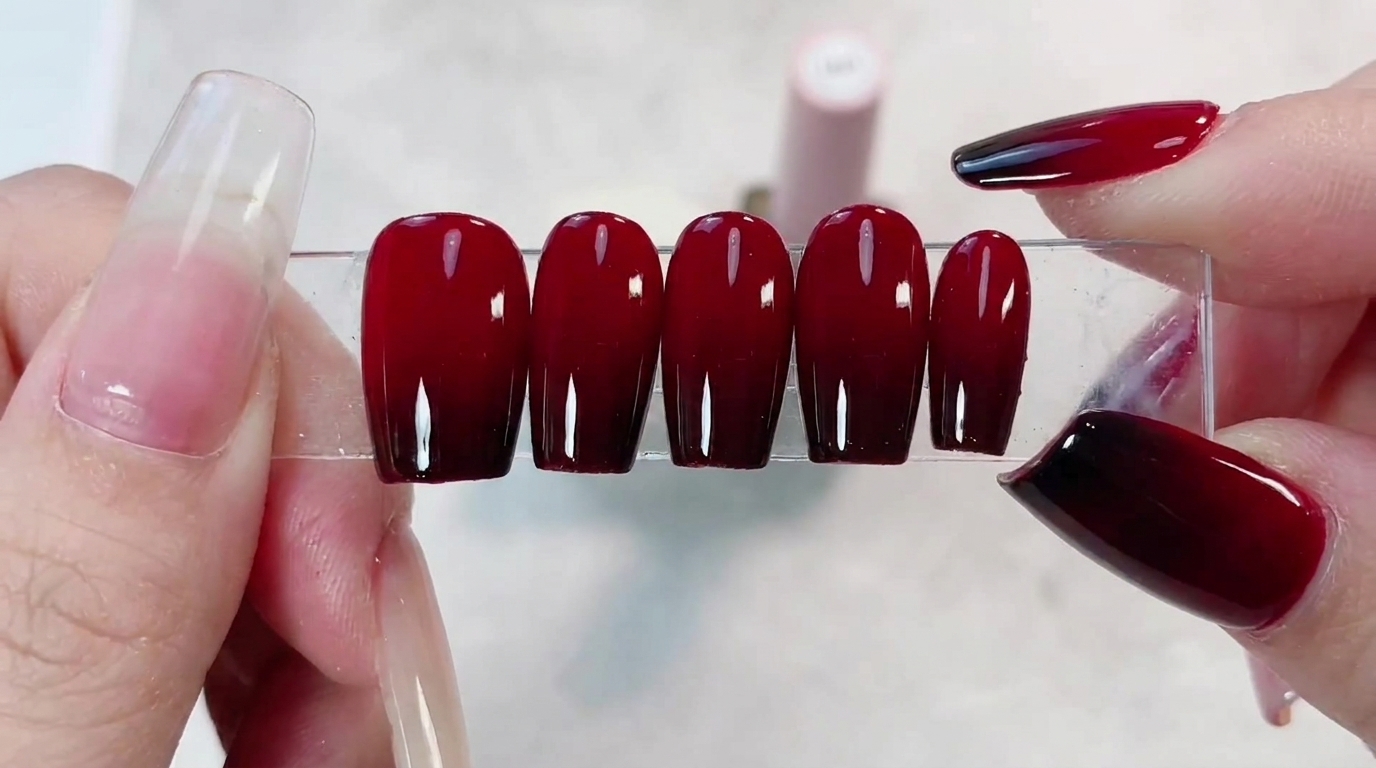
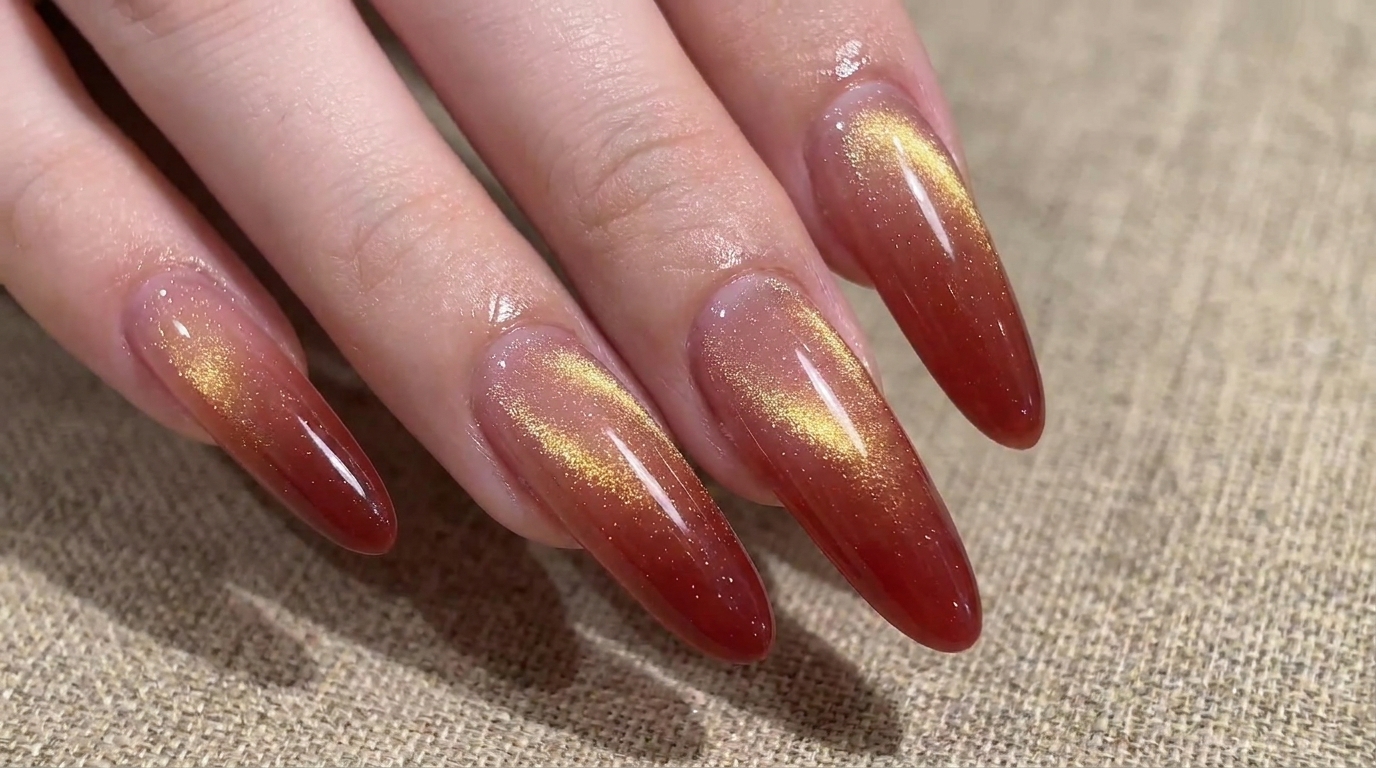
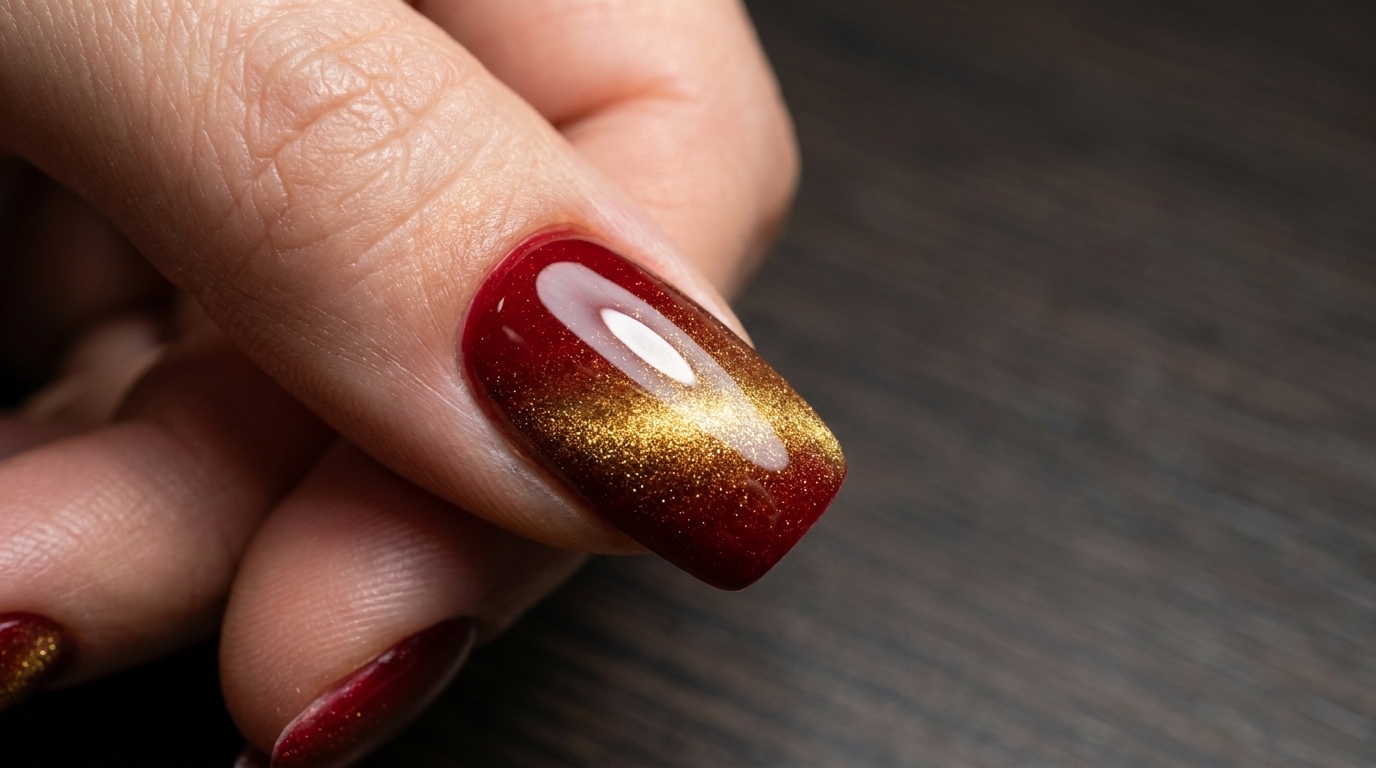
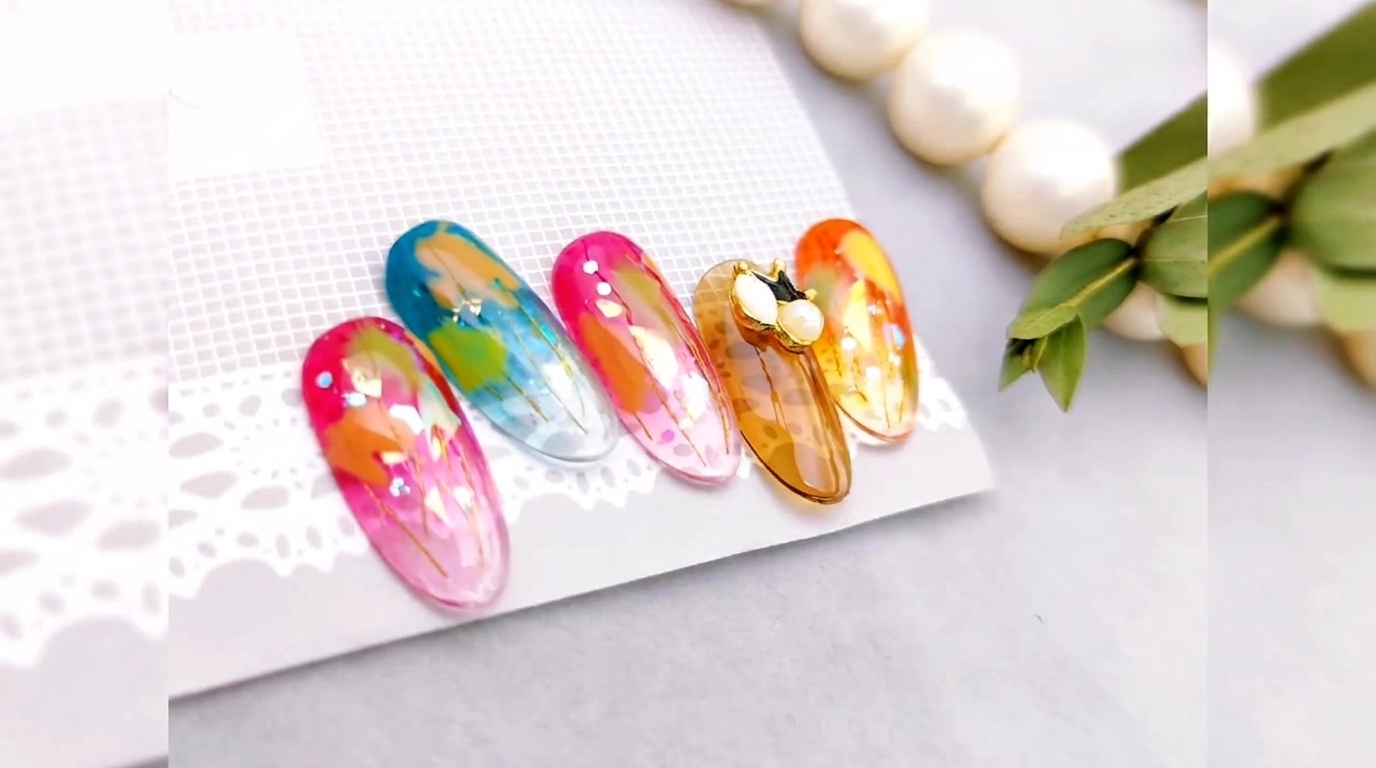
Create a mesmerizing, icy nail look with translucent gradient layers, shimmering glass paper, and delicate metallic accents.
This ethereal nail look captures the trend of translucent, glass-like finishes paired with multi-dimensional accents. By layering tinted gel to create a soft, seamless gradient and encapsulating decorative elements, you can achieve a sophisticated, icy aesthetic that is perfect for any season. The combination of fluorescent pops and reflective glass paper makes this design stand out with a modern, artistic flair.
Steps
- 1Apply translucent base layer
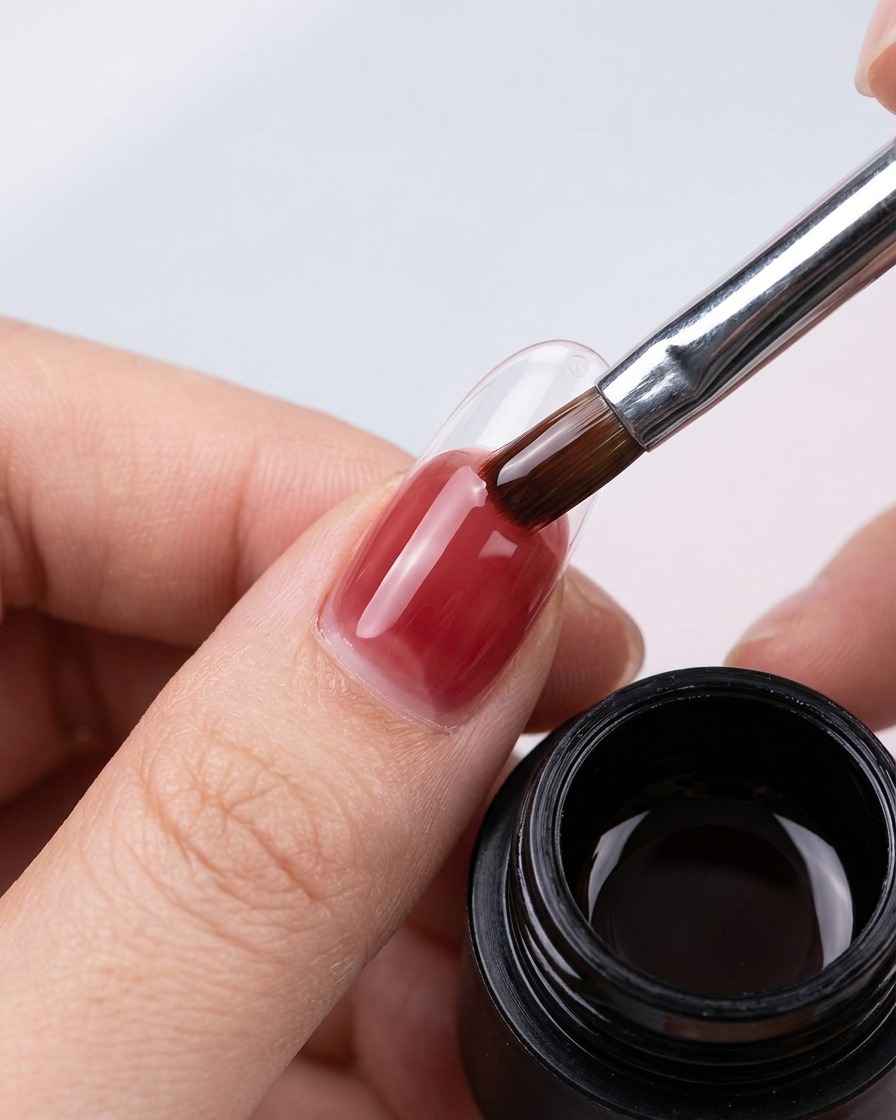
Apply the translucent rose-pink gel from the cuticle area down to about half the length of the nail. Keep this layer thin and even, and do not cure yet, as we will blend this color in the next step.
Tip: Focus on keeping the layer at the cuticle smooth and thin to prevent a bulky look. - 2Blend the gel for a gradient
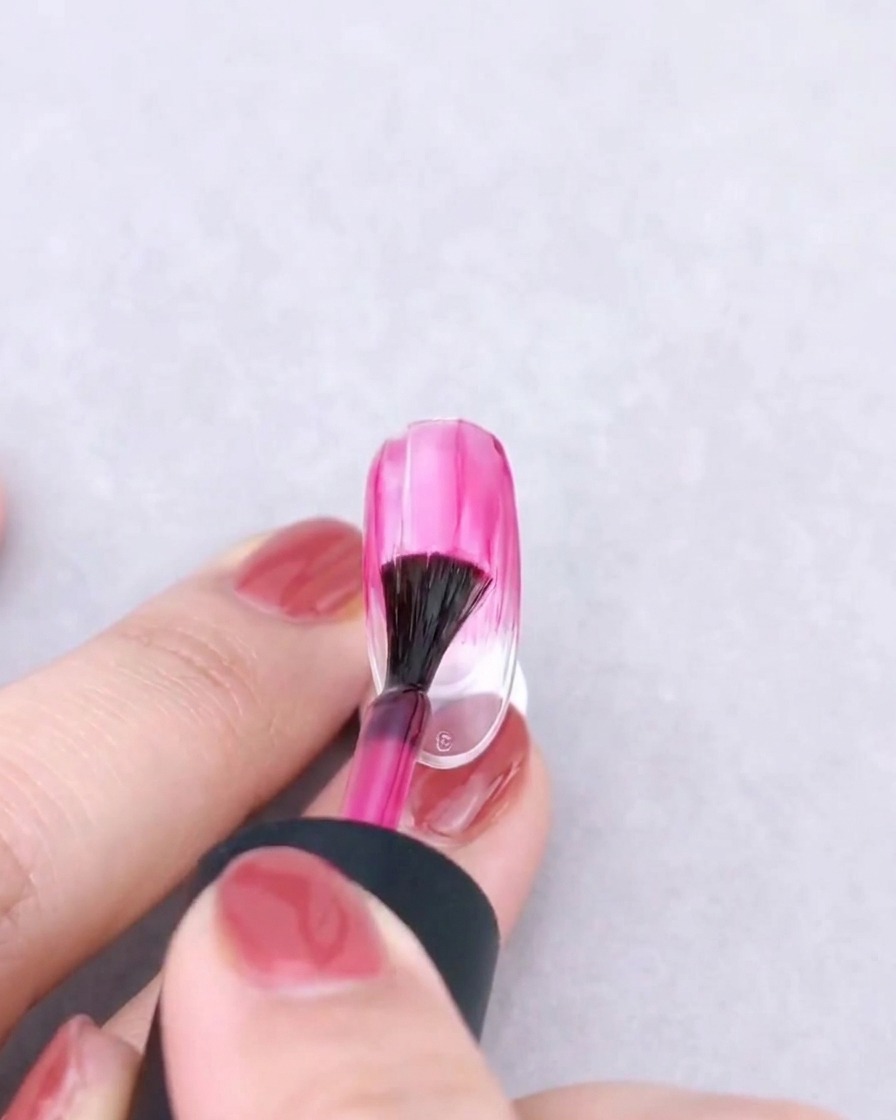
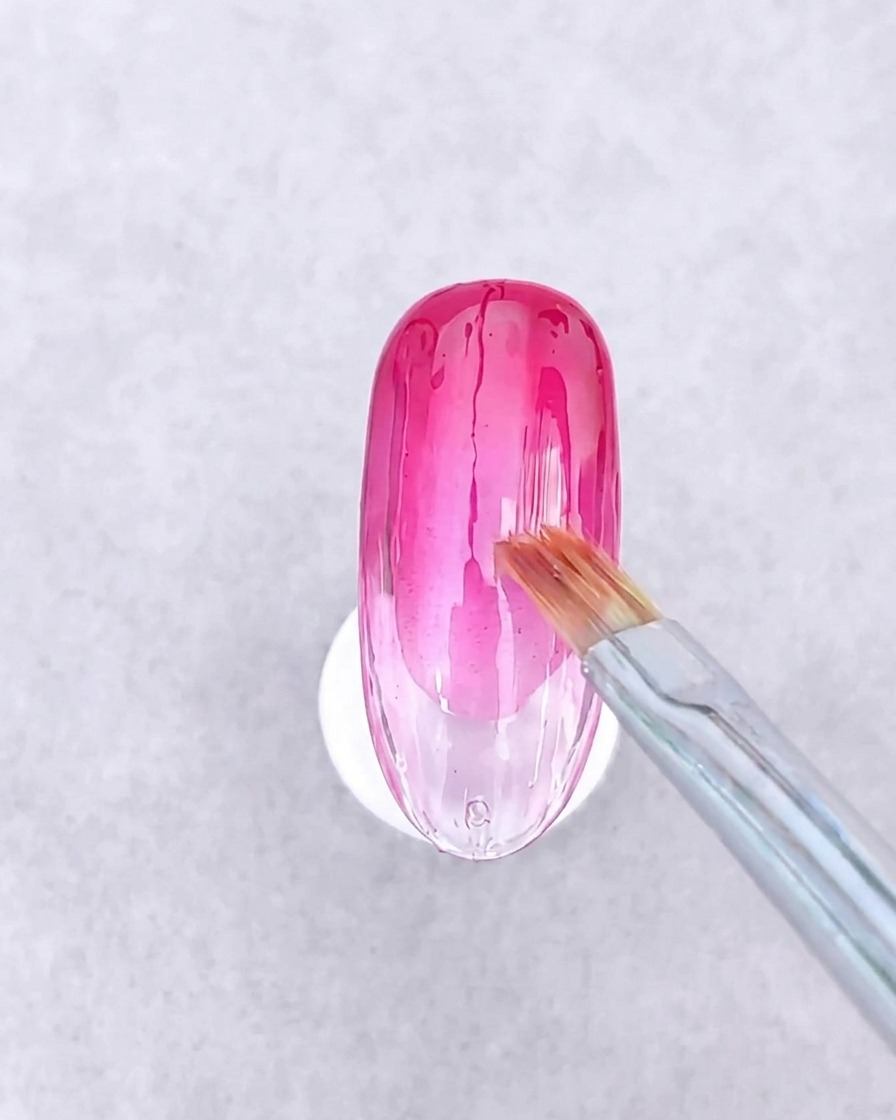
Using a fan brush, gently sweep and blend the translucent rose-pink gel from the applied area down toward the free edge of the nail. This motion creates a soft, seamless transition from color to clear.
Tip: Use light, sweeping motions to avoid streaking the gel during the blending process. - 3Cure the first gradient layer
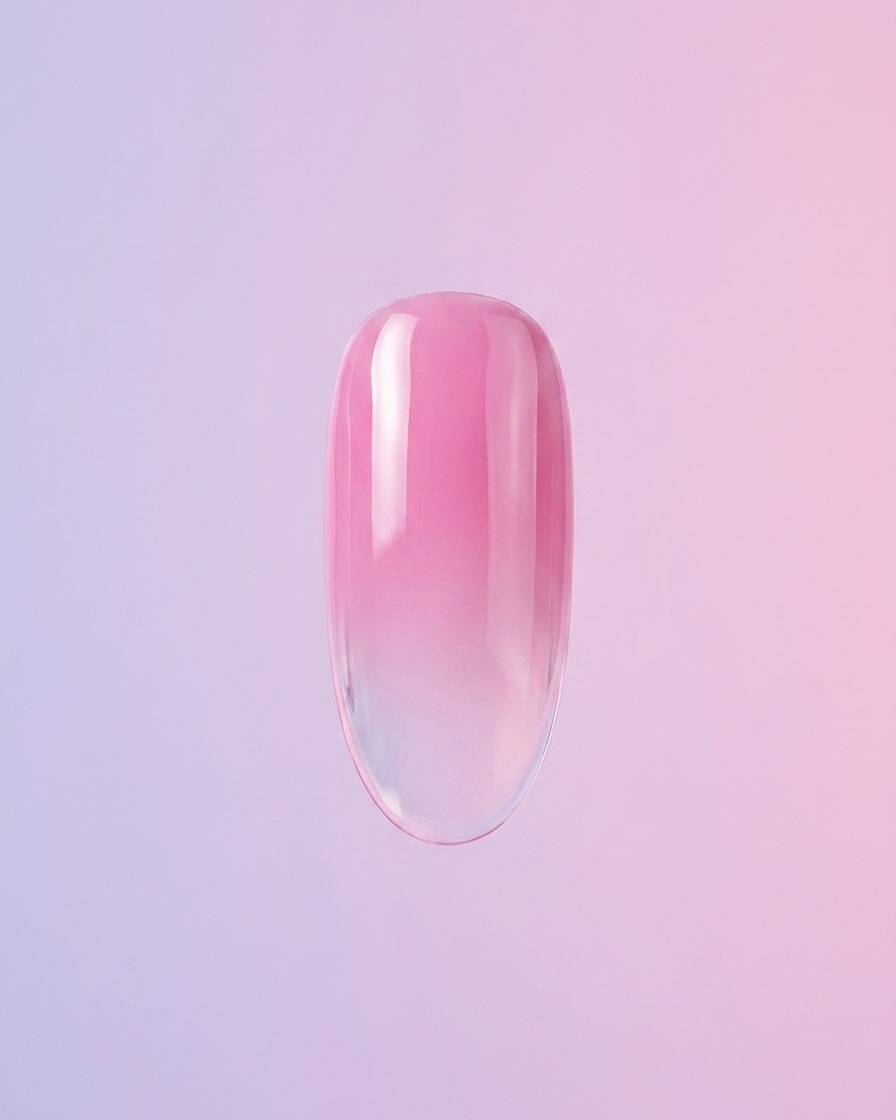
Place the nail under the UV or LED lamp to cure the first layer of the pink gradient. This sets the color in place before adding the next layer for increased saturation.
Tip: Ensure the nail is positioned correctly in the lamp for even curing. - 4Deepen the gradient saturation
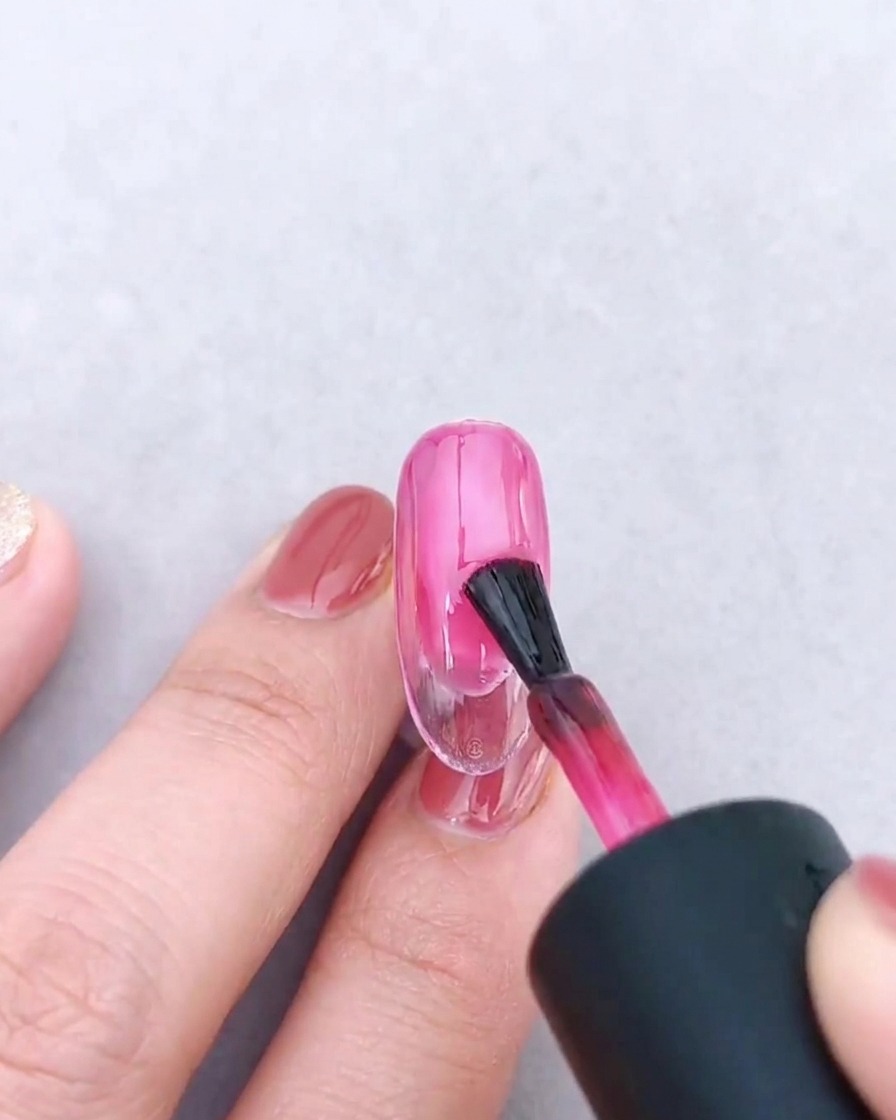
Apply the translucent rose-pink gel once more over the same area to increase color intensity. This second application builds depth while preserving the signature translucent quality of the design.
Tip: Apply this second layer slightly more precisely to focus on the desired depth. - 5Blend the second layer
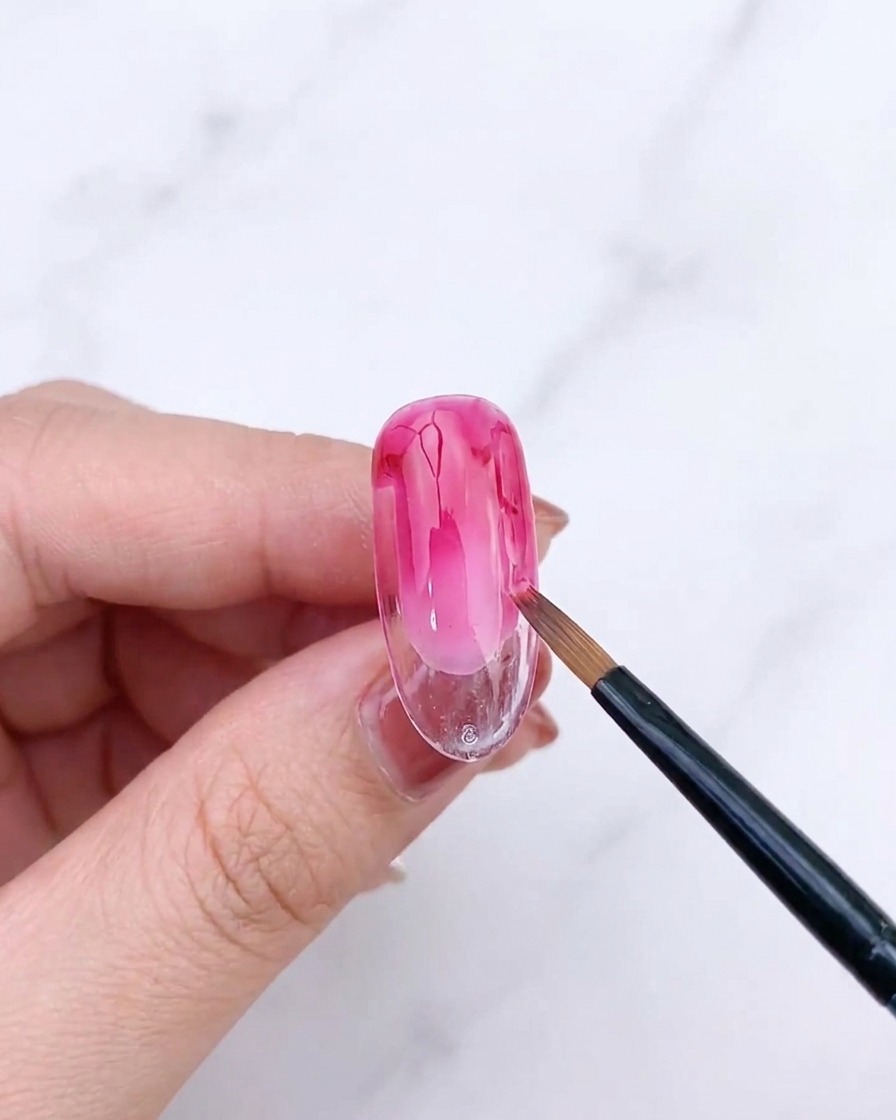
Use the fan brush again to blend the second layer of gel, focusing on a smaller area this time to maintain the gradient effect while deepening the color at the base.
Tip: Maintain the same blending technique as the first layer to ensure consistent results. - 6Cure the second gradient layer
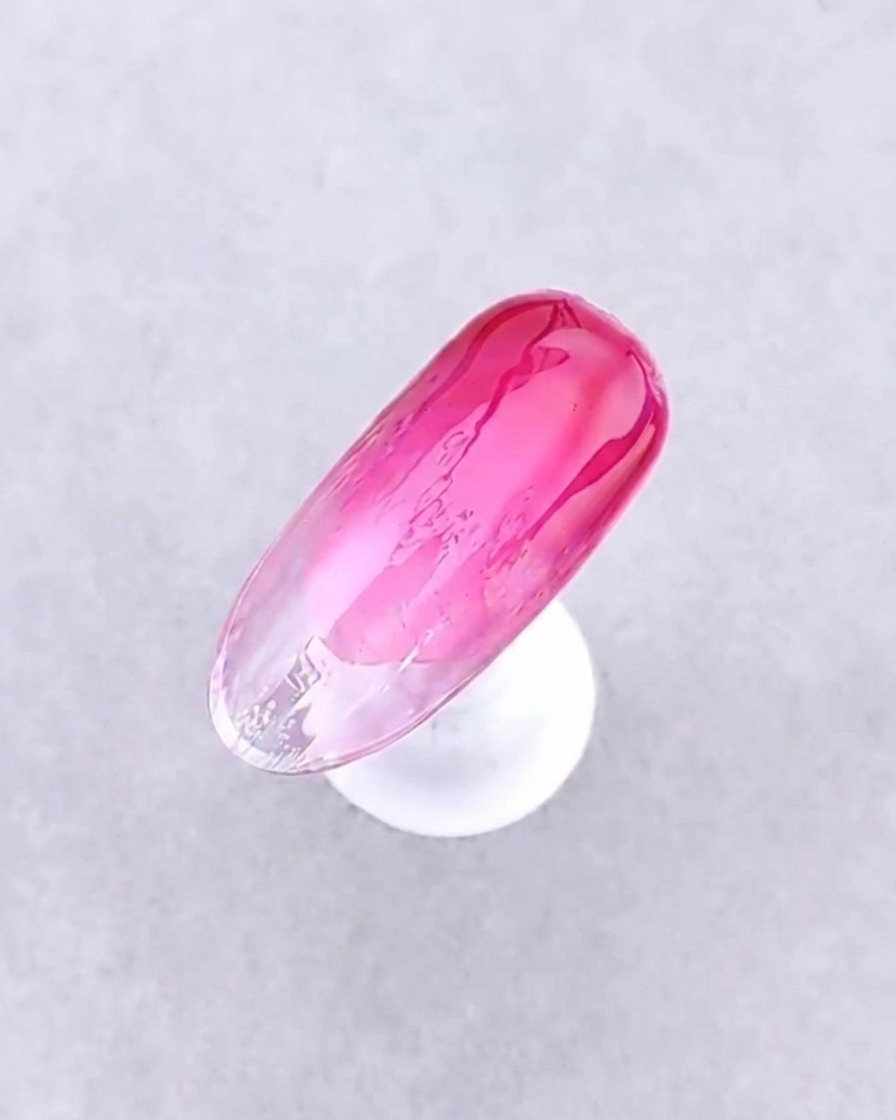
Place the nail under the UV or LED lamp to cure the second layer. This ensures the full gradient color is locked in and ready for the next decorative steps.
Tip: Make sure the nail is fully cured to prevent any smudging during the upcoming decoration stage. - 7Apply base gel
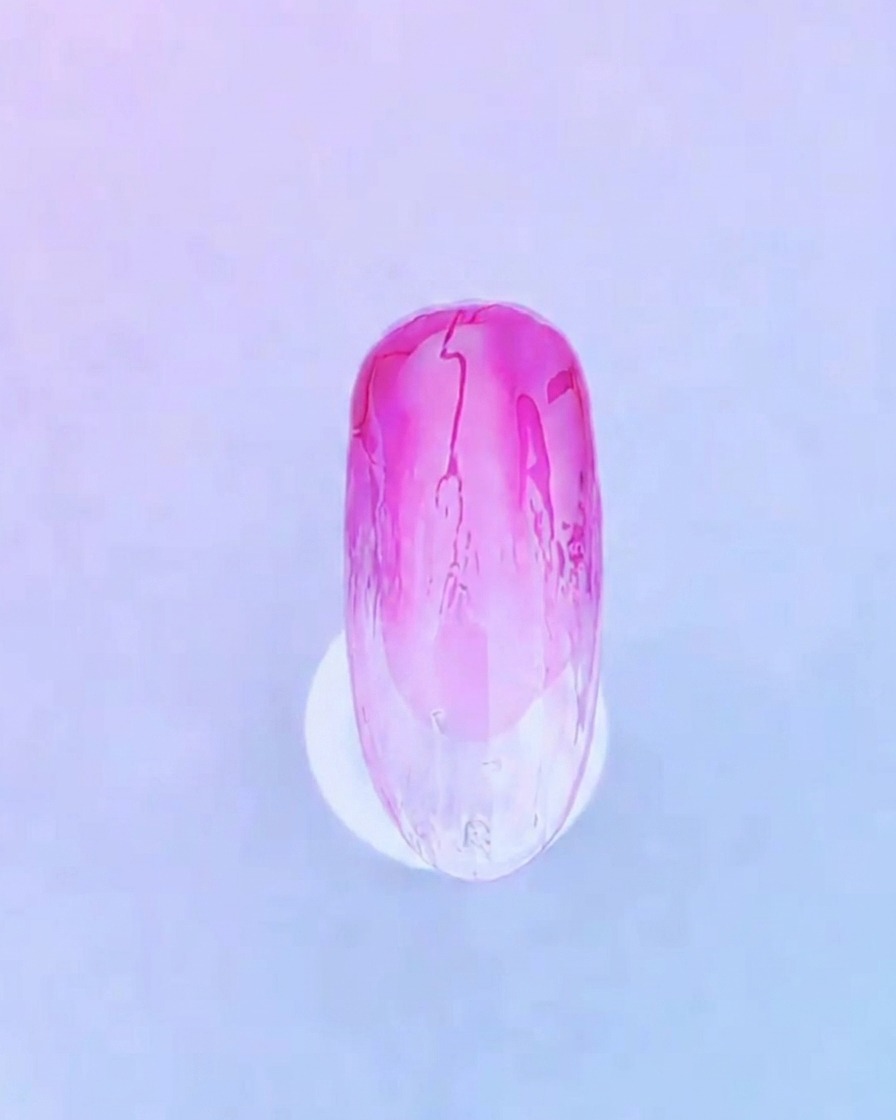
Apply a thin, even layer of base gel across the entire nail surface. Do not cure this layer yet, as it will act as the adhesive foundation for the decorations in the next step.
Tip: Applying an even, not-too-thick layer ensures the decorations sit flat and dont slide around before curing. - 8Apply artistic embellishments
While the base gel is still uncured, use tweezers to carefully place the glass paper, sequins, and metal lines. Arrange them strategically to complement the gradient and achieve the desired icy effect.
Tip: Use a pair of tweezers for better precision when placing smaller items like sequins and metal lines. - 9Cure decorations
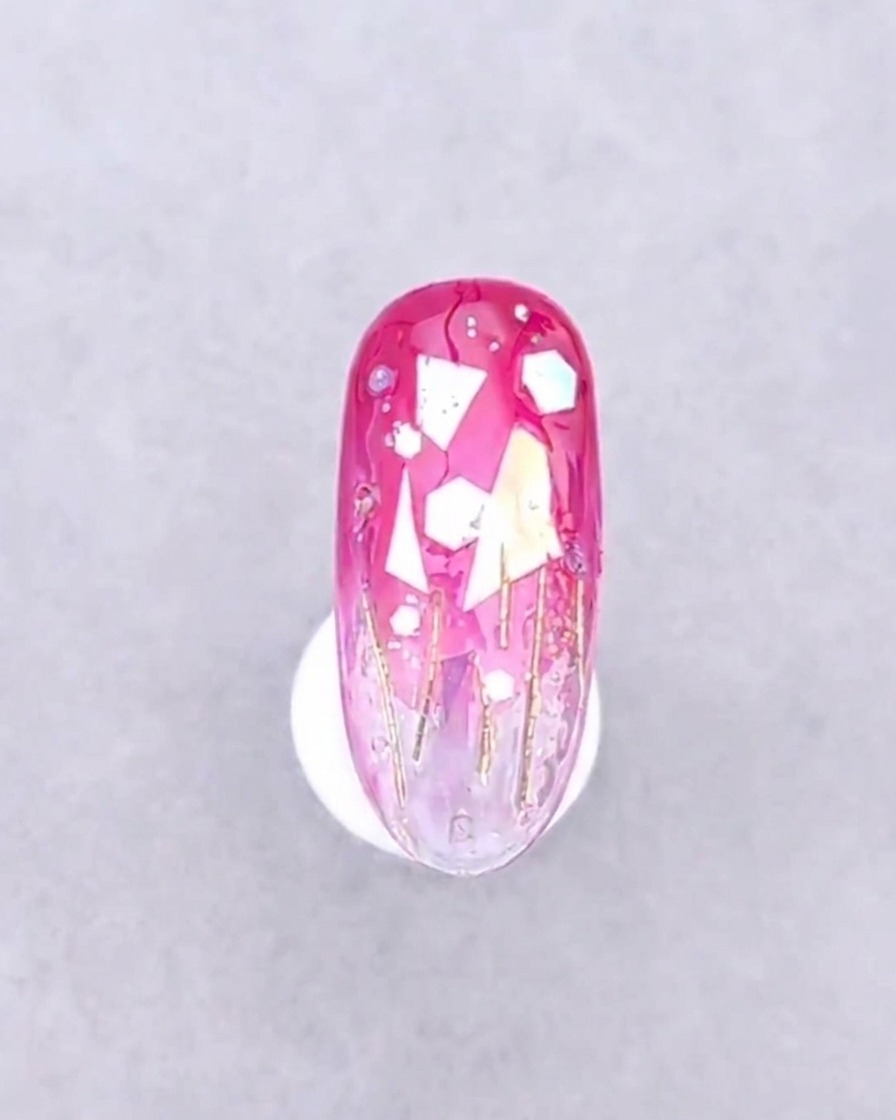
Place your hand under the UV/LED nail lamp to cure the base gel and lock the decorations into position. Ensure the entire nail receives even light exposure.
Tip: Ensure your fingers are positioned flat in the lamp to prevent the decorations from shifting before they are fully cured. - 10Encapsulate the design
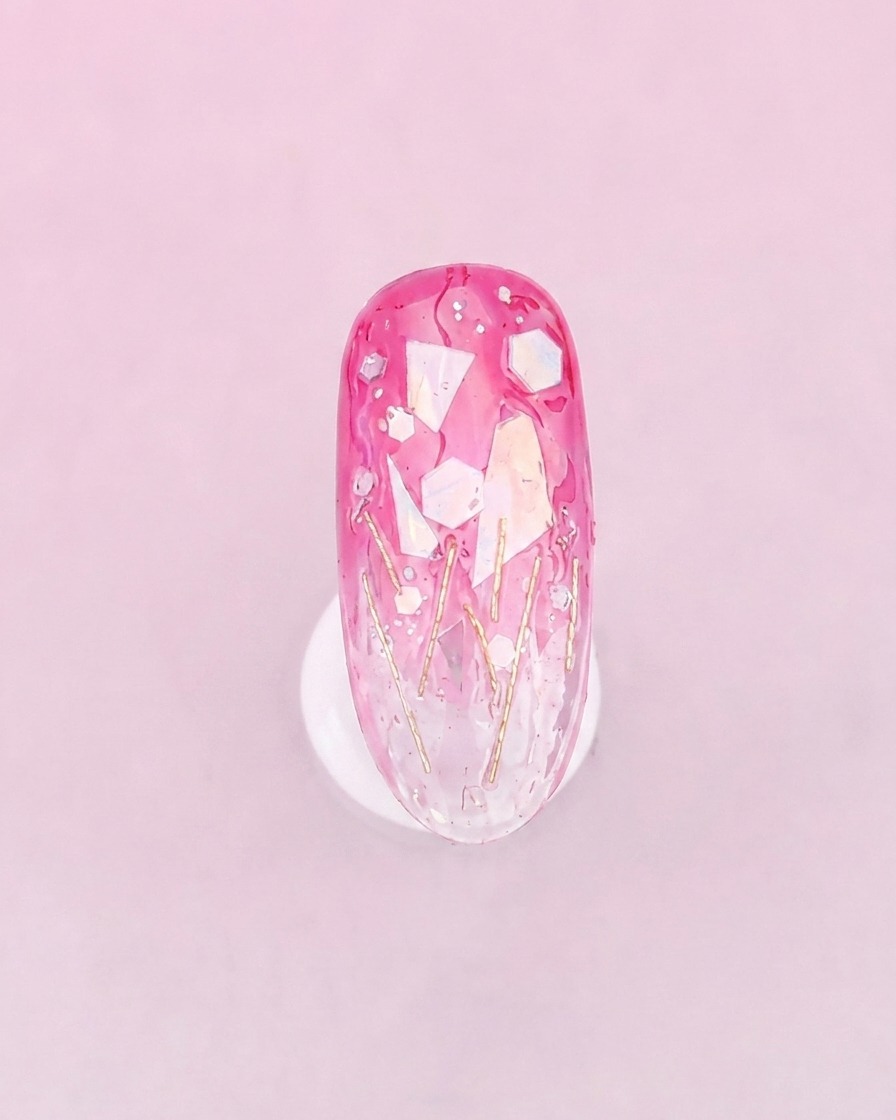
Apply a slightly thicker layer of multi-functional glue or builder gel over the entire nail to cover the decorations. This step protects your art and creates a smooth, level foundation for the final finish.
Tip: Check the nail from the side after application to ensure the surface is level and the decorations are fully covered. - 11Final cure
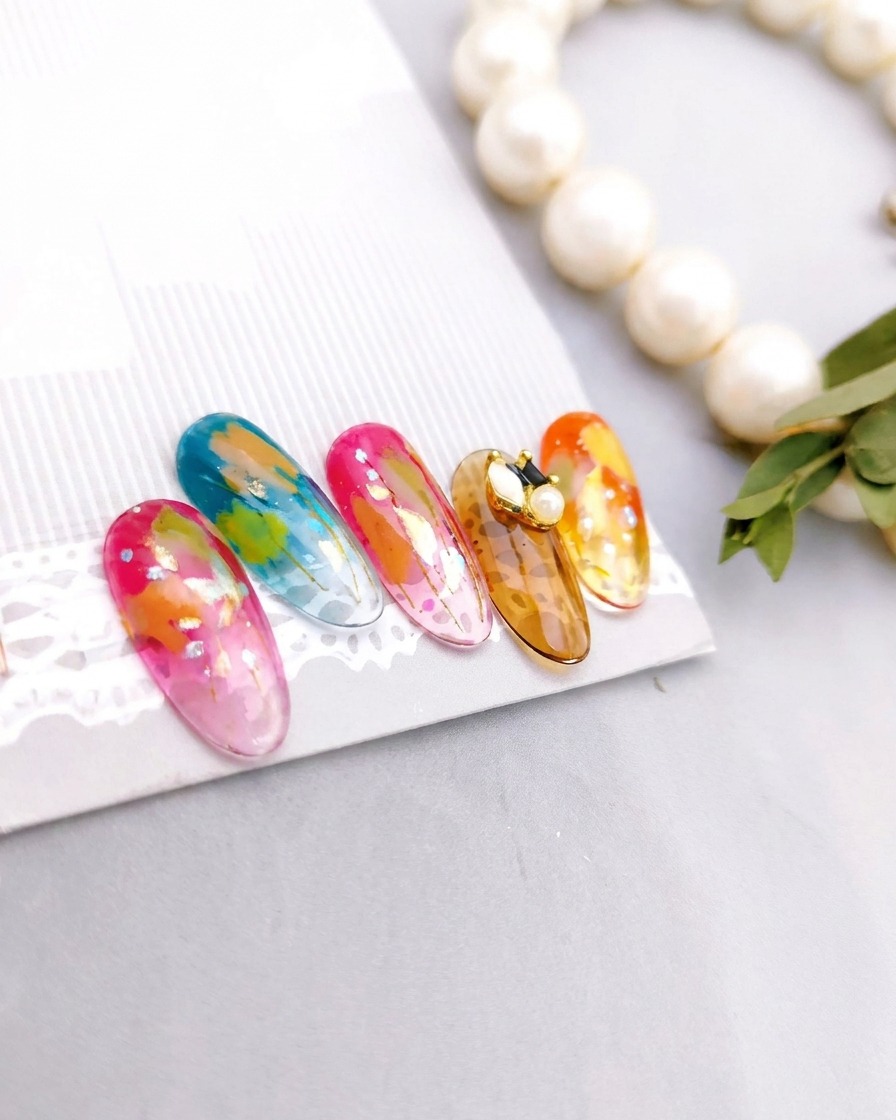
Place the nail back into the UV/LED lamp to fully cure the encapsulation layer. Once cured, the nail surface will be smooth and the decorations will be sealed securely.
Tip: A full cure is essential for ensuring the encapsulation layer is hard and durable.