Dark Red Ombre Gel Nails — Elegant Gradient Step-by-Step Tutorial
Create a stunning dark red to black ombre gel nail look using a simple sponge gradient technique for a gorgeous salon-quality finish.
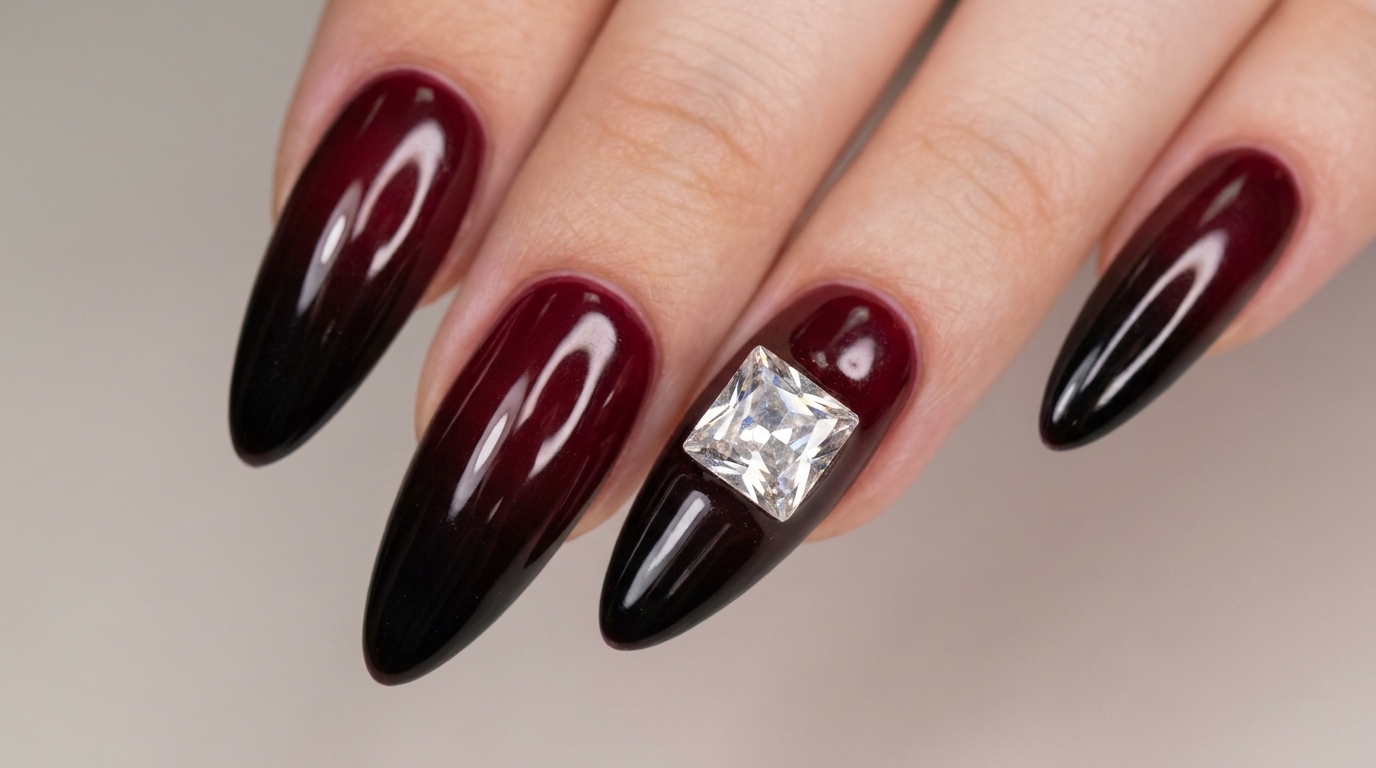
Deep, moody gradient nails bring a touch of dramatic elegance to any manicure look. This classic red and black color combination transitions smoothly from a rich dark red base into a solid black tip, offering a sophisticated style that works wonderfully for any season.
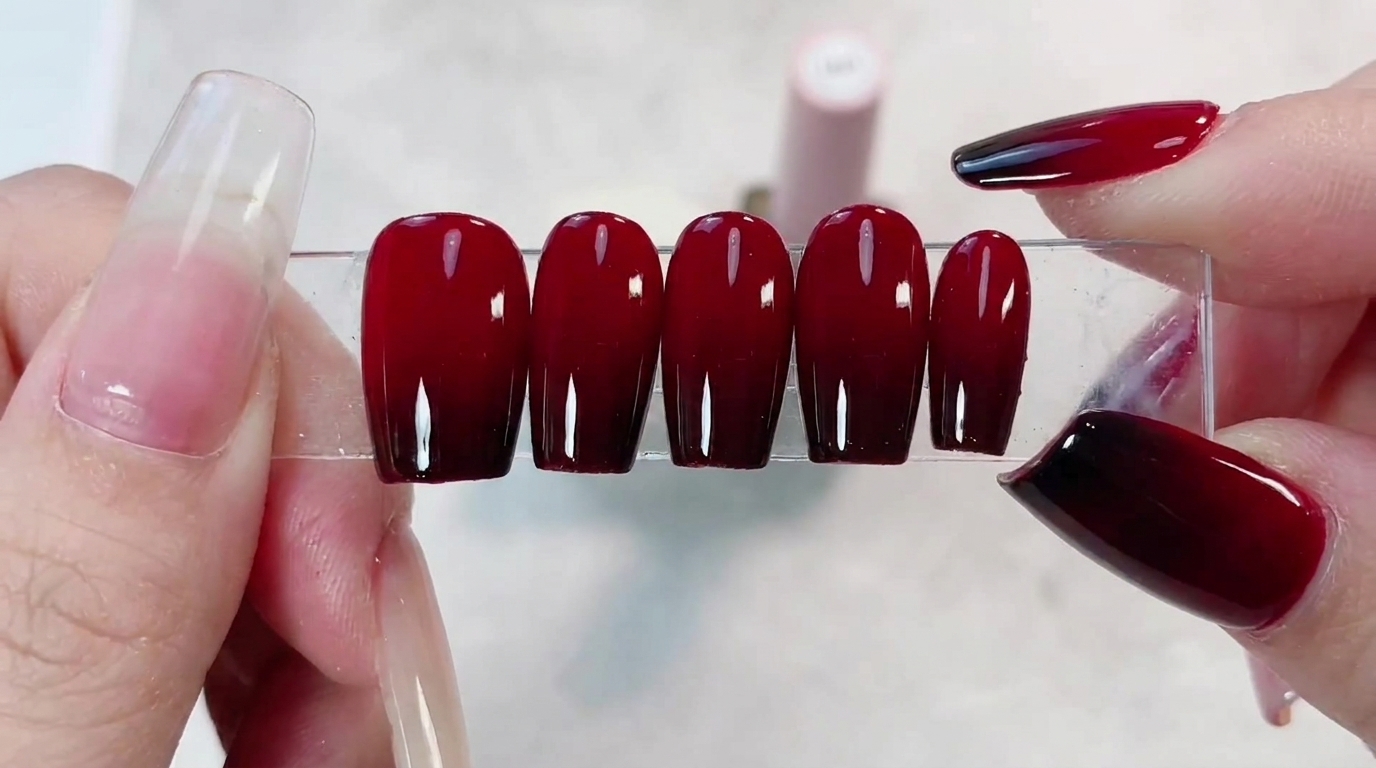
Steps
- 1Apply first coat of dark red gel polish
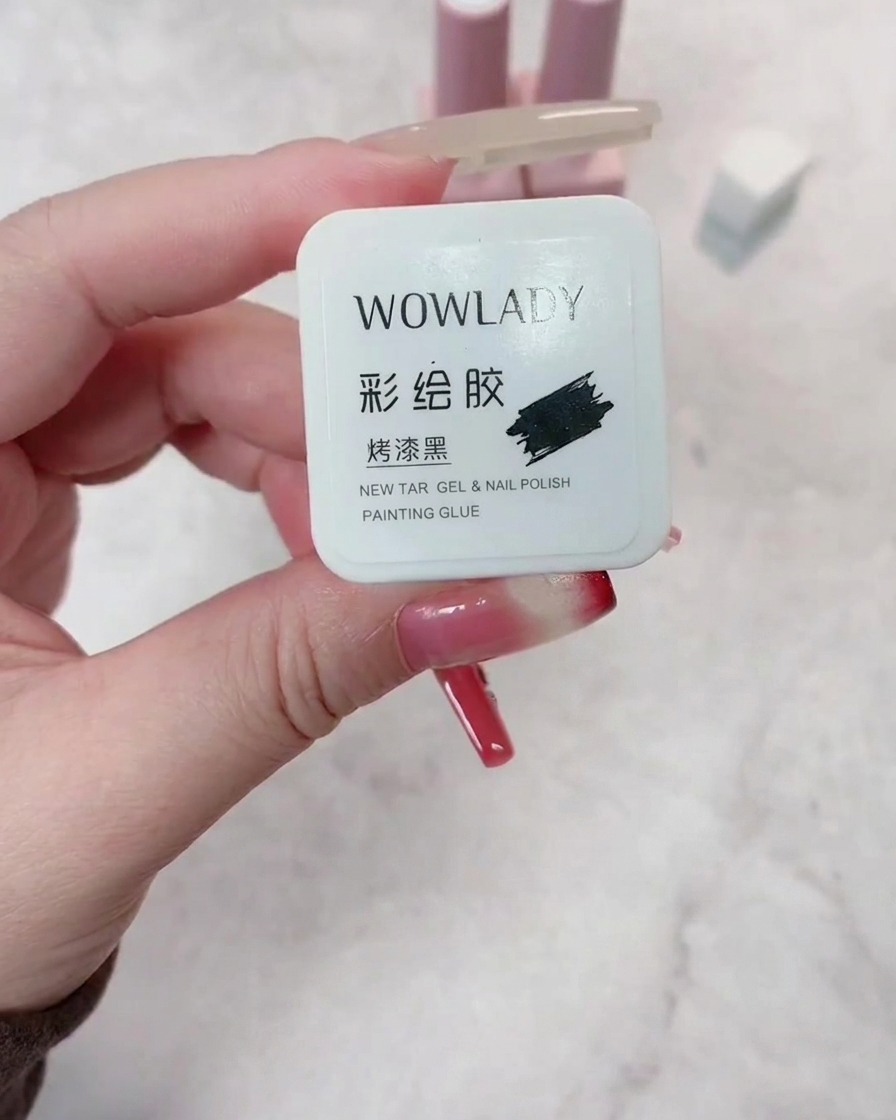
Apply a thin, even coat of dark red gel polish to the entire surface of the nail. Be careful to avoid the cuticle area to ensure a clean look. Once applied, cure under your UV or LED lamp as specified by the product instructions.
Tip: Applying thin coats prevents pooling and ensures the polish cures evenly, which is crucial for long-lasting results. - 2Apply second coat of dark red gel polish
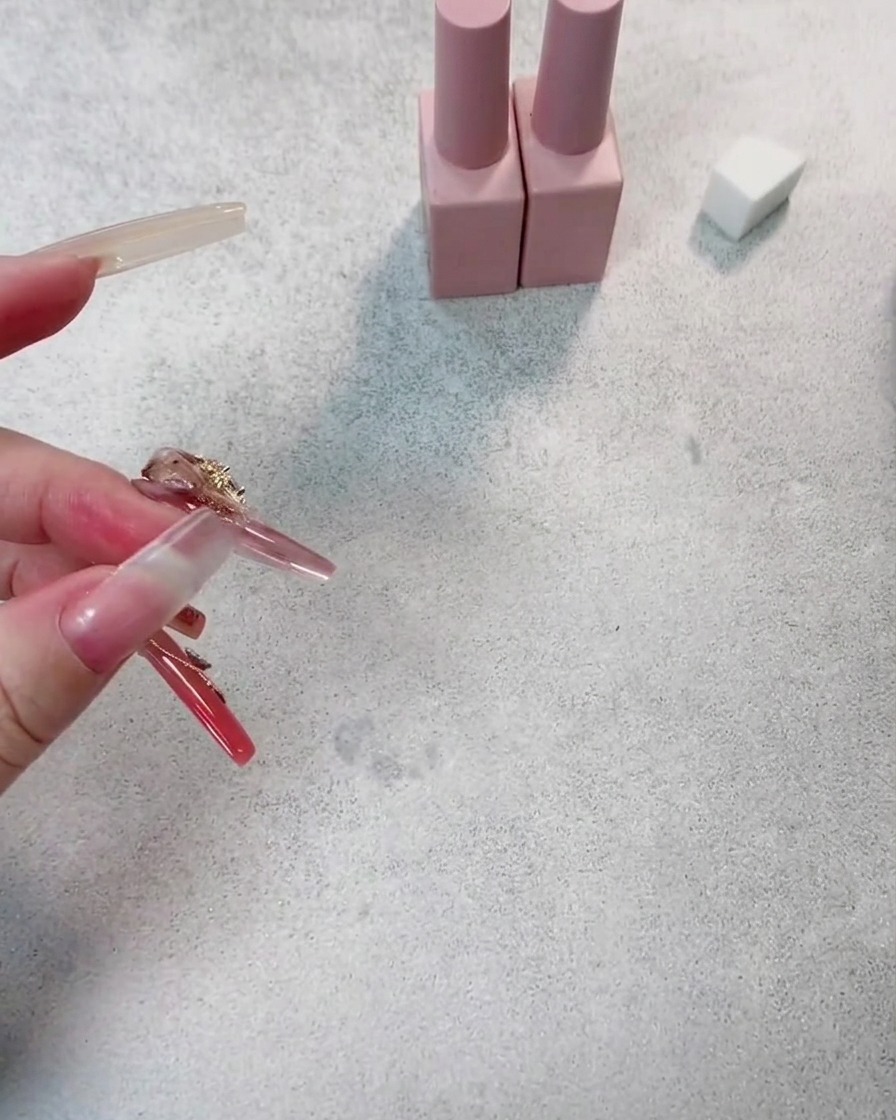
Apply a second layer of the dark red gel polish to build opacity and achieve a deep, saturated color. Ensure the edges are capped properly and cure the nail again under the lamp.
Tip: The second coat is essential for achieving a rich, vibrant color that matches the desired final look. - 3Prepare black painting gel
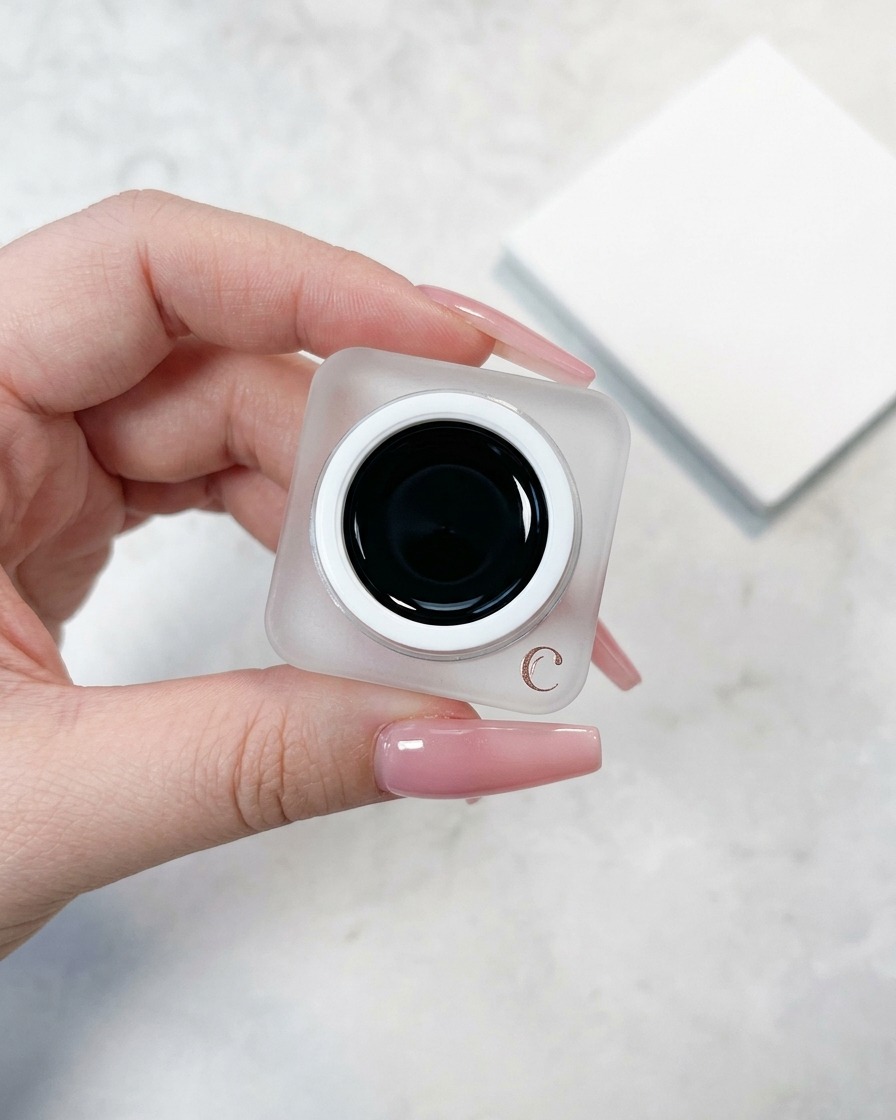
Carefully remove the lid from the black painting gel container. Having the product ready makes the next steps of the gradient design smooth and efficient.
Tip: Keep your workspace clean to avoid any accidental smudges of the black pigment on your table. - 4Scoop black gel onto palette
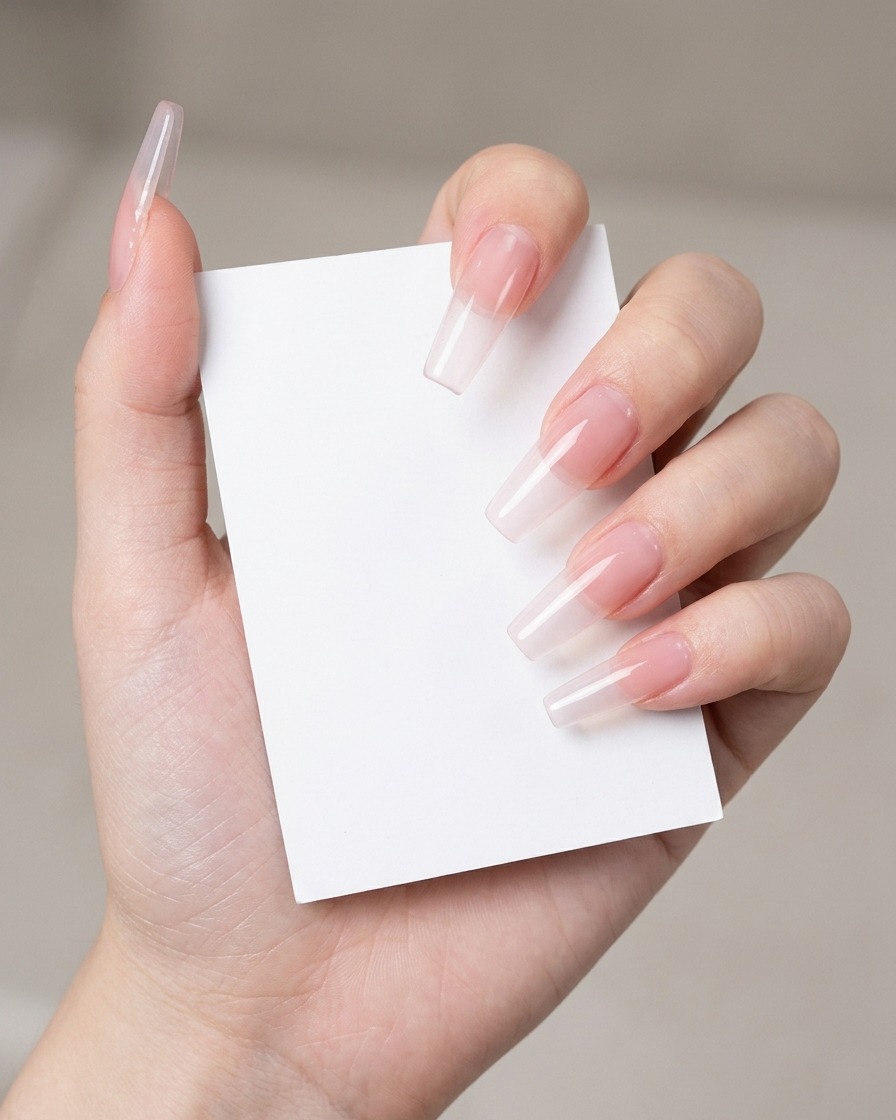
Use a clean metal spatula to scoop a small amount of black painting gel out of the container and place it onto your mixing palette. Using a palette keeps your workspace organized and prevents cross-contamination.
Tip: Only take a small amount initially; you can always add more if needed during the ombre process. - 5Prepare the sponge
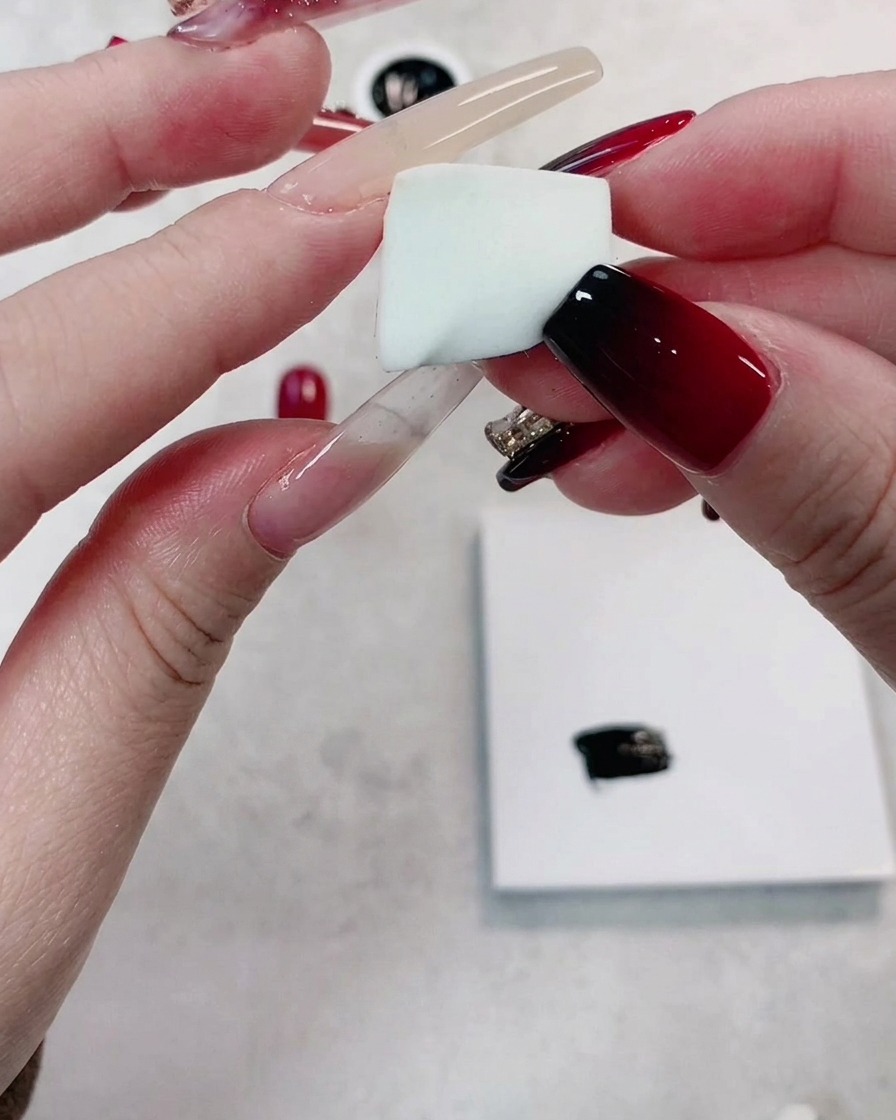
Select a small, high-density, fine-pored sponge for the gradient application. The fine pores are essential for a smooth, seamless transition between the red and black colors.
Tip: High-density sponges are preferred for nail art because they do not absorb too much product and leave a finer finish. - 6Load the sponge with gel
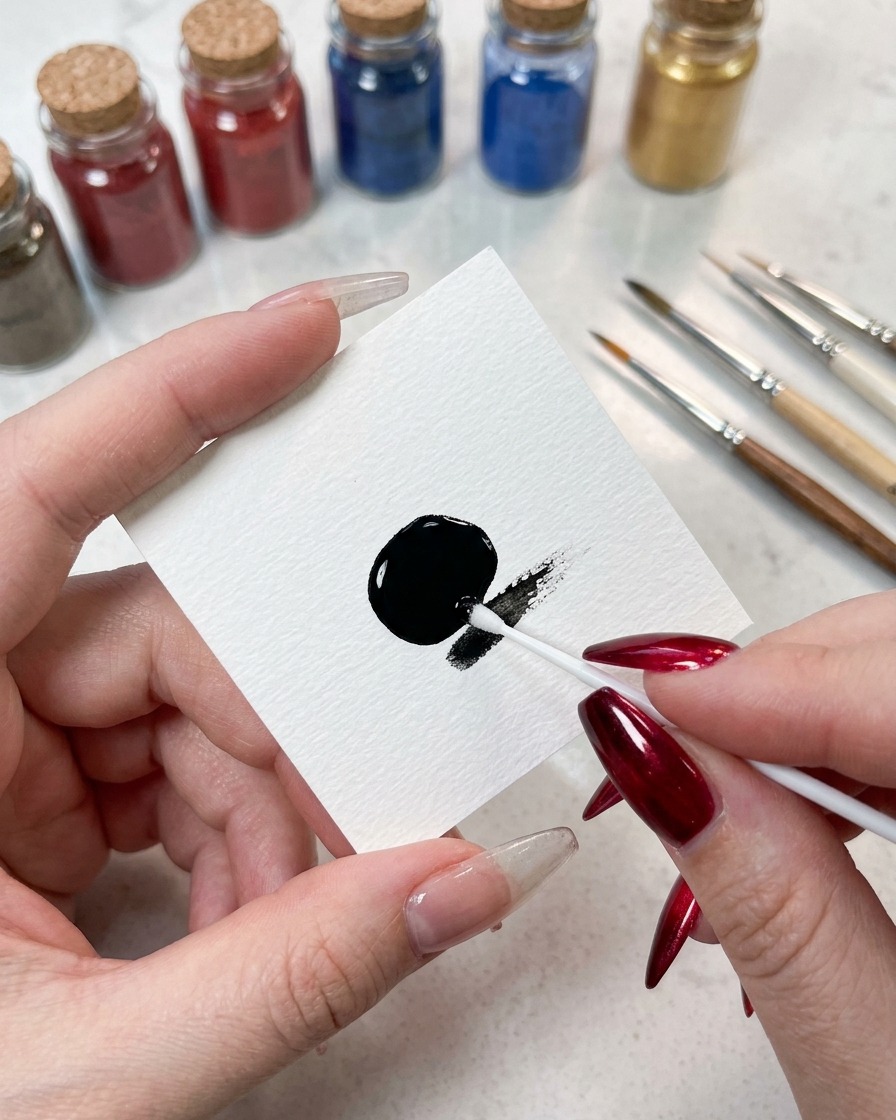
Gently press the edge of the sponge into the black painting gel on your palette. Ensure the gel is evenly distributed along the edge of the sponge so you can create a consistent gradient on the nail.
Tip: Dont oversaturate the sponge; a light, even layer will give you better control when dabbing the gradient. - 7Dab black gel for gradient
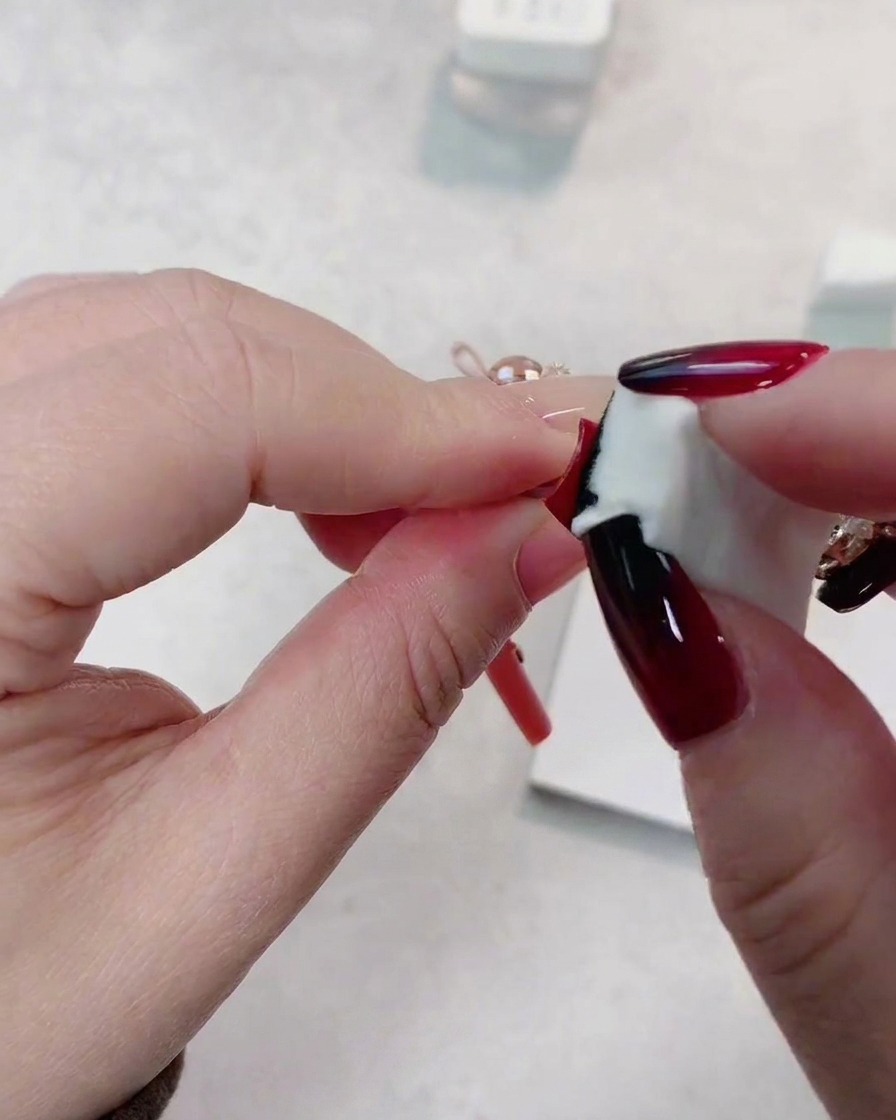
Using a high-density, fine-pored sponge with a small amount of black painting gel, gently dab onto the front tip of the dark red nail to establish the gradient base. Build the color softly to ensure a smooth transition without harsh lines.
Tip: Keep the sponge pressure light so the black color diffuses gradually rather than depositing a heavy block of color. - 8Deepen the gradient effect
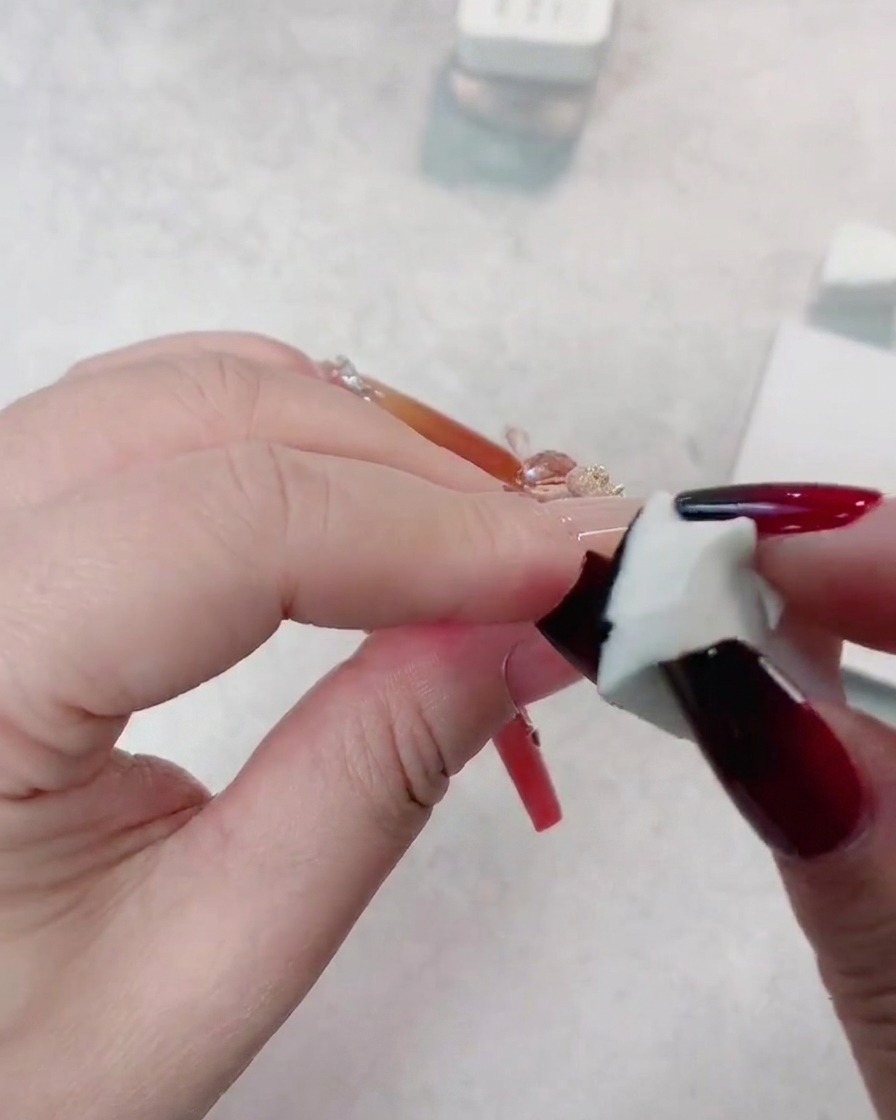
Apply a second layer of black gel using the sponge, concentrating specifically on the very tip of the nail to deepen the dark gradient transition. Cure the nail under a UV or LED lamp after reaching the desired intensity.
Tip: Focusing the second layer more tightly toward the extreme tip creates depth and dimension in the ombre look.