Red and Black Gradient Patted Gel Nails — Step-by-Step Tutorial
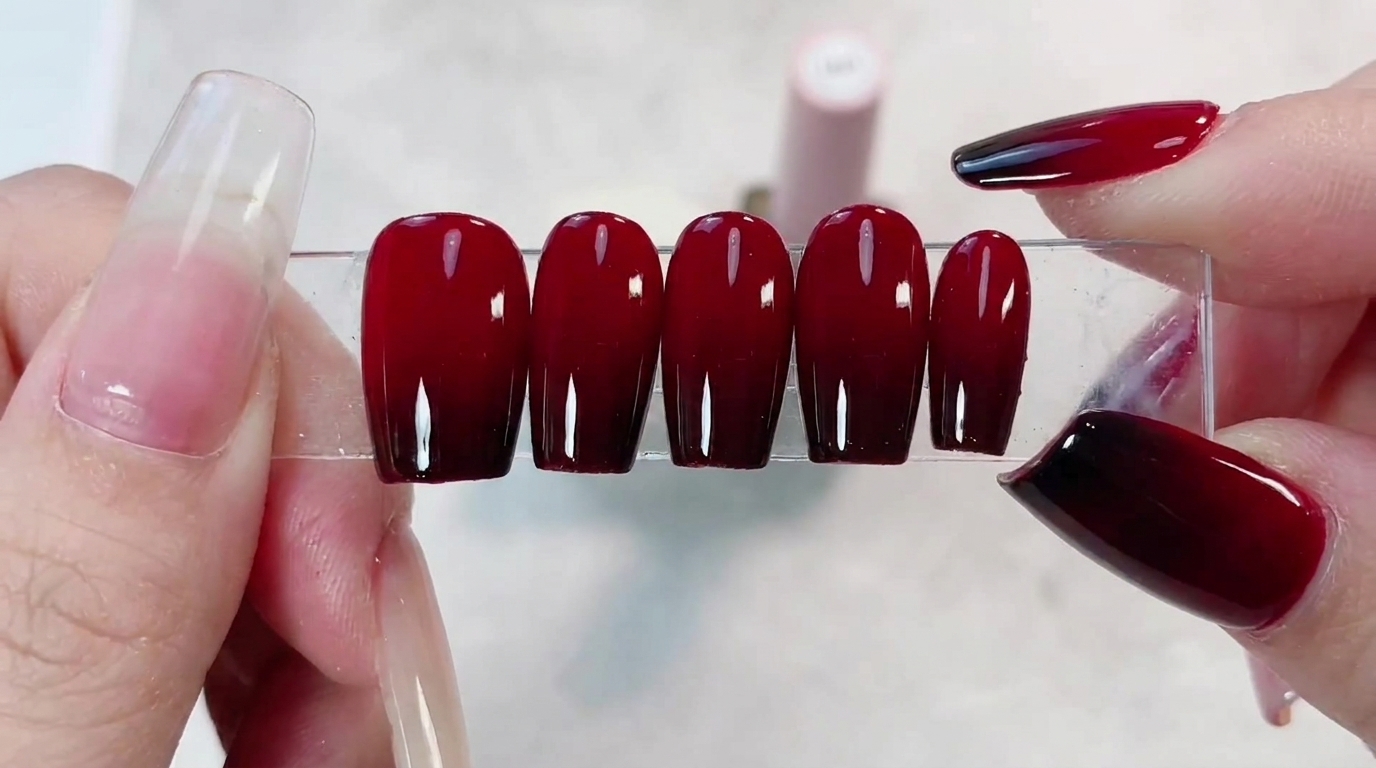
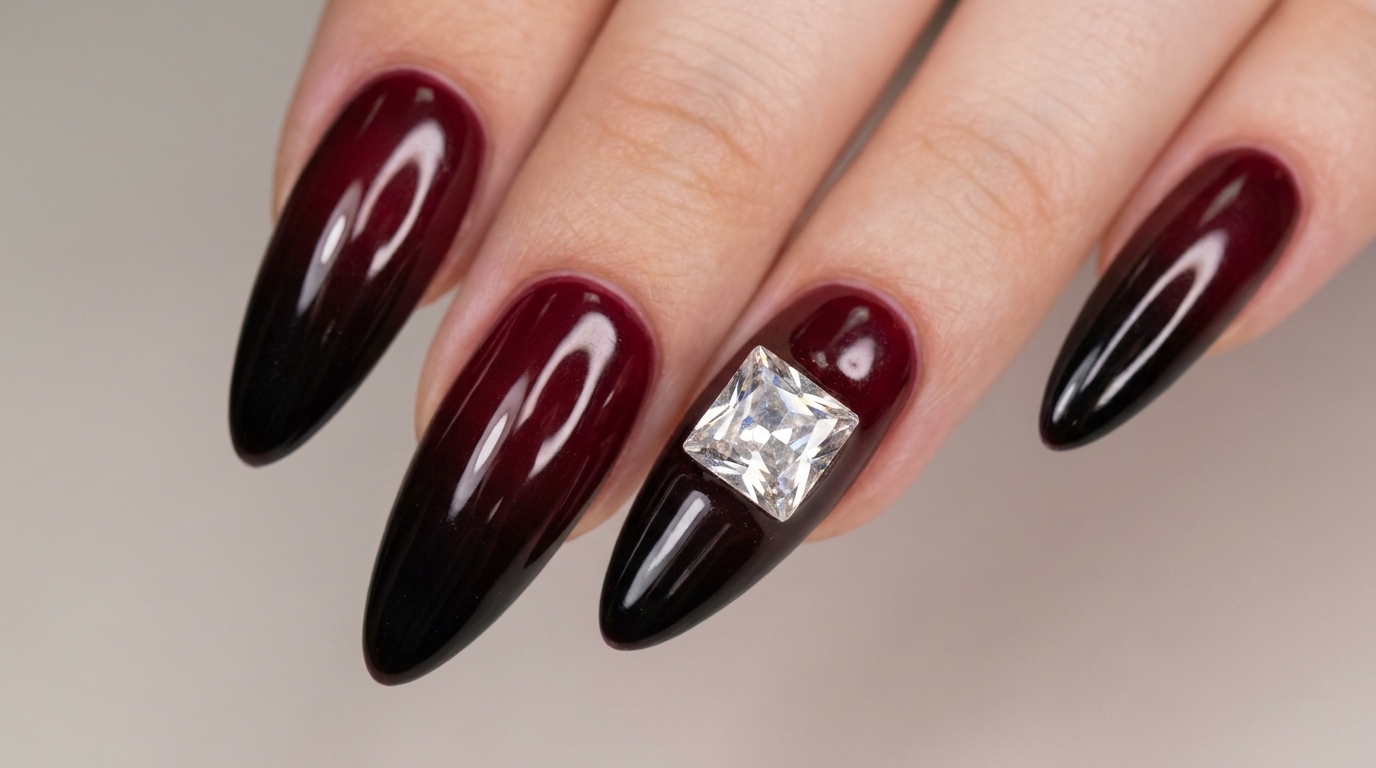
Create a dramatic dark wine red and black gradient gel look with a statement crystal charm using an easy patted sponge technique.
Dark gradient nails offer a sophisticated and striking aesthetic that elevates any evening or seasonal look. By combining rich wine red tones with deep black tips and a sparkling crystal accent, this design delivers high-end salon style with approachable application techniques.
Steps
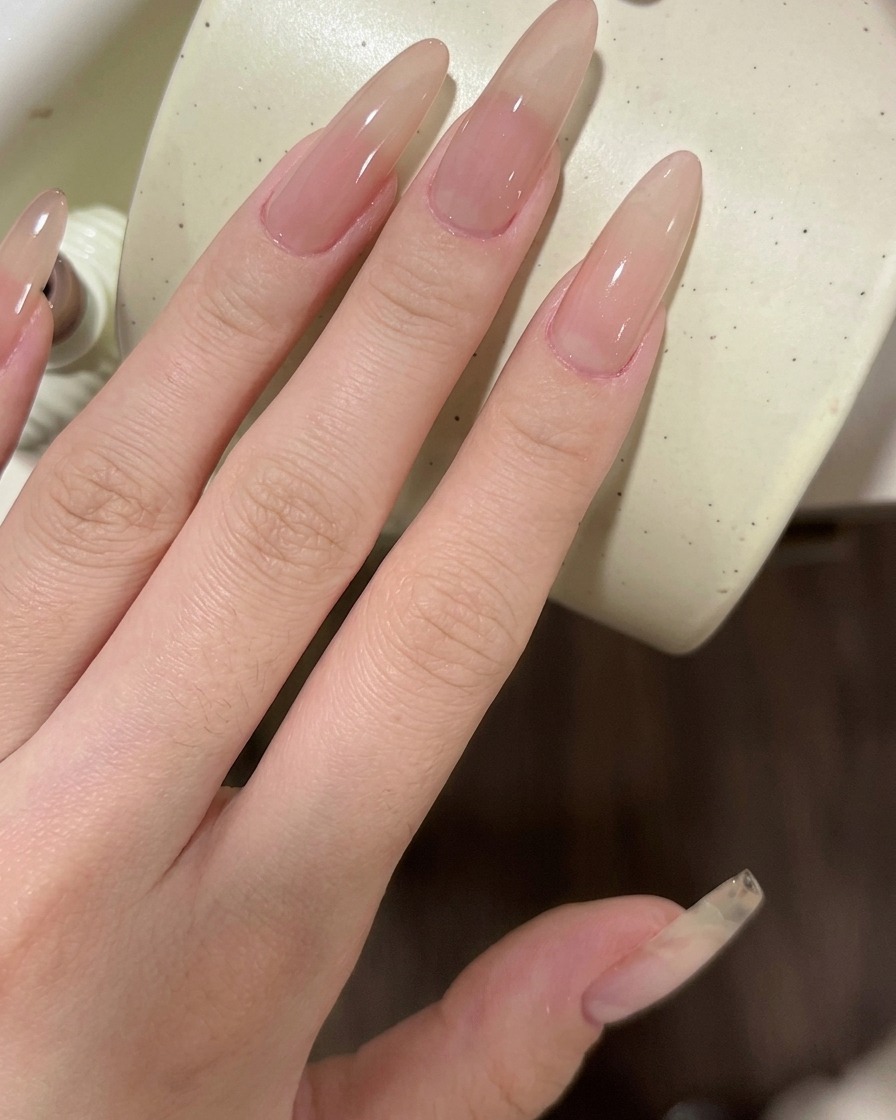
- 1Apply milk tea gel base
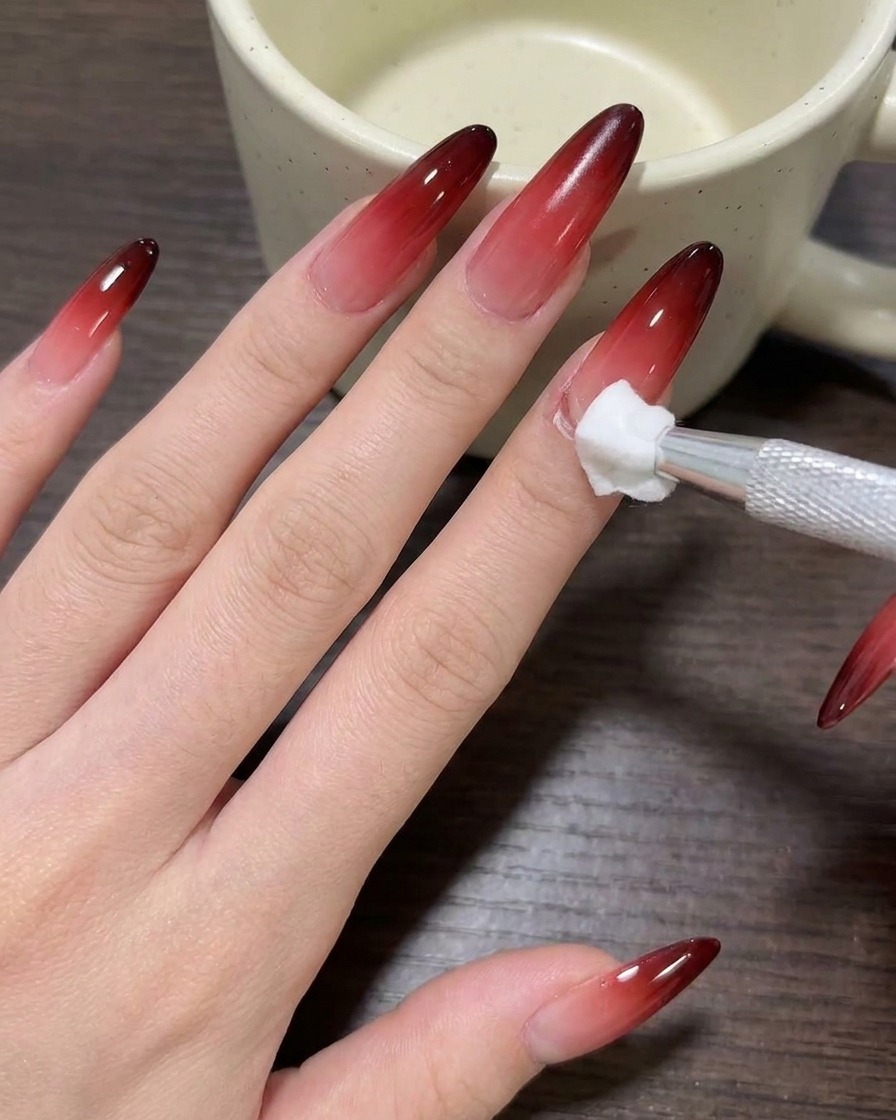
Apply a thin, even coat of the nude milk tea gel to the entire nail plate. Ensure you coat the surface smoothly to provide an even base for the upcoming gradient design. Cure under your UV or LED lamp as required.
Tip: Work in thin layers to ensure the gel levels out smoothly without pooling at the cuticles. - 2Cleanse the sticky layer
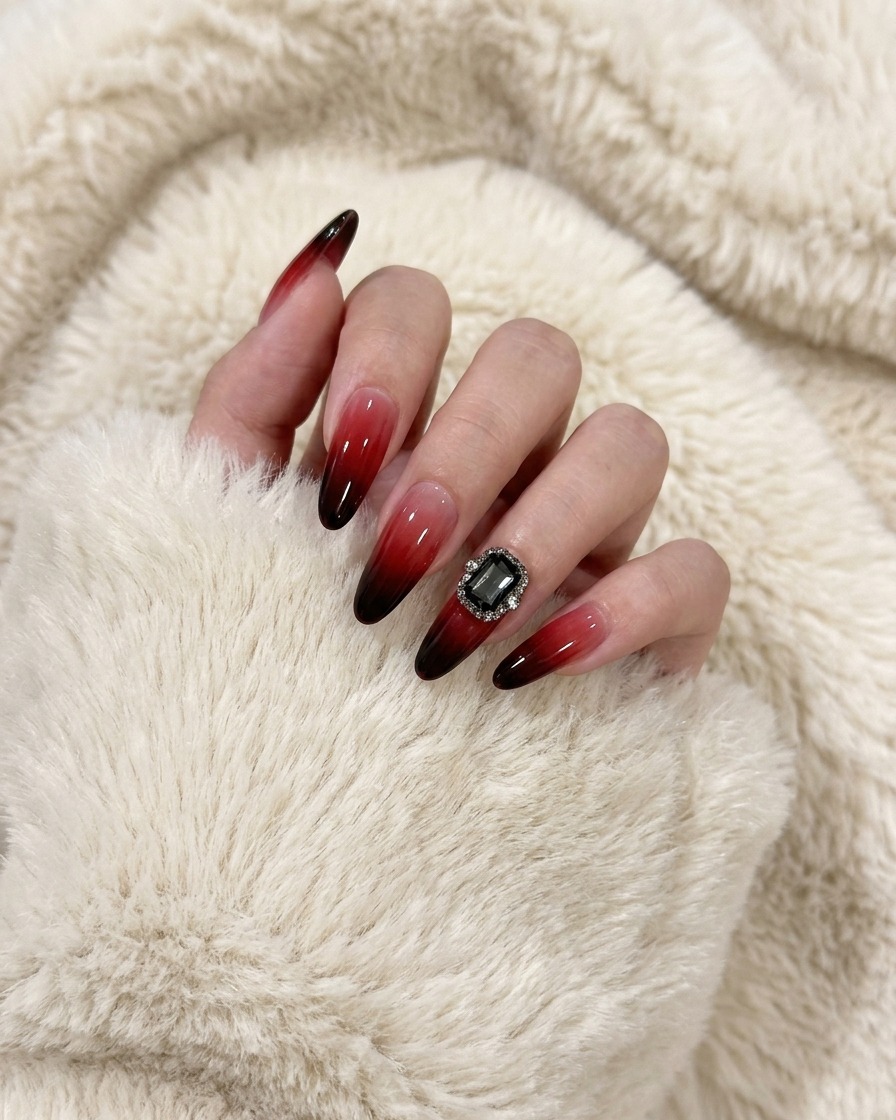
Once cured, use a lint-free cleansing wipe dampened with nail cleanser to gently wipe away the sticky inhibition layer from the surface of the nail. This creates a clean, non-tacky surface for better control during the patted gradient application.
Tip: Using a lint-free wipe prevents unwanted fibers from sticking to your nails. - 3Prepare wine red gel
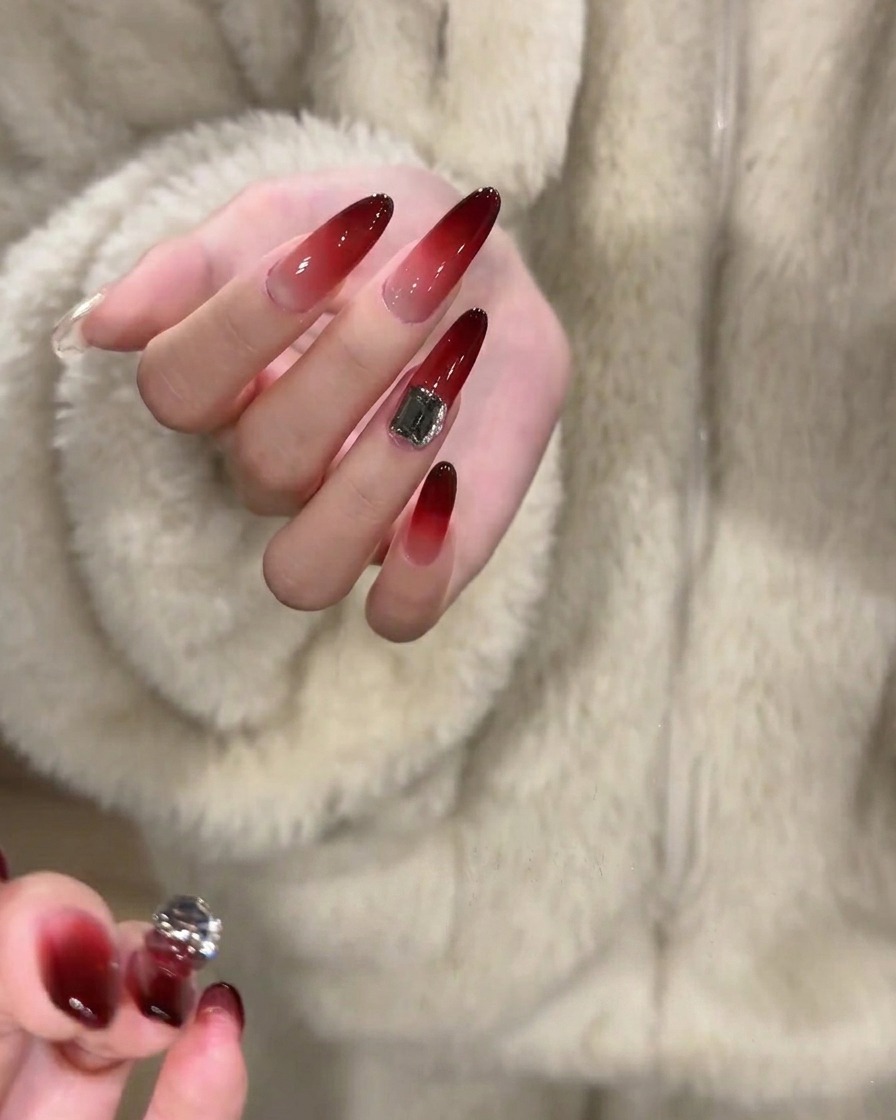
Open your container of wine red patted gel. Having the product ready makes the application process more efficient, allowing you to focus on achieving a seamless gradient effect.
Tip: Keep your gel containers slightly away from the UV lamp to avoid accidental curing of the product in the pot. - 4Pat on the first wine red gradient
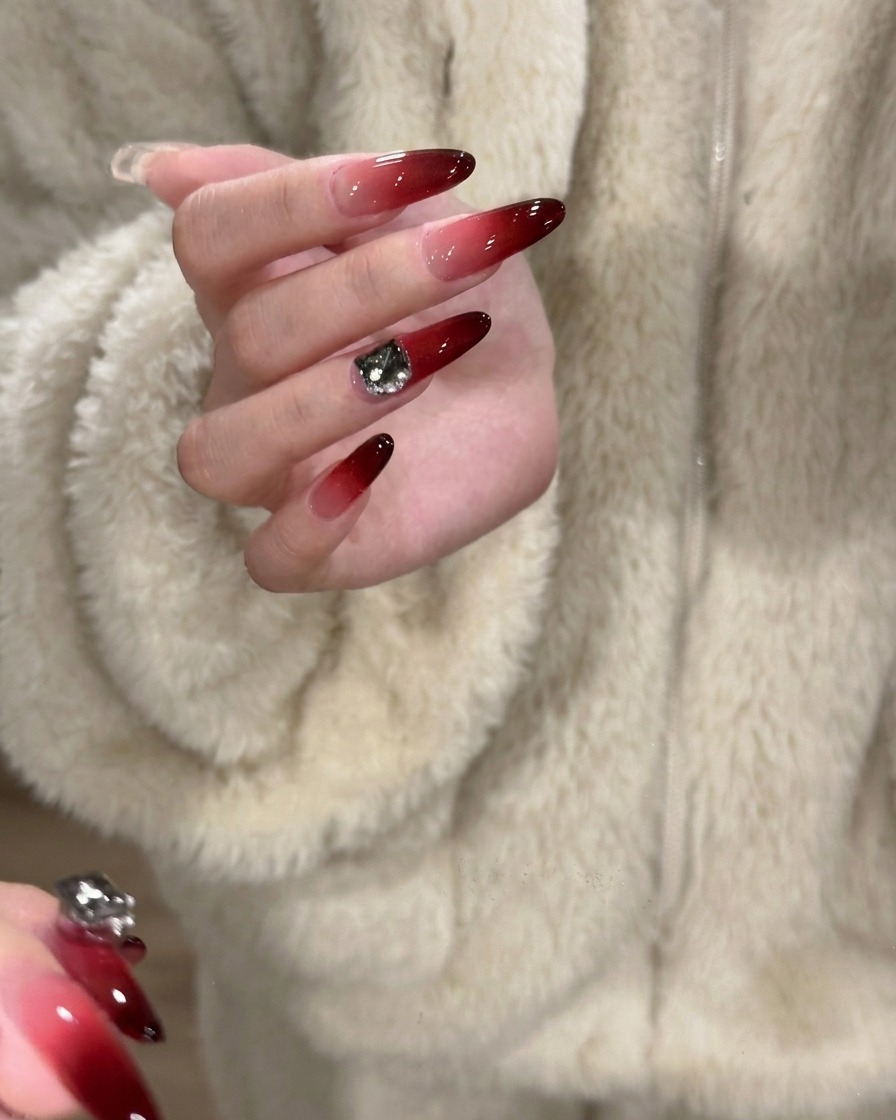
Using a sponge applicator, gently pat the wine red gel onto the upper portion of the nail. Focus on blending the color downwards to create a soft, faded gradient look. Cure the nail briefly if necessary to set this initial layer.
Tip: Use a light tapping motion with the sponge to avoid creating harsh lines and to ensure a smooth blend. - 5Apply second gradient layer
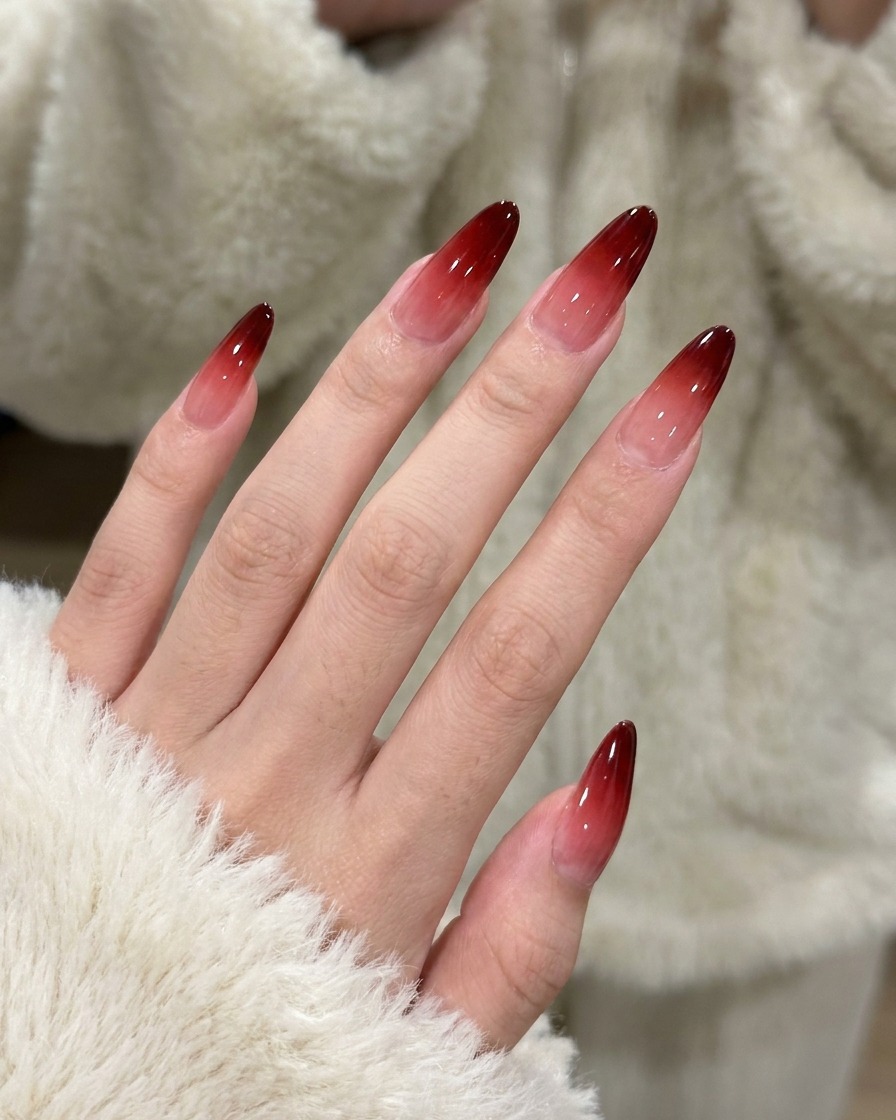
Pat a second layer of the wine red gel over the same upper area. This builds up the opacity and adds depth to the gradient, making the color transition appear richer and more professional.
Tip: Concentrate the color closer to the tip for the second layer to emphasize the depth. - 6Prepare black gel
Open your container of black patted gel. You will use this to deepen the tips of the nails, adding contrast and a dramatic effect to the wine red gradient.
Tip: Use a minimal amount of black gel, as it is highly pigmented and can easily overpower the red if too much is applied. - 7Apply final top coat
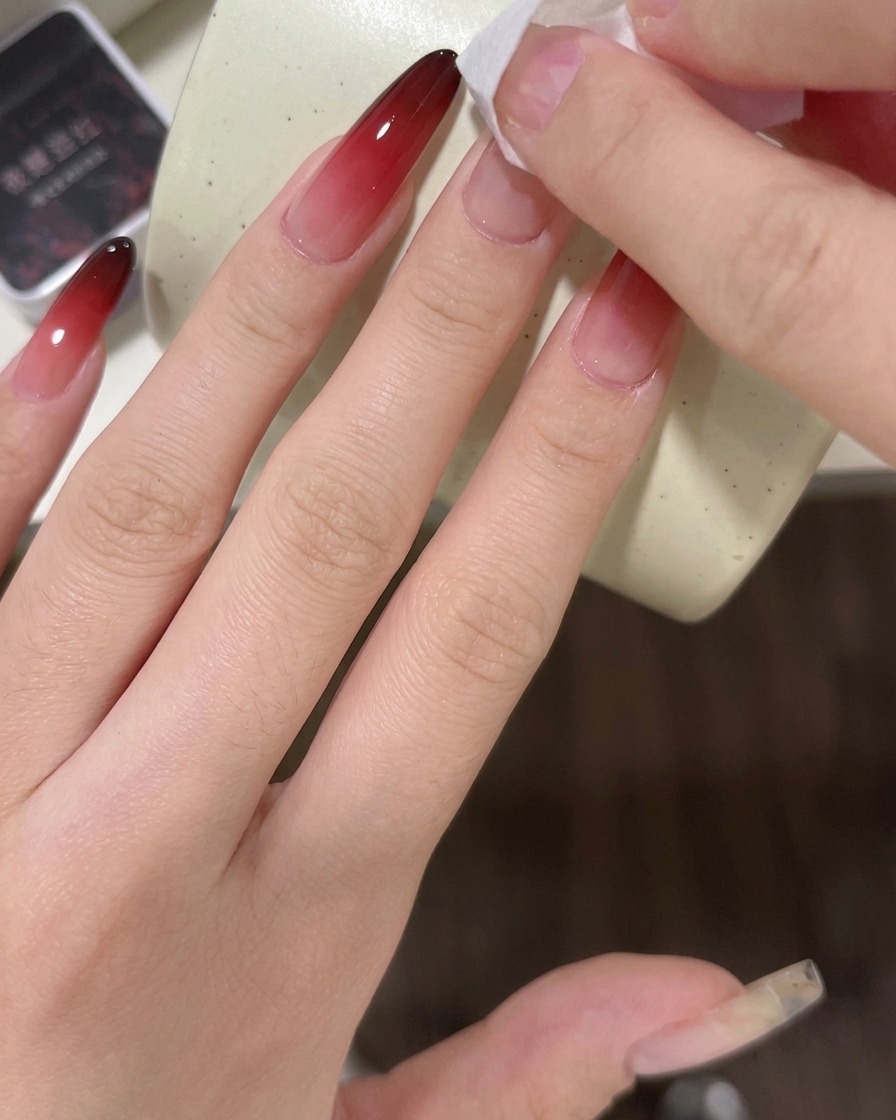
Apply a final gloss top coat layer over the completed red and black gradient design to seal the color and add shine. Ensure the entire nail surface is covered, capping the free edge, and cure under your UV or LED lamp as required.
Tip: A smooth application of the top coat is essential for a professional, mirror-like finish.