Dragon Fruit Pink Gradient Aurora Glass Ball Nails — Step-by-Step Tutorial
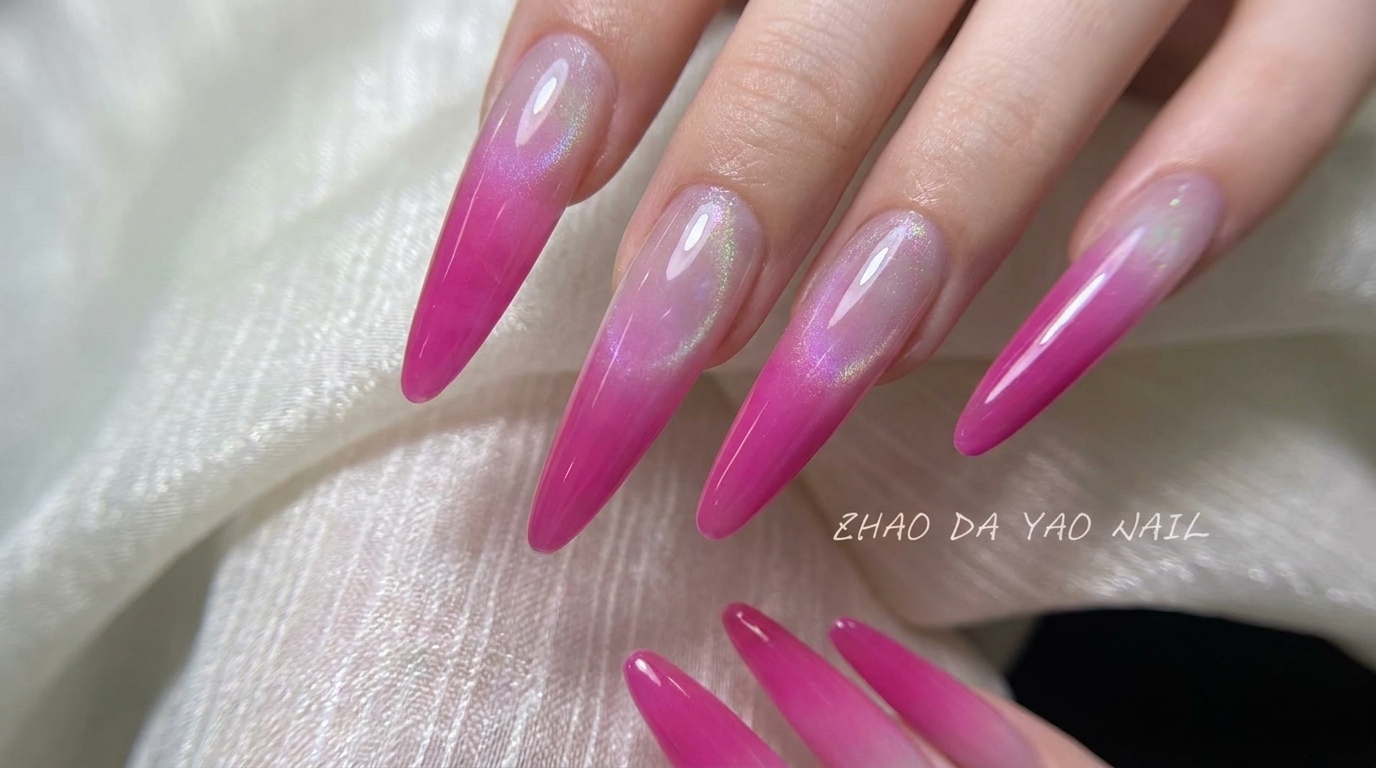
Master the vibrant dragon fruit pink gradient combined with a mesmerizing cat eye aurora glass ball effect on long stiletto nails.
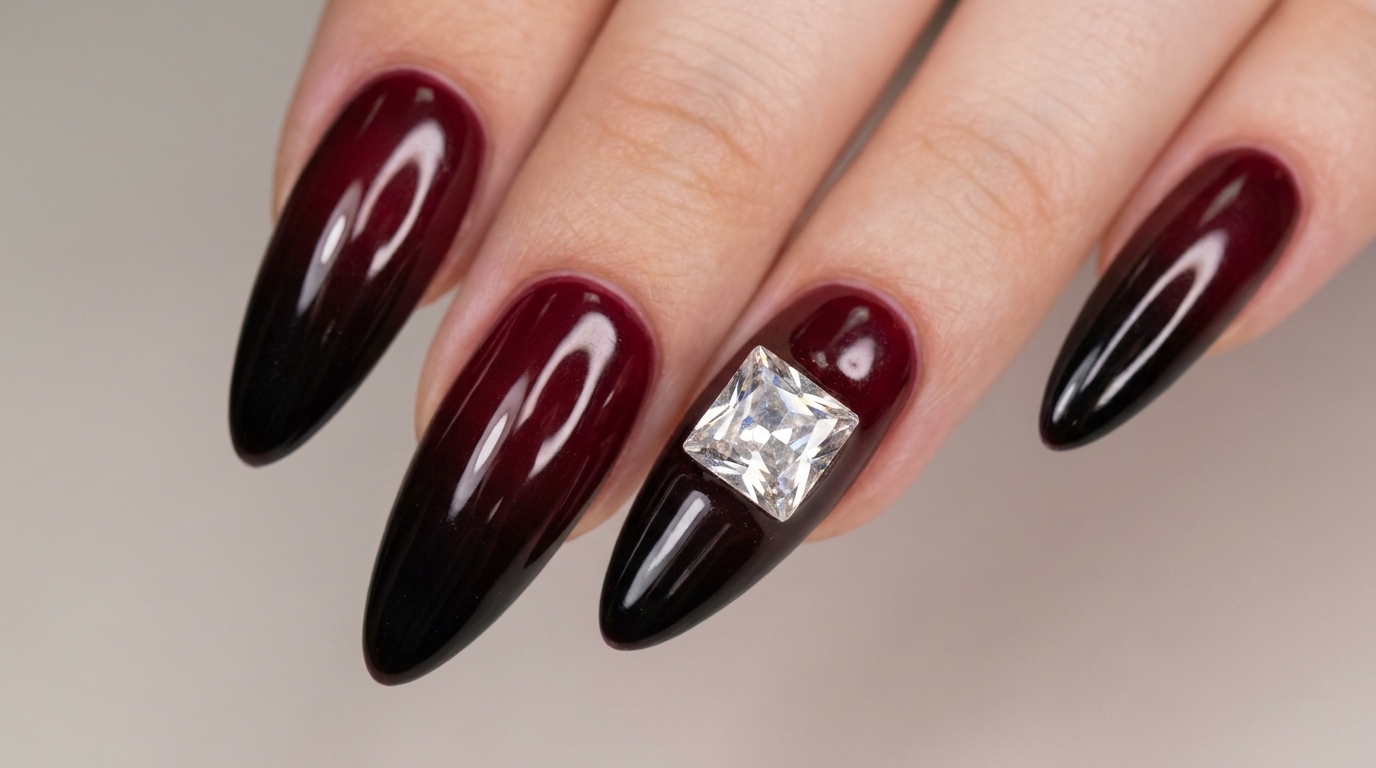
Hello sisters! This celestial top-tier nail look brings a seductive and ethereal rose red vibe. Customized with a vibrant dragon fruit color transition and stunning glass ball reflections, this tutorial guides you through achieving salon-quality magnetic cat eye art at home.
Steps
- 1Create pink gradient base
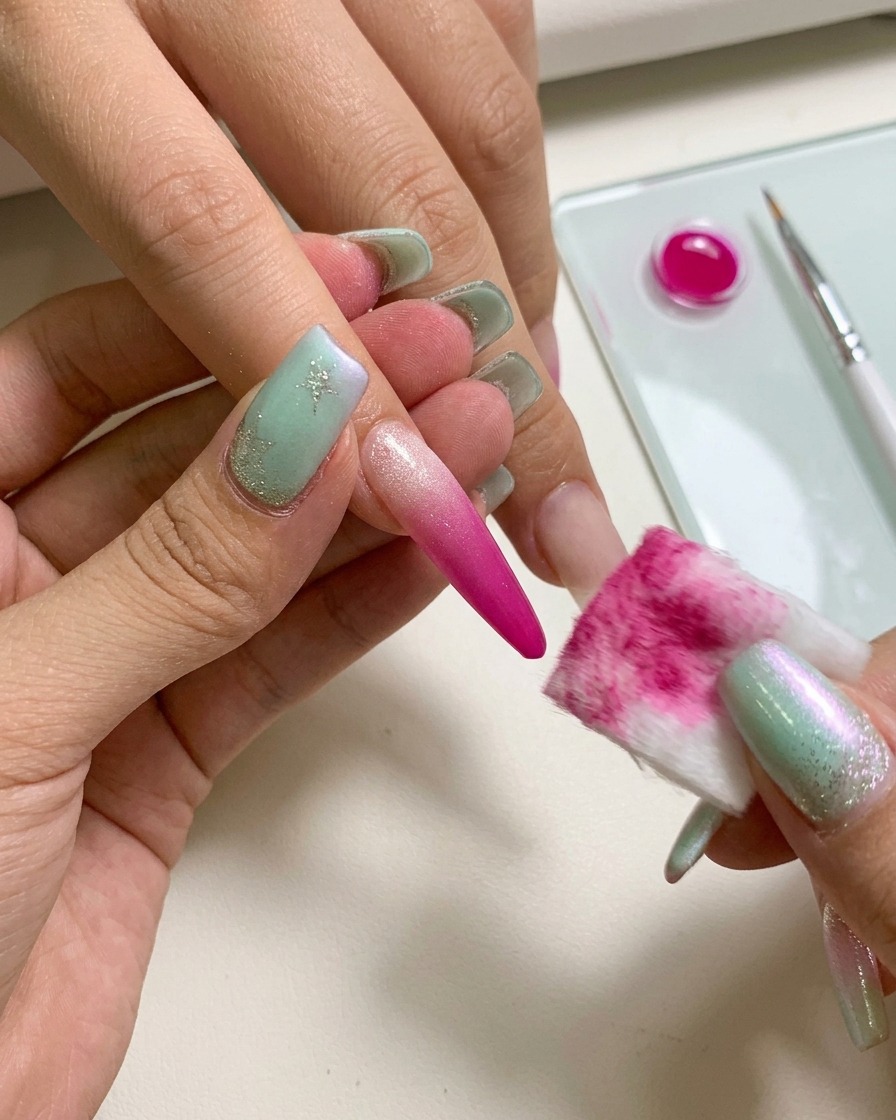
Using a small sponge held with tweezers, gently dab pink gel polish onto the nail surface to build a soft, ethereal gradient effect. Layer the color lightly, focusing the intensity towards the center or tip to achieve the desired transition.
Tip: Use a light tapping motion rather than dragging to keep the gradient smooth and free of brush strokes. - 2Check extension structure
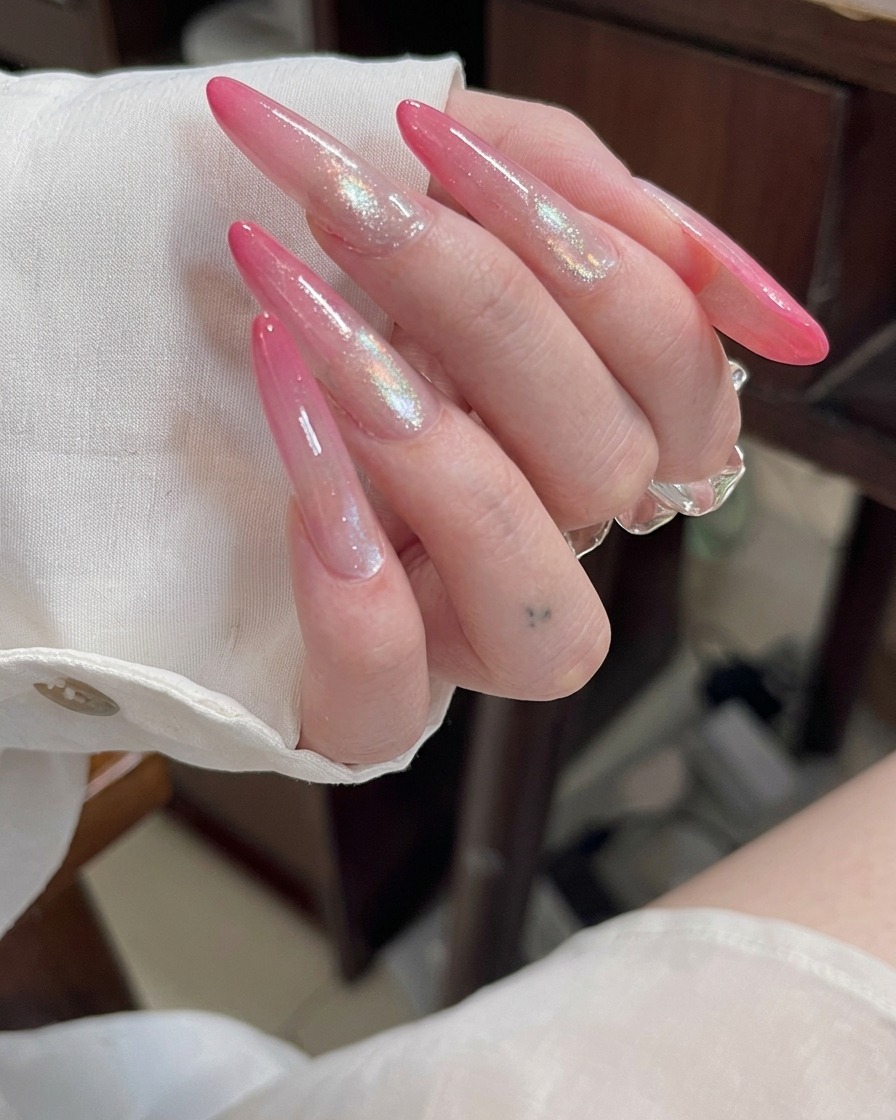
Examine the long stiletto acrylic extensions to ensure the structure is uniform, strong, and properly shaped. Verify that the apex is correctly placed for durability before proceeding to color application.
Tip: Check the side profile to ensure the nails are straight and the thickness is consistent throughout. - 3Smooth cuticle area
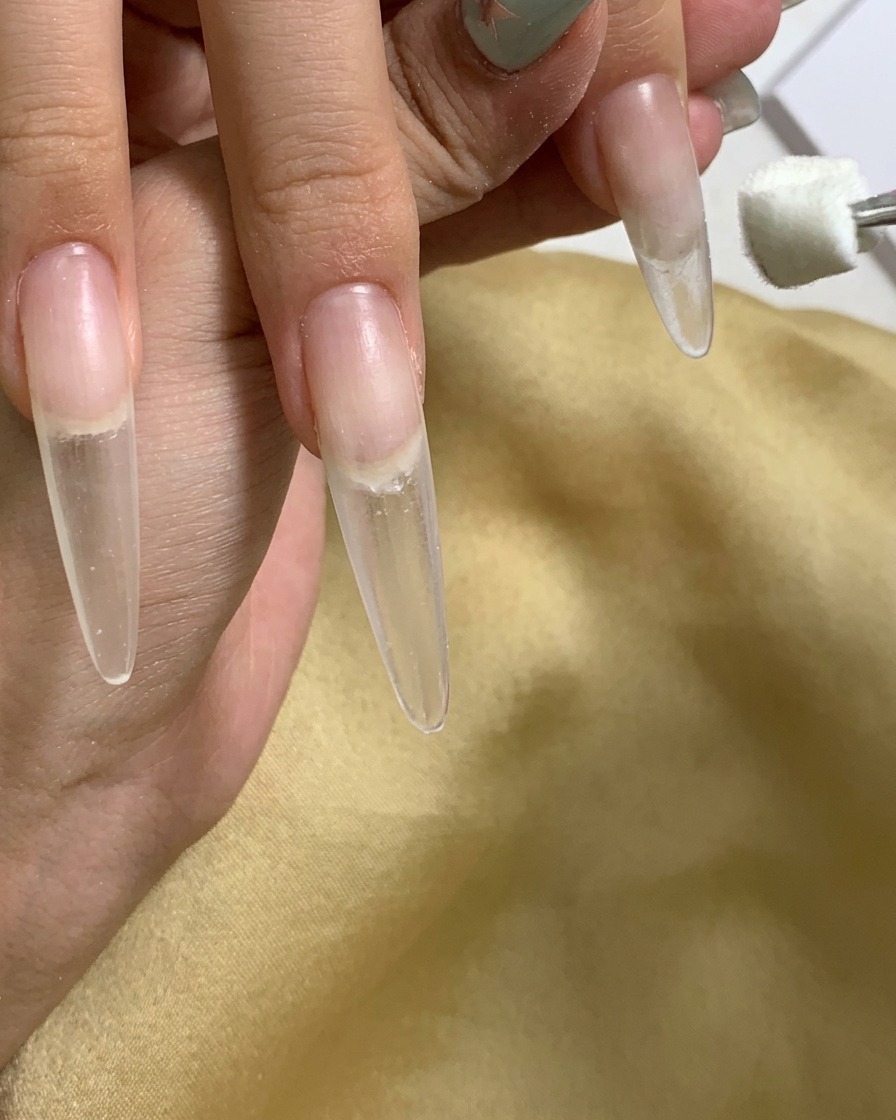
Apply a small amount of rubber gel using a sponge dabber to the cuticle and proximal nail fold area. This technique helps to smooth out the transition between the natural nail and the extension, ensuring a seamless, professional finish.
Tip: Keep the layer thin to avoid bulkiness near the cuticle, which can lead to lifting. - 4Apply cat eye polish
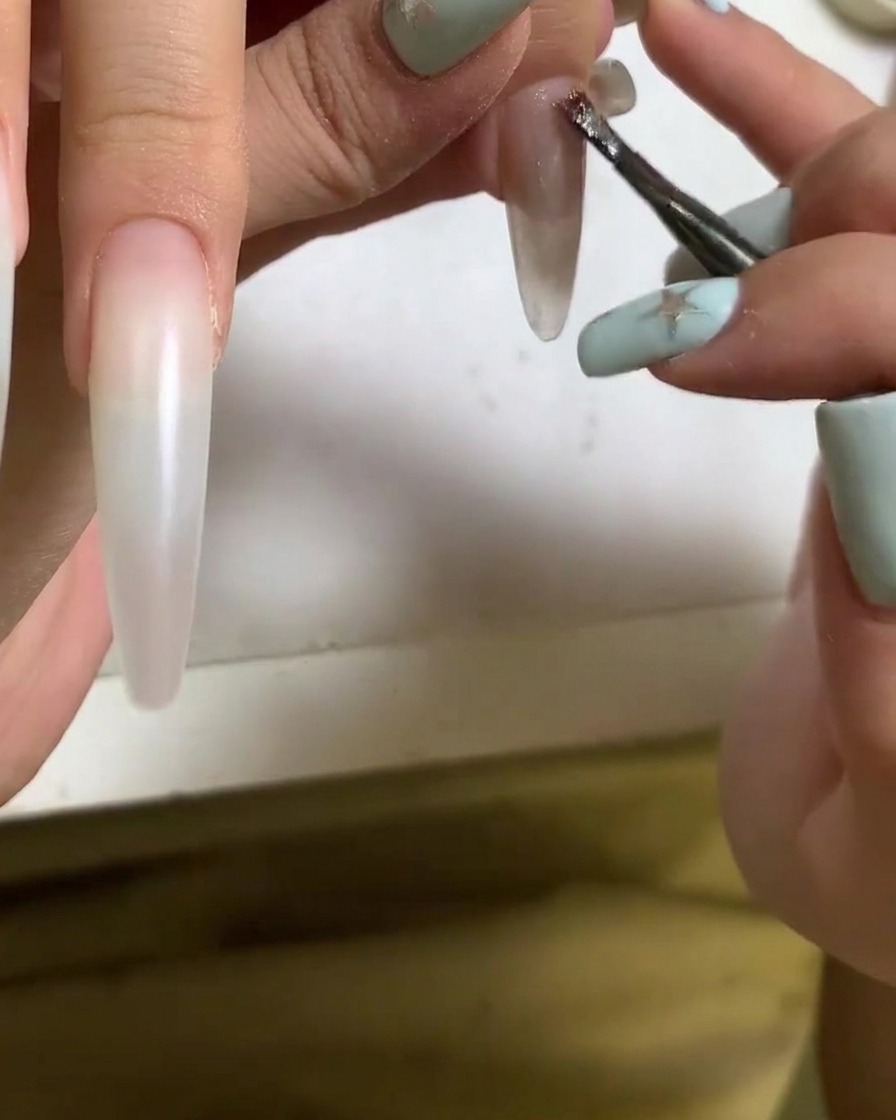
Apply a coat of cat eye gel polish over the nail surface, taking care to leave the very tip of the stiletto extension free of product. Ensure even coverage to allow the magnetic particles to move correctly.
Tip: Apply a slightly thicker layer than usual to give the magnetic particles more fluid to move in. - 5Create cat eye shimmer
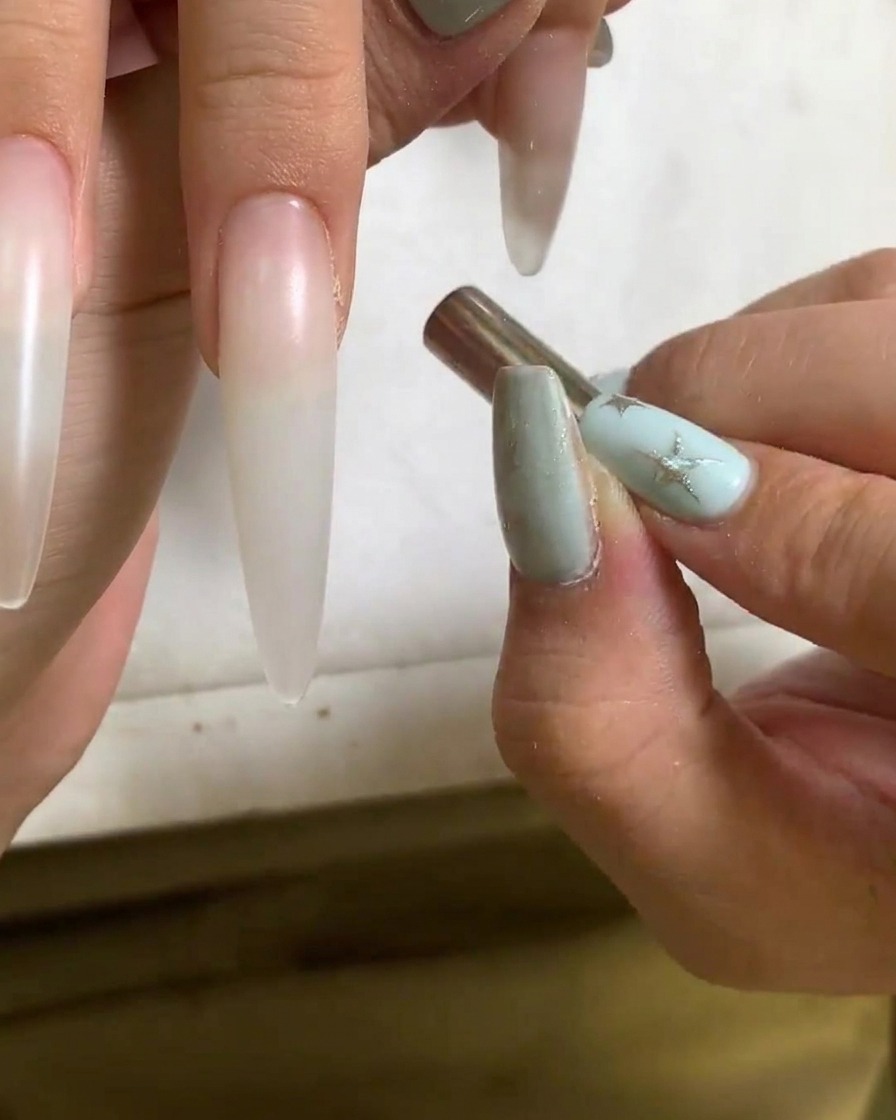
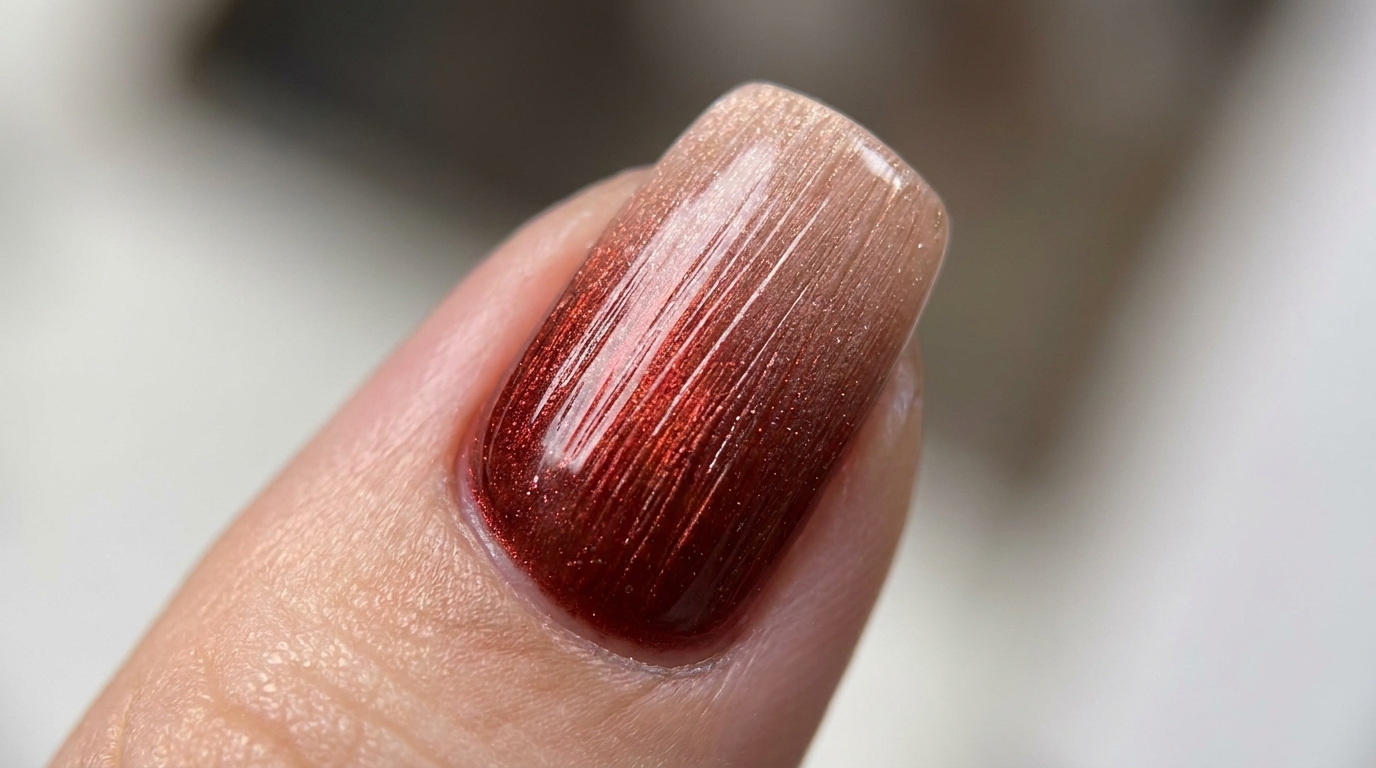
While the cat eye gel is still wet, hover a magnetic wand over the nail surface. Manipulate the wand to pull the magnetic particles together, creating a focused glass ball shimmer line down the center of the nail.
Tip: Hold the magnet steady once you achieve the desired line to prevent the particles from drifting before curing. - 6Flash cure cat eye
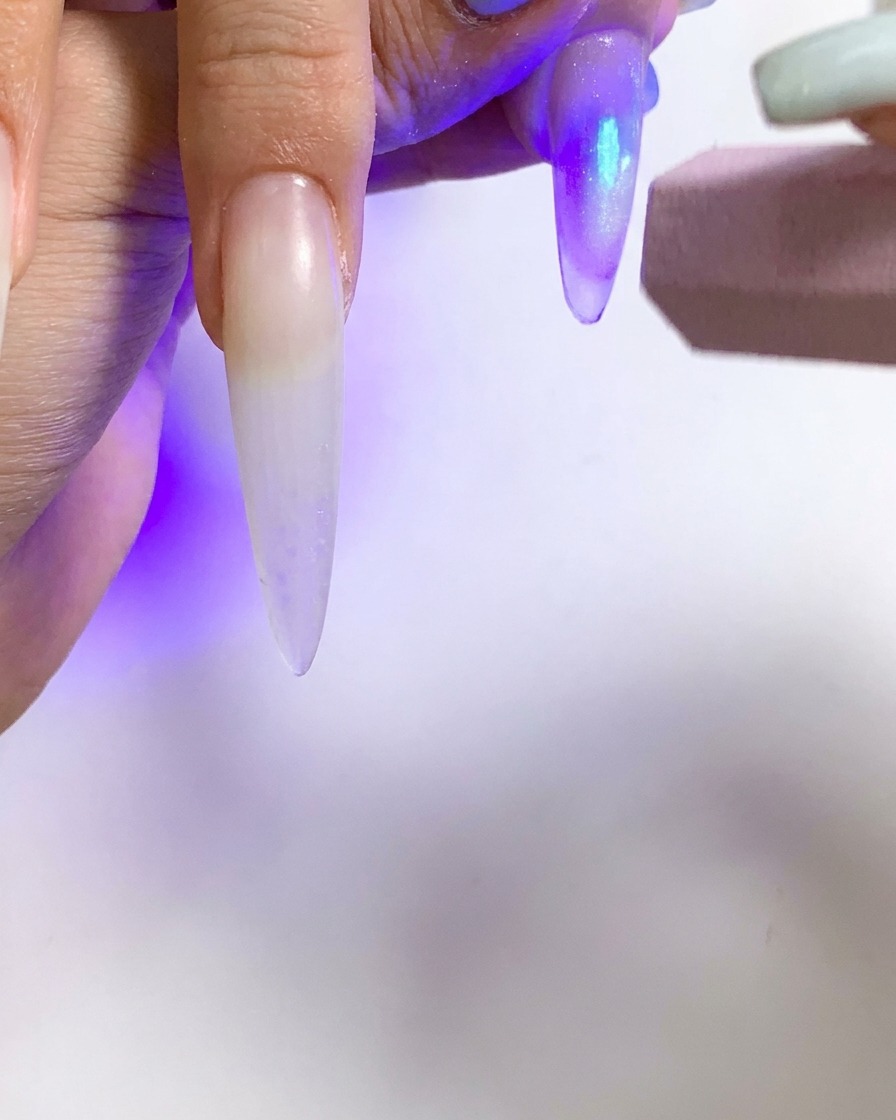
Immediately after achieving the desired magnetic effect, use a mini UV/LED flashlight to flash cure the gel. This locks the magnetic particles in place before they have a chance to disperse.
Tip: Hold the light close to the nail for 10-15 seconds to ensure the effect is fully locked before placing the hand in the main lamp. - 7Apply cat eye gel polish
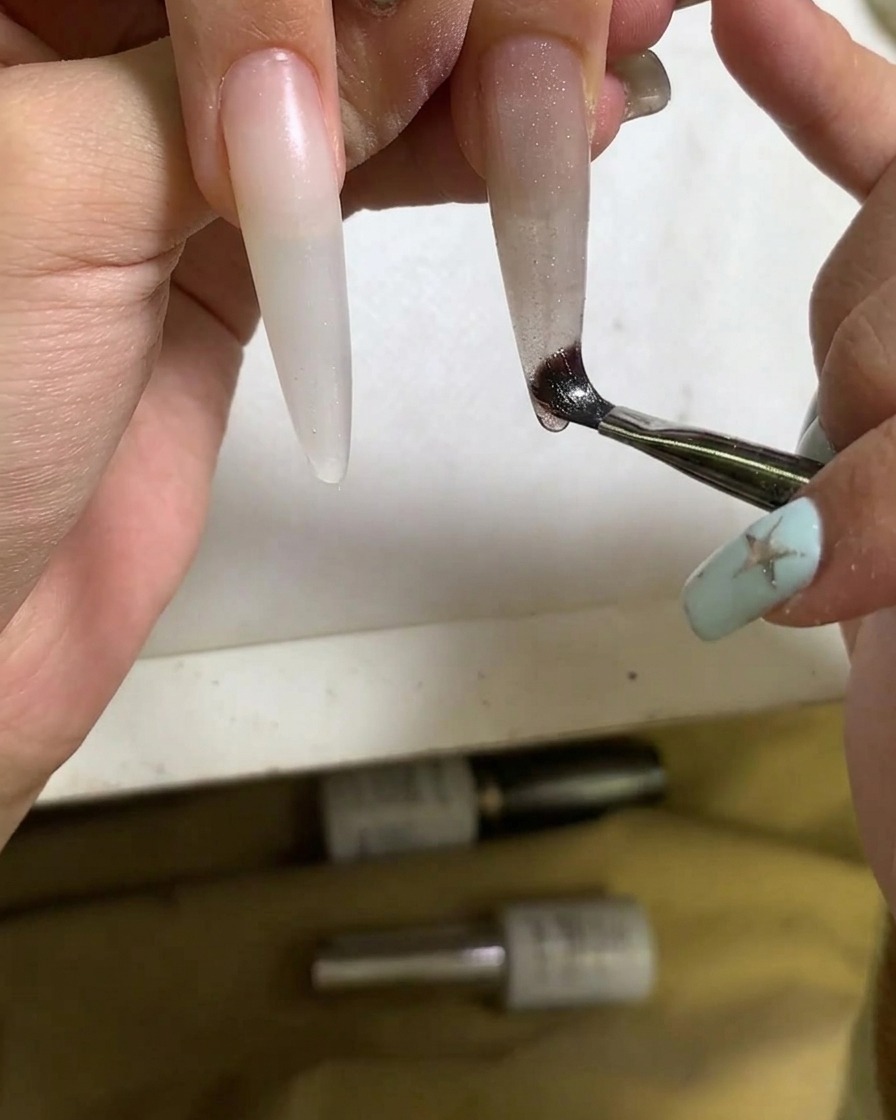
Using a fine brush, apply another layer of cat eye gel polish onto the nail surface. Ensure the application is smooth and evenly distributed to prepare the magnetic particles for the upcoming shaping step.
Tip: Keep the layer controlled and avoid flooding the cuticles to ensure a clean result. - 8Shape glass ball light effect
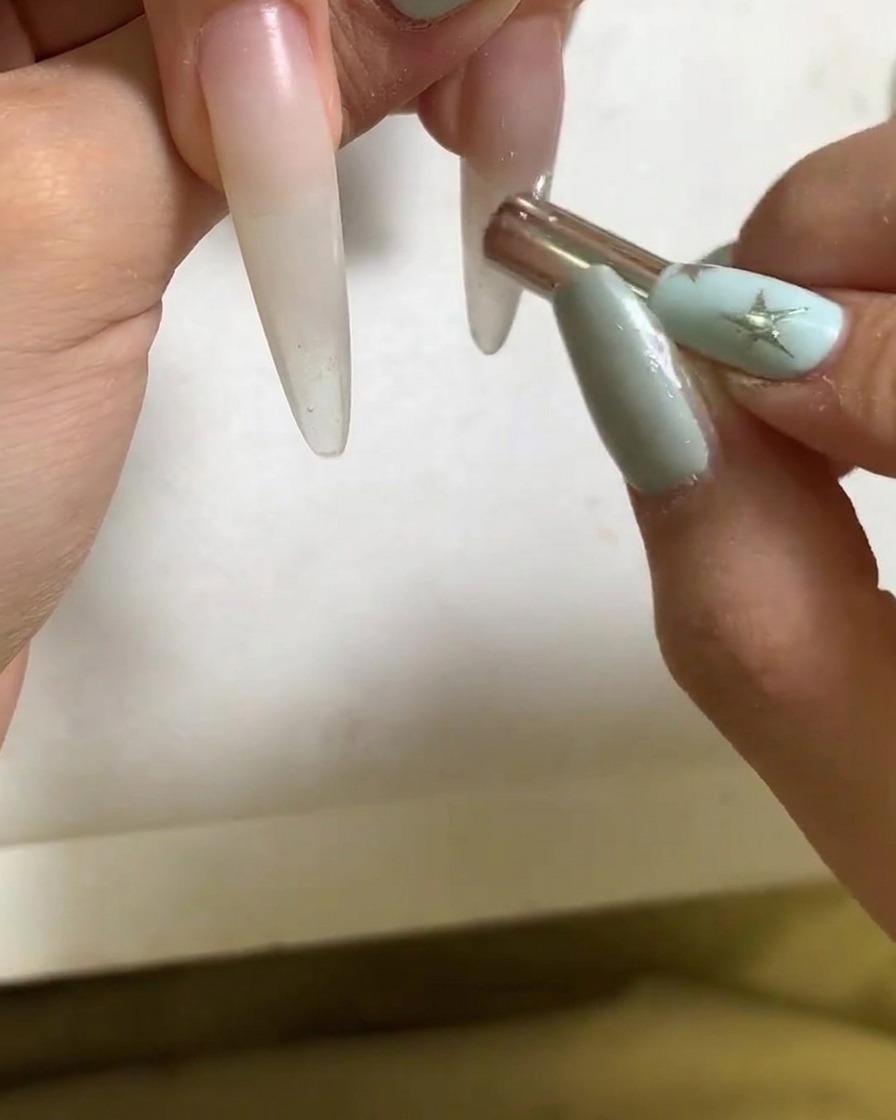
Hold the magnetic wand closely over the uncured cat eye gel polish to attract and concentrate the metallic particles. Manipulate the wand to form a sharp, glowing glass ball light reflection on the nail surface.
Tip: Hold the magnet steady for a few seconds to lock the magnetic particles into place before curing. - 9Cure cat eye gel layer
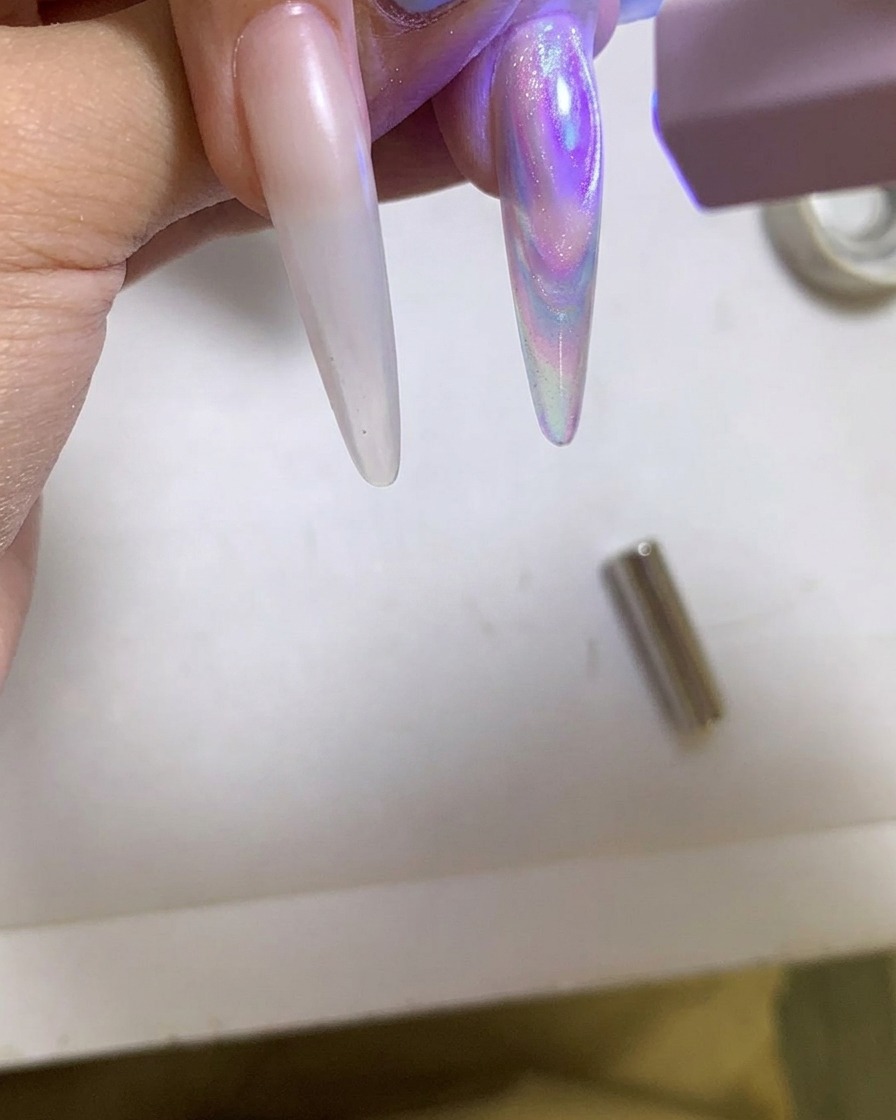
Position the handheld UV/LED lamp directly over the finger to flash-cure and set the newly shaped cat eye gel design. This prevents the magnetic effect from shifting before the full cure.
Tip: Keep the hand completely still while curing with the portable lamp to maintain the sharp light line. - 10Apply gel to next finger
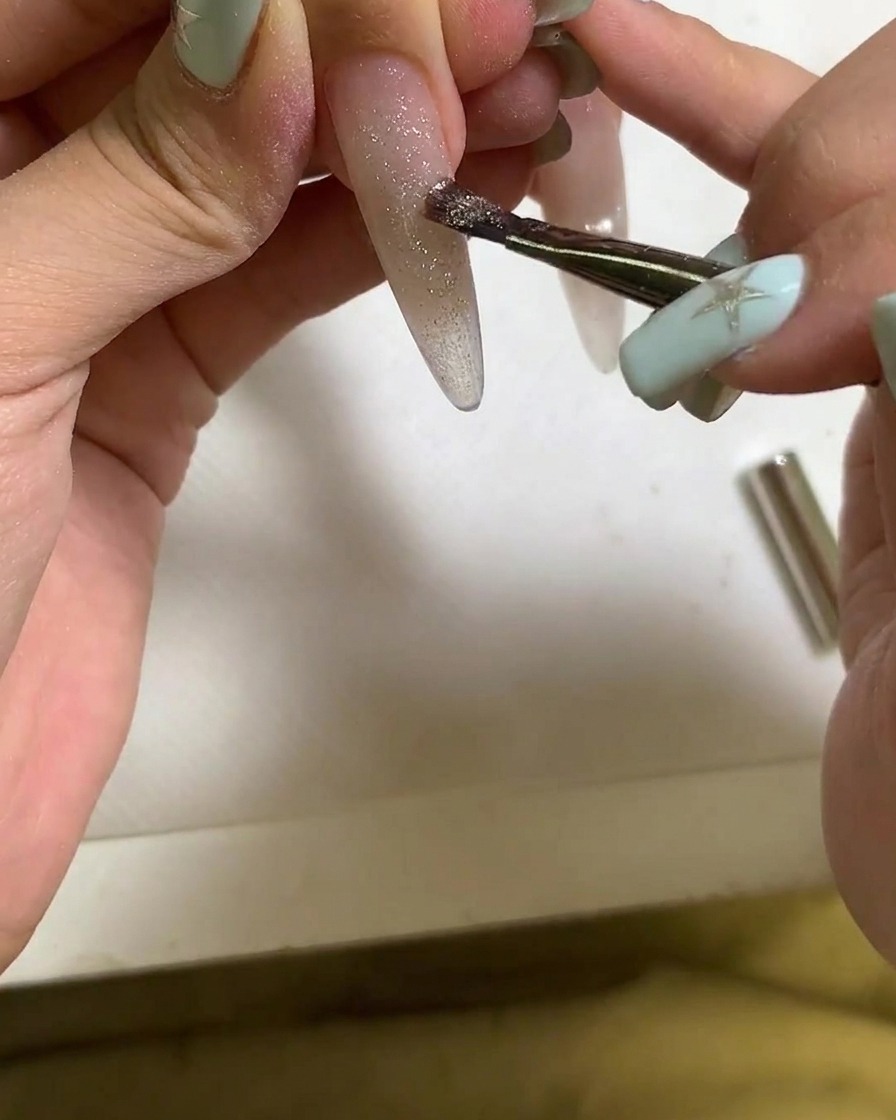
Apply a fresh layer of cat eye gel polish onto the subsequent fingernail using a detail brush. Coat the surface evenly to ensure enough pigment and metallic particles are ready for the magnetic treatment.
Tip: Work efficiently to ensure an even distribution before applying the magnet. - 11Draw light effect with magnet
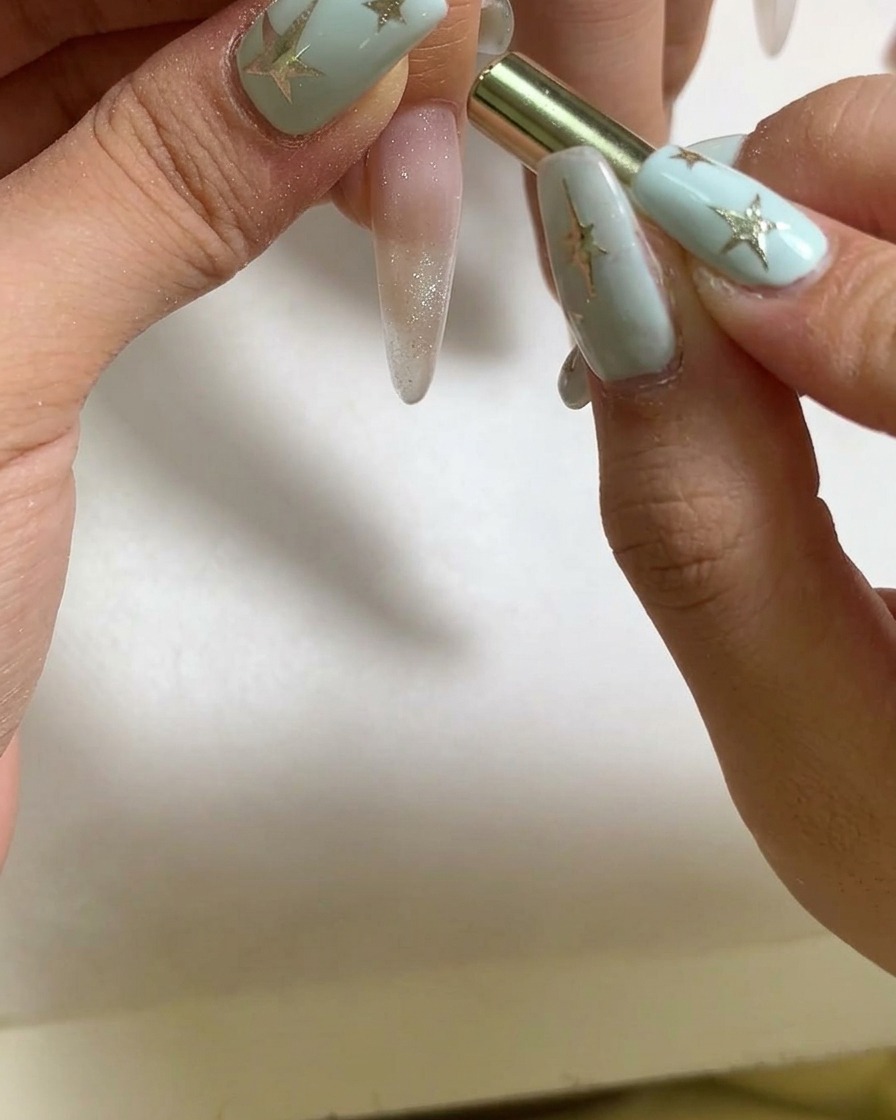
Bring the magnetic wand close to the freshly painted nail surface to guide the metallic particles. Carefully draw out the glass ball reflection until the desired cat eye dimensional effect appears.
Tip: Angle the magnet precisely to control the width and brightness of the light reflection. - 12Cure magnetized gel layer
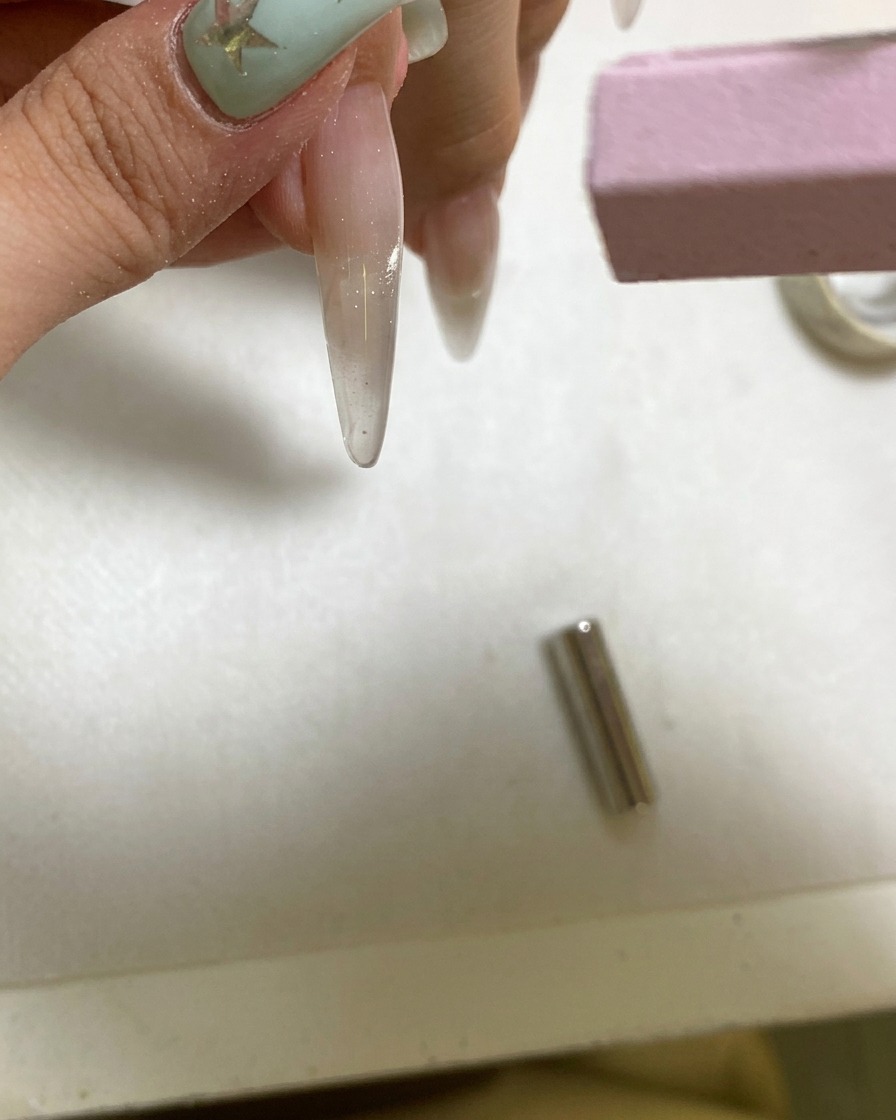
Use the portable UV light to cure the freshly magnetized gel layer, locking the light reflection in place. Hold the light close to ensure the surface hardens completely.
Tip: Ensure proper curing time to prevent the magnetic pigments from blurring or spreading. - 13Apply cat eye gel
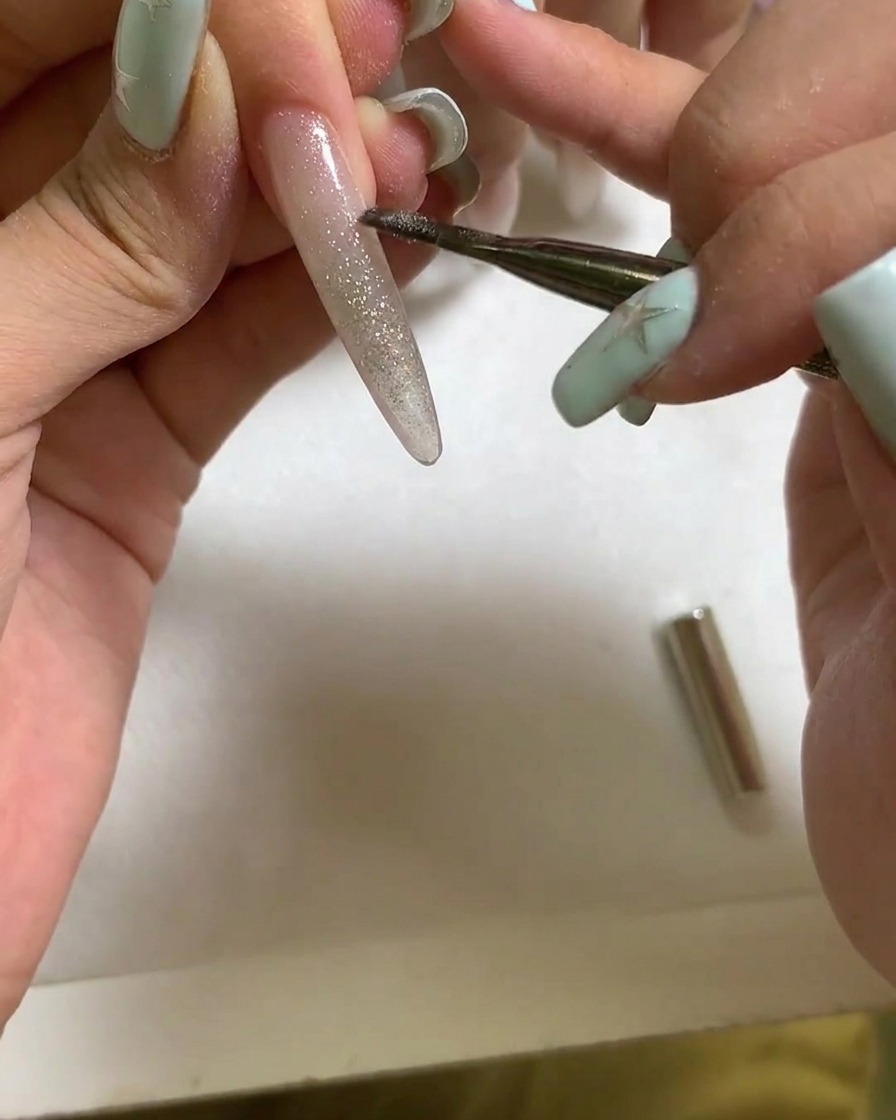
Apply a coat of cat eye gel over the nail surface. Do not cure it immediately; this layer needs to remain wet so you can manipulate the magnetic particles to create the desired effect.
Tip: Ensure the gel is applied evenly to allow the magnetic particles to move smoothly across the entire surface. - 14Create the glass ball effect
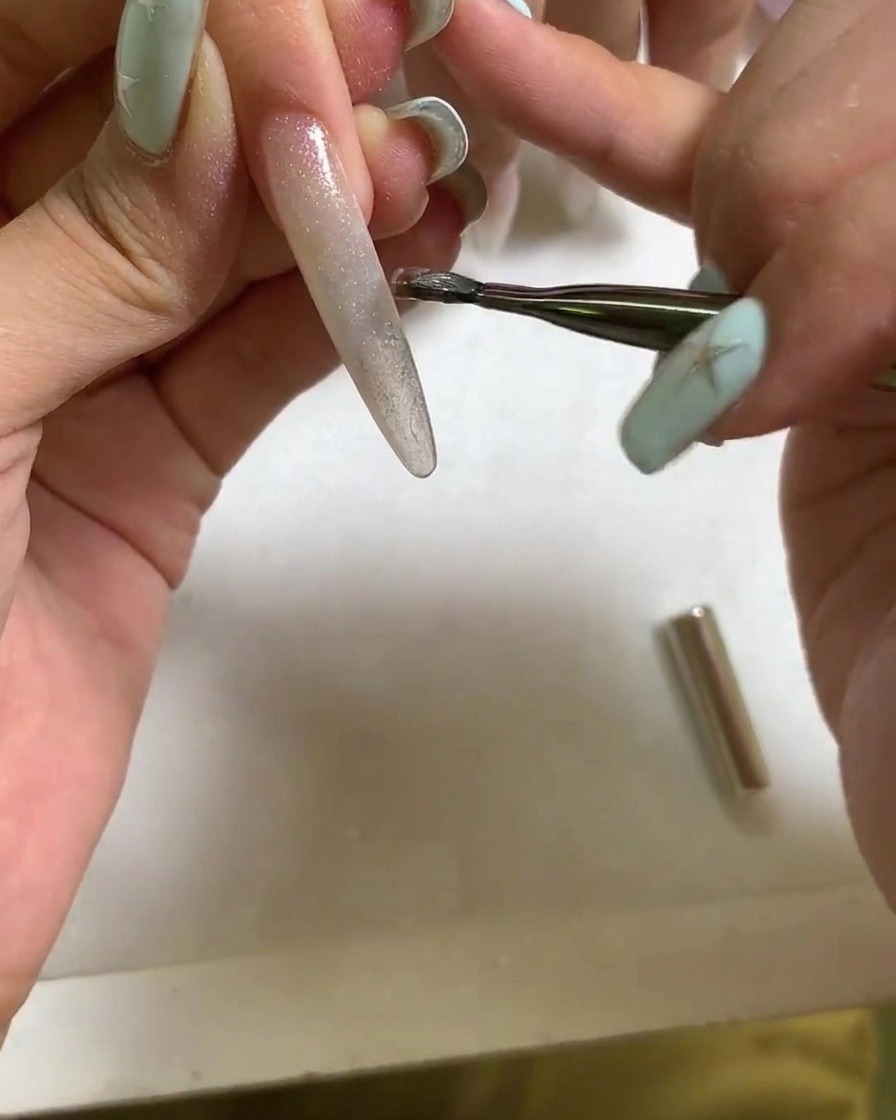
Hold the magnetic tool close to the wet cat eye gel surface, but without touching it. Move the magnet to pull the magnetic particles into a concentrated area, creating the signature glowing glass ball optical effect.
Tip: Keep the magnet steady to maintain the crispness of the glass ball effect until you are ready to cure. - 15Cure the cat eye gel
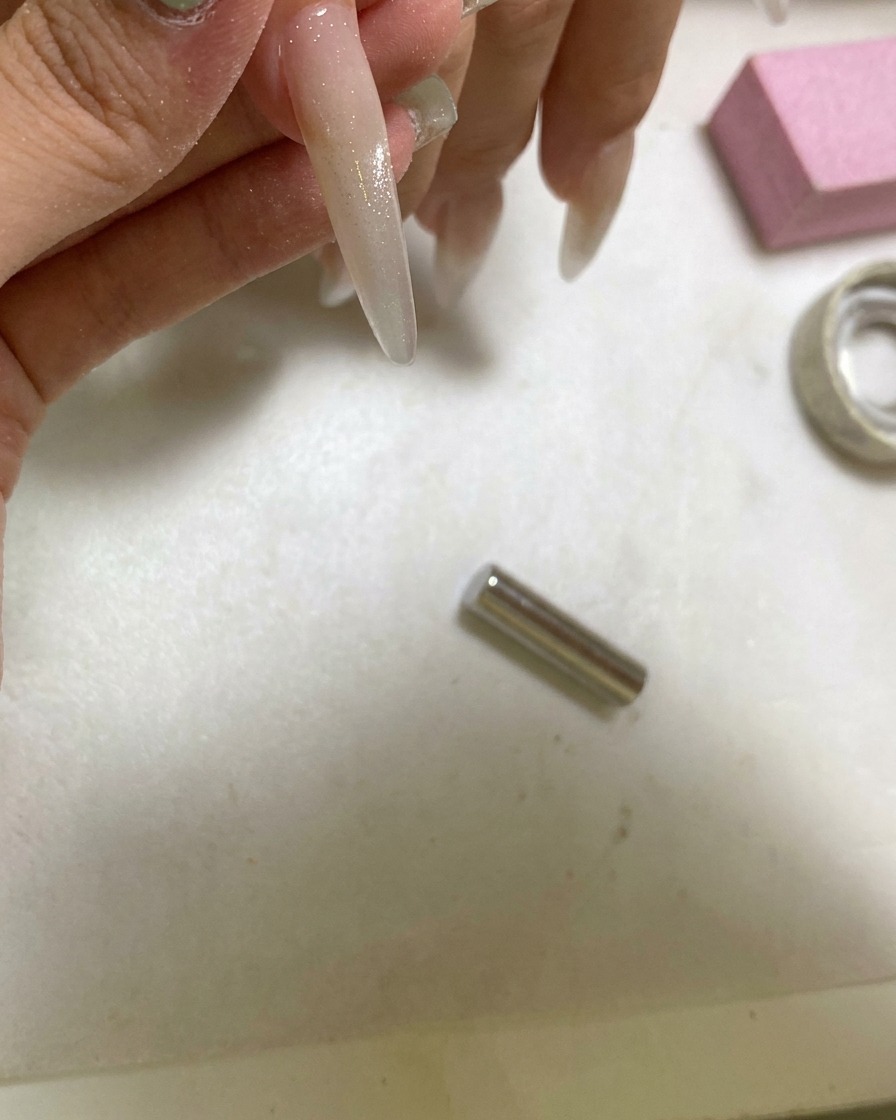
Once the glass ball effect is positioned perfectly, place the nail under a UV or LED lamp to cure the gel. Use a handheld lamp for a quick initial cure to lock the magnetic pattern in place before a full cure.
Tip: A quick initial cure helps ensure the magnetic design does not shift before it is fully set. - 16Apply sealing top coat
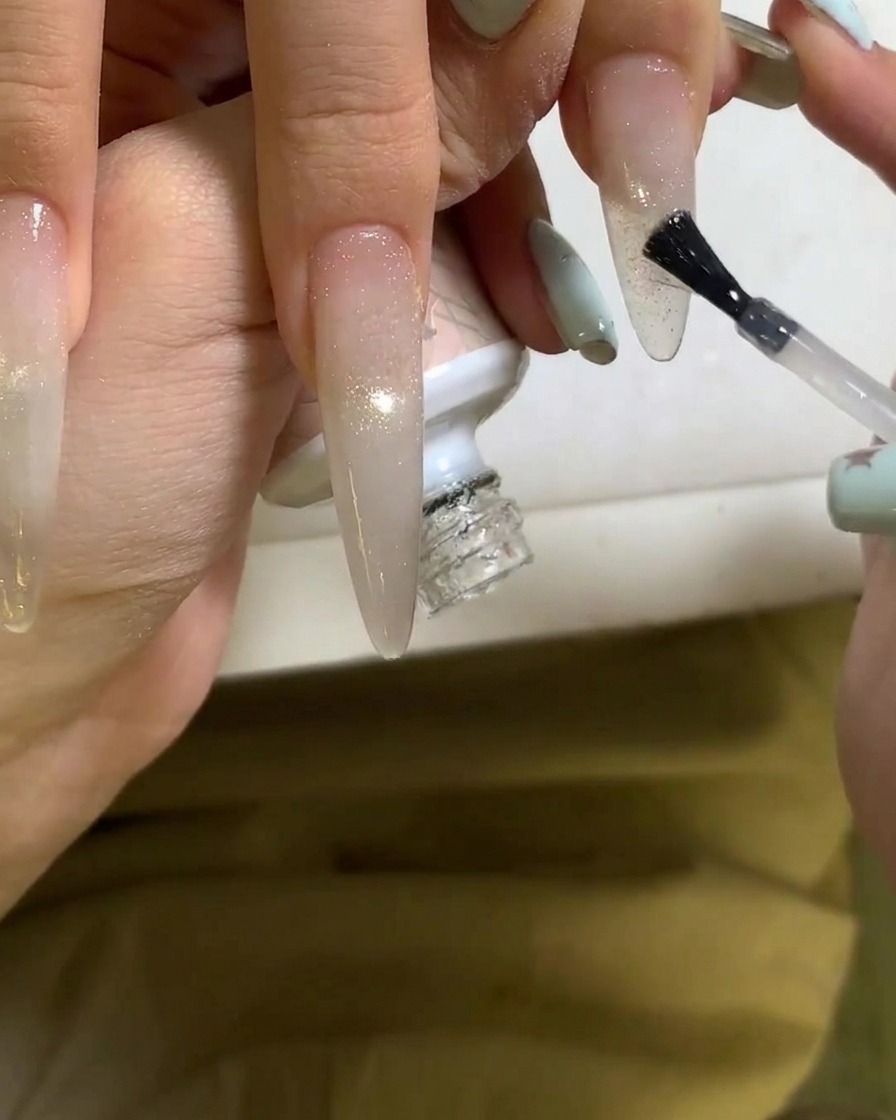
Apply a layer of matte or abrasive top coat over the cured nail surface. This seals the design and provides a different texture to contrast with the depth of the cat eye effect.
Tip: Cover the entire surface, including the free edge, to protect the nail design from chipping. - 17Create color gradient
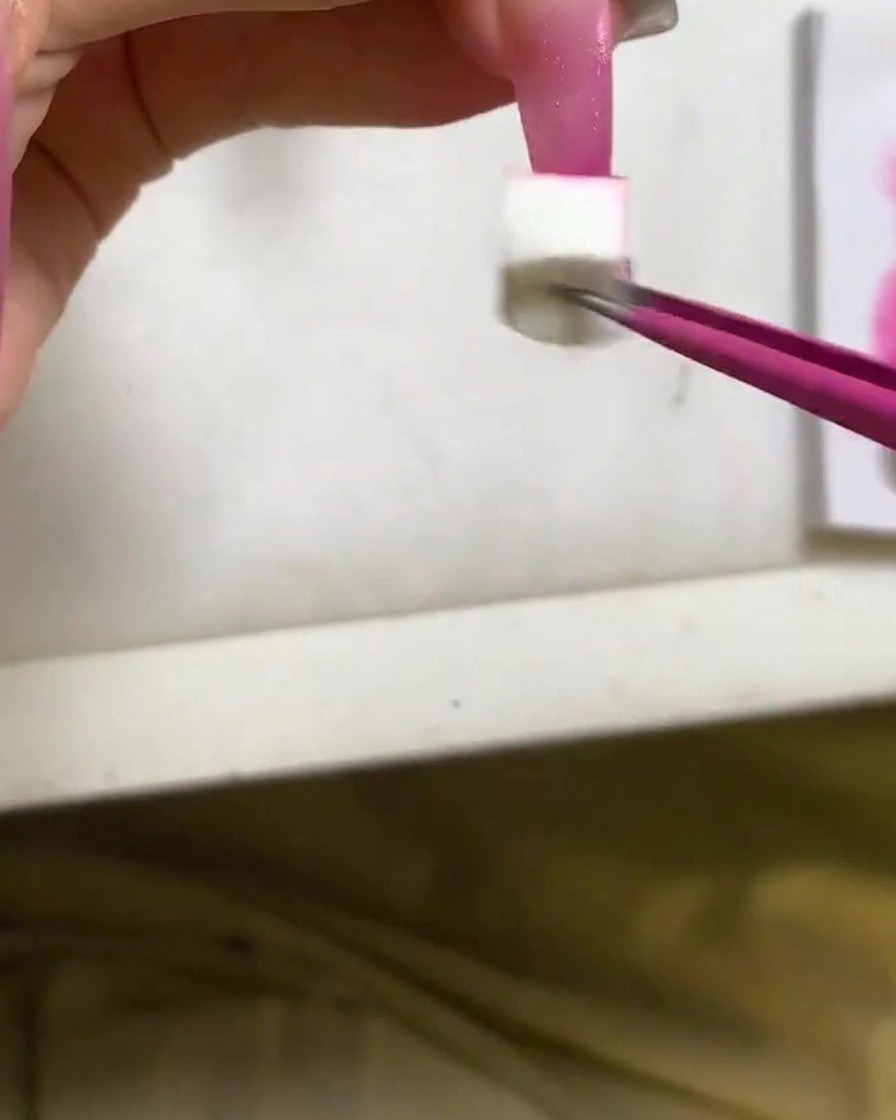
Using a sponge applicator, pick up some vibrant rose red gel polish. Gently dab the sponge onto the tip of the nail to begin building a deep, saturated dragon fruit color gradient.
Tip: Use a light dabbing motion to build the color gradually, which prevents thick, uneven layers. - 18Intensify the gradient
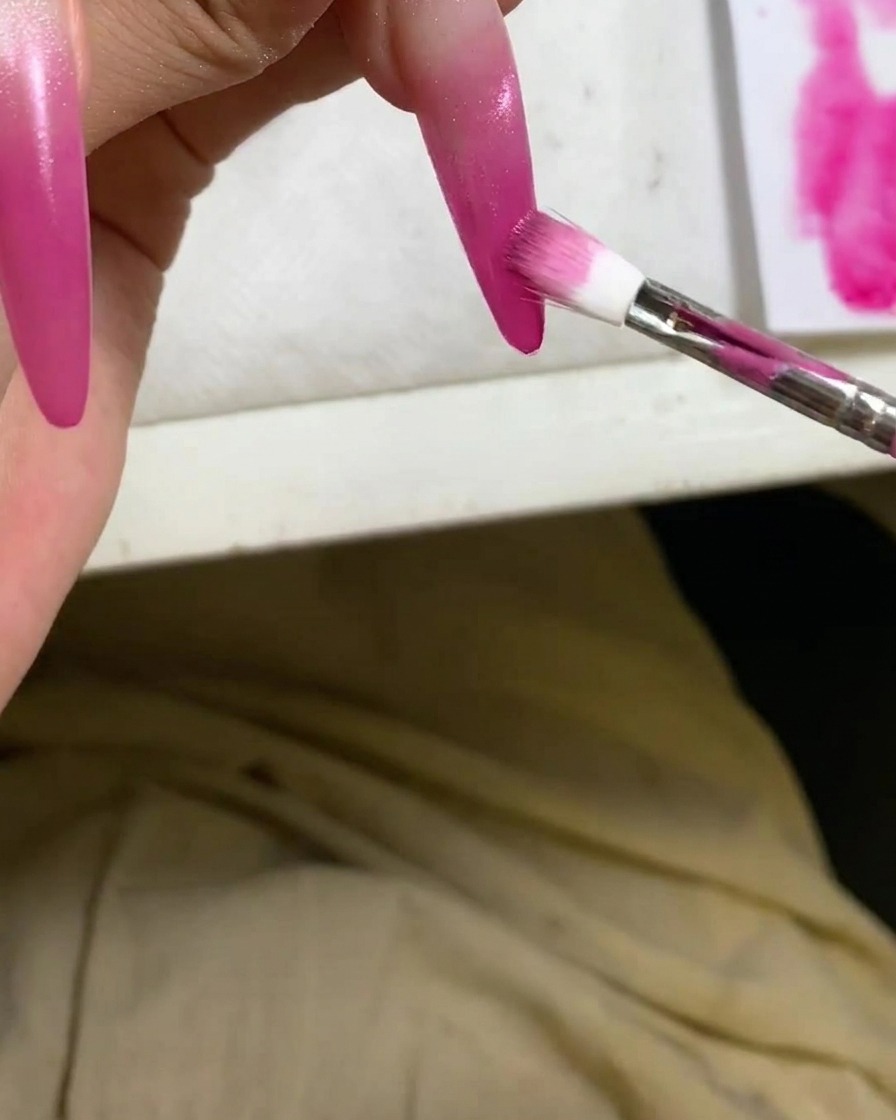
Continue dabbing the deep dragon fruit red color onto the nail tip. Focus on layering the color at the very edge to deepen the transition, creating a seamless ombre effect that fades towards the center of the nail.
Tip: Focus the concentration of the red polish at the very edge for the most intense color payoff. - 19Apply clear base layer
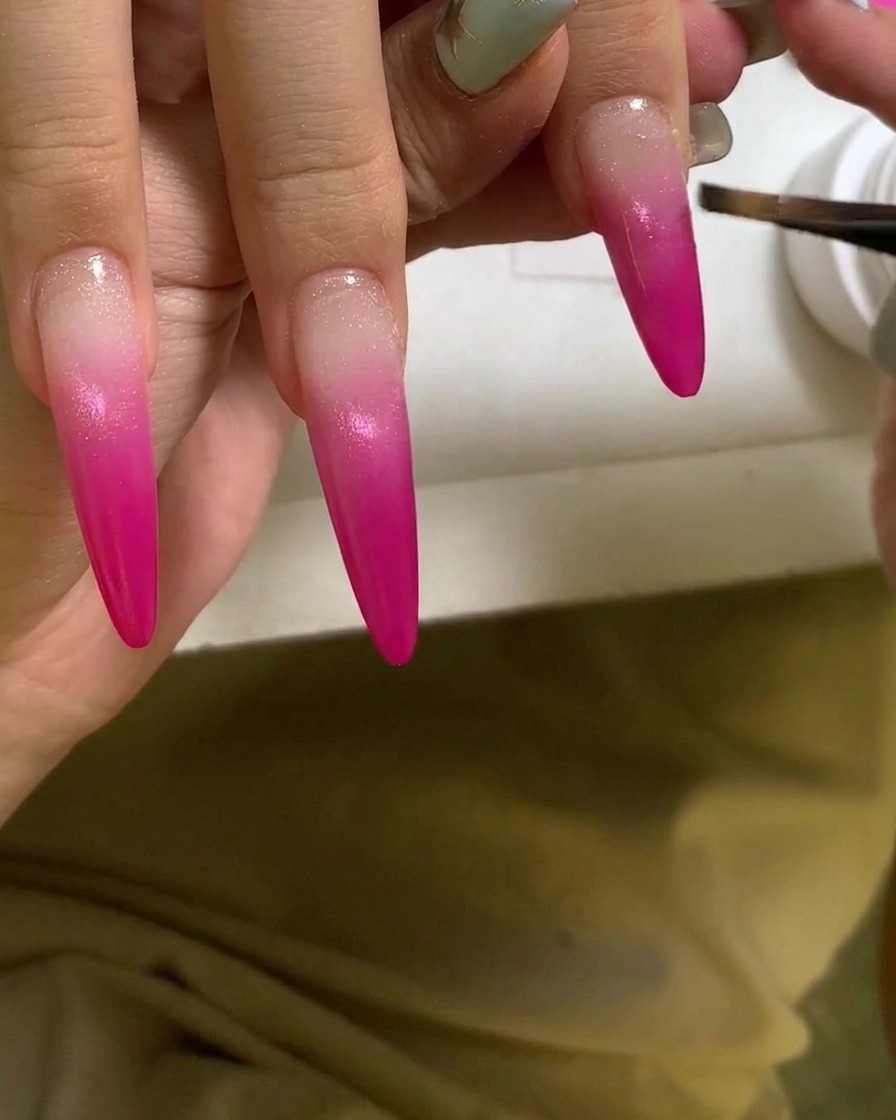
Apply a thin layer of clear base gel over the completed ombre gradient. This step acts as a protective shield for the nail art, smoothing out the surface and encapsulating the design to prevent chipping and ensure longevity.
Tip: Apply the clear gel with a light touch to avoid dragging the colored gel underneath, which can smear the gradient. - 20Apply glossy top coat
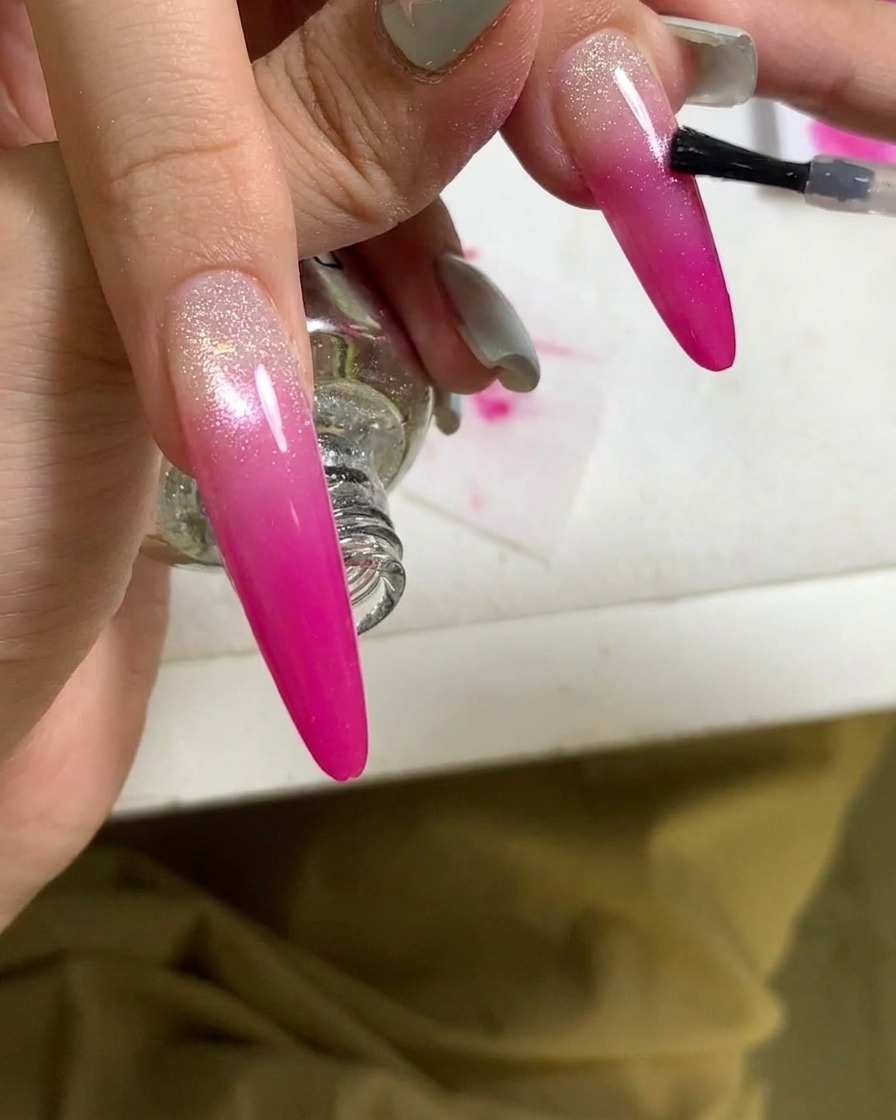
Finish the manicure by applying a high-shine, no-wipe glossy top coat over the entire nail. Ensure you cap the free edge of the nail to fully seal the color and add a professional, durable finish.
Tip: A no-wipe top coat is perfect for this look as it saves time and provides an immediate mirror-like shine without needing to cleanse the nail afterward.