Spring Yellow Ombre Floral Nail Art — Step-by-Step Tutorial
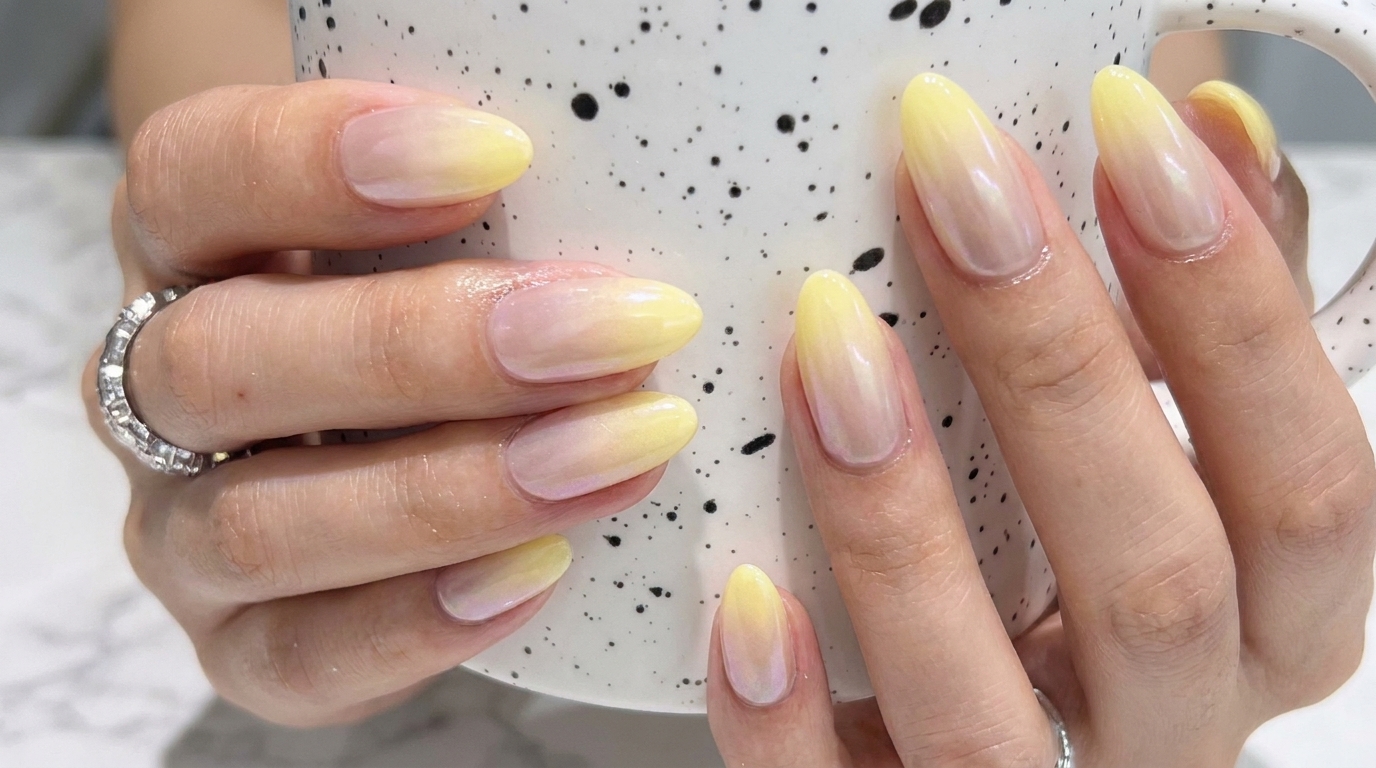
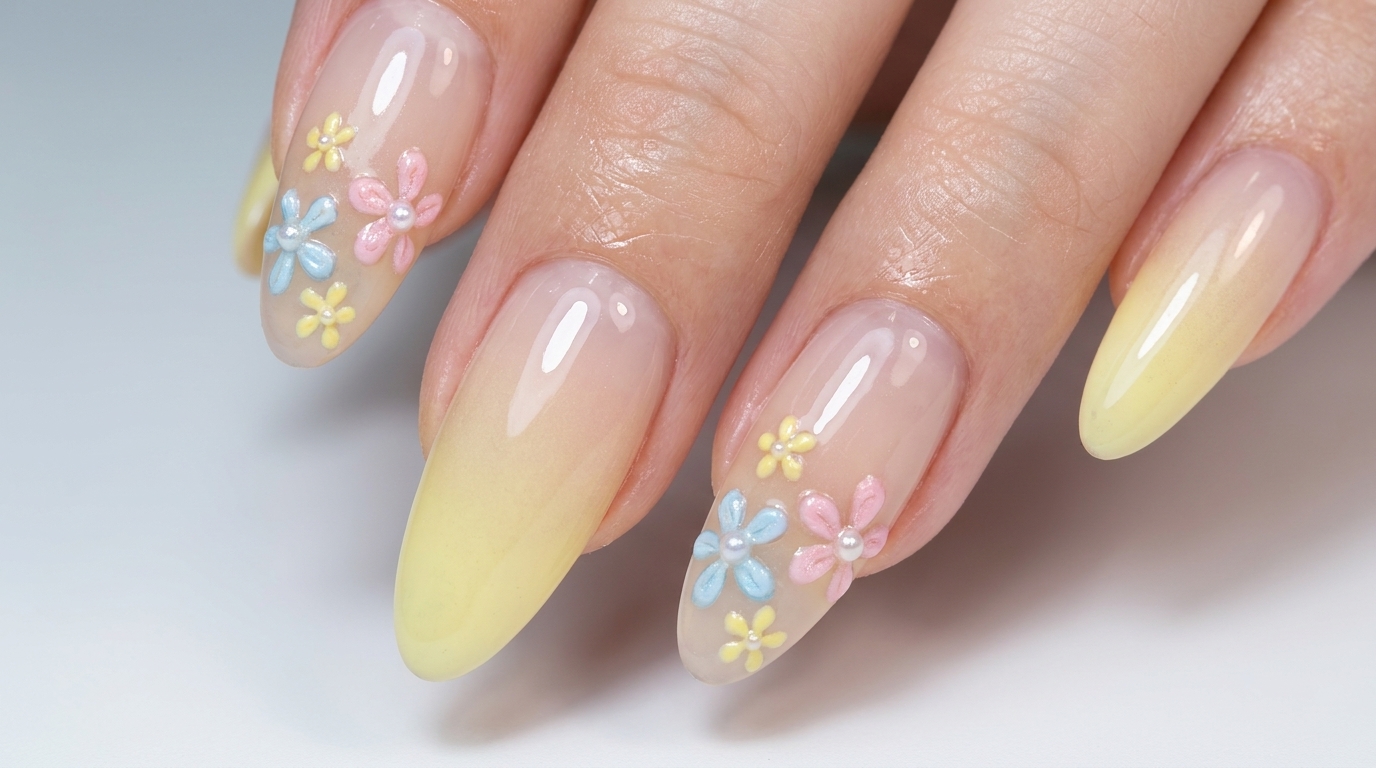
Create a stunning spring look with this yellow ombre cat-eye design, accented by delicate, 3D hand-painted flowers and dainty pearls.
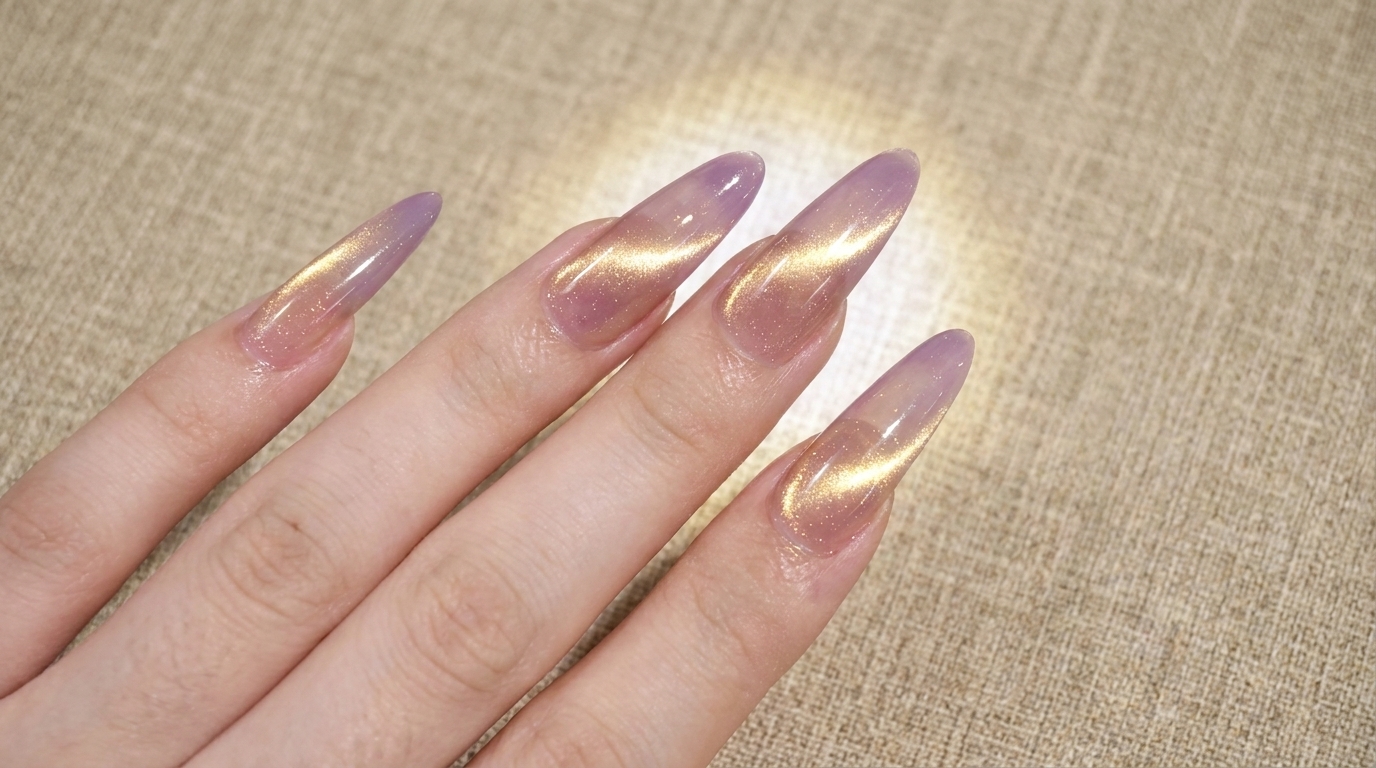
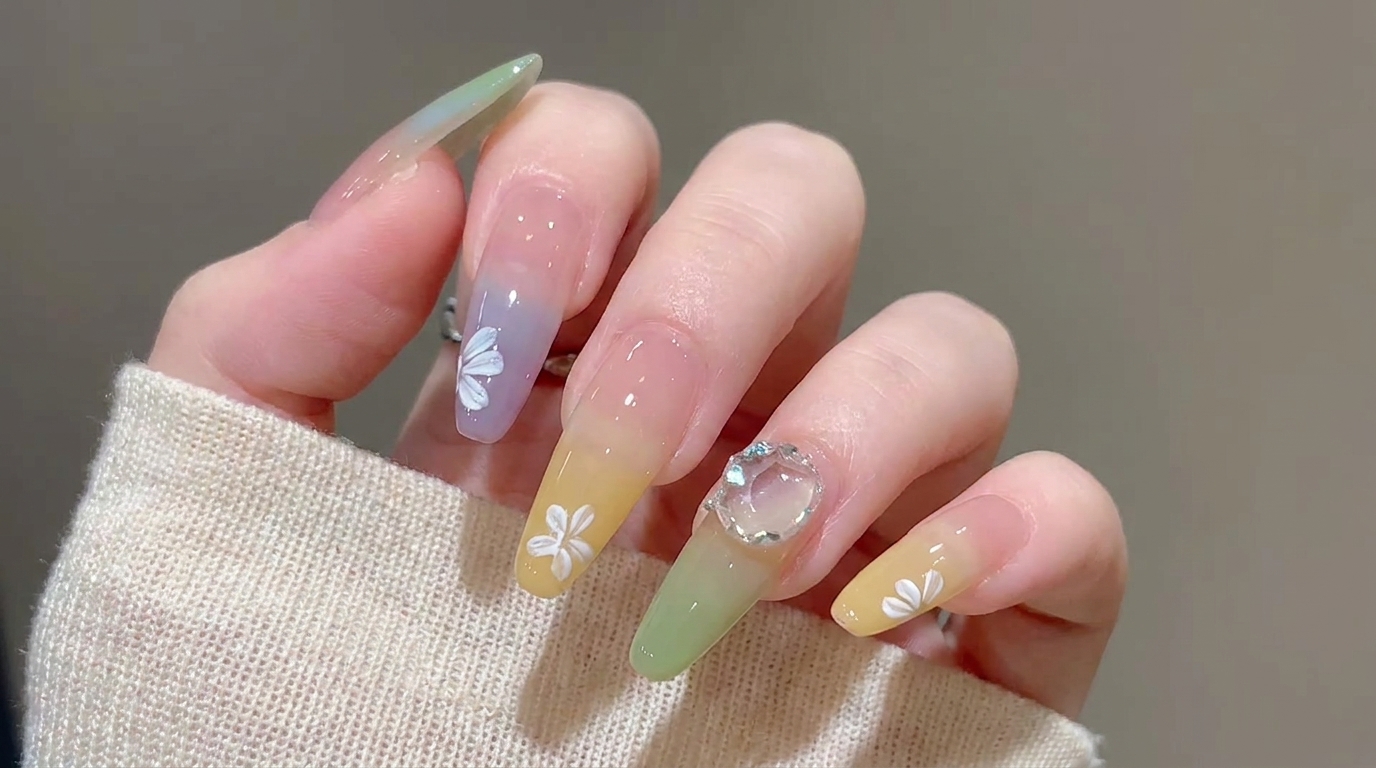
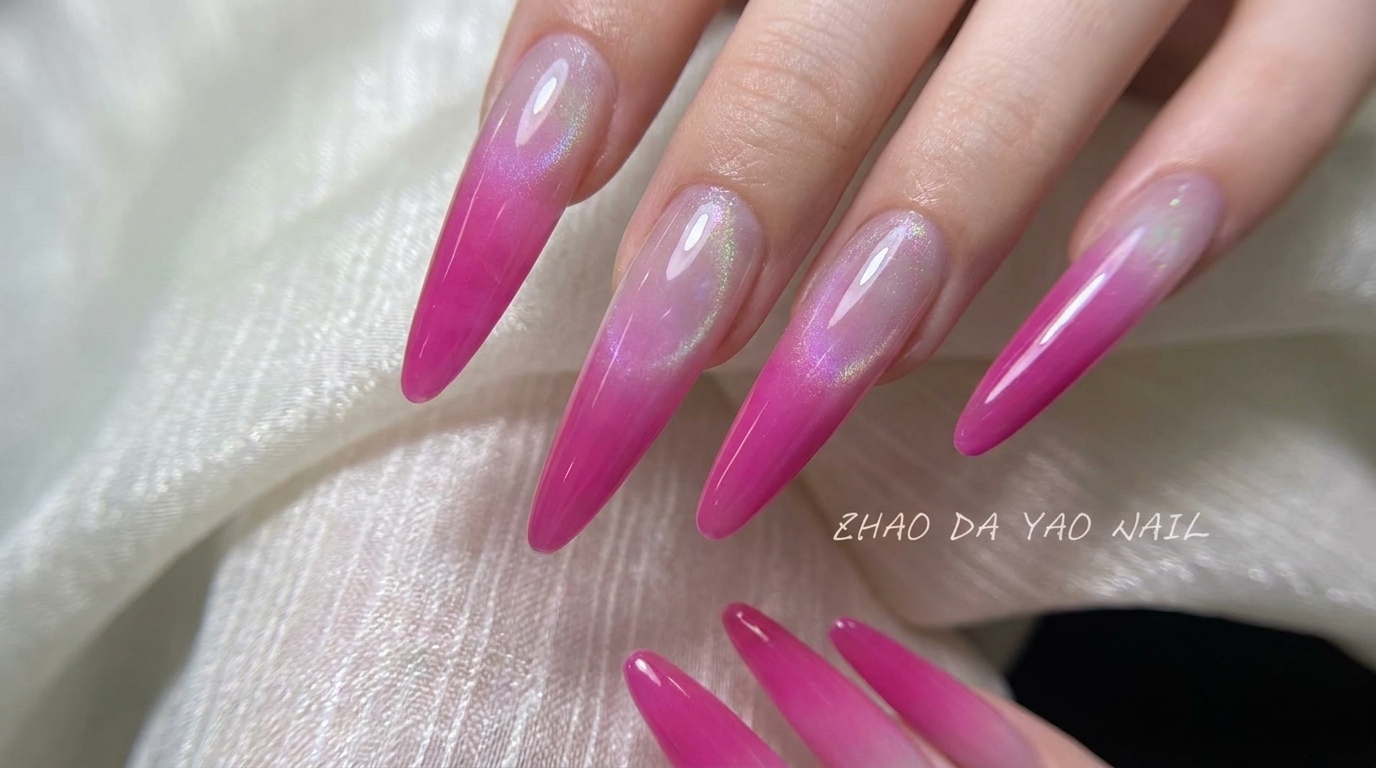
This spring-inspired manicure blends the trendy glass-style cat-eye effect with charming 3D floral art. Using a warm yellow gradient as the foundation, this design transitions beautifully from a subtle shimmer to intricate, sculpted details. It is a perfect choice for those looking to add a touch of seasonal elegance to their everyday style.
Steps
- 1Apply nude gel base coat
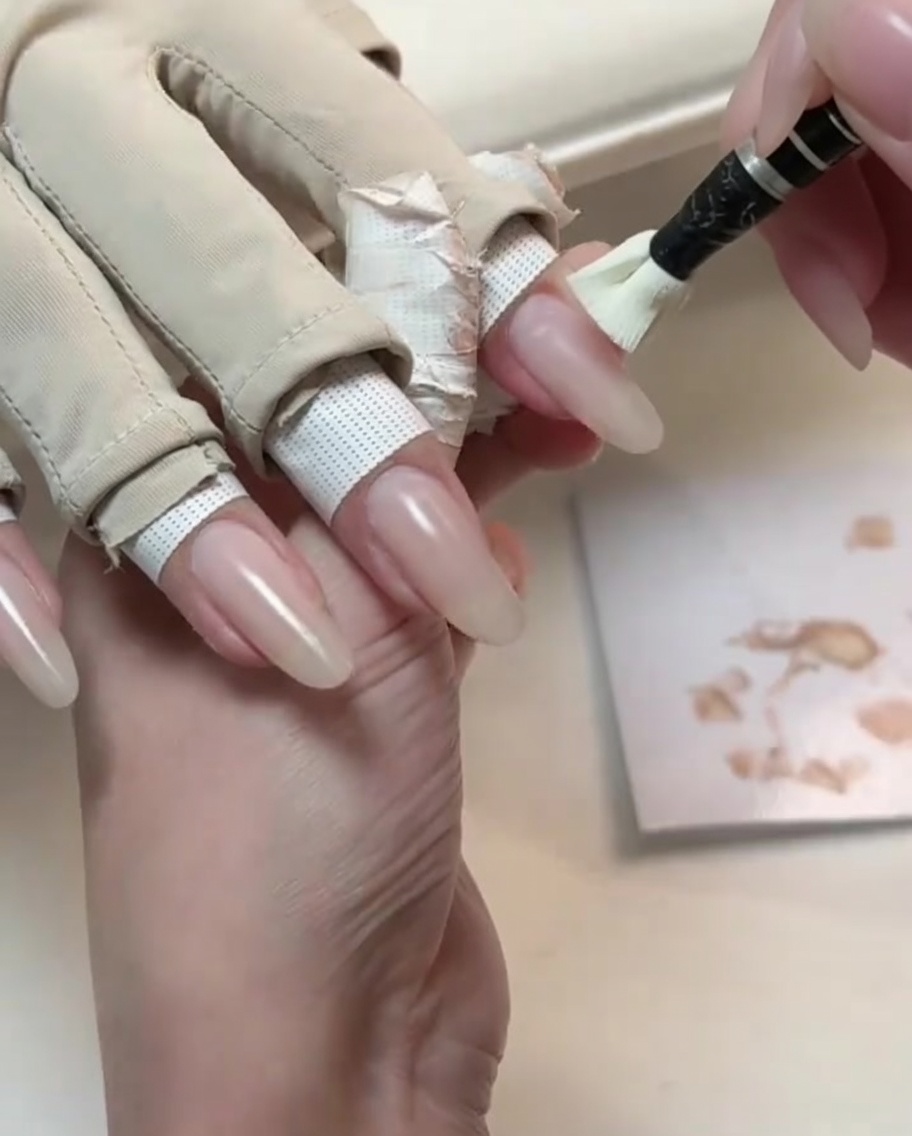
Apply a smooth, even layer of nude gel base coat to all nails. This foundational color serves as the versatile base for the entire design and helps even out the natural nail surface. Ensure the product is applied neatly across the nail plate before curing.
Tip: Keep the layer thin to prevent pooling around the cuticles and ensure proper curing. - 2Apply clear glass-style cat-eye gel
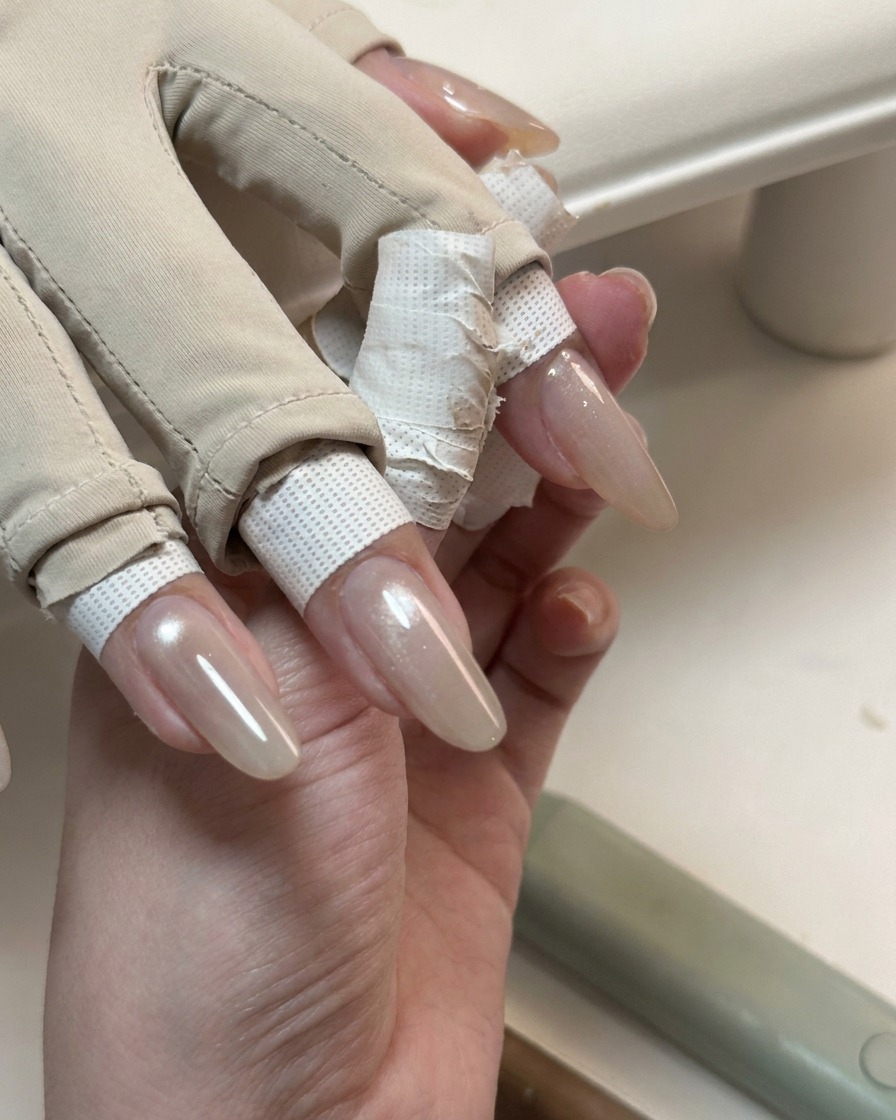
Layer a clear glass-style cat-eye gel over the entire surface of all nails. This specialty gel contains magnetic particles that create a translucent, dimensional shimmering effect once activated. Cover each nail thoroughly from base to tip.
Tip: Apply an even coat so the magnetic particles can disperse smoothly when the tool is applied. - 3Activate the cat-eye shimmer
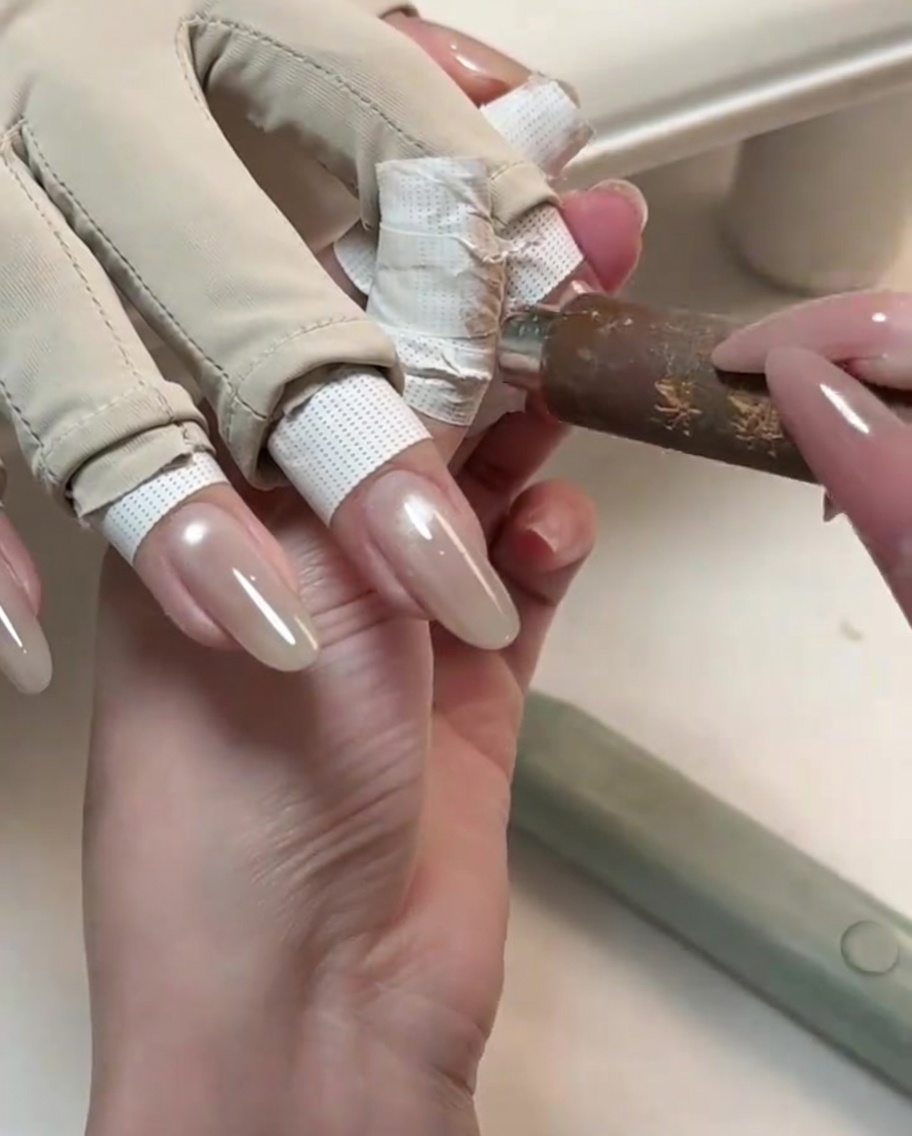
Hold a specialized magnetic tool close to the wet cat-eye gel without touching it to manipulate the metallic particles. Guide the particles to form the desired glowing reflection band across the center of each nail. Maintain a steady hand until the bright cat-eye line is clearly defined.
Tip: Move the magnet slowly to watch how the particles shift, and cure immediately once you achieve the desired look. - 4Cure the gel under a UV lamp
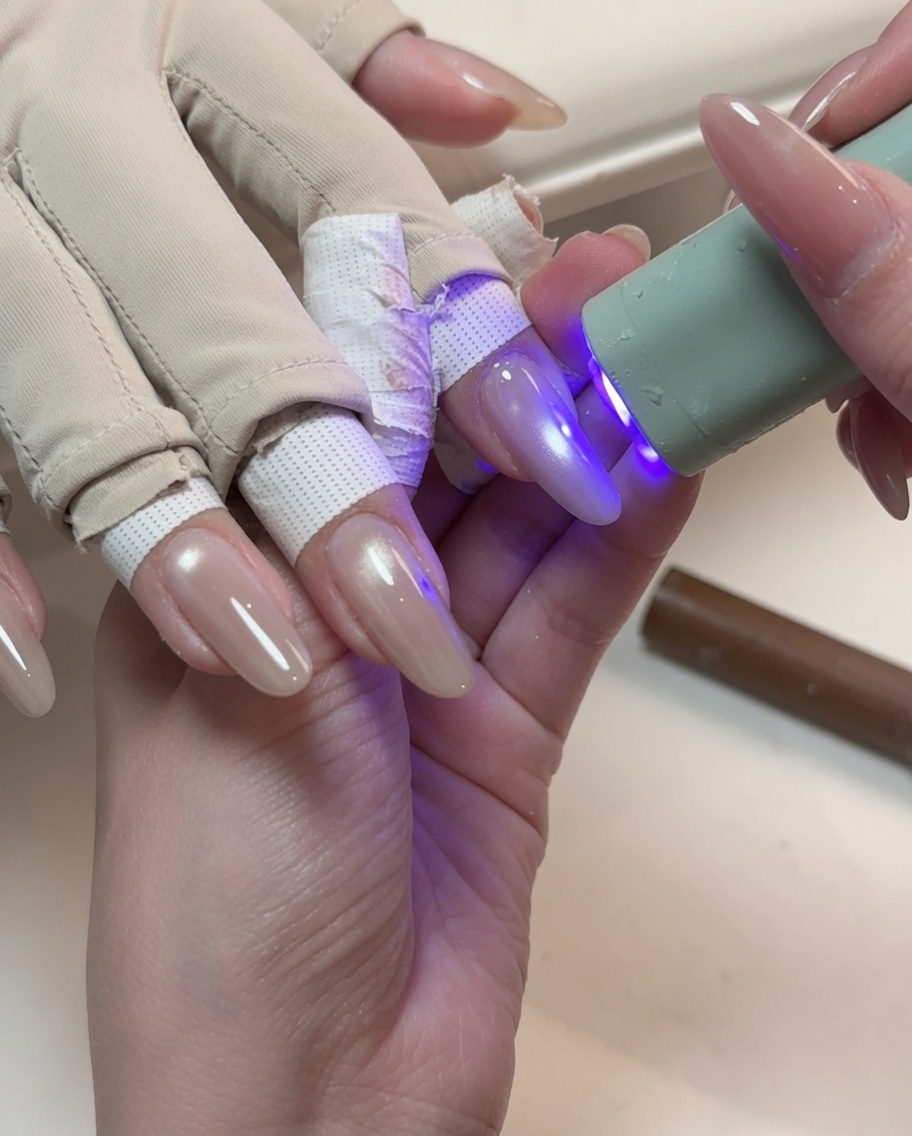
Place the hand under a portable UV or LED lamp to flash-cure and set the cat-eye effect in place. Proper curing locks the magnetic particles so they will not shift or distort before the next layer. Ensure the light covers all treated fingers evenly.
Tip: Hold the portable lamp steady over each finger to make sure the cat-eye effect cures securely. - 5Apply first coat of yellow gradient
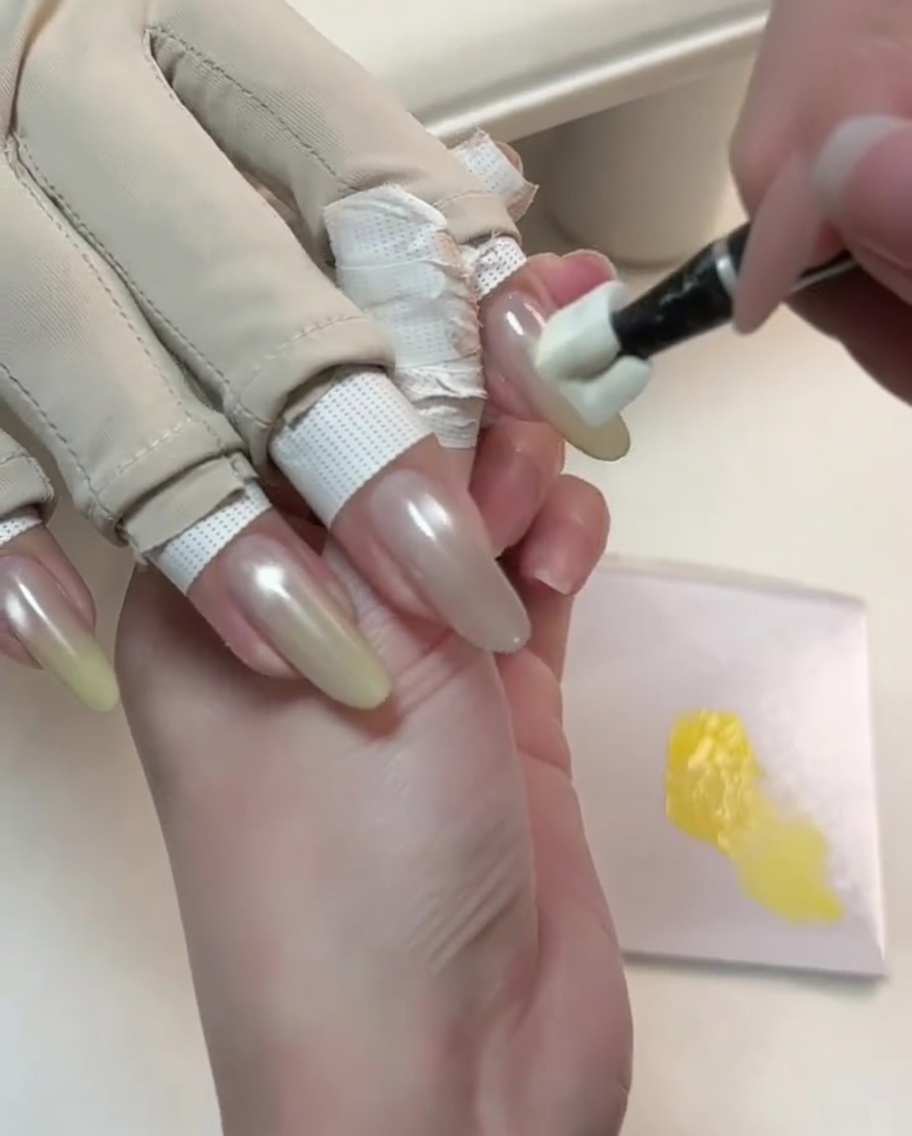
Using a sponge or fine brush application tool, dab the first coat of yellow gel onto the tips of the selected fingers to create a soft gradient effect. Blend the color downwards toward the middle of the nail for a seamless transition. Keep the application light and build opacity gradually.
Tip: Tap lightly with the tool to create a smooth, airbrushed gradient transition without harsh lines. - 6Apply second coat of yellow gradient
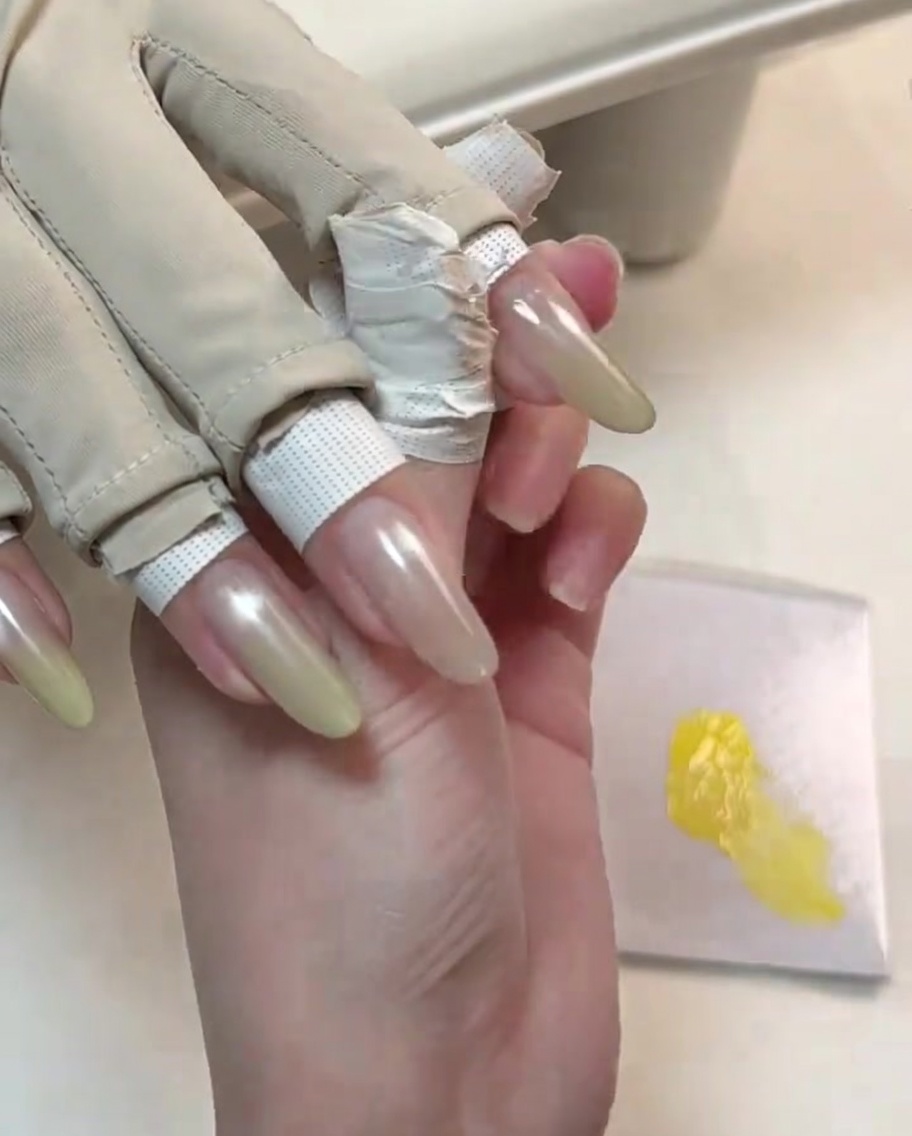
Layer a second coat of yellow gel onto the nail tips to deepen the color intensity and achieve a vibrant finish. Carefully blend the edges upward to maintain the soft gradient look established in the previous step. Ensure the gradient looks smooth and balanced across all selected fingers.
Tip: Concentrate the second layer more toward the very edge of the tip to maximize the gradient depth. - 7Apply top coat
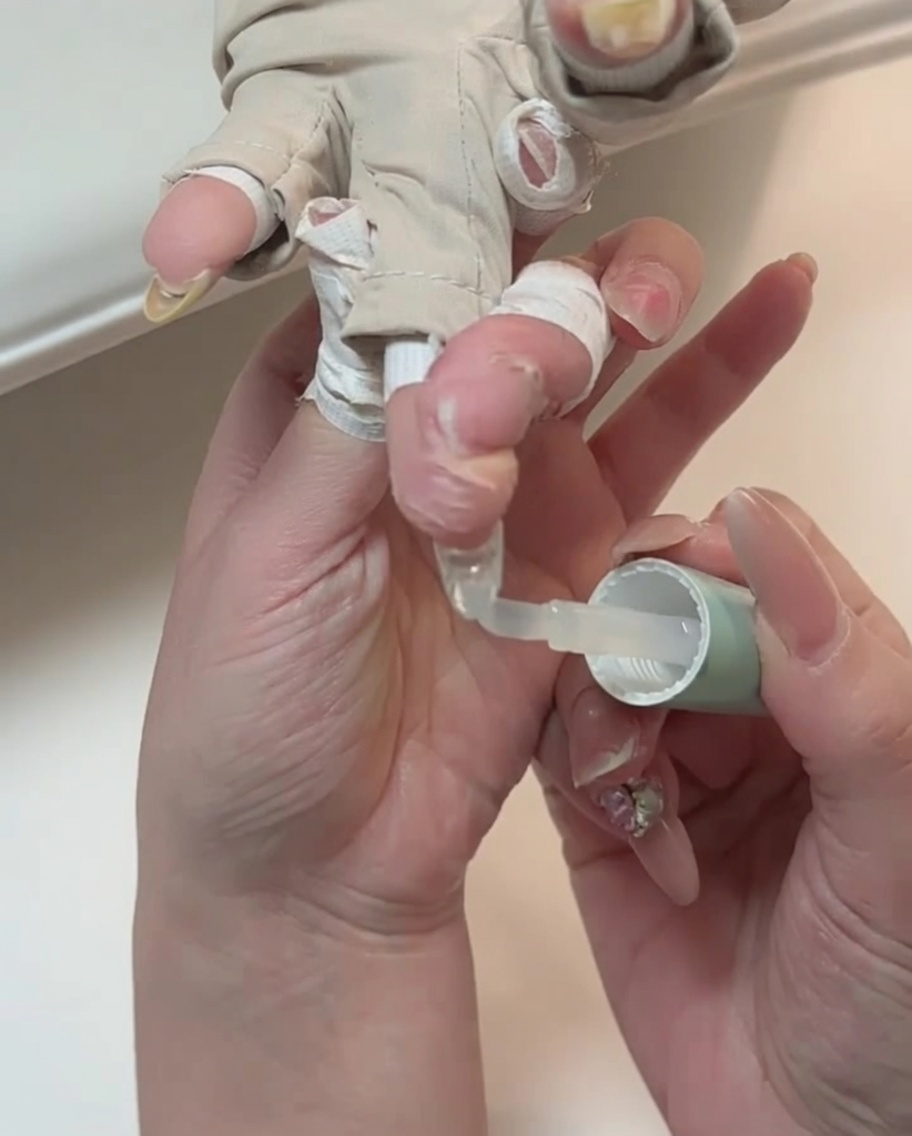
Apply a generous layer of clear top coat over all nails to seal your design and add a high-gloss finish. Ensure you cap the free edge to protect the nail art and prevent chipping. This step acts as the foundation for the upcoming nail art decorations.
Tip: Use a smooth, even stroke to ensure the top coat doesnt pool around the cuticles. - 8Cure the nails
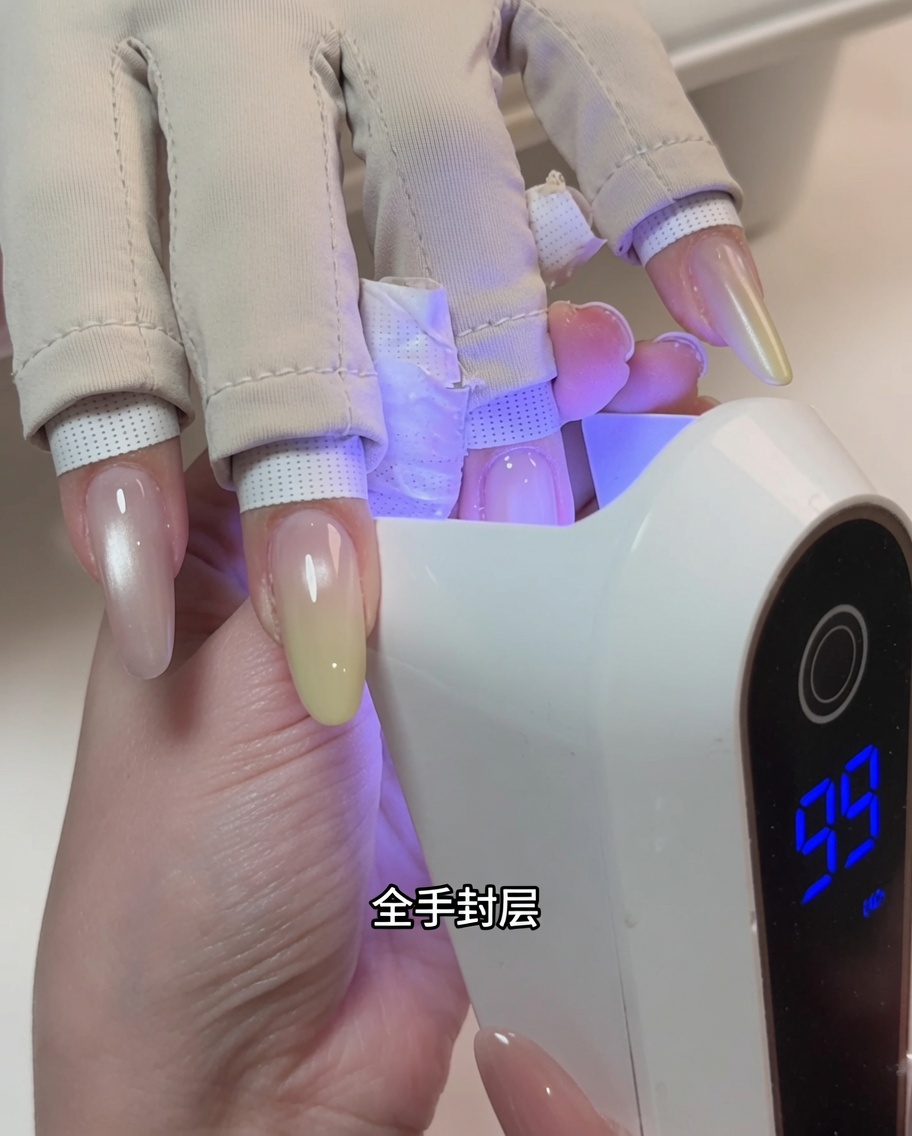
Place the nails into the UV lamp to cure the top coat. Using a little assistant to hold the lamp can help you maintain position and improve efficiency if the client is in a rush.
Tip: Make sure all fingers are positioned correctly inside the lamp to ensure even curing. - 9Paint blue flower petals
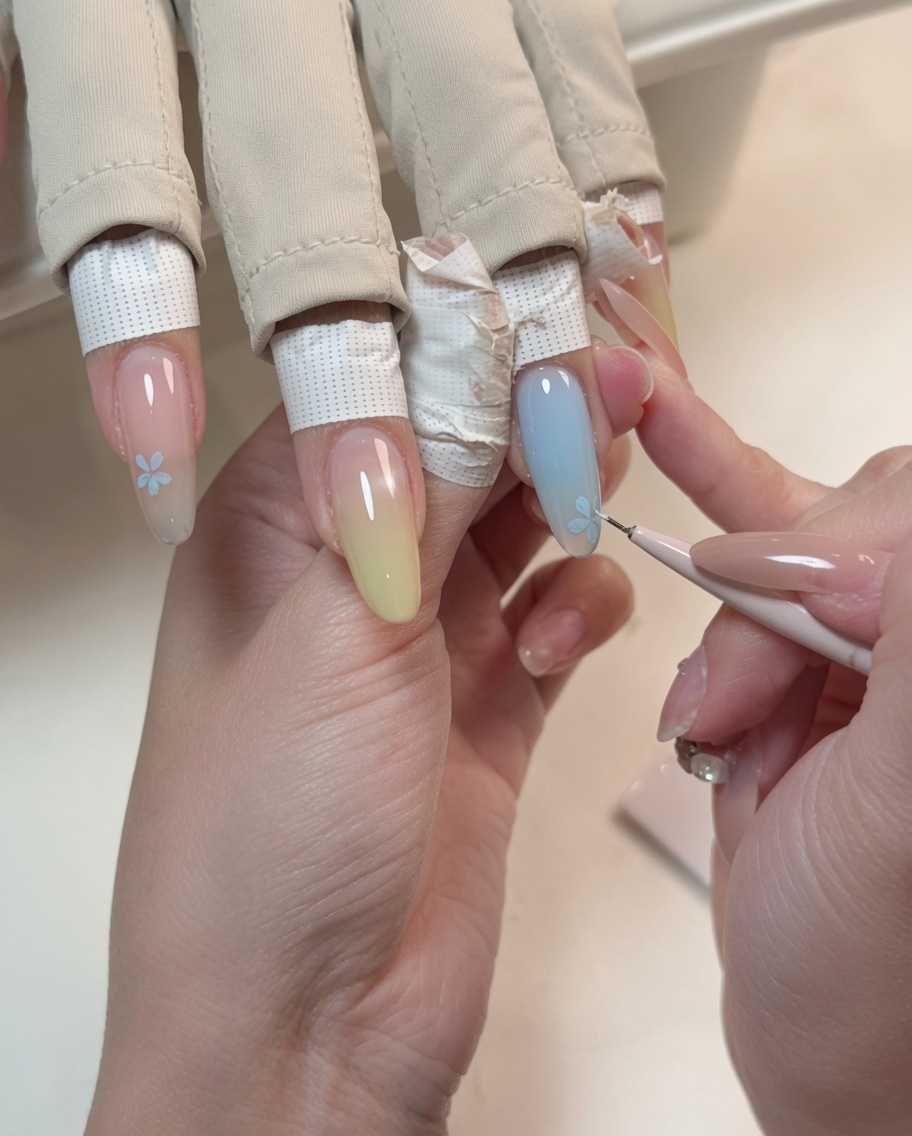
Using a thin liner brush and blue no-wipe colored gel, carefully paint delicate flower petals onto the nail. You can adjust the placement and density of the flowers to suit the clients preference.
Tip: Use light pressure to create fine, tapered petal shapes. - 10Paint pink flower petals
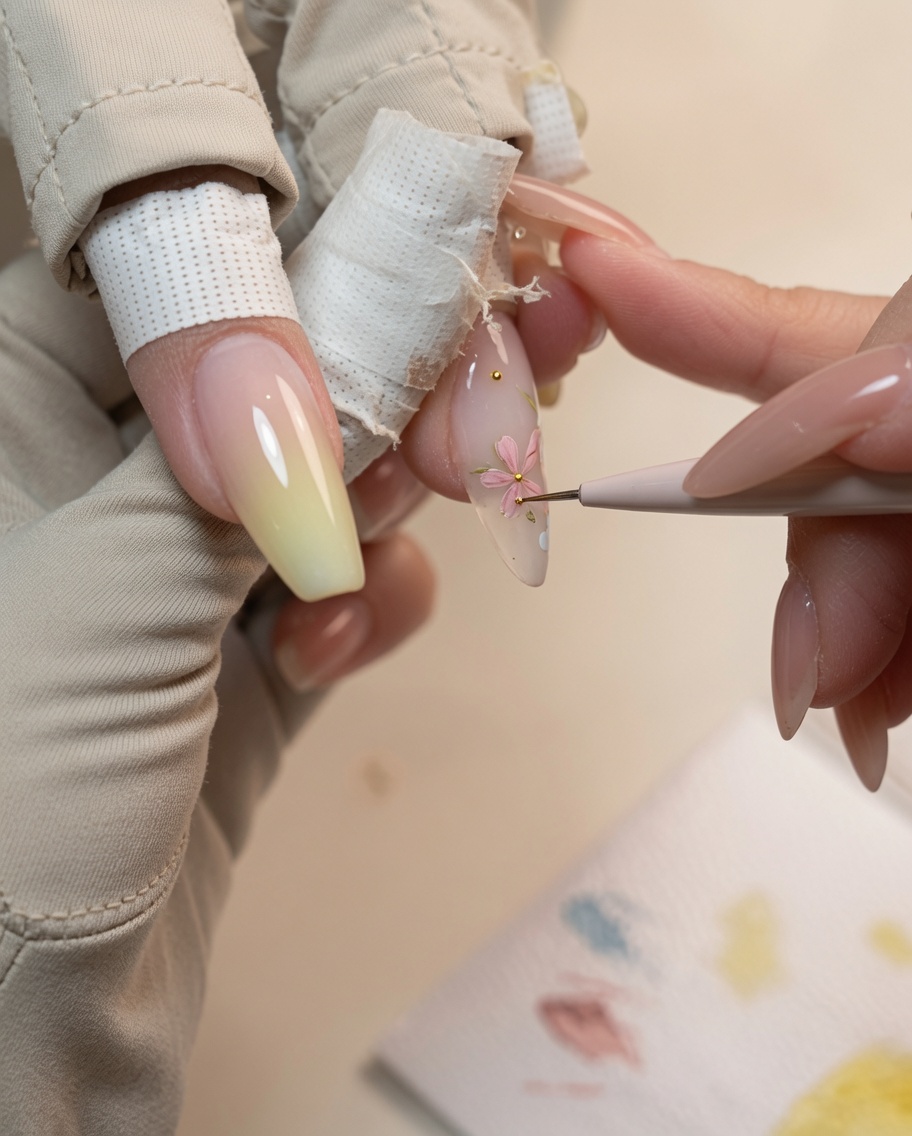
Using the same liner brush technique, add pink flower petals to the nail design. Continue to vary the distribution of the flowers for a balanced spring look.
Tip: Clean your brush thoroughly between colors to keep the petals vibrant and distinct. - 11Add flower centers
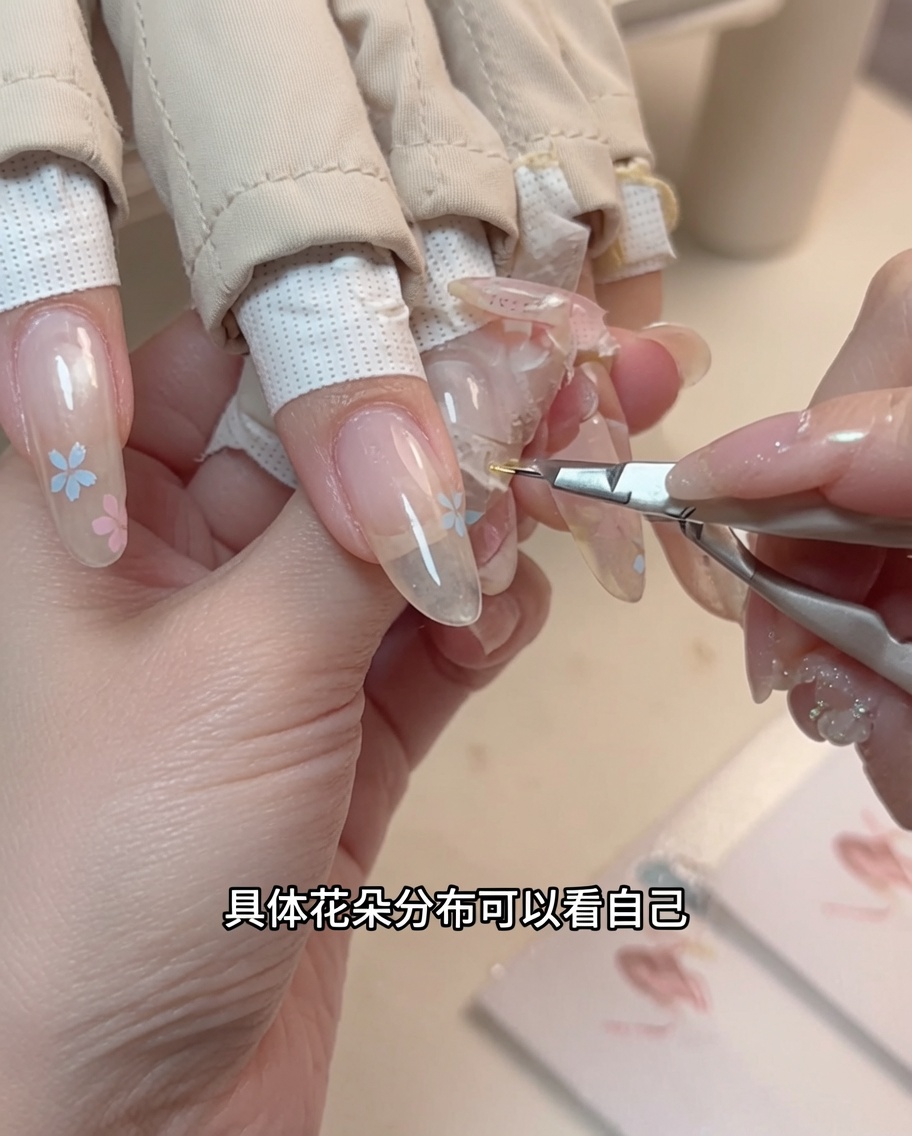
Use a dotting tool or the tip of your brush to place small dots of yellow gel in the center of the painted flowers. This adds a realistic detail to the floral design.
Tip: Keep the yellow dots small and centered to maintain the delicate look of the flowers. - 12Sculpt the flowers
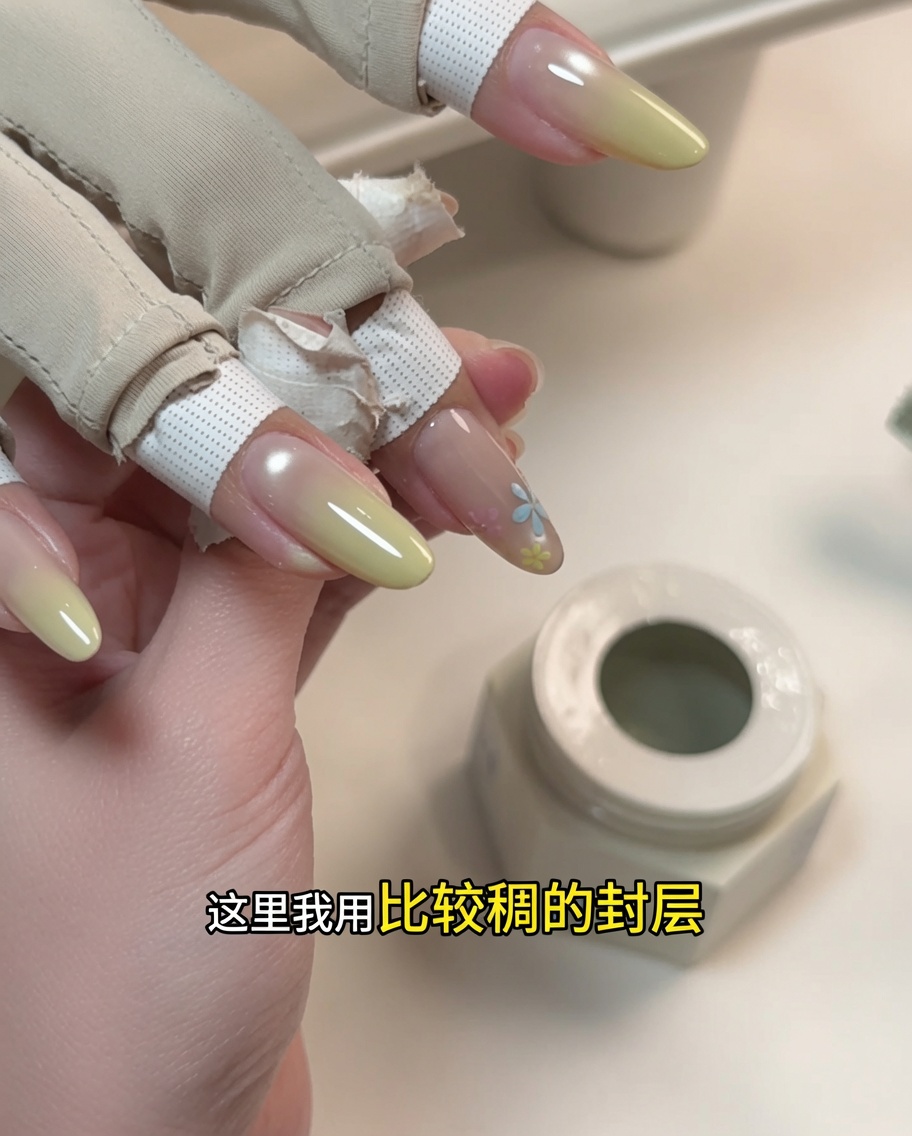
Apply a small amount of thick top coat over each flower to create a 3D sculpted effect. Apply these one by one, ensuring each is properly placed.
Tip: The thick top coat provides a raised, glass-like dimension to the floral art. - 13Cure the nails
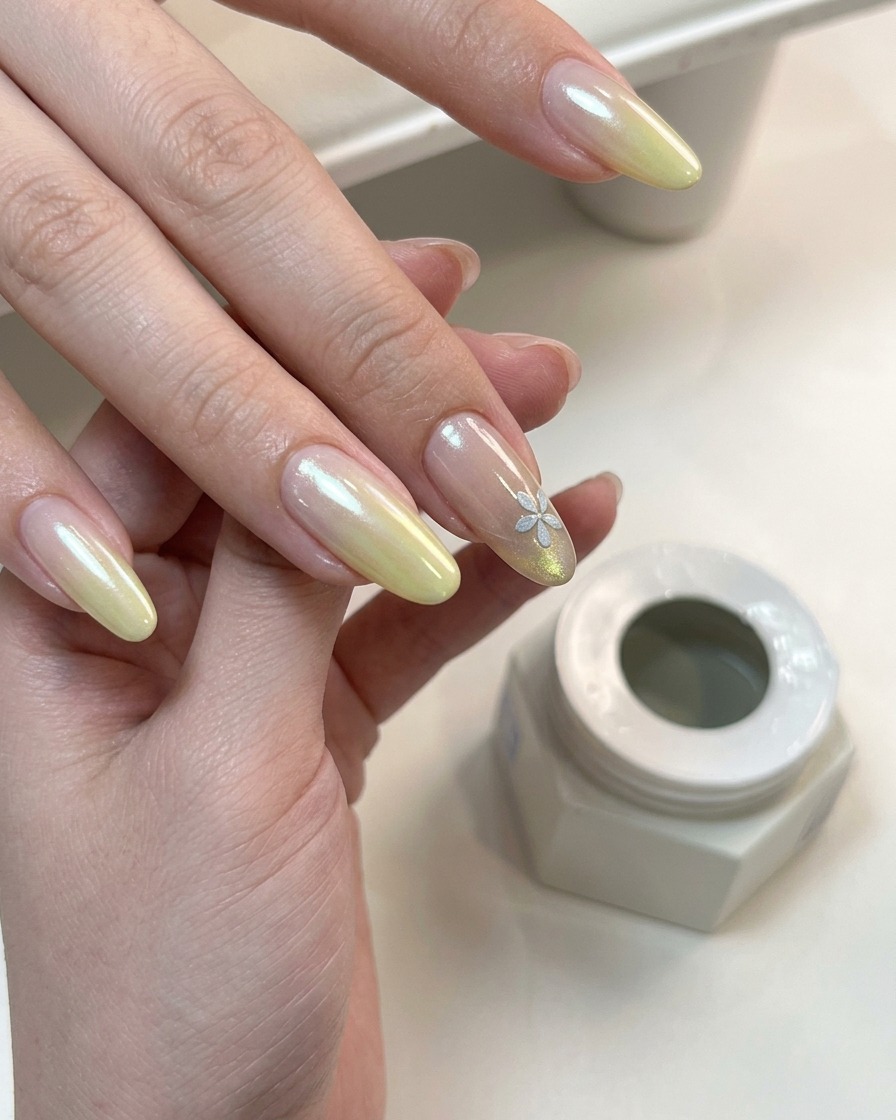
Place the hand inside the UV or LED lamp to fully cure the applied gel products and secure the nail art decorations. Ensure the hand is positioned correctly so all fingers receive even light exposure. Follow the manufacturers recommended curing time to prevent peeling or shifting.
Tip: If the client is assisting by holding the light or your setup allows it, having them help position the lamp can improve efficiency during busy sessions. - 14Place pearls and seal top coat
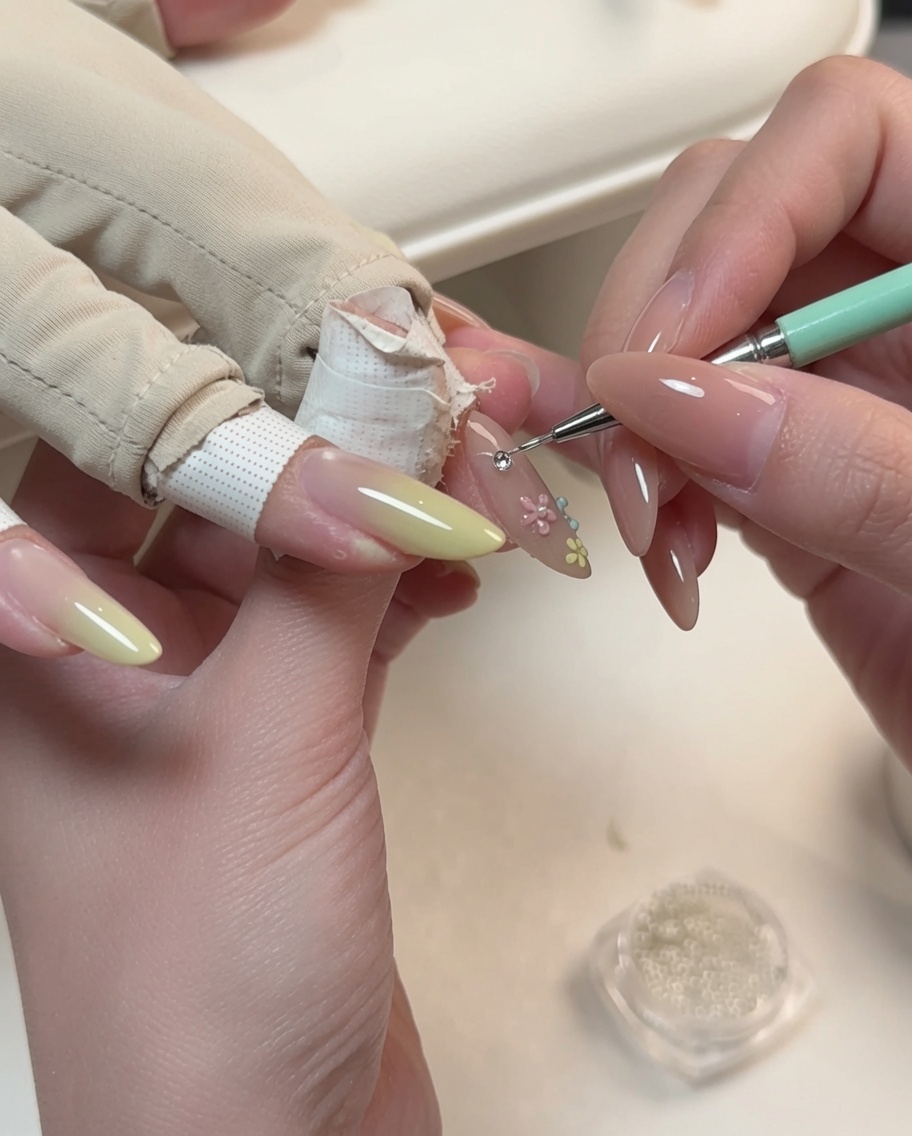
Using a detailing tool, carefully place small pearls into the center of each sculpted flower. Ensure each pearl is securely positioned and seal the surrounding areas well with top coat to prevent them from losing color or falling off.
Tip: Make sure to encapsulate the edges of the pearls properly with top coat so they stay secure and maintain their shine.