Purple-Gold Gradient Glass Bead Cat-Eye Nails Tutorial
Create a stunning purple-to-gold gradient cat-eye nail look with this step-by-step tutorial. Master the glass bead magnetic technique for a multidimensional, shimmering finish.
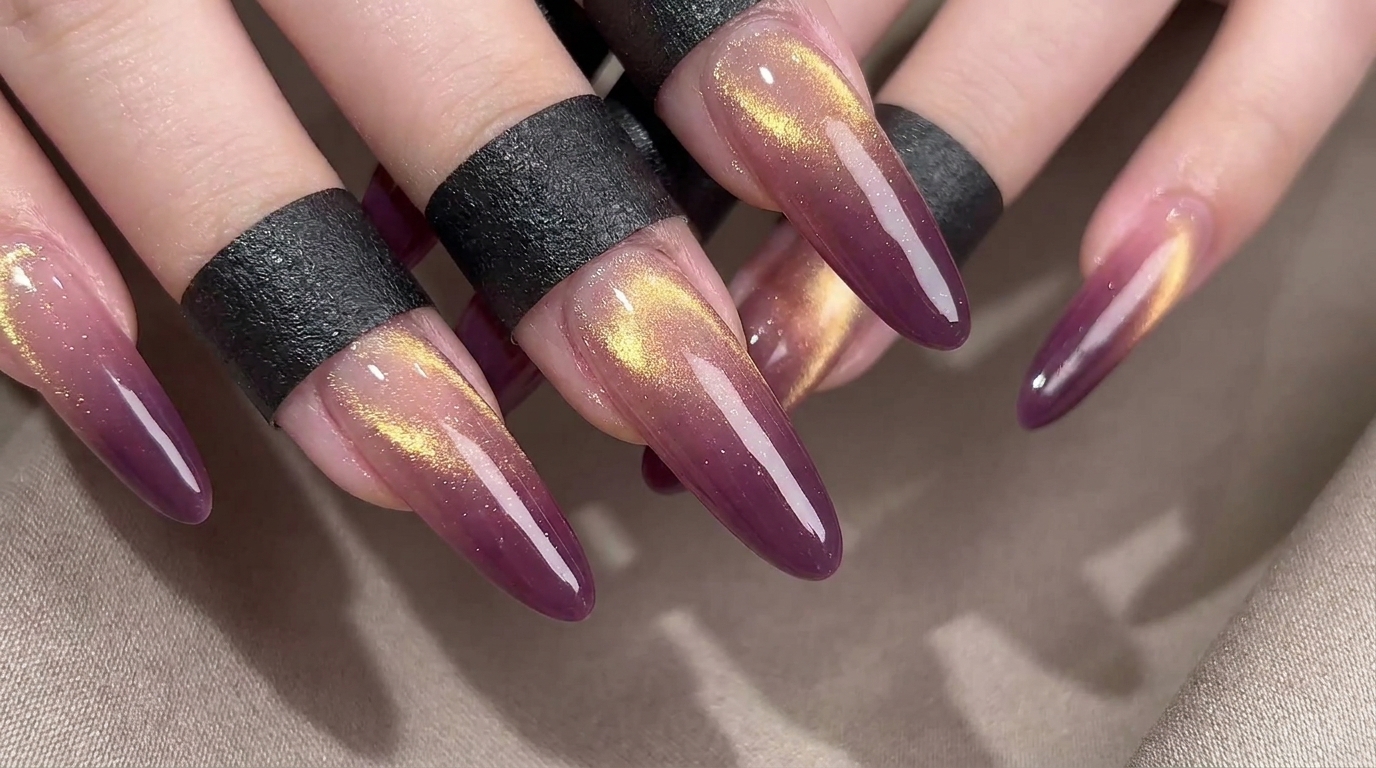
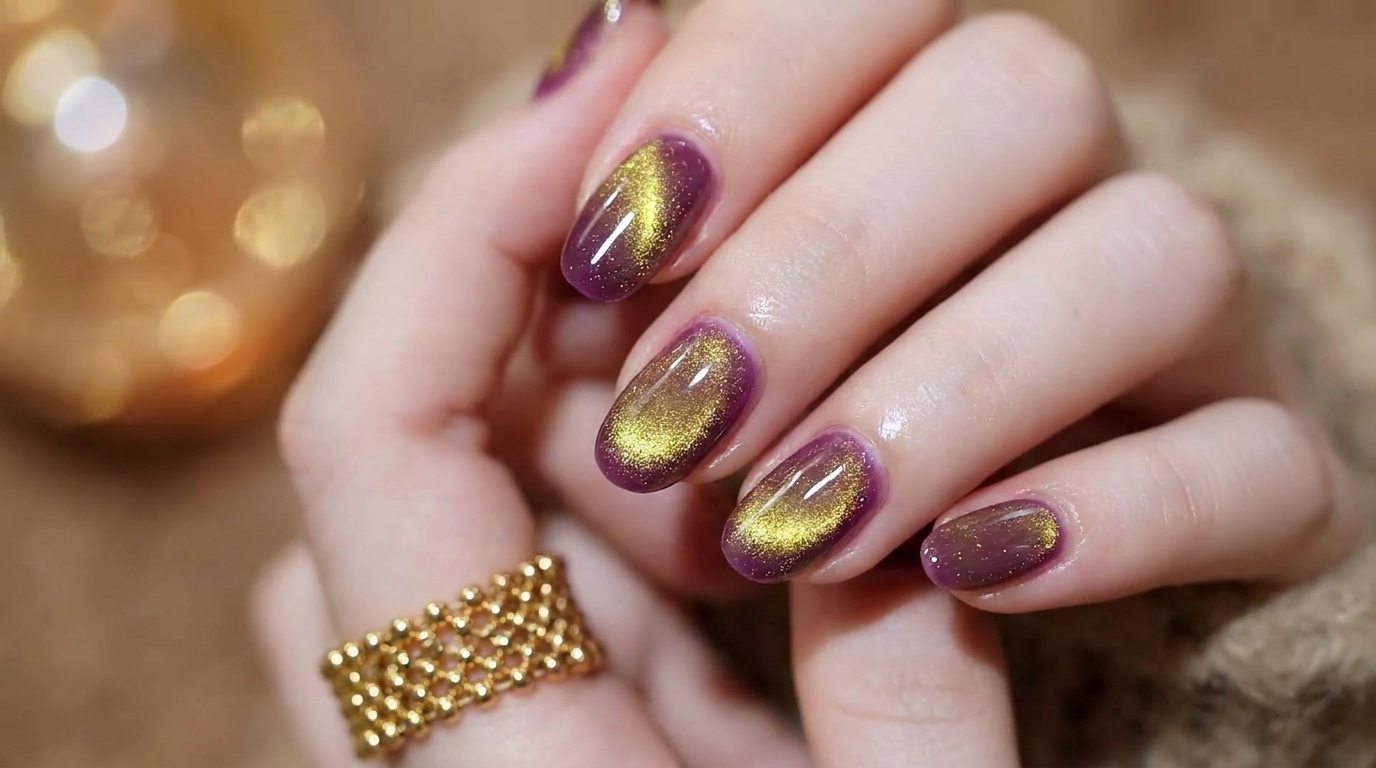
The glass bead cat-eye technique elevates standard magnetic polish by concentrating the reflective particles into a mesmerizing, gemstone-like depth. Paired with a soft translucent purple gradient at the tips, this look creates a beautiful contrast that catches the light from every angle. It is an incredibly flattering style that instantly brightens the skin tone and adds an elegant touch to any manicure.
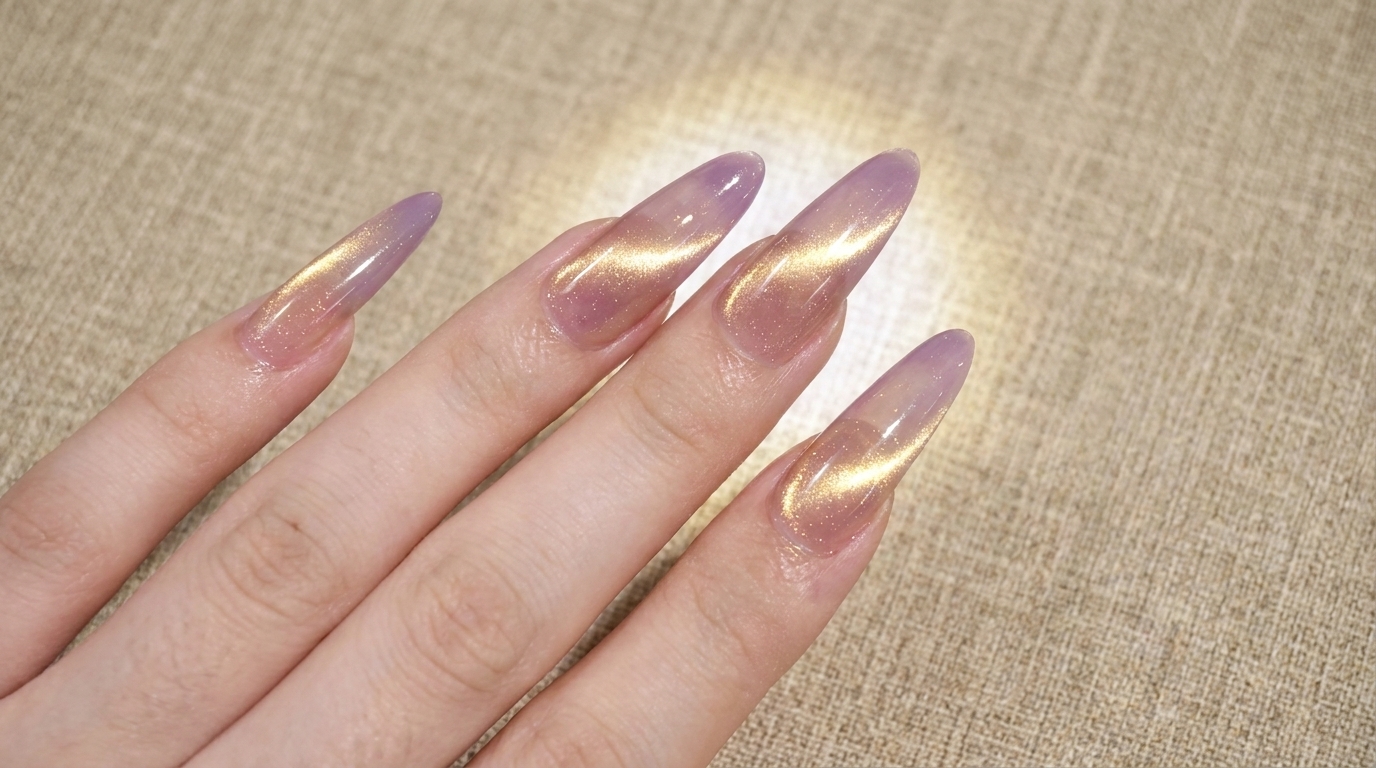
Steps
- 1Apply purple gel to tip
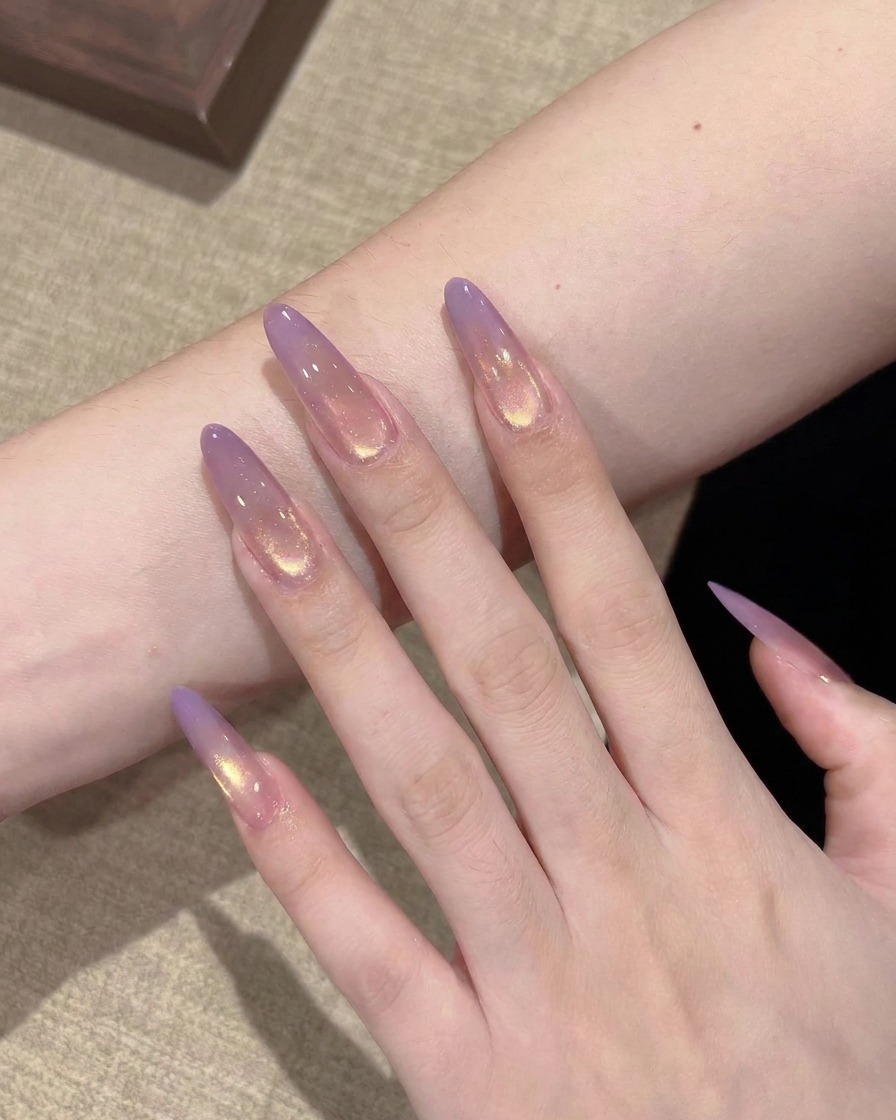
Using a flat gel brush, pick up a small, controlled bead of translucent purple gel polish. Carefully place this bead onto the very tip of the clear stiletto nail extension, ensuring the color is concentrated at the free edge to begin your gradient.
Tip: Keep the bead small to maintain control and prevent the gel from running toward the cuticle area. - 2Diffuse purple gel
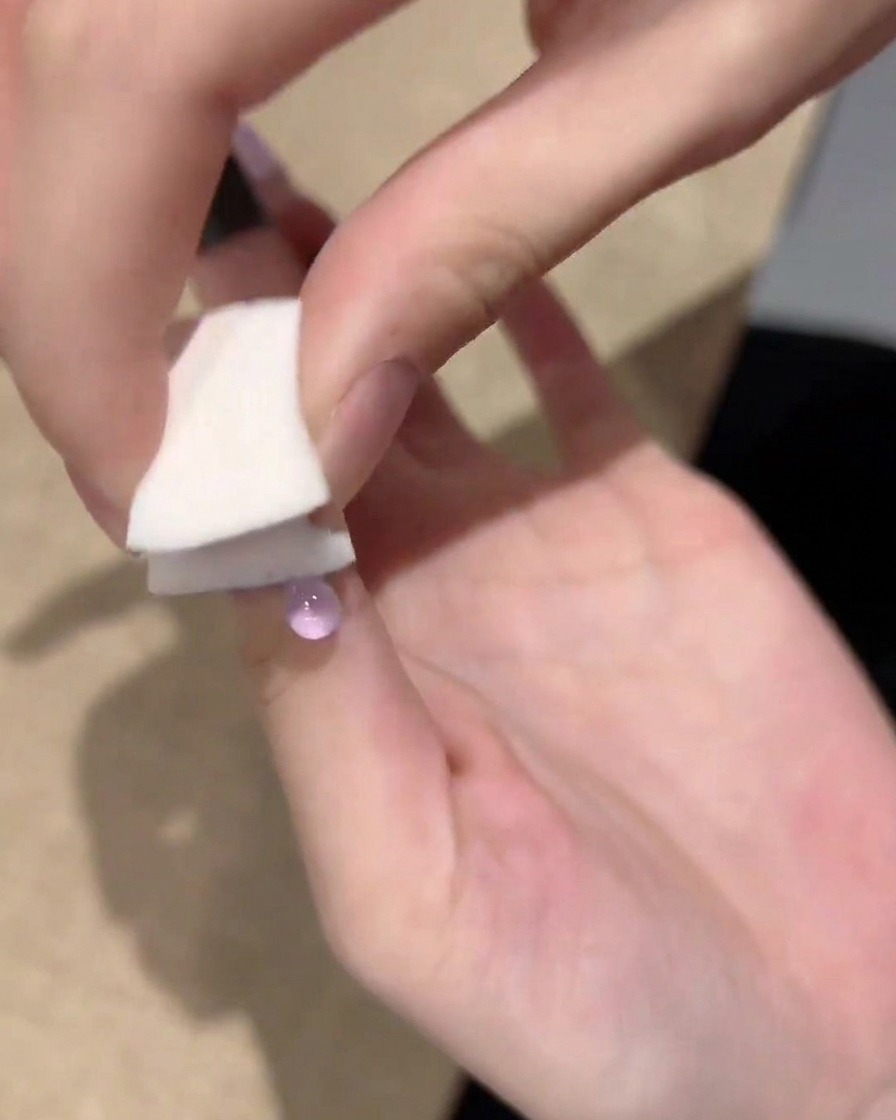
Take a small, square white makeup sponge and begin gently tapping over the applied purple gel. Use light, rhythmic pressure to diffuse the pigment, dragging it slightly downward toward the middle of the nail bed to create a soft, faded start to your ombre effect.
Tip: Use a dabbing motion rather than dragging to ensure the pigment disperses evenly without creating harsh lines. - 3Refine the gradient
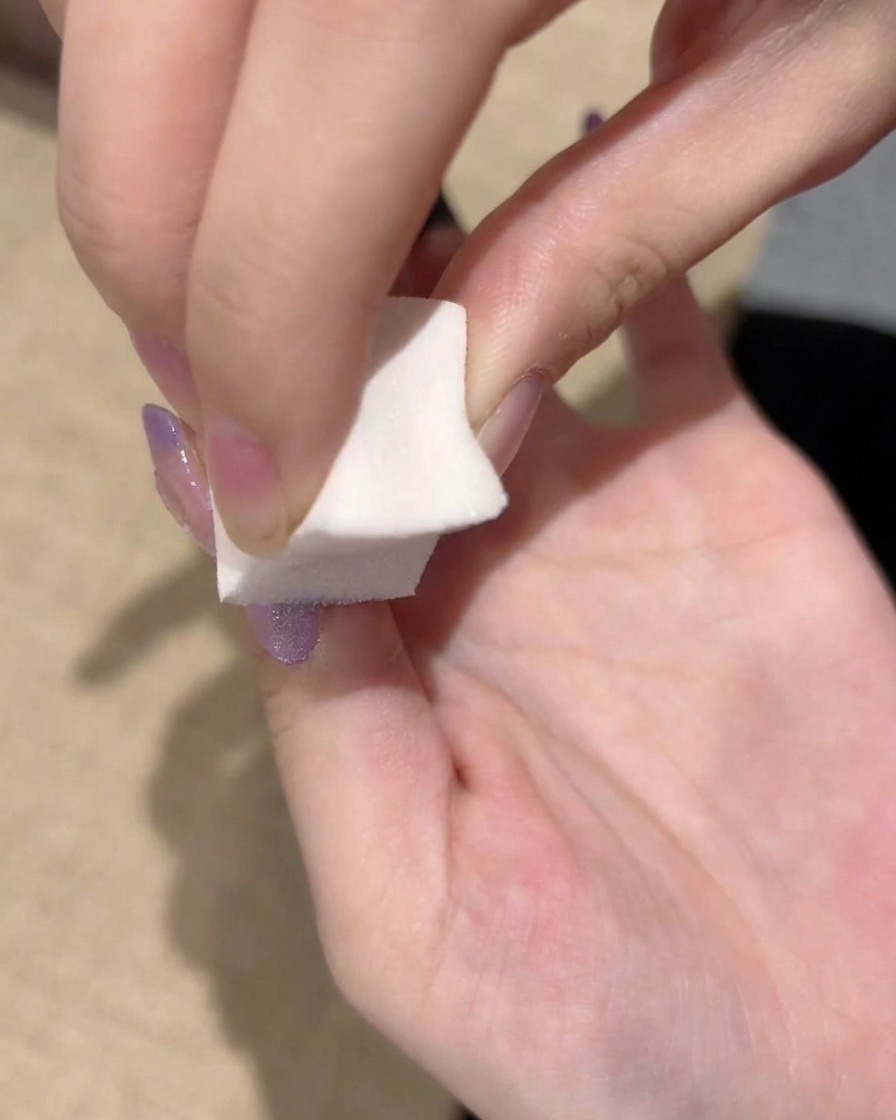
Continue to pat the sponge repeatedly along the transition zone of the purple polish. This repetitive motion helps to blend the edges further, resulting in a smooth, seamless transition that fades beautifully into the clear nail base.
Tip: If the gradient looks patchy, add a tiny bit more product and continue dabbing until the blend is perfectly smooth. - 4Apply gold cat-eye gel
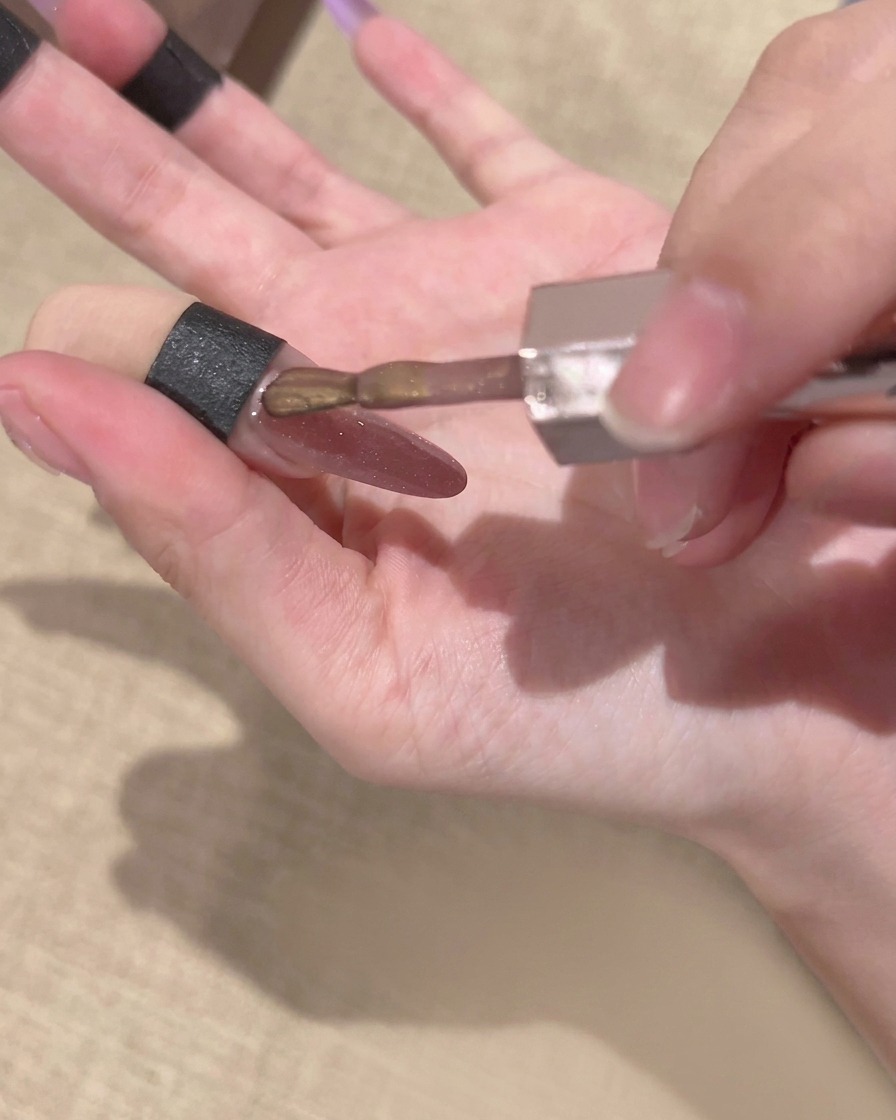
After curing the gradient, apply a thick, even layer of semi-sheer gold cat-eye magnetic gel polish over the entire surface of the nail. Start near the cuticle and drag the bottle brush down to the tip, ensuring the nail is fully coated before using the magnet.
Tip: A slightly thicker layer allows the magnetic particles to move more freely, creating a more dramatic cat-eye effect. - 5Magnetize the cat-eye effect
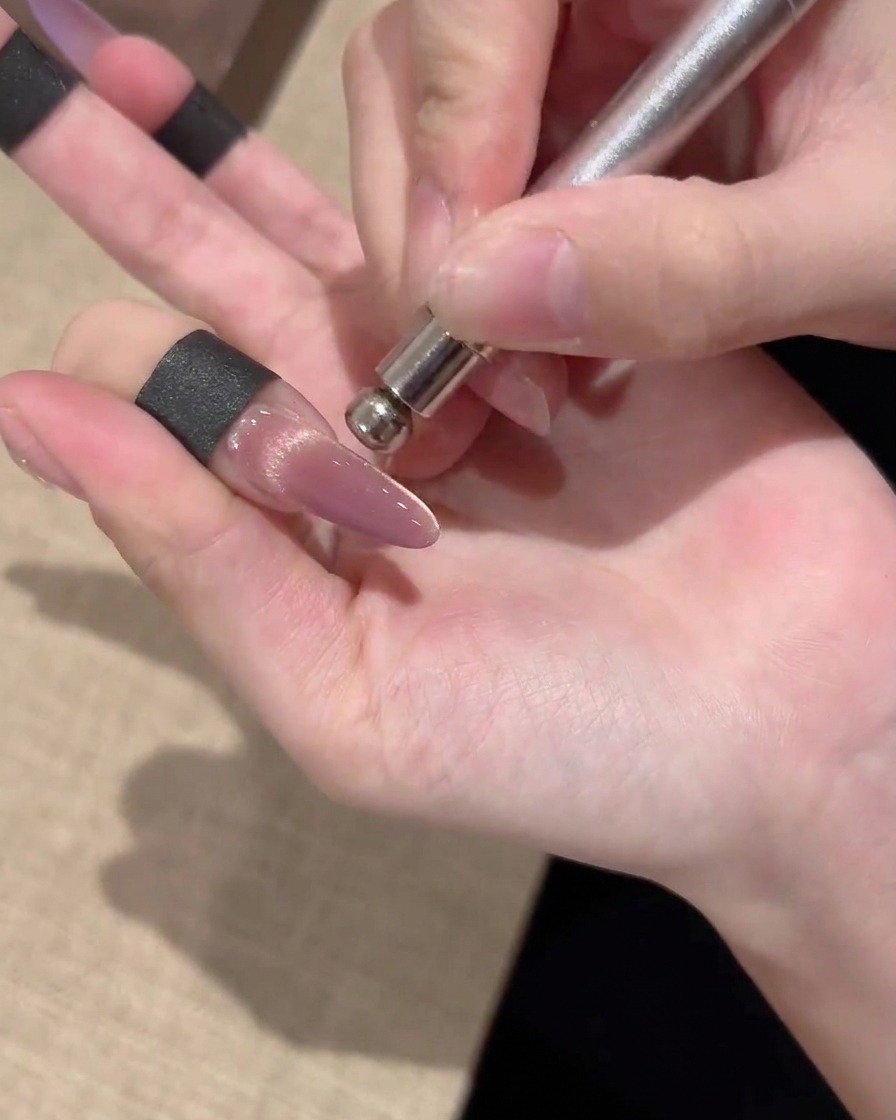
While the gold gel is still wet, hold a cylindrical magnetic wand parallel to the left and right sides of the nail. This movement pushes the magnetic particles toward the center, creating a wide, luminous band of light running vertically down the nail.
Tip: Keep the magnet close to the nail surface for maximum intensity, but be careful not to touch the wet gel. - 6Compress the magnetic particles
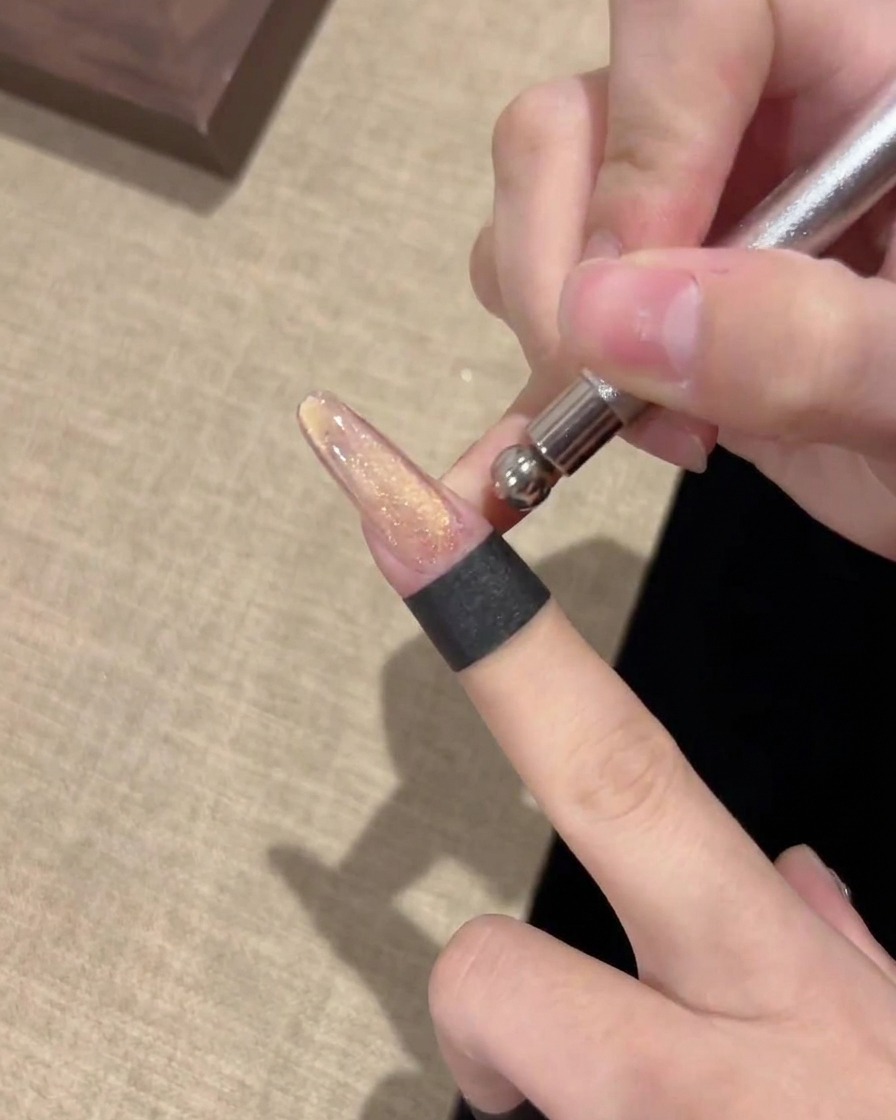
Hold the magnet horizontally near the cuticle area and push upward toward the tip to compress the magnetic particles over the gradient. This step moves the magnetic pigment to create a dense, defined line of light over your previous gradient base.
Tip: Keep the magnet close to the nail surface for maximum intensity, but be careful not to touch the wet gel. - 7Create the glass bead effect
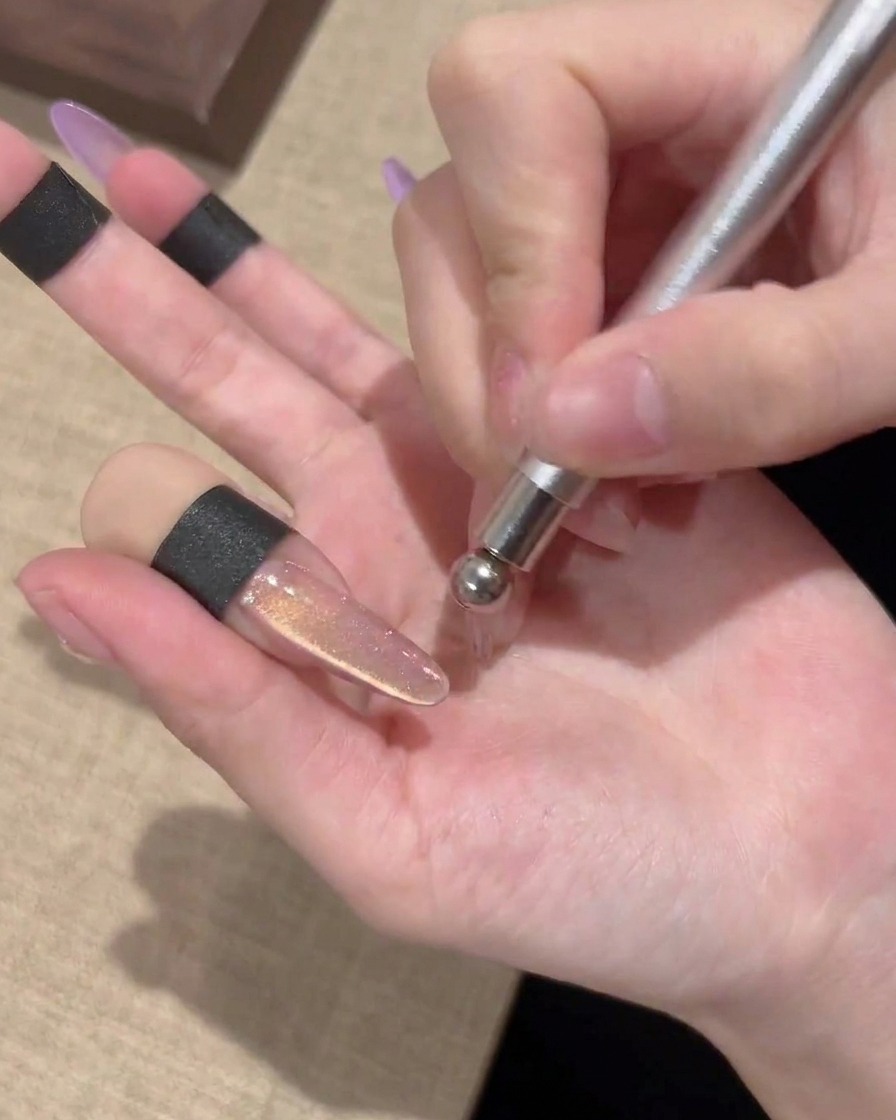
Use the rounded ball end of a magnetic detailing wand in small circular motions near the center to swirl the particles into a glass bead effect. This creates a multidimensional, reflective look that mimics the depth of a gemstone.
Tip: Slow, deliberate circular motions work best to concentrate the magnetic shimmer without muddying the gradient. - 8Finalize the magnetic pattern
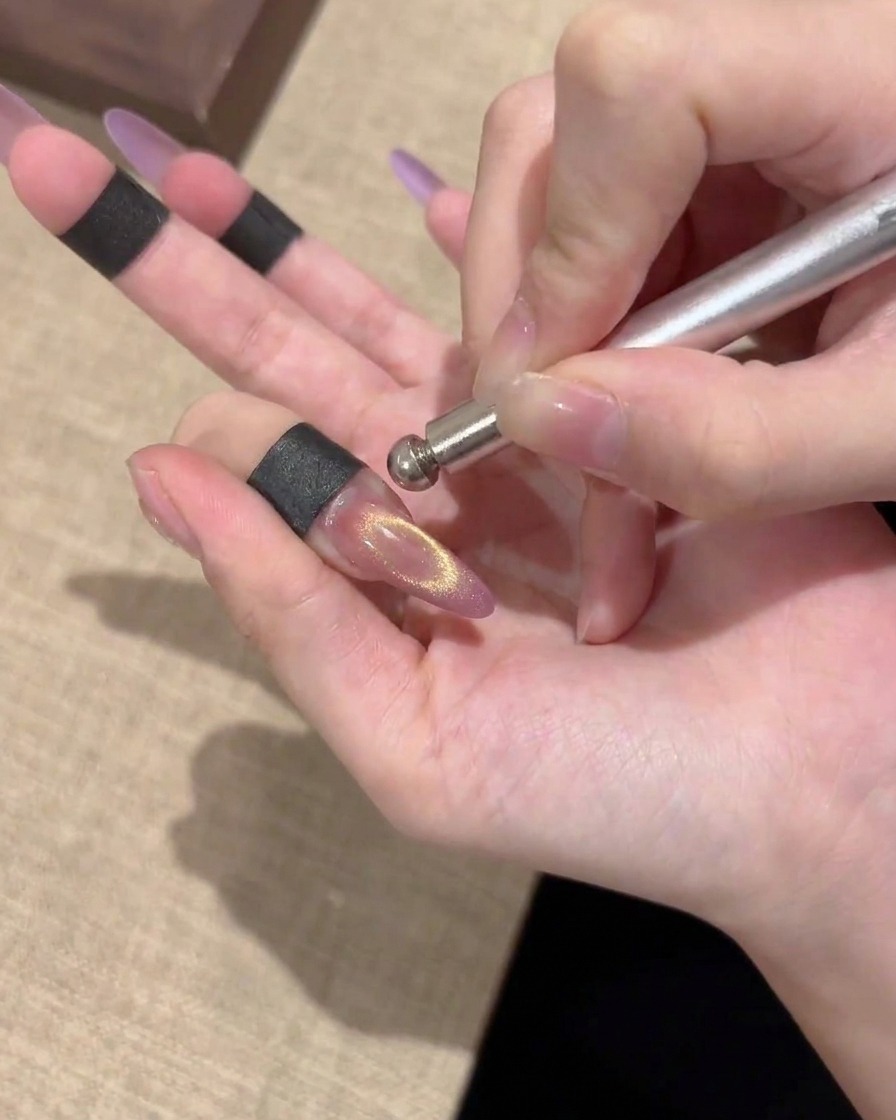
Showcase the completed, multidimensional gold cat-eye magnetic pattern after it has been locked in by the curing lamp. Ensure the light-reflecting particles are positioned exactly where you want them before you begin the curing process.
Tip: Check the light reflection from different angles to ensure the glass bead effect is uniform before curing. - 9Deepen the gradient tips
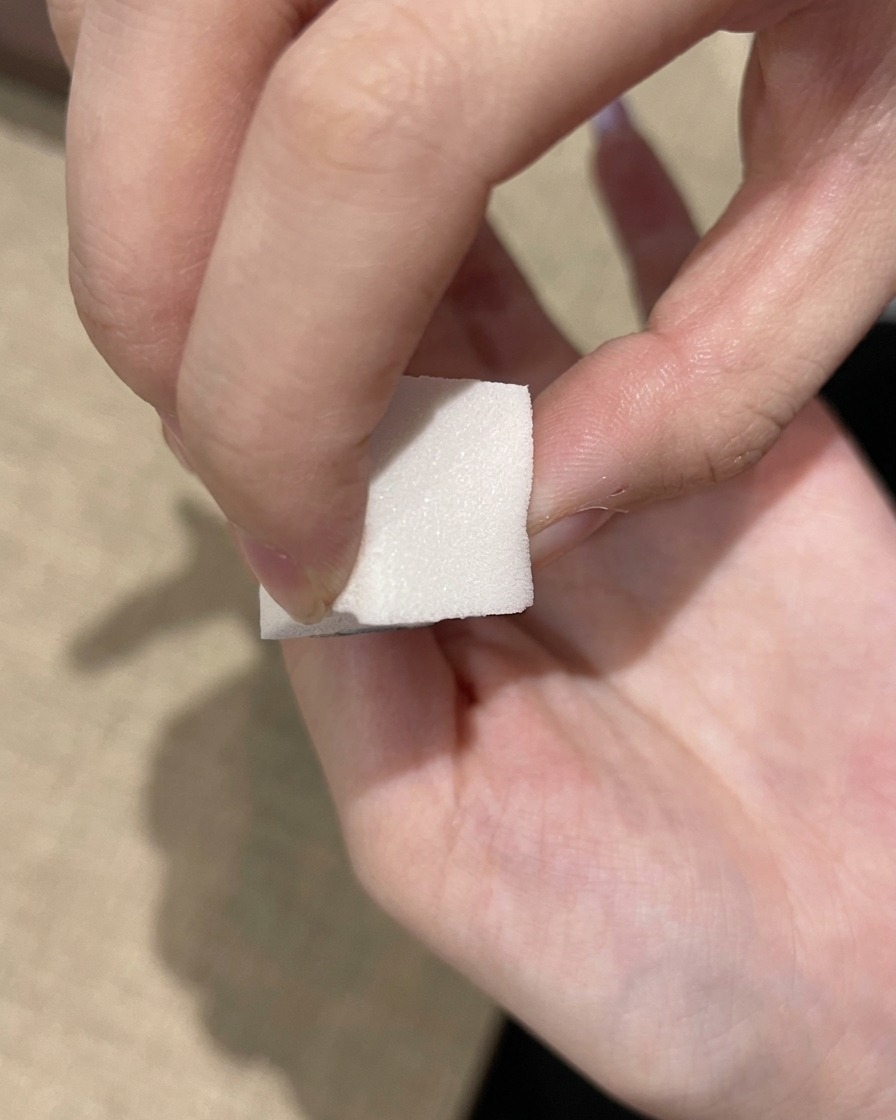
Use the white makeup sponge to dab a second, more concentrated layer of purple polish exclusively on the very tip of the nail for a bolder edge. This creates a more dramatic transition and adds depth to the ombre effect.
Tip: Use a light dabbing motion to prevent creating visible texture or sponge marks on the nail. - 10Apply builder top coat
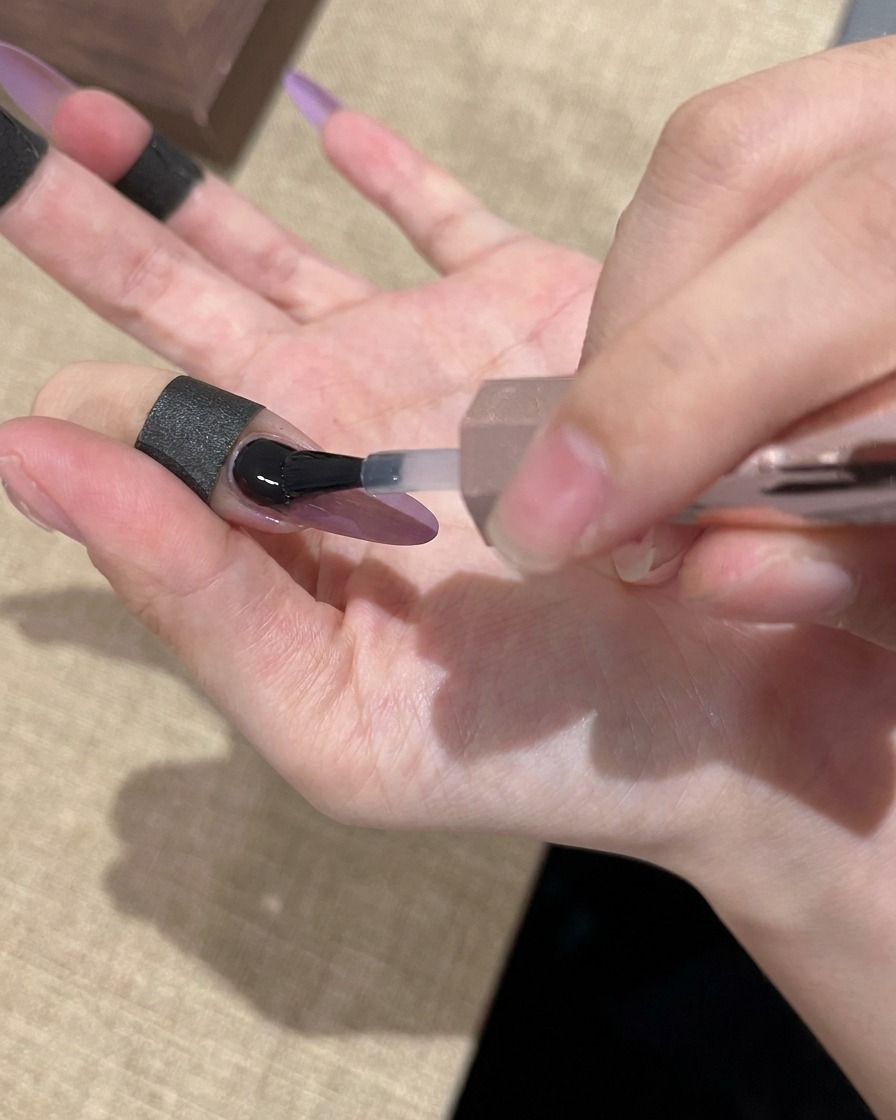
Brush a thick clear builder gel or top coat over the entire nail to fully encapsulate the design, smoothing the surface and adding high gloss. This step protects the nail art and provides a perfectly smooth base for a long-lasting finish.
Tip: Allow the gel to self-level for a few seconds before curing to get the smoothest surface.