Purple and Gold Cat-Eye Gradient Nails — Professional Step-by-Step Tutorial
Create a mesmerizing, high-contrast look with this purple and gold cat-eye gradient manicure. Master magnetic nail art with our easy-to-follow guide.
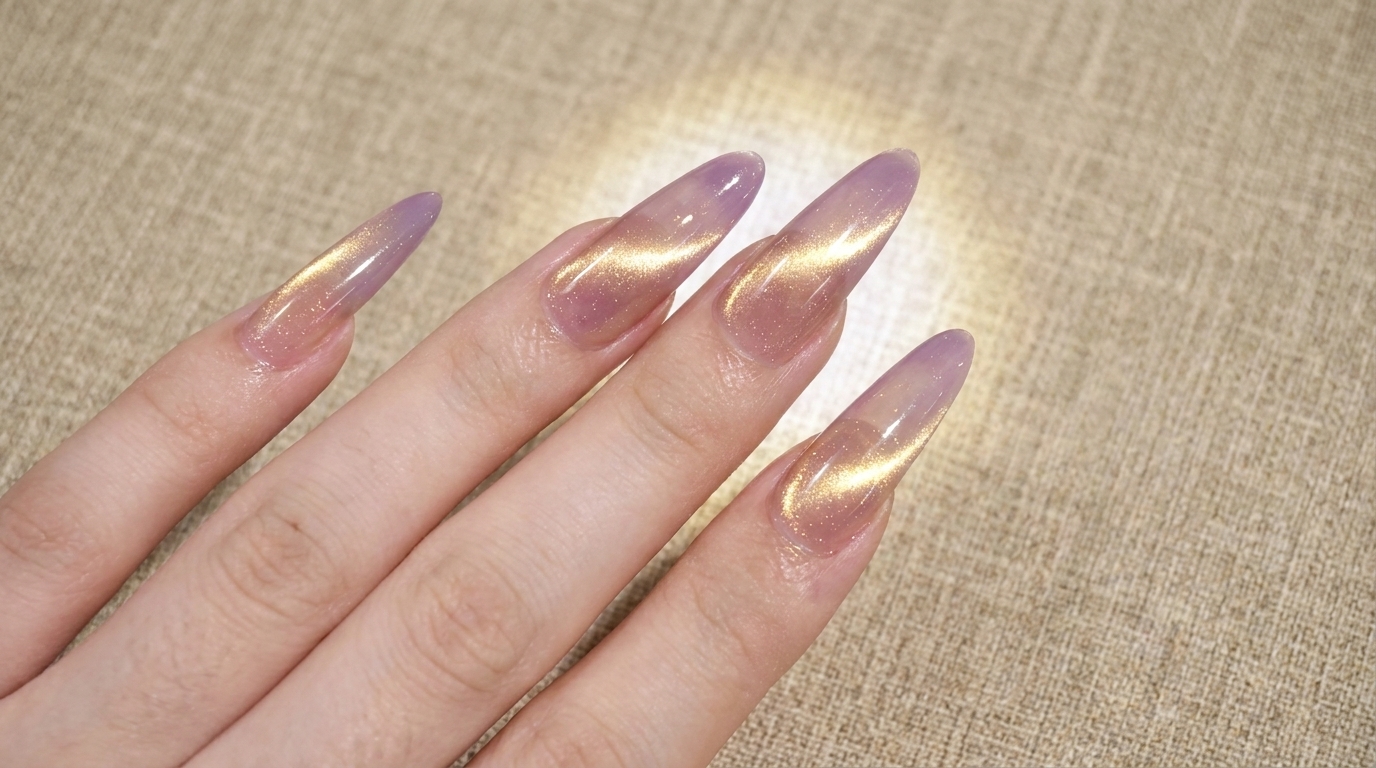
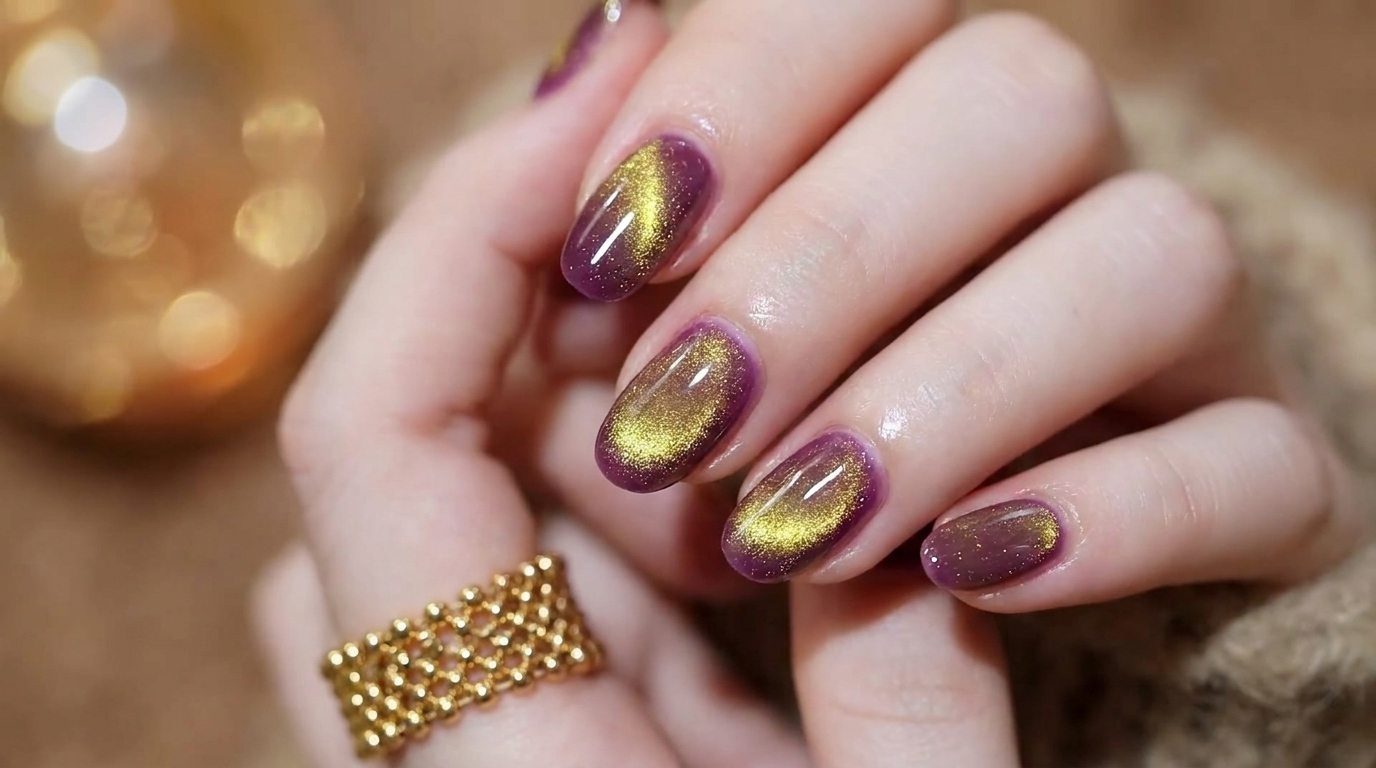
Magnetic cat-eye polish is a fantastic way to add dimension and intrigue to your nail art without needing complex painting skills. By layering a rich, deep purple with a shimmering gold magnetic effect, you create a sophisticated gradient that catches the light beautifully. This technique is all about precision and patience when handling the magnetic tool, and we will walk you through every step to ensure a flawless finish.
Steps
- 1Cure the first purple layer
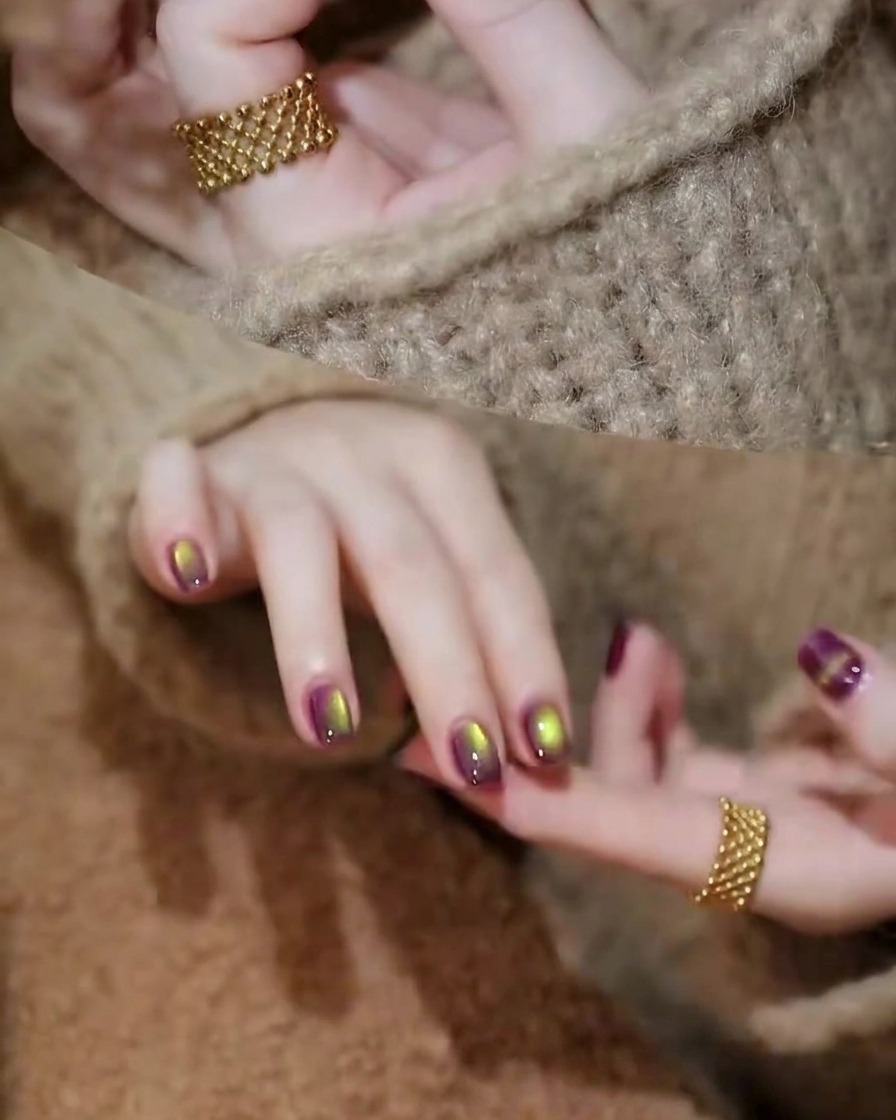
Place your hand inside the UV/LED lamp to cure the first layer of purple gel polish. Ensure all fingers are positioned directly under the light source for an even cure. Follow the manufacturers specified time to ensure the base color is fully set before applying subsequent layers.
Tip: Keep your fingers flat and centered in the lamp to prevent shadows that might lead to under-cured gel. - 2Apply second cat-eye gel layer
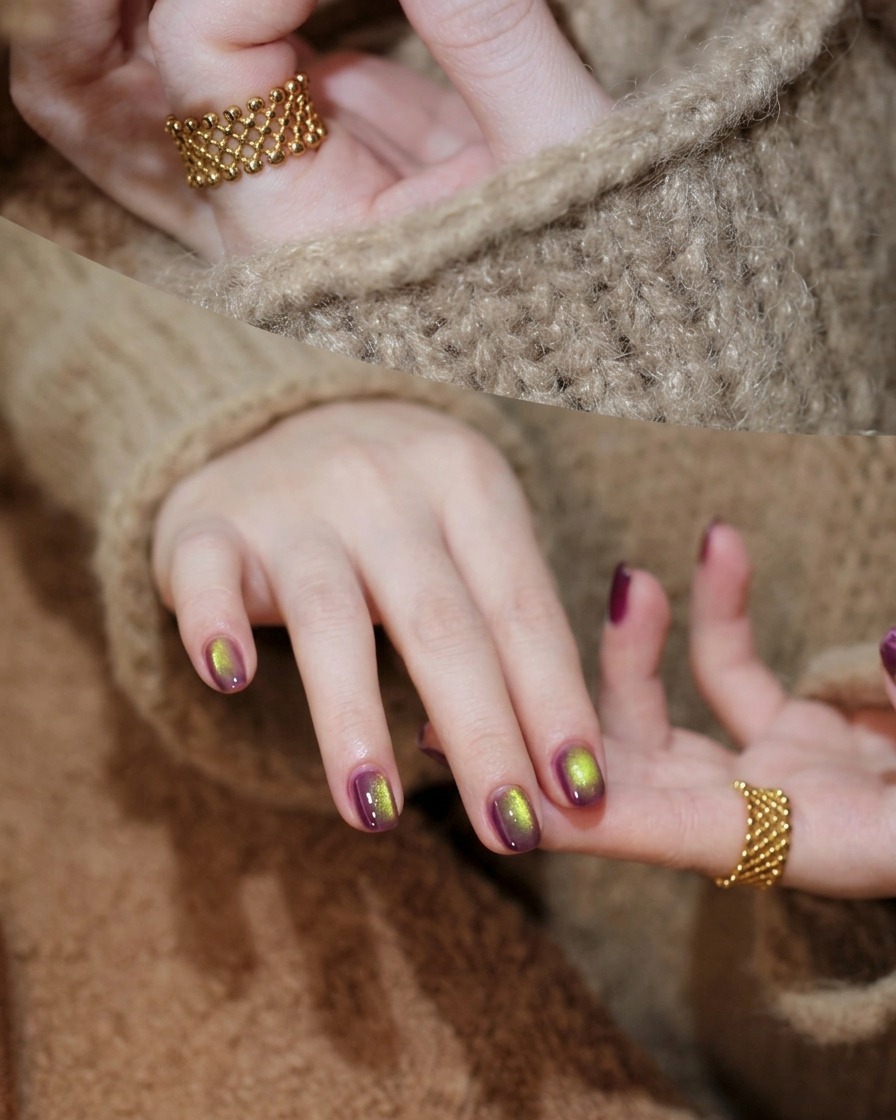
Apply a second, slightly more generous layer of purple cat-eye gel polish to each nail. Do not cure this layer yet, as you will need the gel to remain wet to manipulate the metallic particles for the cat-eye effect.
Tip: Applying a slightly thicker second layer helps the magnetic particles move more freely and creates a more intense cat-eye effect. - 3Create the cat-eye effect
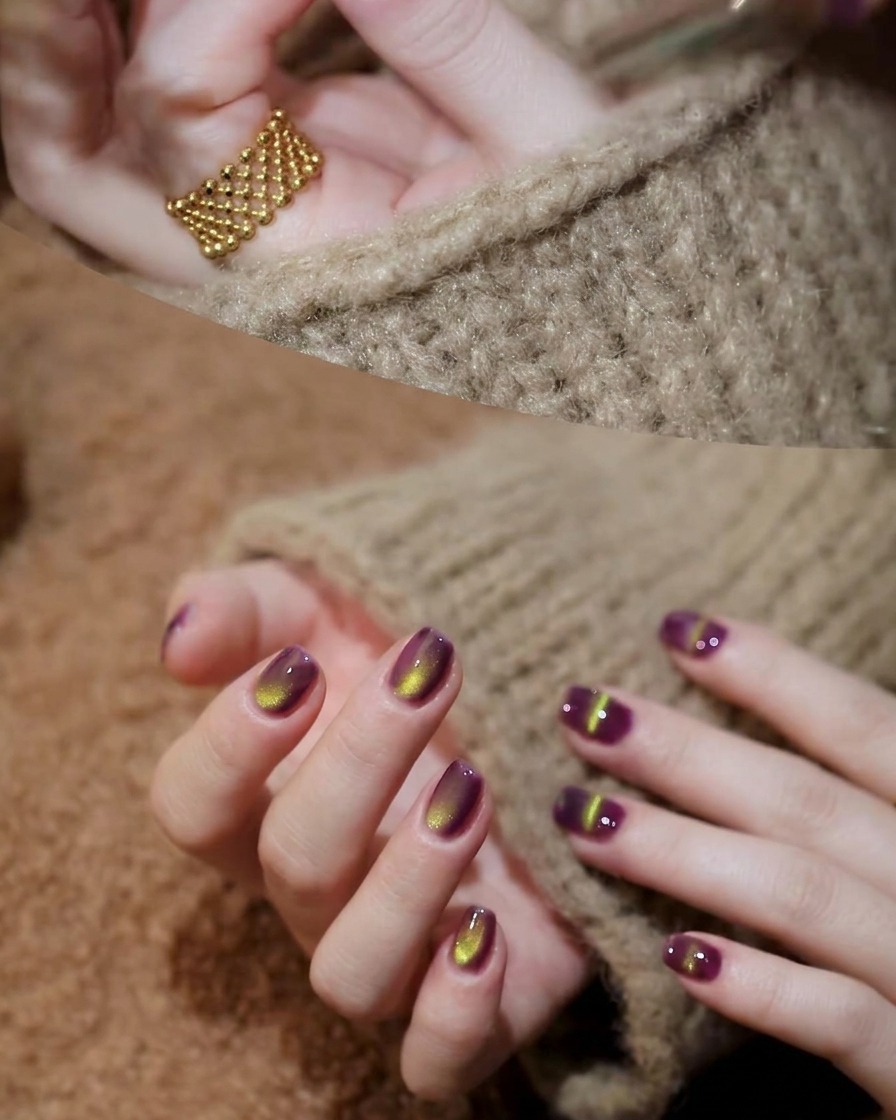
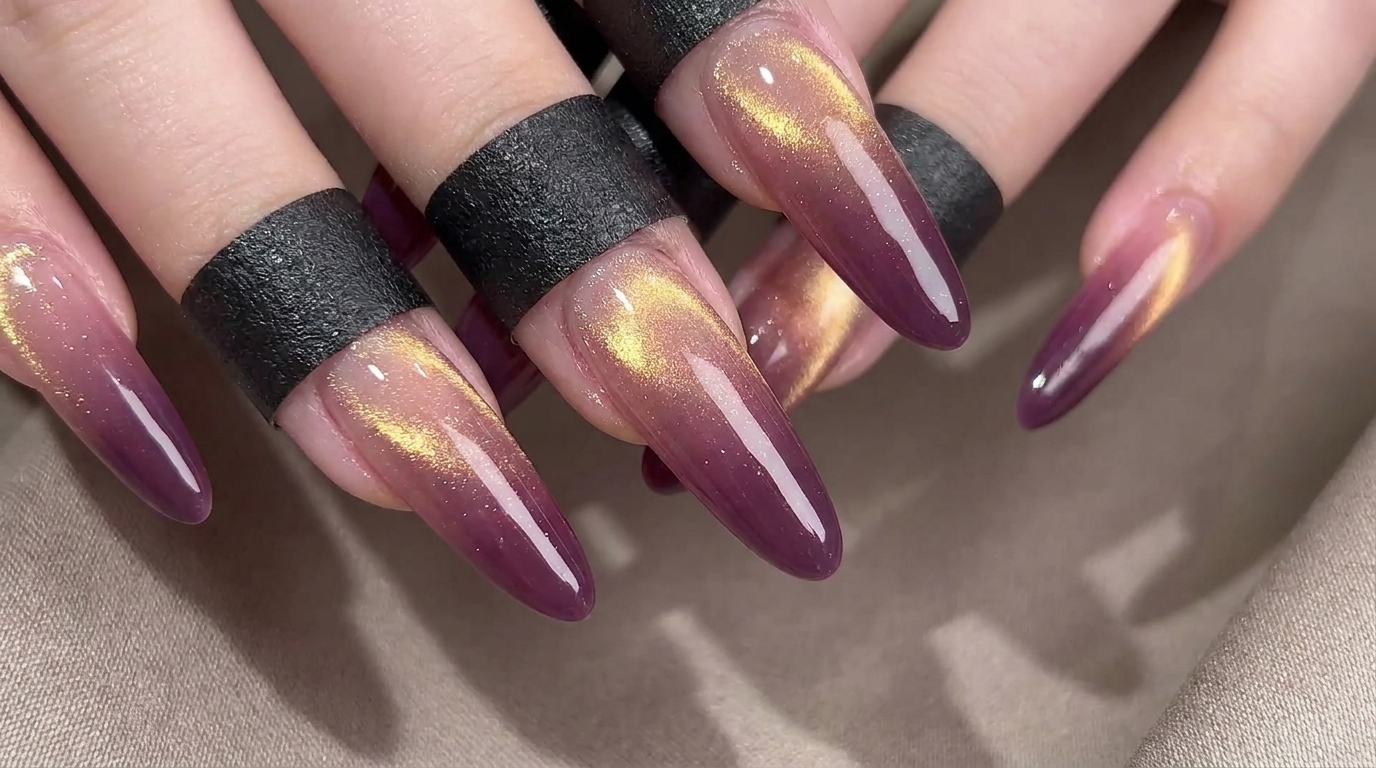
Hold the magnetic tool over the wet cat-eye gel, positioning it diagonally across the nail surface. Keep the magnet close to the nail—about 2-3mm—without touching the surface. Hold it steady for a few seconds until the gold metallic particles shift into a distinct diagonal line.
Tip: The closer you hold the magnet without touching the polish, the sharper and more defined the cat-eye line will be. - 4Refine the gradient line
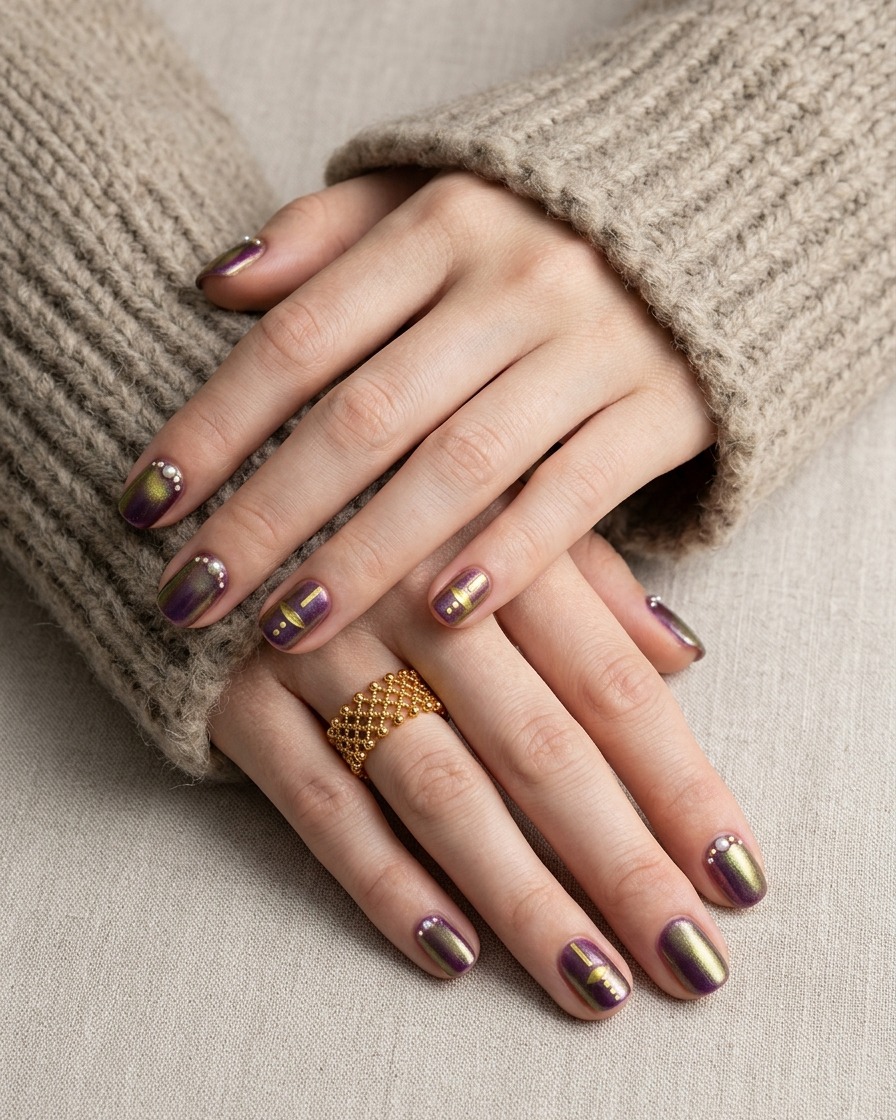
Carefully adjust the angle of the magnetic tool to sharpen the diagonal line or create a smoother gradient effect. Gentle, slow movements are key here to manipulate the magnetic particles precisely where you want them. Once satisfied with the pattern, prepare to move to the curing stage.
Tip: If the line isnt sharp enough, hover the magnet back and forth slightly to gather more particles into the center of the line. - 5Cure the cat-eye design
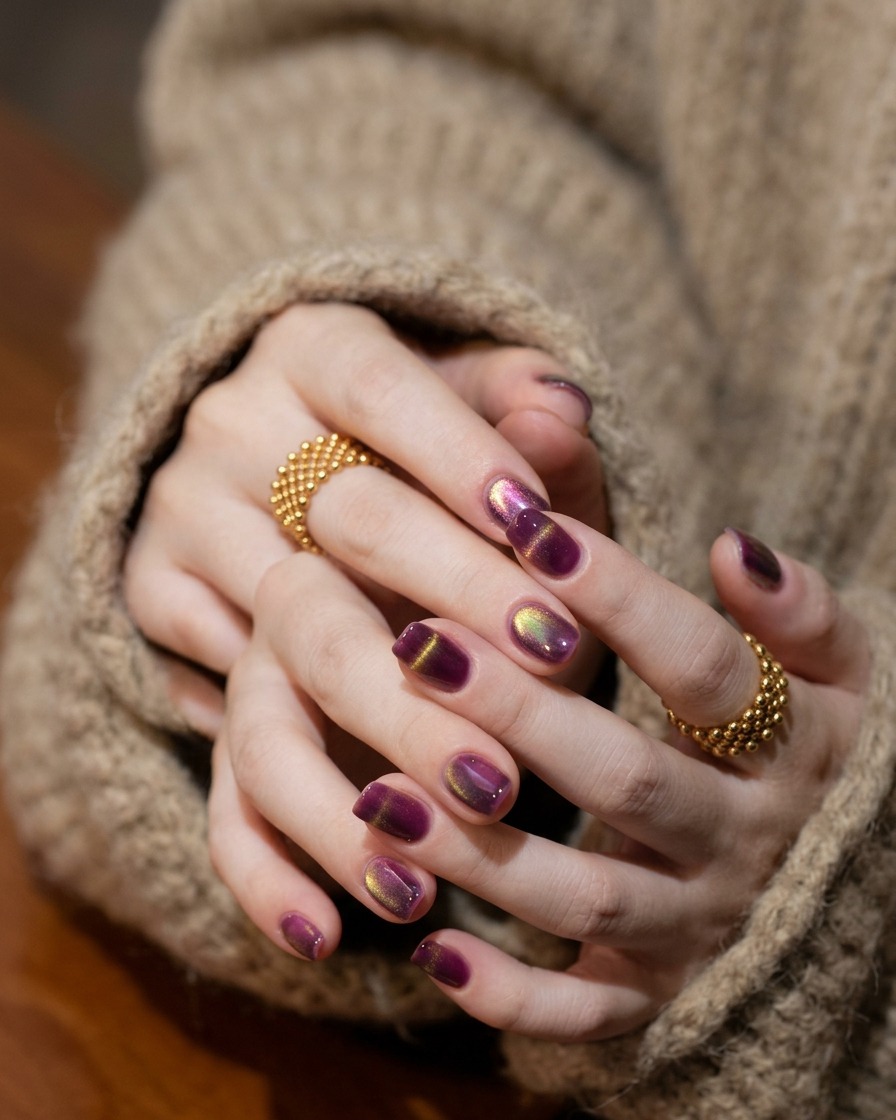
Immediately place your hand under the UV/LED lamp to lock the cat-eye design in place. Curing at this stage is critical to prevent the magnetic particles from drifting or losing their shape before the gel hardens.
Tip: Do not move your hand while placing it into the lamp to ensure the precise design you created remains intact. - 6Apply top coat
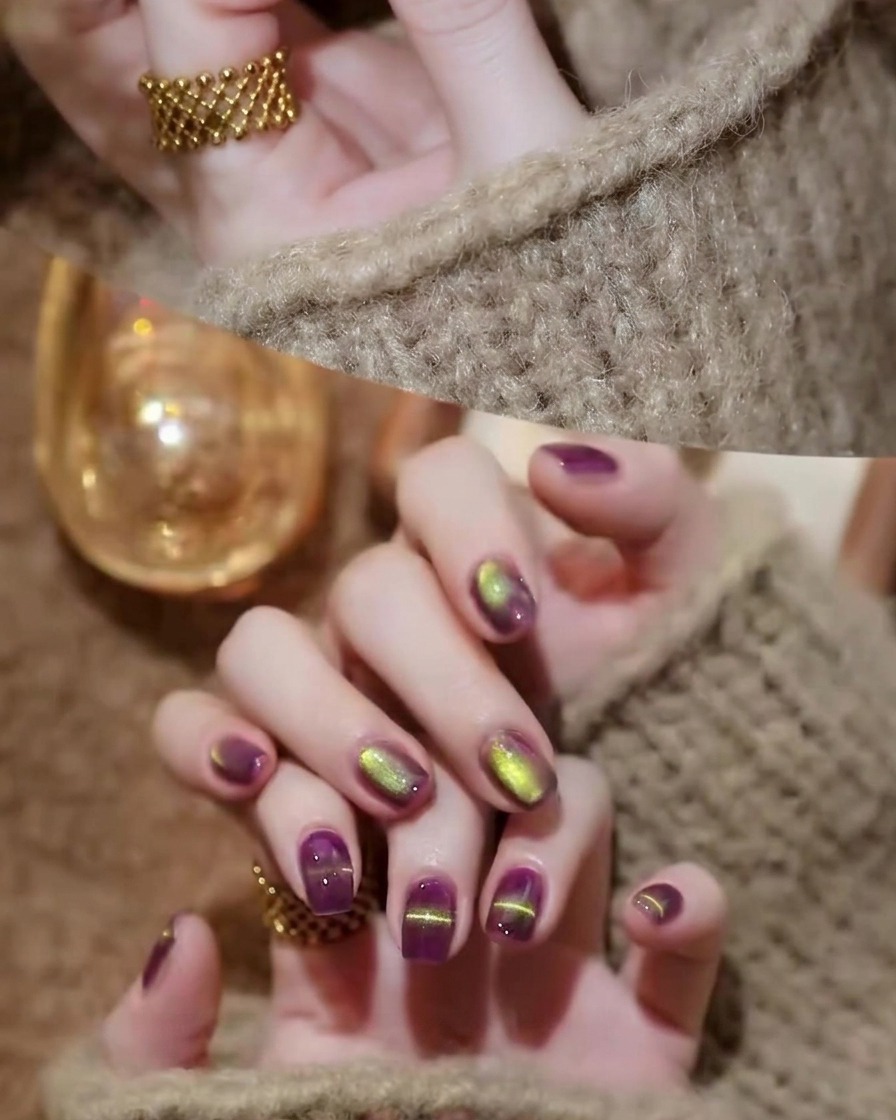
Apply a final layer of glossy no-wipe top coat over all the nails. Ensure you cap the free edges to protect the design and provide a long-lasting, high-shine finish. Cure in the lamp for the full recommended duration to complete the manicure.
Tip: A no-wipe top coat saves time by eliminating the need to cleanse the sticky inhibition layer after curing. - 7Cure the top coat
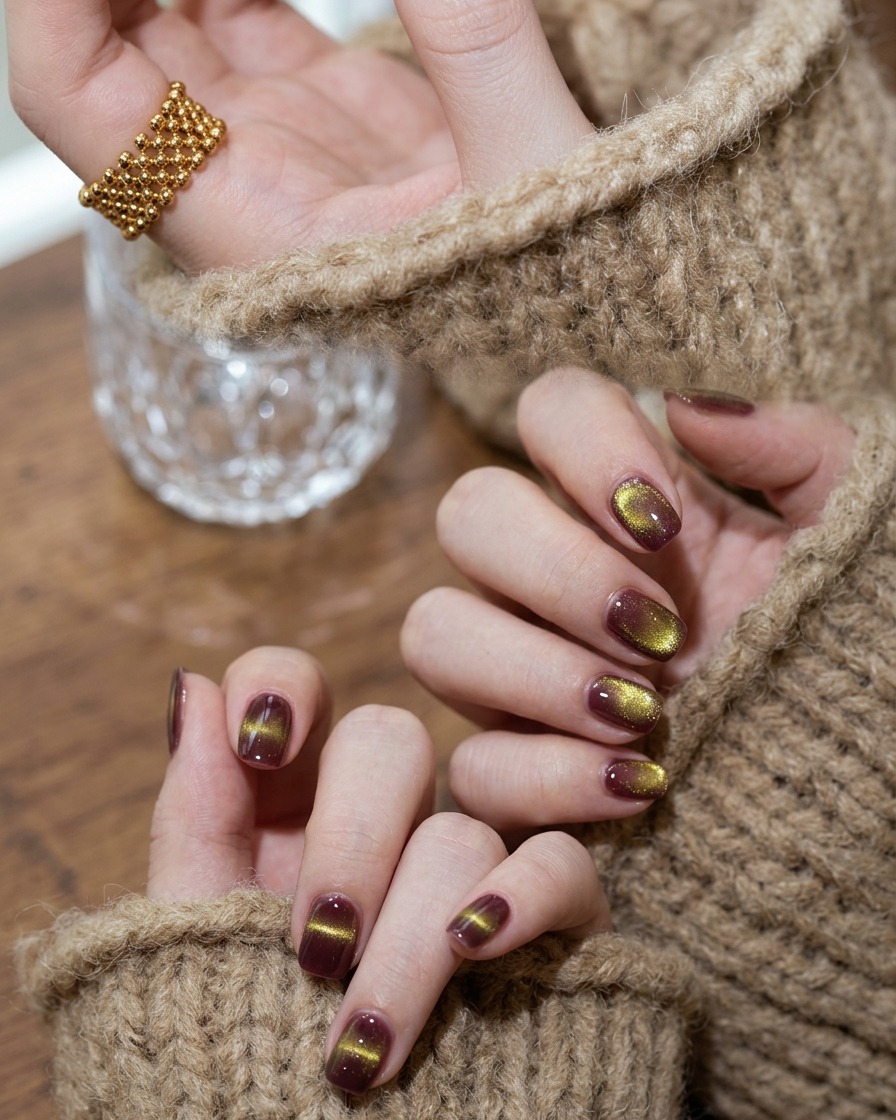
Place your hand into the UV or LED lamp to cure the final top coat layer. Ensure all fingers are positioned correctly under the light to ensure even curing, which locks in the color and provides a durable, glossy finish.
Tip: Do not remove your hand from the lamp before the full curing cycle is complete to ensure proper hardening of the gel.