Jelly Gradient Ombre Nails
Floral Art — Step-by-Step Spring & Summer Tutorial
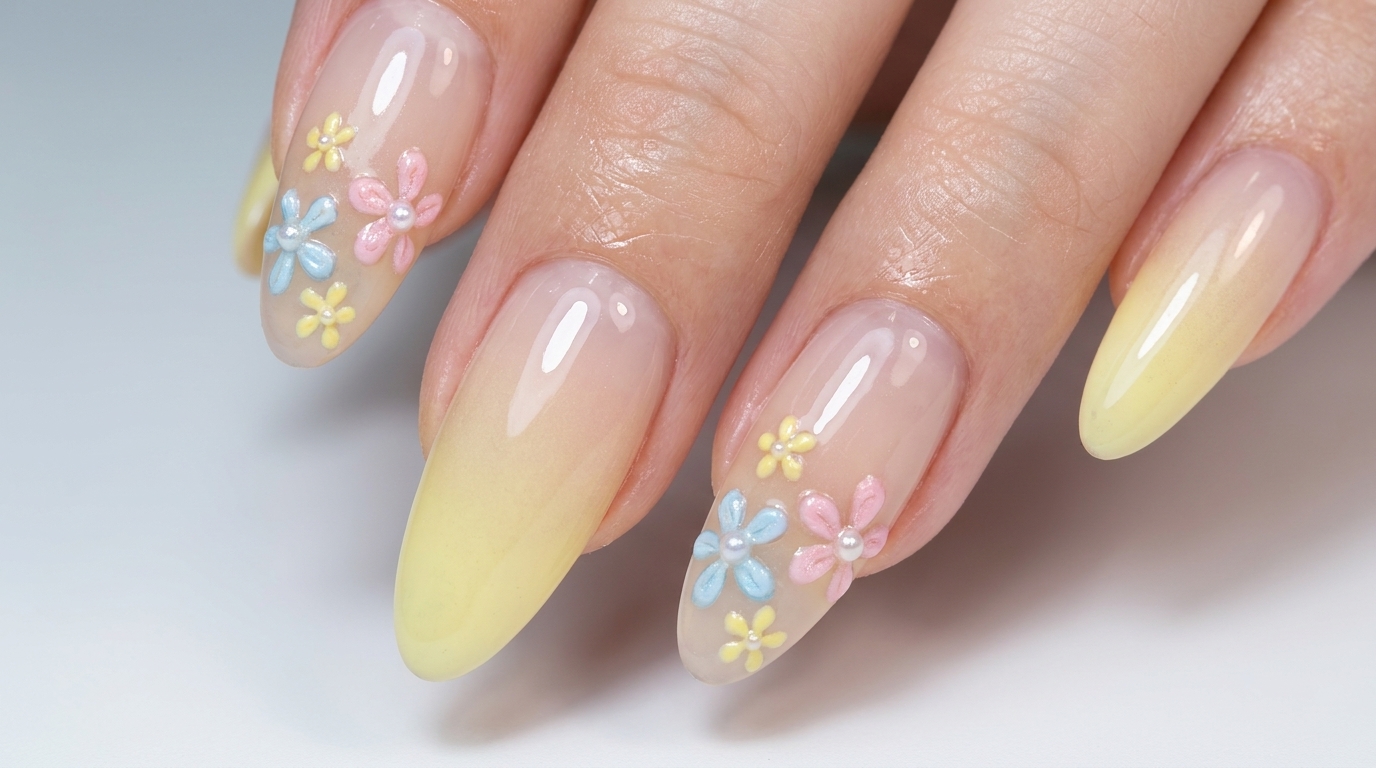
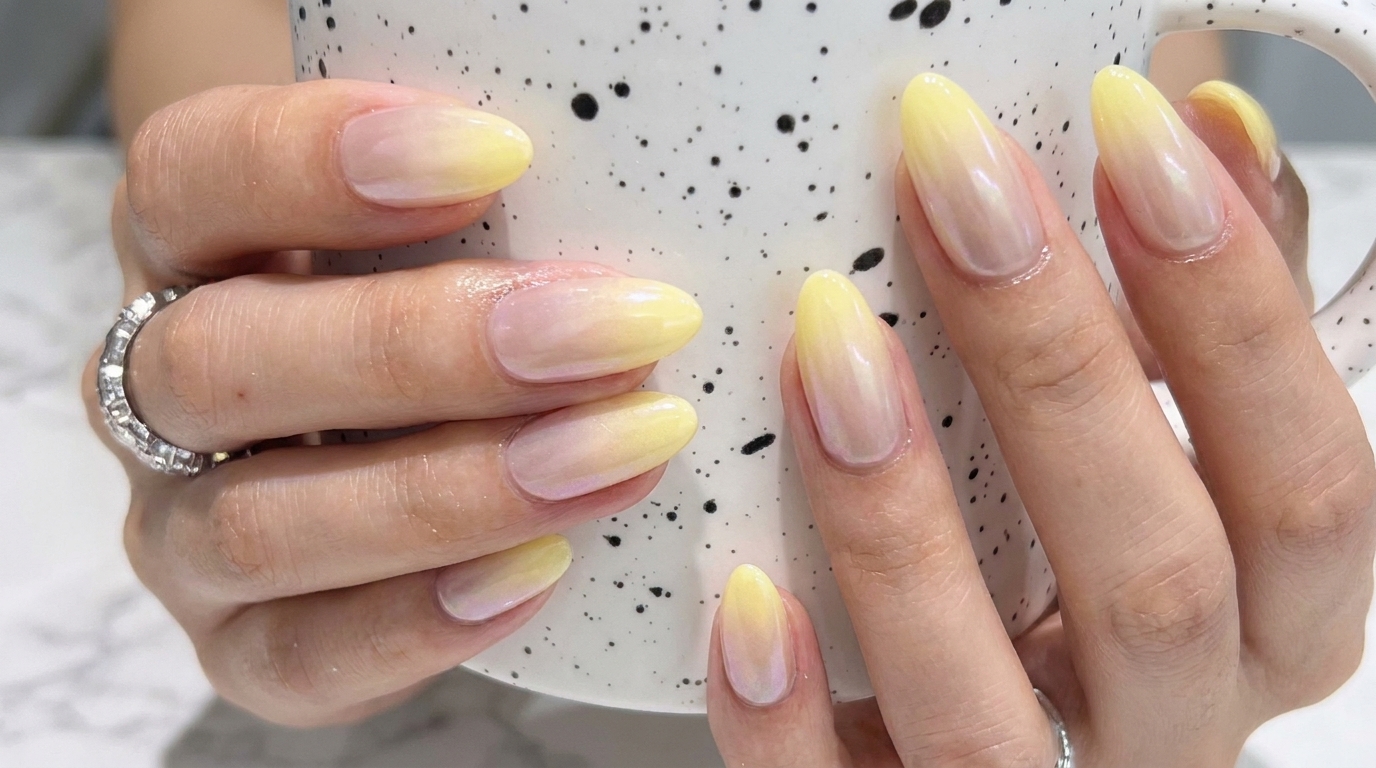
Create soft, translucent jelly gradient nails featuring delicate hand-painted spring flowers and crystal accents for a dreamy, high-gloss finish.
Jelly gradients are the ultimate spring and summer trend, offering a soft, translucent look that never feels thick or heavy on the nail. Even on shorter lengths, this multi-colored pastel aesthetic delivers a clean, beautiful finish. Follow along to master this vibrant gradient technique paired with delicate floral art and sparkling crystal details right at home.
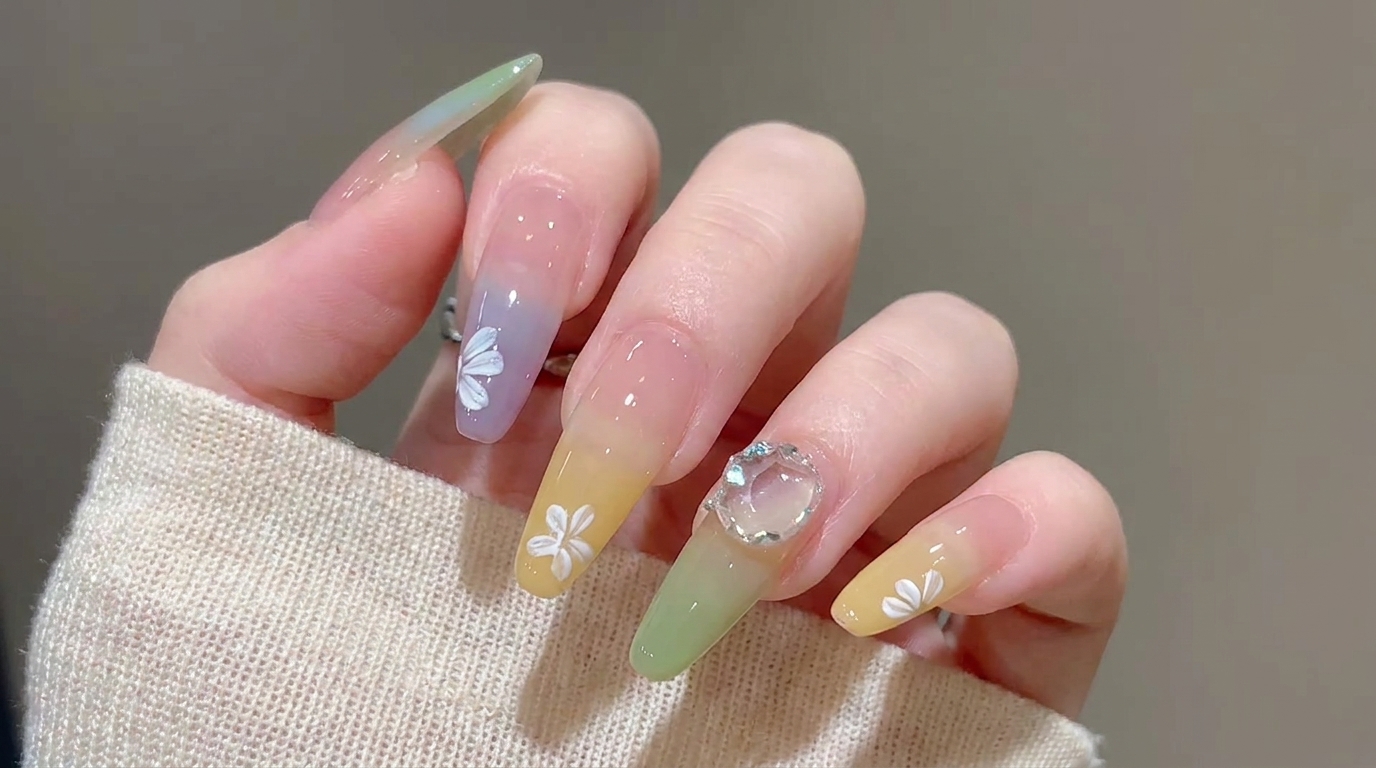
Steps
- 1Apply green jelly gel
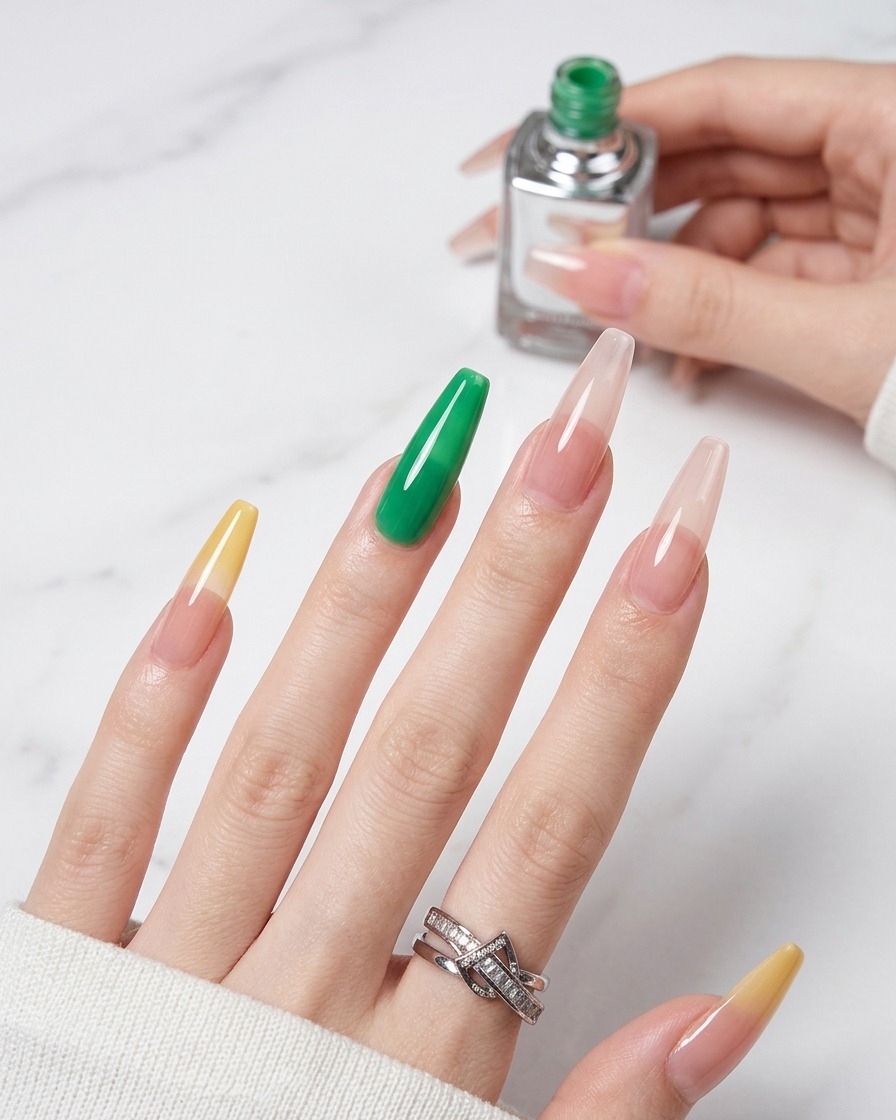
Apply the green jelly gel specifically onto the tip of the nail to begin building your gradient effect. Ensure the application is smooth and consistent to allow for easy blending in the next step.
Tip: Apply a thin, even layer; jelly gels are buildable, so you can always add more later if needed. - 2Blend the green gel
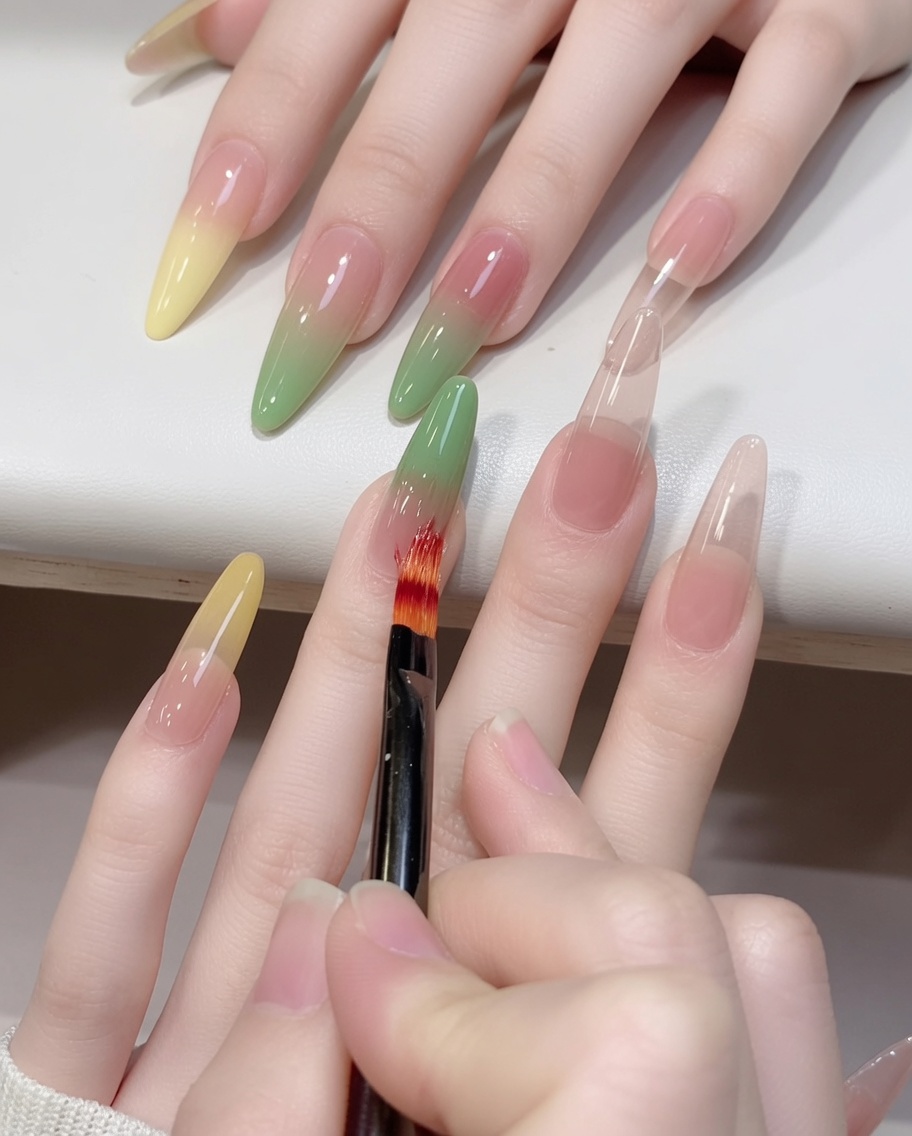
Using a dedicated ombre brush, gently feather the green jelly gel upward from the tip toward the cuticle. Use light, dragging motions to create a soft, seamless transition that fades out as it moves up the nail plate.
Tip: Keep your brush clean and use a light touch; the goal is a soft gradient, not a solid block of color. - 3Apply yellow jelly gel
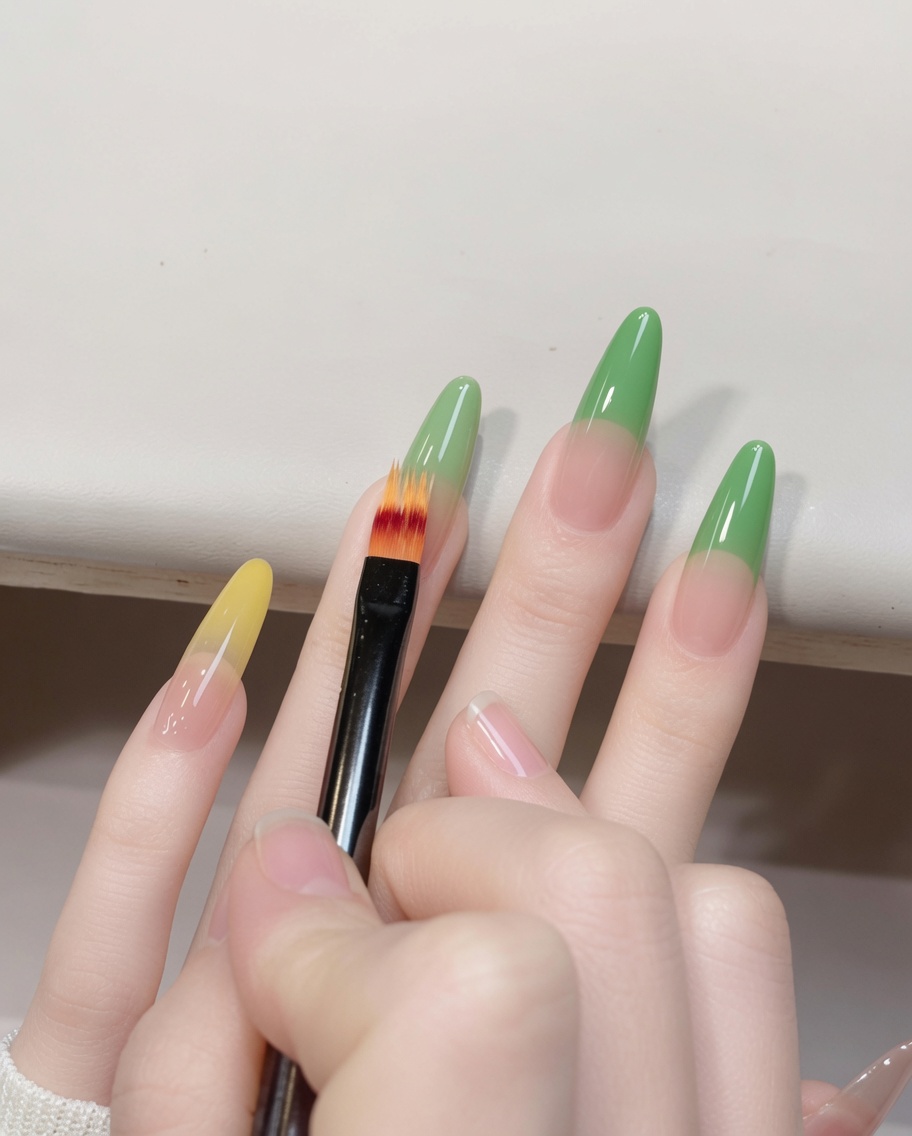
Next, apply the yellow jelly gel onto the tip of the nail. This will serve as the base for the next section of your colorful, translucent gradient look.
Tip: Keep the layer thin to maintain the jelly-like transparency that defines this aesthetic. - 4Blend the yellow gel
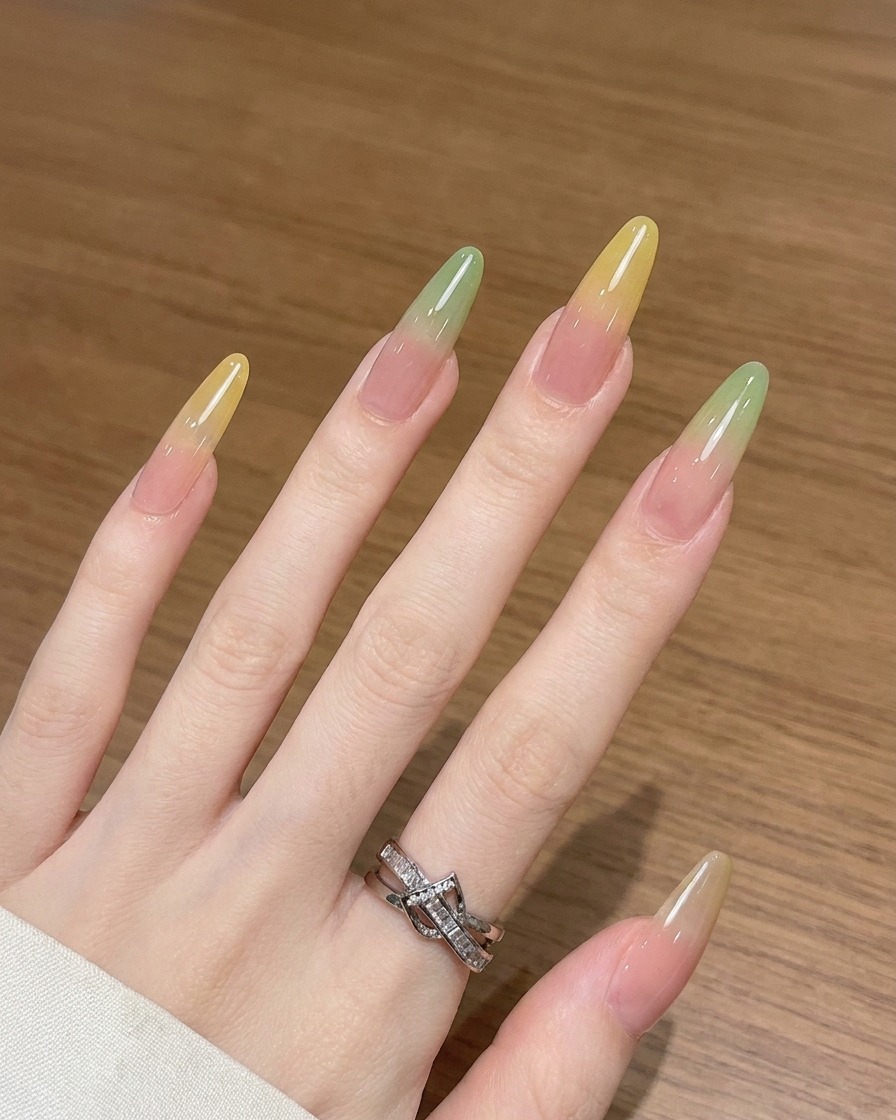
Use your ombre brush to blend the yellow jelly gel upwards toward the cuticle area. Maintain a gentle touch to ensure the color fades naturally into the rest of the nail.
Tip: Clean your brush between colors to prevent mudding or color contamination. - 5Apply purple jelly gel
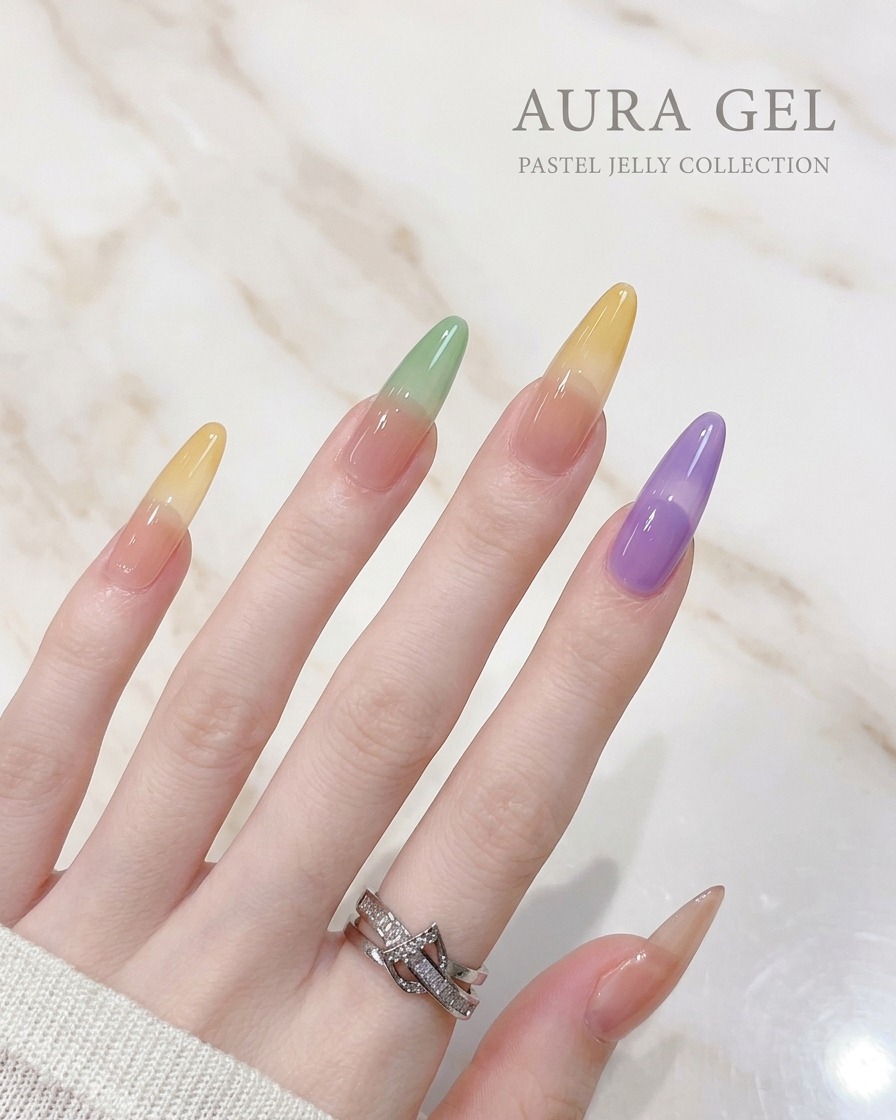
Apply the purple jelly gel onto the tip of the nail. This adds another layer of color to your vibrant spring and summer jelly gradient design.
Tip: Ensure the gel is applied evenly across the tip to create a uniform base for blending. - 6Blend the purple gel
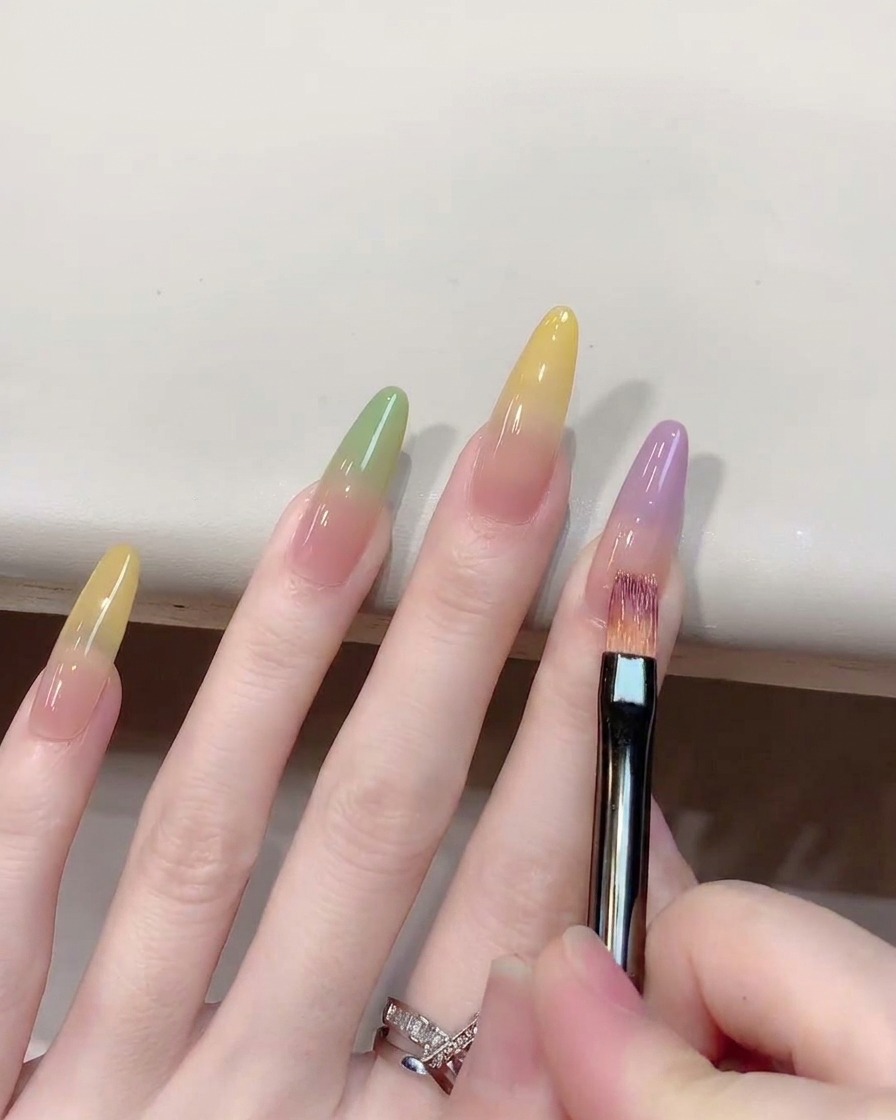
Finally, use the ombre brush to blend the purple jelly gel upwards, completing your multi-colored gradient look. Ensure the transition is soft and mimics the translucent quality of the other nails.
Tip: Take your time with the blending to achieve that signature soft, jelly-gradient finish. - 7Place crystal heart sticker
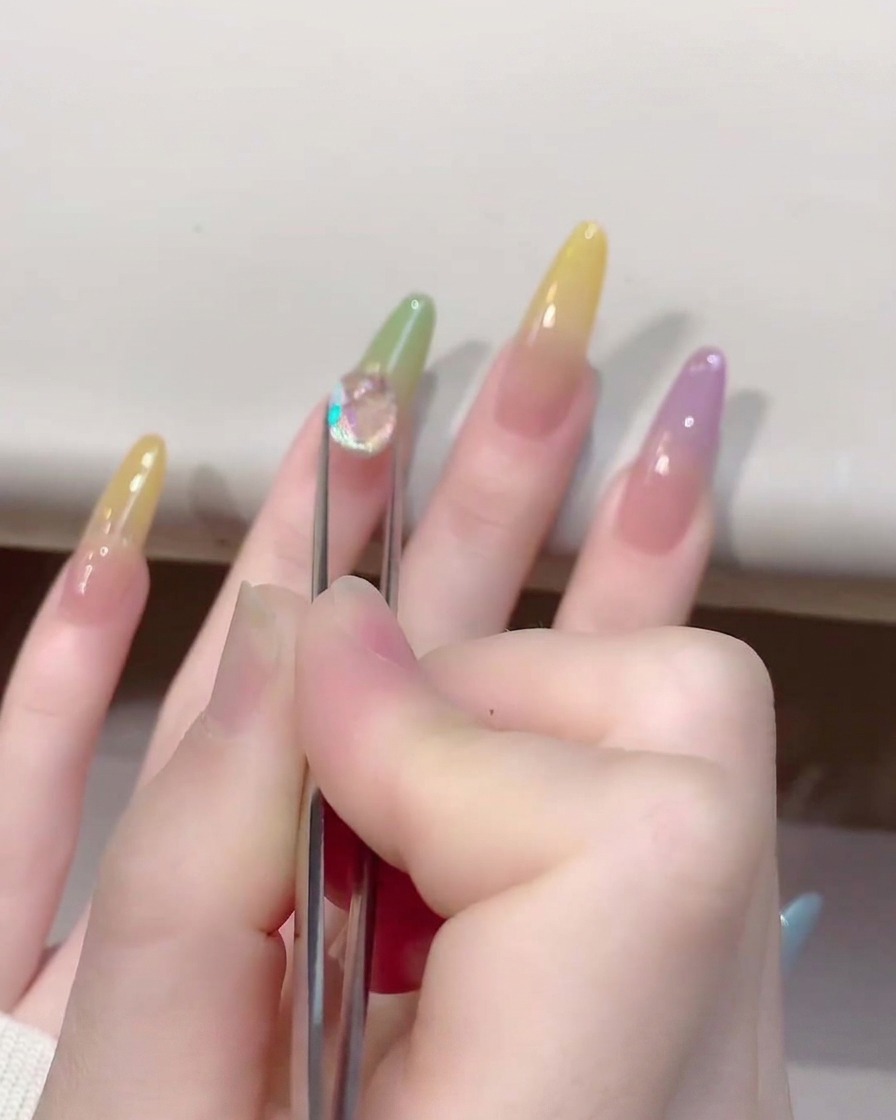
Using precision tweezers, carefully lift a clear crystal heart sticker and place it onto the nail surface. Press down lightly to ensure the adhesive is secure. This step adds a delicate, sparkling accent to the jelly gradient look.
Tip: Apply a small dot of clear top coat or nail glue before placing the sticker to ensure it stays in place longer. - 8Paint small white flower petals
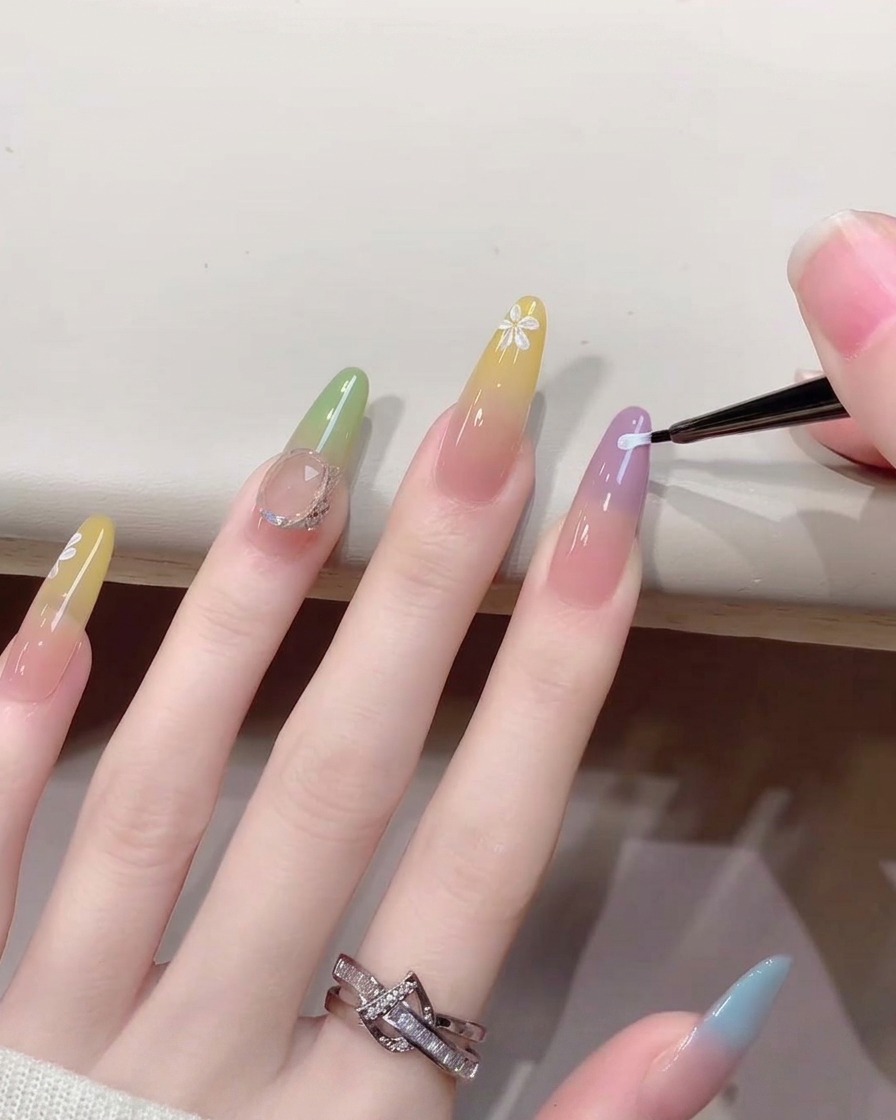
Using a fine liner brush and white gel paint, carefully paint delicate, small flower petals radiating outward on the nail surface. Take your time to keep the petals uniform and evenly spaced for a clean floral design.
Tip: Keep a light hand and barely graze the brush tip against the nail to achieve thin, precise flower lines. - 9Add center dots to the flowers
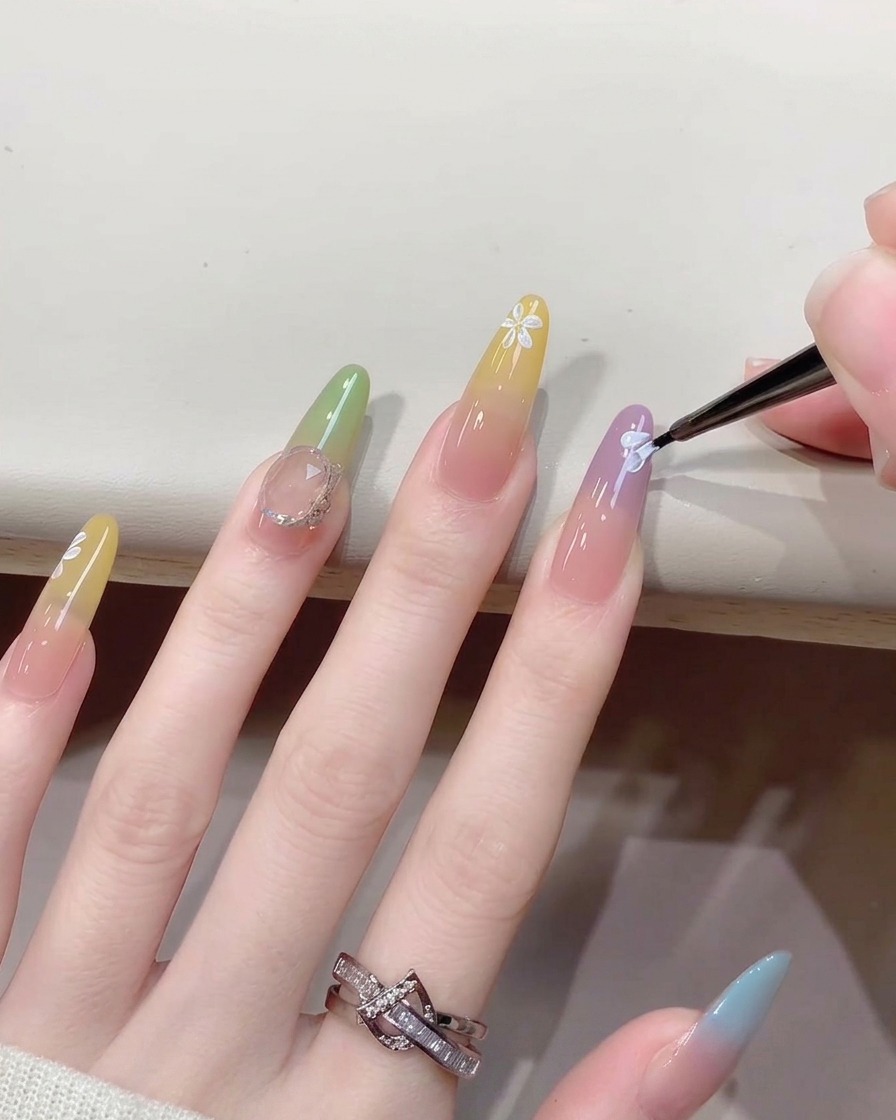
Complete the painted floral design by adding tiny white dots in the exact center of each flower using the tip of your fine liner brush or a dotting tool. This gives the flowers a finished, dimensional look.
Tip: Use a dotting tool dipped lightly in white gel to ensure the center dots are round and consistent. - 10Apply top coat to seal nail art
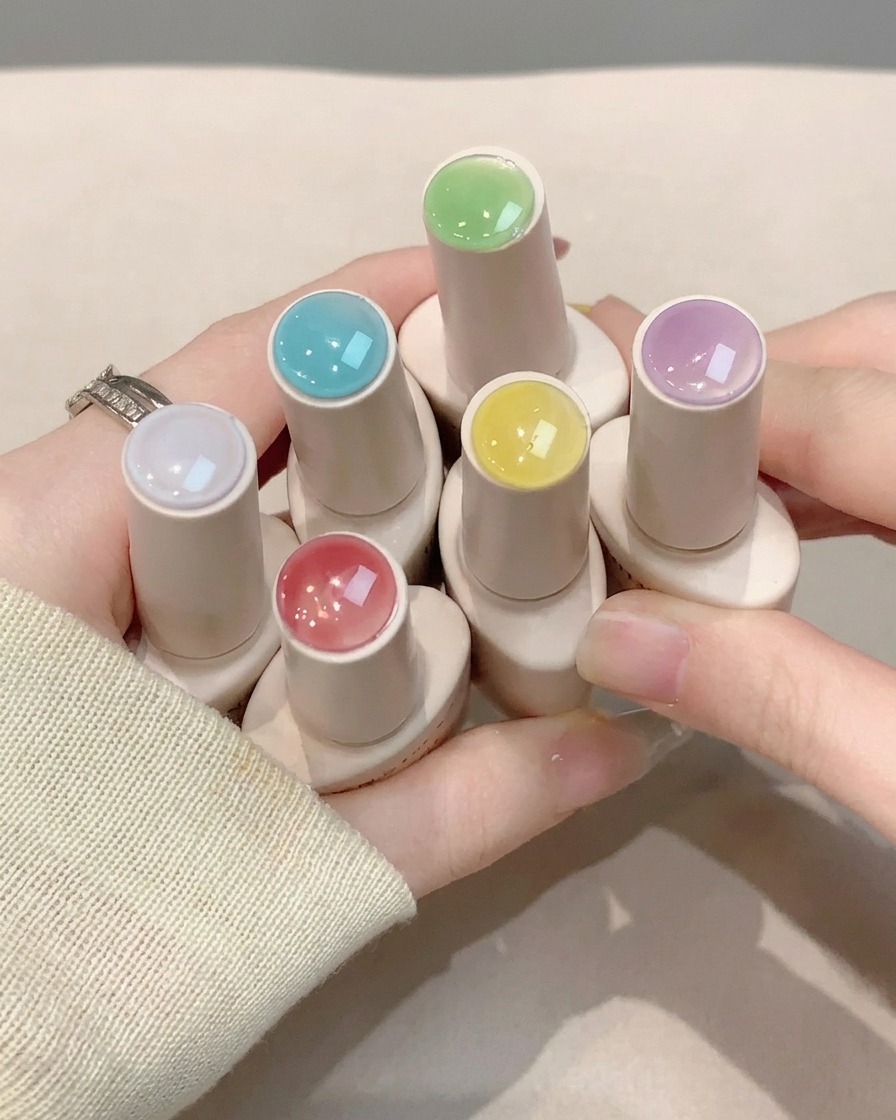
Apply a smooth layer of clear top coat over the entire nail surface, making sure to encapsulate the painted flower design and cap the free edge. This protects the nail art from chipping and gives it a glossy finish.
Tip: Float the top coat brush gently over the painted art so you do not smudge the wet white details underneath.