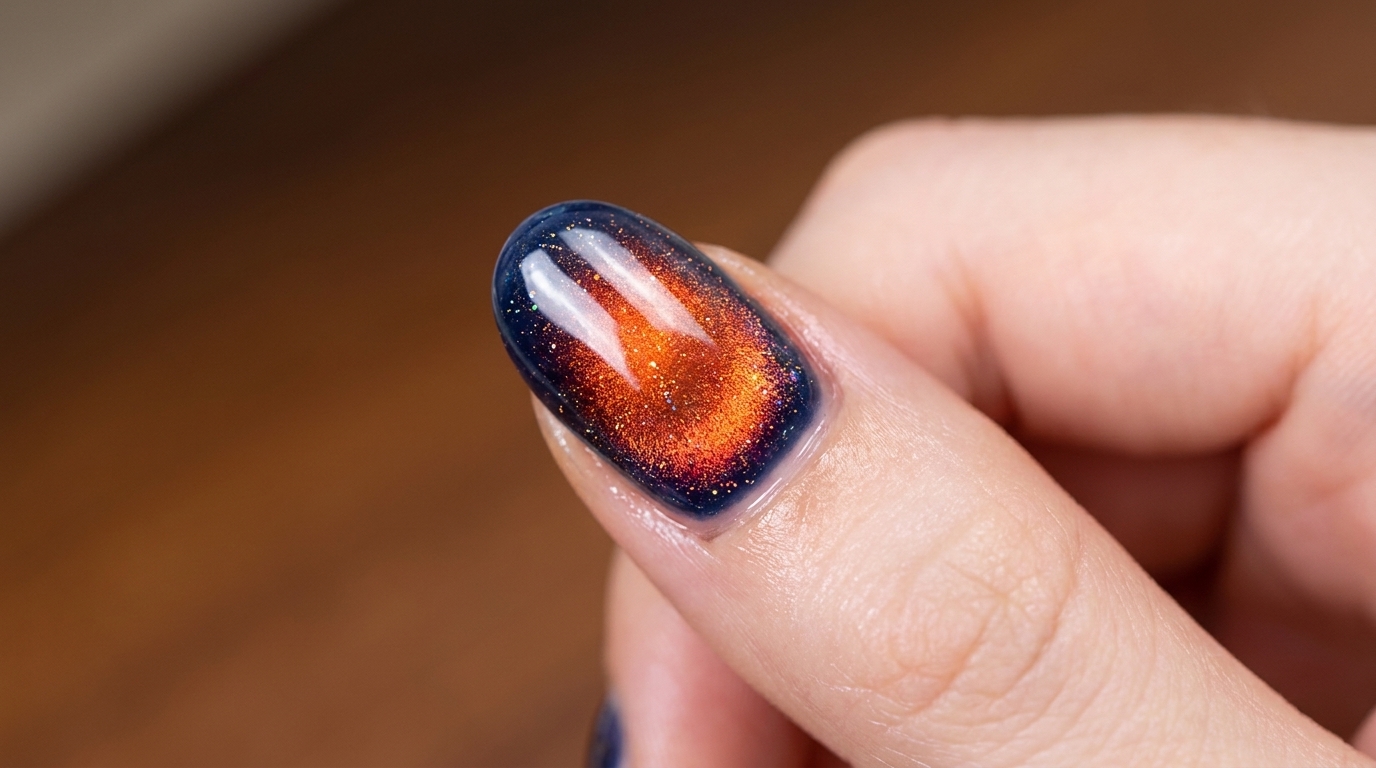
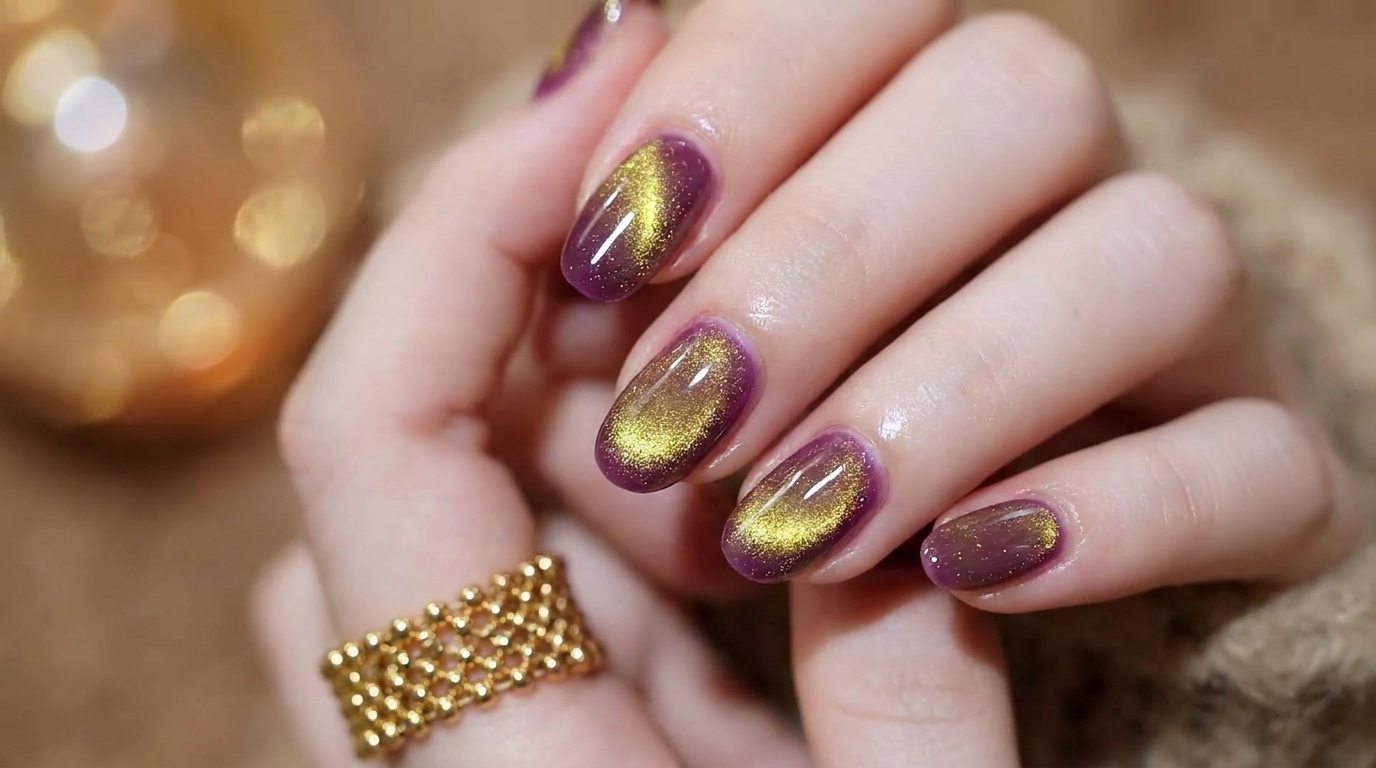
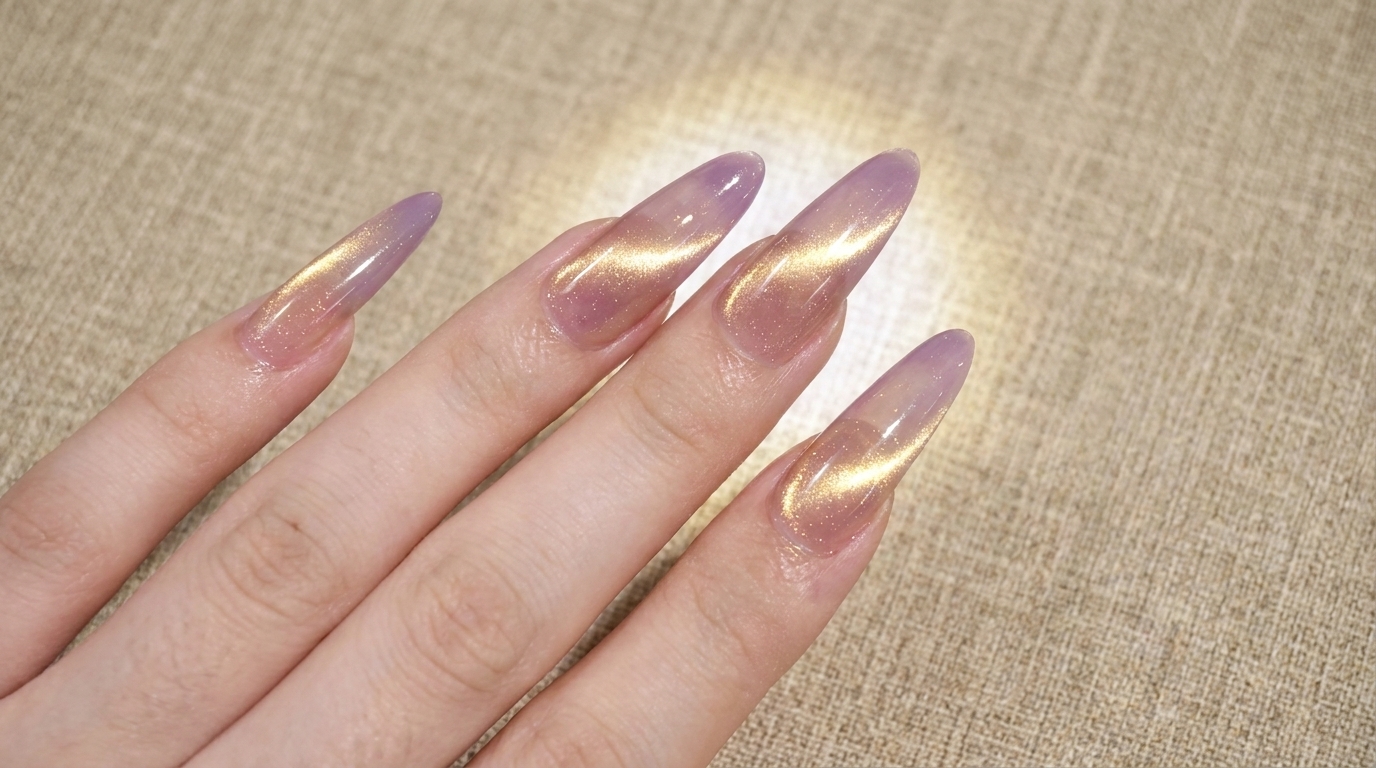
Purple & Gold Gradient Cat-Eye Nails — Step-by-Step Tutorial
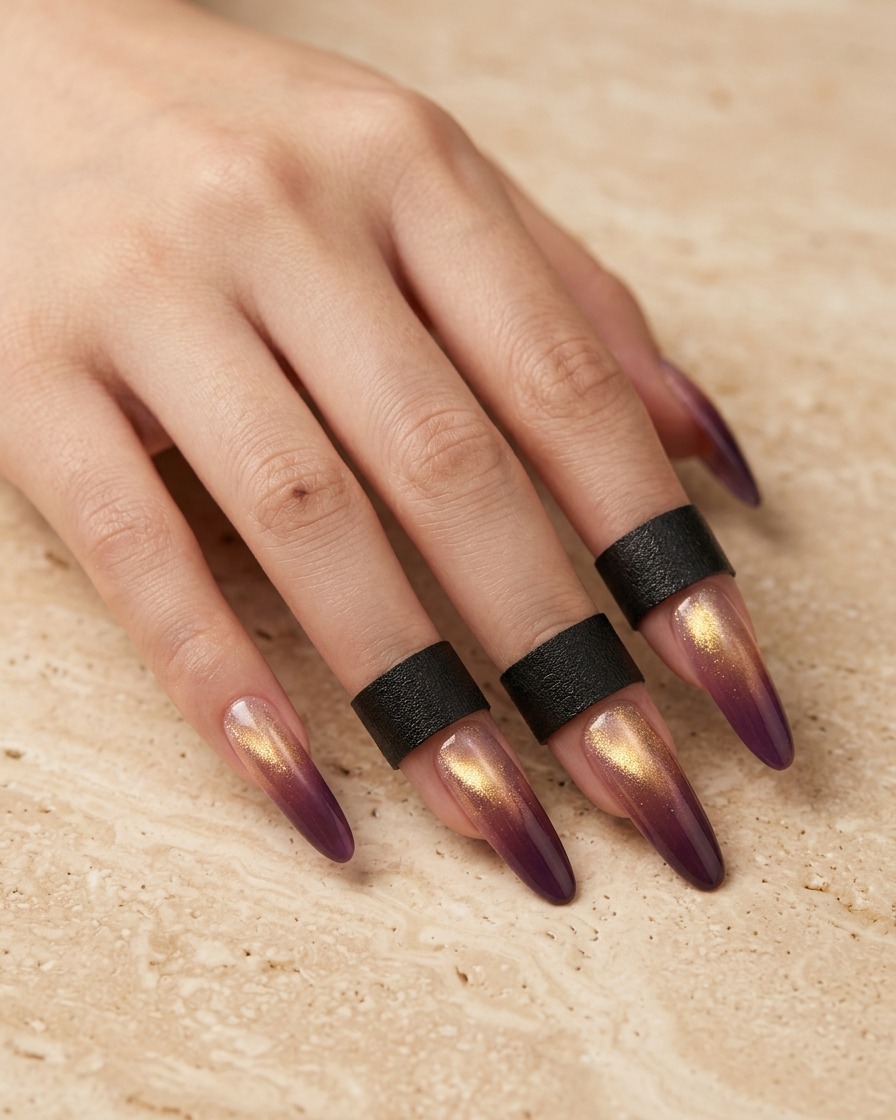
Create a mesmerizing purple and gold gradient cat-eye manicure. This stunning look combines a soft sponge gradient with high-impact magnetic polish for a multi-dimensional glass marble finish.
Welcome the new year with a prosperous and luxurious nail look. This gentle purple and gold gradient cat-eye manicure offers a mesmerizing multi-dimensional effect. By layering sheer purple with a shimmering gold magnetic polish, you can achieve a stunning glass marble beam that catches the light from every angle.
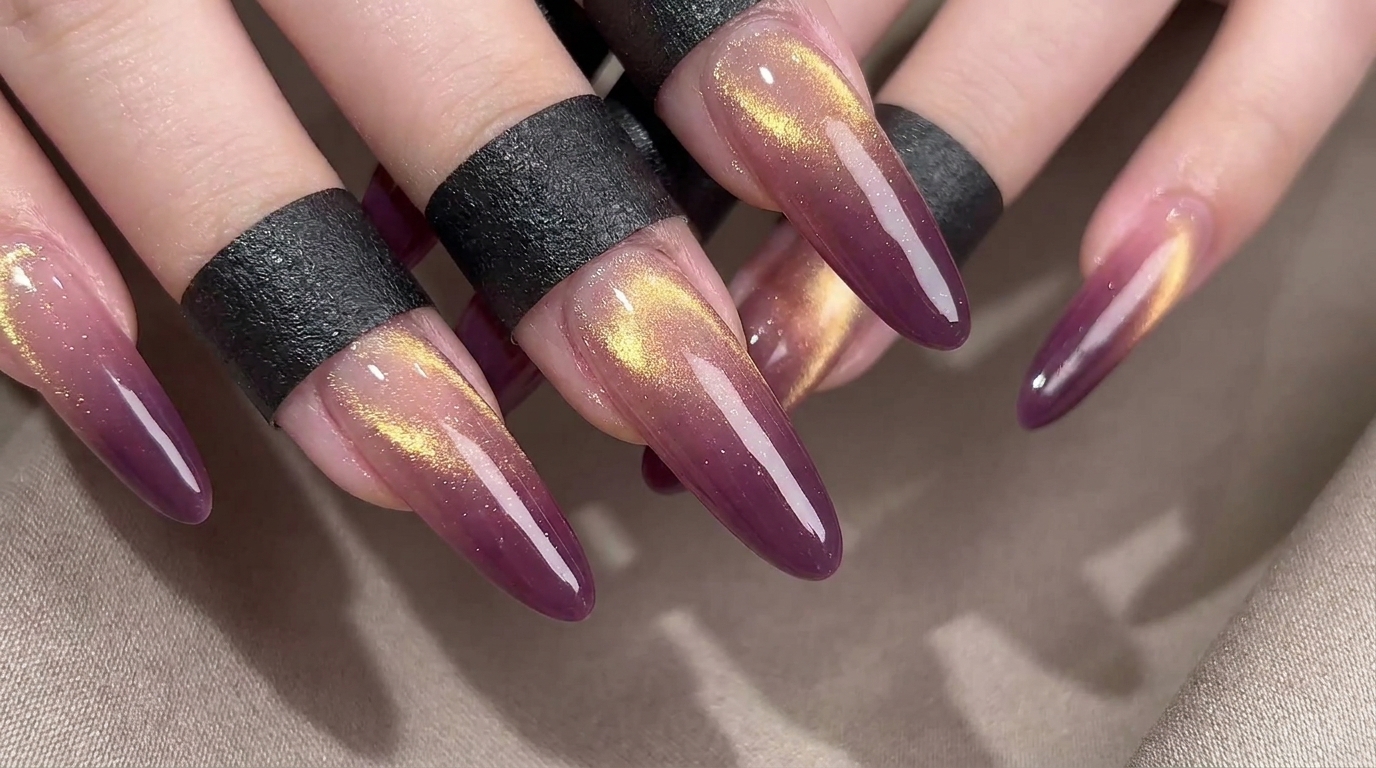
Steps
- 1Apply purple gel to nail tip
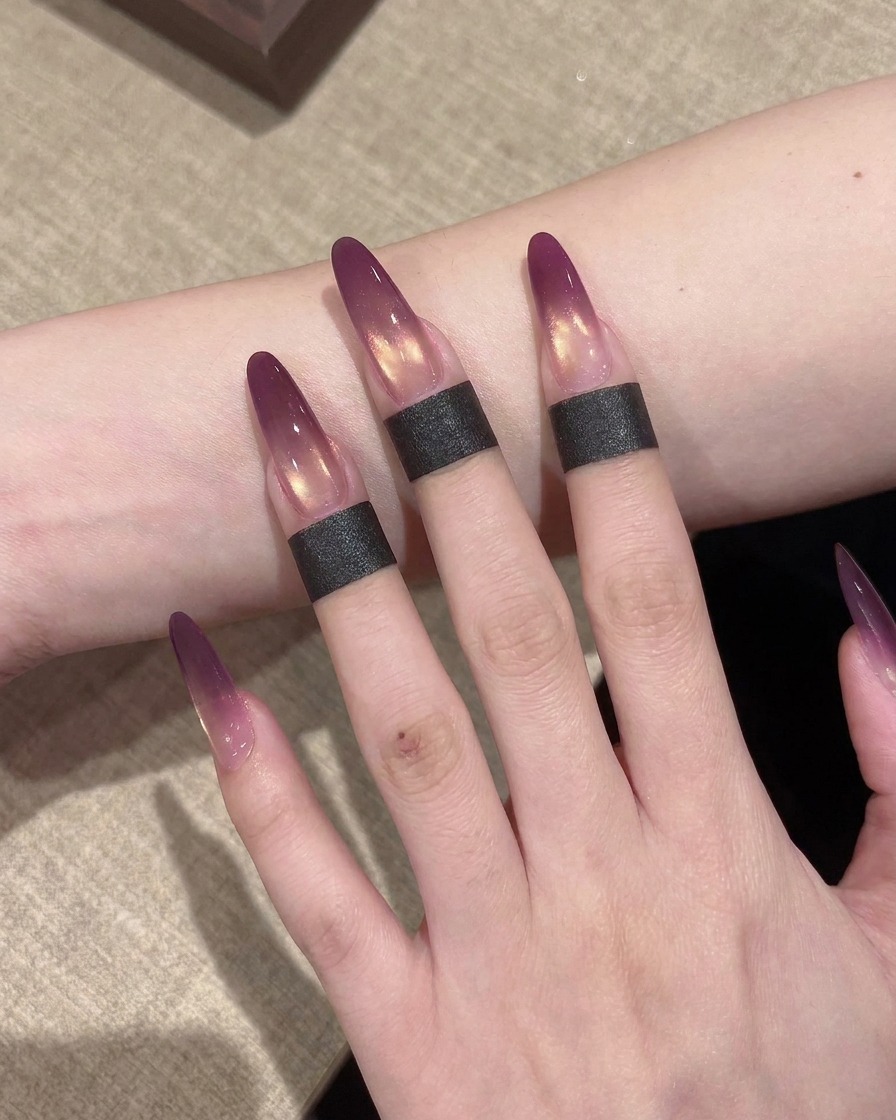
Apply a thin layer of purple gel polish to the tip of your clear nail extension. You dont need to worry about a perfect line at this stage, as you will blend it out in the next step to create the gradient.
Tip: Keep the layer of purple gel thin to ensure the gradient blends smoothly without becoming too bulky. - 2Blend gradient with sponge
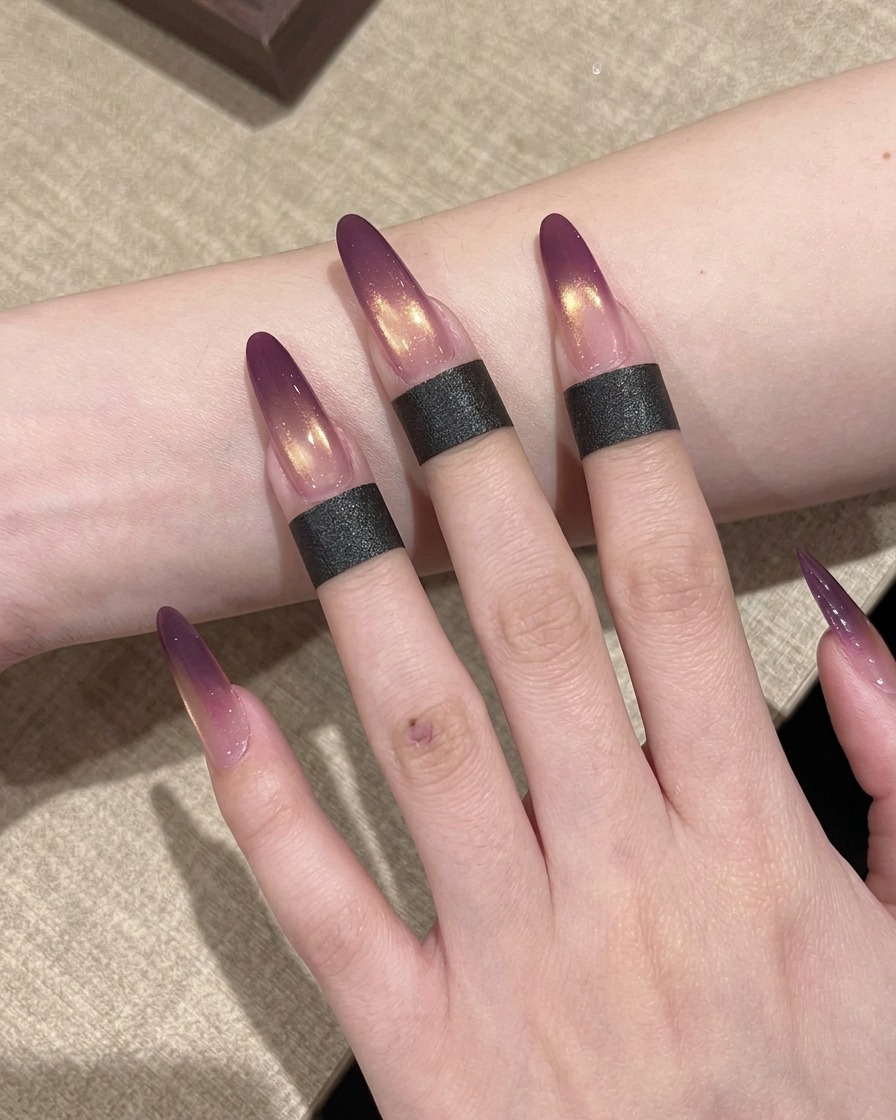
Using a small makeup sponge, gently dab the edge of the purple gel where it meets the clear nail. Use a light tapping motion to soften the line and fade the color towards the base of the nail, creating a smooth ombre gradient.
Tip: Use a light, quick tapping motion to avoid picking up too much product and to get the smoothest transition. - 3Cure the gradient base
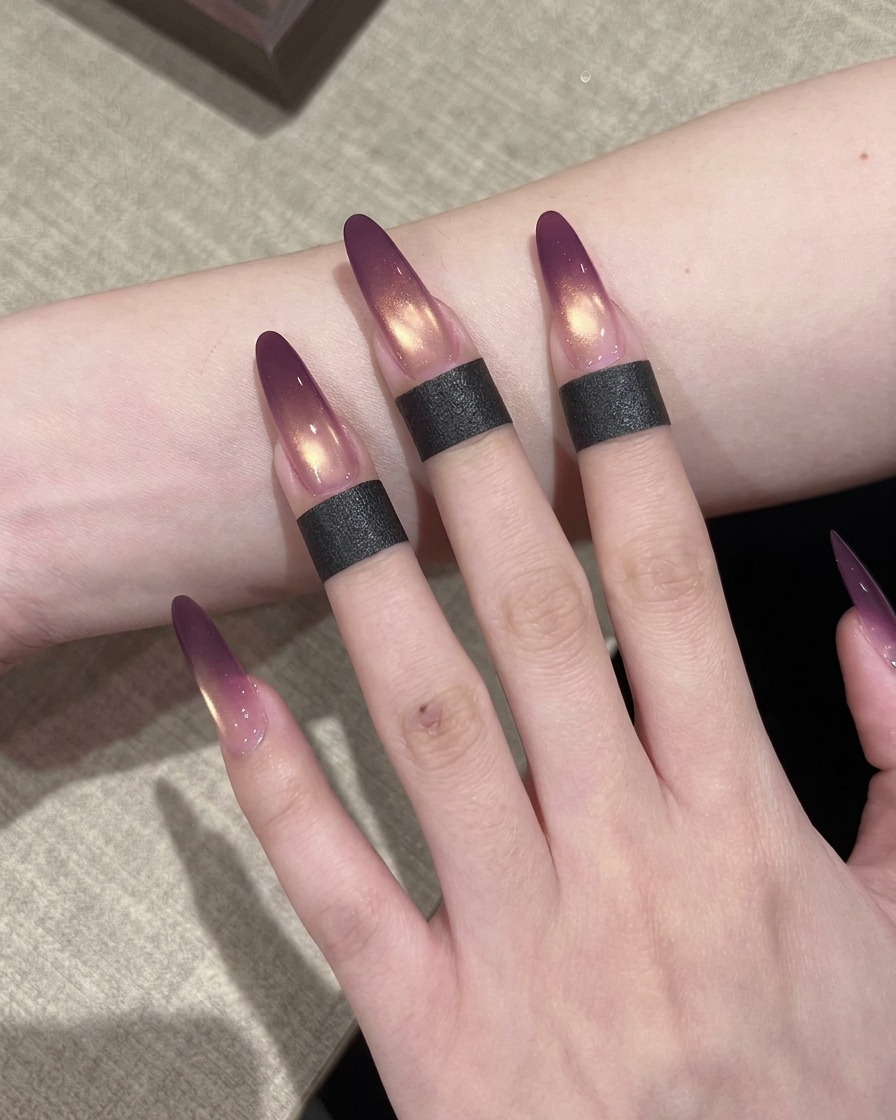
Once you are satisfied with the gradient blend, place your fingers into the UV or LED lamp to cure the polish. Ensure your hand is positioned comfortably to allow even light exposure across all nails.
Tip: Avoid touching the nails while they are curing to prevent smudges or debris from sticking to the wet gel. - 4Apply gold cat-eye polish
Apply an even coat of gold cat-eye gel polish over the entire surface of the nail, covering both the purple tip and the clear base. Do not cure this layer yet, as you need the polish to stay wet to create the cat-eye magnetic effect.
Tip: Apply a slightly thicker layer than usual to give the magnetic particles enough medium to move easily. - 5Magnetize the nail sides
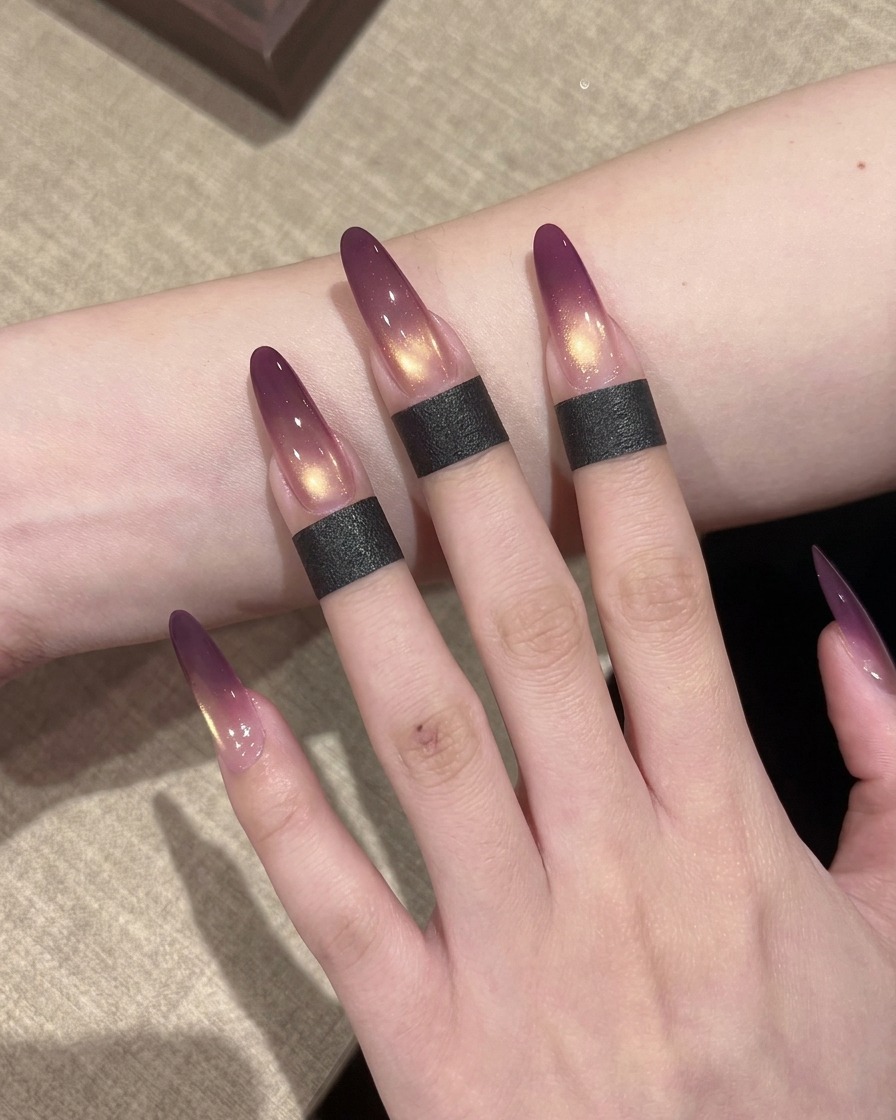
Hold the magnetic wand on both sides of the nail, one side at a time. This action draws the magnetic particles toward the edges, creating a unique depth and preparing the nail for the center highlight.
Tip: Keep the magnet close to the nail surface without actually touching the wet gel to avoid dragging the polish. - 6Create the cat-eye beam
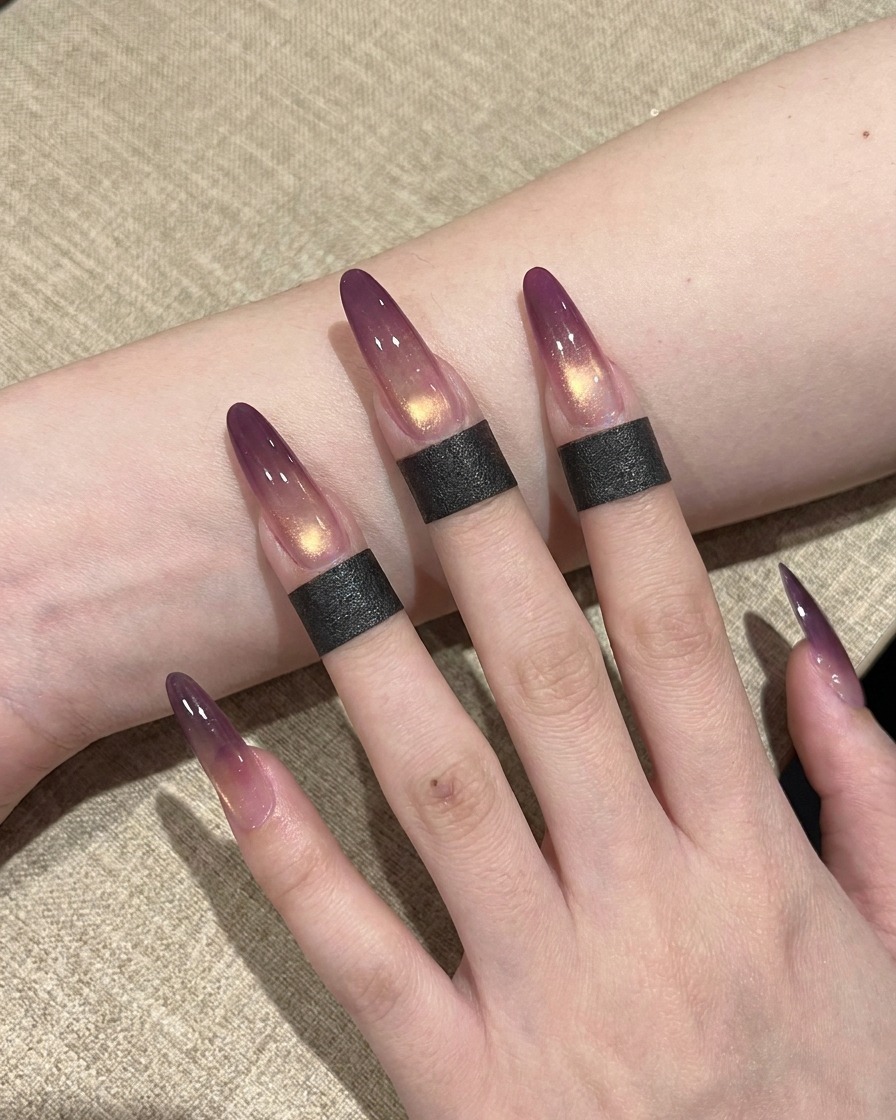
Finally, hold the magnet over the center of the nail for a few seconds to pull the magnetic particles into a bright, concentrated beam. This creates the multidimensional glass marble effect. Once you achieve the desired look, cure the nail immediately.
Tip: The longer you hold the magnet in one spot, the sharper and more defined the cat-eye line will be. - 7Cure the gold cat-eye polish
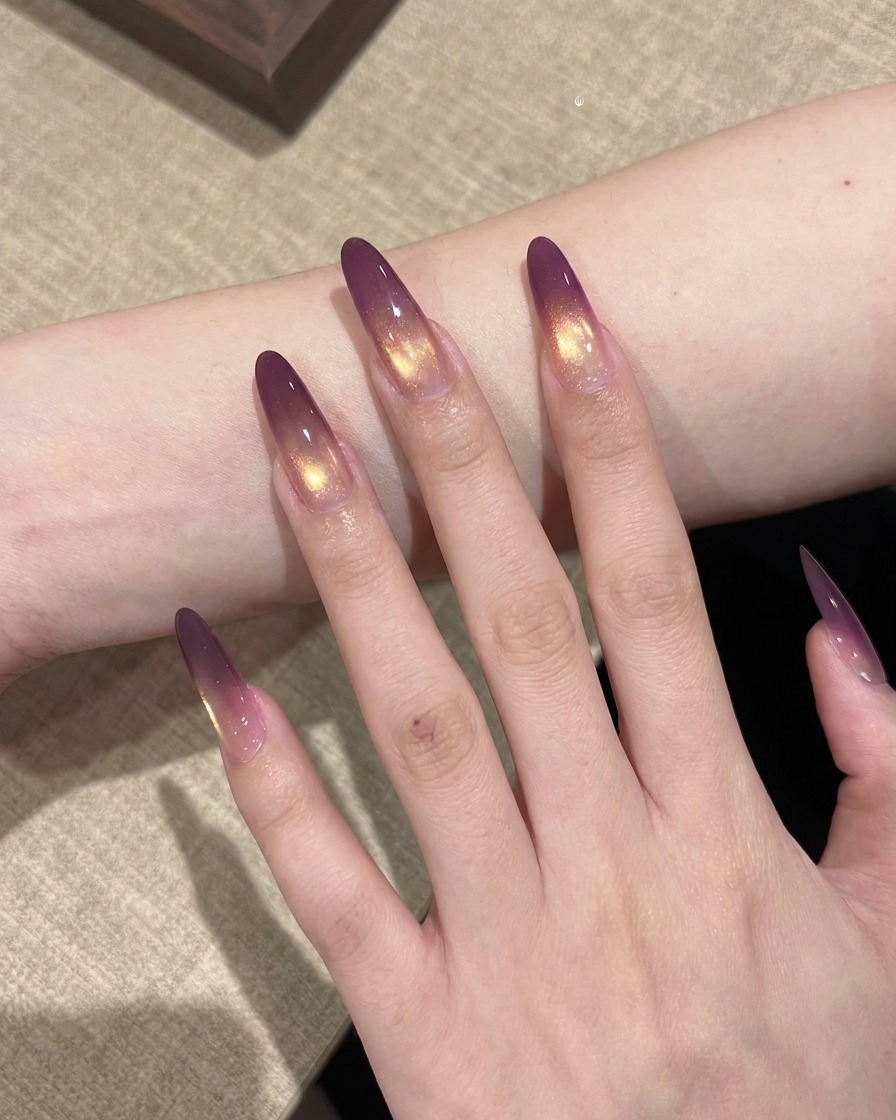
Place your hand inside the UV/LED lamp and cure the gold cat-eye polish for the recommended time to set the magnetic effect. Ensure all fingers are evenly exposed to the light so the gold particles remain fixed in the desired marble and beam patterns.
Tip: Keep your hand flat and steady inside the lamp to avoid any movement that could shift the magnetic particles before they fully cure. - 8Apply top coat
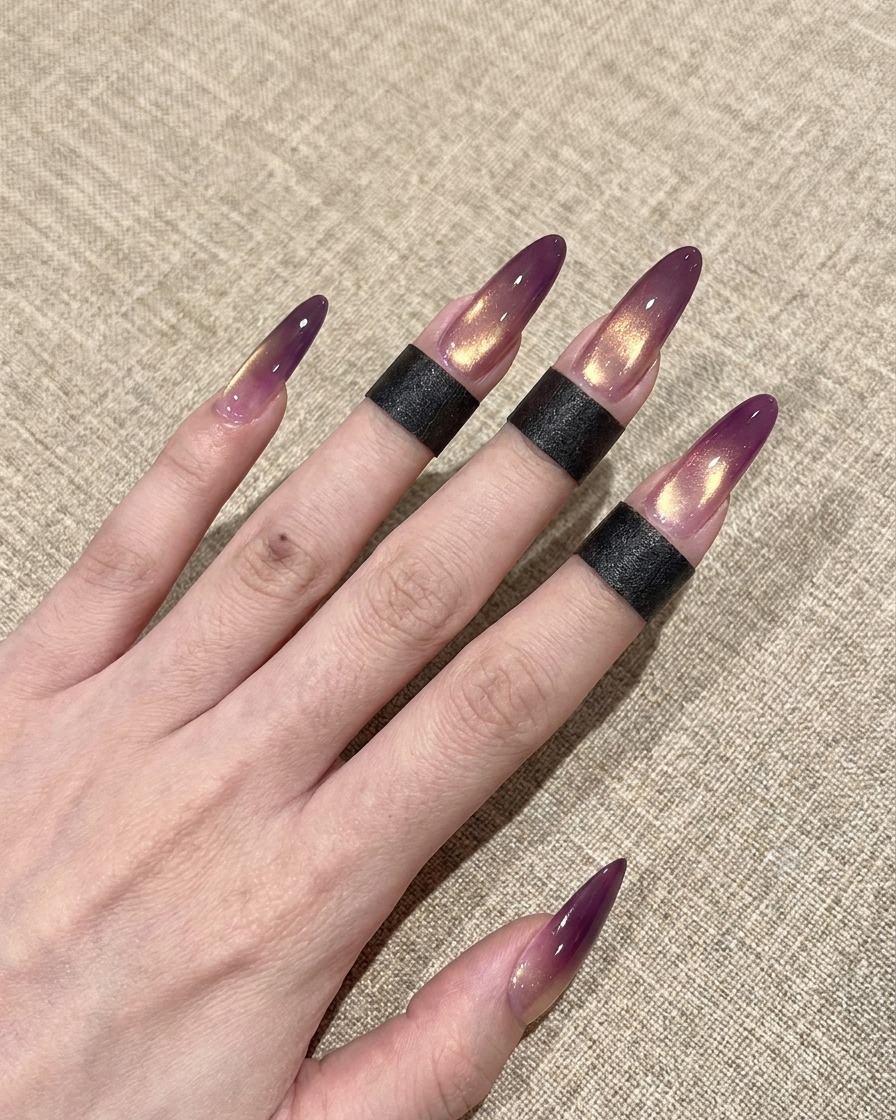
Apply a final, smooth layer of clear top gel over the entire nail surface. Ensure you cap the free edge of each nail to protect the design, increase durability, and provide a high-gloss finish.
Tip: Apply the top coat with light pressure to avoid dragging or streaking the underlying cat-eye design. - 9Cure the top coat
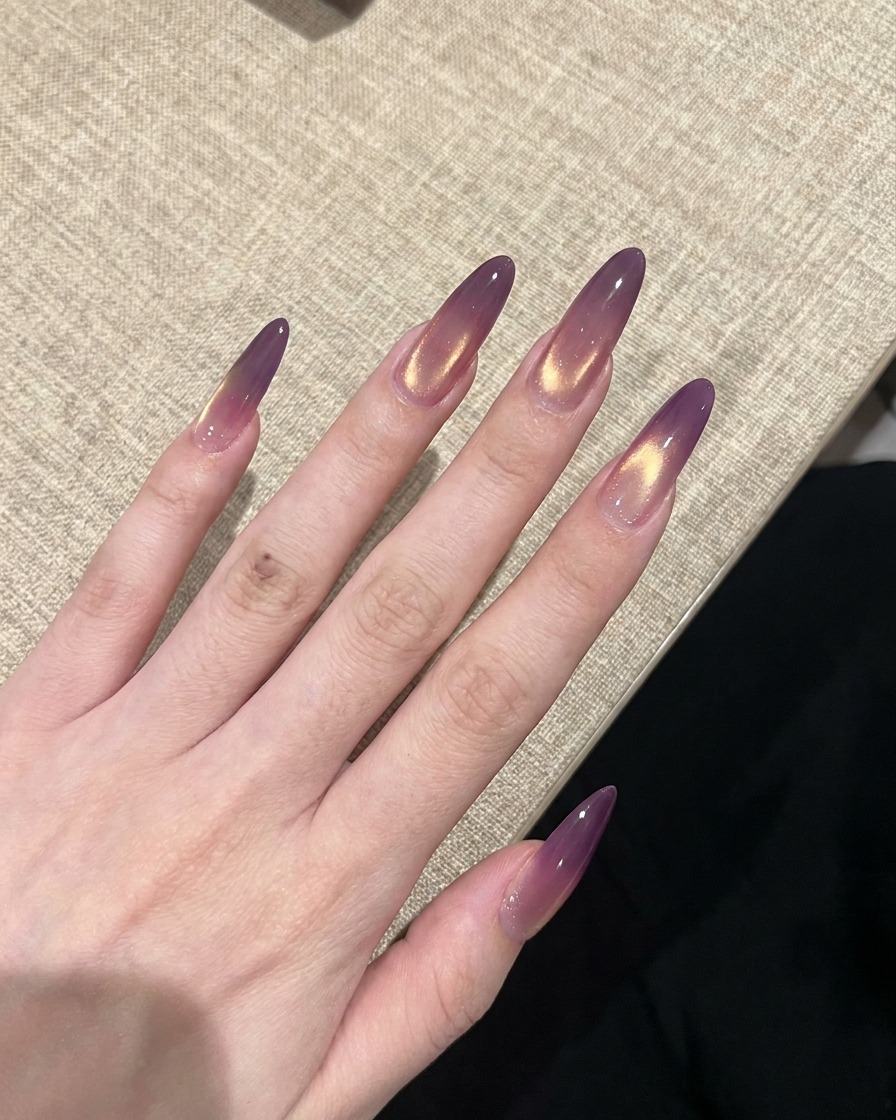
Place your hand under the UV/LED lamp to fully cure the final top coat. This step locks in the shine, protects the nail art, and ensures the manicure is completely dry and durable.
Tip: Curing for the full duration recommended by the top coat manufacturer ensures the longest-lasting, highest-shine result.