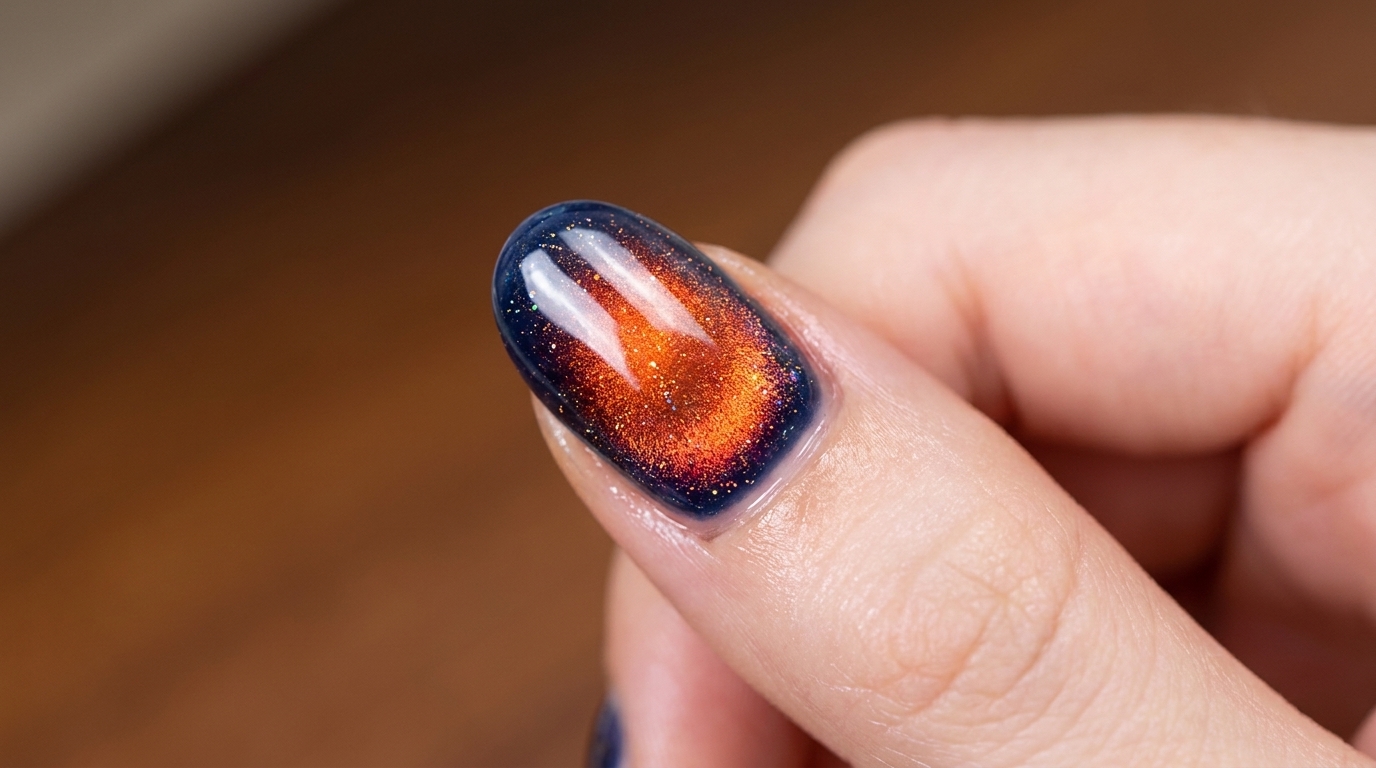
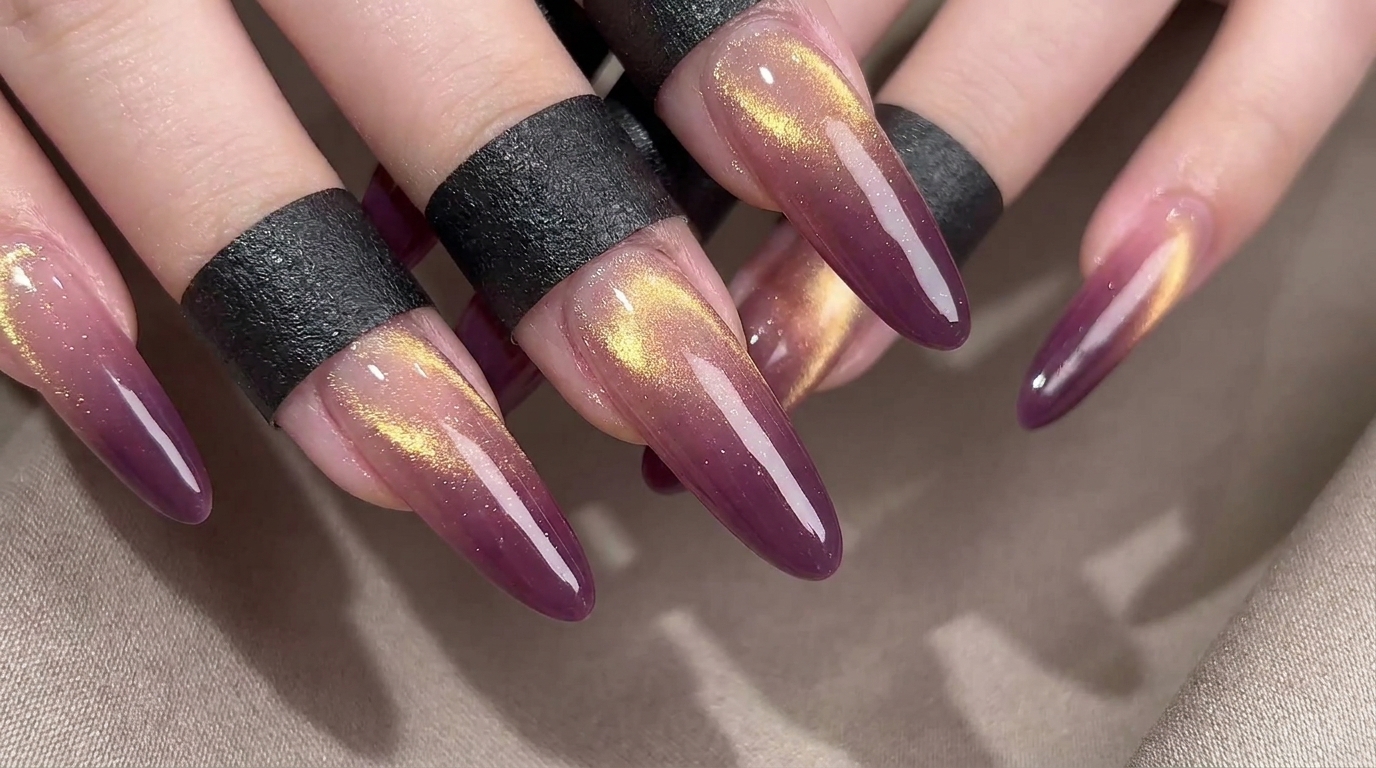
Sunset Diamond Beach Cat Eye Nails — Step-by-Step Tutorial
Create a mesmerizing, watery sunset effect with this step-by-step cat eye and aurora chrome nail tutorial. Perfect for achieving a professional, high-gloss finish.
Capture the beauty of shimmering waves and sunset hues with this stunning nail art design. This look combines the depth of magnetic cat-eye polish with the ethereal glow of aurora chrome and crushed diamond glitter. Whether you are a nail enthusiast or a seasoned pro, this technique provides a brilliant, glass-like finish that is perfect for any occasion.

Steps
- 1Apply base layer of builder gel
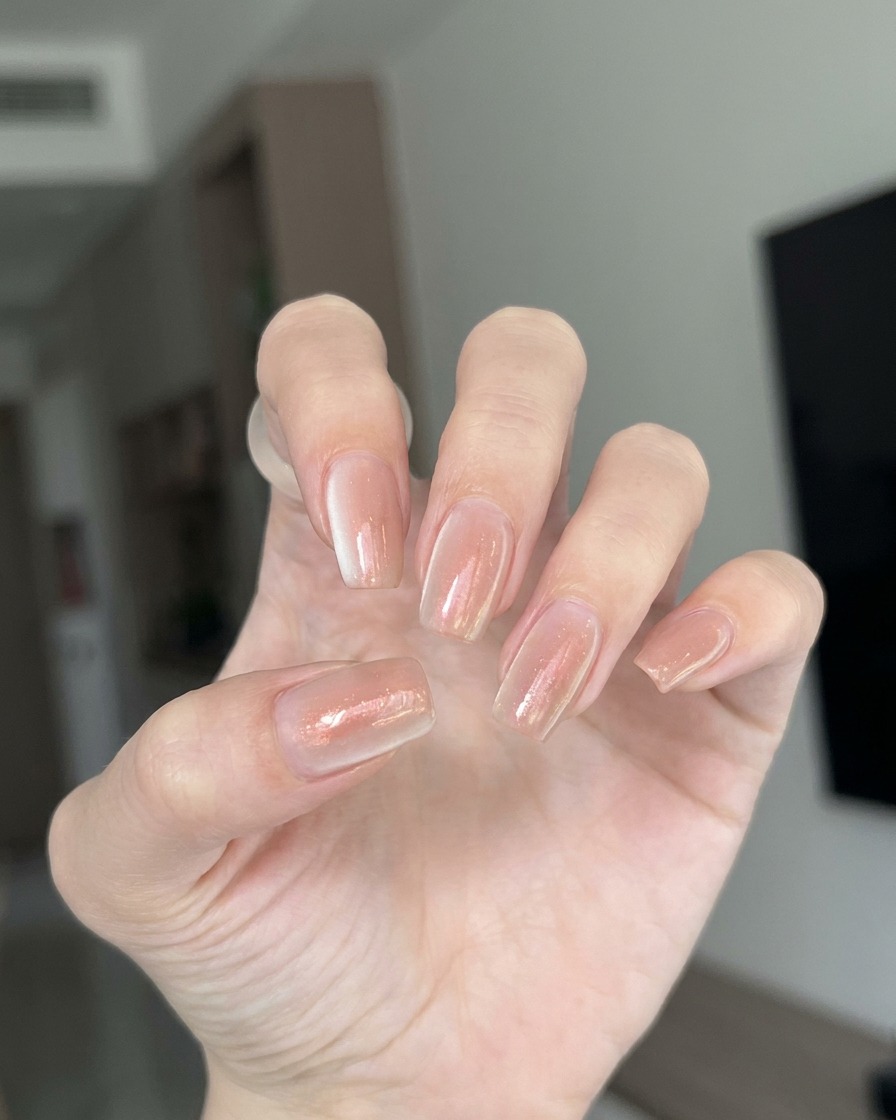
Apply a thin, even layer of builder gel across the entire clear nail extension. This base layer creates a smooth foundation and ensures proper adhesion for the subsequent structural gel application.
Tip: Keep the layer thin to prevent pooling; this is the first step of the swimming pool principle. - 2Build the nail apex
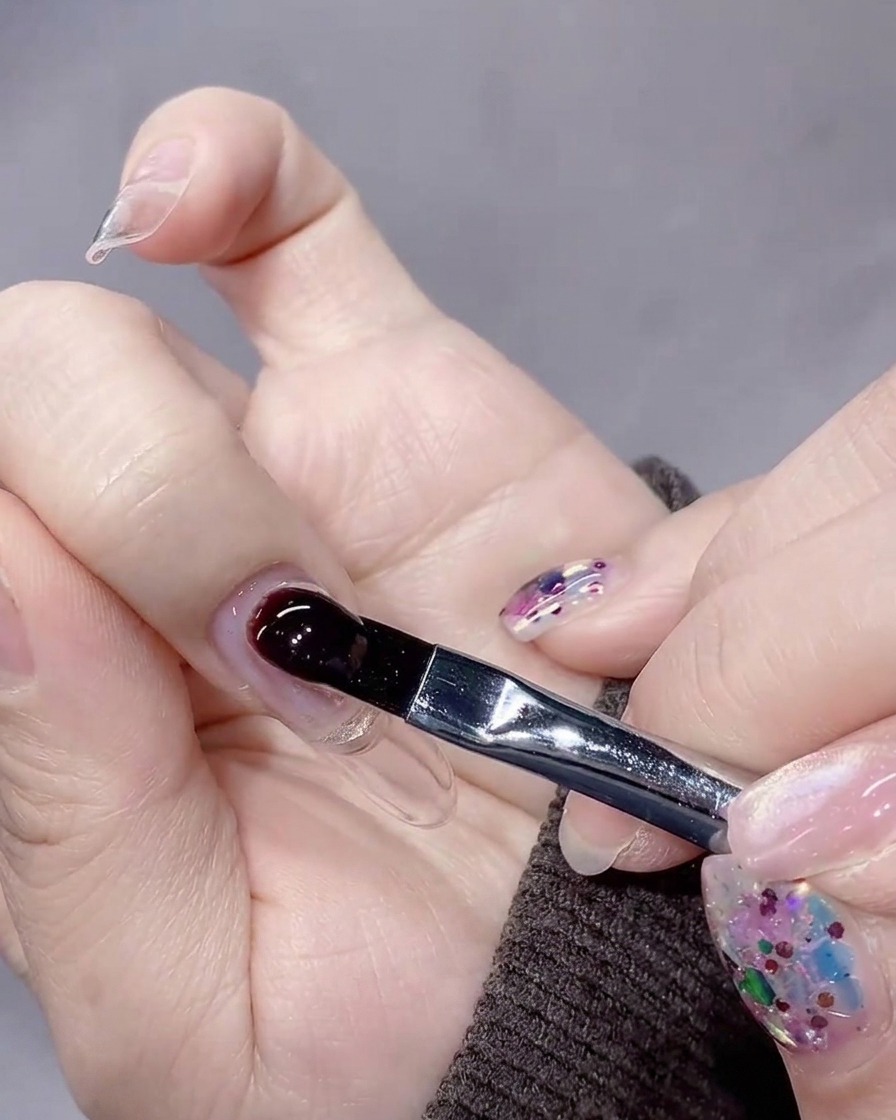
Pick up a large bead of builder gel, place it near the cuticle, and gently guide it down the nail to build the apex and curvature. The long bristles of the brush allow for sufficient product pickup in a single motion.
Tip: Using a single large bead helps create a smooth, consistent structure without needing to dip the brush twice. - 3Refine and smooth the gel
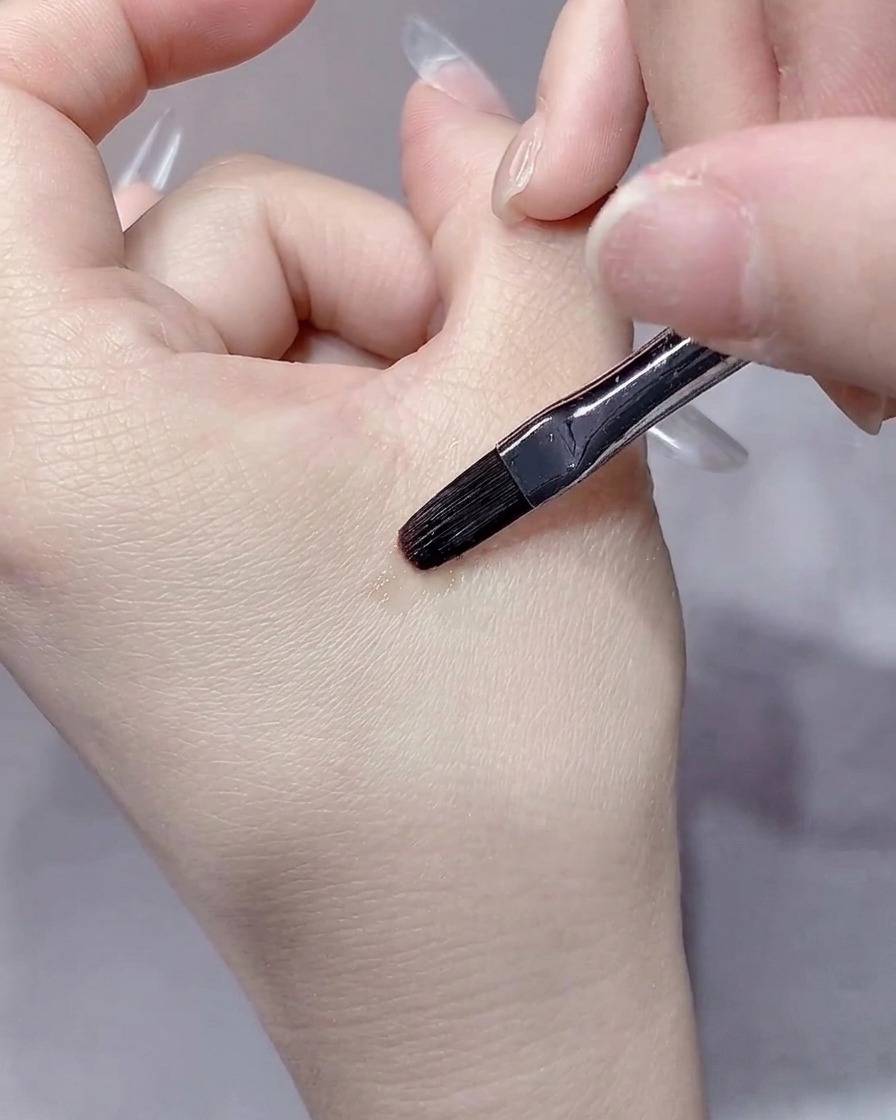
Using the fine liner brush on the opposite end of the tool, carefully adjust and smooth the builder gel around the cuticles and sidewalls. This step ensures the surface is even and clean before curing.
Tip: The double-ended brush design is perfect for switching between application and detailed cleanup. - 4Sponge on the blush gel
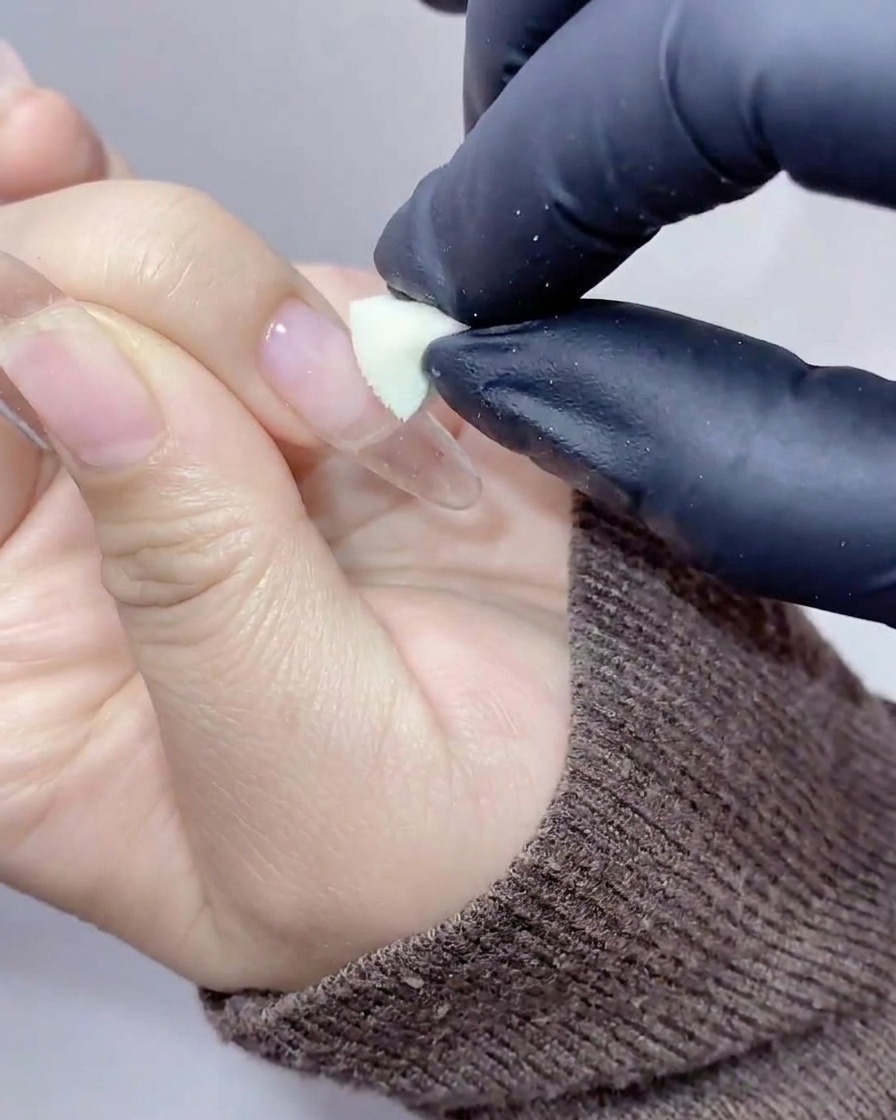
Pick up a small amount of sheer, peachy-orange gel polish using a small cosmetic sponge. Gently dab and press the color onto the center of the nail to create a diffused, gradient blush effect. Build the color slowly to ensure a seamless fade toward the nail edges.
Tip: A light tapping motion prevents harsh lines and keeps the blush gradient soft and natural-looking. - 5Deepen the blush effect
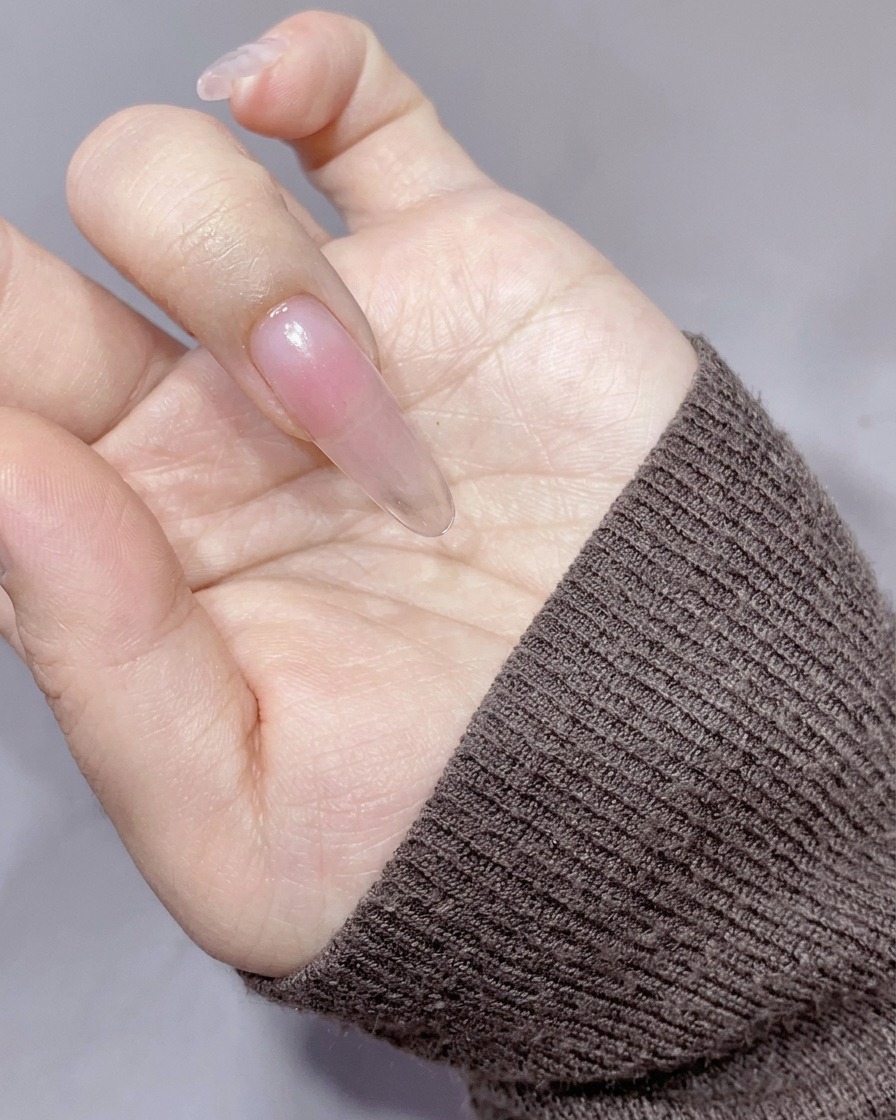
Using a sponge, pat on a second layer of the peachy-orange blush tone. Focus this layer on a slightly smaller area than the first to intensify the color gradient in the center of the nail.
Tip: Patting twice with varying coverage areas creates a soft, natural-looking ombré effect. - 6Cure the blush design
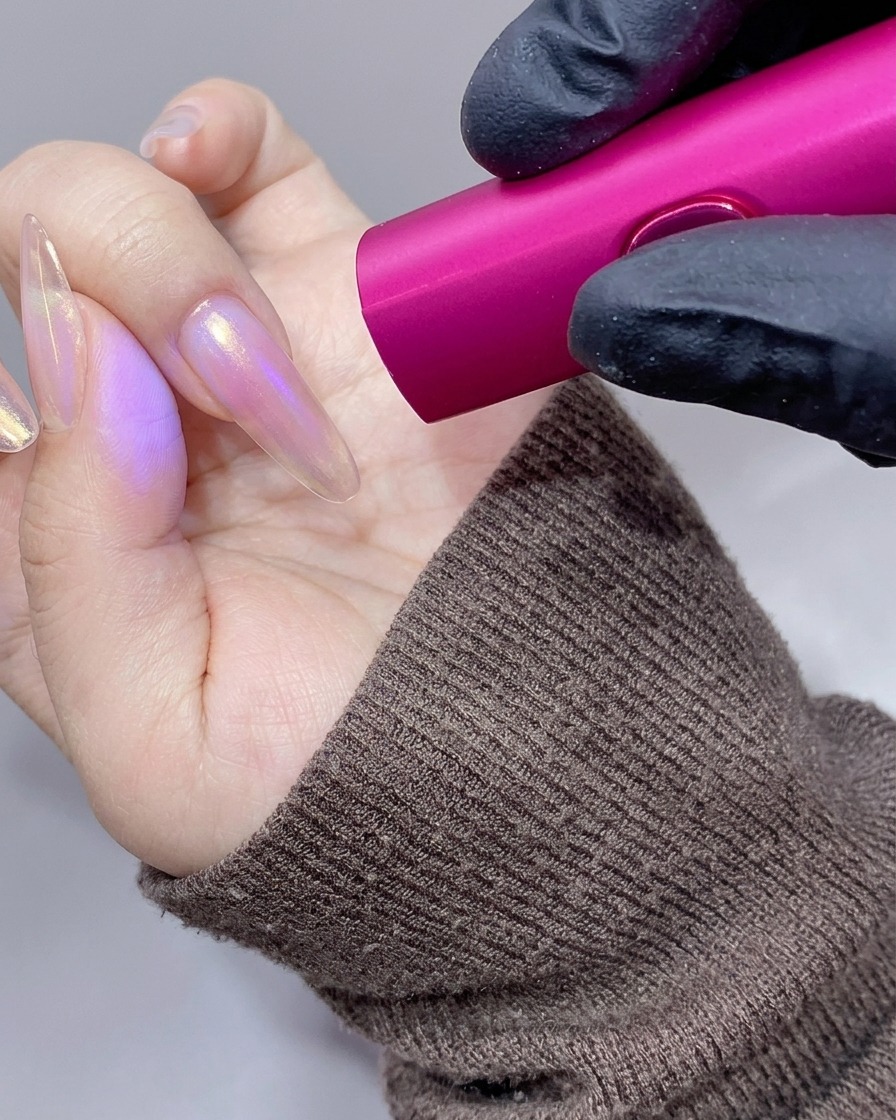
Once you are satisfied with the blended blush effect, cure the gel to set the color. Use a handheld pink UV/LED lamp to flash cure the gel in place, or cure under a full-sized lamp according to the manufacturers recommended time. This secures the gradient before adding the next layer.
Tip: Flash curing each nail for 10 to 15 seconds immediately after sponging prevents the gel from spreading and losing its concentrated center. - 7Apply top coat for chrome
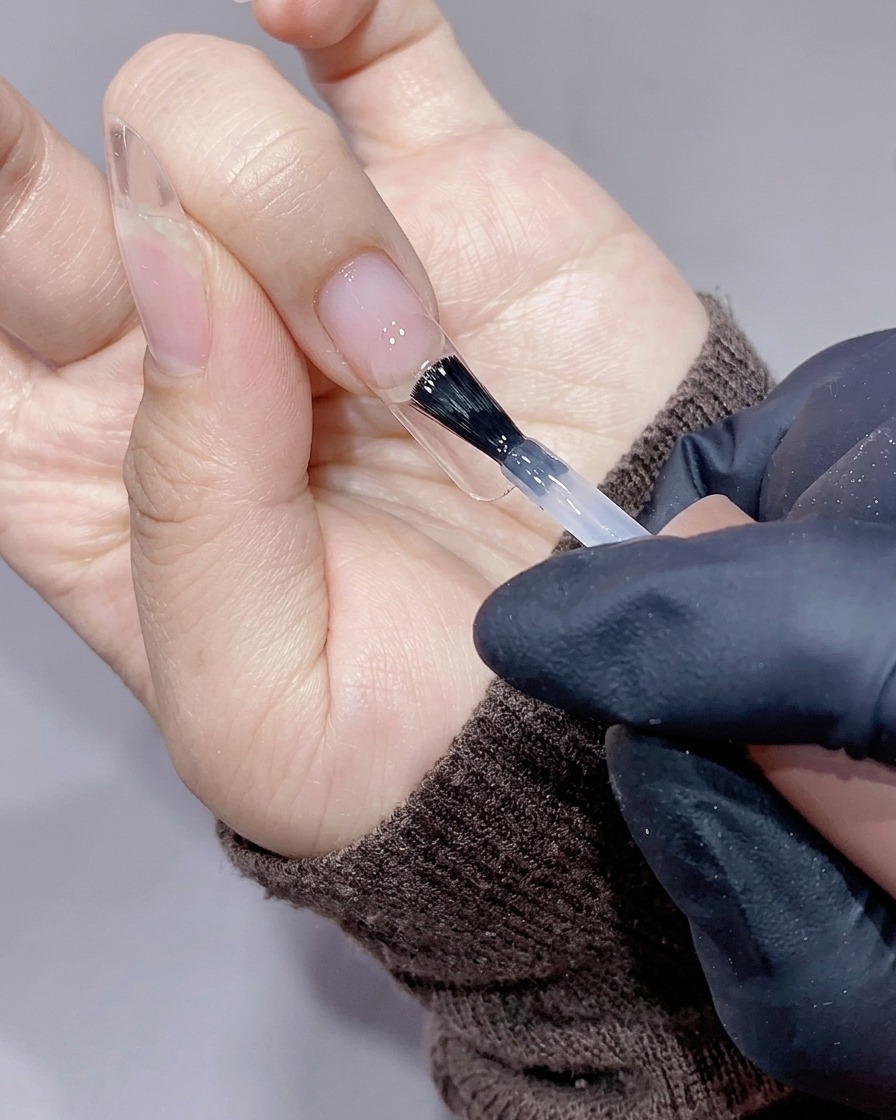
Apply a thin, even layer of no-wipe top coat over the entire nail. Cure this layer thoroughly under the lamp; it serves as the smooth, non-sticky surface necessary for the aurora chrome powder to adhere.
Tip: Ensure the top coat is fully cured, as any uncured areas will result in uneven powder application. - 8Apply aurora chrome powder
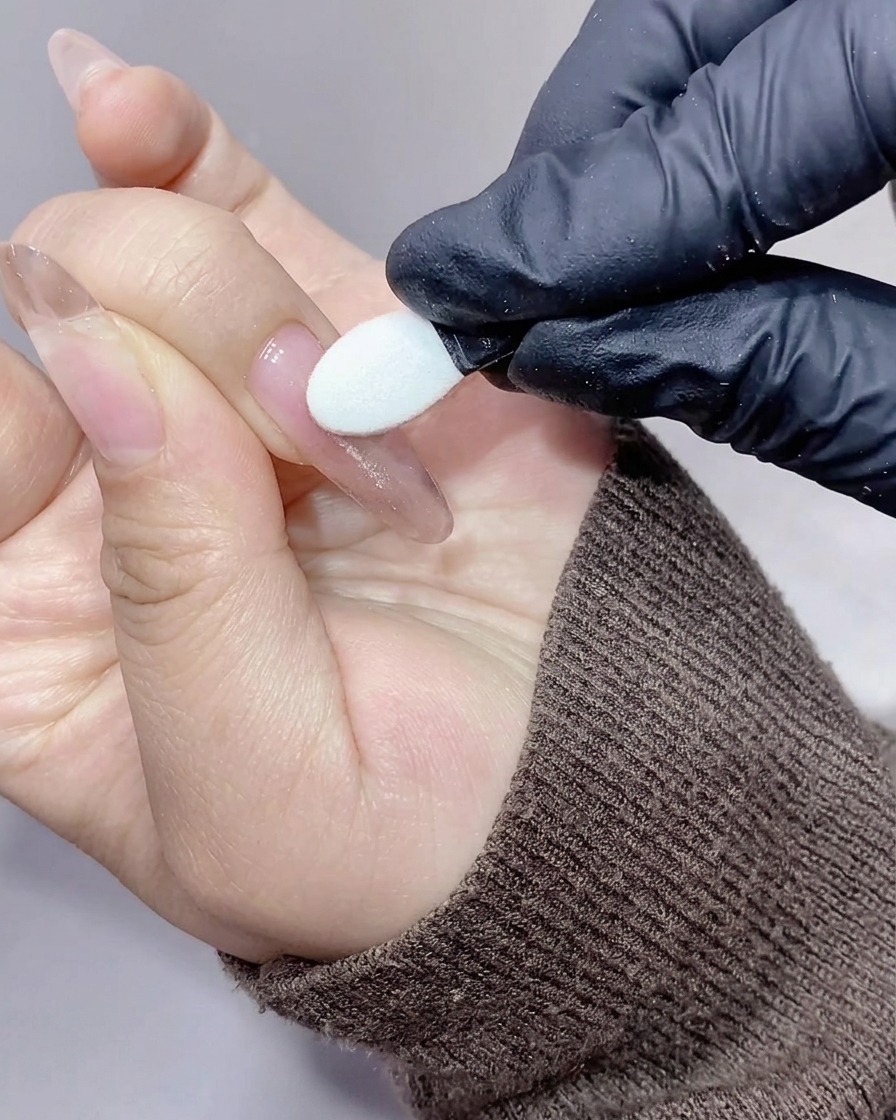
Using a silicone eyeshadow applicator, rub the iridescent aurora chrome powder over the cured top coat. Work gently until the powder covers the nail surface with a smooth, mirror-like finish.
Tip: Wipe away any excess powder with a clean sponge after application to ensure the final result is perfectly smooth. - 9Wipe away excess chrome powder
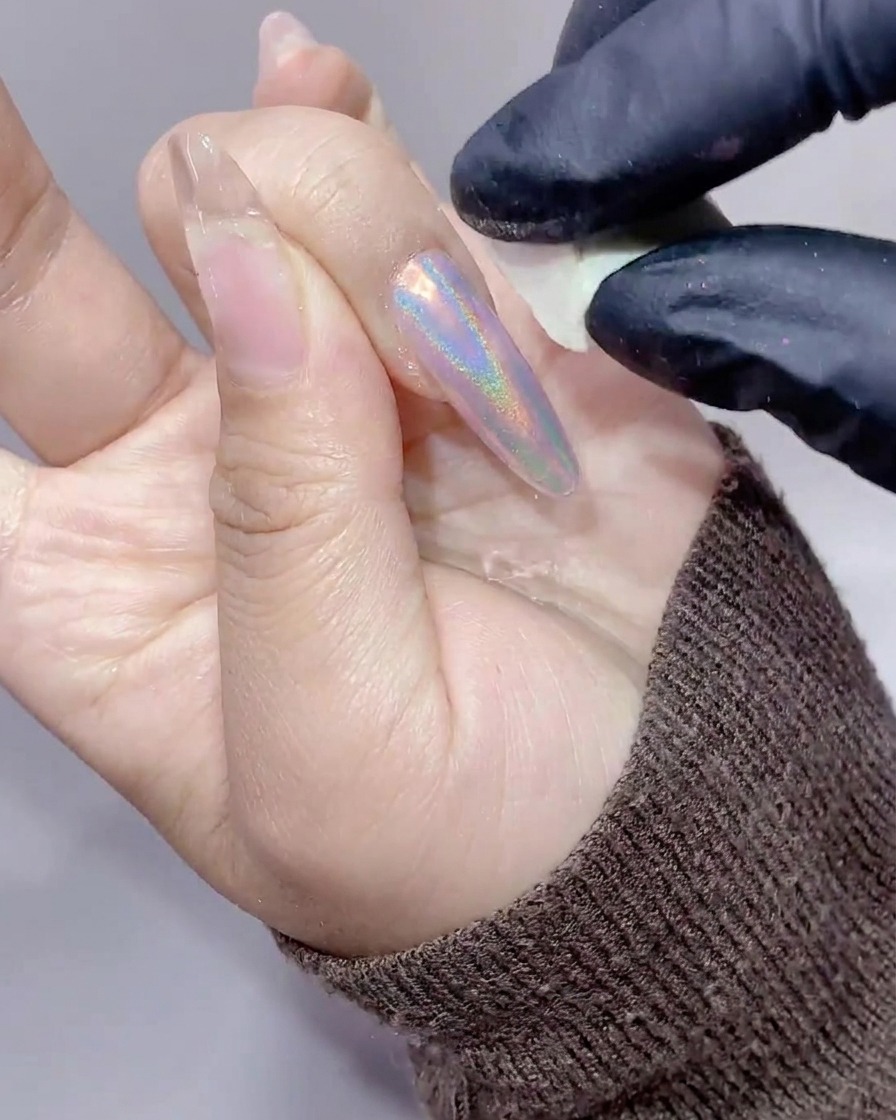
After rubbing the aurora powder onto the nail, use a clean white makeup sponge to gently wipe away any excess powder that has adhered to the skin or the nail edges. This step ensures that the final result is clean and that the powder is only on the nail plate.
Tip: Be thorough, as any residual powder on the skin can interfere with the final encapsulation step. - 10Refine the nail shape
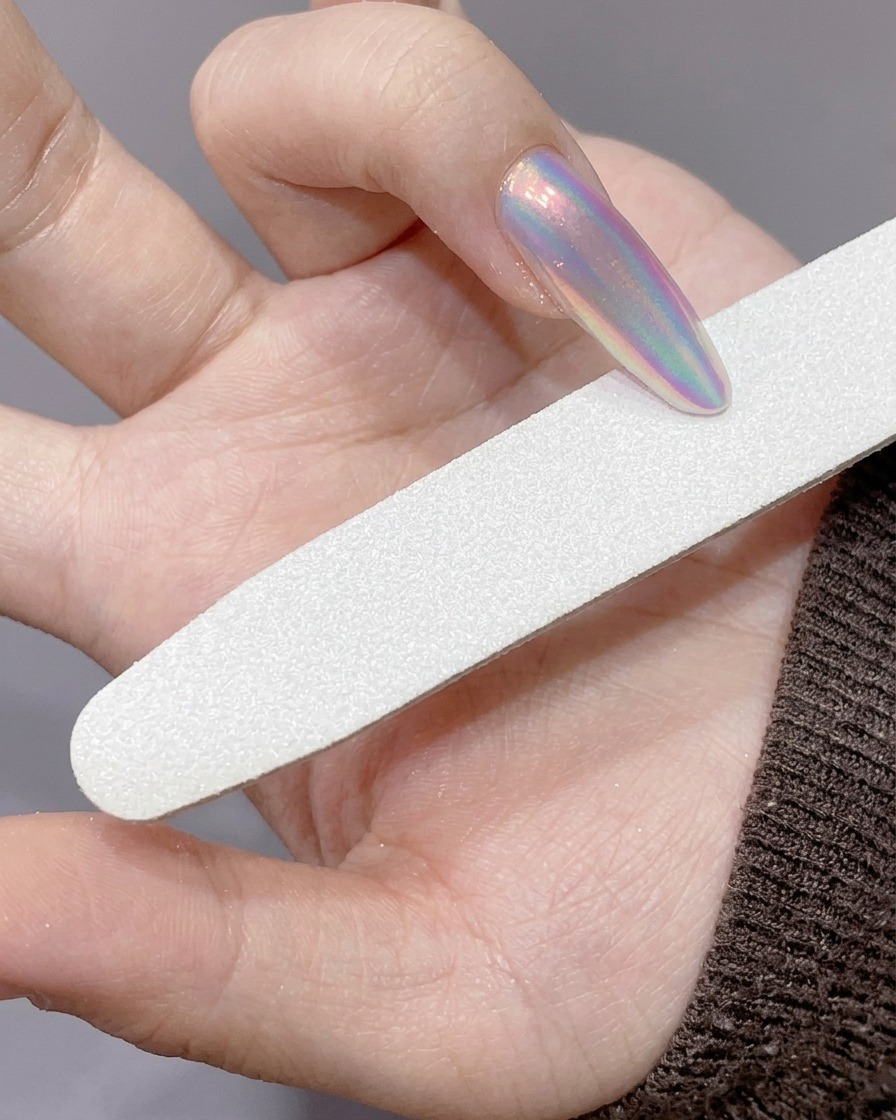
Using a hand file, gently file the free edge and the sidewalls of the nail. This helps to clean up any rough edges caused by the powder application and ensures a crisp, polished shape before the encapsulation process.
Tip: Use a light touch to avoid removing too much material or damaging the chrome finish. - 11Encapsulate the powder
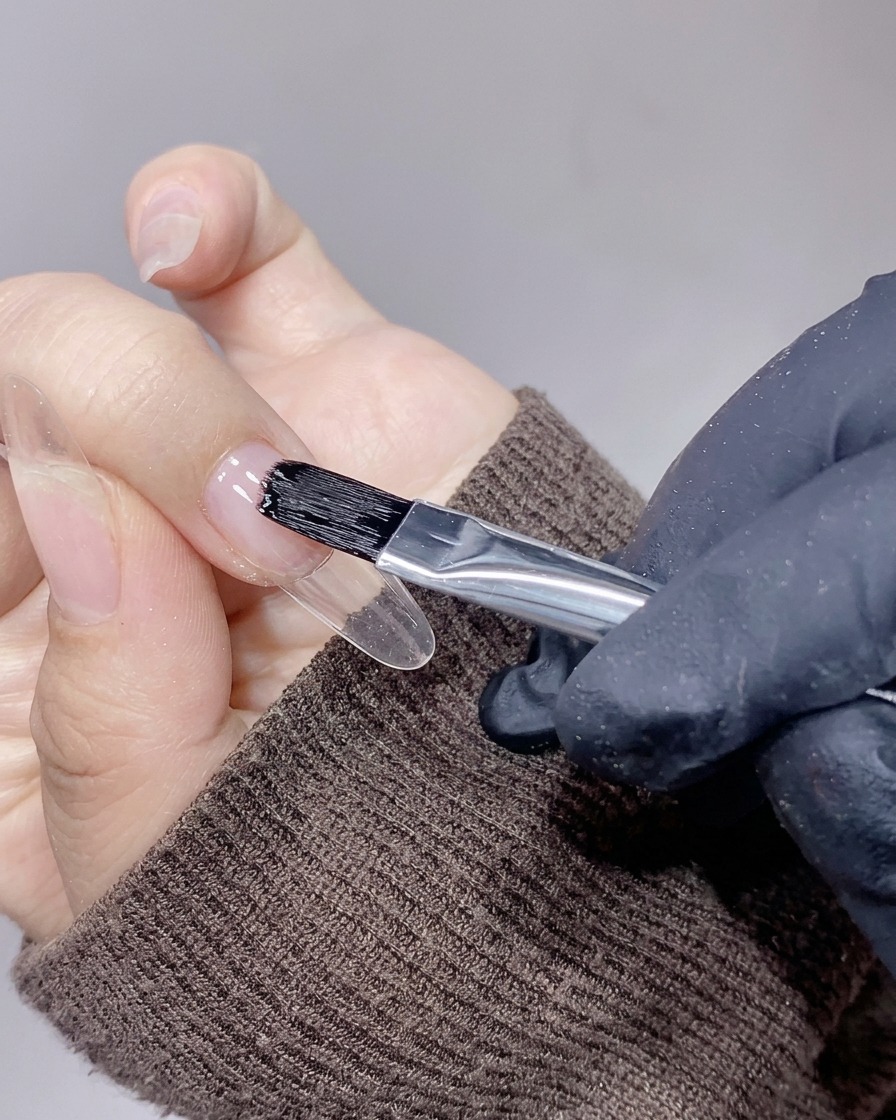
Apply a layer of clear reinforcement builder gel over the entire surface of the nail. This layer is crucial for protecting the aurora powder and ensuring it stays in place without peeling or wearing off prematurely.
Tip: Make sure to coat the free edge to fully seal the powder. - 12Cure the reinforcement gel
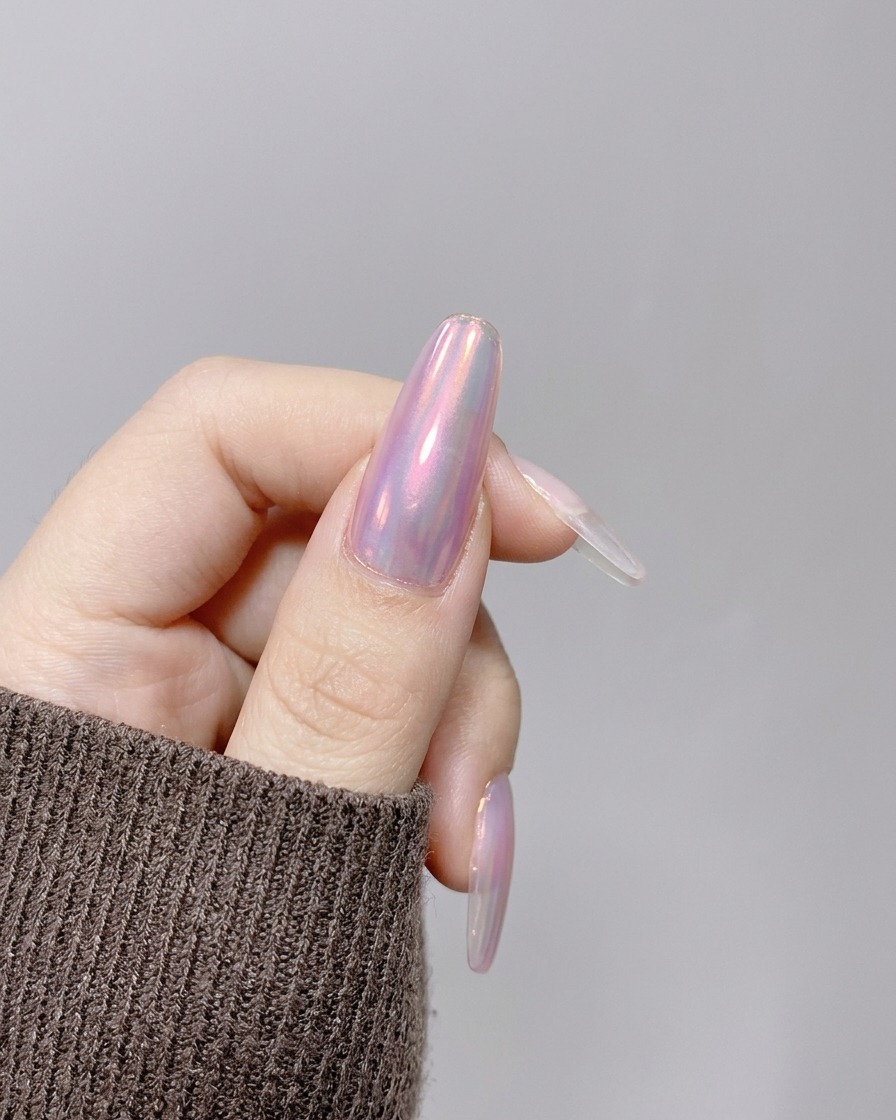
Place your hand under the handheld pink UV/LED lamp to cure the reinforcement gel. Ensure the nail is fully positioned under the light for the duration required by your gel product to ensure a complete, durable cure.
Tip: Hold the lamp steady to avoid shifting the gel before it sets. - 13Apply crushed diamond glitter
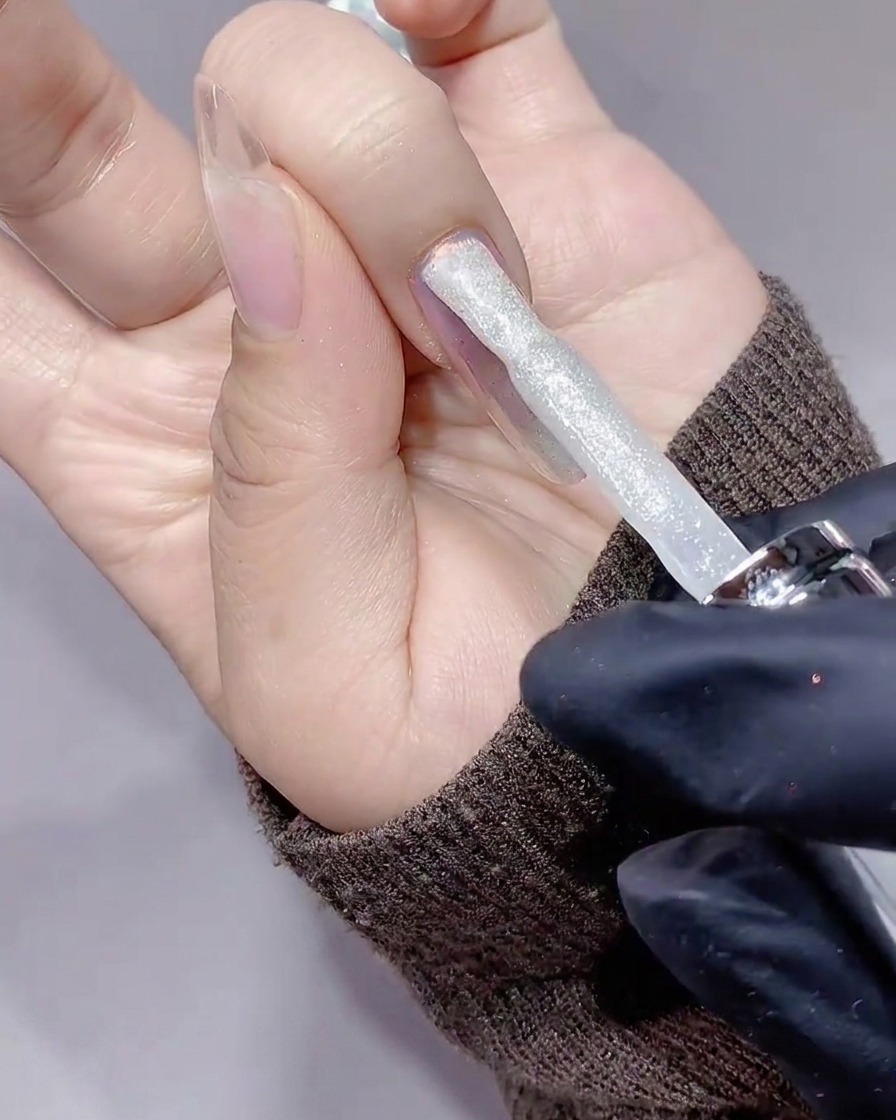
Apply a thin, even layer of highly reflective silver crushed diamond glitter gel over the nail. This will add a brilliant, watery sparkle that mimics the effect of light hitting the surface of a lake.
Tip: Distribute the glitter particles evenly for a consistent, high-impact shimmer. - 14Cure the glitter gel
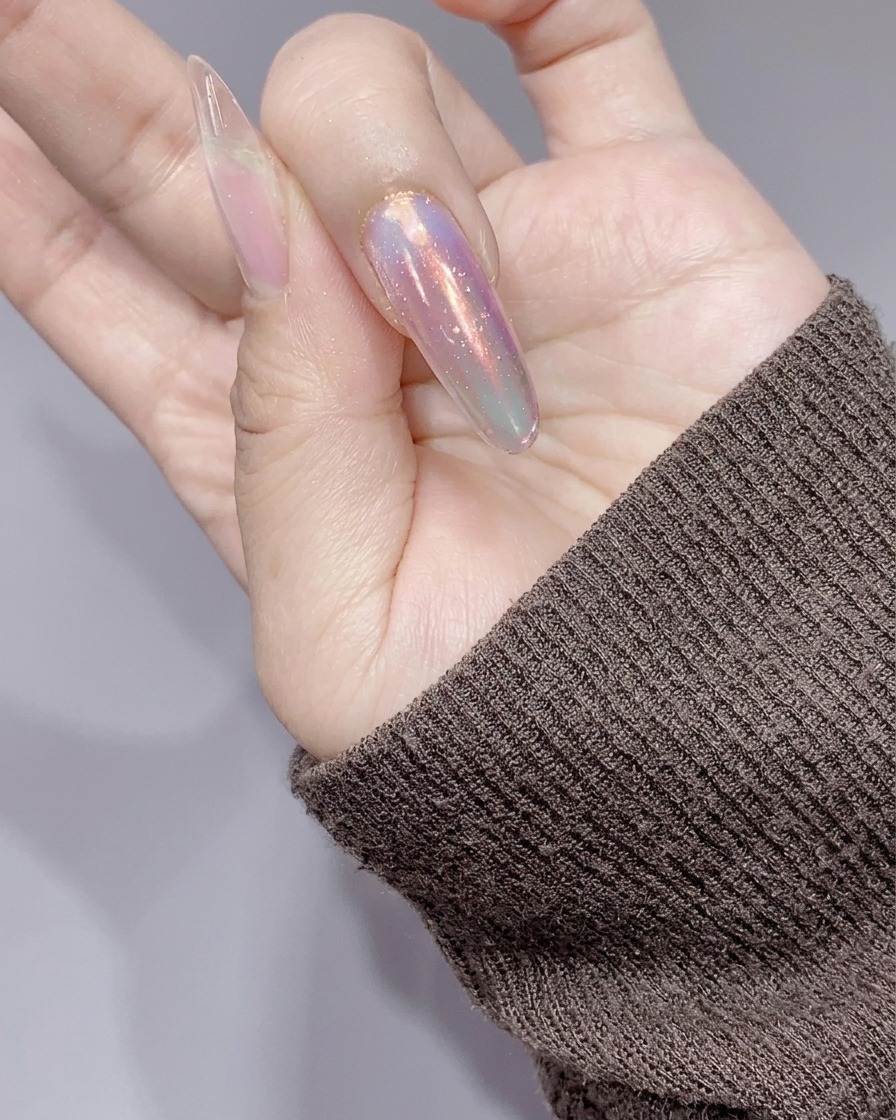
Cure the crushed diamond glitter gel under the handheld pink UV/LED lamp. Curing this layer thoroughly is important to lock in the reflective particles and provide a smooth, durable base for the next step.
Tip: Do not rush the cure time, as the glitter layer can be thick. - 15Apply magnetic cat-eye gel
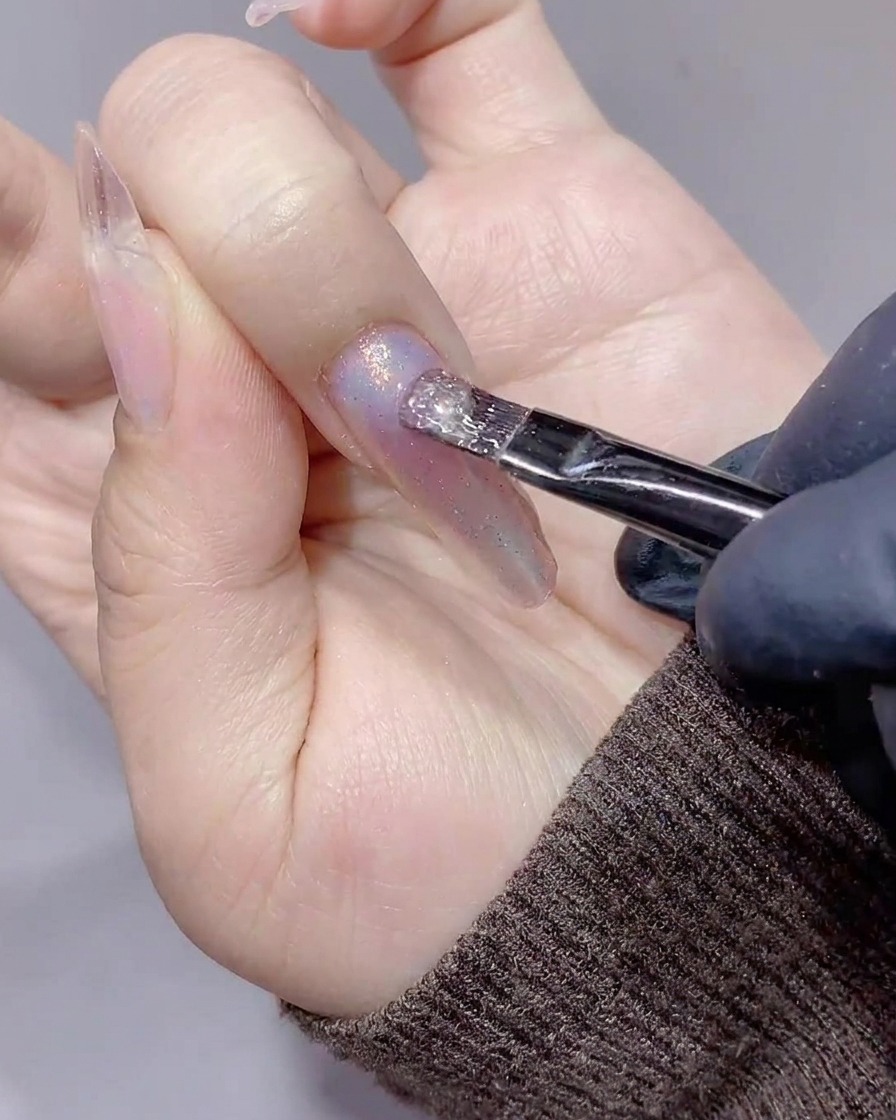
Apply an even, thin layer of clear-based magnetic cat-eye gel over the nail surface. This product contains fine magnetic particles that will react to the magnet to create the desired light effect. Do not cure at this stage, as you will need the gel to remain wet to manipulate the shimmer.
Tip: Applying the gel without a dark base color allows the underlying sunset blush and aurora powder colors to shine through, creating a more ethereal, watery appearance. - 16Position magnet at cuticle
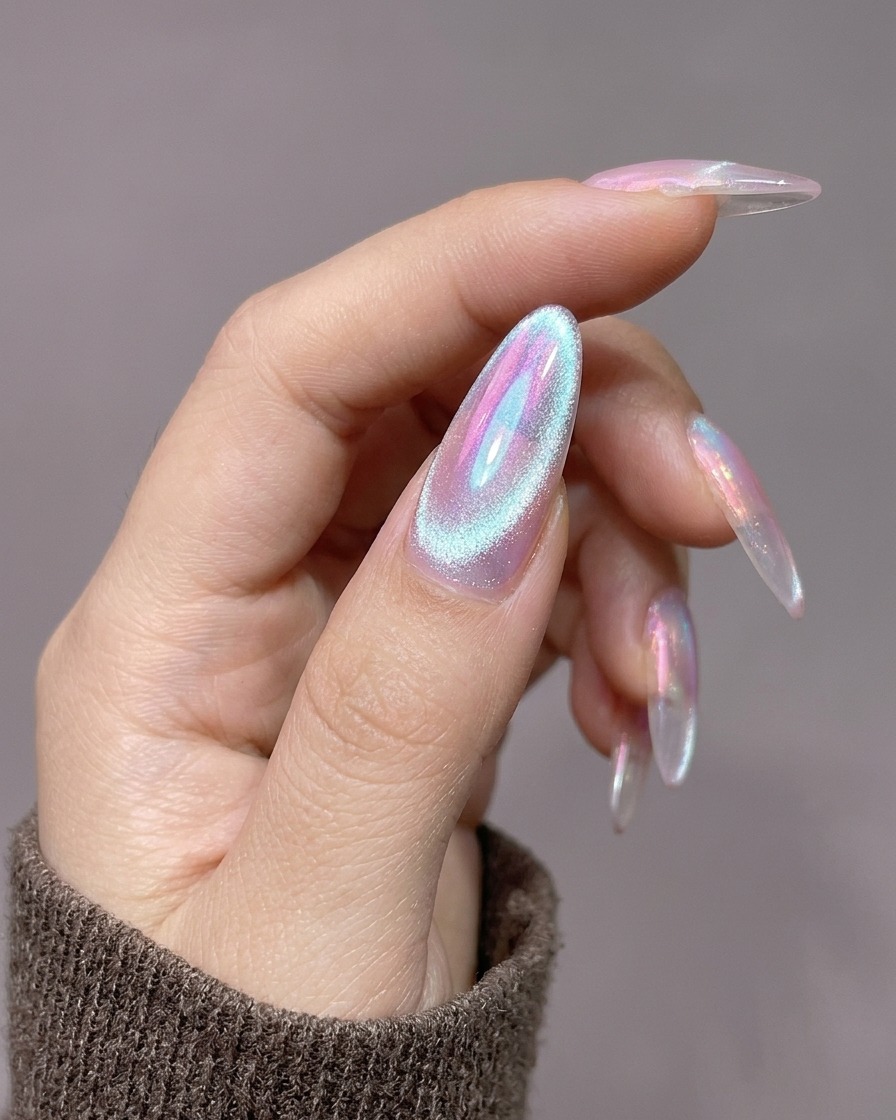
Hold the cylindrical magnet vertically near the cuticle area without touching the nail. This action pushes the metallic particles in the gel toward the back of the nail, creating a concentration of light near the base.
Tip: Keep the magnet close to the nail surface for a stronger magnetic pull, but be careful not to smudge the wet gel. - 17Gather shimmer on the side
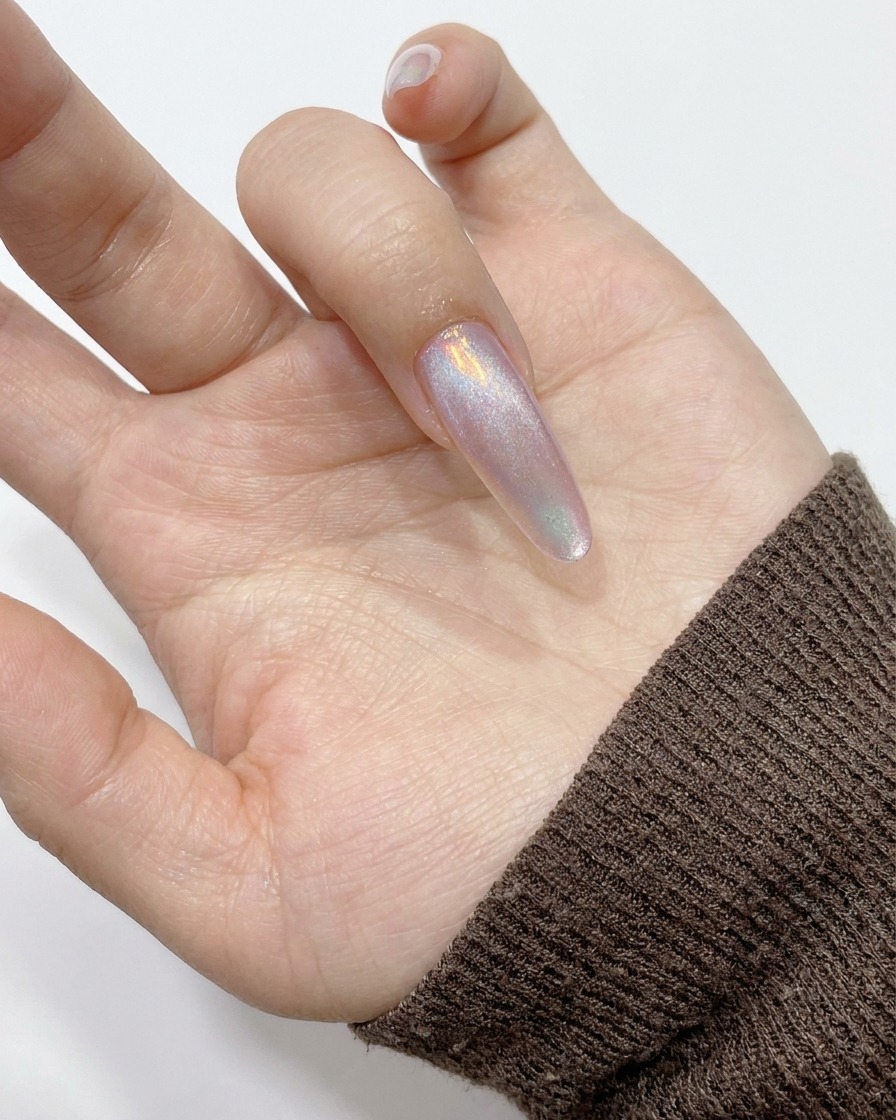
Place the cylindrical magnet along the left sidewall of the nail. The magnetic field will pull the shimmer particles toward the side of the nail, creating depth and a curved light reflection.
Tip: Observe the movement of the particles as you move the magnet to achieve the desired intensity of the shimmer line. - 18Refine the light line
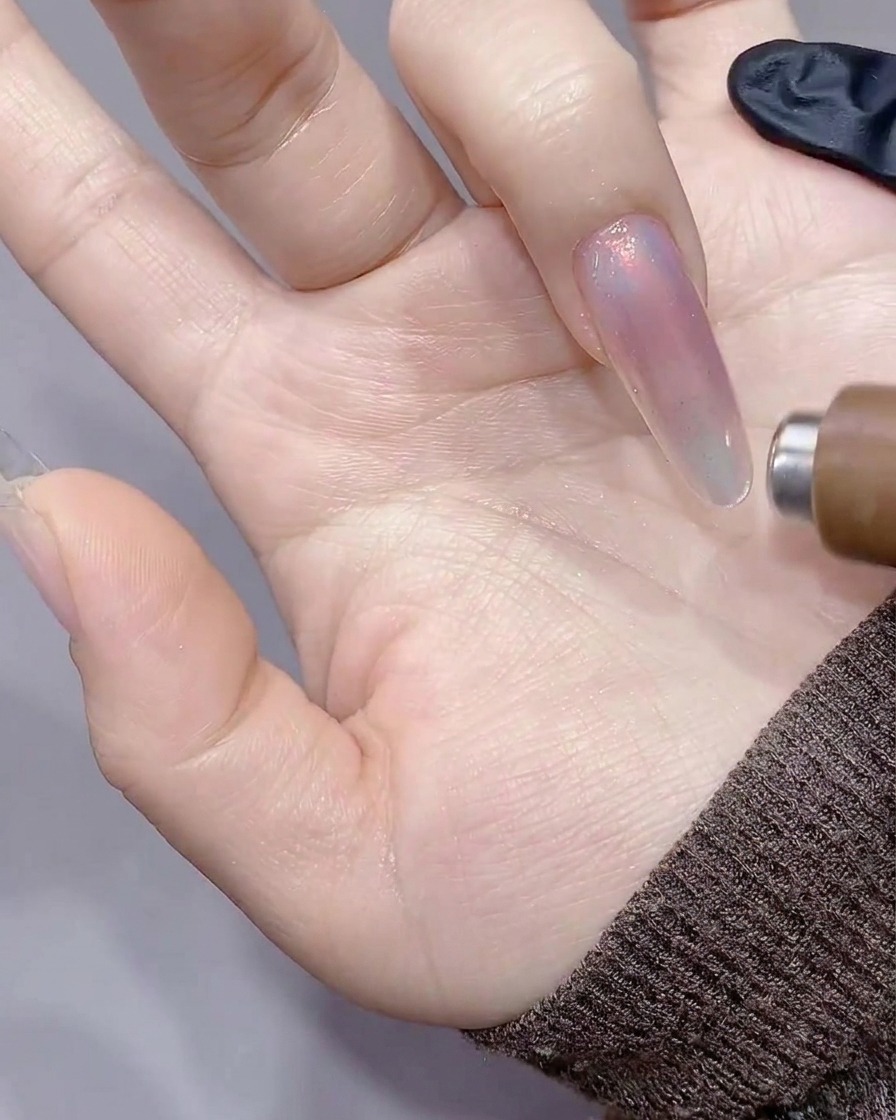
Gently slide the cylindrical magnet along the right sidewall. This motion pulls and focuses the magnetic particles across the nail, resulting in a distinct, sharp line of light that mimics a cat-eye effect.
Tip: Slow, steady movements yield the cleanest and most defined lines in the gel. - 19Cure the pattern
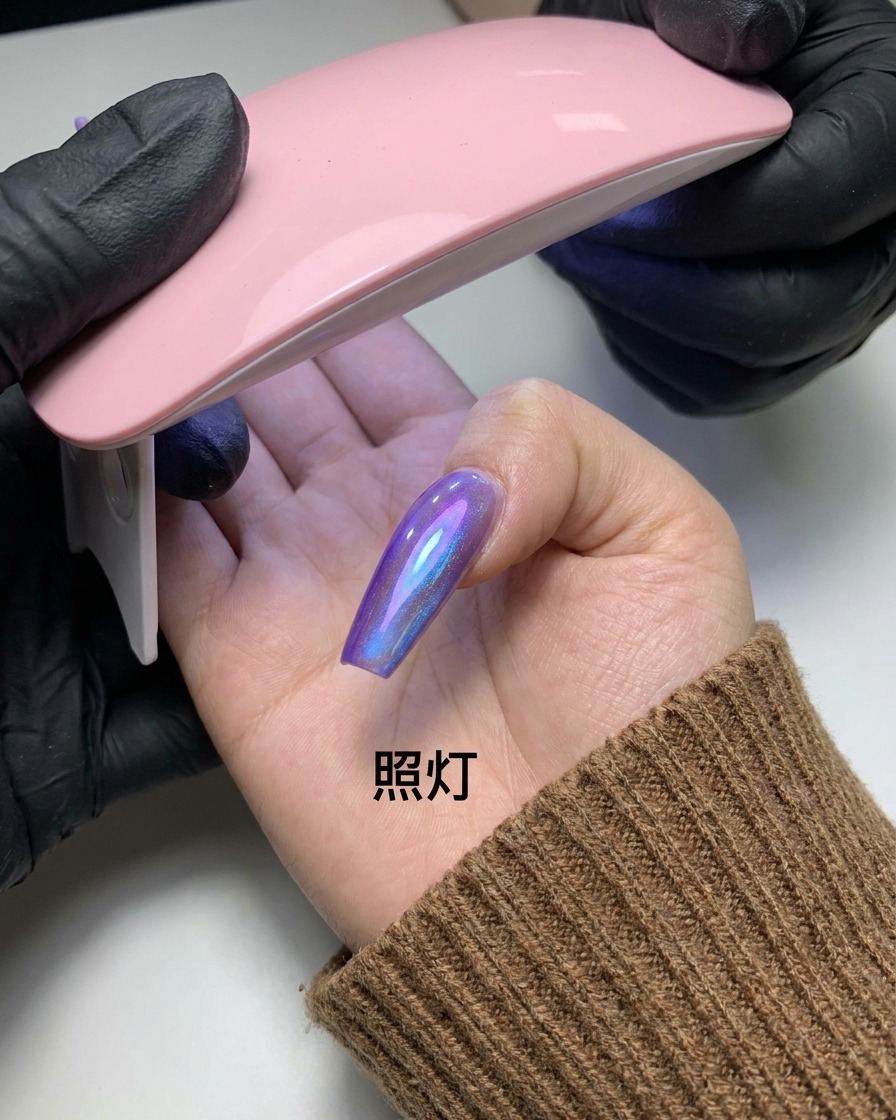
Once you are satisfied with the position of the light line, immediately place the nail under the UV/LED lamp to cure the gel. Curing locks the magnetic particles in place, preserving the sharp line you created.
Tip: Hold the nail steady under the lamp to ensure the pattern does not shift before the gel hardens. - 20Apply final top coat
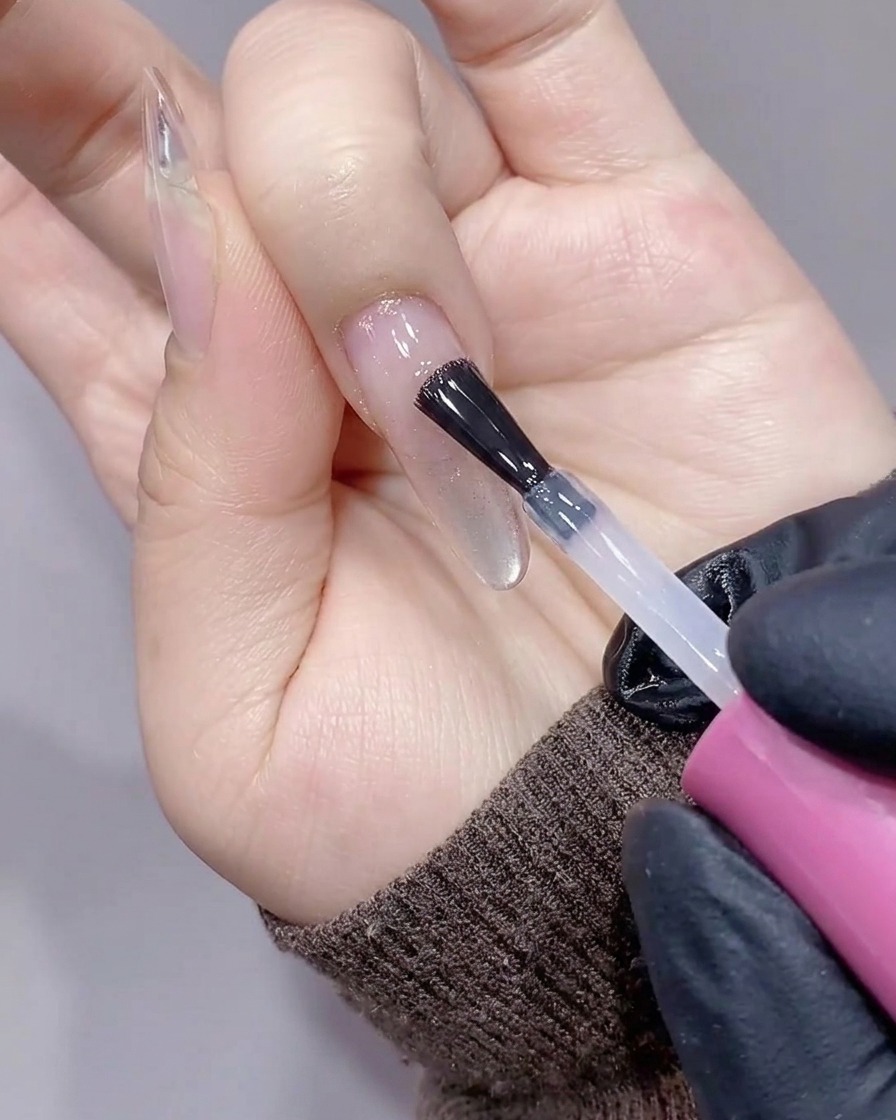
Apply a thick, even layer of top coat over the cured cat-eye design. This acts as a final apex builder, adding durability and creating a smooth, high-gloss, encapsulated finish that enhances the translucency of the underlying design.
Tip: A slightly thicker layer of top coat can help level out the surface and give a more watery appearance. - 21Perform final full cure
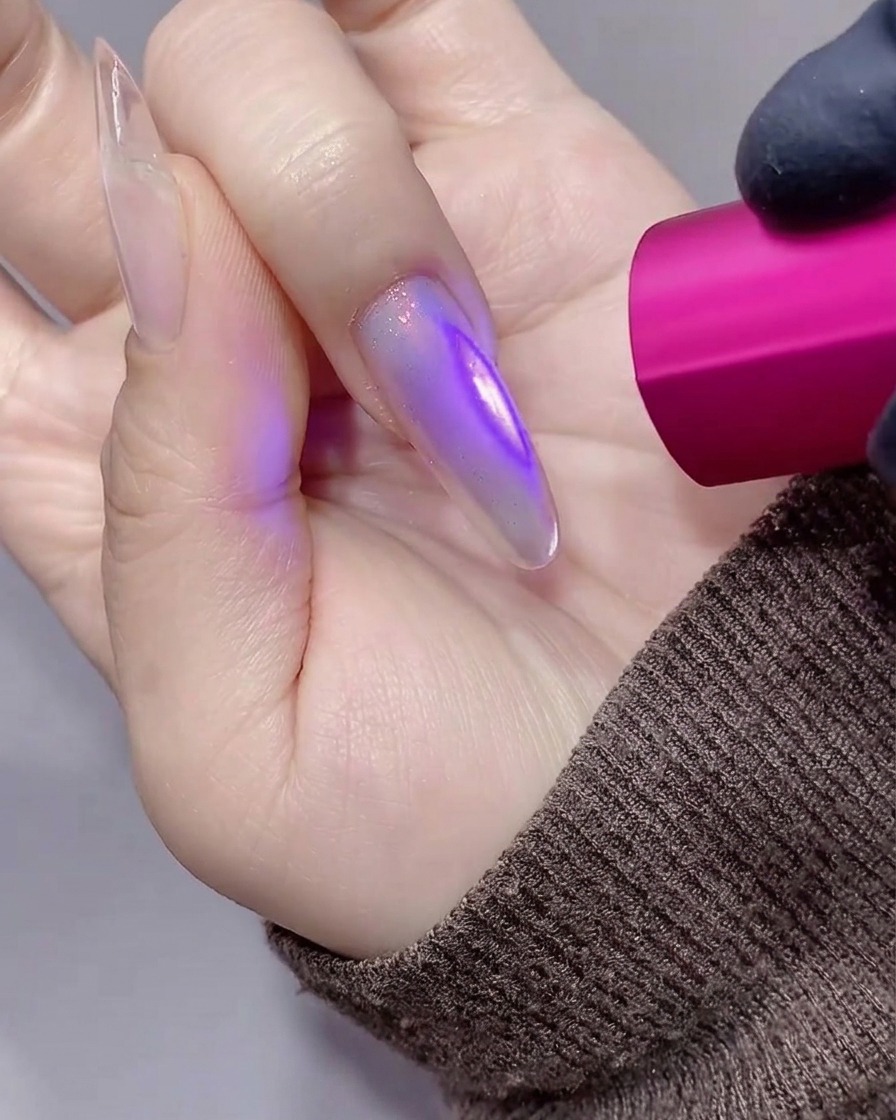
After building the final apex with top coat to enhance the translucency of the cat eye design, perform a full cure. Use a handheld pink UV/LED lamp to thoroughly cure the entire nail, ensuring the top layer is completely set and the beautiful sunset diamond finish is locked in.
Tip: A handheld lamp is perfect for pinpointing light on long extensions, but be sure to angle it slightly to expose all sides of the nail for a complete, even cure.